
Killing Floor Map Editor Tutorial: Complete SDK Guide
Want to create your own Killing Floor map? The game uses Unreal Editor 2.5 (based on Unreal Tournament 2004 technology). This guide will take you from zero to a fully playable map.
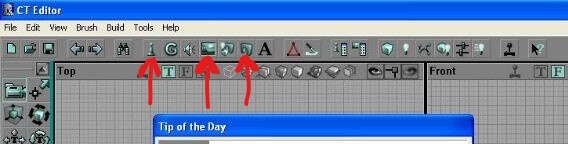 The KF Editor toolbar with the asset browser icons.
Part 1: Installation & Setup
Installing the SDK
- Open Steam Library.
- In the dropdown menu (where it says "Games"), select Tools.
- Find Killing Floor SDK and install it (~2GB).
- Launch it from Steam or from
KillingFloor/System/UnrealEd.exe.
First Launch
When you first open Unreal Editor, you will see:
- 4 Viewports: Top, Front, Side (orthographic), and a 3D Perspective view.
- Toolbars: On the left (brushes, CSG operations) and top (file, build, play).
- Browser Windows: Accessible via View menu (Textures, Actors, Static Meshes).
Performance Tip
If the editor is slow, go to View -> Preferences and reduce the "Grid Size" to 16 or 8. Large grids can lag on old machines.
Part 2: Navigation Controls
The camera controls in Unreal Editor 2.5 feel unusual to modern users. Practice these in the 3D viewport:
| Action | Control |
|---|---|
| Move Forward/Backward + Turn | Left Mouse Button + Drag |
| Look Around (Free Rotation) | Right Mouse Button + Drag |
| Strafe (Move Up/Down/Left/Right) | Both Mouse Buttons + Drag |
| Zoom In/Out | Mouse Scroll Wheel |
| Teleport Camera to Selection | Home key |
Tip: Use the orthographic views (Top, Front, Side) for precise placement, and the 3D view for checking how it looks.
Part 3: Understanding Subtractive Geometry (BSP)
Unreal Engine 2 uses Subtractive BSP (Binary Space Partitioning). This is fundamentally different from modern engines like Unity or Unreal Engine 5.
The Concept
- The world starts as an infinite solid block (void).
- You subtract (carve out) empty space to create rooms.
- You can then add solid geometry back inside subtracted space (pillars, platforms).
The Red Builder Brush
The red wireframe shape you see is the "Builder Brush" — your cookie cutter.
- It doesn't exist in the game. It's just a template.
- You use it to define shapes, then apply CSG operations (Subtract, Add).
Part 4: Creating Your First Room
Step 1: Set the Builder Brush Size
- On the left toolbar, find the Cube icon.
- Right-click on it to open properties.
- Set Height, Width, Breadth to
1024each (a 1024x1024x1024 room). - Click Build.
Step 2: Subtract the Room
- Position the red Builder Brush where you want the room (use orthographic views).
- On the left toolbar, click the "Subtract" button (cube with a hole/minus sign).
- A blue-purple wireframe appears — this is your subtracted space (the room).
Step 3: Verify
Press F8 to rebuild geometry, or go to Build -> Build Geometry. Then check the 3D viewport — you should see a hollow cube.
Part 5: Adding Textures
A gray room is boring. Let's add textures.
Opening the Texture Browser
- Go to View -> Texture Browser (or press the Texture icon on toolbar).
- Click File -> Open in the browser.
- Navigate to
KillingFloor/Textures/and open a.utxfile (e.g.,KF_Generic_textures.utx).
Applying Textures
- In the Texture Browser, click on a texture to select it.
- In the 3D viewport, click on a surface (wall, floor, ceiling) of your room.
- The texture is applied.
Adjusting Textures (Alignment)
If the texture looks stretched or misaligned:
- Select the surface (click on it in 3D view).
- Open Surface Properties (press
F5or right-click -> Surface Properties). - Adjust Pan (offset), Scale (size), and Rotation.
- Use "Align to Floor" or "Align to Wall" for quick fixes.
Part 6: Lighting
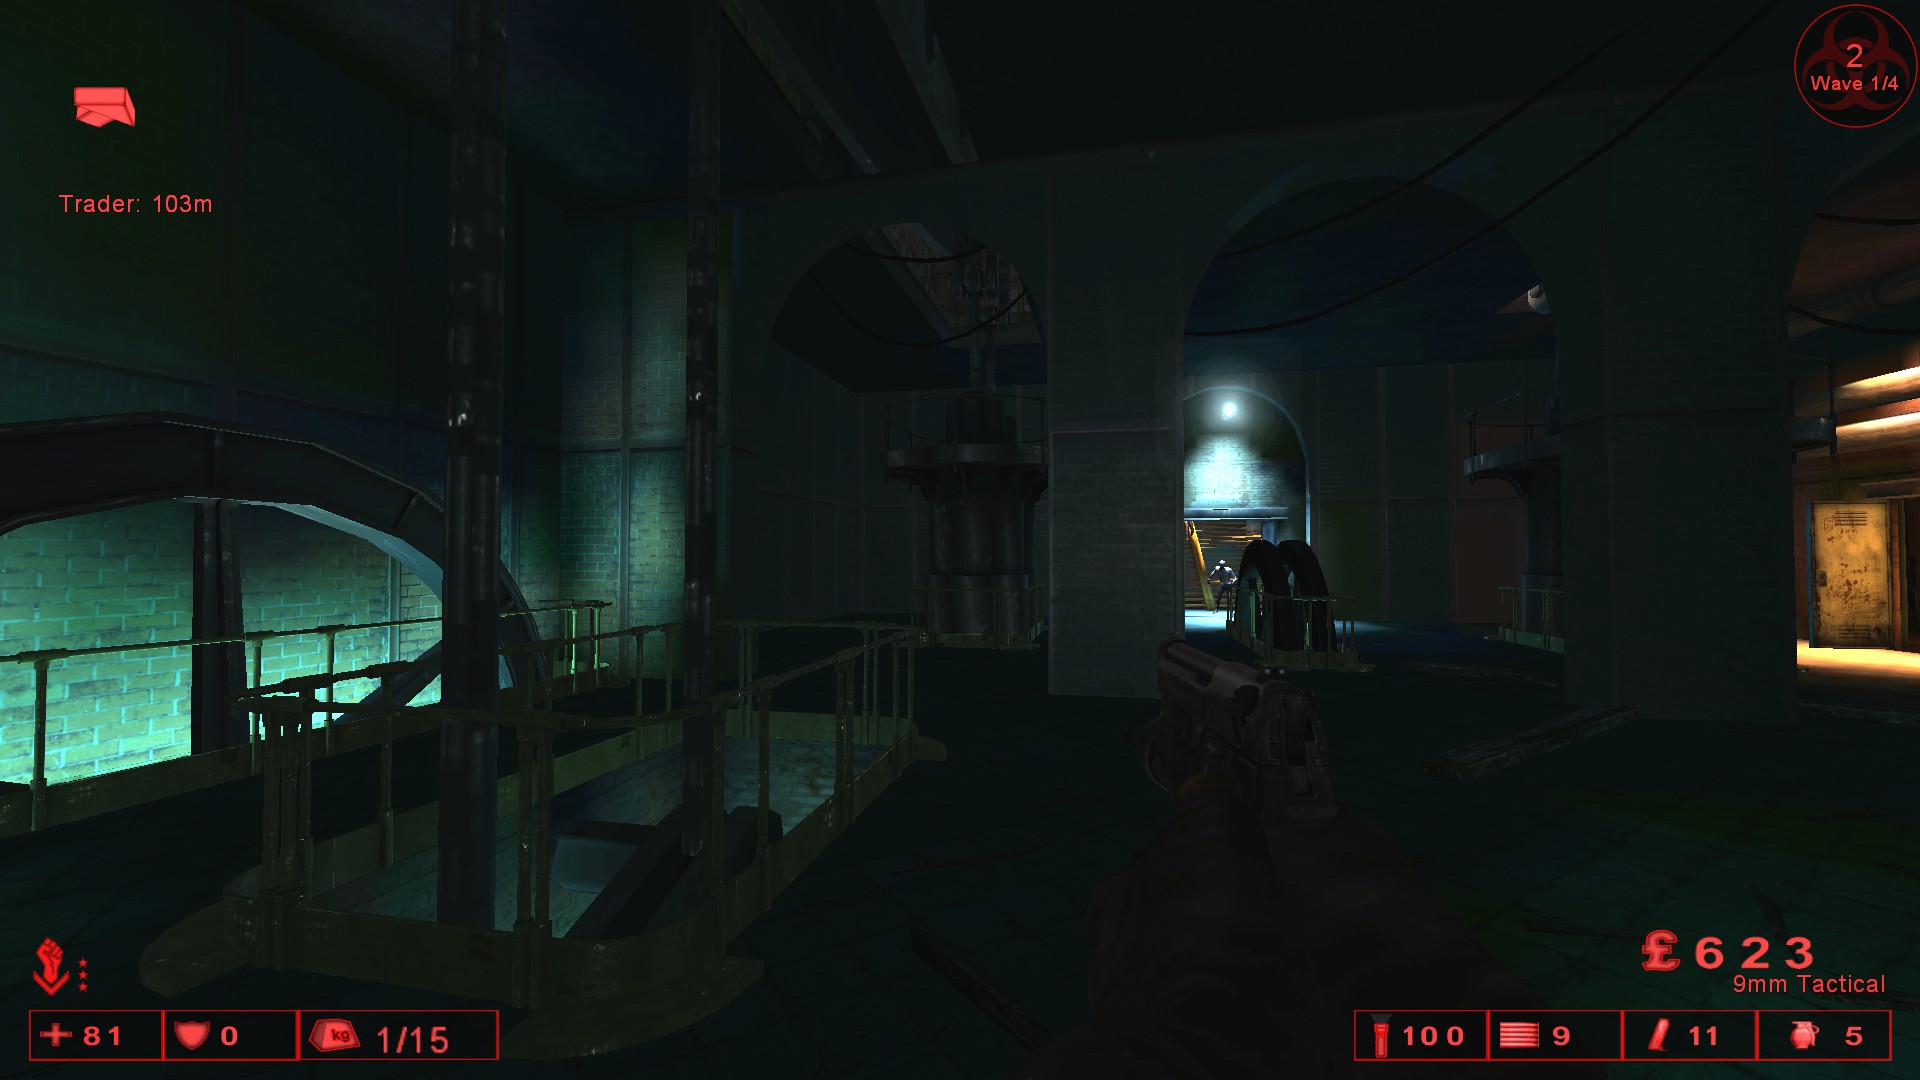 Lighting example from KF-Waterworks.
A map without lights is pitch black.
Adding a Basic Light
- In the 3D viewport, right-click on a surface (inside the room).
- Select Add Light Here.
- A light bulb icon appears. Move it away from walls (lights too close to surfaces cause artifacts).
Adjusting Light Properties
- Double-click on the light actor to open its properties.
- Under LightColor, set
LightBrightness(intensity) andLightHue/LightSaturation(color). - Under Lighting, set
LightRadius(how far the light reaches).
Rebuilding Lighting
Press F8 or go to Build -> Build Lighting. This calculates shadows and light maps. Do this every time you add/move lights.
Lighting Tips
- Use multiple lights. One light in the center looks flat. Place lights in corners.
- Vary colors. Warm orange for torches, cool blue for moonlight.
- Shadows matter. High contrast lighting creates atmosphere.
Part 7: Player Spawn Points (PlayerStart)
Players need somewhere to spawn.
Adding PlayerStarts
- Right-click on the floor surface.
- Select Add PlayerStart Here.
- A joystick icon appears. This is where a player will spawn.
- Add 6 PlayerStarts for a full team (KF supports up to 6 players).
Placement Tips
- Space them apart so players don't spawn on top of each other.
- Place them in a safe area (not in the middle of a ZombieVolume).
- Face them toward the action (rotate the actor).
Part 8: Navigation (PathNodes)
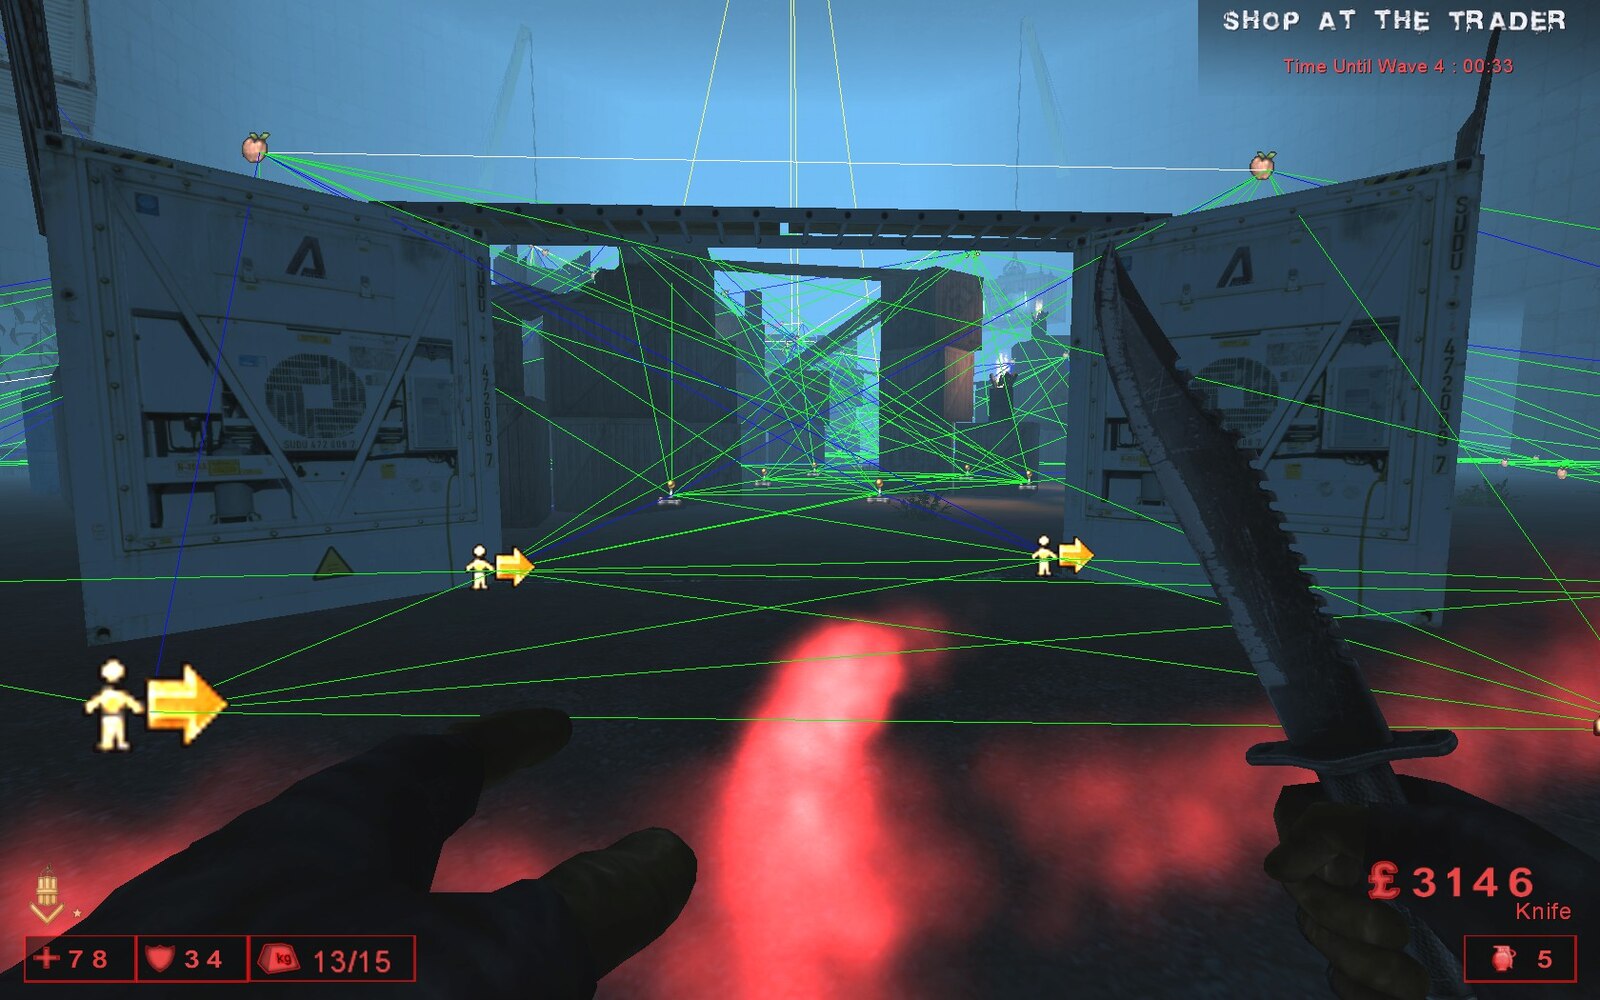 The AI path network visible in a Killing Floor map.
Zeds (and bots) need a navigation mesh to move around. In UE2, this is done with PathNodes.
Adding PathNodes
- Open the Actor Class Browser (View -> Actor Class Browser or the chess pawn icon).
- Navigate to:
Actor -> NavigationPoint -> PathNode. - Right-click on the floor in the 3D viewport -> Add PathNode Here.
- Place PathNodes every 256-512 units throughout your map like breadcrumbs.
Building Paths
After placing PathNodes:
- Press
F8or go to Build -> Build Paths. - The editor will draw pink/cyan lines connecting nodes. These are the AI navigation routes.
Path Debugging
If lines are red, the path is blocked (something is in the way). If there are no lines, nodes are too far apart.
Part 9: Zombie Spawning (ZombieVolumes)
Zeds spawn from ZombieVolumes — invisible boxes you place in the map.
Creating a ZombieVolume
- Create a Builder Brush the size of the spawn area (e.g., 512x512x256).
- Position it where you want Zeds to spawn (a back room, a vent, off-screen).
- On the left toolbar, click Add Volume (or right-click the Subtract button).
- In the dialog, select
ZombieVolumefrom the list. - Click OK. A purple volume appears.
ZombieVolume Properties
Double-click the volume to open properties:
bEnabled: Should Zeds spawn here? (True by default)MaxZombies: Max Zeds that can spawn here simultaneously.
Tip: Place ZombieVolumes out of player sight. Spawning Zeds in front of players looks bad.
Part 10: The Trader (Shop)
Players need a Trader (shop) to buy weapons between waves.
Adding a Trader
- Open Actor Class Browser.
- Navigate to:
Actor -> KFTraderActivator(or search "Trader"). - Right-click on the floor -> Add KFTraderActivator Here.
- Place the associated ShopVolume around the trader area.
Trader Paths
Zeds should NOT be able to walk into the Trader area during trading time. This is handled by ShopVolume — a blocking volume.
- Create a Builder Brush around the Trader.
- Add it as a ShopVolume.
- Set its properties to block Zeds during Trader Time.
Part 11: Testing Your Map
Quick Test (PIE - Play In Editor)
- Click the Joystick icon on the top toolbar (or press Alt+P in some versions).
- You will spawn in the map. Walk around, check for errors.
- Press Escape to exit.
Full Test (Compiled Map)
- Save your map: File -> Save As ->
KF-YourMapName.rom(must start with KF-). - Save it to
KillingFloor/Maps/. - Go to Build -> Build All to compile geometry, lighting, and paths.
- Launch Killing Floor, start Solo, select your map.
Part 12: Common Errors & Fixes
| Error | Cause | Fix |
|---|---|---|
| Map is pitch black | No lights or lighting not rebuilt | Add lights, press F8 |
| Zeds don't spawn | No ZombieVolumes or paths broken | Add ZombieVolumes, rebuild paths |
| Player falls through floor | BSP hole (bad geometry) | Check for overlapping brushes, rebuild |
| "Ran out of BSP" error | Too many brushes | Simplify geometry, use Static Meshes instead |
| Textures missing | Texture package not loaded | Add the .utx to MyLevel or reference it in map properties |
Part 13: Advanced Topics (Brief Overview)
Static Meshes
For complex objects (furniture, machines), use Static Meshes instead of BSP. They are more efficient.
- Open Static Mesh Browser.
- Load a package (e.g.,
KF_Generic_SM.usx). - Right-click in viewport -> Add Static Mesh.
Movers (Doors)
Doors are Mover actors. They have keyframes (open/closed positions) and trigger events.
Scripted Events
For Objective Mode maps, you need KFStoryGameInfo and scripted triggers. This is advanced and requires UnrealScript knowledge.
Skyboxes
Outdoor maps use SkyZoneInfo actors to render a sky. Add a small skybox room with a SkyZoneInfo, then use a FakeSkyBox texture on ceilings.
Armour and items on the map
BAHO's answer in the "Разбросать броники по карте. Как?" (scattering armour across a map) thread on the killingfloor.ru forum: in the Actor Classes tab find KFPickupFactory_Item, select it with a left click, then right-click the spot on the map and choose Add KFPickupFactory_Item. In its properties, set what should spawn there and with what probability. Asked how to make an ammo box that every player can take, w.a.l replied that this amounts to infinite ammo and suggested a respawn time of 1 second or less; BAHO thought it can only really be done with a mutator.
Map game type (DefaultGameType)
A map built only for Objective Mode can be switched to the normal mode, as CreeP advised in the "Изменение режима" (changing the mode) thread: open it in the KF SDK and, in LevelProperties under LevelInfo, change DefaultGameType to your game type; for the stock one enter KFMod.KFGameType. w.a.l also suggested renaming the KFO- prefix to KF-. Note that the map then runs normal waves, and according to CreeP the Objective Mode elements will not work with the stock game type.
Additions
- Object size. K-2's tip from the Military Parking map thread: in the object's properties, on the Display tab, there is a
DrawScaleparameter that changes its size. - Copying objects from another map. K-2's method from the same thread: right-click -> Edit -> Copy, open your map, right-click on any surface -> Edit -> Paste -> Here, then place it as needed. If the pasted object cannot be found, try pasting onto different surfaces.
- Ports from UT. In the Tombs of RA map thread, K-2 opened the port in the editor and it was missing the BarrensArchitecture, BarrensArchitecture-Scion and UCGeneric packages; after he copied those from UT, a chain of others followed (
AbaddonArchitecture\Architecture-epic\terrain, AW-Alleria, BarrensTerrain, CubeMaps and more). His advice: before publishing, remove all UT texture packs from KF and check that the map works. - A hitch at the start of a wave. K-2's observation from the "Лаги при смене волны" thread: on maps with no random ammo or weapon spawn points at all (or at least no ammo ones), the game can freeze for a few seconds at the start of the game and at each wave change, when those items appear: it tries to find them and scans the map again. It doesn't happen everywhere, but he has seen such maps. If the hitch happens on every stock map, the cause is something else.
- A spectator zone that zeds ignore. In the "Тренировочный лагерь [задумка]" (training camp idea) thread, for a map where players outside a glass fence only watch the fight, Flame suggested setting
bIsPlayerto false in the player's controller: otherwise zeds will try to reach him, and with false they treat him as one of their own (he warned this may cause some gameplay problems). The map's author, FearStarter, proposed another way: put no pathnode paths outside the arena, so zeds go only to the players inside it and, if nobody is inside, walk to the pathnode nearest the fence. Neither approach was tested in the thread. Similar arenas with see-through walls exist on Funmap.
Resources
- Official TWI Mapping Wiki: (archived, search "Tripwire Killing Floor SDK")
- UnrealWiki: General Unreal Engine 2 tutorials apply.
- Community Discord: Ask for help on mapping channels.
- DiaLight's video guides (killingfloor.ru forum, 2013, in Russian): making a door in the SDK and triggers in the SDK.
- K-2's KF SDK tutorials (killingfloor.ru forum): basics and BSP geometry, textures and static meshes, movers, doors and lifts, zones, fog and lighting.
This guide covers the fundamentals. Mastering mapping takes practice — start simple, iterate, and learn from official maps by opening them in the editor.
