
How to Make Custom Player Skins
Here's how you can make your custom player skins that can be used on a server.
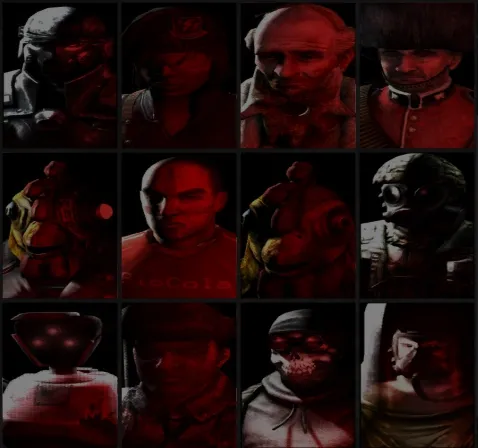 The character selection grid in Killing Floor.
#1: Required Mods
You need a mod that lets you select custom player skins:
- ServerPerksV5
- Custom character enabler
#2: Basic Knowledge
You need to learn the basics in setting up and compiling mods in Killing Floor.
#3: Naming Your Mod
Name your mod in following format: <CharacterName>Mod (i.e: you have a skin called 'Trader', the mod's name must be TraderMod).
#4: Creating Character Class
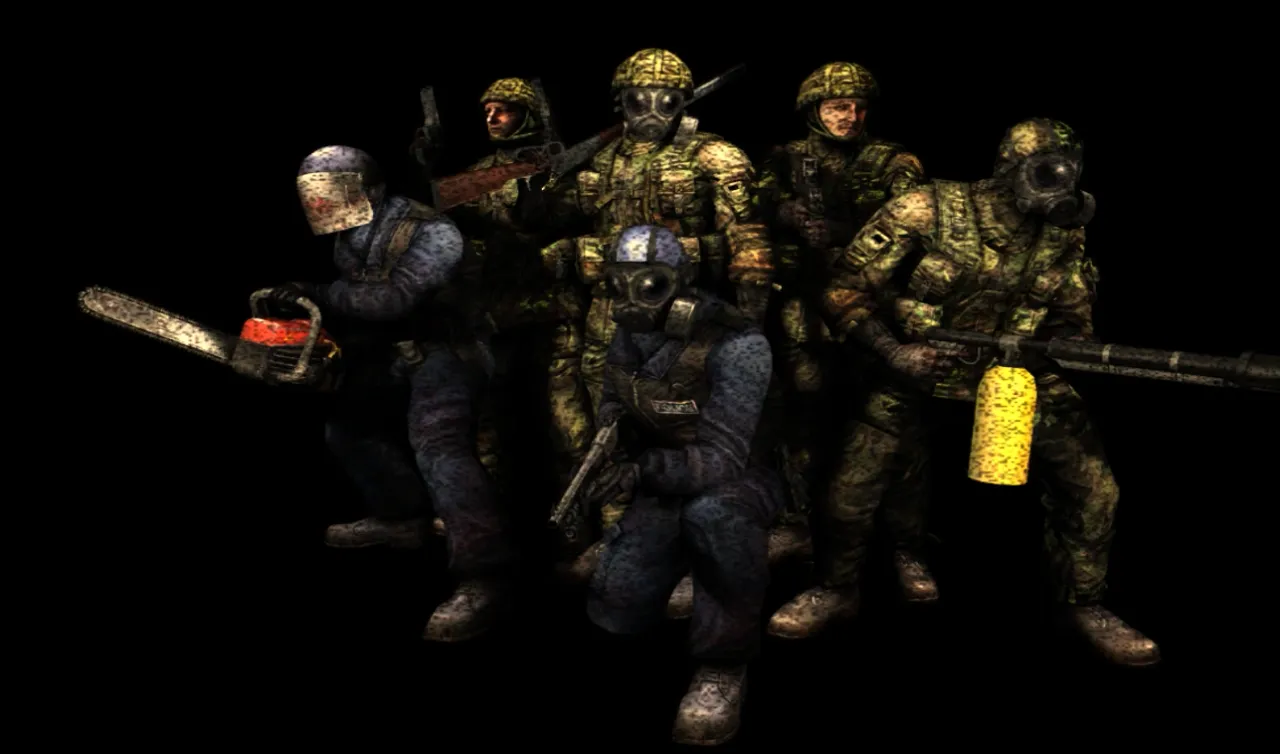 A group of Killing Floor player character models.
Create a class with the name of the character (i.e: Trader.uc).
#5: Scripting
unrealscript
class Trader extends PlayerRecordClass;
#exec obj load file="TraderAnims.ukx" // Load up all needed animations or texture files using these lines.
simulated static function xUtil.PlayerRecord FillPlayerRecord()
{
	local xUtil.PlayerRecord PRE;
	PRE.Species = Class'PoliceSpecies'; // Species (can be used to replace sounds or misc stuff)
	PRE.MeshName = string(Mesh'TraderM'); // Name of the mesh.
	PRE.BodySkinName = string(Shader'TraderSkin'); // Body skin name (Material #0)
	PRE.FaceSkinName = string(Material'TraderFaceSkin'); // Face skin name (Material #1)
	PRE.Portrait = Texture'TraderPortrait'; // Portrait texture
	PRE.TextName = "This lady has seen her better days."; // Description text.
	PRE.VoiceClassName = string(Class'KFVoicePack'); // Voice pack
	PRE.Sex = "F"; // M = Male, F = Female
	PRE.Menu = "SP"; // Not needed to modify.
	PRE.Skeleton = string(Mesh'TraderM'); // Unused in KF
	PRE.Ragdoll = "British_Soldier1"; // Should be this only.
	return PRE;
}
ServerPerks Configuration
CustomCharacters=TraderOptional: Custom Taunts
unrealscript
class TraderVoicePack extends KFVoicePack;
defaultproperties
{
	NumInsults=3
	InsultAbbrev(0)="Insult Specimens"
	InsultAbbrev(1)="Insult Players"
	InsultAbbrev(2)="The taunt text shown in voice menu"
	InsultString(0)="Insult Specimens"
	InsultString(1)="Insult Players"
	InsultString(2)="The broadcasted taunt message..."
	InsultSound(0)=Sound'KF_MaleVoiceOne.INSULT.Insult_Specimens'
	InsultSound(1)=Sound'KF_MaleVoiceOne.INSULT.Insult_players'
	InsultSound(2)=Sound'TheTauntSoundFX'
}
Optional: Replacing Pain/Death Sounds
unrealscript
class TraderSpecies extends PoliceSpecies;
defaultproperties
{
	MaleSoundGroup="TraderMod.TraderSoundGroup"
	MaleVoice="TraderMod.TraderVoicePack"
	FemaleVoice="TraderMod.TraderVoicePack"
	FemaleSoundGroup="TraderMod.TraderSoundGroup"
}
unrealscript
class TraderSoundGroup extends KFMaleSoundGroup;
defaultproperties
{
DeathSounds(0)=Sound'TraderDeath1'
DeathSounds(1)=Sound'TraderDeath2'
DeathSounds(2)=Sound'TraderDeath3'
DeathSounds(3)=Sound'TraderDeath4'
DeathSounds(4)=Sound'TraderDeath5'
PainSounds(0)=Sound'TraderPain1'
PainSounds(1)=Sound'TraderPain2'
PainSounds(2)=Sound'TraderPain3'
PainSounds(3)=Sound'TraderPain4'
PainSounds(4)=Sound'TraderPain5'
PainSounds(5)=Sound'TraderPain6'
}And that's how it's done. Hope this was of any help.
Simpler option: recoloring a stock character
From the thread "How to make your own character skin" on the killingfloor.ru forum (GreeN, 2011). This route needs no new class: you edit an existing character's texture and point its record at a new package. You need the KF SDK map editor and a program that edits DDS files (for example Photoshop with the NVIDIA DDS plugin). The example is DJ Scully.
- Open the map editor's texture browser and choose the package with your character's texture, here
KF_soldier2_Trip_T. Character texture packages contain the groupsuniformsandfaces. Find the texture, right-click it and choose Export. The export and import paths must not contain Cyrillic letters. - Open the texture, edit it and save it in the same DDS format. If Photoshop asks "Image has MIP maps, Display them with the image?", answer No.
- Back in the editor, select the group you took the texture from, use Import to add your texture, then close the editor and save the package under a different name when prompted, for example
KF_soldier2_Green_Trip_T.utx. Always type the.utxextension after the name, otherwise it will not be a KF texture package. - Put the package into the
Texturesfolder. Before editing, back up the character file fromSystem. Open the character file (hereDj_Skully.UPLinSystem) in Notepad, find the lineBodySkin=KF_Soldier2_Trip_T.Uniforms.Civi_I_diffand changeKF_soldier2_Trip_Tto your package name,KF_soldier2_Green_Trip_T. Save.
Start KF and pick the character; according to the author, it also works online.
Common problems when making a skin
Based on the killingfloor.ru forum threads "Проблема с текстурой рук при создании скина" (hand texture problem when making a skin), "Помогите разобраться с созданием скина" (help with making a skin) and "Создание скина, видео инструкция" (making a skin, video guide).
- First-person hands look different from 3ds Max. First-person hands are a separate model with no connection to the third-person model (Gwyn), so they get their own hand textures, not the clothing ones; adapt them to the stock setup. Rainishe also reminded to set the slave names correctly.
- A compile error caused by textures. If all textures are embedded in the
.ukx, a separate.utxis not needed: in the thread the build failed, and once the line#exec OBJ LOAD FILE="bomzMut.utx" PACKAGE=bomzMutwas removed, the skin compiled without errors (RaideN-). Resources are loaded with lines like#exec obj load file="Name.ukx" package="My_skinpack". - A female skin built "like a wardrobe". Patriot scaled the model with the
scaleparameter on one axis in the mesh properties in the SDK. 3xzet objected that this is a hack: the distortion shows, especially when the character crouches, and a female skeleton is the better option. - Not only 3ds Max. Working with models in Max needs the ActorX plugins for import and export; according to 3xzet, Blender (the plugins can be found online), Maya and Milkshape also work.
- Reskin: who will see it. From the "Что нужно, чтобы сделать рескин персонажа ?" (What do I need to reskin a character?) thread on the killingfloor.ru forum, Gwyn's steps: extract the model (KF SDK, 3ds Max), save the texture as
.psdand paint it in any raster editor (GIMP, Photoshop, Corel), then save it as.tgawithout RLE and import it through the SDK. There are two routes: replace the original skin (the texture path goes into the.uclfile), in which case only that client sees it; or make a custom skin, which everyone sees, but it needs a mutator and ServerPerks newer than version 5 on the server.
