
Killing Floor Support Specialist Guide - Shotgun Power
The Support Specialist brings raw firepower and utility. You are the only perk that can carry massive amounts of weight and supply ammo to teammates.
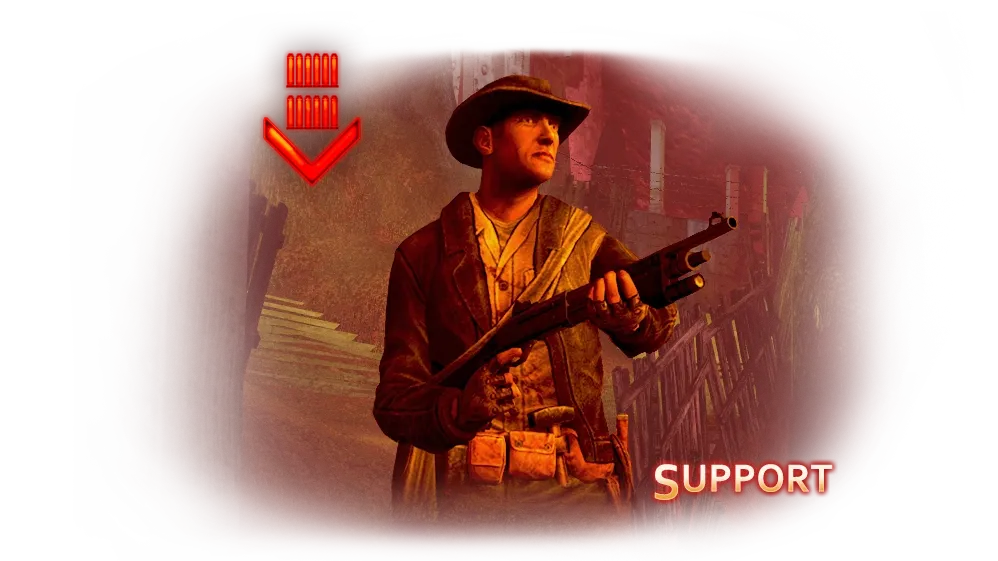 Support Specialist, the shotgun and welding perk.
Role Overview
- Primary: Clear hallways of trash Zeds with shotgun spread.
- Secondary: Burst damage against big Zeds (AA12/Hunting Shotgun).
- Utility: Weld doors faster and provide ammo.
Perk Bonuses
- Shotgun Damage & Penetration: Your shots pierce through multiple Zeds. One shell can kill 3-4 Clots.
- Weight Capacity: You can carry more weapons than anyone else (up to 24kg at max level).
- Welding Speed: You weld/unweld doors extremely fast.
- Grenade Damage: Your grenades deal massive damage (almost like a Demolitions perk).
Weapon Choices
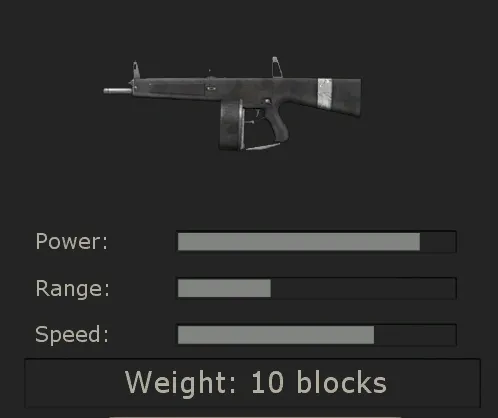 AA12 auto shotgun in the Trader menu: power, range, speed and a weight of 10 blocks.
1. Shotgun (Pump Action)
- Role: Starter.
- Usage: Good for waves 1-4. Aim for heads to line up penetration kills.
2. Hunting Shotgun (The Boomstick)
- Role: Burst Damage & Utility.
- Alt-Fire (Middle Mouse/Alt): Fires both barrels at once. This deals insane damage.
- Physics: Jumping and alt-firing downwards propels you backward (Shotgun Jump), letting you escape danger.
3. AA12 Auto Shotgun
- Role: The Shredder.
- Pros: Fully automatic.
- Usage: Save it for Fleshpounds and Scrakes. Do not waste AA12 ammo on Clots unless necessary.
- Recoil: Aim slightly down; it kicks hard.
Strategy
The Door Welder
You are the best at controlling map flow.
- Weld a back door to 100% to force Zeds into the main kill zone.
- Check the door HP periodically. If it's bulging, unweld and kill, or toss a grenade while opening.
Penetration Value
Always try to line up Zeds. Don't shoot the first Clot in a line; shoot through him to hit the Gorefast behind him. This saves precious ammo.
The Ammo Pack
Teammates can interact with you (Action key, usually E) once per wave to get free ammo. Tell your team when they can grab ammo from you.
Taking Down Fleshpounds
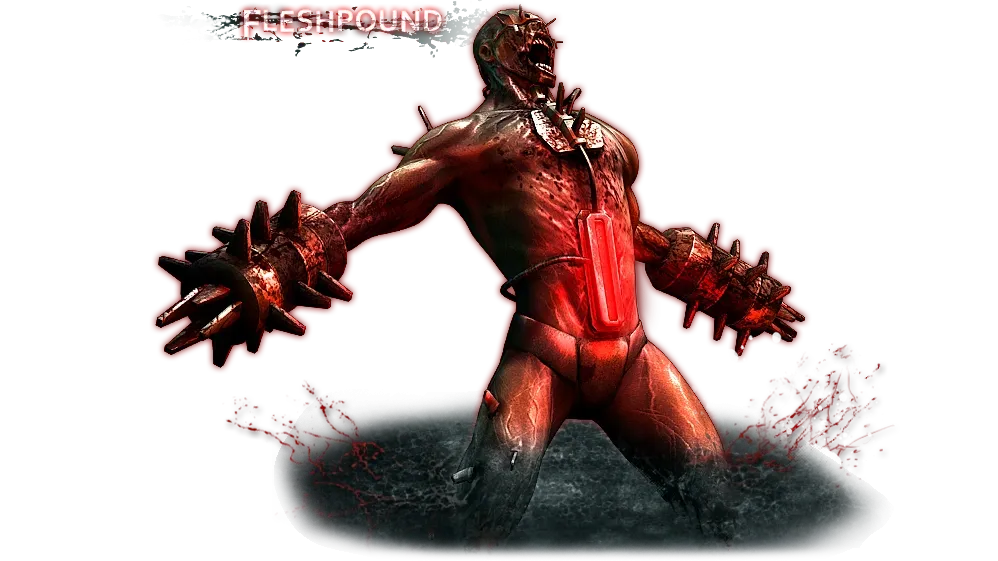 The Fleshpound, the grinder-armed brute whose chest light turns red when it rages.
- Equip AA12.
- Wait for him to get somewhat close.
- Unload full auto into his head/chest.
- If he isn't dead and Rages, switch to Hunting Shotgun and Alt-Fire to finish him or stumble him.
Tips
- Watch your ammo: Shotguns run dry fast. Use your pistol for single lonely Clots.
- Don't over-weld: Don't weld your team inside a room with no exit unless you are sure you can hold the front.
- Grenades: You have the highest capacity (up to 11 grenades). Use them to clear large groups.
Support on Normal: tips
From the thread "Support Specialist guide for Normal" (Zignan, 2011) and its replies. The author played long games (11 waves) and felt that experienced players can take Normal at level 0-1, everyone else from level 2.
Buying by wave:
- Wave 2: an axe, or two 9mm pistols / a Deagle. The axe for melee, the pistol against Bloats.
- Wave 3: sell the axe and buy the Shotgun, or straight away the Hunting Shotgun if you can afford it (better to sell the Deagle or axe for the Hunting Shotgun than to run around with the Shotgun).
- Wave 4: Hunting Shotgun and Deagle (or a Bullpup instead of the Deagle, but only one of them, to save weight and money).
- Wave 8 onward: the AA12; check first: if selling everything still would not cover it, sell nothing. If you already sold everything and came up short, buy dual Deagles and pipe bombs.
- Waves 10-11: AA12 and pipe bombs for the Patriarch. If you have no money for the AA12, take a katana to run from the Patriarch.
Shooting:
- With the Shotgun, aim at the neck: the recoil carries the shot to the head. Reload whenever you can.
- With the Hunting Shotgun, fire both barrels at groups; one barrel is enough for 3-4 enemies. With a single barrel, aim at the knees: enemies get knocked back, and a Crawler may be down there. Fleshpounds and Scrakes get both barrels in the head.
- On full auto the AA12 empties its magazine in a second. Alt-fire switches to single shots; aim at the chest of weak enemies.
Tactics:
- Agree with your group to keep perks at roughly the same level, otherwise the higher-level player takes all the kills and the rest do not level.
- Fleshpound: let the Firebug set it on fire and enrage it; when it is a metre from the Firebug, step in front and give it both barrels in the head.
- Pipe bombs: after welding a door, put bombs in front of it and get away at once, because a bomb can go off as soon as a zed reaches the door. According to the author, if you stack bombs in one spot, each next one explodes 10% weaker.
- Patriarch: find a spot with 1-2 entrances and mine it, laying bombs 2-3 metres apart. When the Patriarch is visible and coming at you, peek round the corner, give him both barrels in the head or 3-4 AA12 shots, then pull out the katana and run in a zigzag. Repeat 4-5 times.
- Spare guns: in the middle waves, with 2000-3000 in cash, buy 2-3 Shotguns and lay them out loaded in the room you are holding; if you get pinned, grab a loaded one.
From the replies: the Support's job is to cover the team by welding and to break a rush at once with the AA12. With a Sharpshooter on the team the job is easier; without one, Scrakes and Fleshpounds fall to the Support, so do not waste AA12 ammo on small fry. A Support should not buy off-perk weapons; better to drop another loaded shotgun nearby.
Hunting Shotgun: tips
From the thread "Двустволка" ("Hunting Shotgun", 2010-2011), written for the balance of that time.
Shooting:
- Alternate fire is the double shot, both barrels at once. A common mistake is firing the barrels separately with two clicks: the first shot hits, the second misses because of recoil. Many experienced players fire only double shots.
- The spread is huge, so shoot only up close and preferably at the head. Some players crouch to tighten the pellet spread.
- The pellets penetrate up to 3 zeds: shoot into a big crowd or at big zeds, and do not waste a shot on a single Clot.
- A trick against a crowd: get as close as possible, then press fire and run backwards at the same time.
What it takes:
- Small zeds (Clots, Stalkers, Crawlers, Gorefasts, Sirens) usually die to one shot; on Hell on Earth you may need a double shot.
- A Bloat dies to a double shot even in the belly, but with many players on the server aim for the head; there is a chance he survives even a double shot to the head.
- A Husk on HoE and Suicidal may survive a double shot; be ready to fire again.
- Scrakes and Fleshpounds: head only, usually 2-3 double shots. The pattern: close in, fire, back off, reload, close in again.
Limitations:
- Only 2 shells and a very long reload: before firing make sure nobody can hit you, and watch your flanks and back, since you will be retreating all the time.
- Ammo is very expensive. Before patch 1016 you could save money by selling the empty Hunting Shotgun and buying it again; after the patch this no longer works. One player recalled, without vouching for it, about 25 pounds for 2 shots and about 500 for a full ammo load, with regular Shotgun ammo 6 times cheaper.
- The Hunting Shotgun is a secondary weapon, not a main one. It pairs well with the M79, the Shotgun and the LAR. Another Support option is the AA12 plus the M32: the launcher handles zeds at range, and against the Patriarch, according to one player, after a full M32 drum he burns and gives away his position even while cloaked.
