
KF2 Ashwood Asylum Collectibles: All 30 Locations
Ashwood Asylum hides 30 collectibles around the spawn, courtyard, experiment room, foyer and lunchroom. This list, based on a Steam community guide, walks through them in a sensible route order with a screenshot for each. For other maps see the collectibles video guide and the achievements overview.
All 30 locations
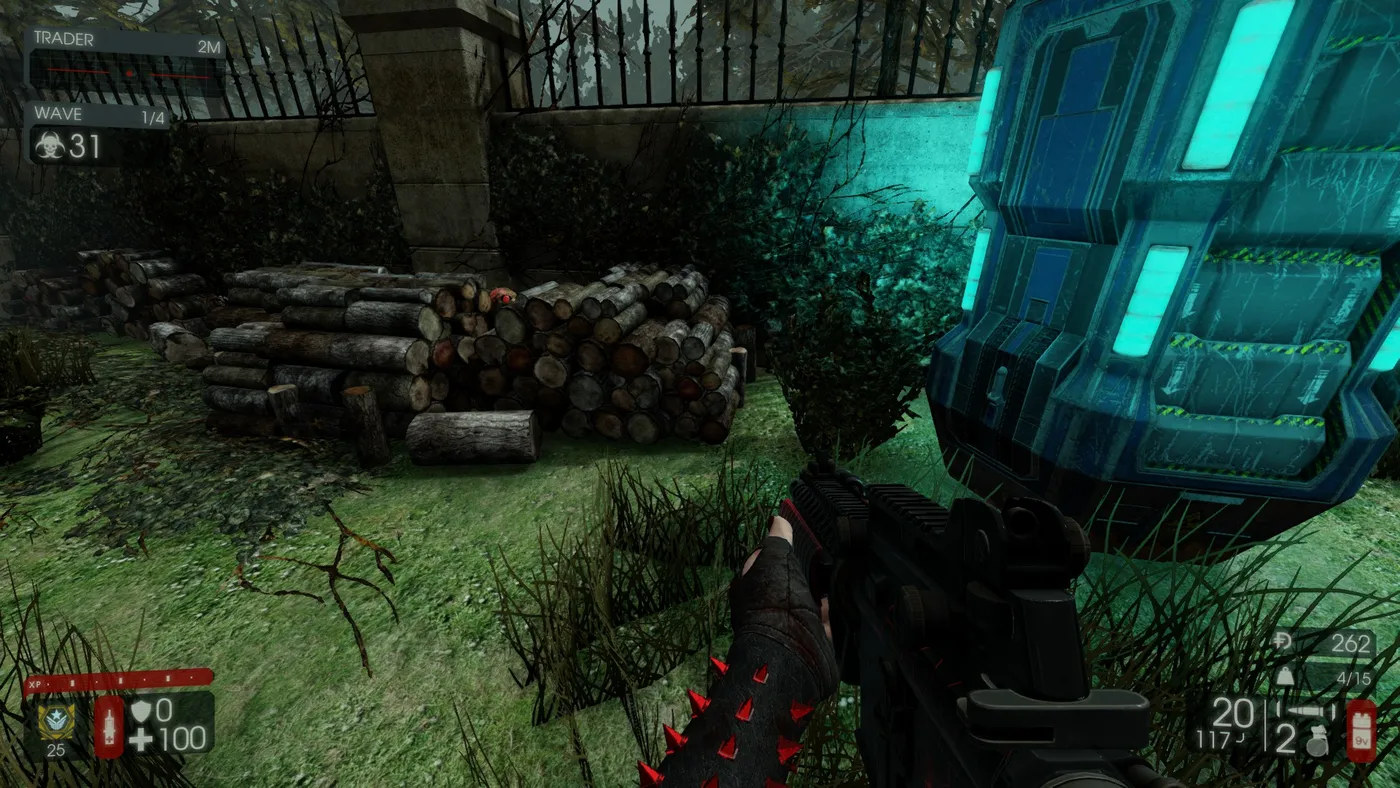 #1. Right next to the trader at the spawn.
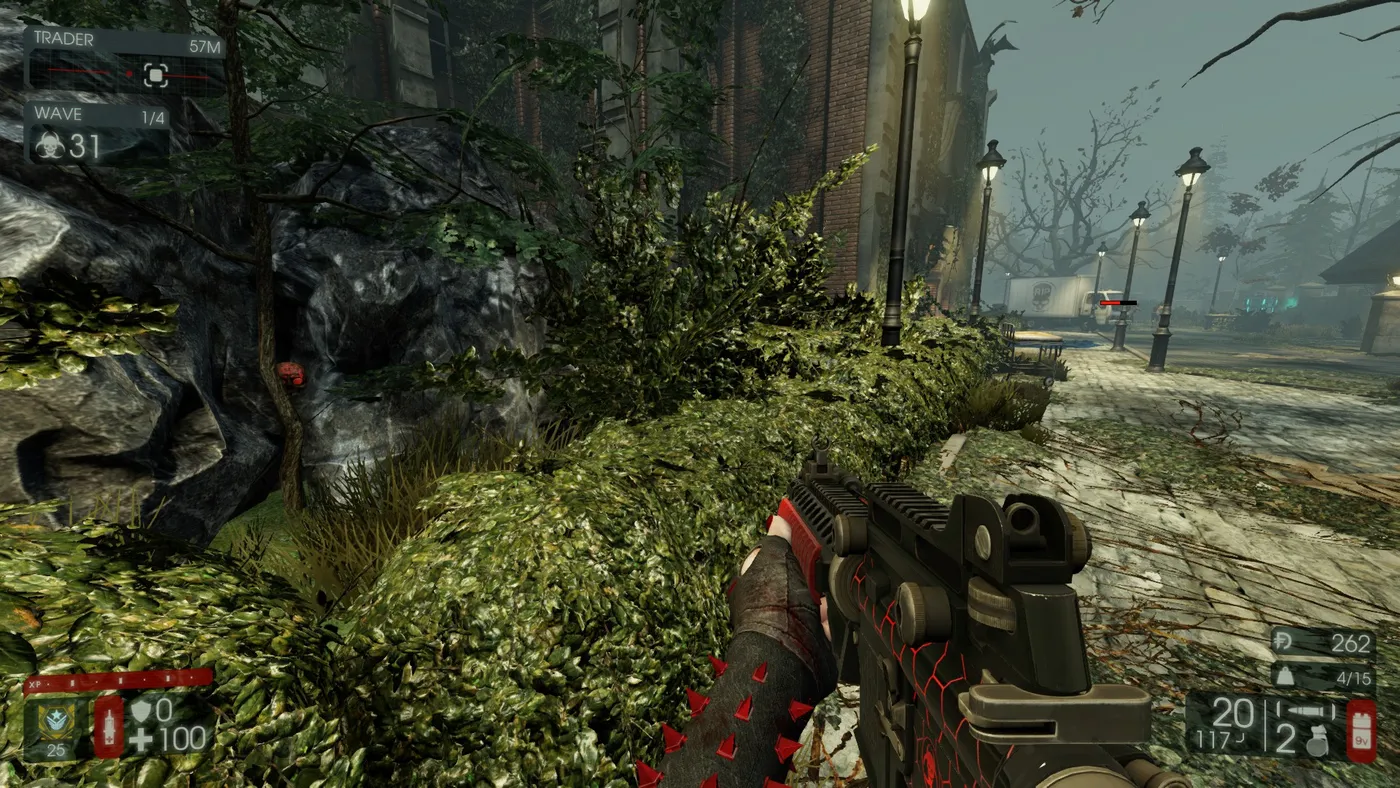 #2. Beside the first collectible.
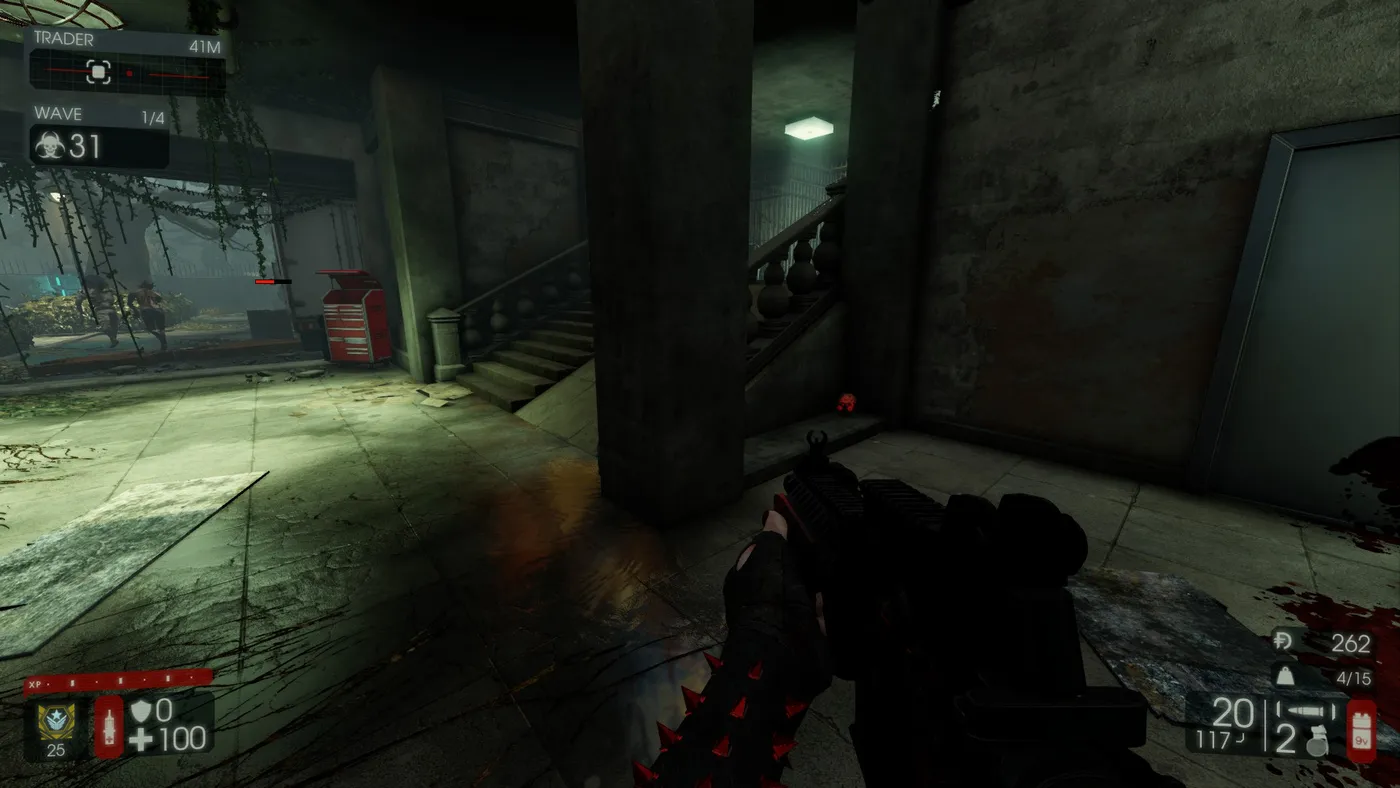 #3. Across from the spawn trader, behind the truck.
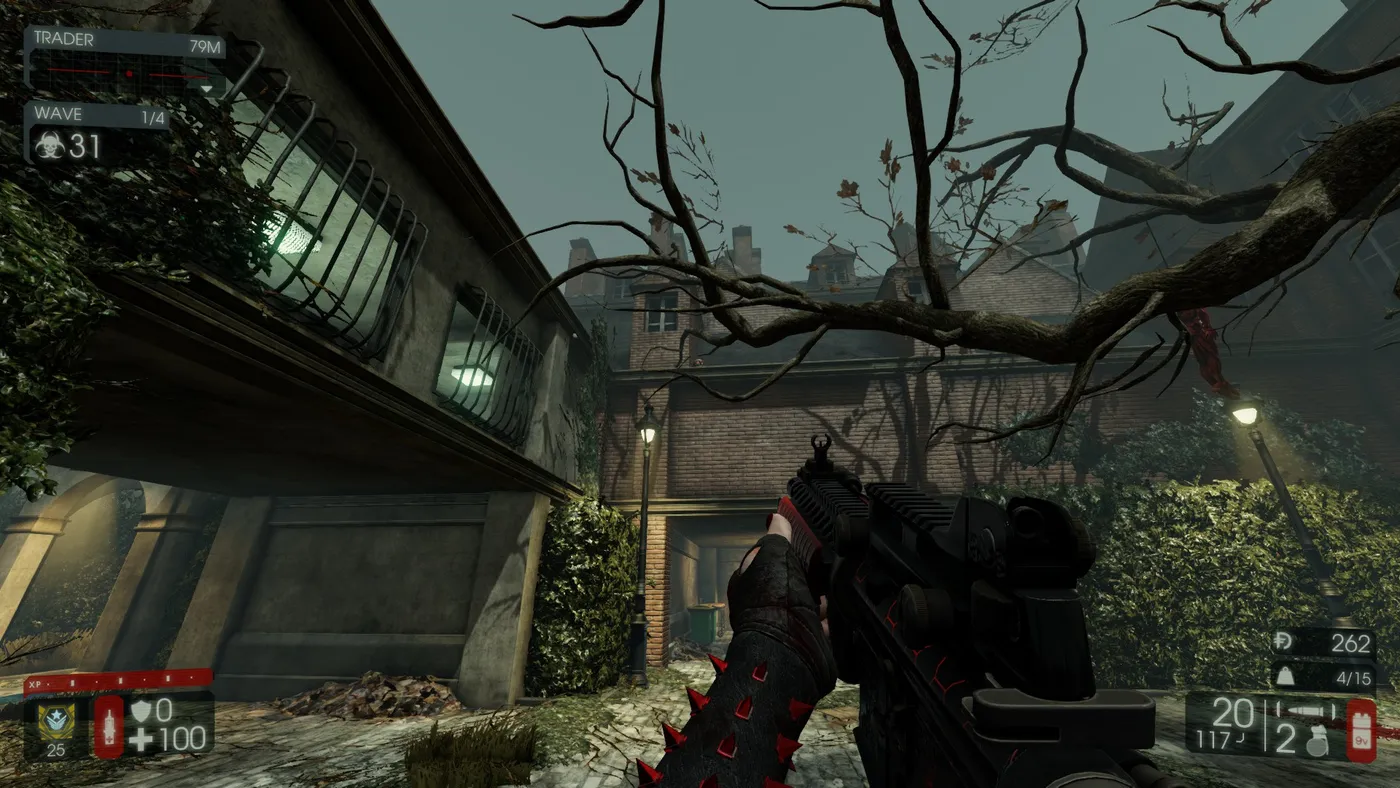 #4. From the previous one, on a roof in a small yard.
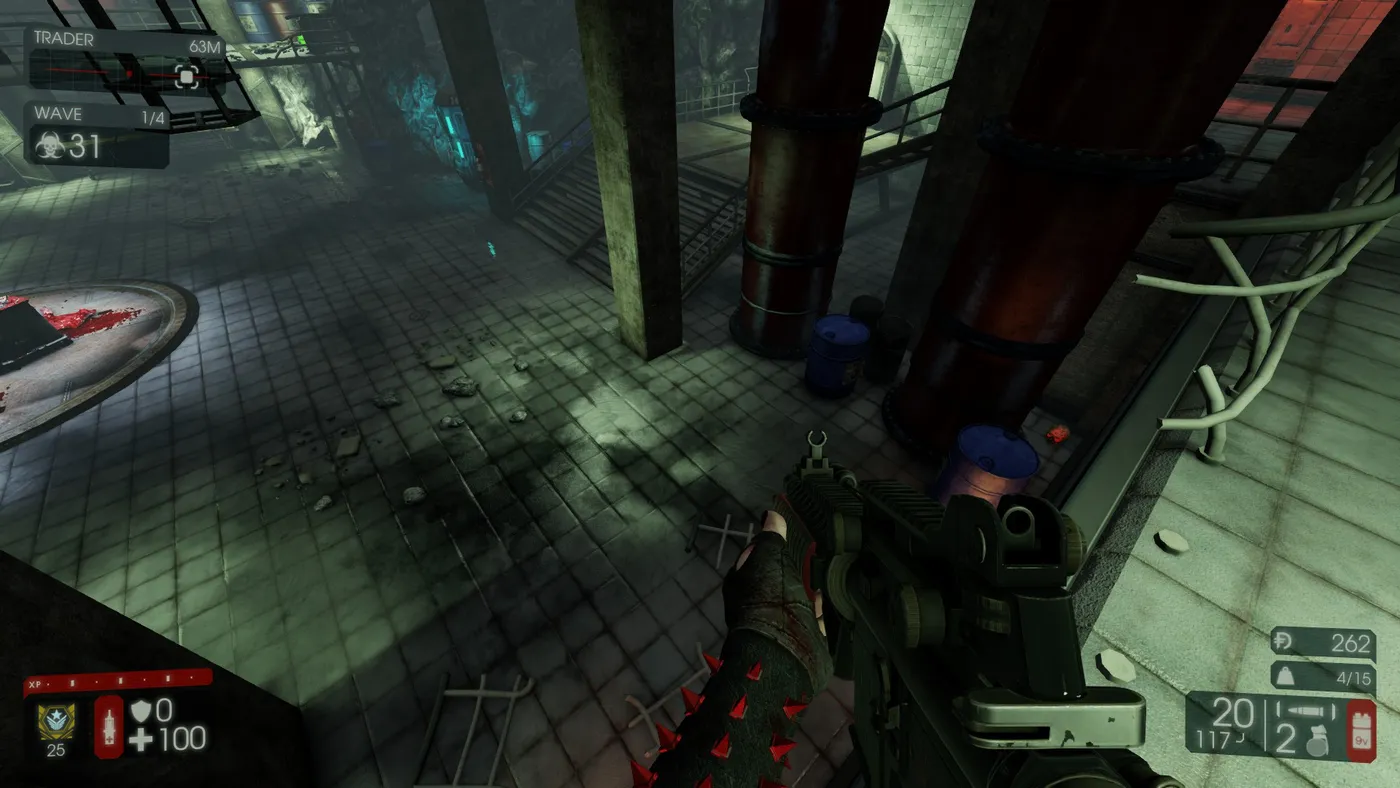 #5. In the experiment room, behind some pipes.
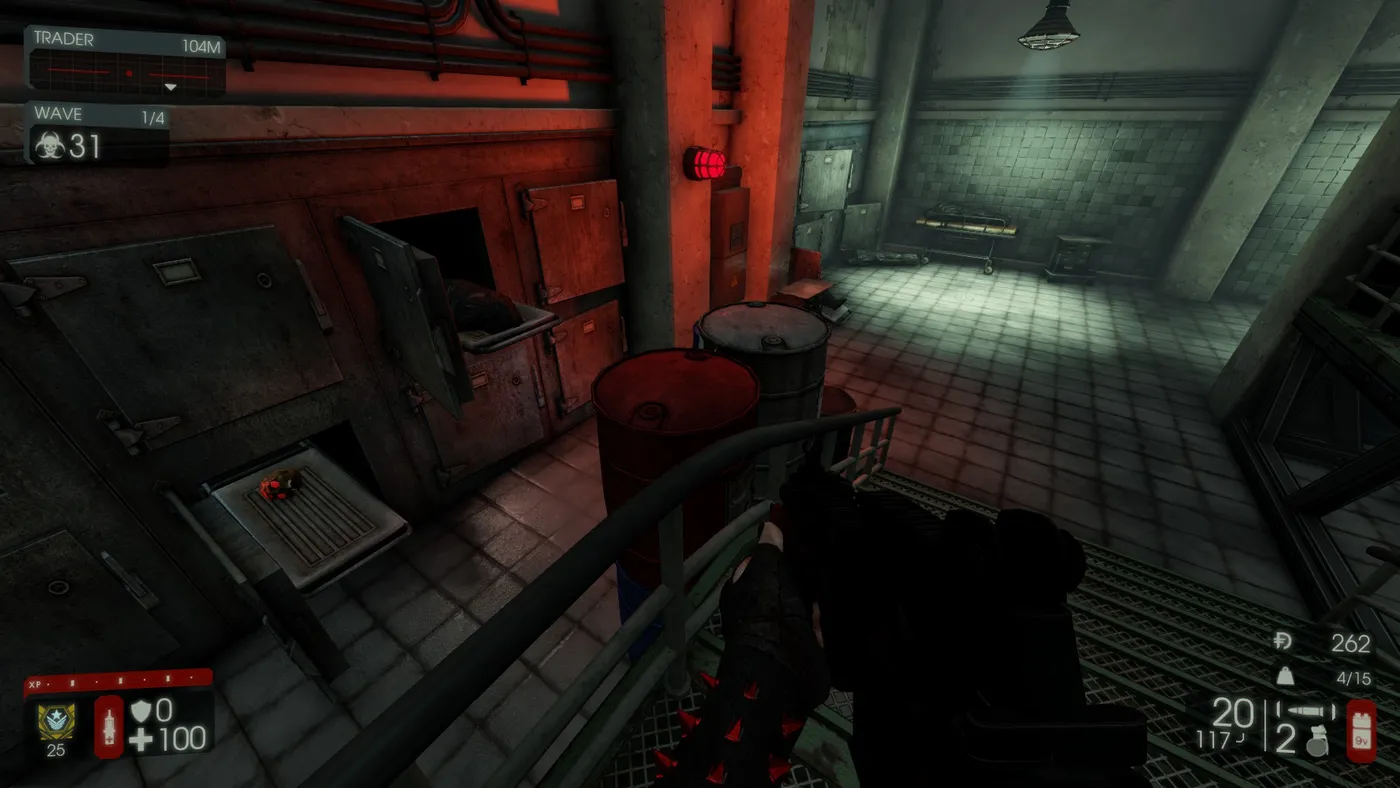 #6. Inside a mortuary fridge next to the experiment room.
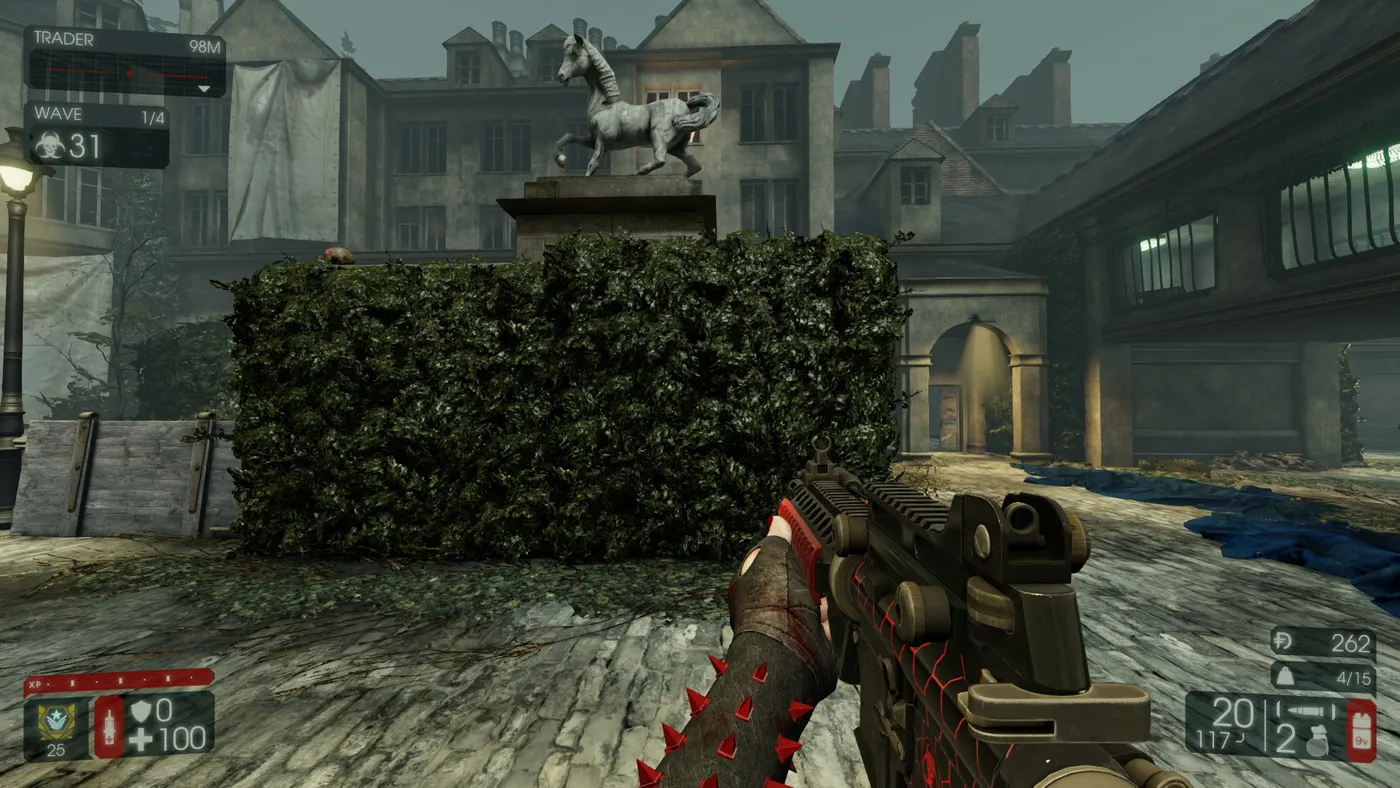 #7. Next to the roof one, by the horse statue in the courtyard.
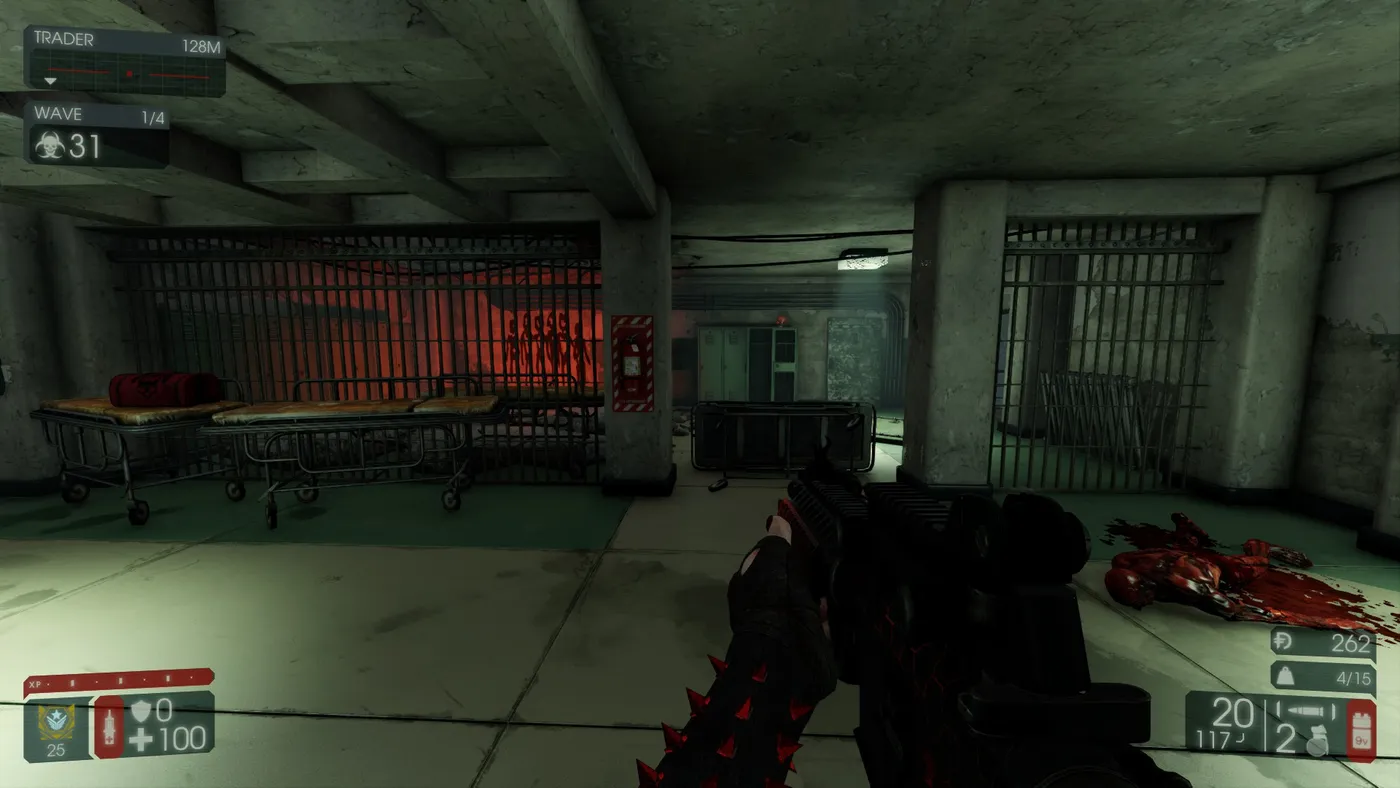 #8. Up the stairs and under the scaffolding in the courtyard, on top of lockers.
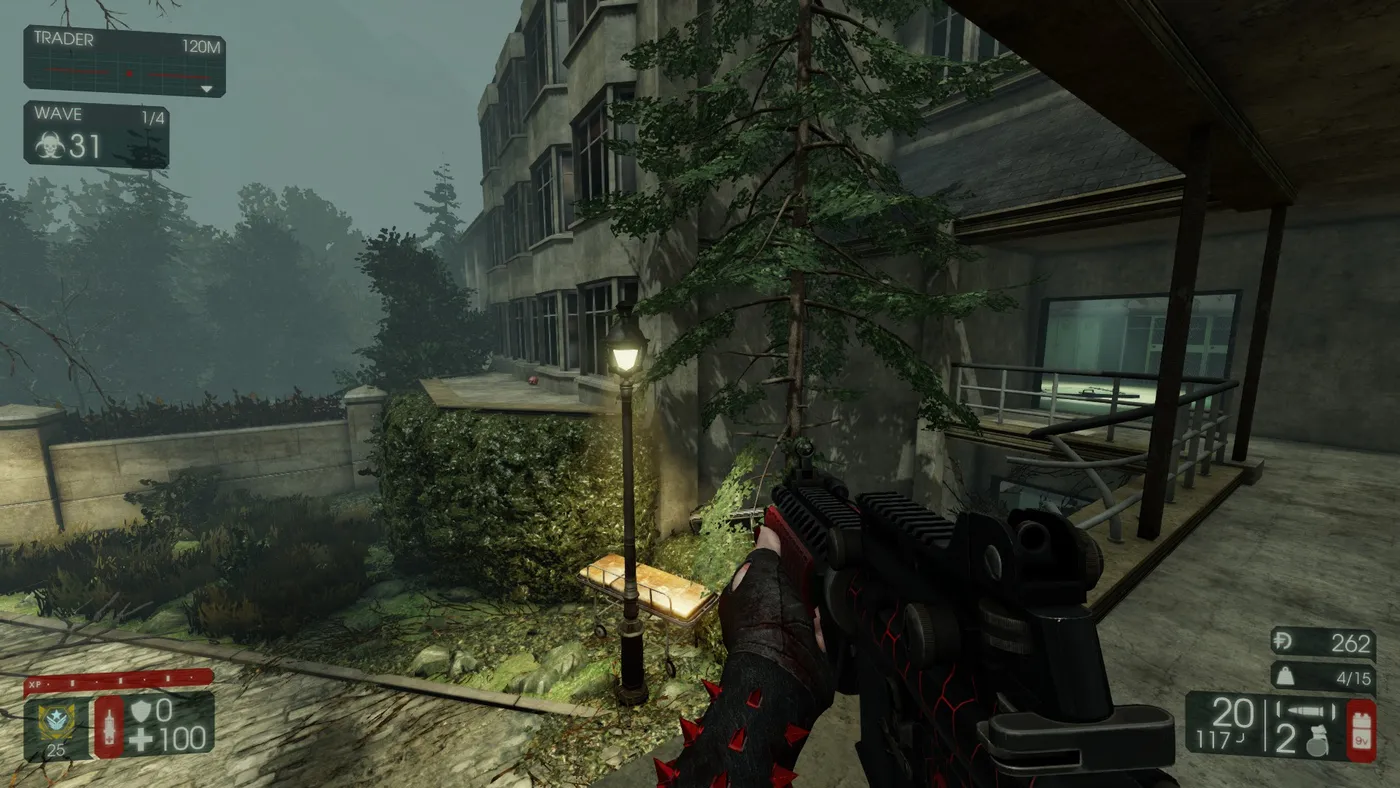 #9. Beside some windows just outside the lockers collectible.
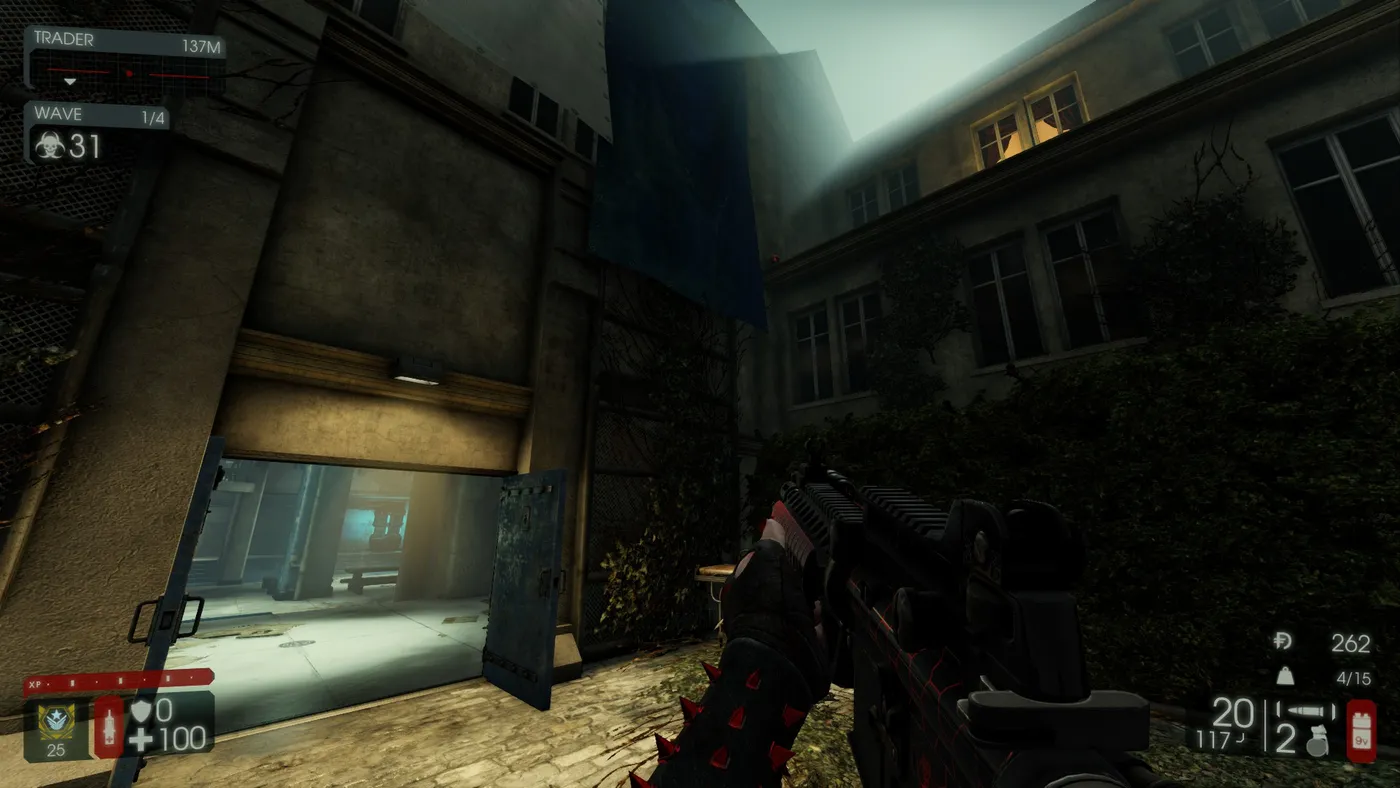 #10. Go outside past the windows collectible; it sits on a ledge next to the lunchroom.
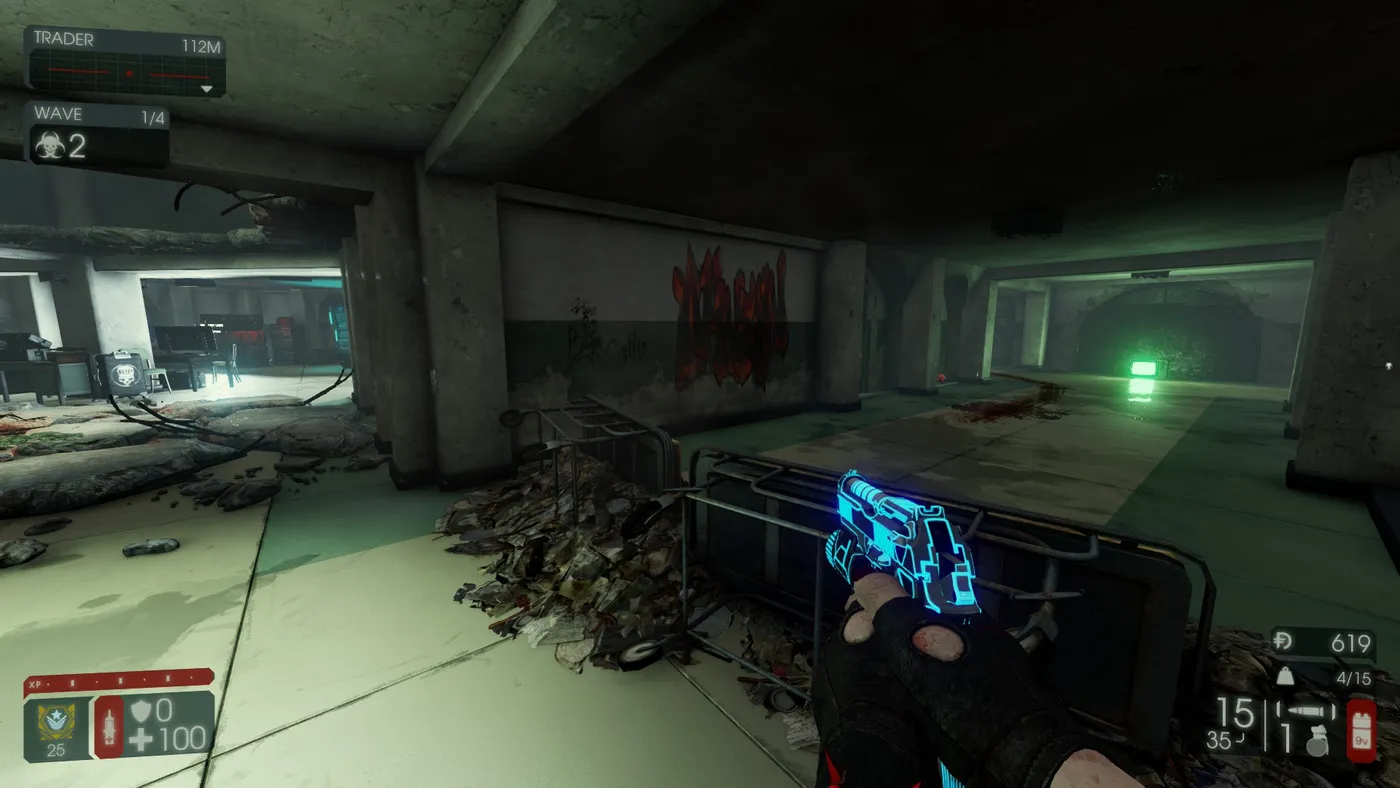 #11. Down a hallway next to the open-wall trader.
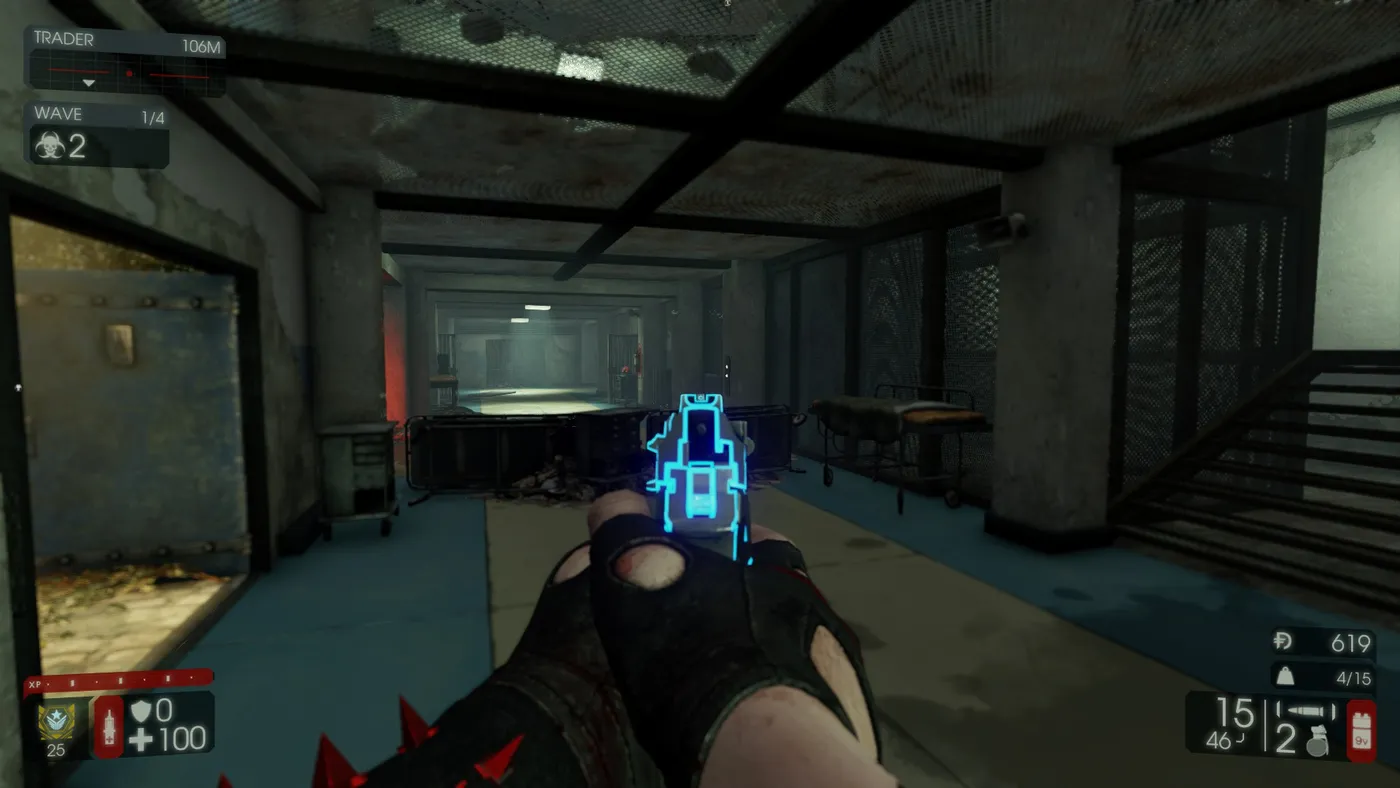 #12. Next to a fire extinguisher, by a staircase and an elevator.
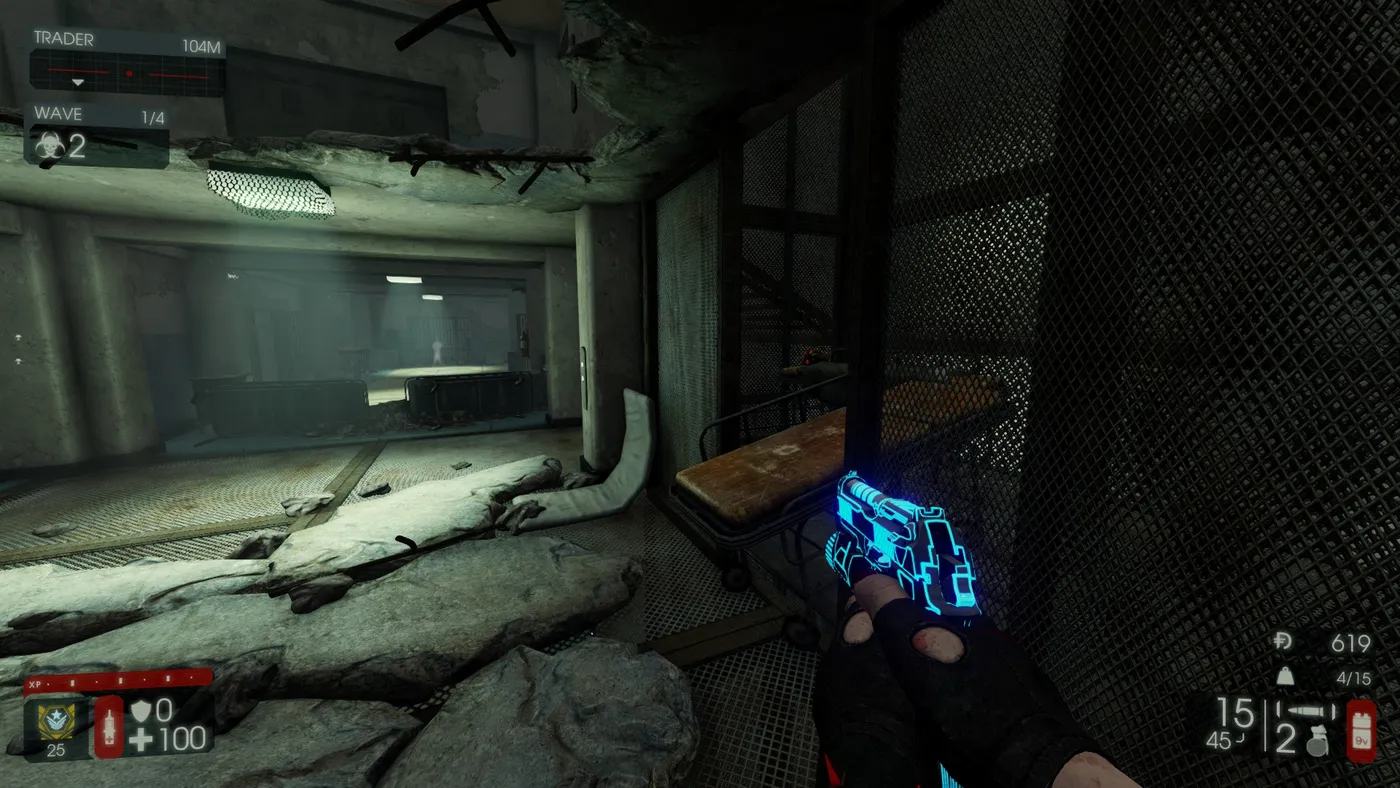 #13. Second floor, inside the elevator by the fire extinguisher collectible.
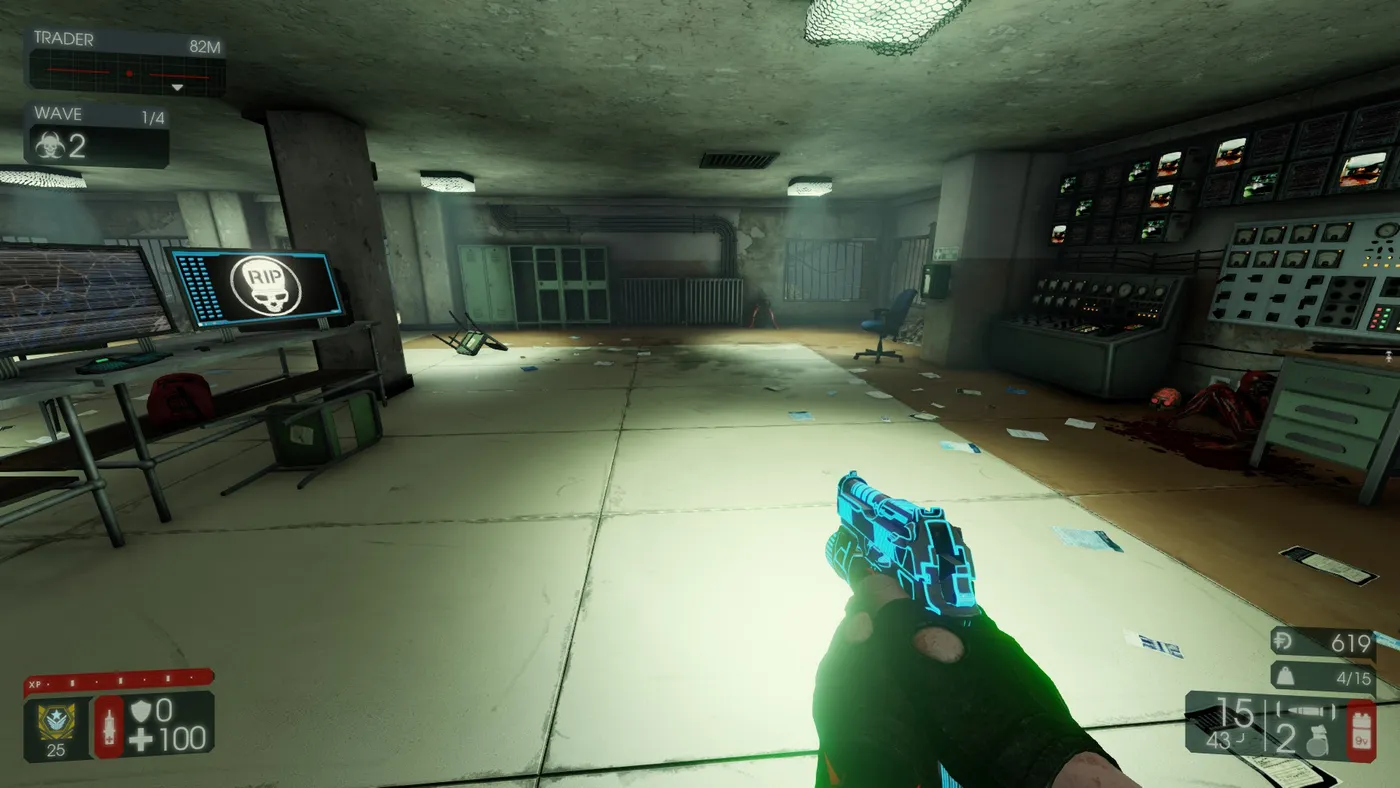 #14. Next to the trader in the security room.
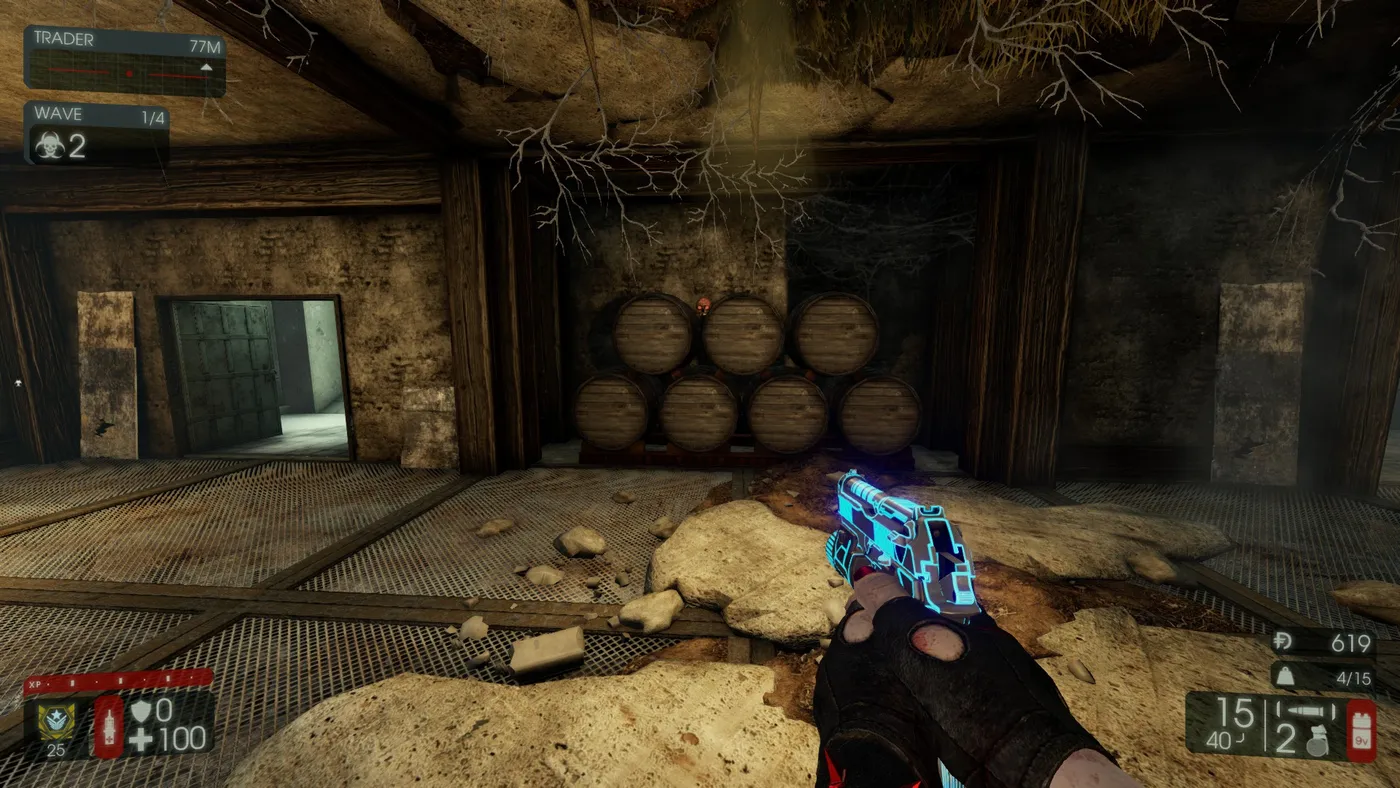 #15. On top of some barrels under the horse statue.
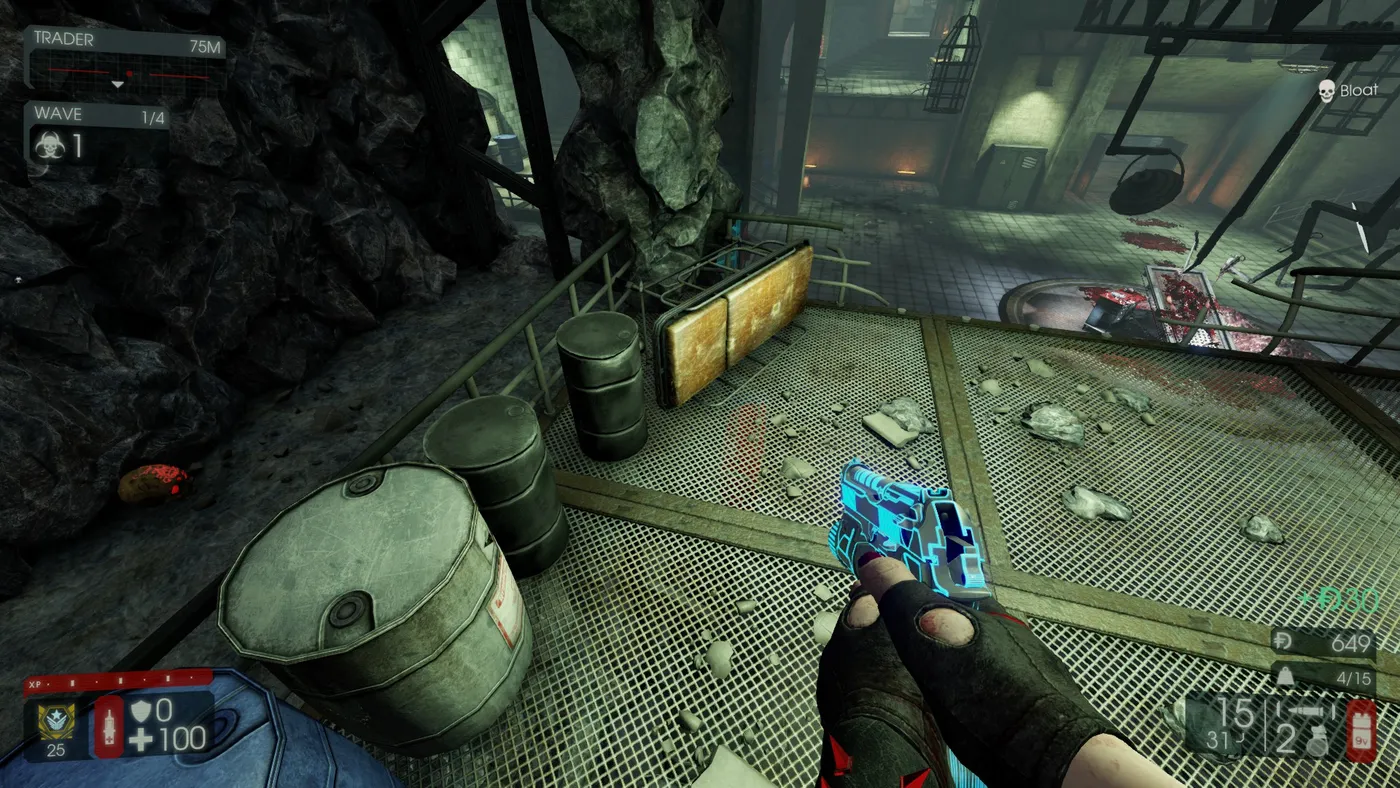 #16. On a catwalk in the experiment room.
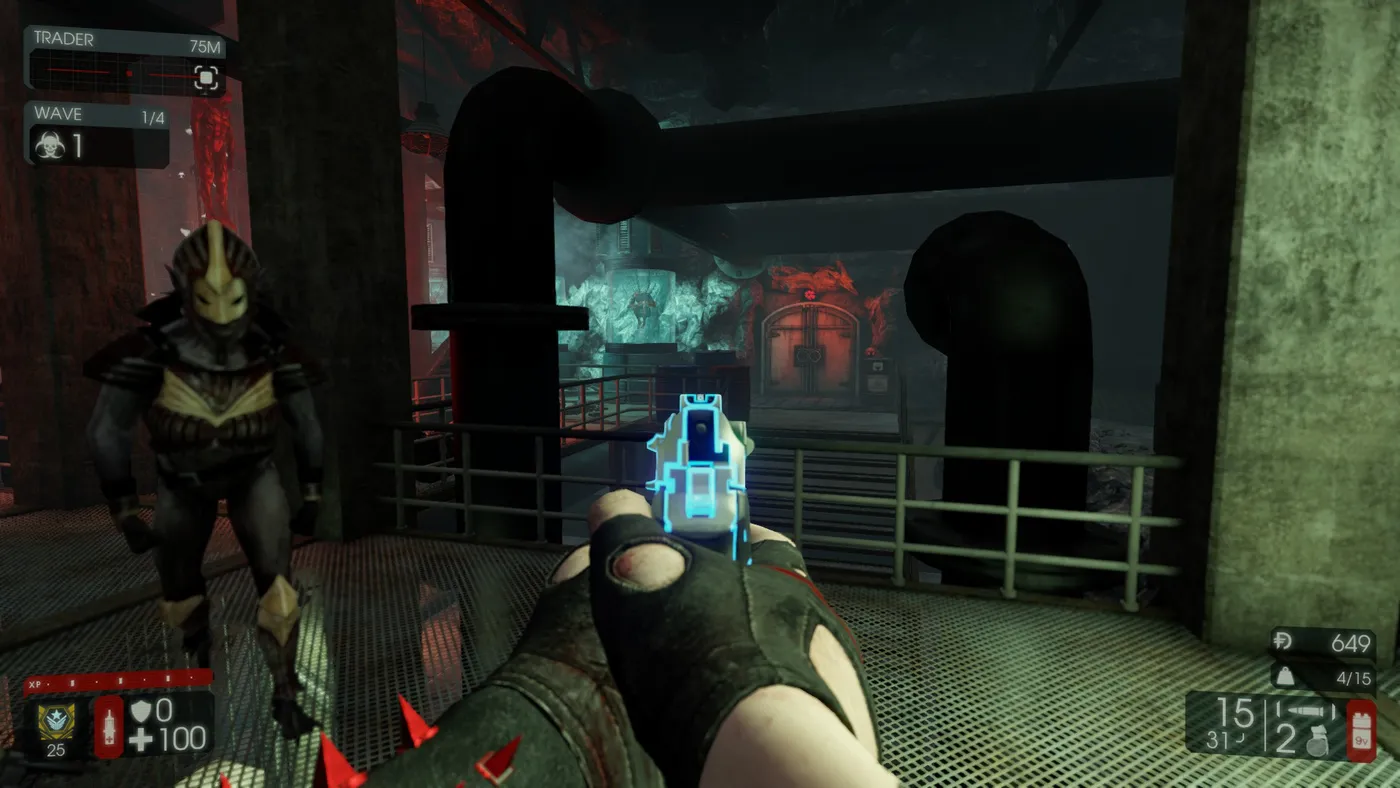 #17. On the same catwalk, next to a door behind some pipes.
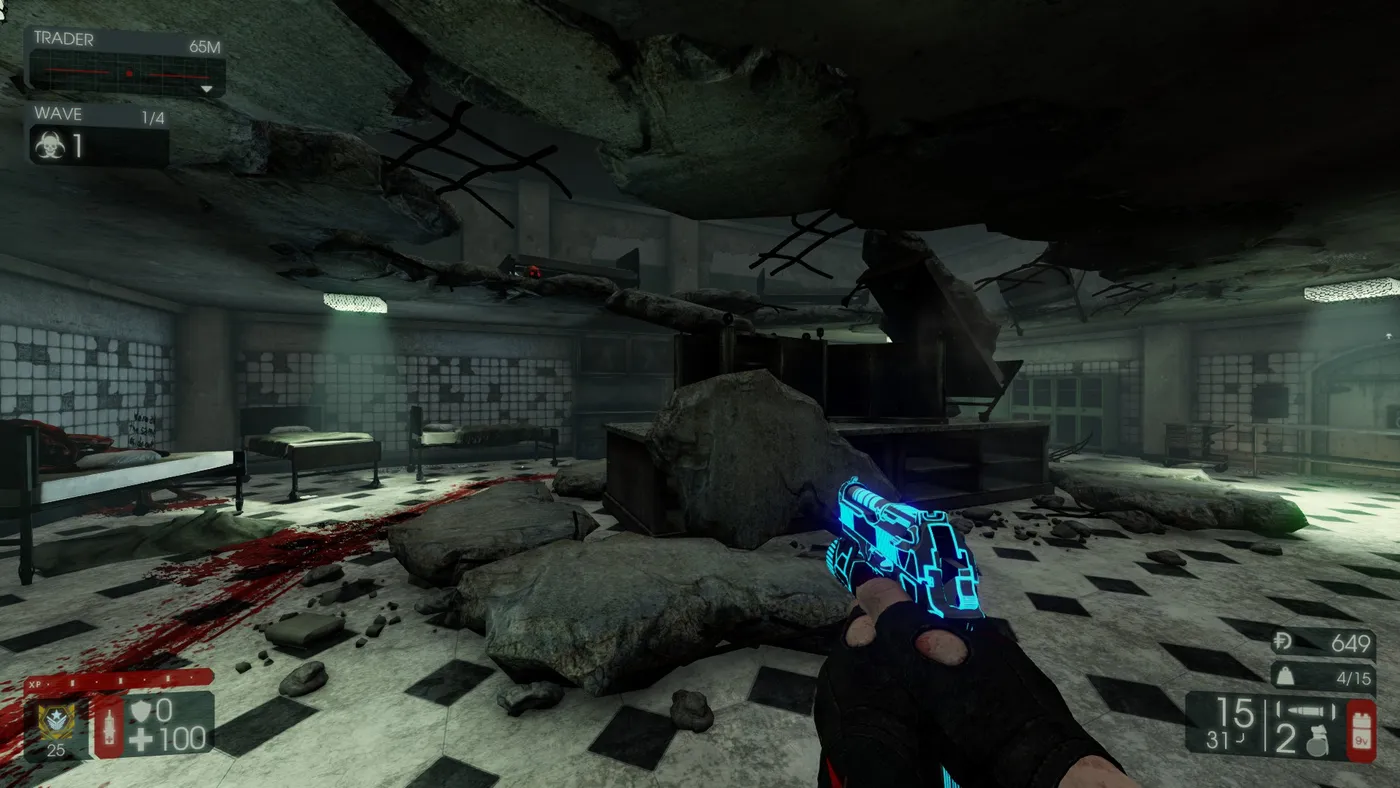 #18. In a room with a collapsed roof next to the experiment room.
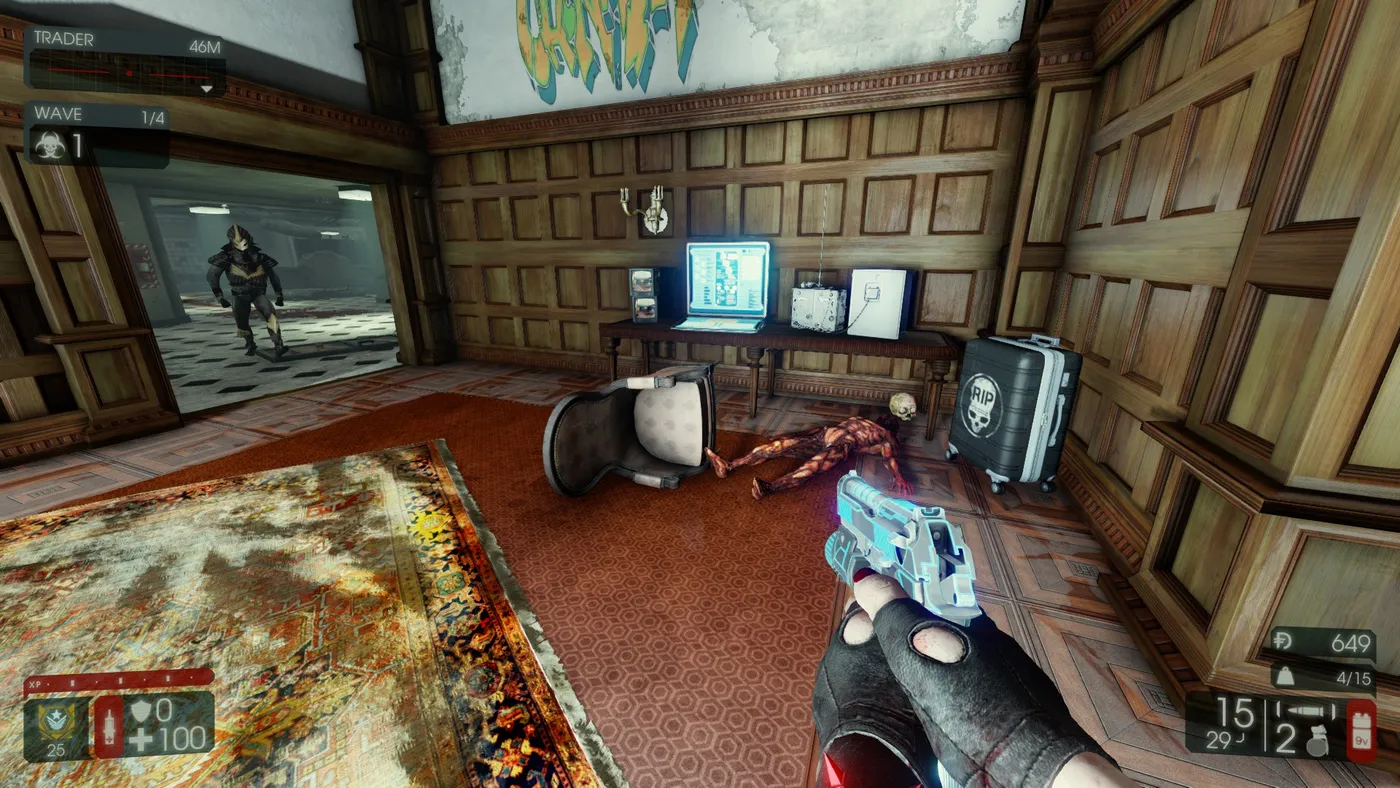 #19. Under a small table next to the collapsed-roof collectible.
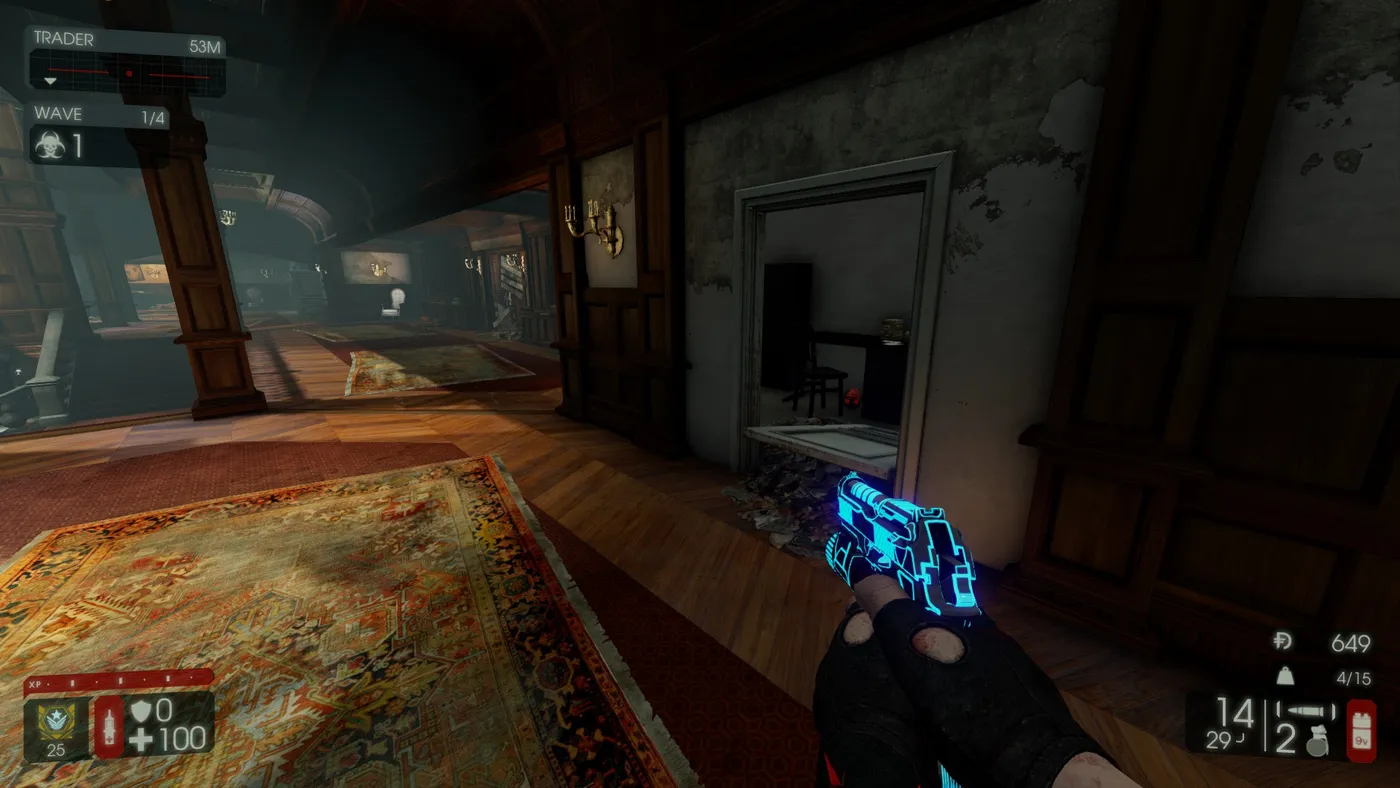 #20. In the main foyer, in a small room on the second floor.
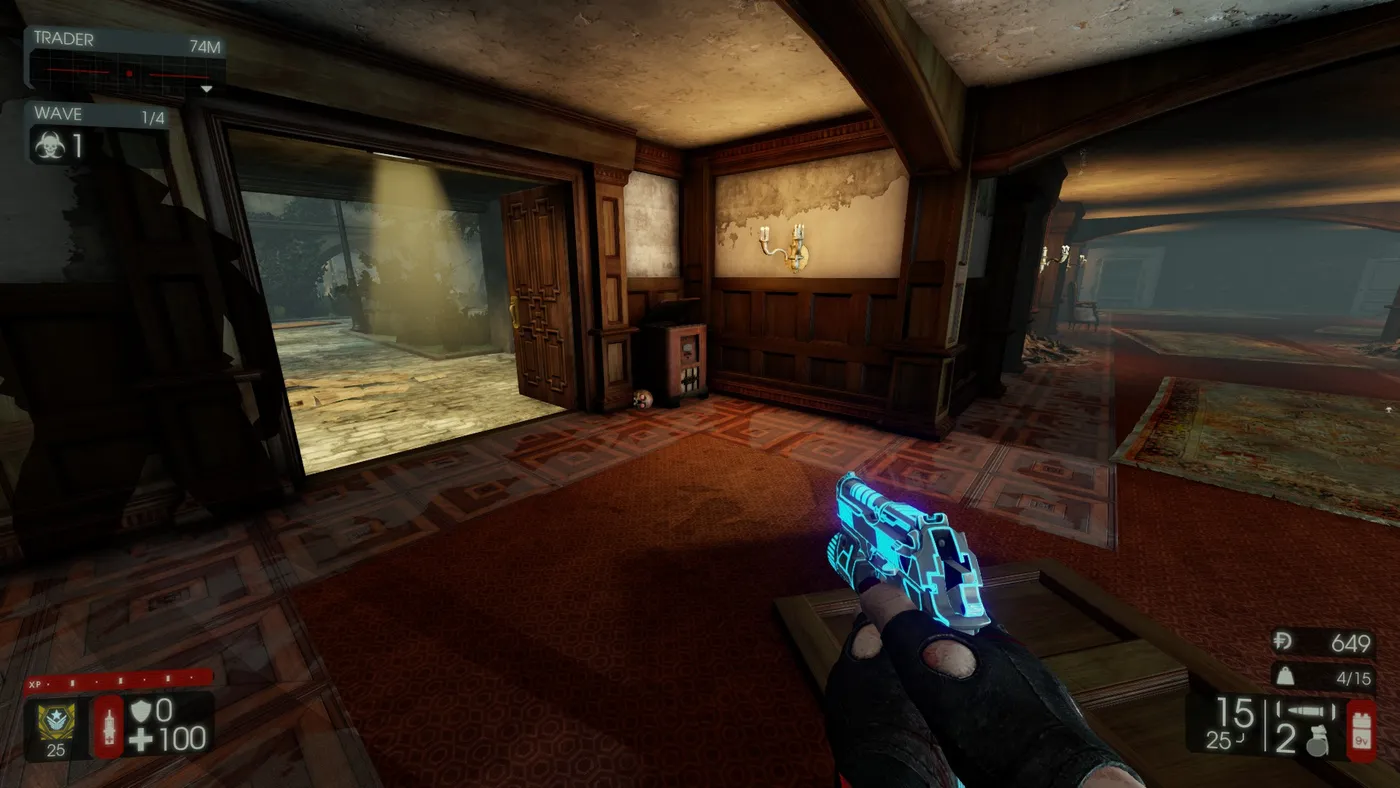 #21. From the main foyer, take the left side going outside.
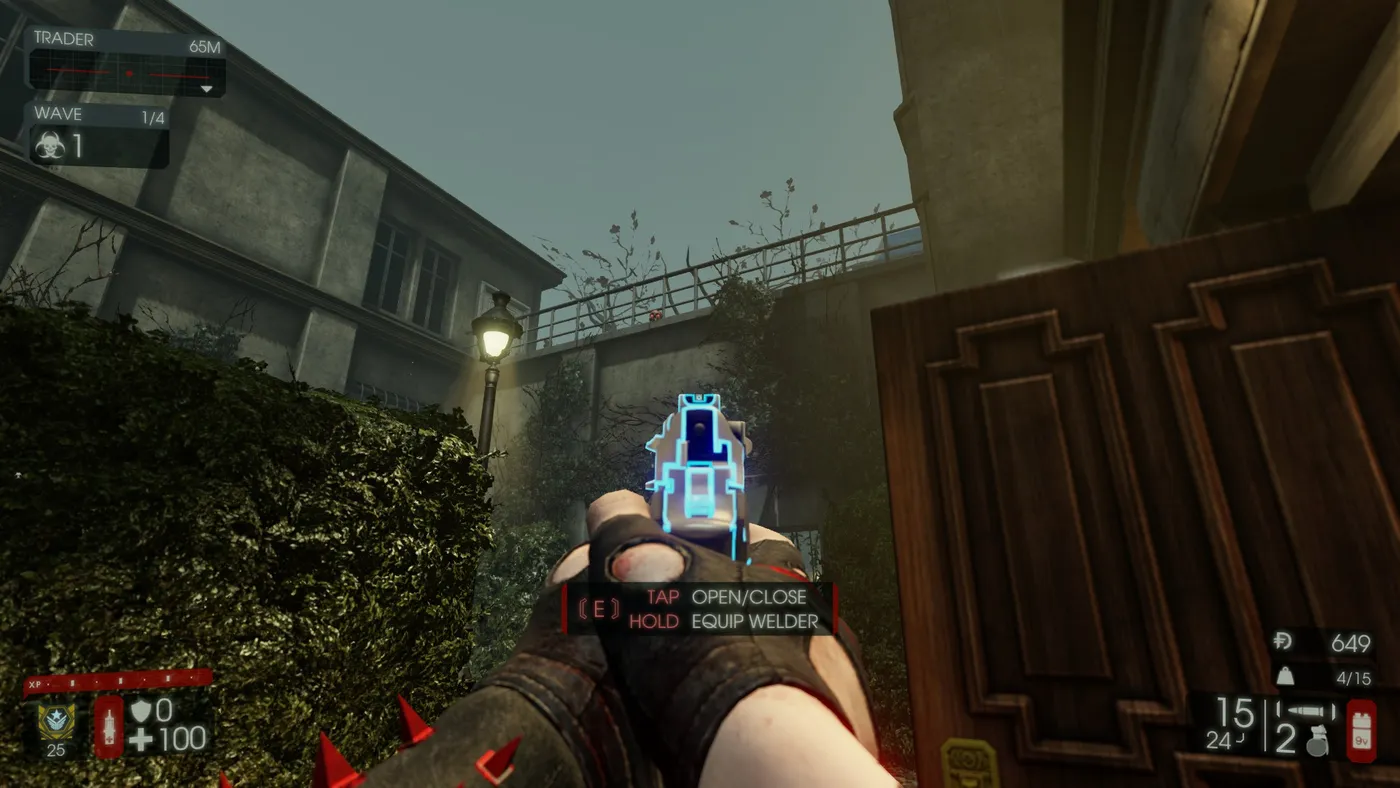 #22. From the foyer, outside and right above you, next to some railings.
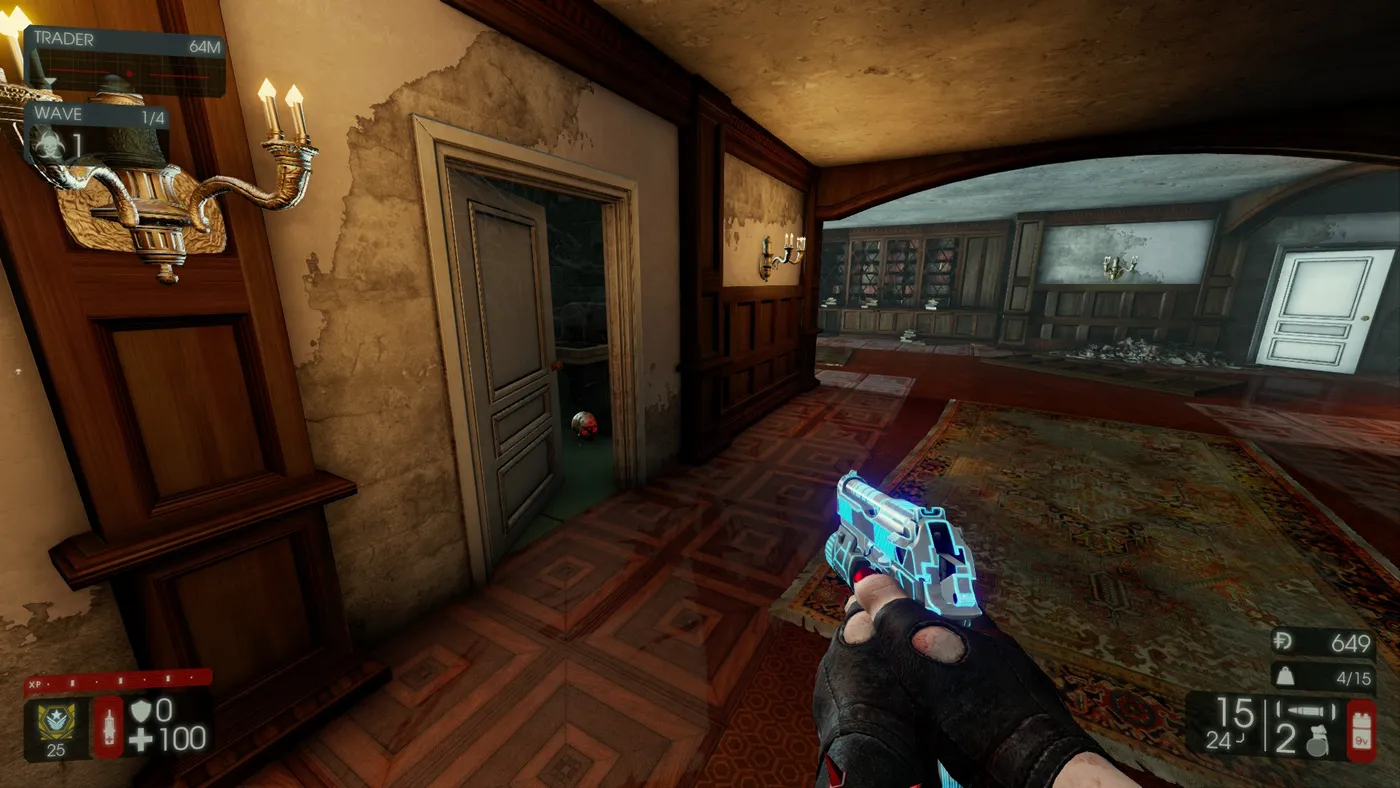 #23. On the left side of the foyer before going outside, in a bathroom between the left and right exits.
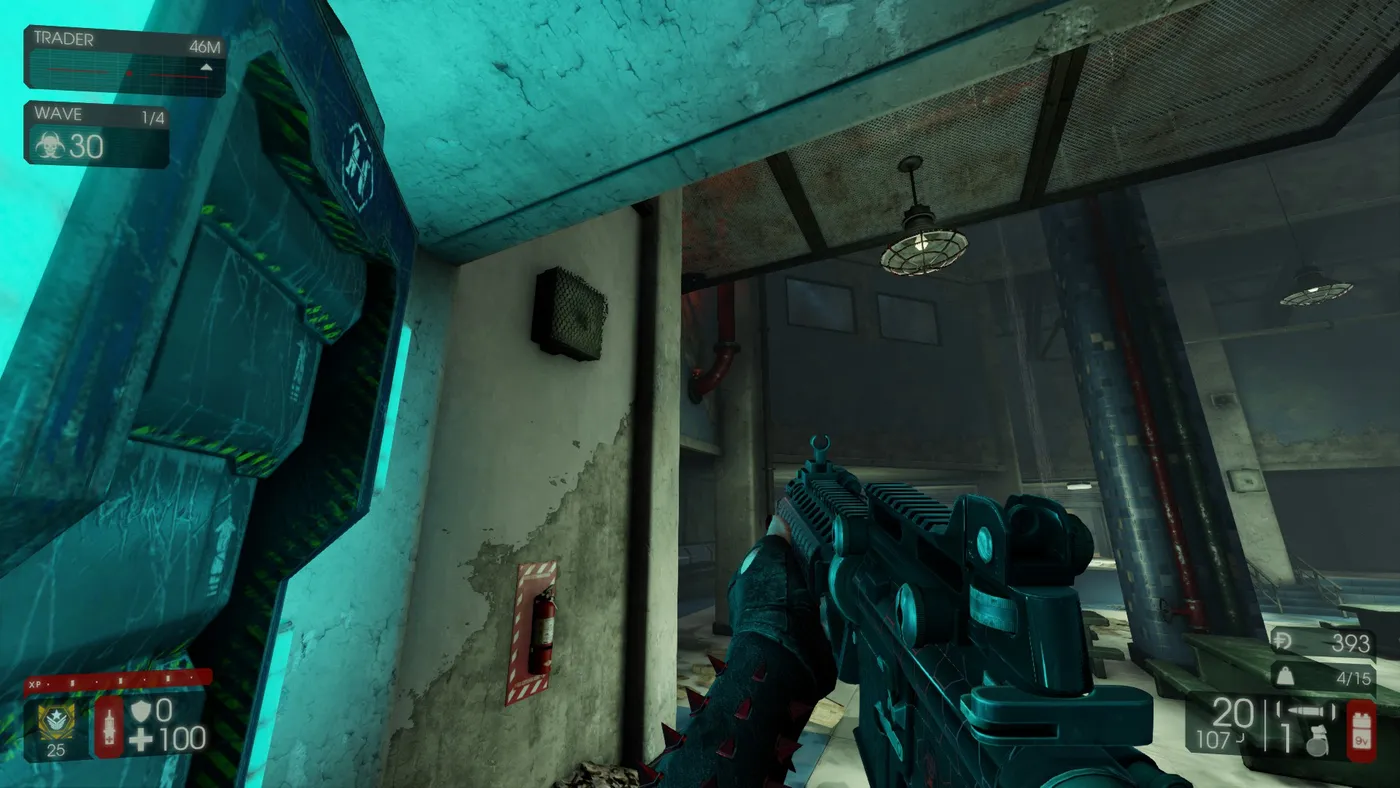 #24. Inside the lunchroom, on top of a pipe.
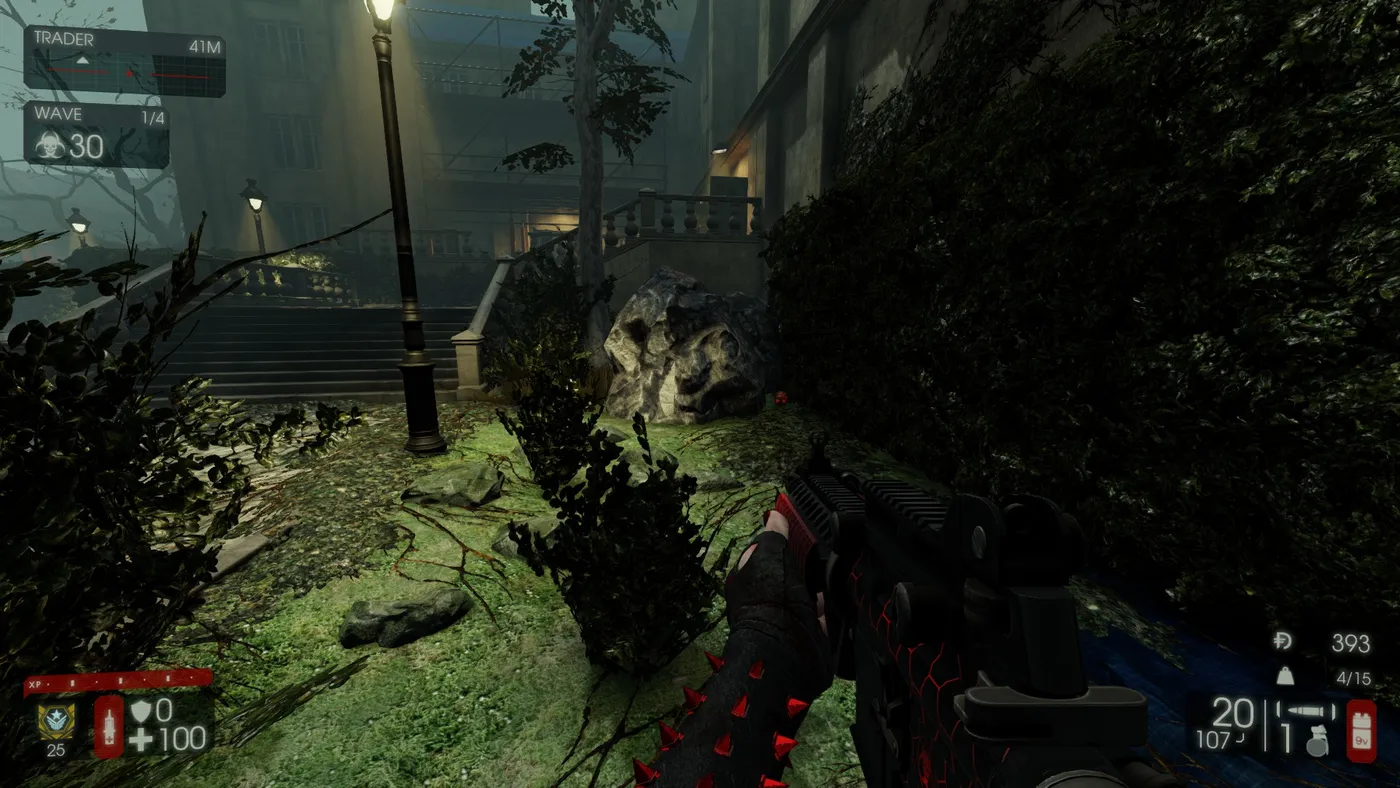 #25. In the courtyard, next to the staircase and scaffolding.
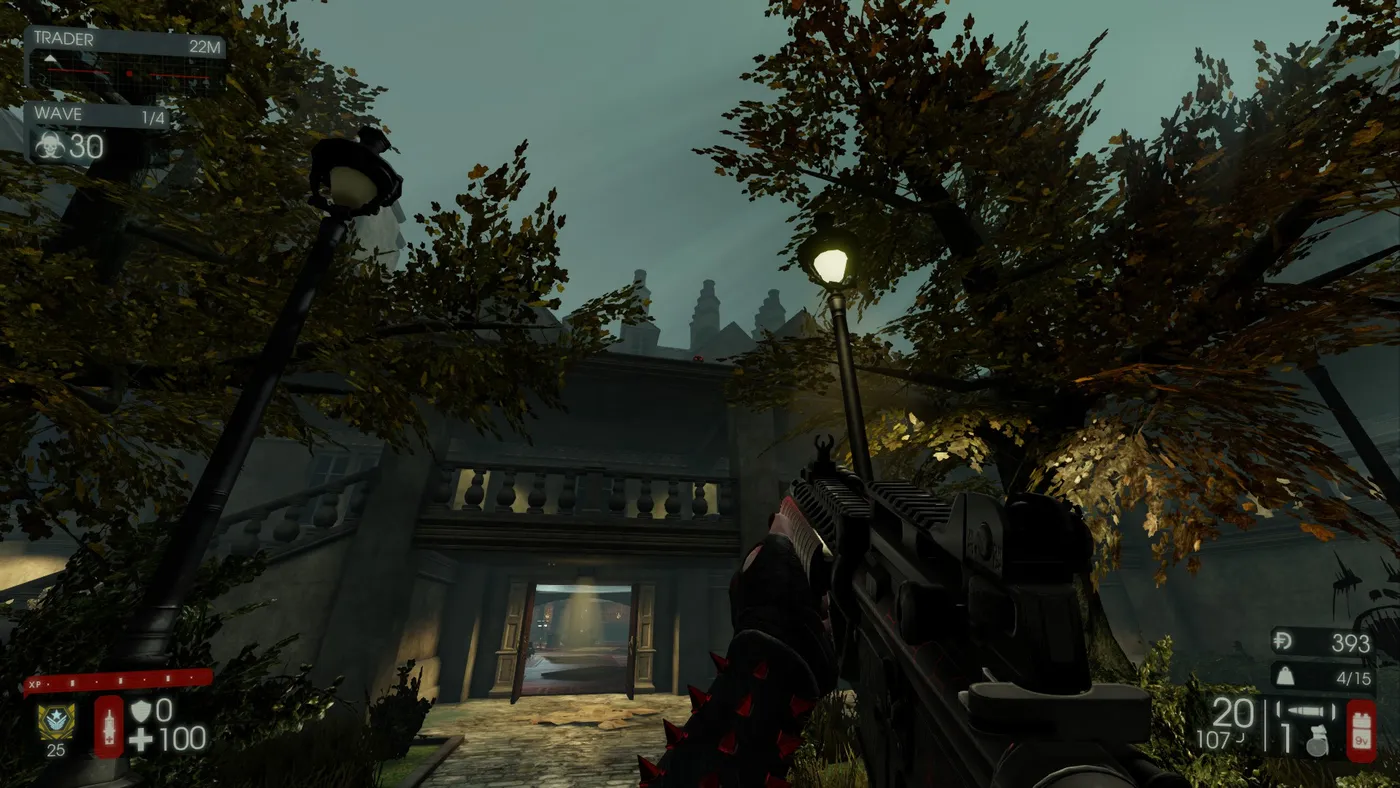 #26. Outside the foyer exit, on top of the roof.
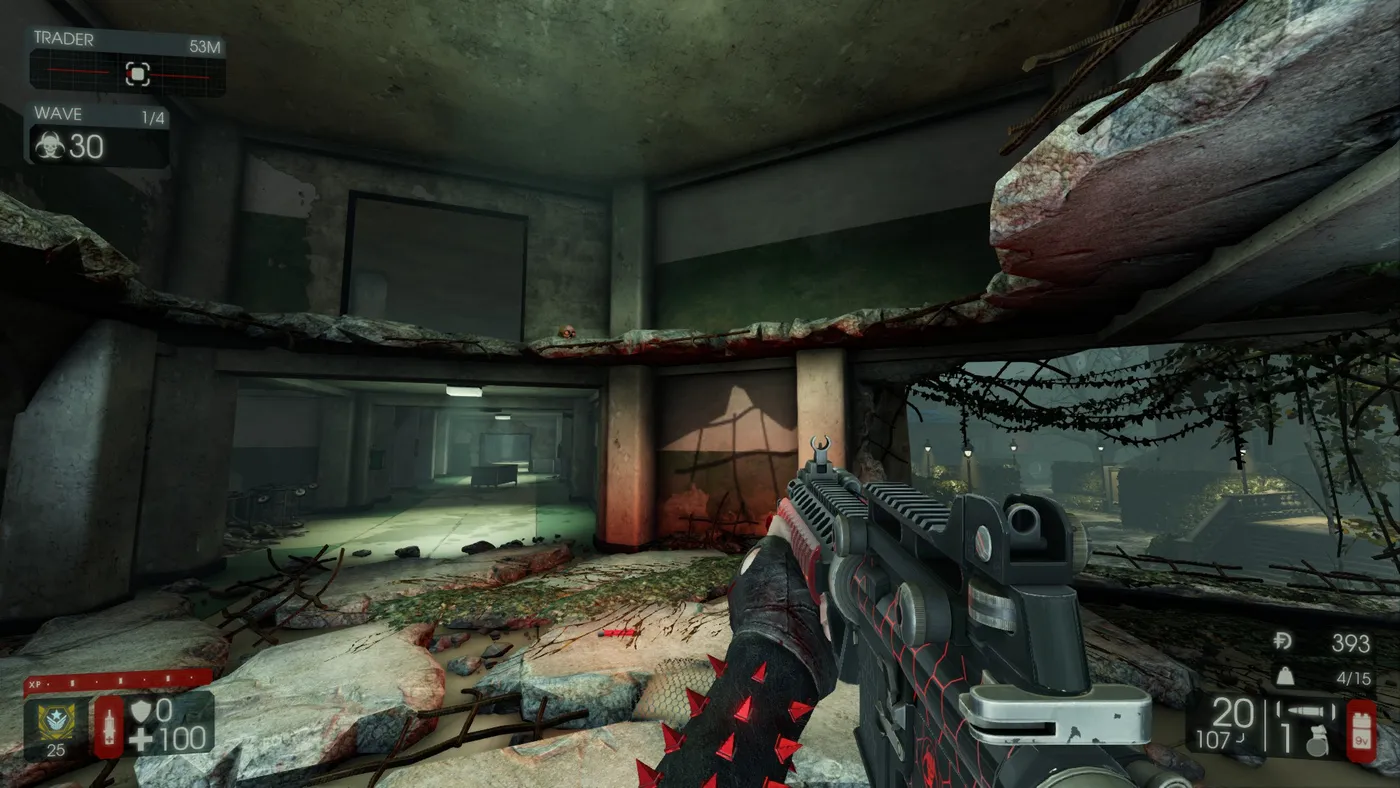 #27. On top of a broken ceiling next to the open-wall trader.
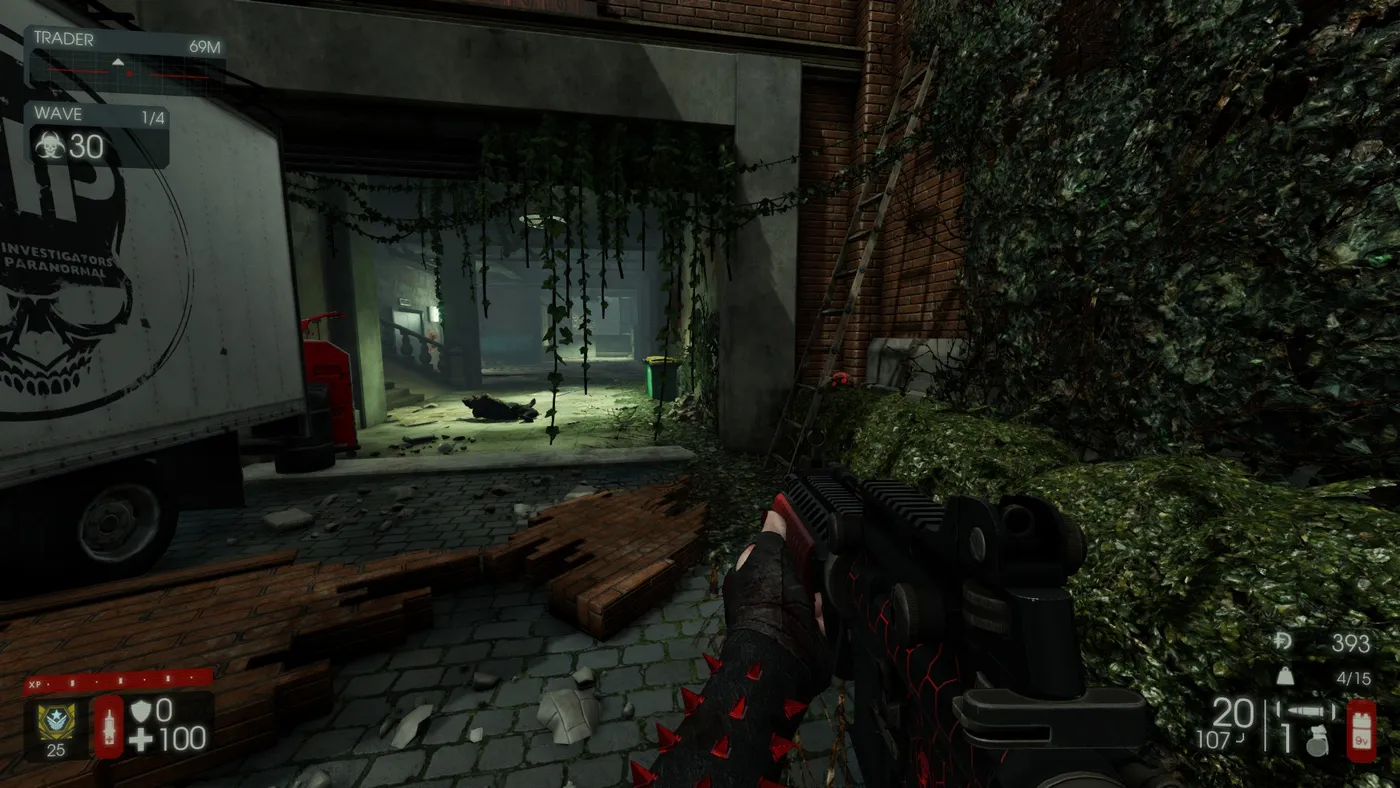 #28. Behind a ladder near the spawn trader.
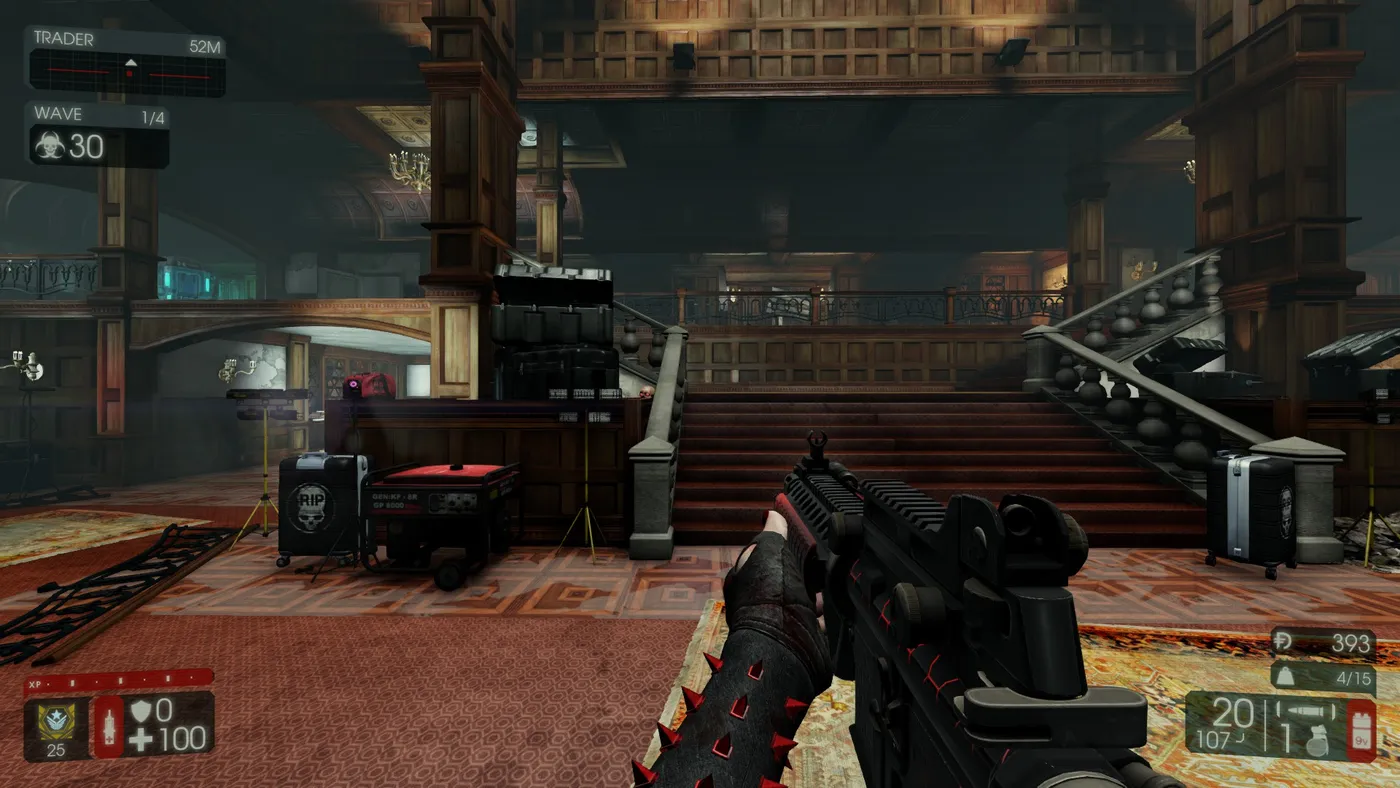 #29. Right next to the stairs in the main foyer.
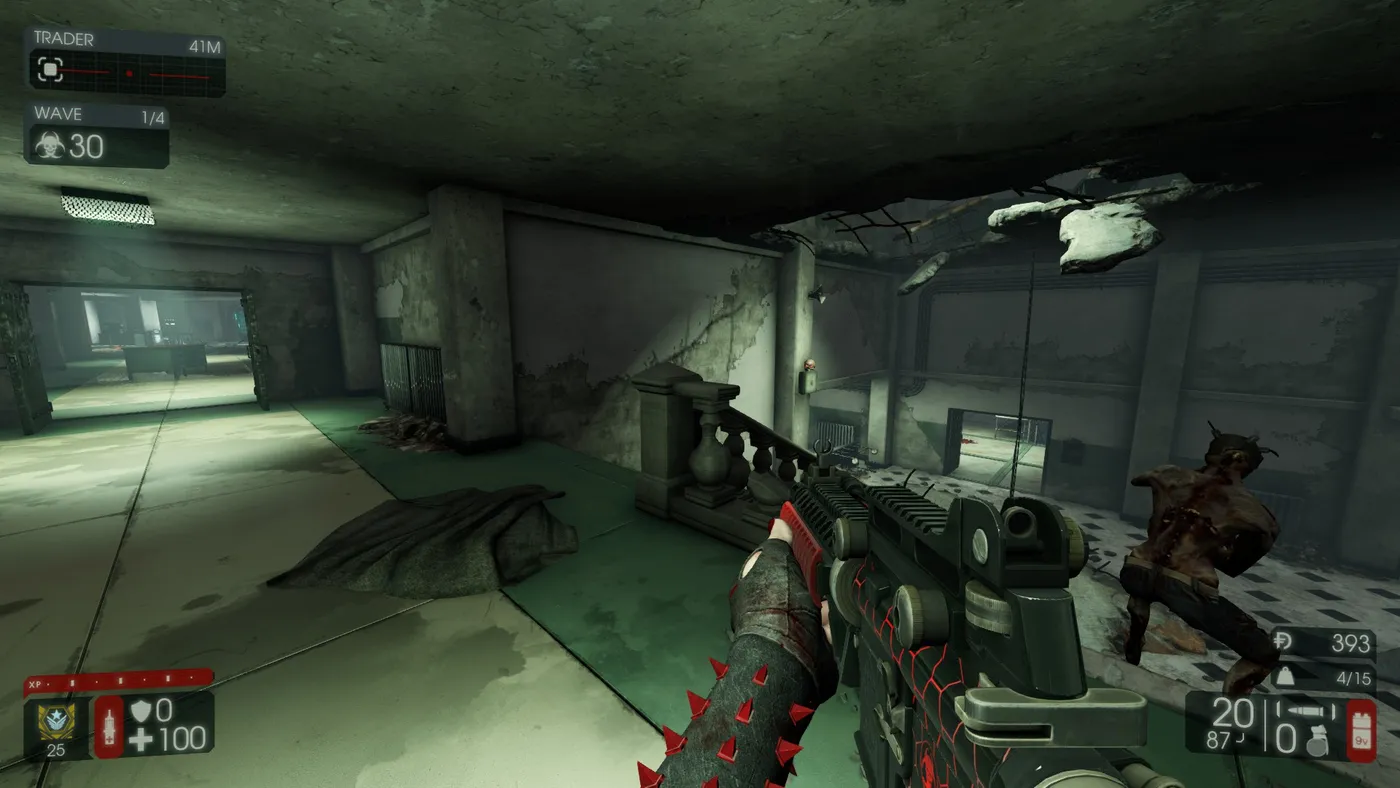 #30. Right next to the stairs going up to the security trader and the open-wall trader.
