
KF2 Krampus Lair Collectibles: A World Under Glass Walkthrough
This walkthrough follows the five areas of the map in the order the team moves through them, and every area has its own Trader pod, which makes a handy landmark. The globes are the snow globe collectibles; there is a general overview in the Santa's Workshop snow globe page. Keep one ZED alive during the wave so you can wander in peace.
Area 1: The Entrance (5 globes)
- Right at the spawn, face the road and look to the left.
- Take the left path toward the building ahead; a globe sits along the way.
- Inside, the next one is opposite the entrance, to the right of the fireplace.
- Turn right from the left entrance to reach a small room. The right path leads to the same room.
- The fifth is right outside that room, on a barrel.
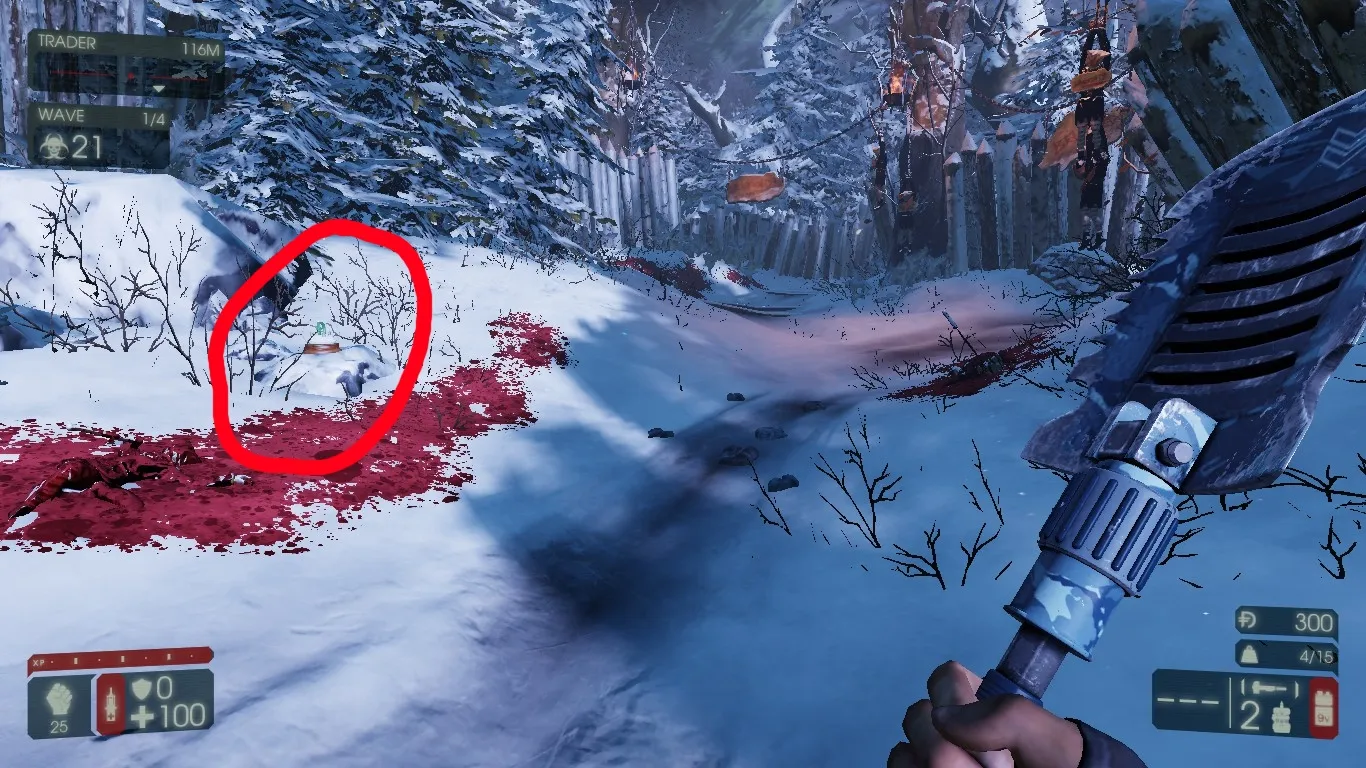
The first globe, beside the road where you spawn.
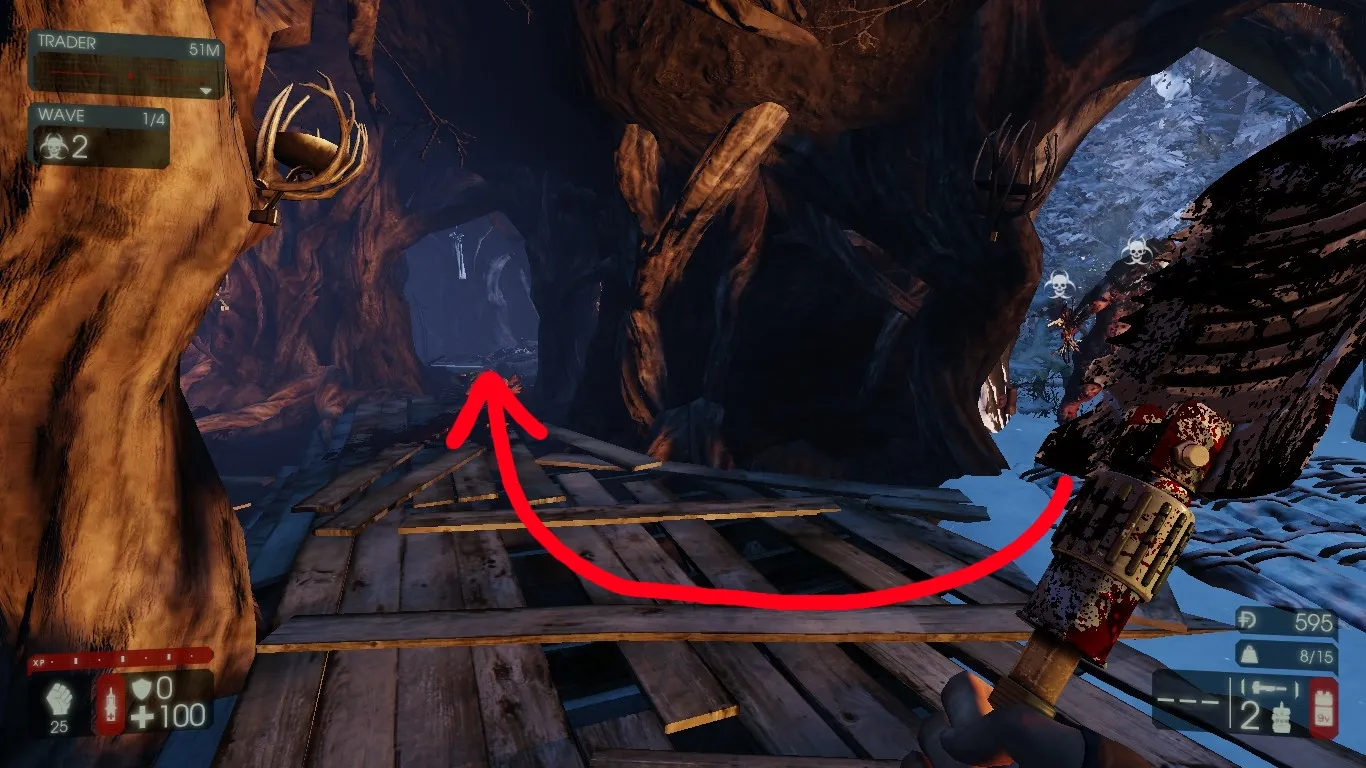
The small room reached from either entrance.
Area 2: The Workshop (4 globes)
- Head to the Trader pod. A globe is under the desk furthest from the pod.
- Go up the stairs from there, turn right and walk down another set; the next one is on the barrel to your right.
- A globe is hidden in the log piles outside. Walk out toward the warning sign hanging above the blocked road and turn around to face the building to identify the right pile.
- The blood-covered log pile directly in front of the Workshop, next to the corpse, holds the fourth.
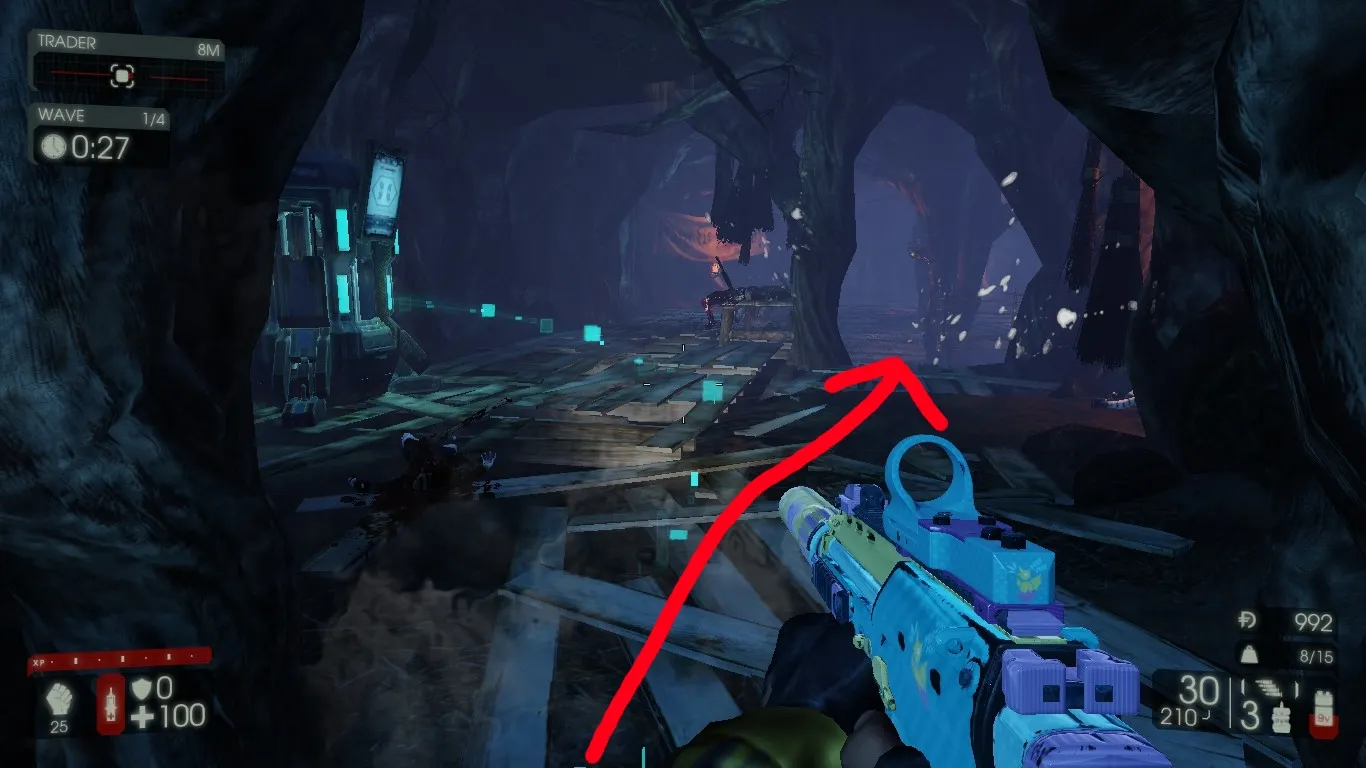
The globe under the furthest desk.
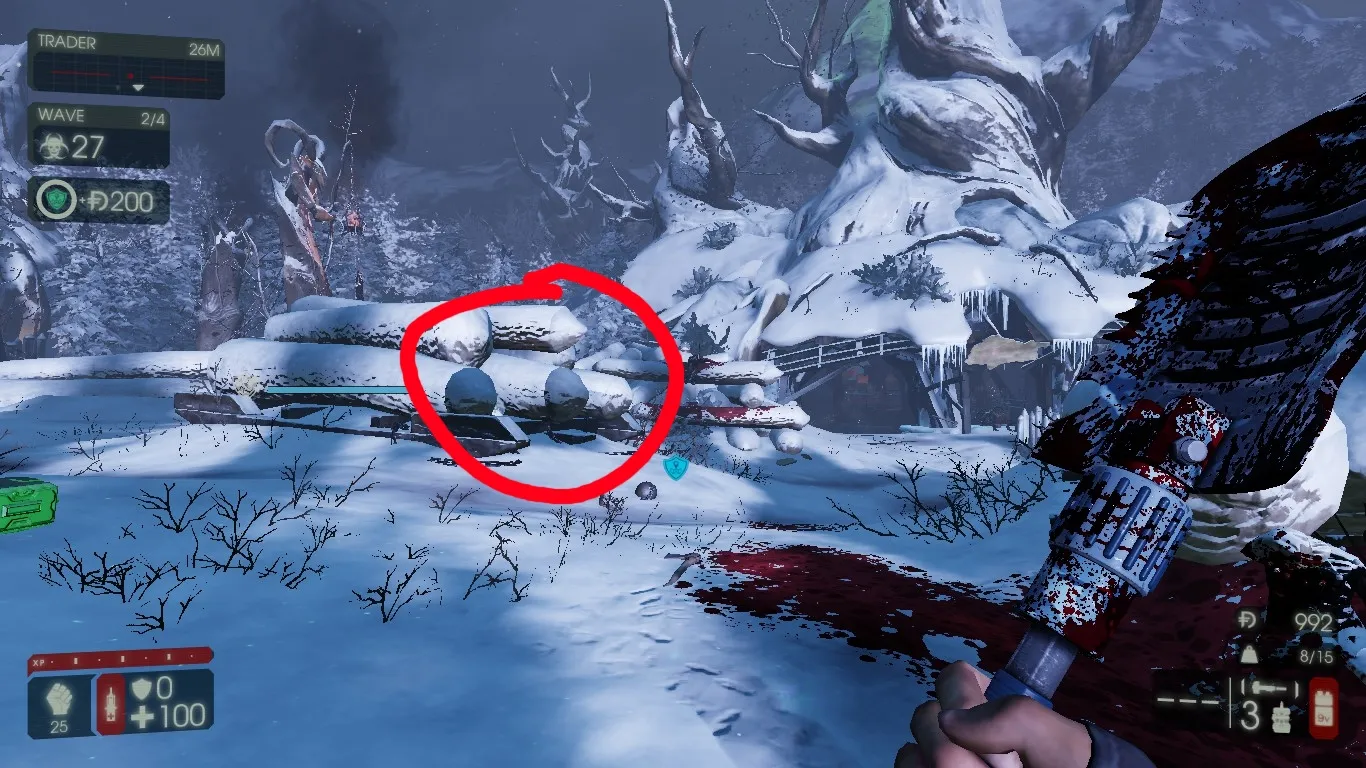
The globe among the logs outside.
Area 3: The Basement (9 globes)
- The first is next to the Trader.
- Turn around to see the woodchipper; the second is among the furniture beside it.
- To the right of the Trader is a lot of ice. Face it and turn left toward the hanging cages for the third.
- Follow that path and the next one is behind a railing in the next area.
- Turn around, walk to the other railing and look down for another globe. It can also be reached from the mines.
- The next is right around the following corner.
- Take the left stairs down; a globe sits on some barrels.
- Directly across from that one is another.
- When you go down the stairs toward the next area, do not drop down; look further into the tunnel for the last one.
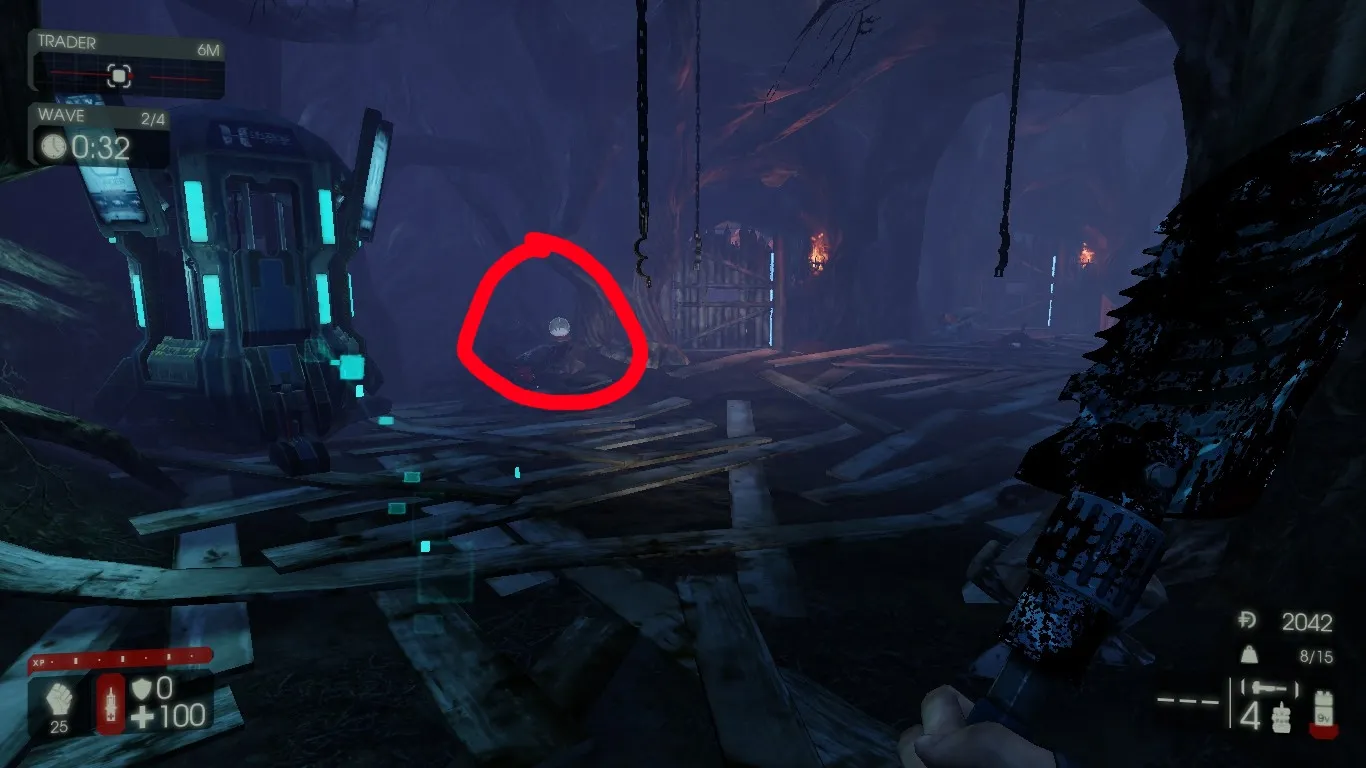
The basement globe by the Trader.
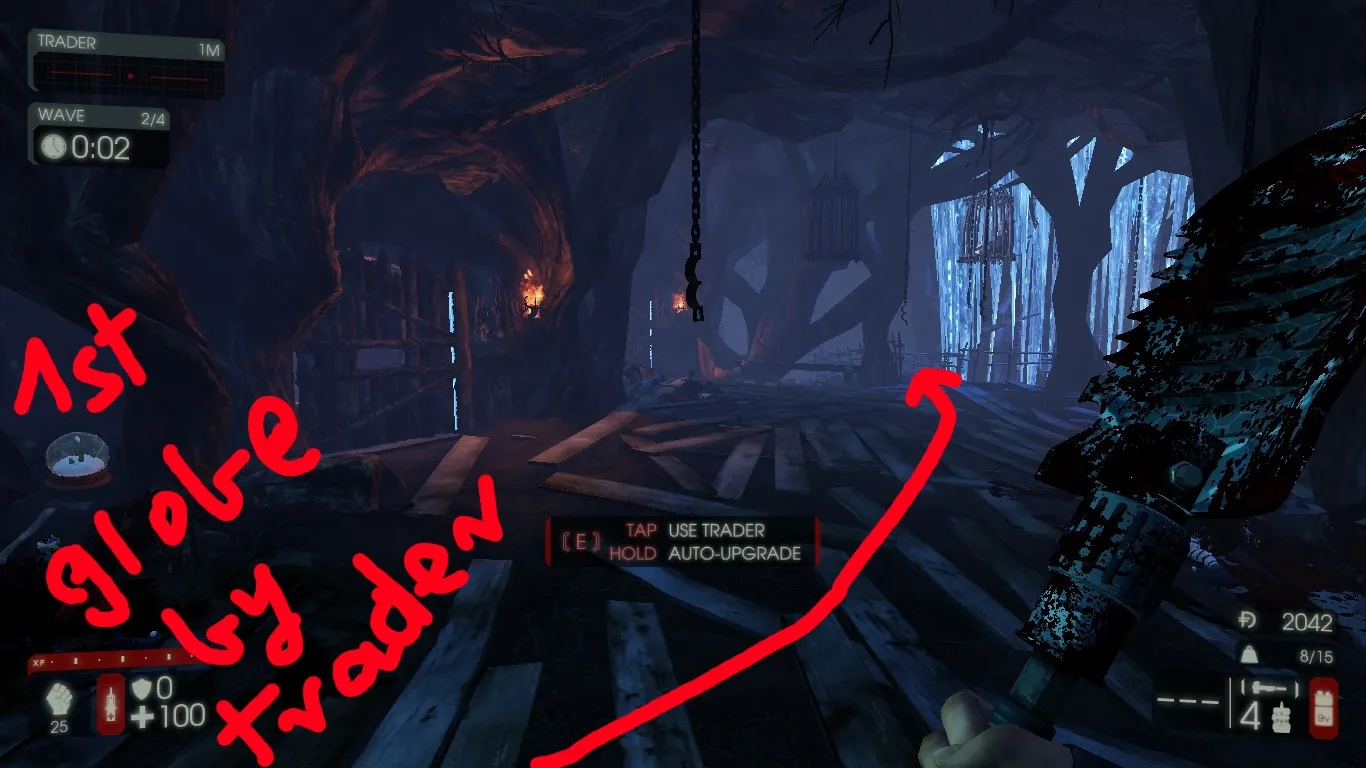
The globe near the hanging cages.
Area 4: The Mines (5 globes, one a repeat)
- Outside the left-hand "window" by the Trader. This is the same globe as the repeat in the basement.
- Down the tunnel from the Trader.
- Near the gate labelled "Krampus only", the globe rests on the rocks above.
- Keep going and you reach a stone alcove; the globe is visible without entering.
- When the gate to the teleport that leads to the boss area opens, a globe in a stone alcove opposite becomes visible. Be quick, because the teleport slowly pulls you in.
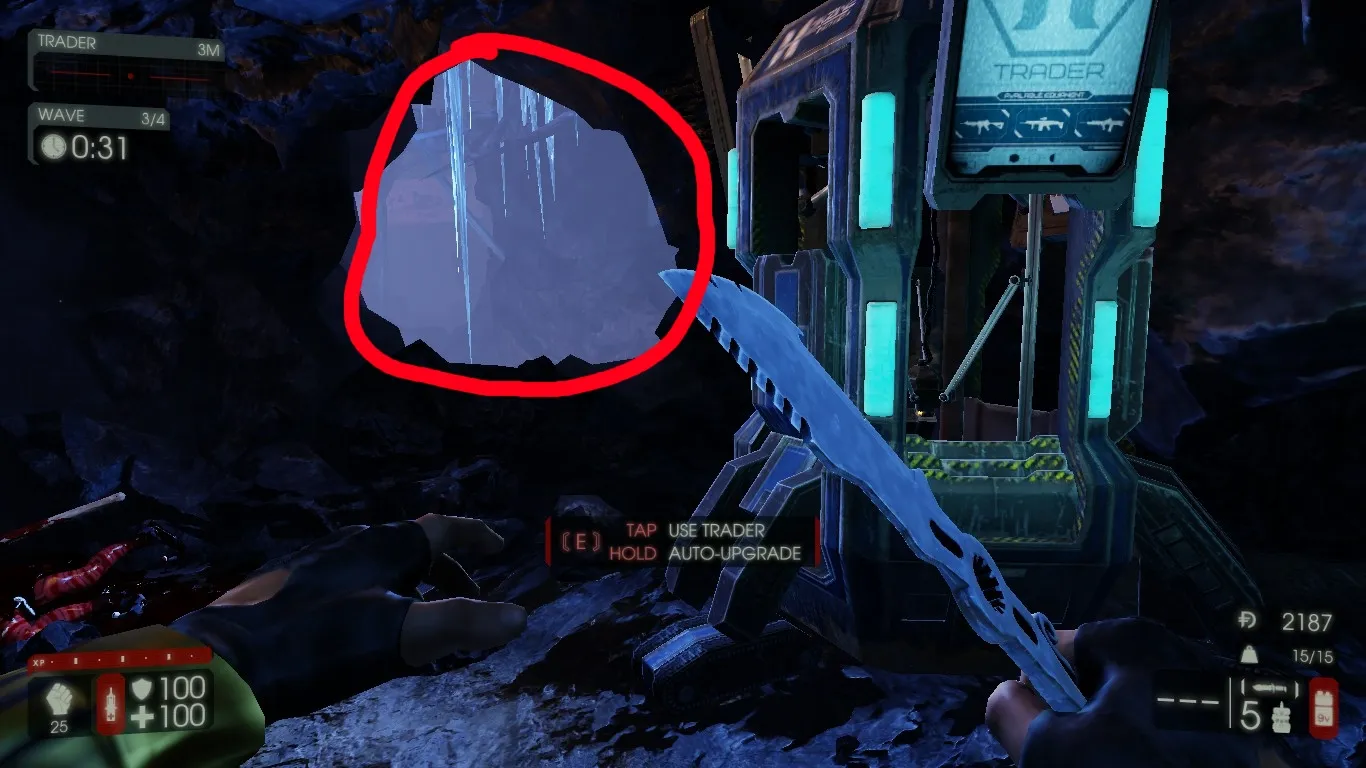
The mine globe visible through the window.
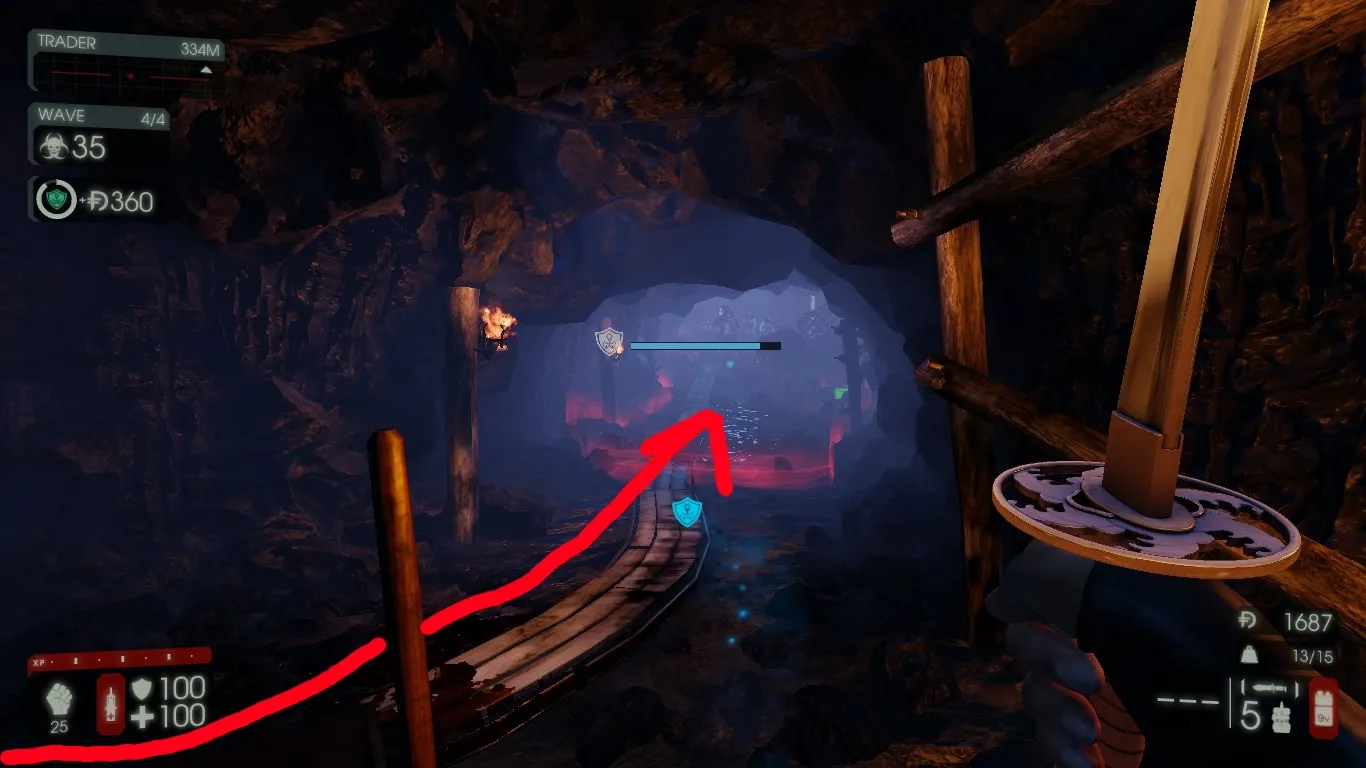
The globe on the rocks above the Krampus only gate.
Area 5: Krampus' Lair (3 globes)
- Opposite the Trader in the arena where you spawn.
- Under the spawn platform is a cavern with rolled-up scrolls. The quickest way in is the hole in the platform; the globe is where you land.
- The last is at the far end of the arena, opposite the first, hidden among the cages.
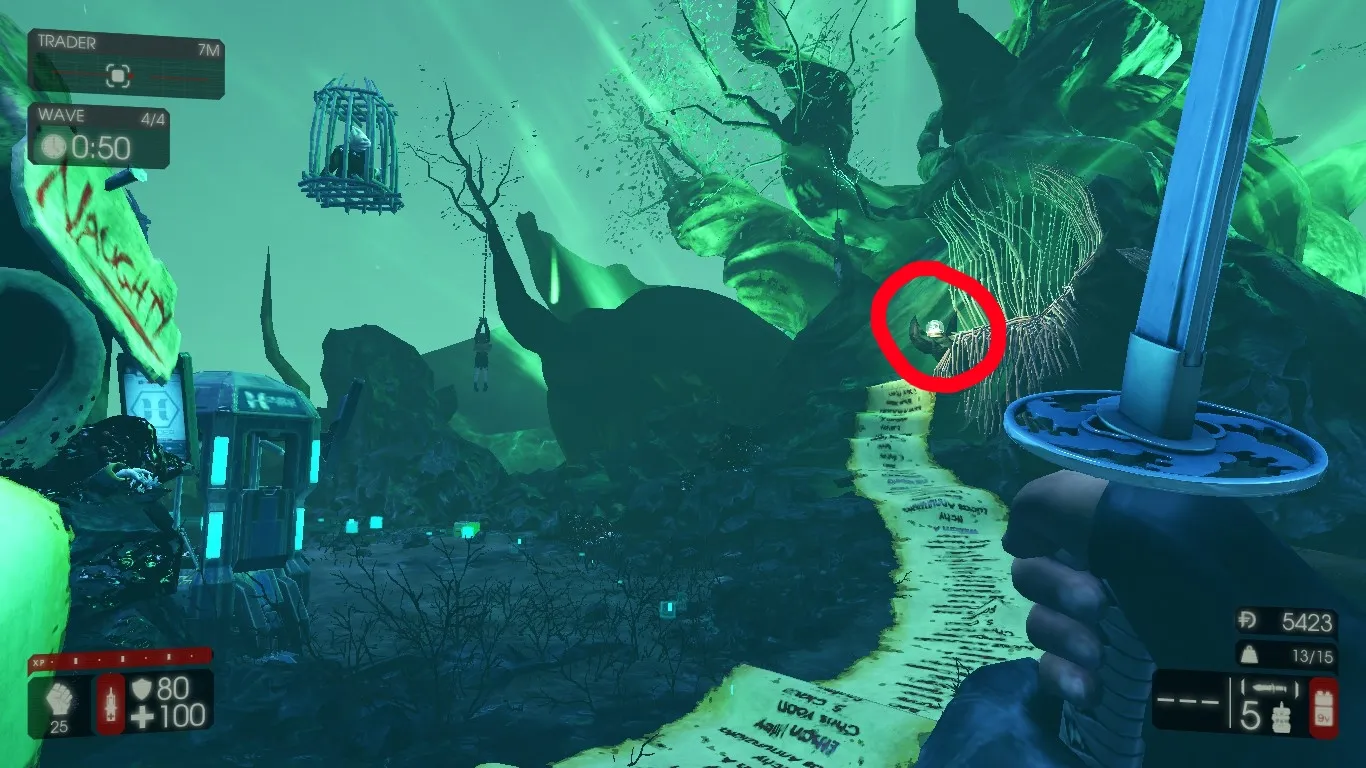
The globe opposite the Trader in the boss arena.
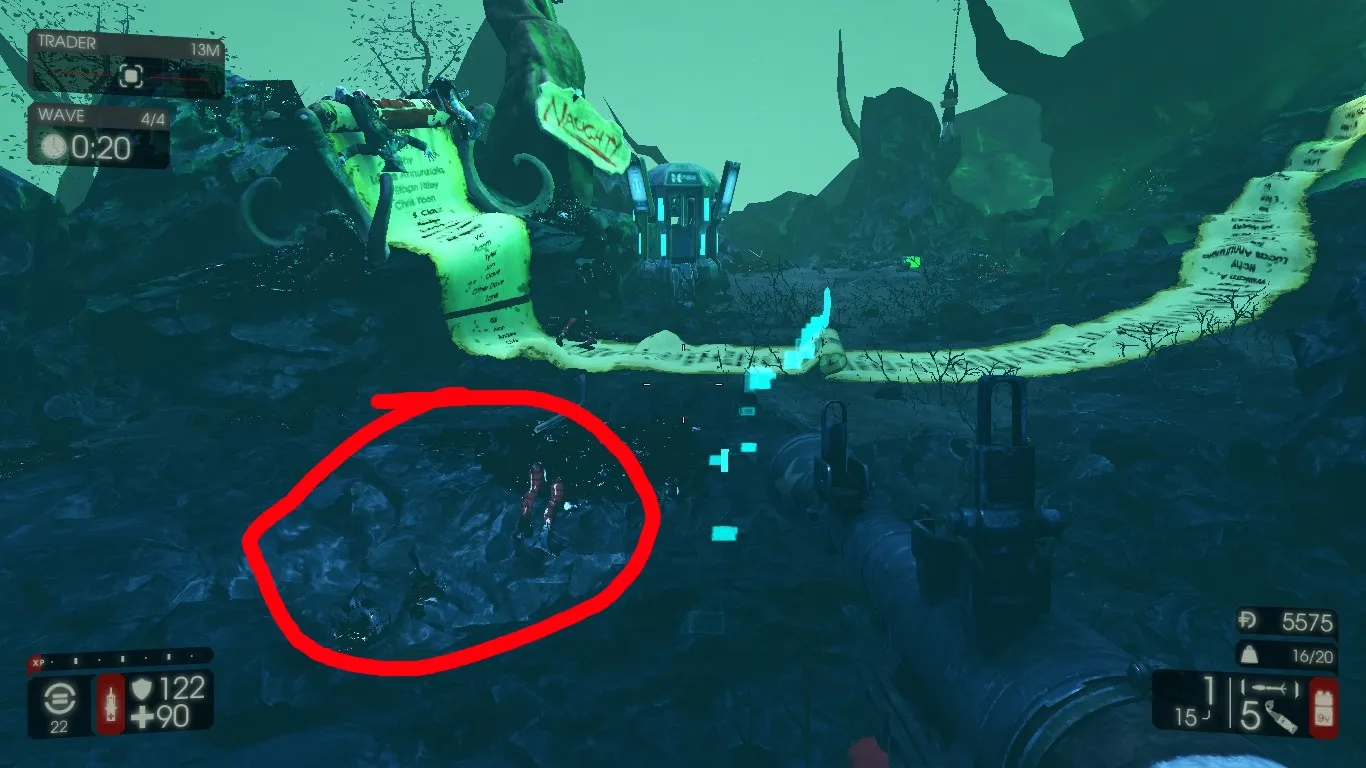
The cavern beneath the spawn platform.
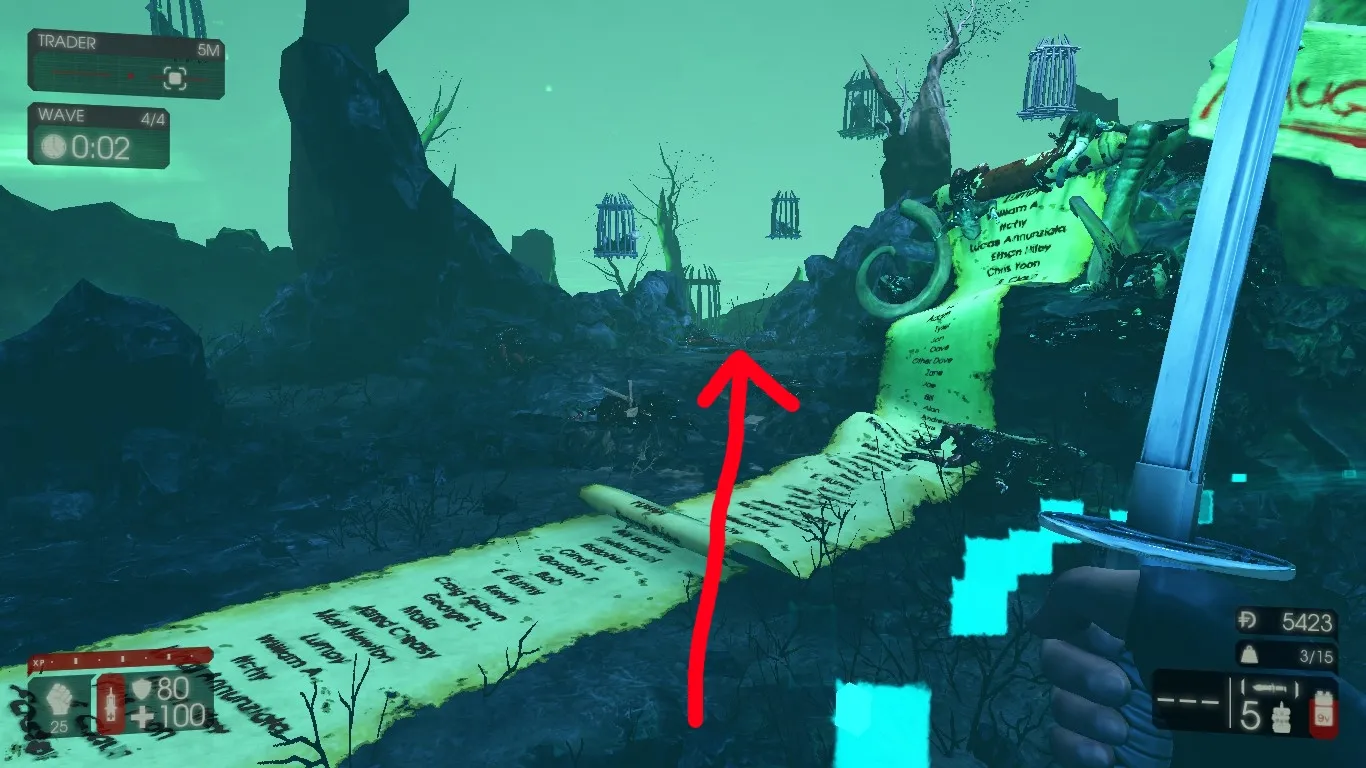
The final globe, hidden among the cages.
FAQ
- How many collectibles are on the Krampus Lair map?
- The guide counts 26 across five areas: 5 at the entrance, 4 in the workshop, 9 in the basement, 5 in the mines (one of them can be reached from the basement too) and 3 in the boss lair.
- Do I have to kill all ZEDs first?
- No. A common trick is to keep one ZED alive so the wave does not end, then explore for globes.
