
KF2 Spillway Collectibles: All Necklace Locations Walkthrough
This page paraphrases the "Money Down the Drain" community guide for the Spillway map. The collectibles are necklaces hung or placed around the industrial facility; the author numbers them and gives a route from Spawn Location 1, then Spawn Location 2, plus an alternate route that finishes the remaining ones. For the general list of collectibles and achievements see KF2 achievements and the collectibles video guide.
Spawn Location 1
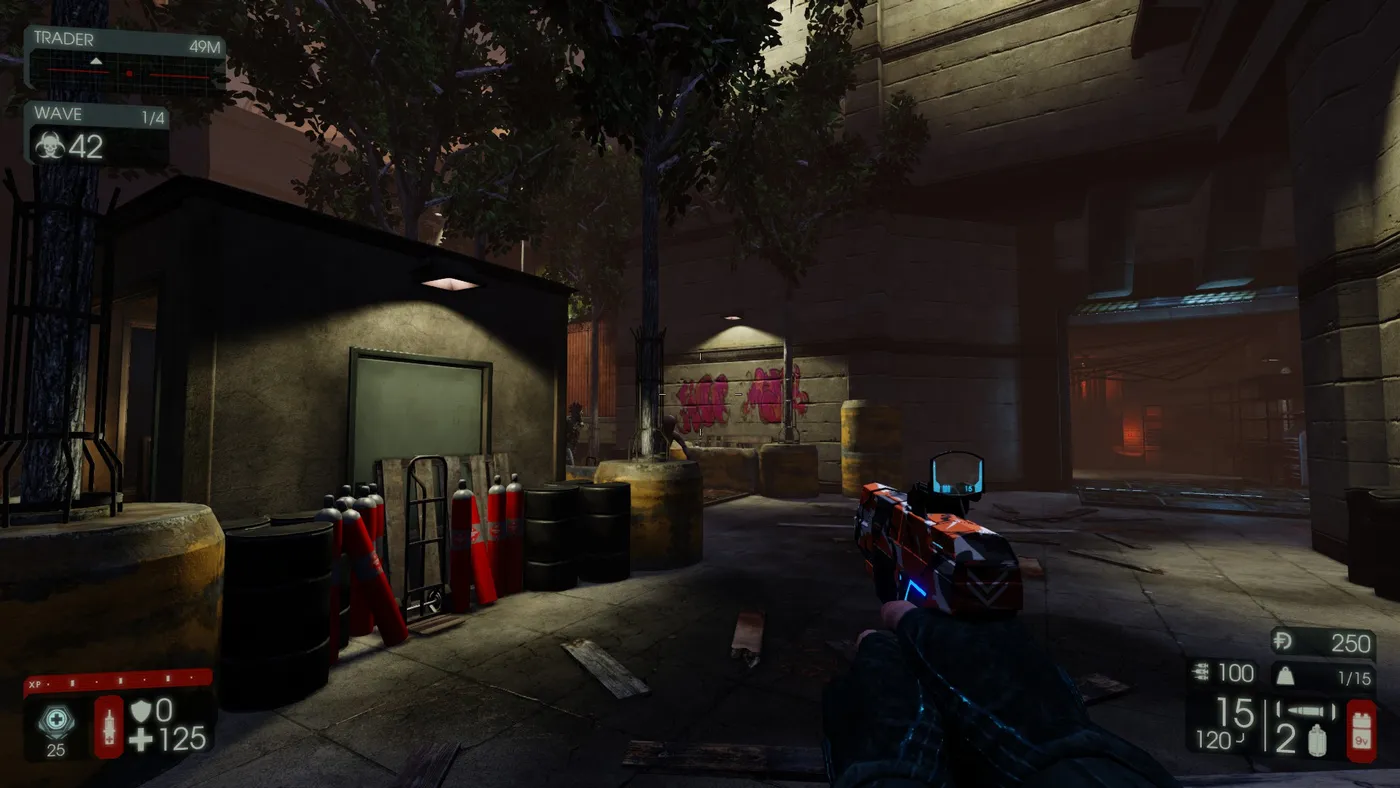 Spawn Location 1, where the first route begins.
- From the spawn turn right and go through a doorway. A necklace hangs on the wall in front of you between power cables.
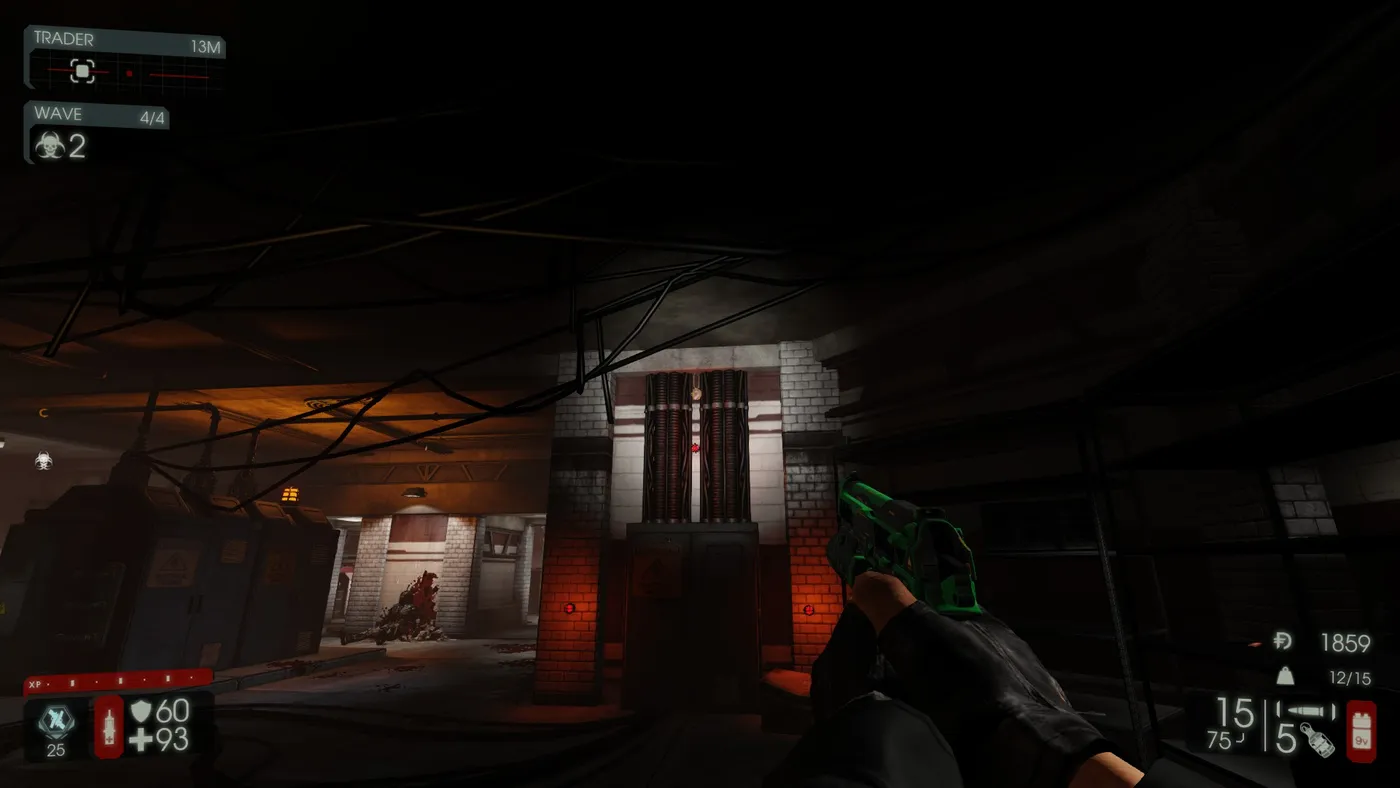
- Turn left and look above the trader pod in this room; the necklace hangs on the wall above it.
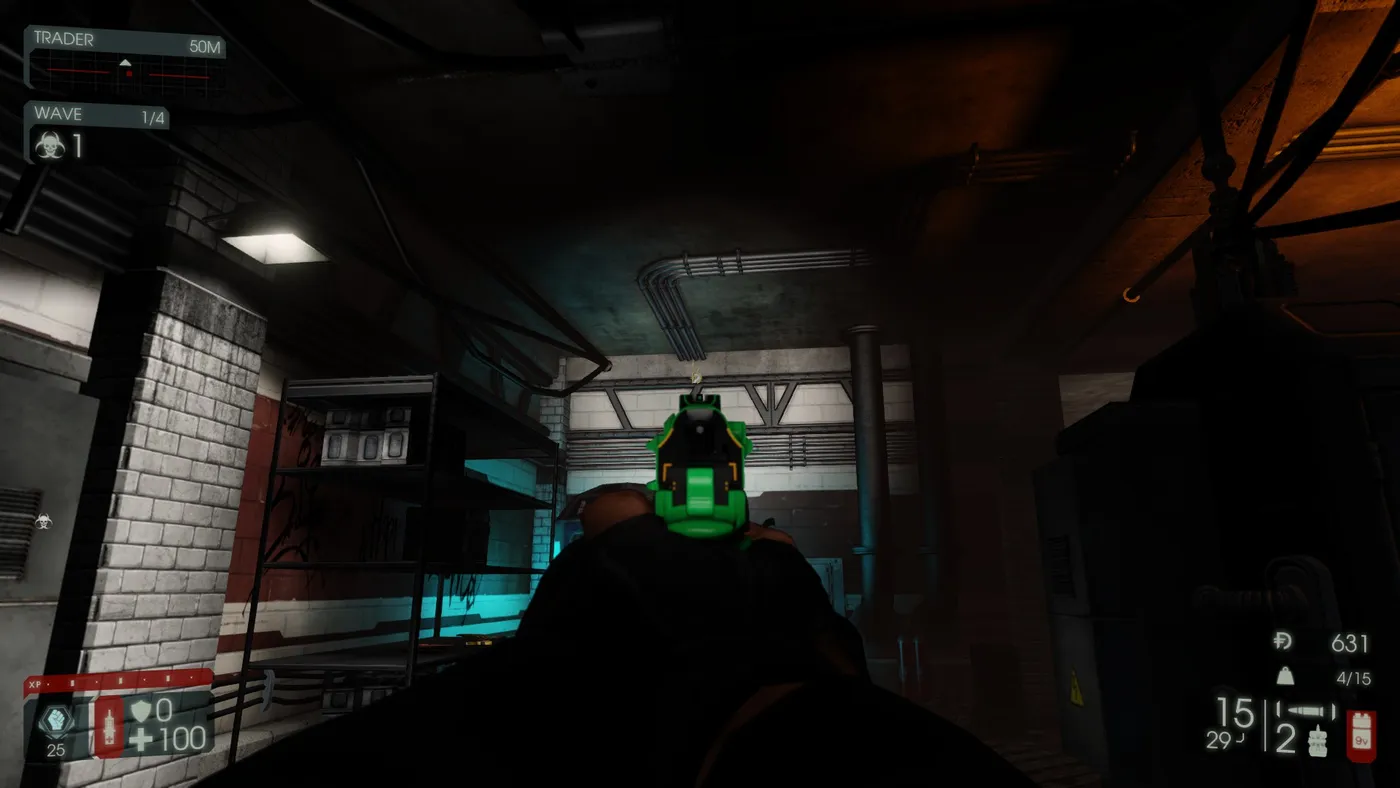
- Turn right, go through the doorway and up two sets of stairs. The necklace lies on the floor in the red corner between barrels and a body.
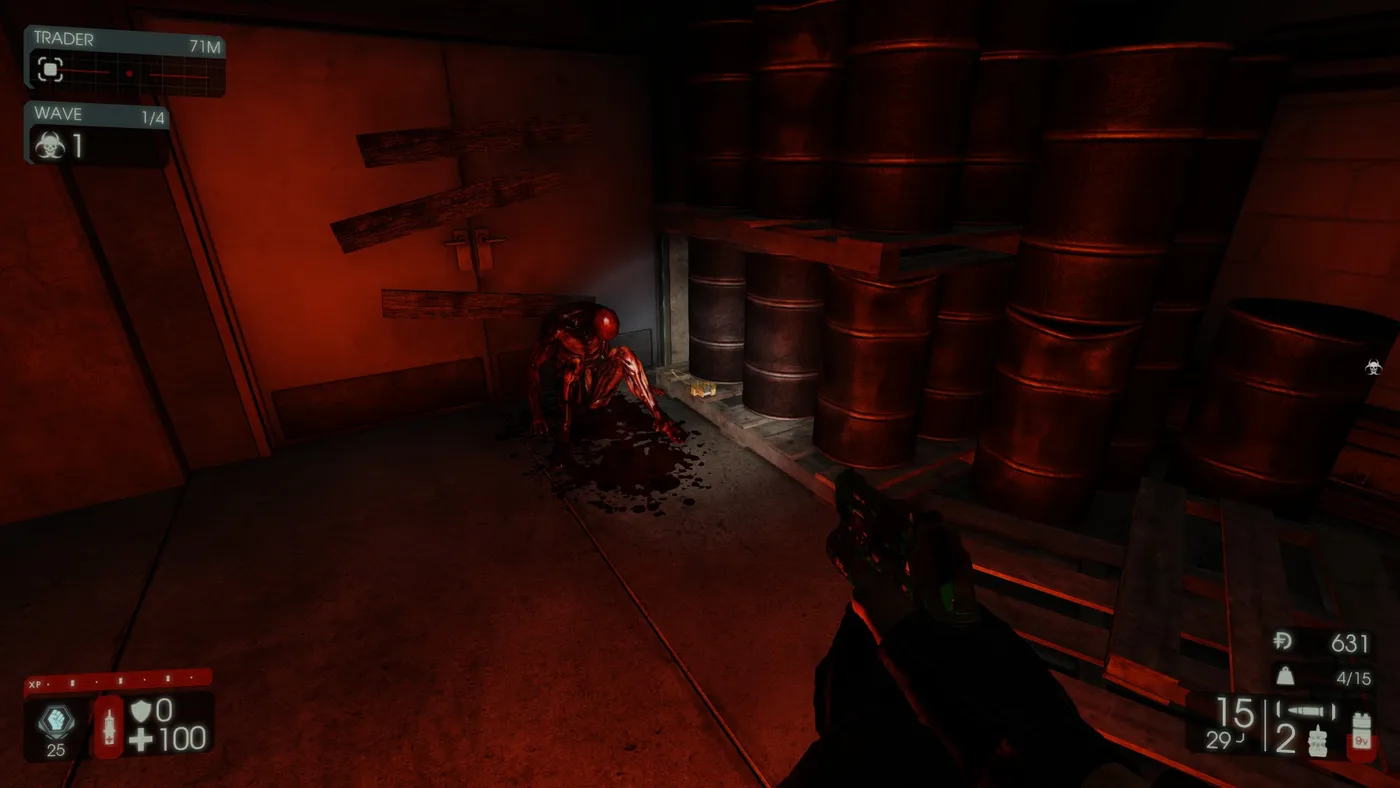
- Turn left toward the BIOCOLA machines, turn left again and walk between the railing and the generators to a dead end. The necklace is on wires behind the pillar.
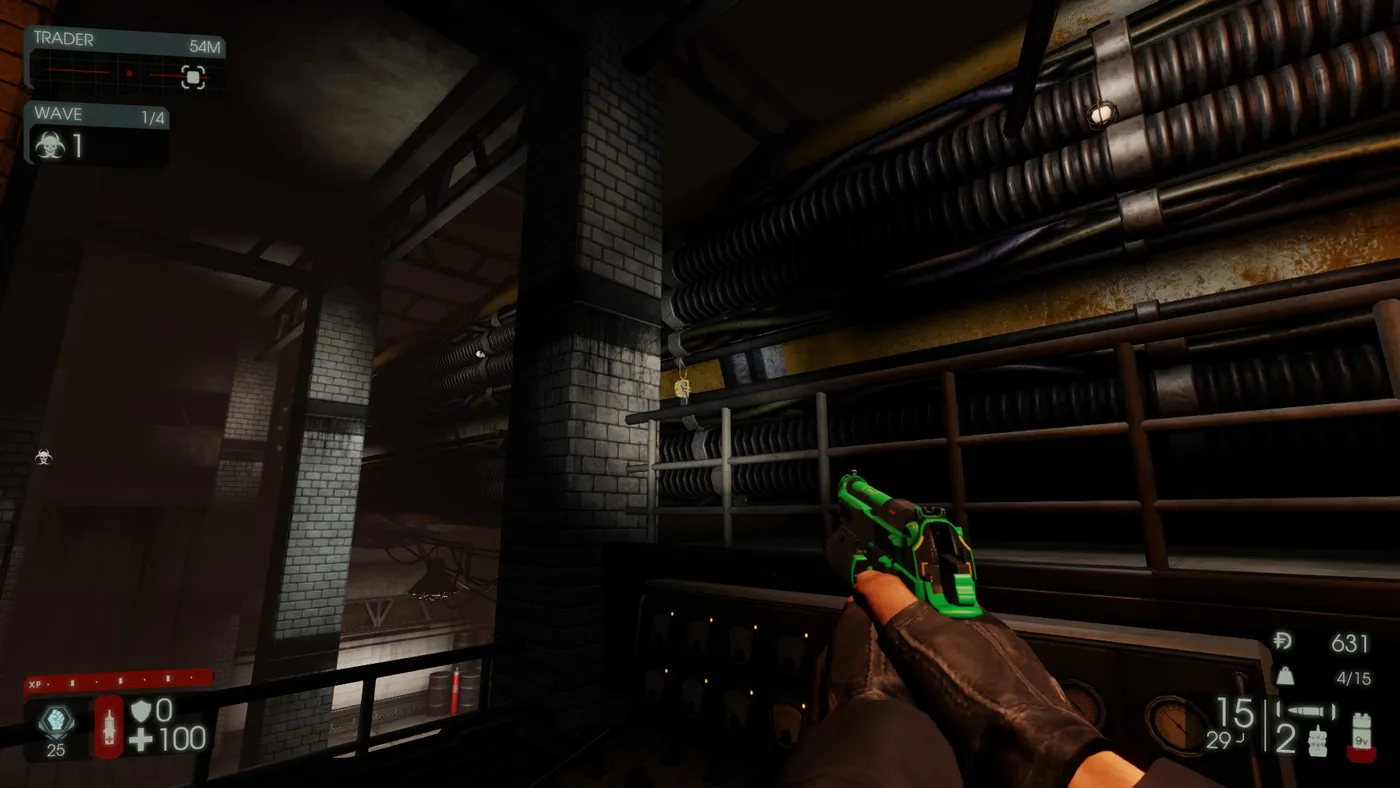
- Go back toward the BIOCOLA machines and through the door on the left. Pass two more machines on your right; the necklace is at the top of the wall next to the stairs at the back of the room.
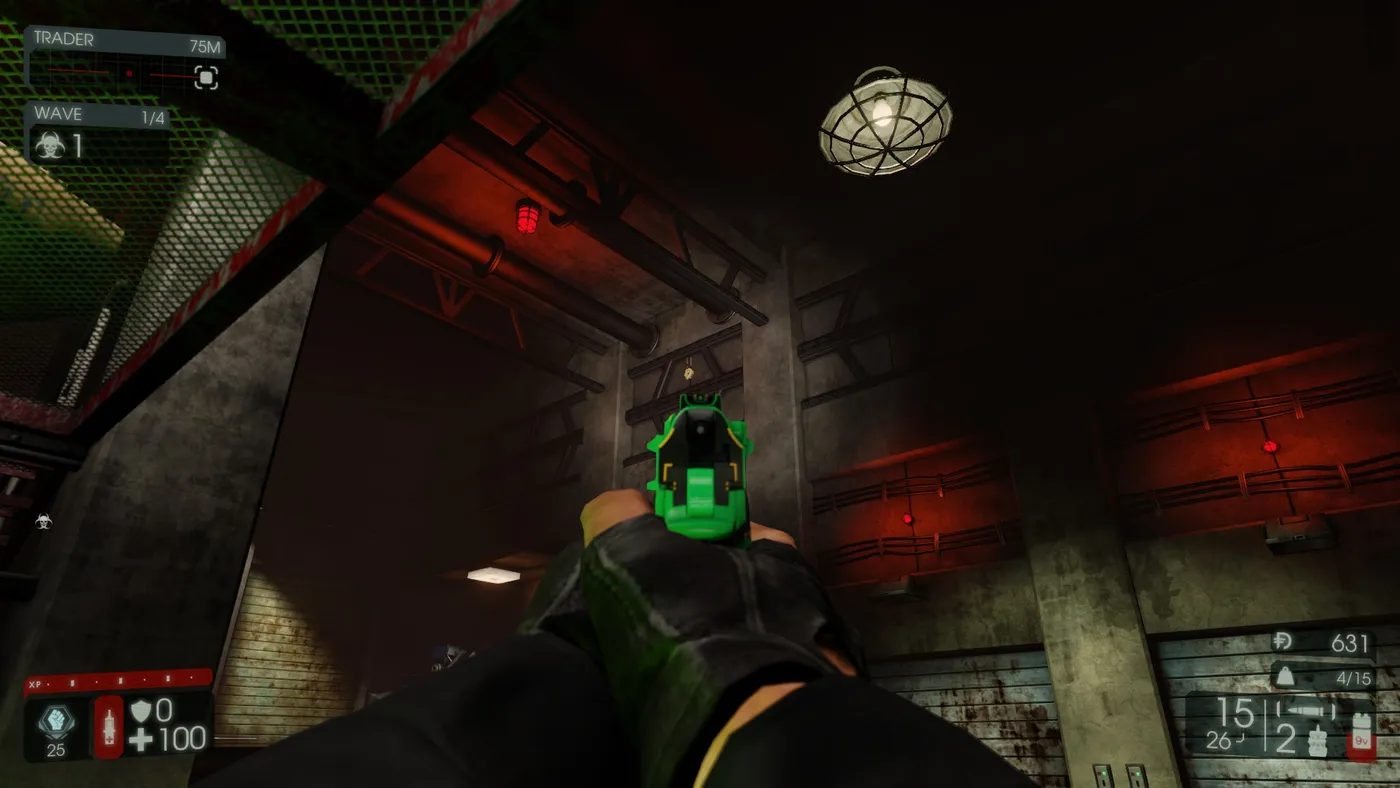
- Turn left and keep going down a set of stairs. On the right are boxes behind a railing; the necklace is on the left of this area behind one of the supports of the raisable floor.
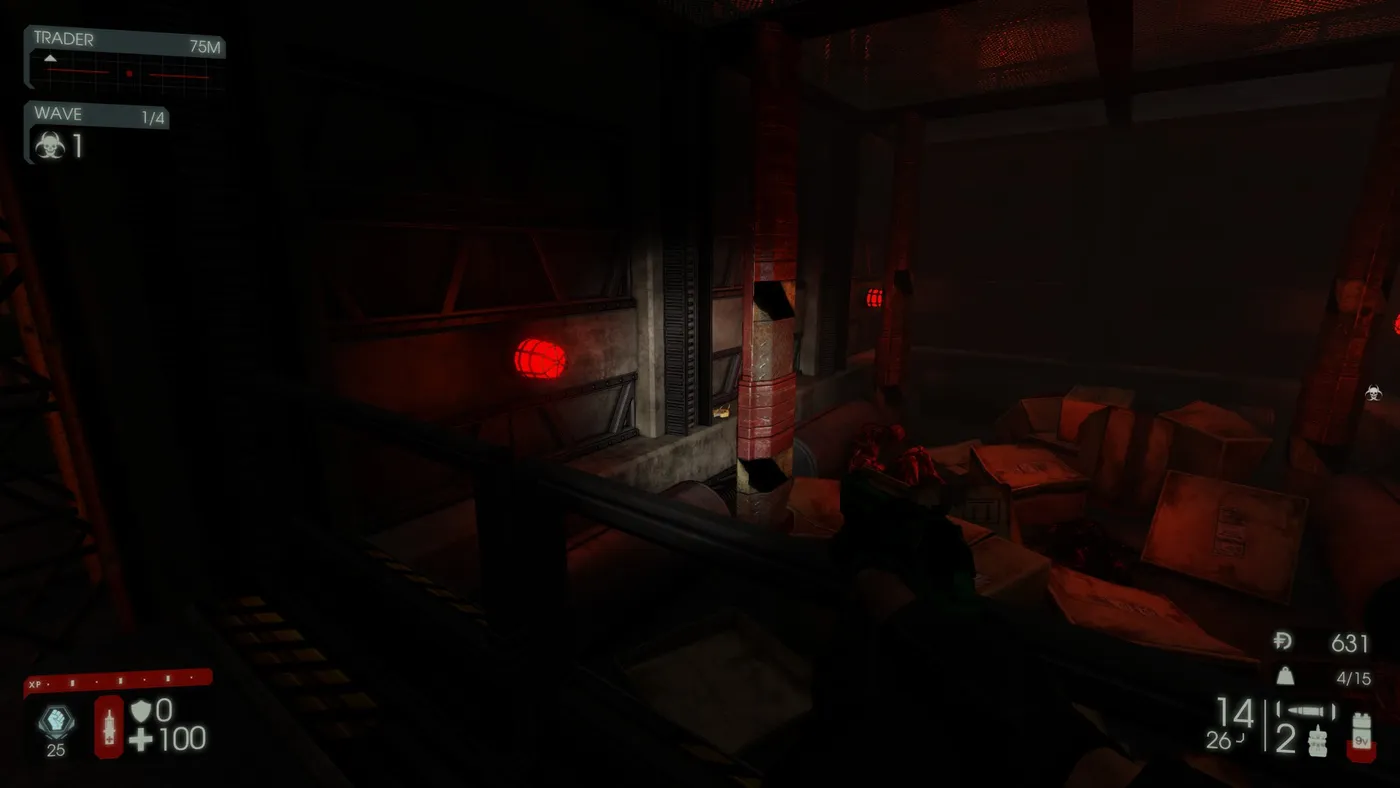
- Immediately to the left is another necklace hanging from the red supports against the wall.
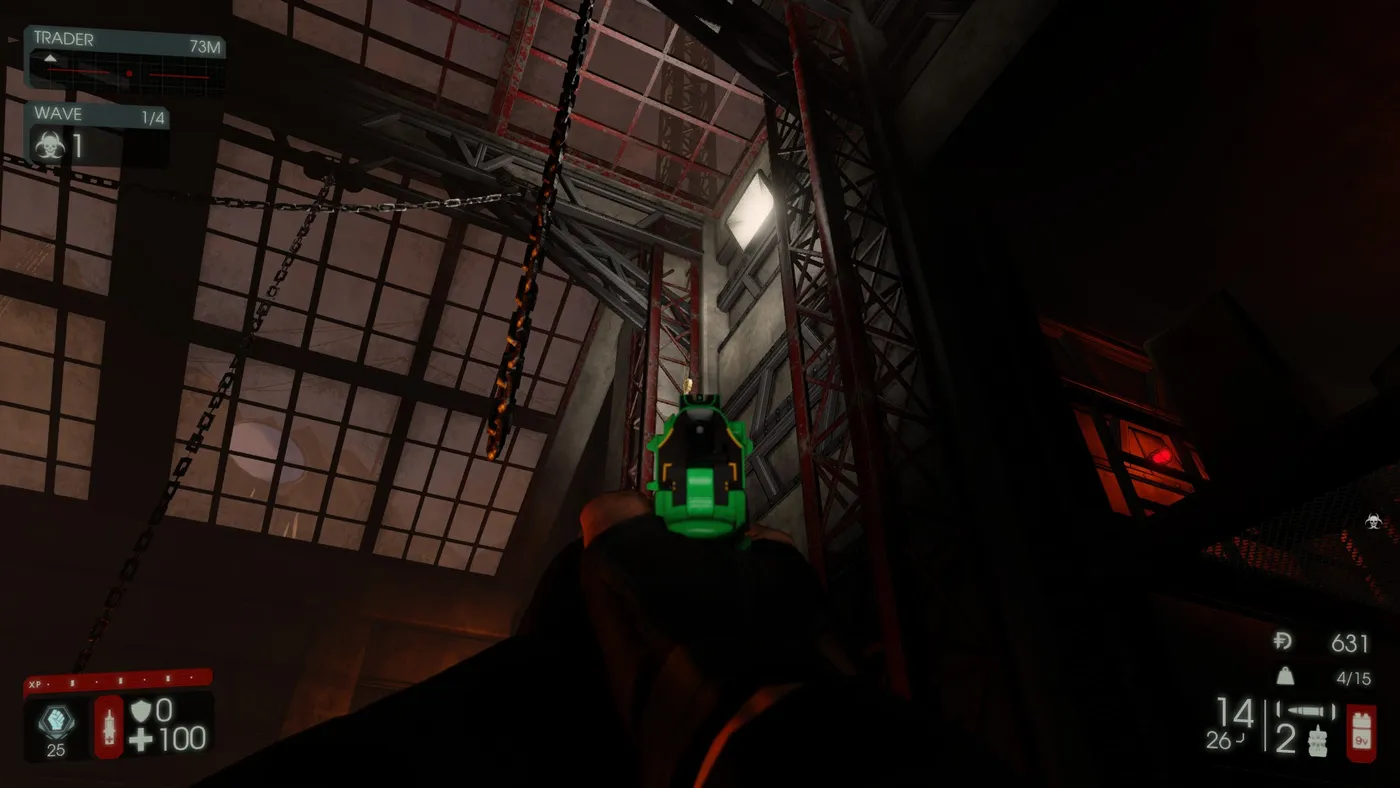
- Turn around: a crane stands in the middle of the room and a necklace hangs from its hook.
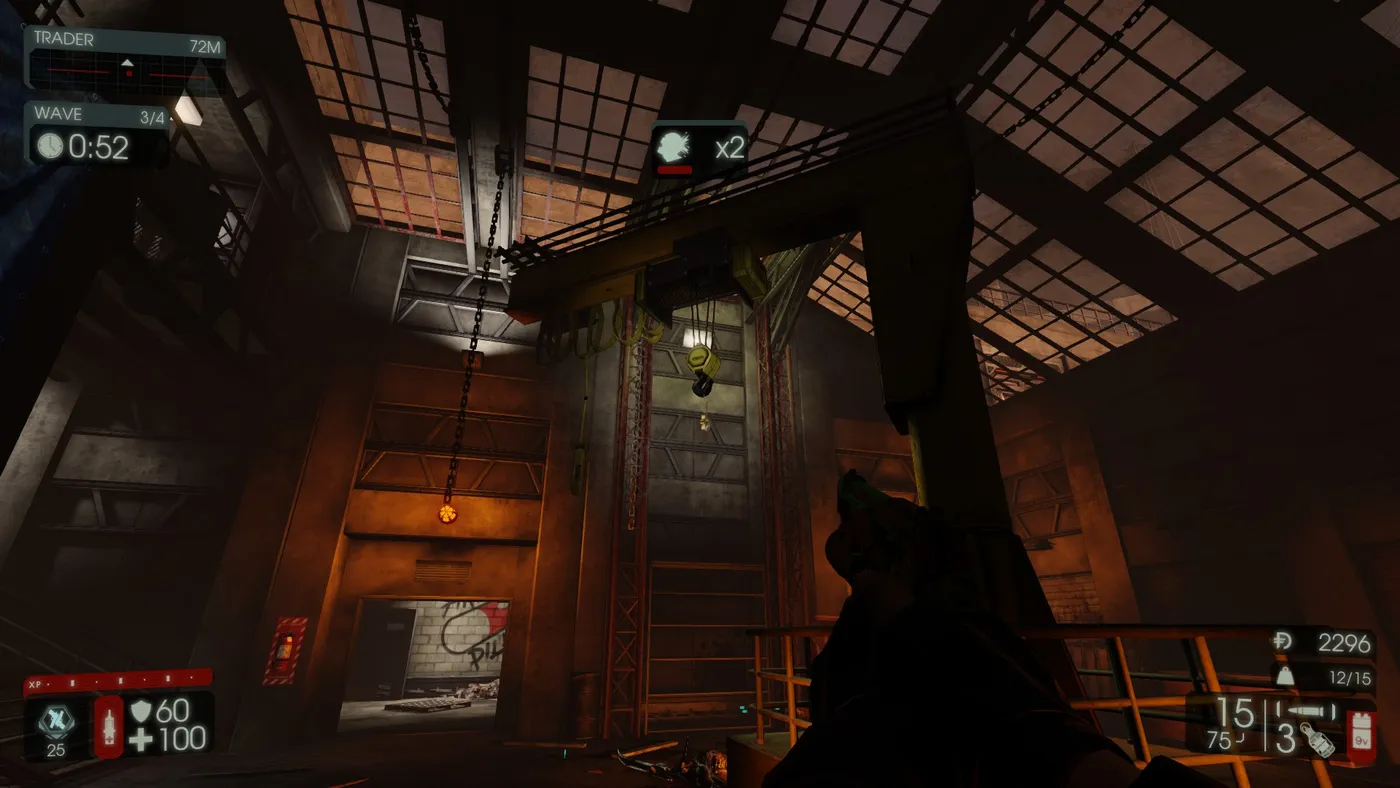
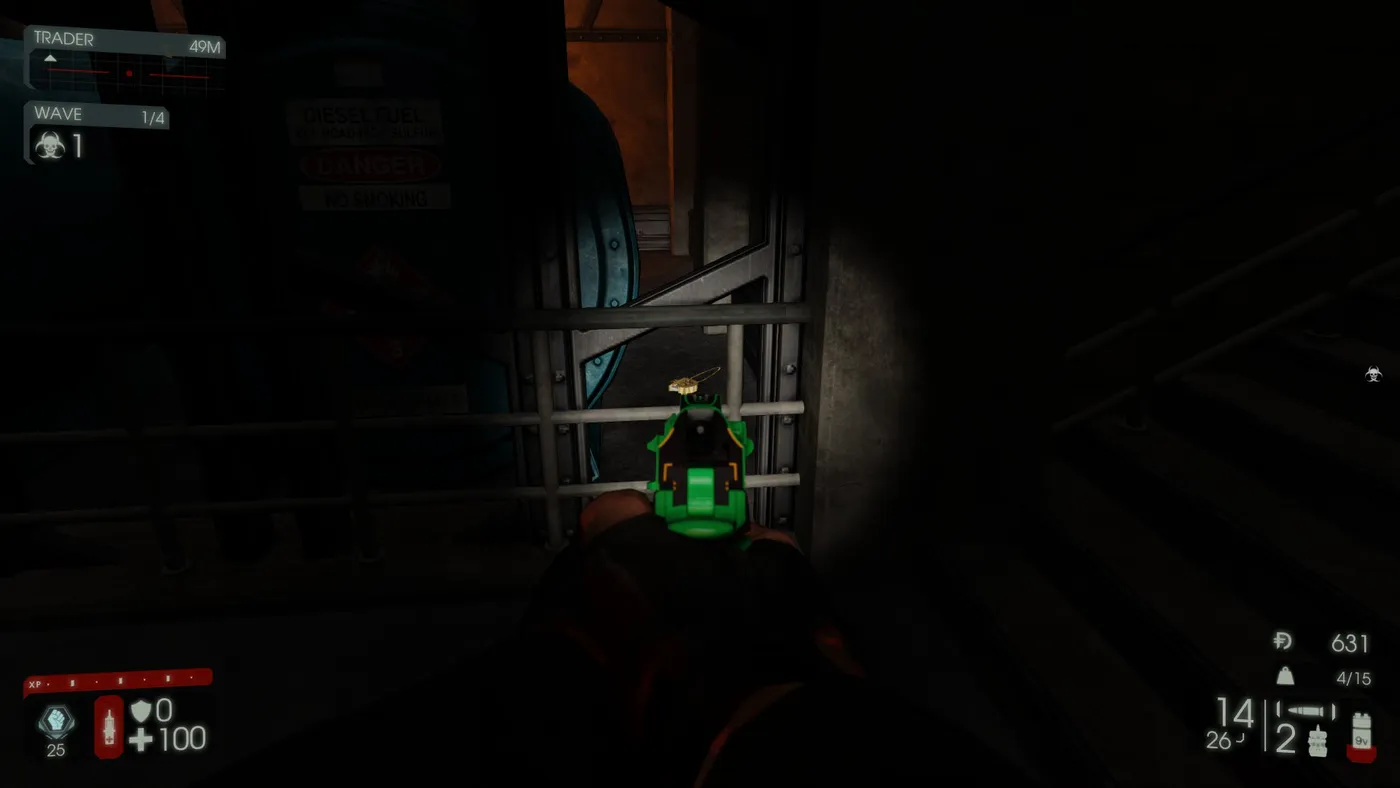
- Walk past the crane, leave through the back doorway and go down the stairs. On your right are two blue "Diesel Fuel" tanks; the necklace is on the ground beside the right tank.
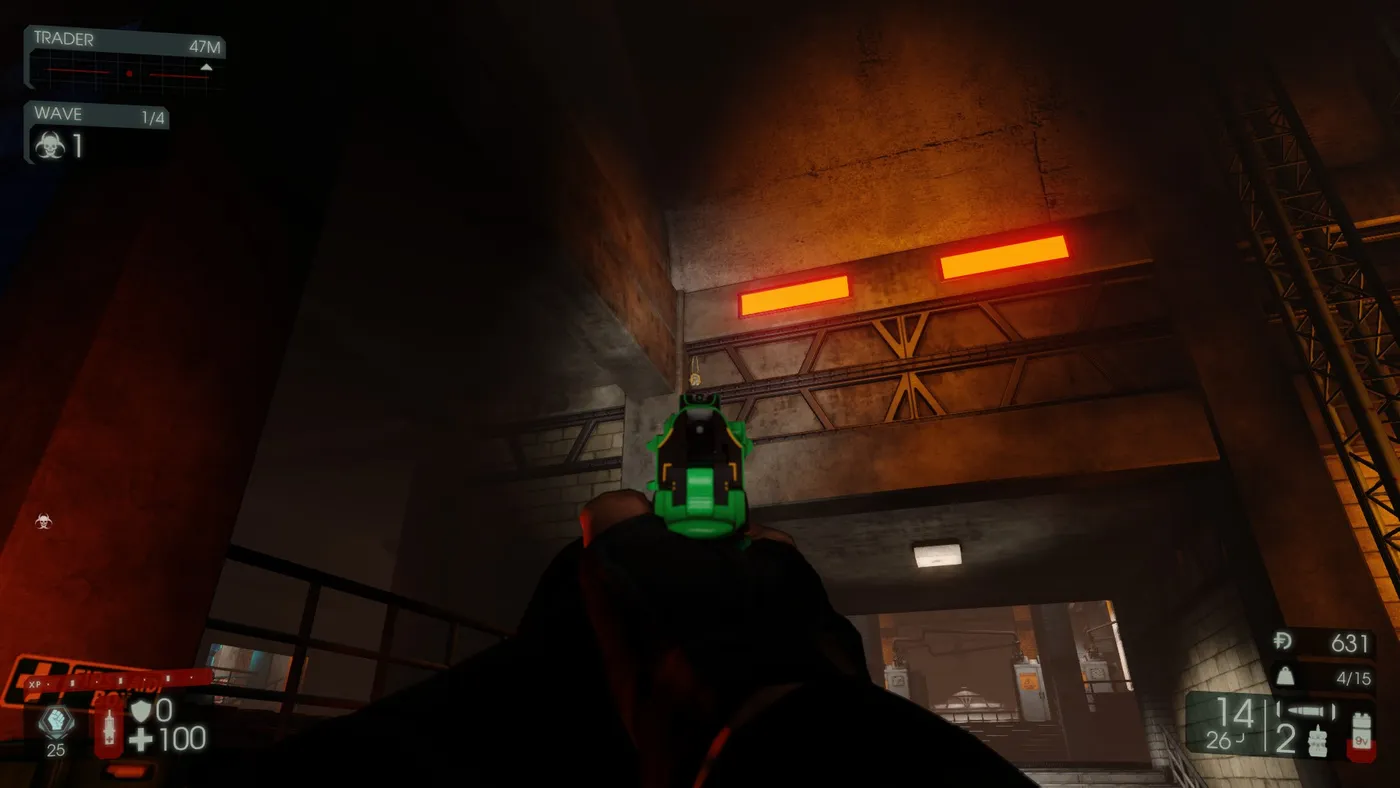
- Turn around to face another staircase with two orange lights above it. The necklace is on the wall below the left light.
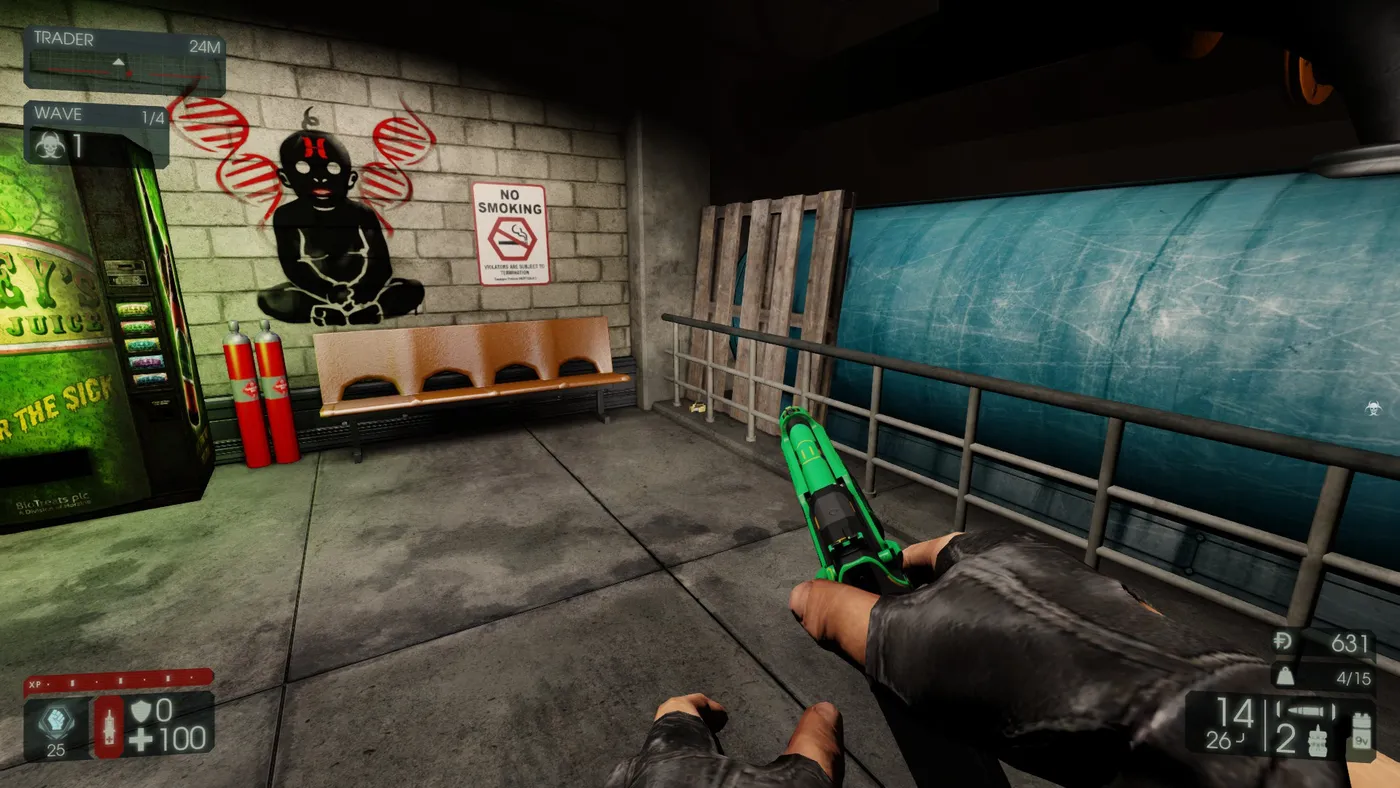
- Do not climb these stairs. Turn right and walk to the end of the room toward the BIOCOLA machines; the necklace is on the floor beside the bench and wooden pallet leaning against the blue container.
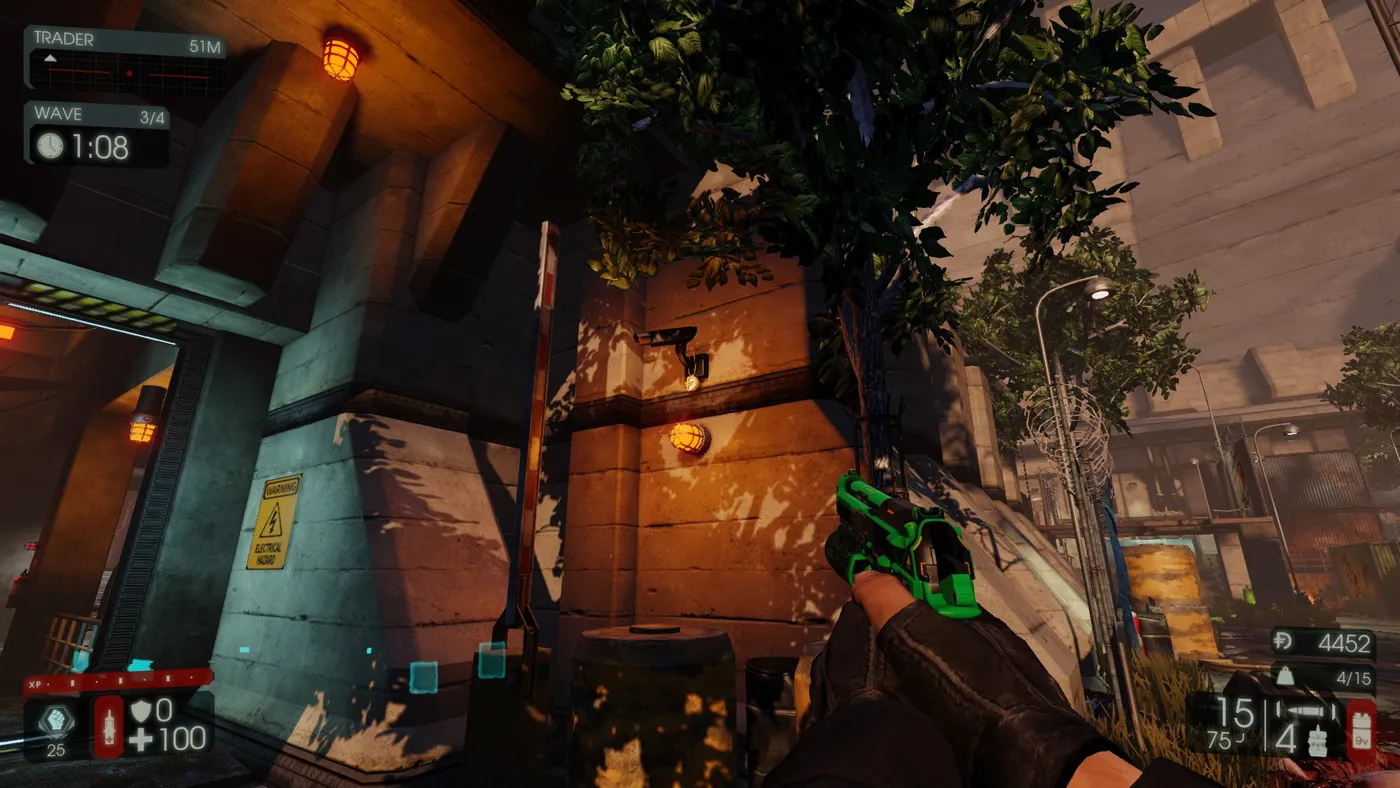
- Turn right and go outside. Immediately to your left a necklace hangs from a security camera. This is Spawn Location 2.
Spawn Location 2
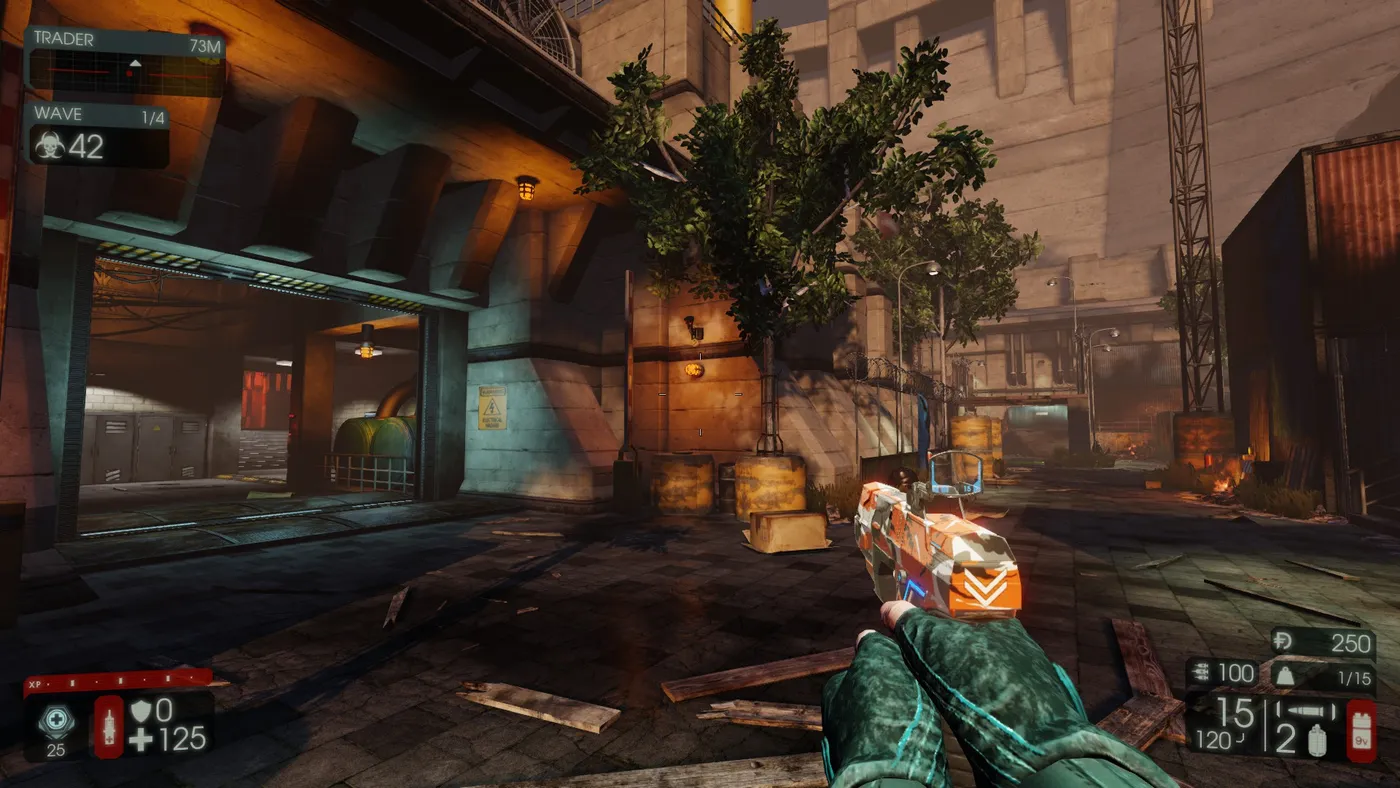 Spawn Location 2.
This part reuses necklaces 12 and 11 from the other direction and adds two new ones.
- 12: the doorway ahead on your left; the necklace hangs from the security camera to the right of it.
- 11: go inside; to the right are big blue tanks and a BIOCOLA machine, and the necklace is on the ground by the tanks and benches.
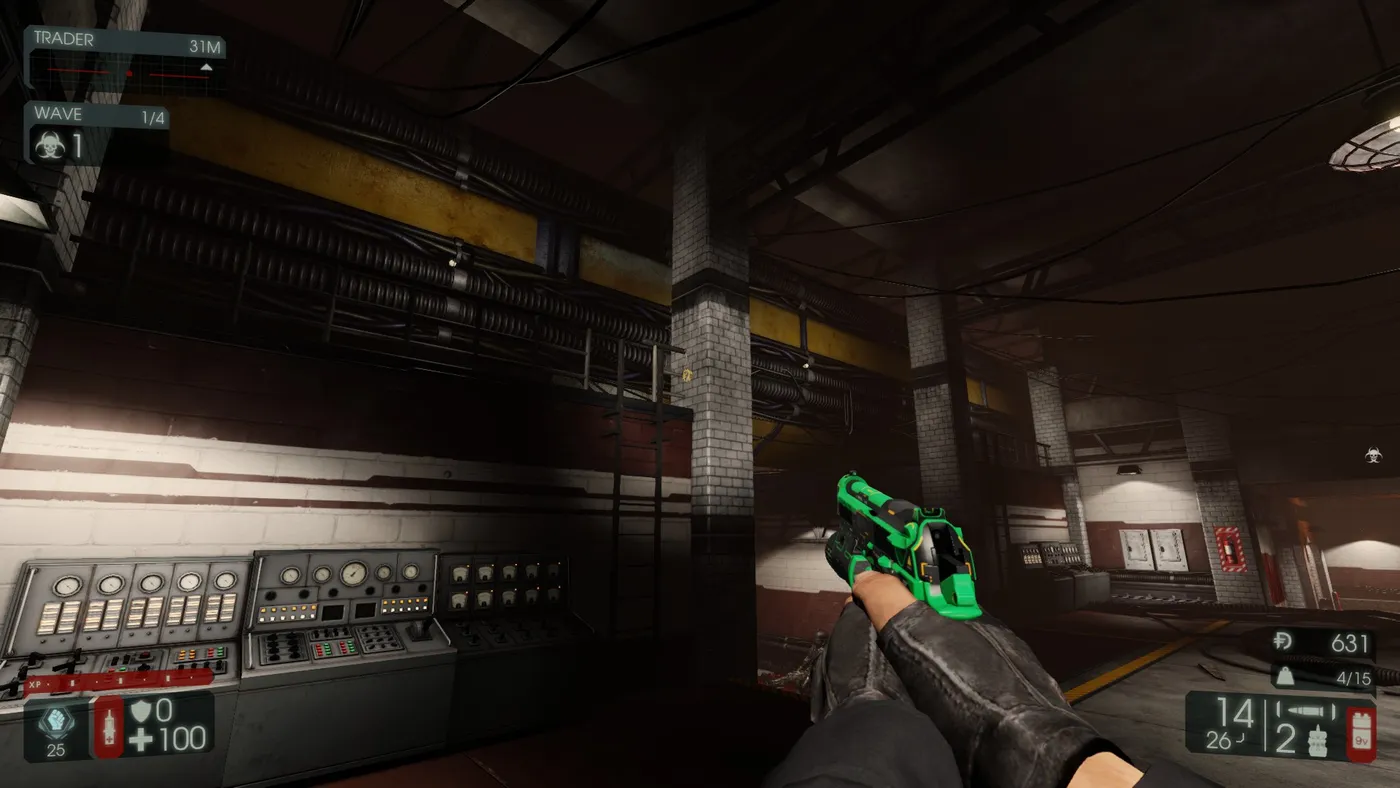
- 13: go up the stairs, turn left and walk along the wall. The necklace hangs from a pillar just to your right beside a metal ladder.
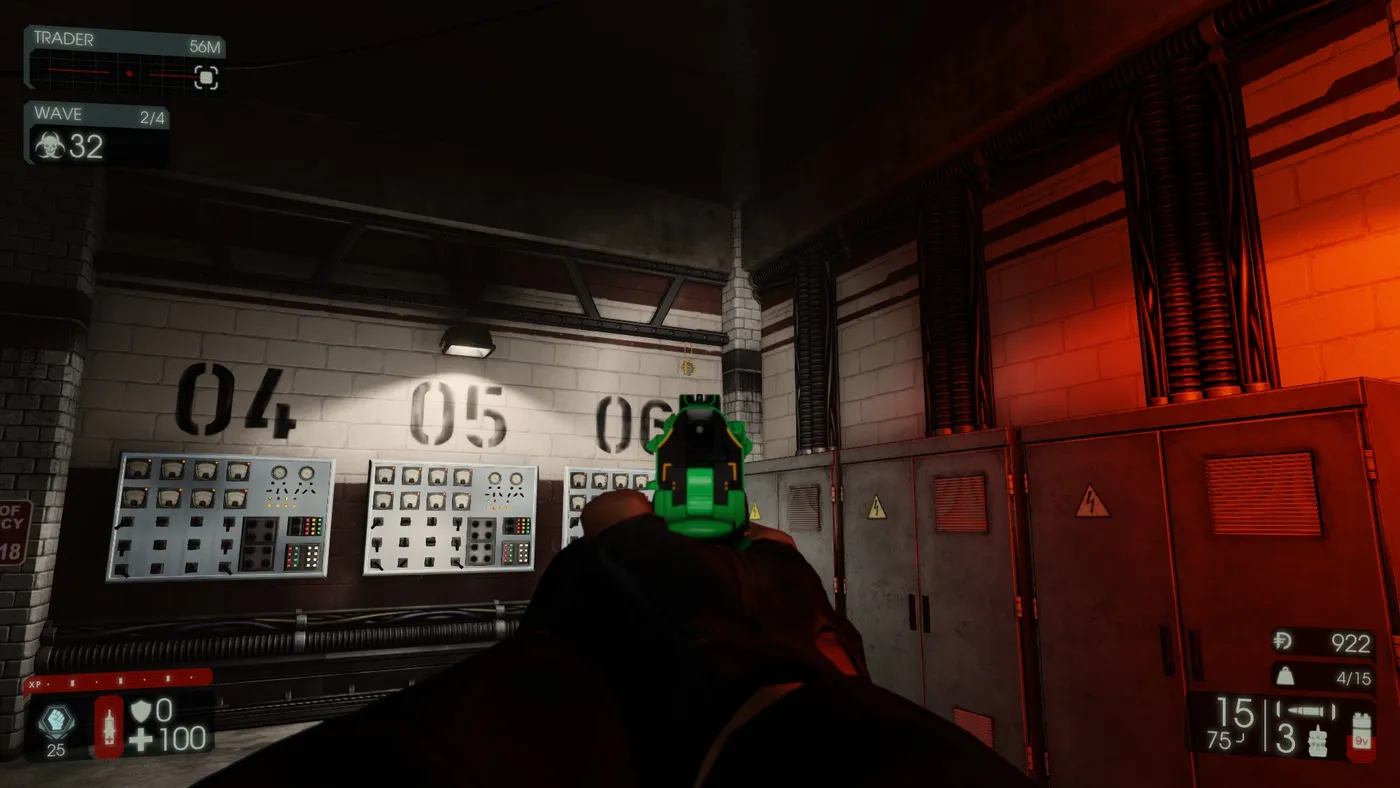
- 14: turn right and cross the room. Numbers 04, 05 and 06 are painted on the wall, and the necklace hangs above the 6.
- 2 and 1: go down the stairs into the small trader room (the necklace above the trader pod), then the necklace between two power cables opposite the outside doorway. Head outside and you are back at Spawn Location 1.
Spawn Location 1, alternate route
Start again from Spawn Location 1 and follow these steps for necklaces 15 to 29.
- Walk down the corridor of trees on your right; a necklace hangs in the branches of the last tree.
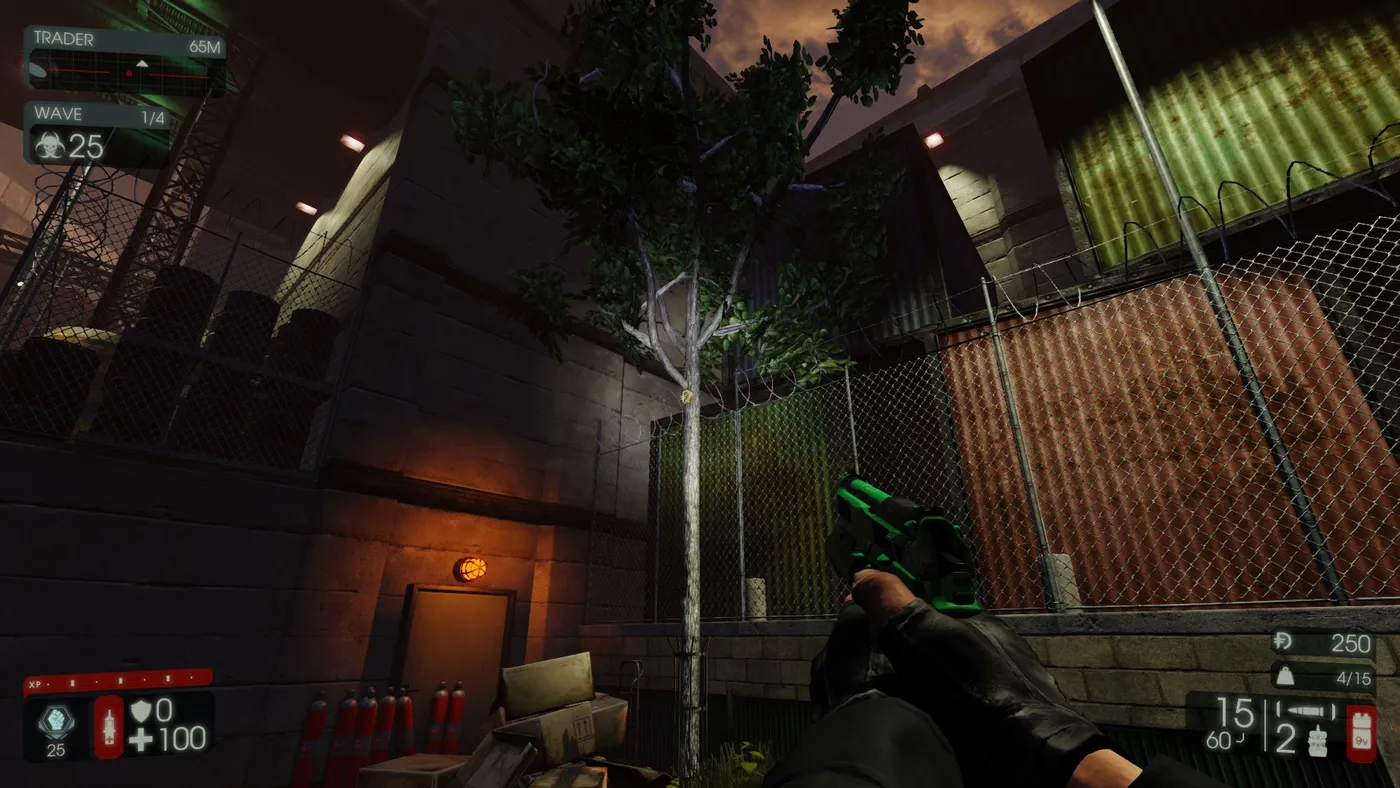
- Turn left to a blue "Diesel Fuel" tank; the necklace is on the ground to its left.
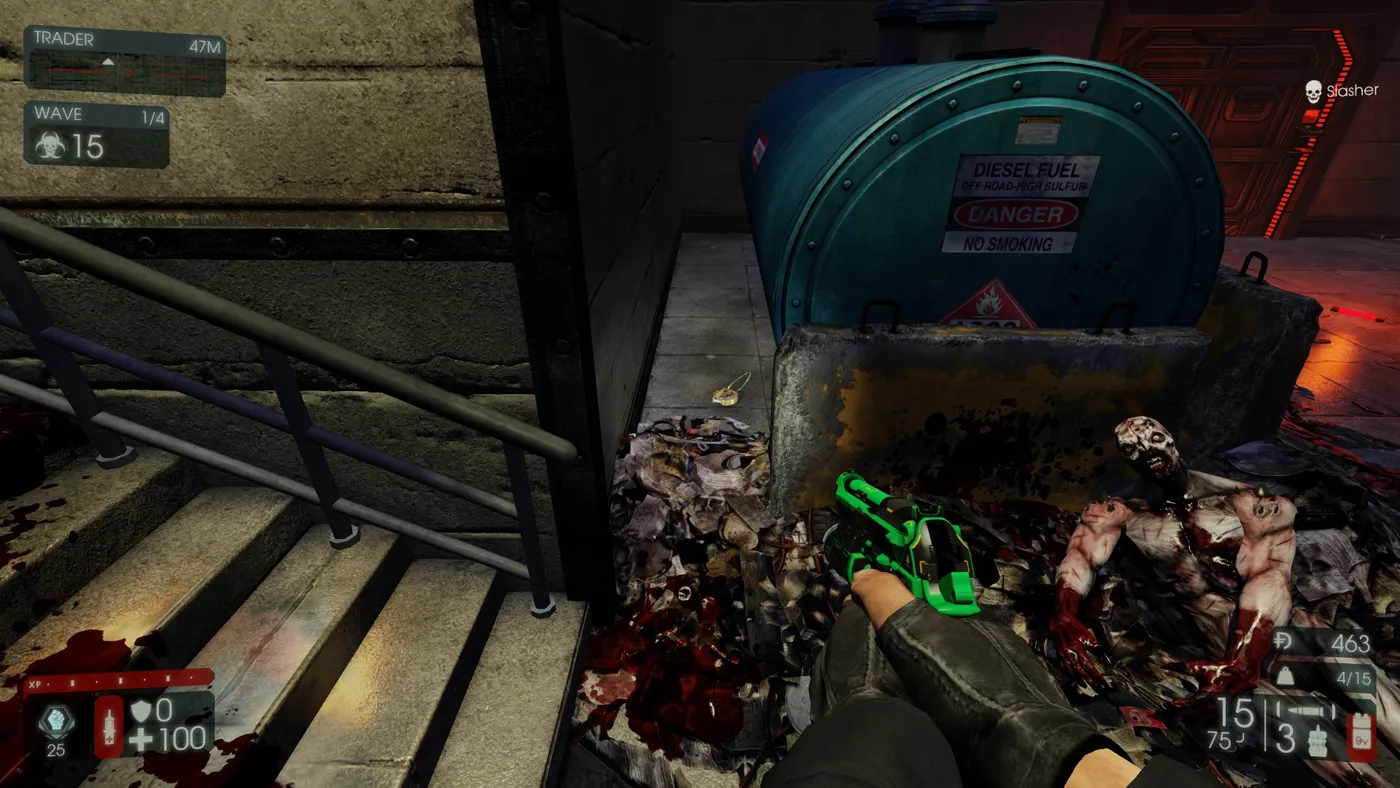
- Turn left and go around the stairs; look up for a necklace on top of the fence.
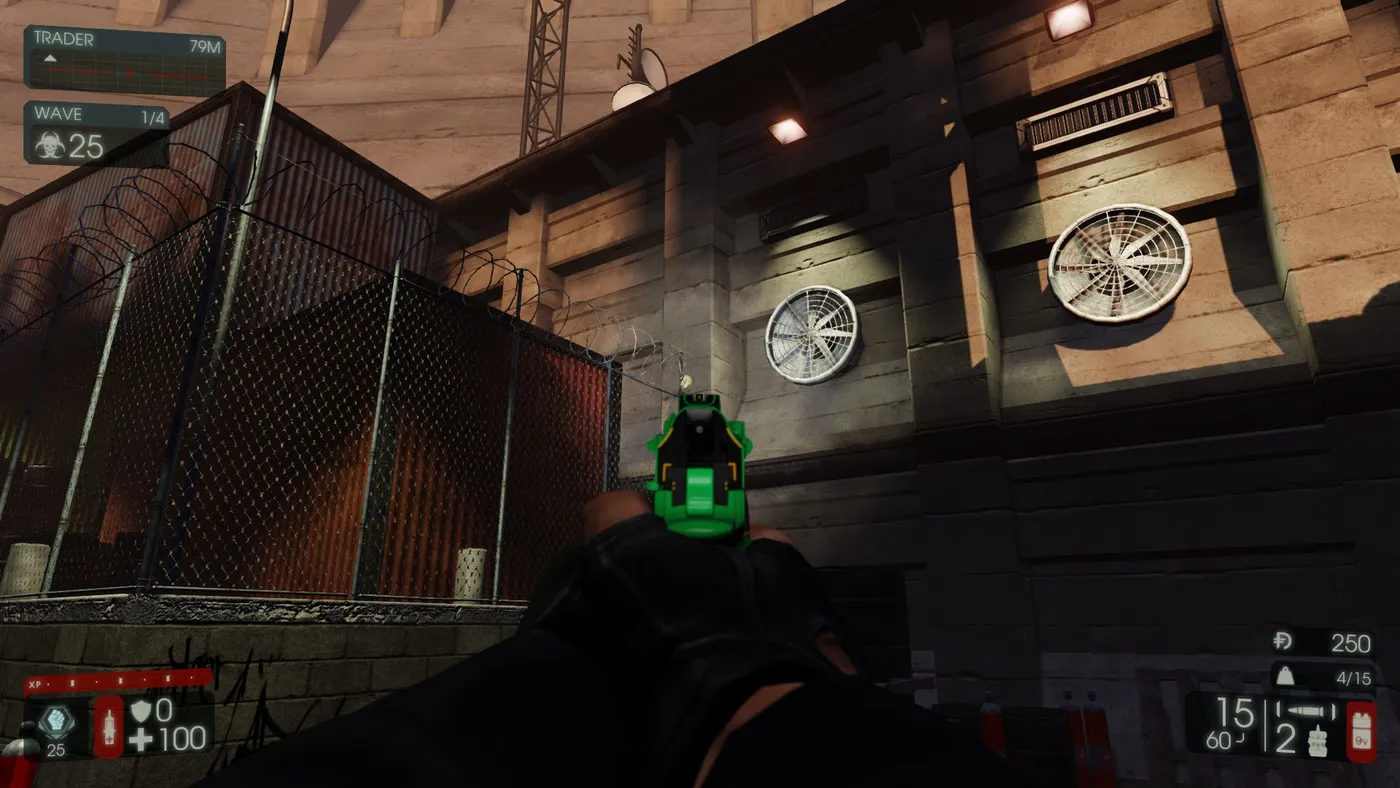
- Go up the stairs and right to a trader pod; behind two sets of pipes on the wall beside it is a necklace.
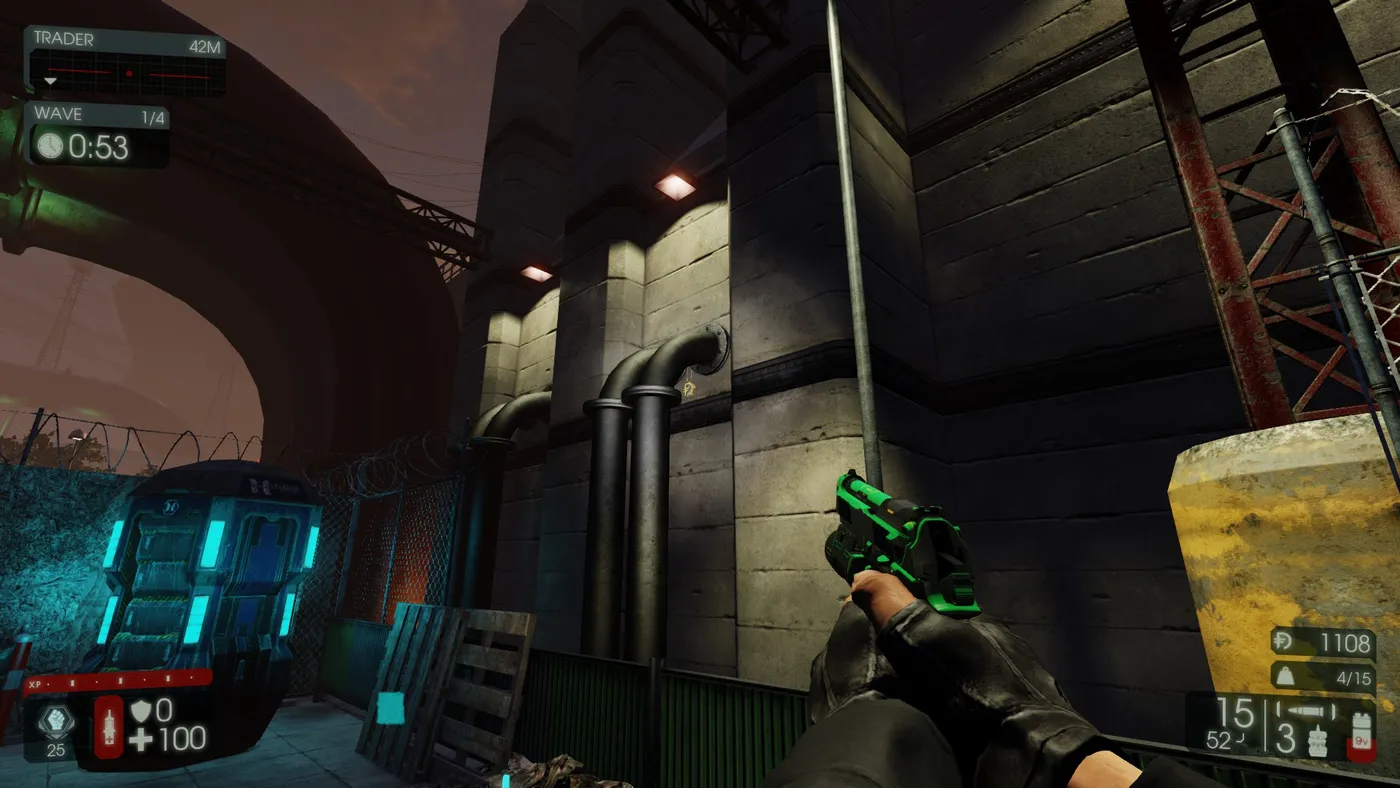
- Turn around and walk to the opposite wall of this upper area; a necklace hangs from a light at the top.
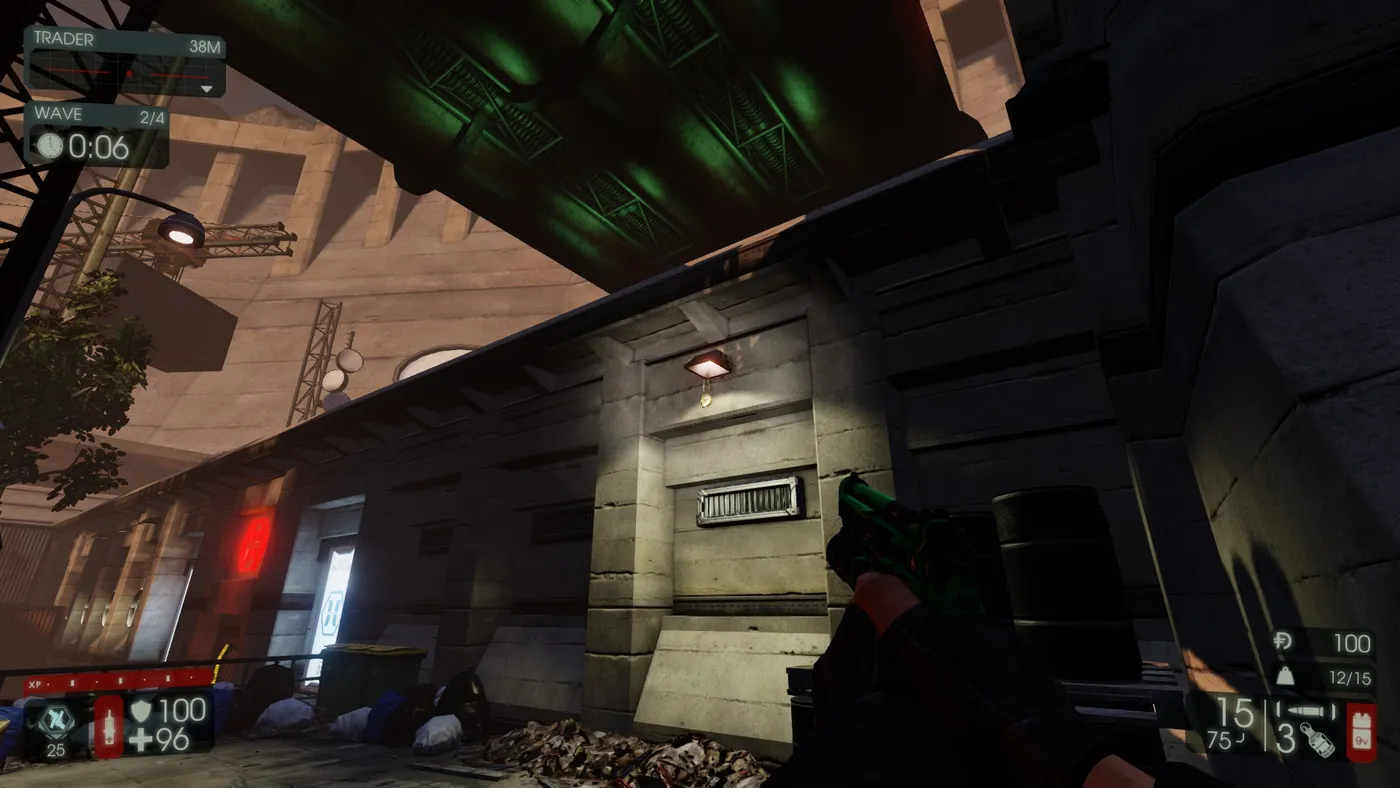
- Jump over the railing in front of you, turn right into the building. On your left a railing is midway up the wall; the necklace rests on that raised area.
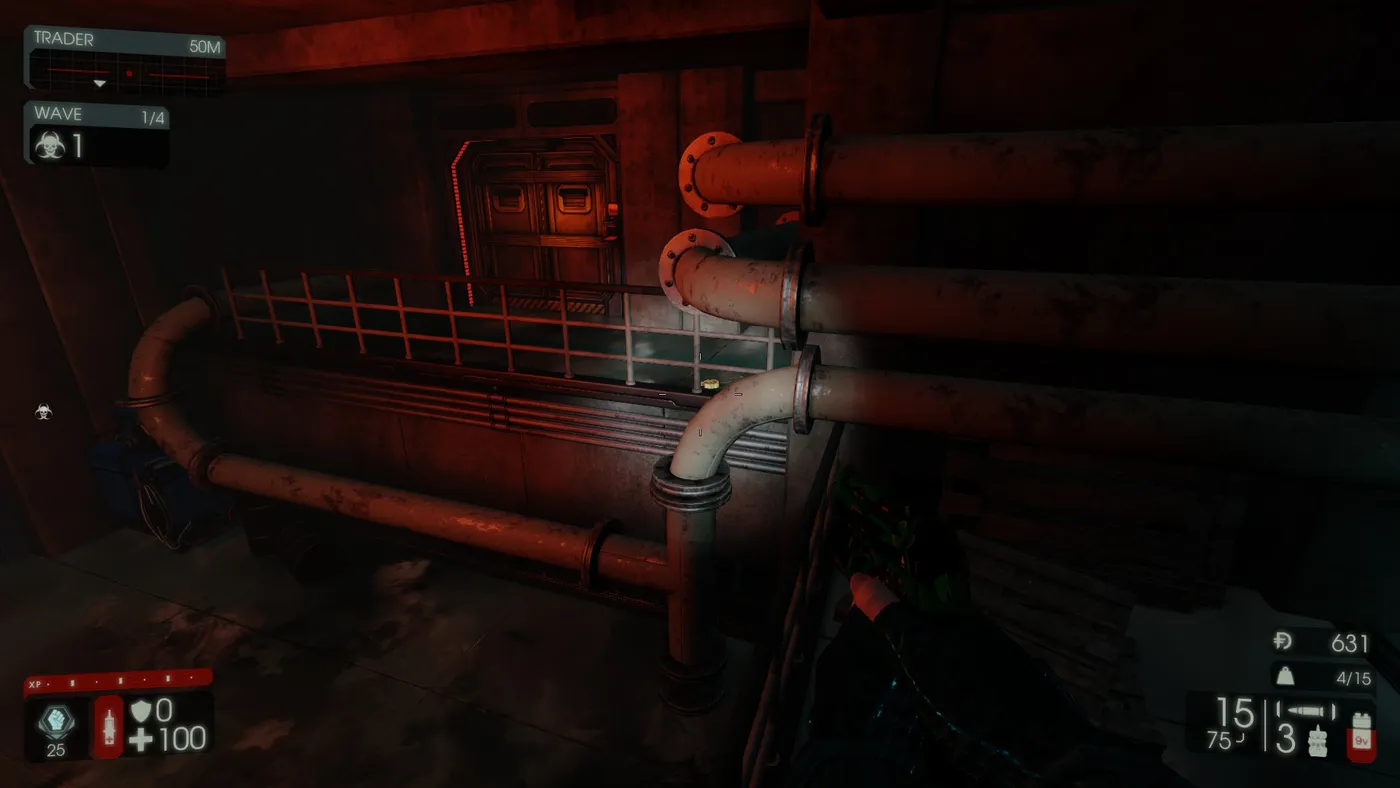
- Turn left and hug the right wall past the waterfall to another door leading outside; the necklace is on the wall above the door.
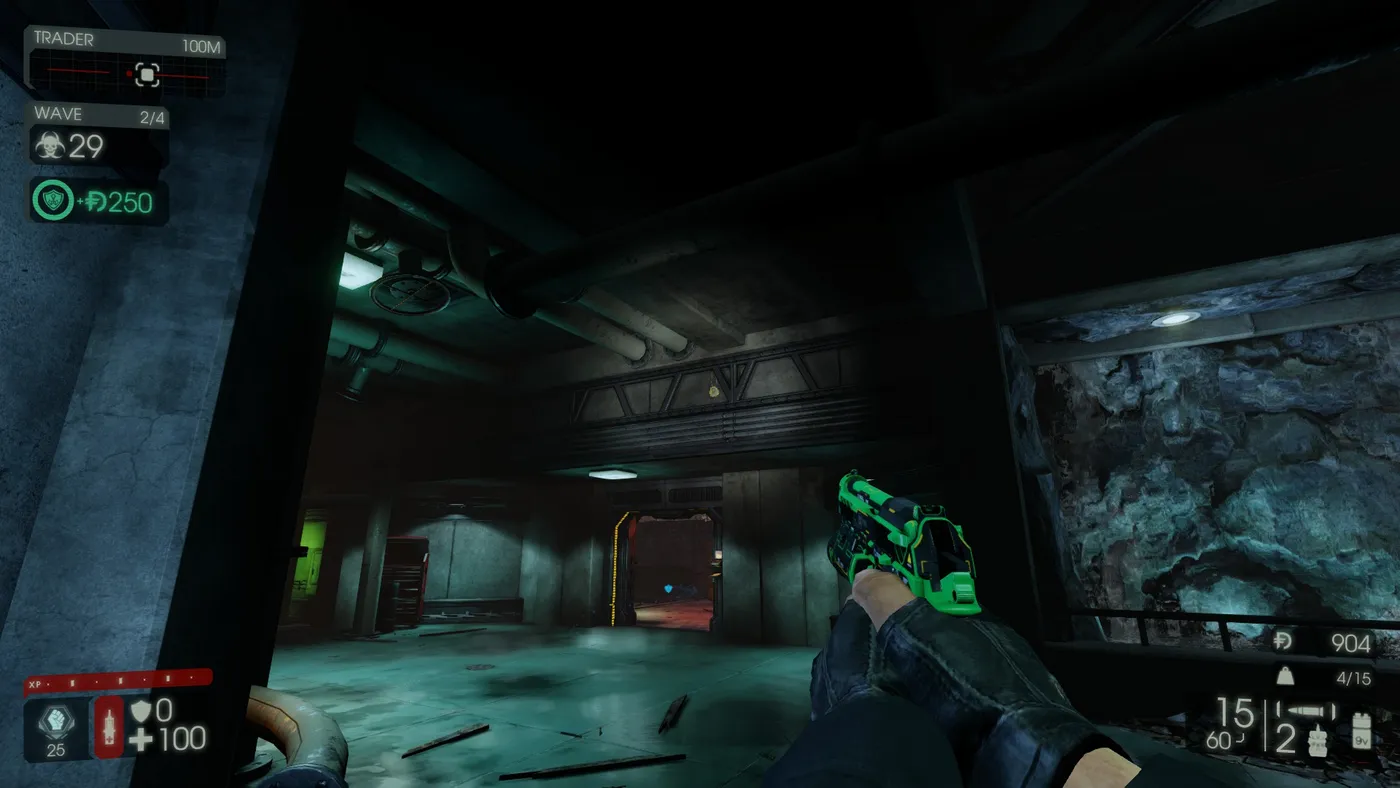
- Turn around and go down a staircase. A trader pod is on your right; the necklace hangs on the wall above it, to the left.
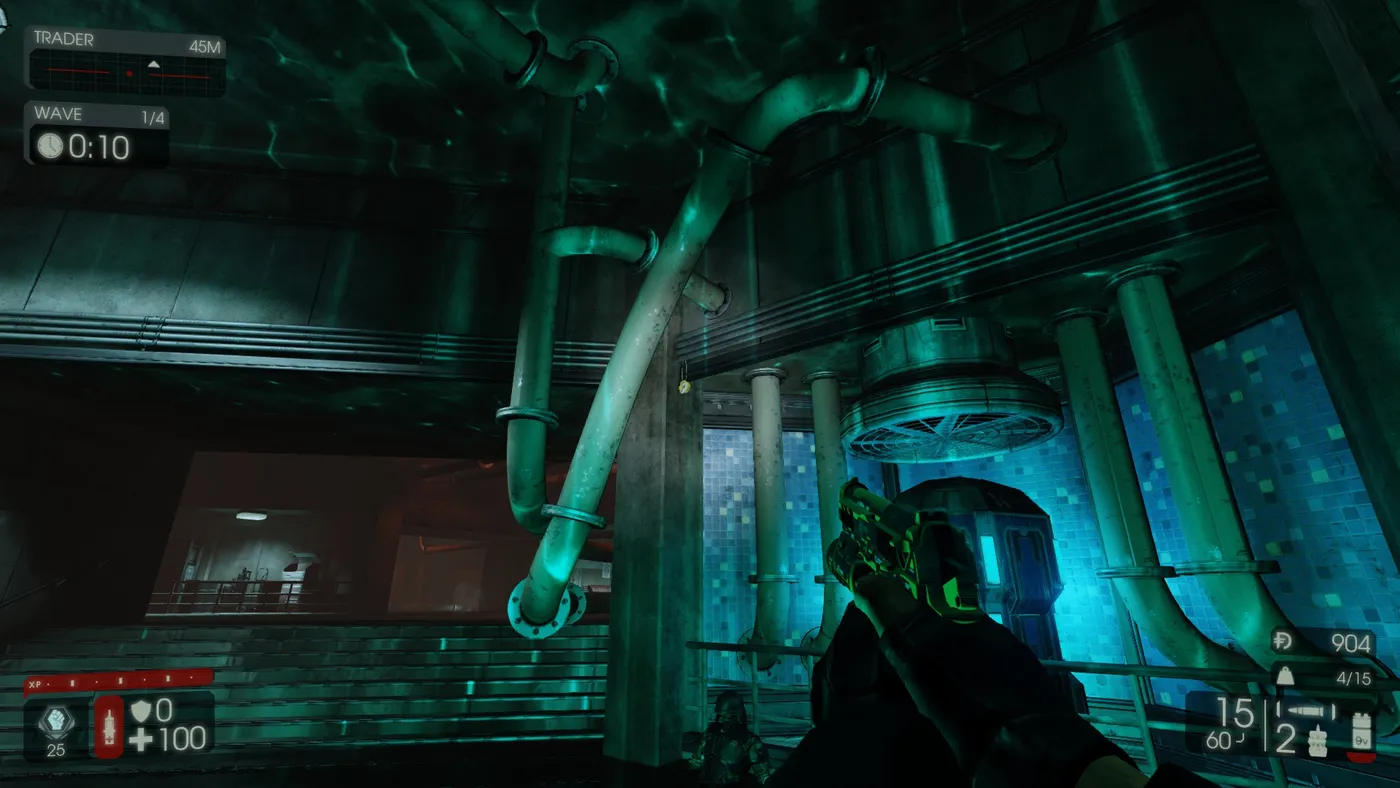
- Walk straight away from the trader pod and up stairs, staying right. Two red pipes run up the wall; the necklace lies on the floor between them.
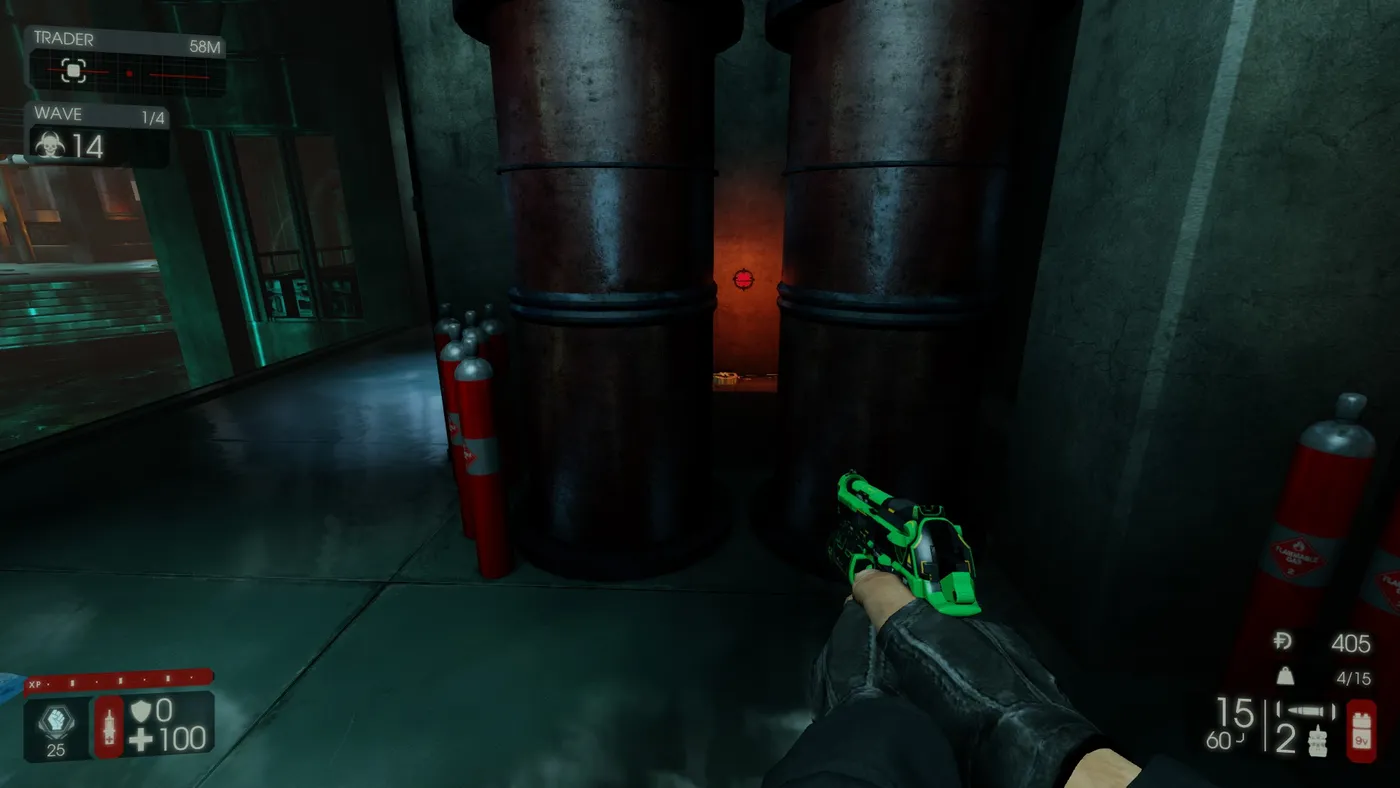
- Follow the large red pipe behind the railing to several computer consoles; a necklace lies on top of the pipe.
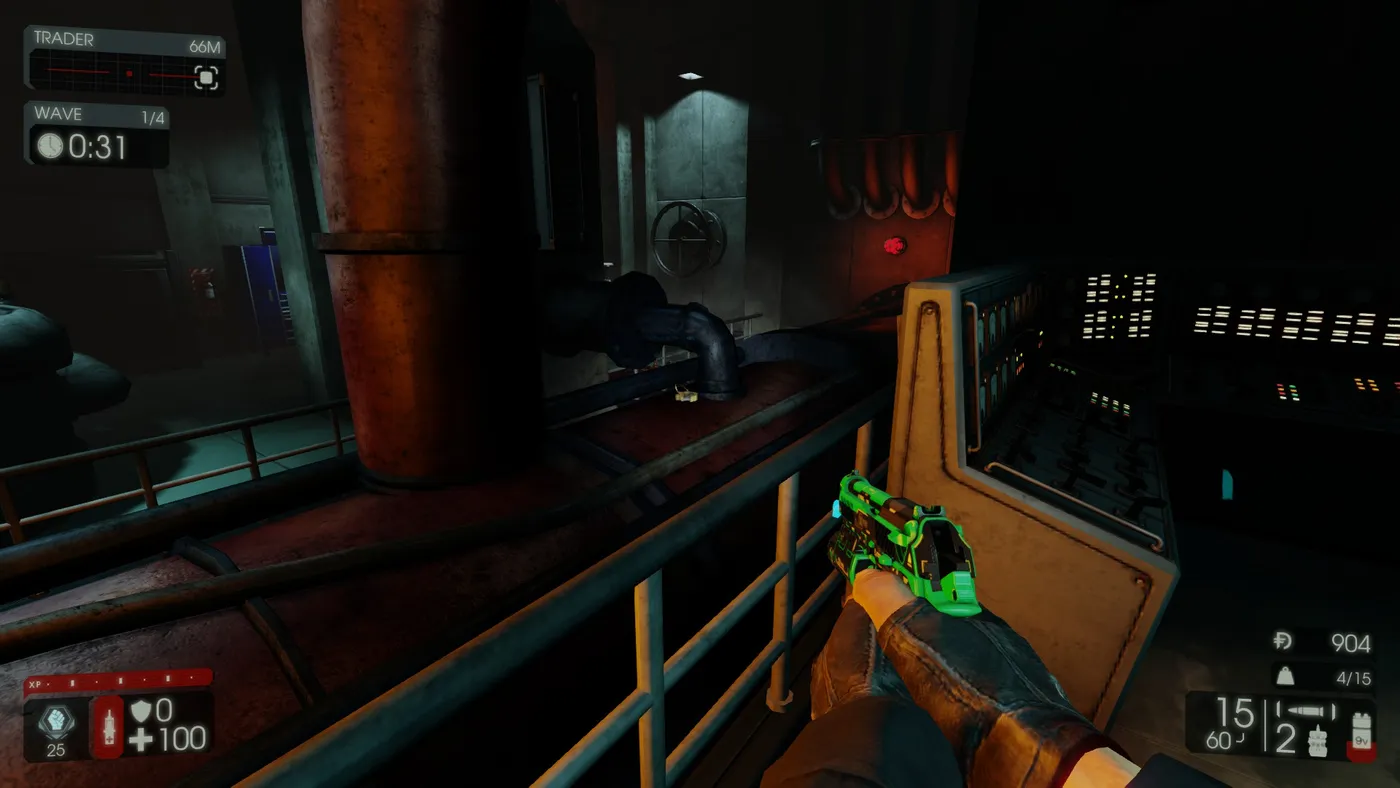
- Turn right: two more red pipes climb the wall, and a necklace hangs on their far side.
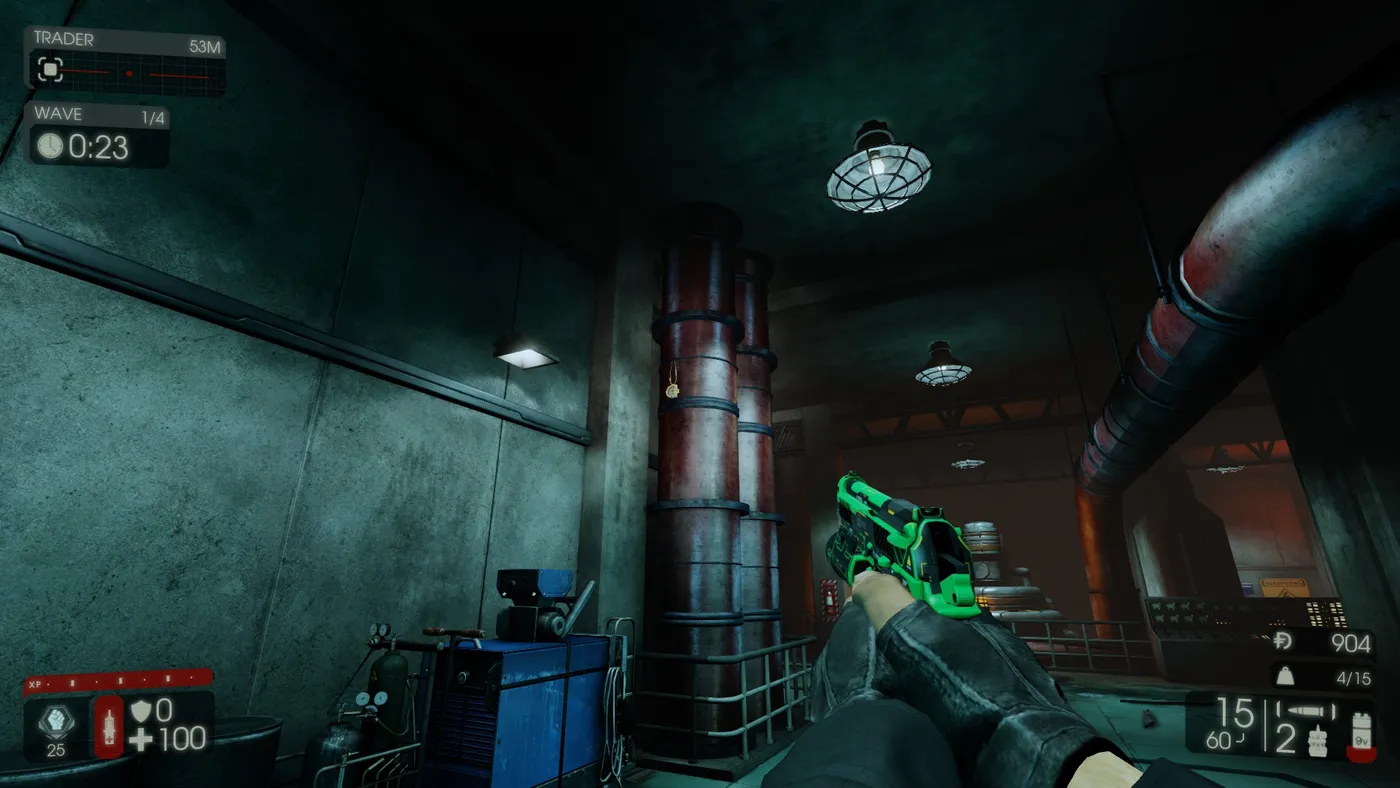
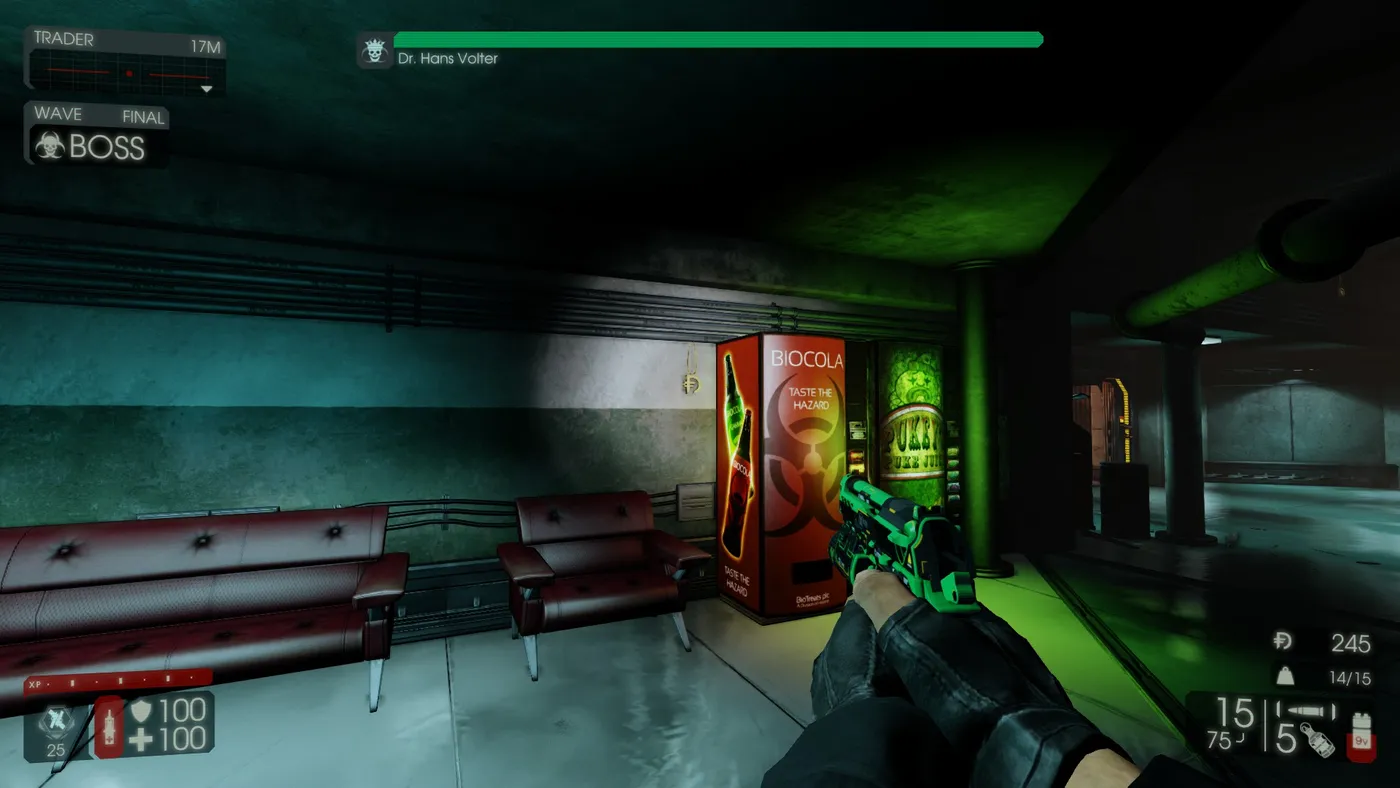
- Turn around toward the BIOCOLA machines; a necklace hangs on the wall left of the machine.
- Turn left and go down the stairs. Across this area behind a railing are two more sets of pipes; take the left set, with the necklace on the floor between the two pipes.
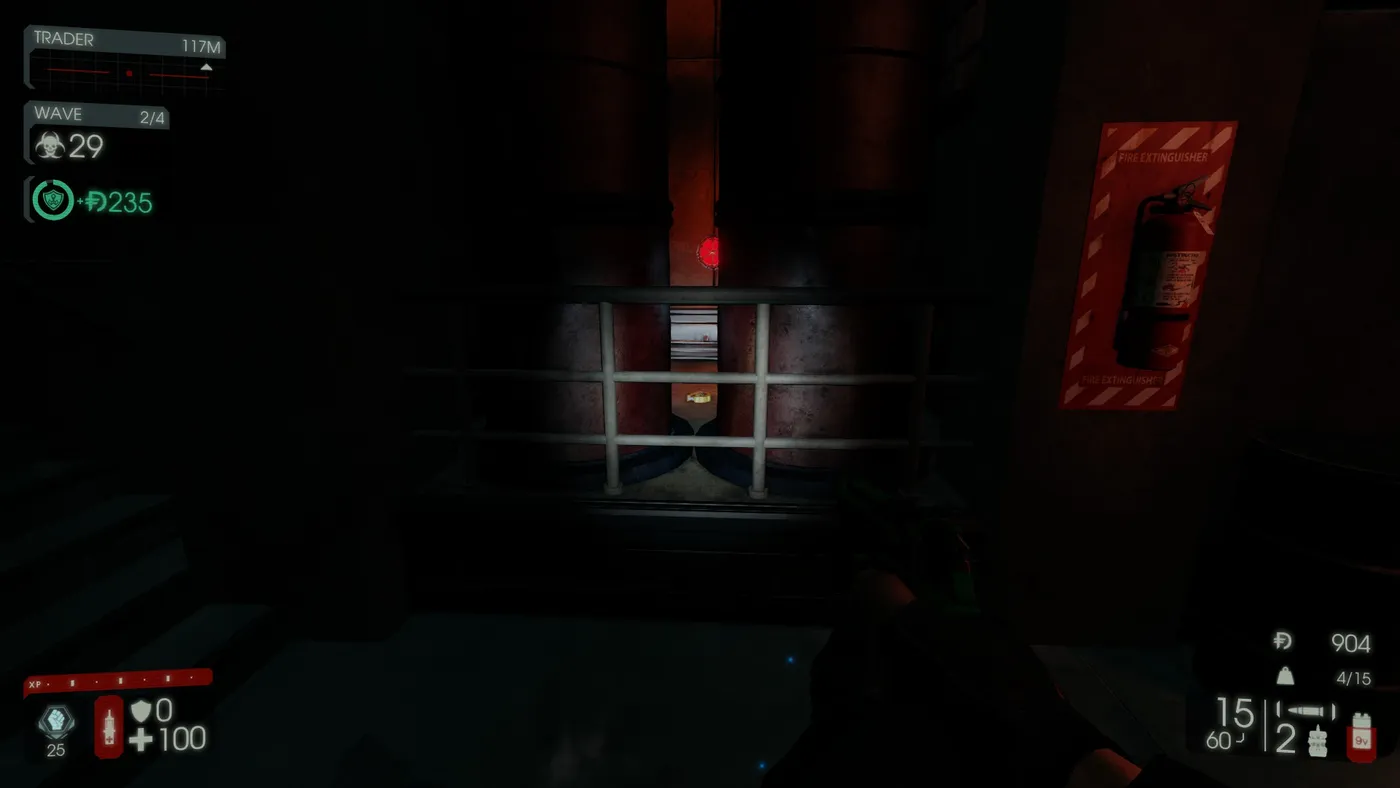
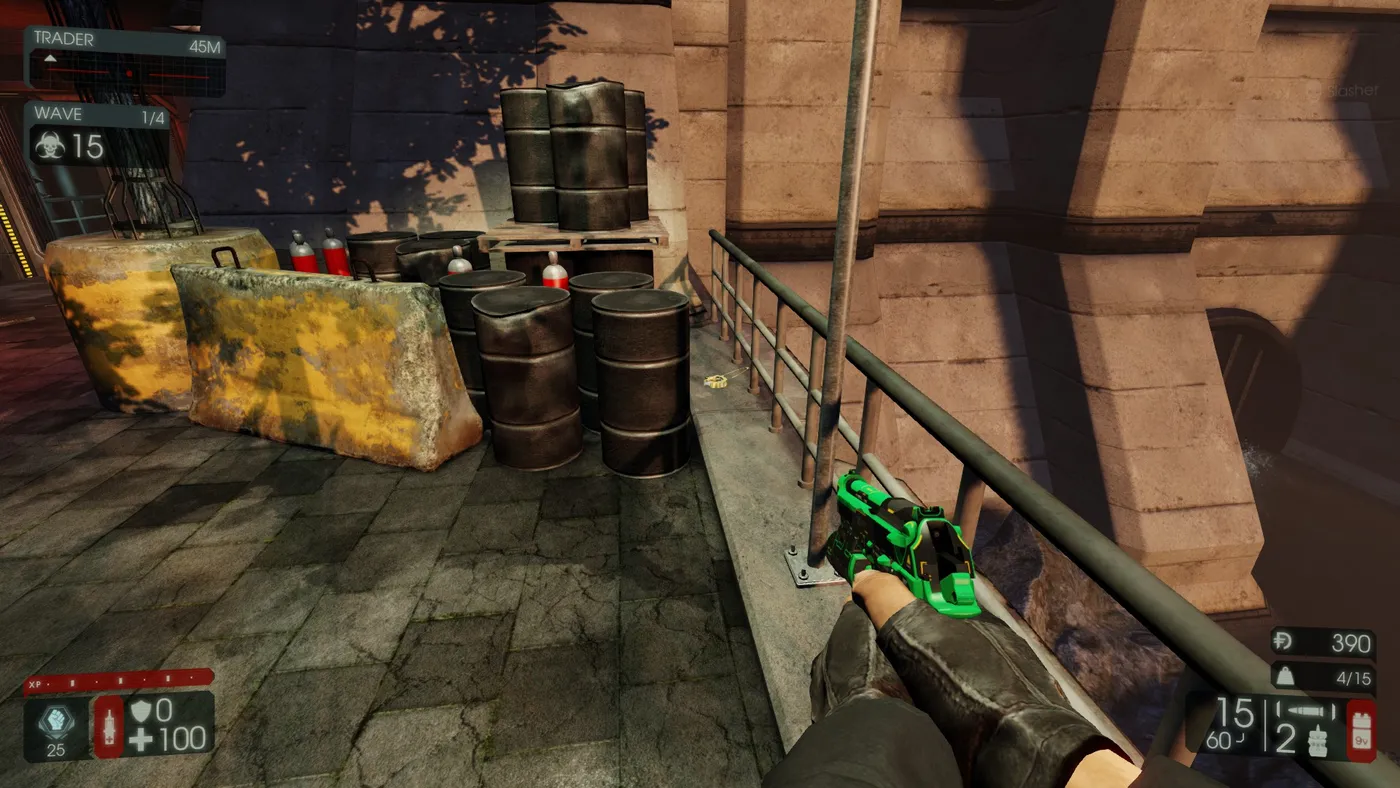
- Turn right and go outside. To your left are a yellow barrier and barrels; the necklace is on the ground between the barrels and the railing.
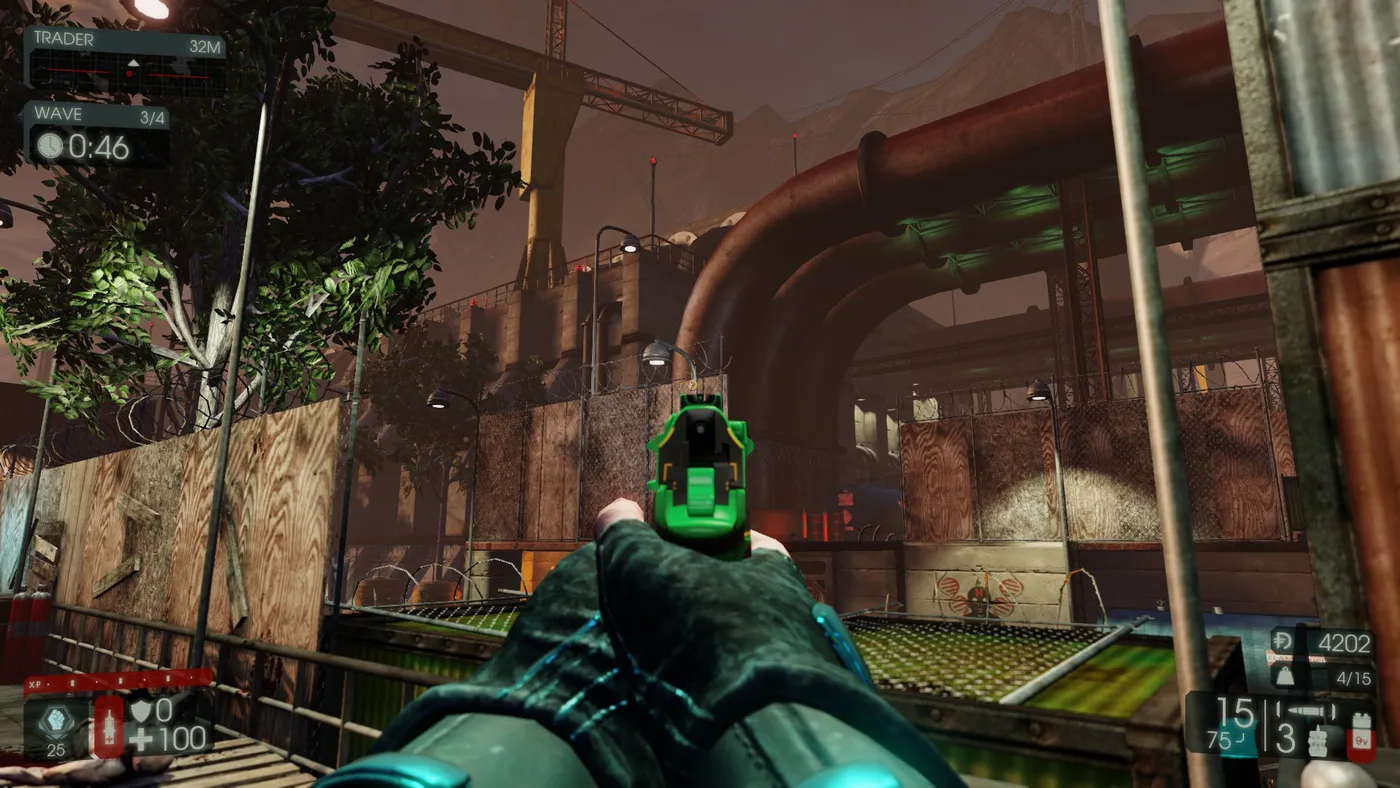
- Turn left and walk forward until you can climb onto a large green container; the necklace hangs from the light post in front of you.
FAQ
- How many collectibles are there on Spillway?
- The guide describes 29 necklaces, numbered by the author, collected in a route that starts from the first spawn location and loops through the second one.
- Do I need a special mode to collect them?
- The guide does not mention any special mode; it is a walking route through the map from the spawn areas, normally done in a quiet solo or private game.
