
How to Add Skins to Killing Floor Server
This guide describes the process of adding custom skins to a Killing Floor server. You will need the Server Perks mutator (or a newer version) for this.
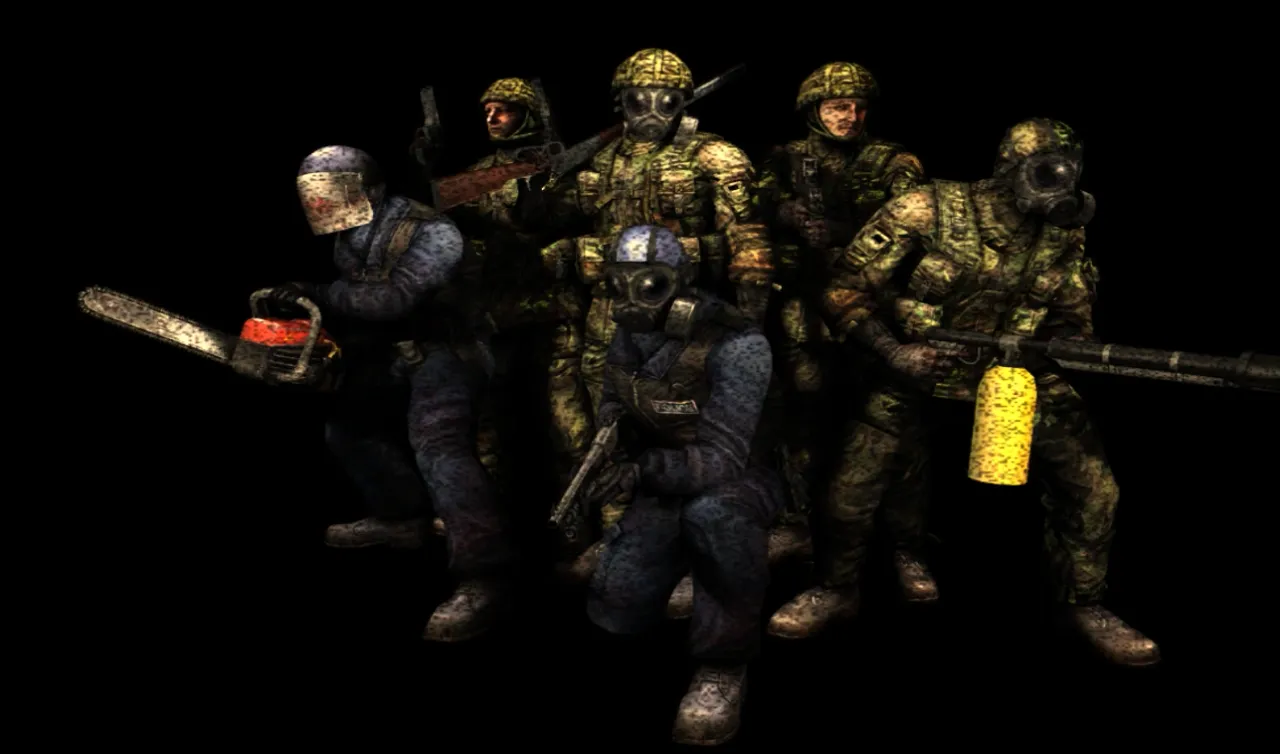 A group of Killing Floor player character models.
Preparation
Download and install the Server Perks mutator. Make sure you have the correct version of the mutator installed.
Installing Skin Files
Unpack the skin archive into the corresponding game folders (usually files go to the System folder, as well as animations, textures and other folders if they exist). Pay attention to the file ending with Mod. For example, for VesDT skin it might be VesDTSkinMod.u.
Configuring ServerPerks.ini
Open the ServerPerks.ini file (or ServerPerksV5.ini for version 5), which is located in the System folder, in notepad.
CustomCharacters=After the equals sign, specify the skin name. The skin name usually consists of the package name and class name separated by a dot.
Example:
CustomCharacters=VesDTSkin.VesDTSkinCustomCharacters=VesDTSkin.VesDTSkin,KFStigMod.KFStig,TraderMod.TraderSkin groups. To sort a large skin pack into groups, ServerPerks lets you put a group name before the skin, separated by a colon (killingfloor.ru forum, "Как рассортировать пак скинов" thread):
CustomCharacters=Группа:VesDTSkin.VesDTSkinIf Cyrillic group names show up as garbage characters, change the .ini file's encoding: open it in Notepad, choose "Save As..." and the "Unicode" encoding.
Saving and Restarting
Save the ServerPerks.ini file and restart the server. Now players will be able to select the added skins in the regular character selection menu.
A personal skin for one player (admin skin)
Sometimes a skin is meant for one person only, such as the admin. Many skins ship as a character mutator with a PlayerIDs setting: only the listed players can pick that skin. Flame on the killingfloor.ru forum suggested loading them through MutLoader so the server's launch line stays untouched:
- Add the character mutator to
MutLoader.ini:Mutator=MadzoeyMut.MadzoeyMut. - In
KillingFloor.ini, section[Engine.GameEngine], make sure there isServerActors=MutLoader.MutLoader. - In the same file, add a section for the mutator with the player's SteamID64:
[MadzoeyMut.MadzoeyMut]
PlayerIDs=76561198000000000
Adding another skin only takes a line in MutLoader.ini and a section in KillingFloor.ini, so even an admin with file access but no control over the server's launch parameters can do it. In ServerPerks 5 and later a skin can also be assigned to a player in the stats file; remember to add the skin file to ServerPackages so other players download it.
The skin downloaded but is not in the selection
- Wait. From the "Скин на дедикат сервер" (Skin on a dedicated server) thread on the killingfloor.ru forum: according to Flame, ServerPerks custom skins do not appear at once, but about 30 seconds after connecting to the server (in the start menu) or about 15 seconds after entering the game. A skin assigned by ID is applied immediately.
- Old ServerPerks version. In the same thread an admin on ServerPerks 5.10 still had no custom skins after an hour of play. Participants recalled that custom skins were cut in one of the SP 5.x versions (Flame named 5.01, kok-s named 5.10; the exact version was never settled) and advised using a different SP version.
- A skin mutator must be enabled. From the "Скины" (Skins) thread on the killingfloor.ru forum: on the author's Linux server the DaericKnight skin downloaded, but only the standard skins were selectable. It turned out this skin has to be activated as a mutator (the author did it through WebAdmin); on the old ServerPerks 5.10 the same applies, by adding the skin to the mutator line.
Important Notes
- Make sure all skin files are properly installed in the corresponding folders
- The skin name must exactly match the class name in the skin file
- For skins to work on the server, clients must also have the skin files installed, or the server must automatically download them via ServerPackages
