
Ashwood Asylum Collectibles Route: 10 Items in One Run (KF2)
This is a translation of a Portuguese guide that shows one path through Ashwood Asylum with 10 collectibles along the way. There are more than 10 on the map, but this single route collects enough for the achievement. For other lists see Ashwood Asylum collectibles locations and the HKC list.
Collectible 1
You spawn at the asylum entrance. Turn right and keep going straight until you see a passage with stacked junk and a planter with a ladder beside it. Your first collectible is there. Shoot it to pick it up.
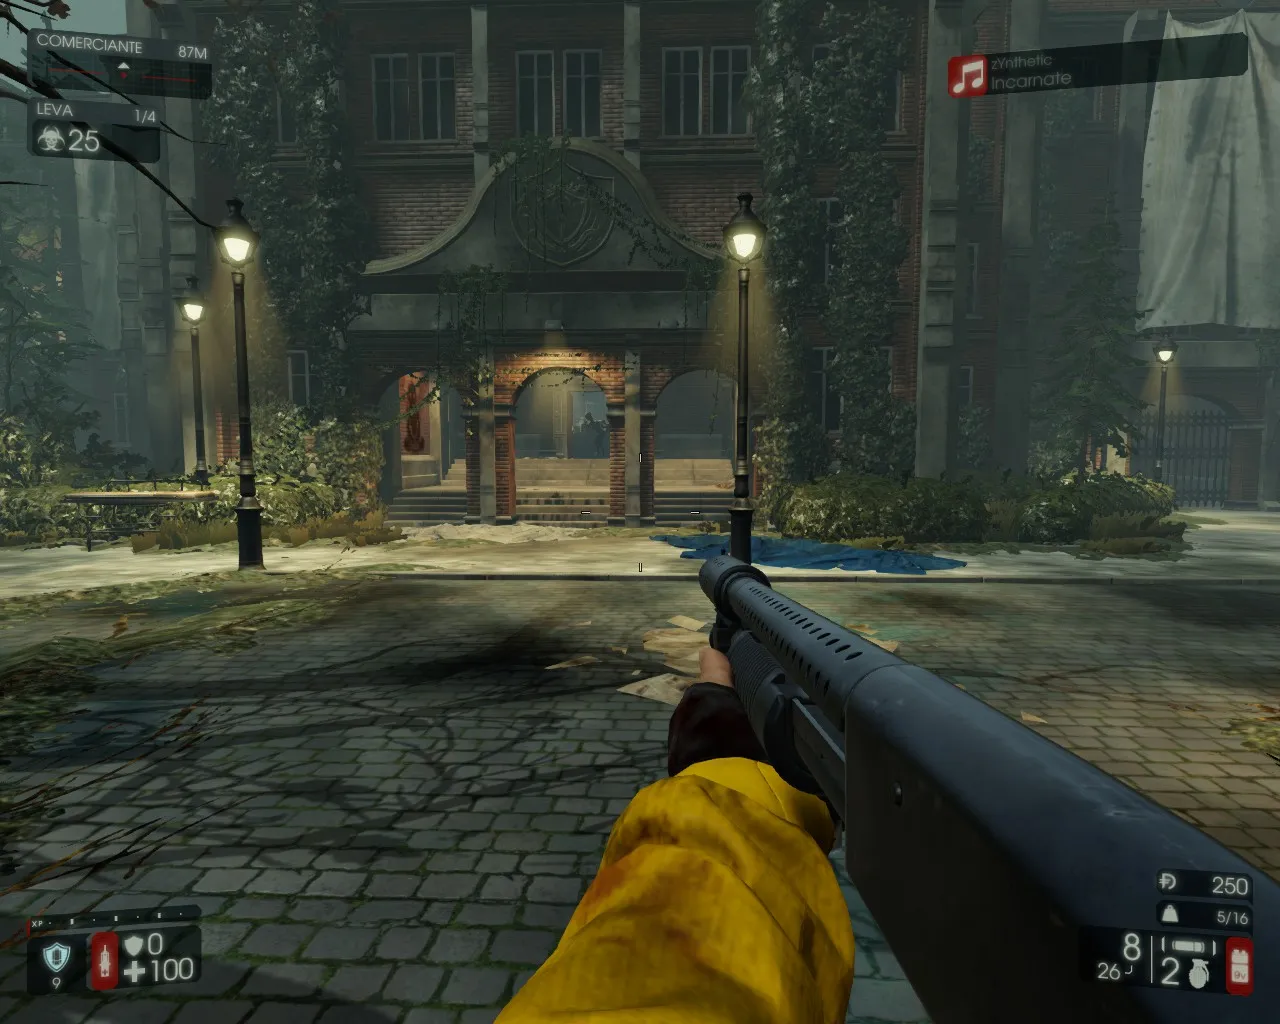 Route step 1.
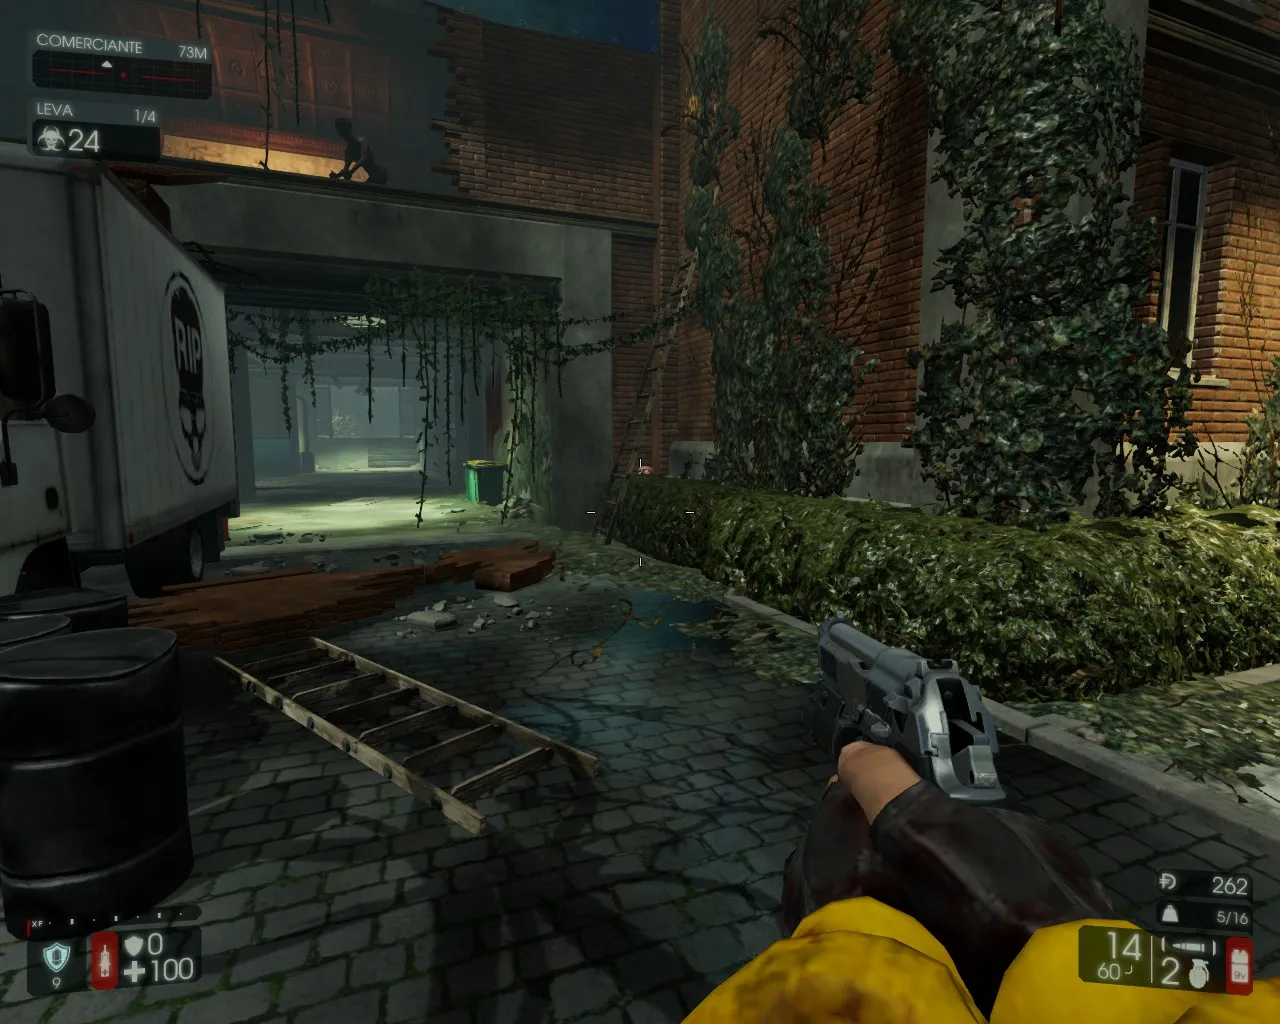 Route step 2.
Collectible 2
After taking it, turn around 180 degrees and go to the vending machine nearby. Next to it is a pile of wood, and another collectible is hidden there.
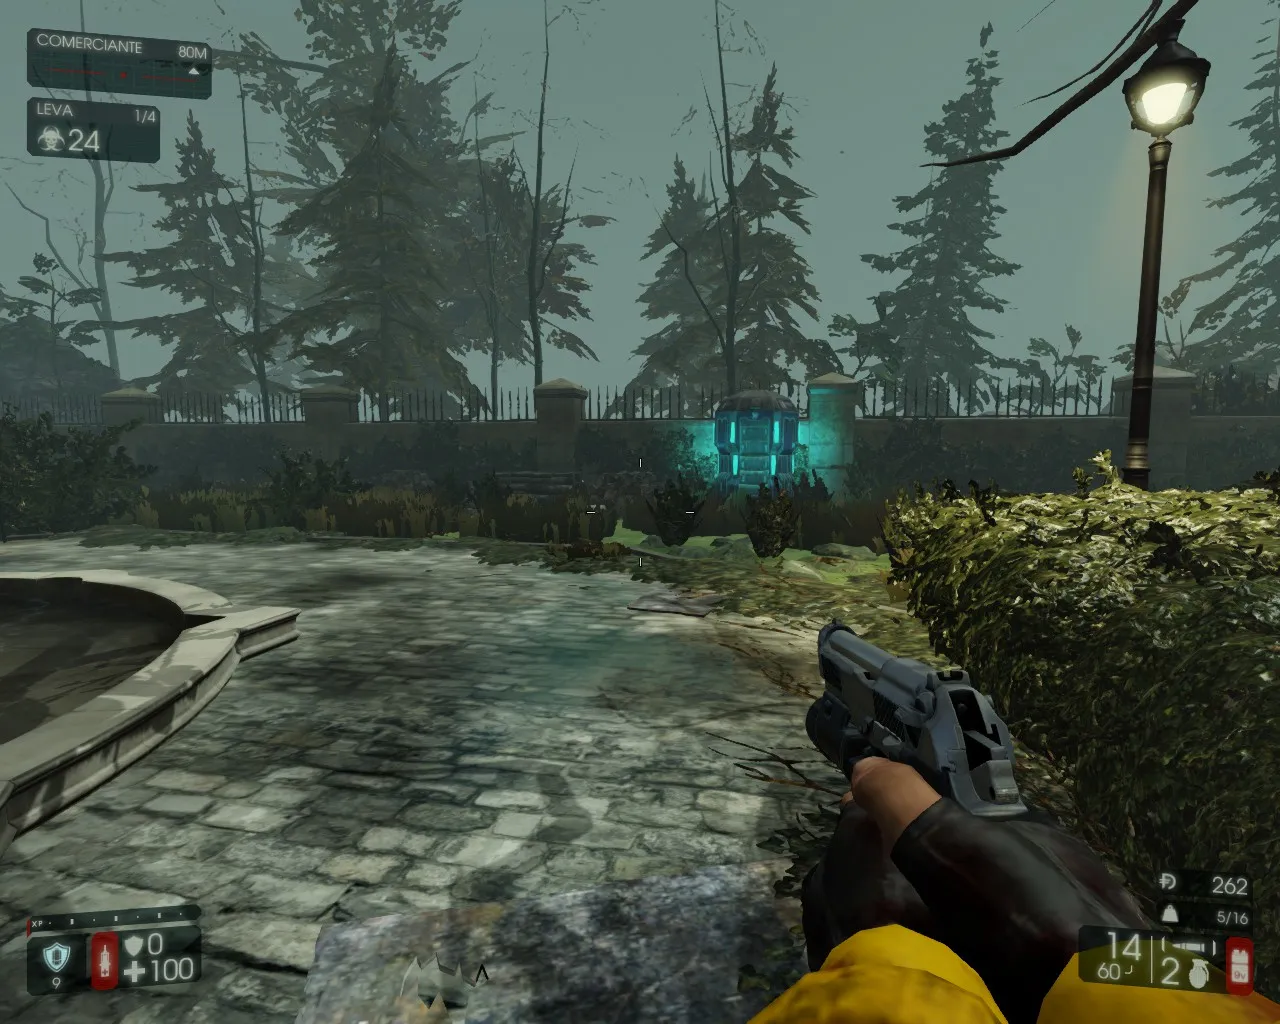 Route step 3.
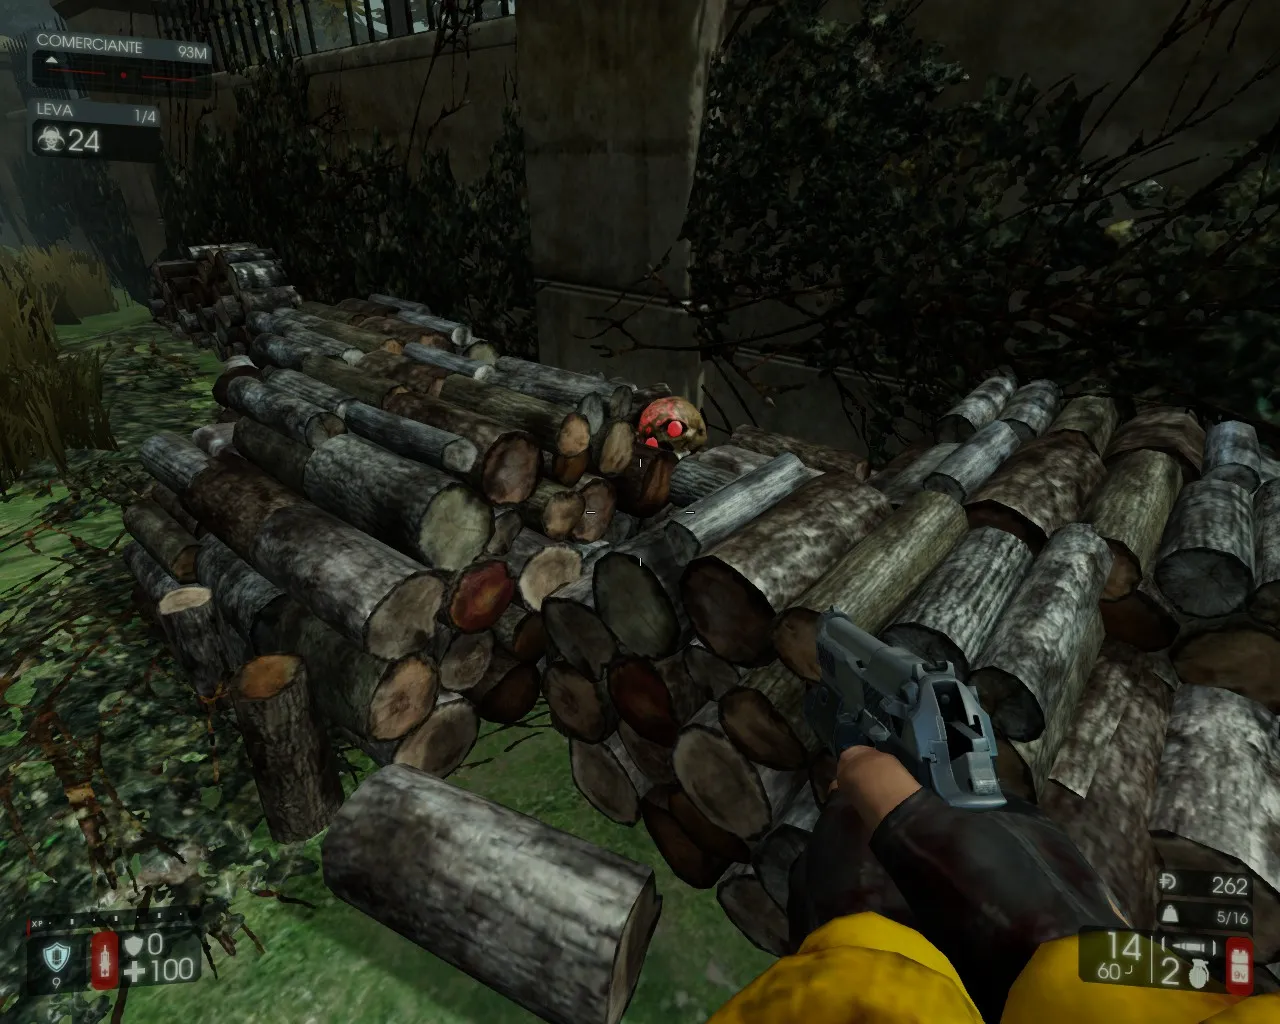 Route step 4.
Collectible 3
Leave and turn left; at the end of the wall there is a corridor with an entrance, go in. You reach a room: walk around the table and continue straight. Take the stairs on your right down, then head to the other staircase and climb it. At the top go straight and turn right into what looks like a dead-end corridor. By the stretcher, look left into a part you cannot physically reach: on top of some barrels in the back is the collectible.
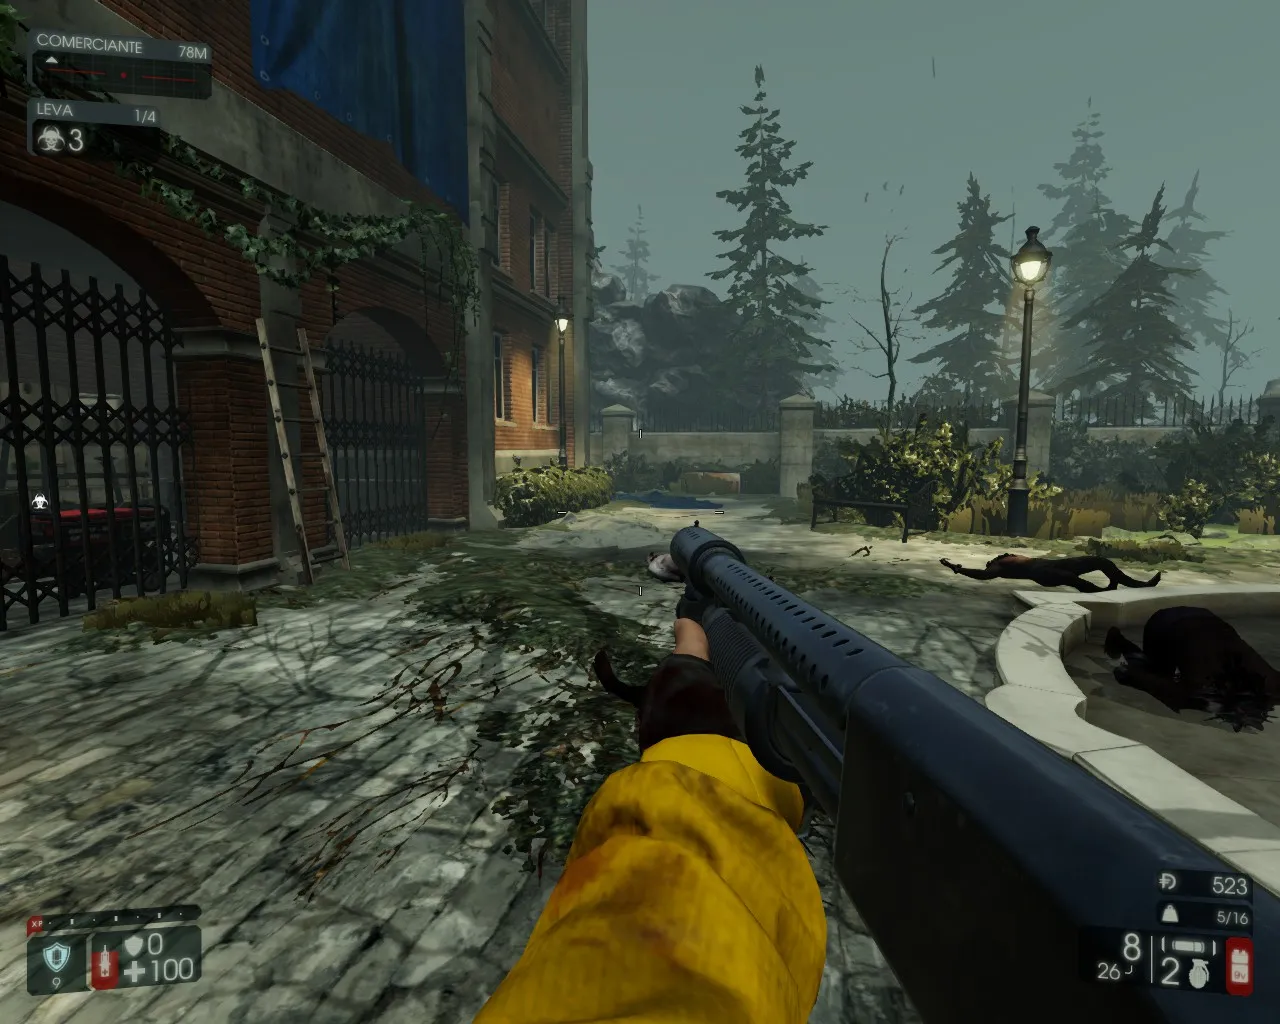 Route step 5.
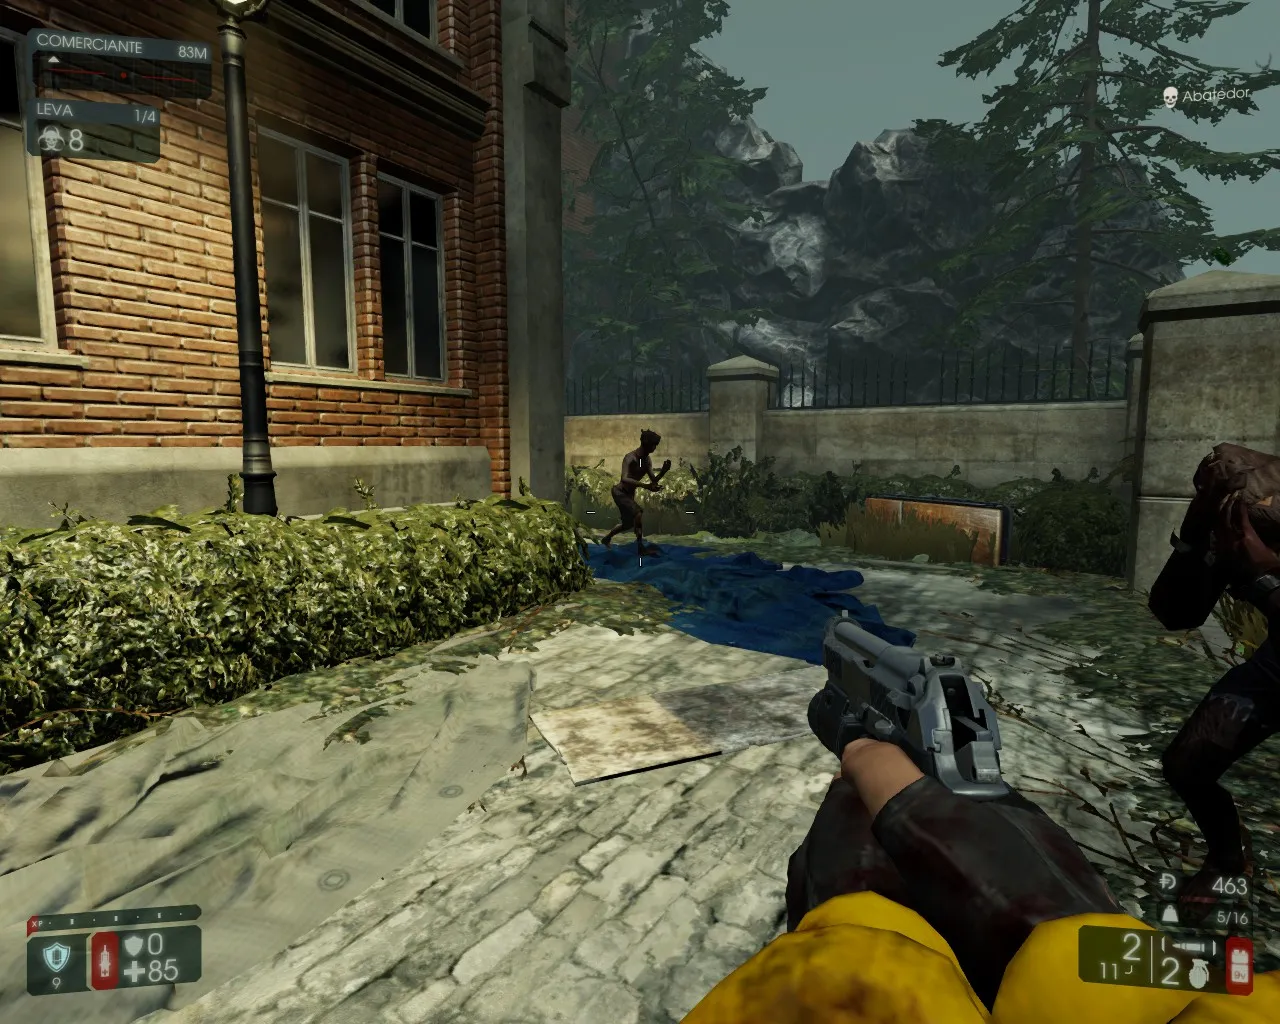 Route step 6.
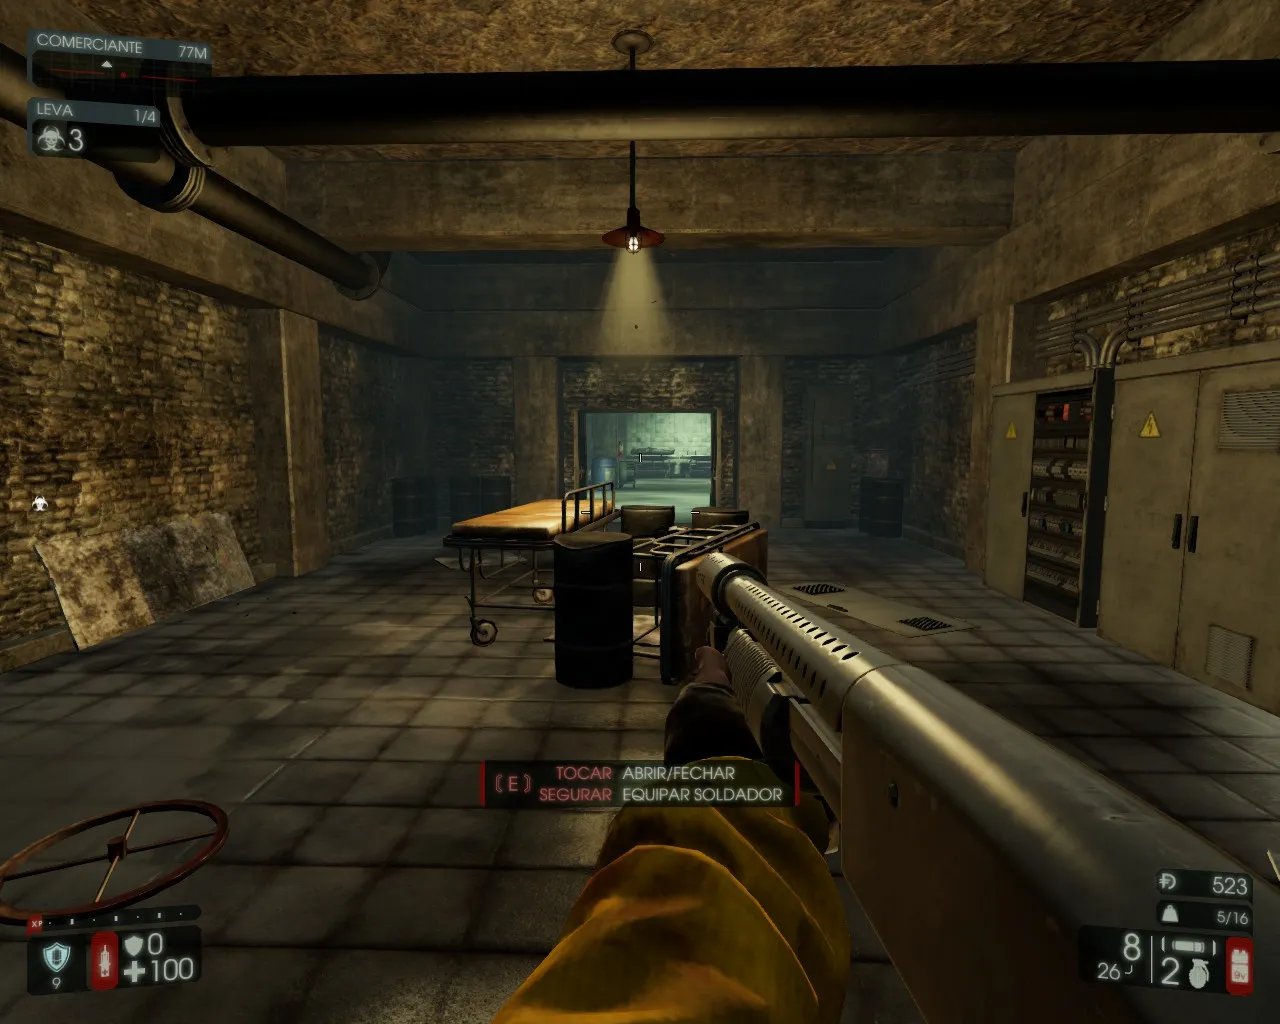 Route step 7.
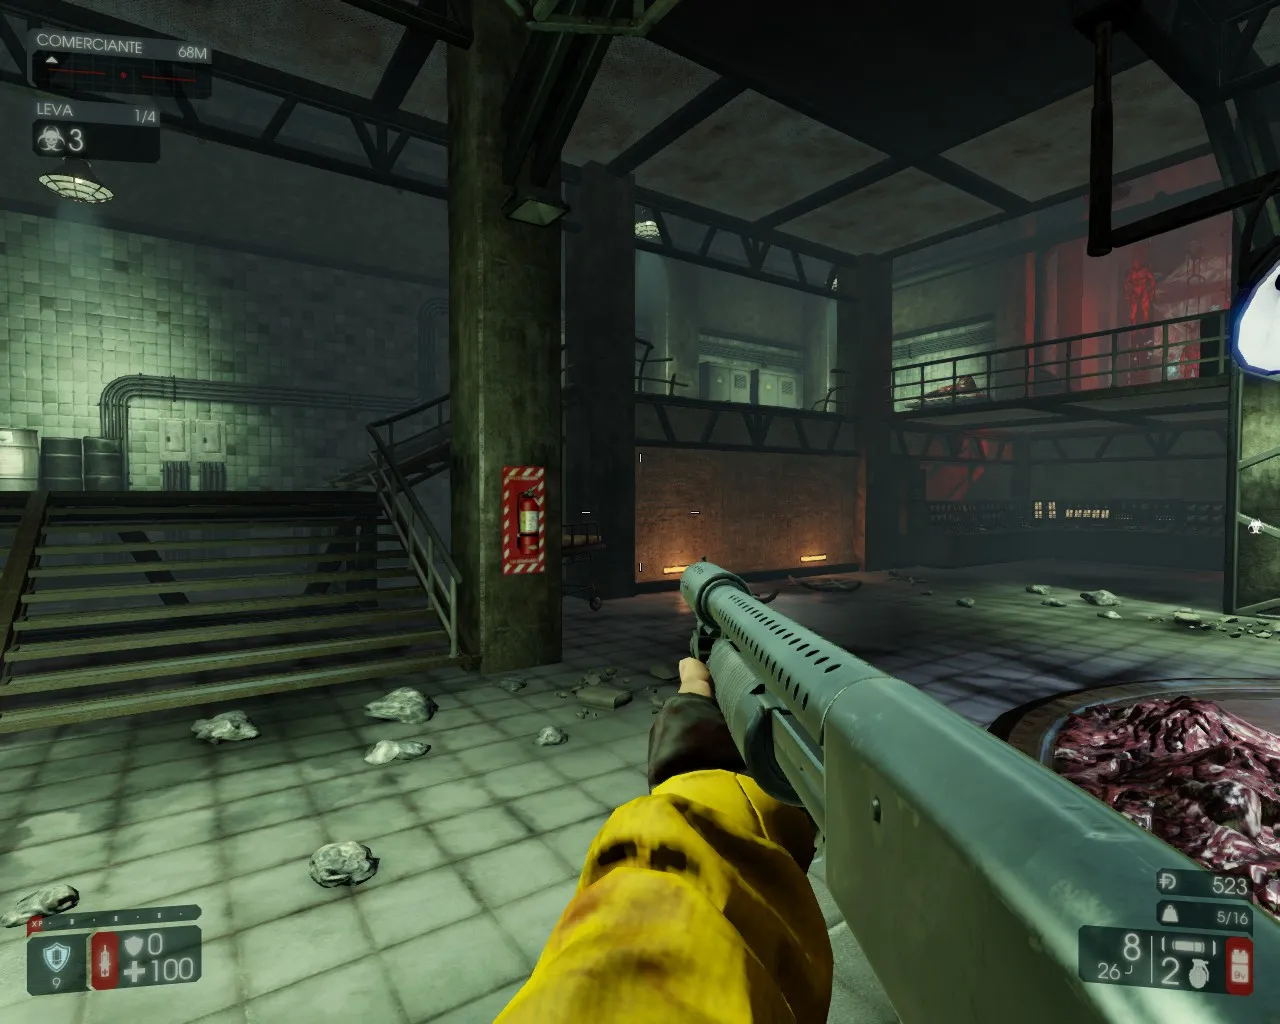 Route step 8.
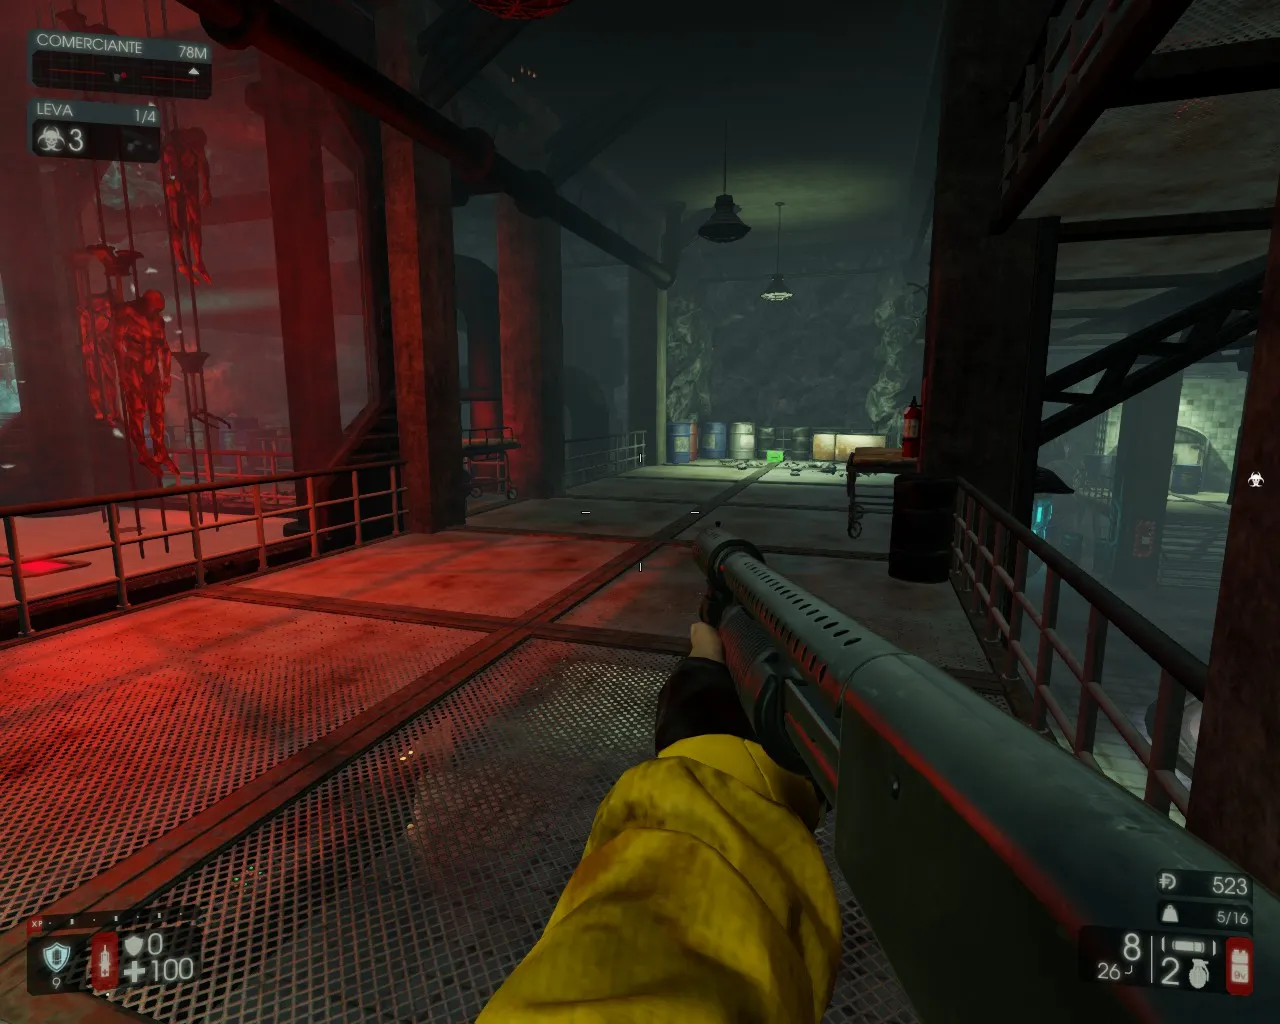 Route step 9.
Collectible 4
Go back through the door you came through, walk to the right and climb a staircase. Stop halfway, turn right and look into one of the body storage compartments: there is another collectible inside.
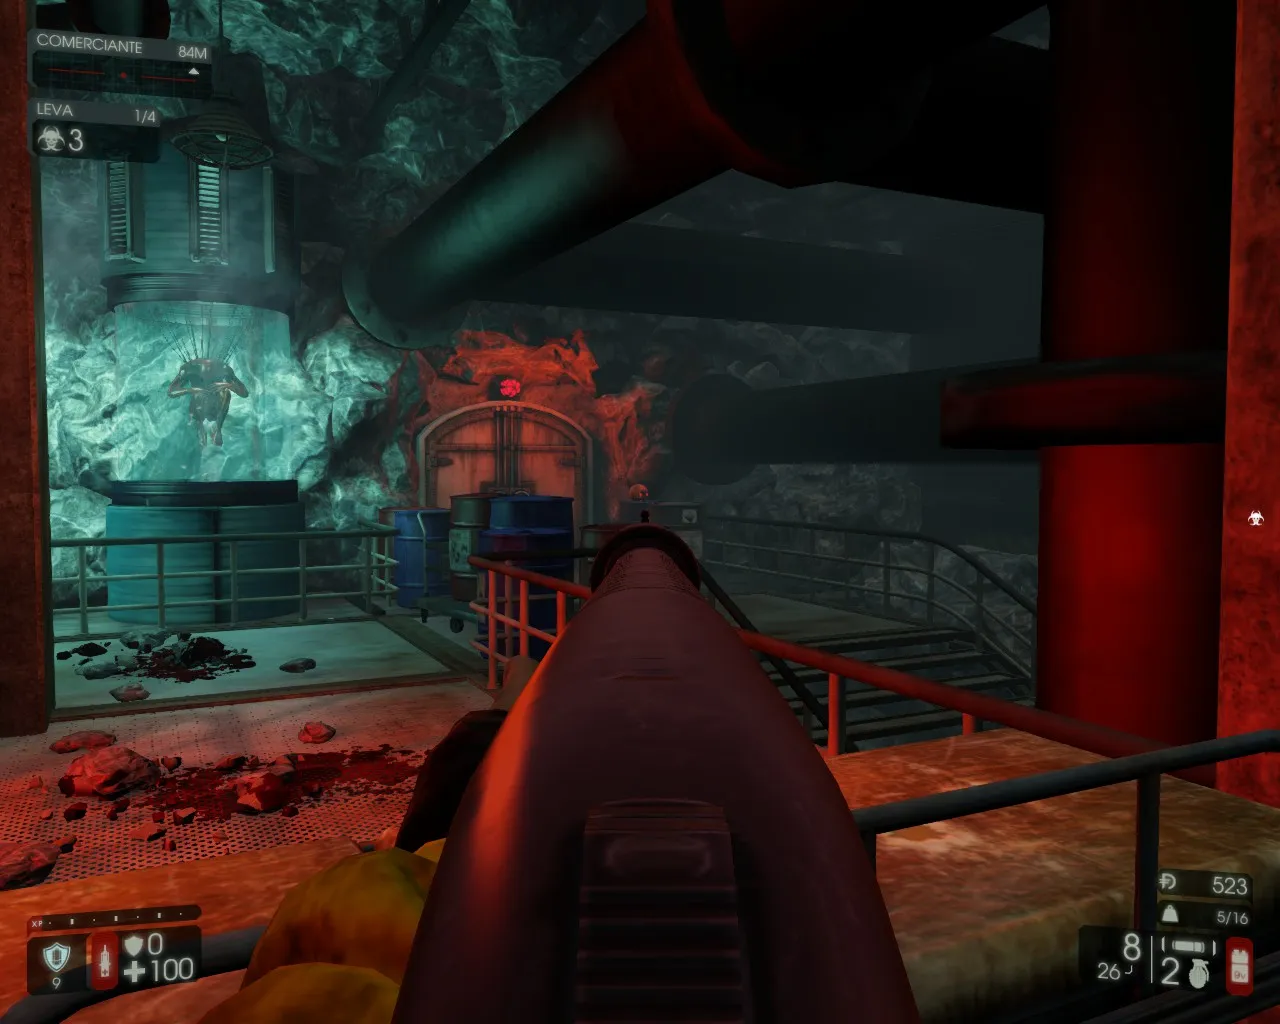 Route step 10.
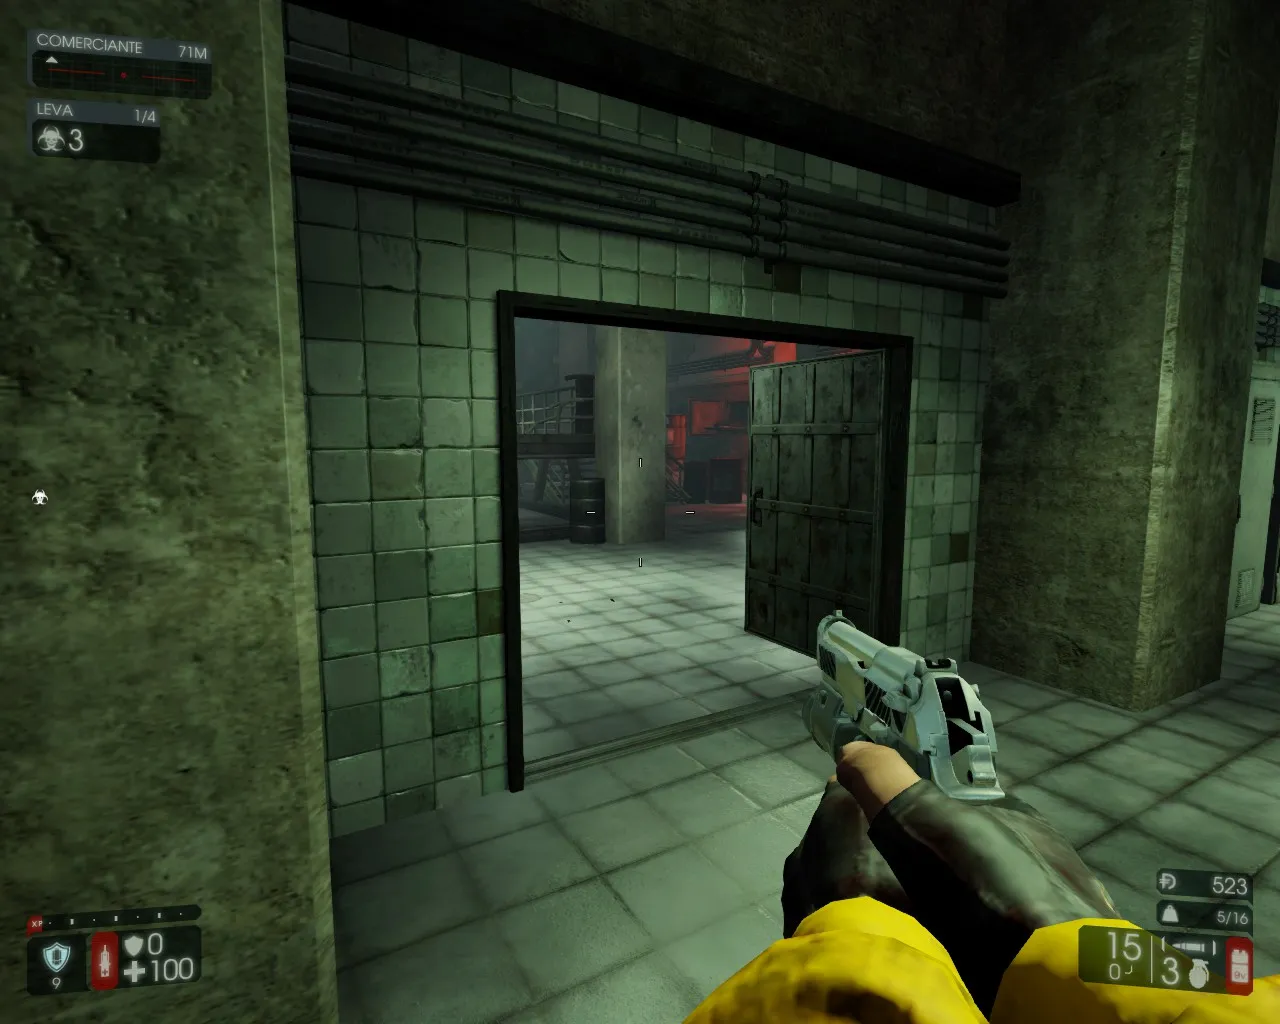 Route step 11.
Collectible 5
Turn left and walk straight toward the door. On your right, near the stairs, there is a power panel; look above it to see the collectible.
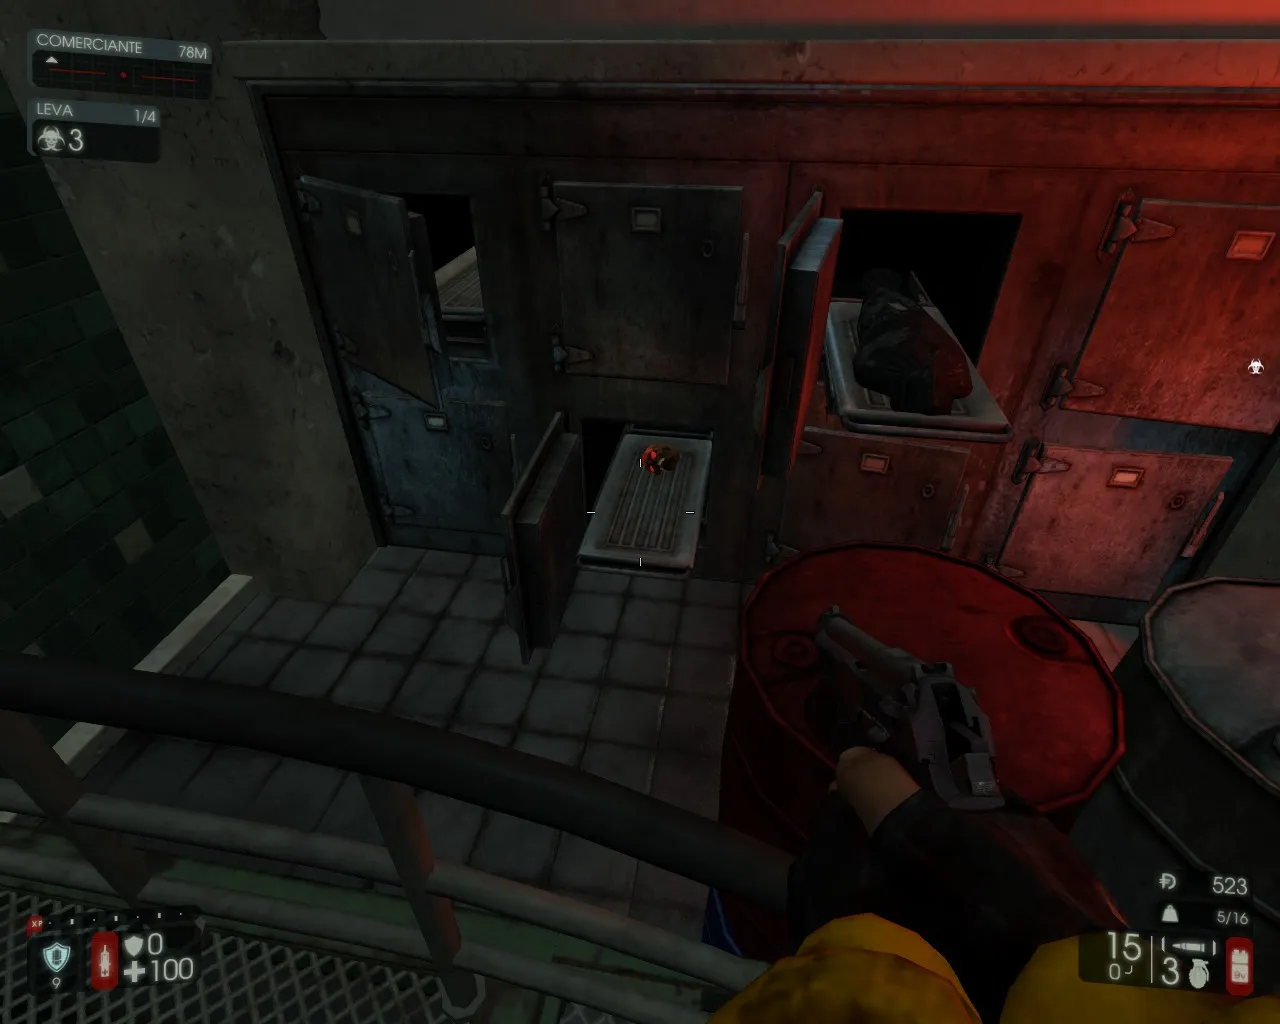 Route step 12.
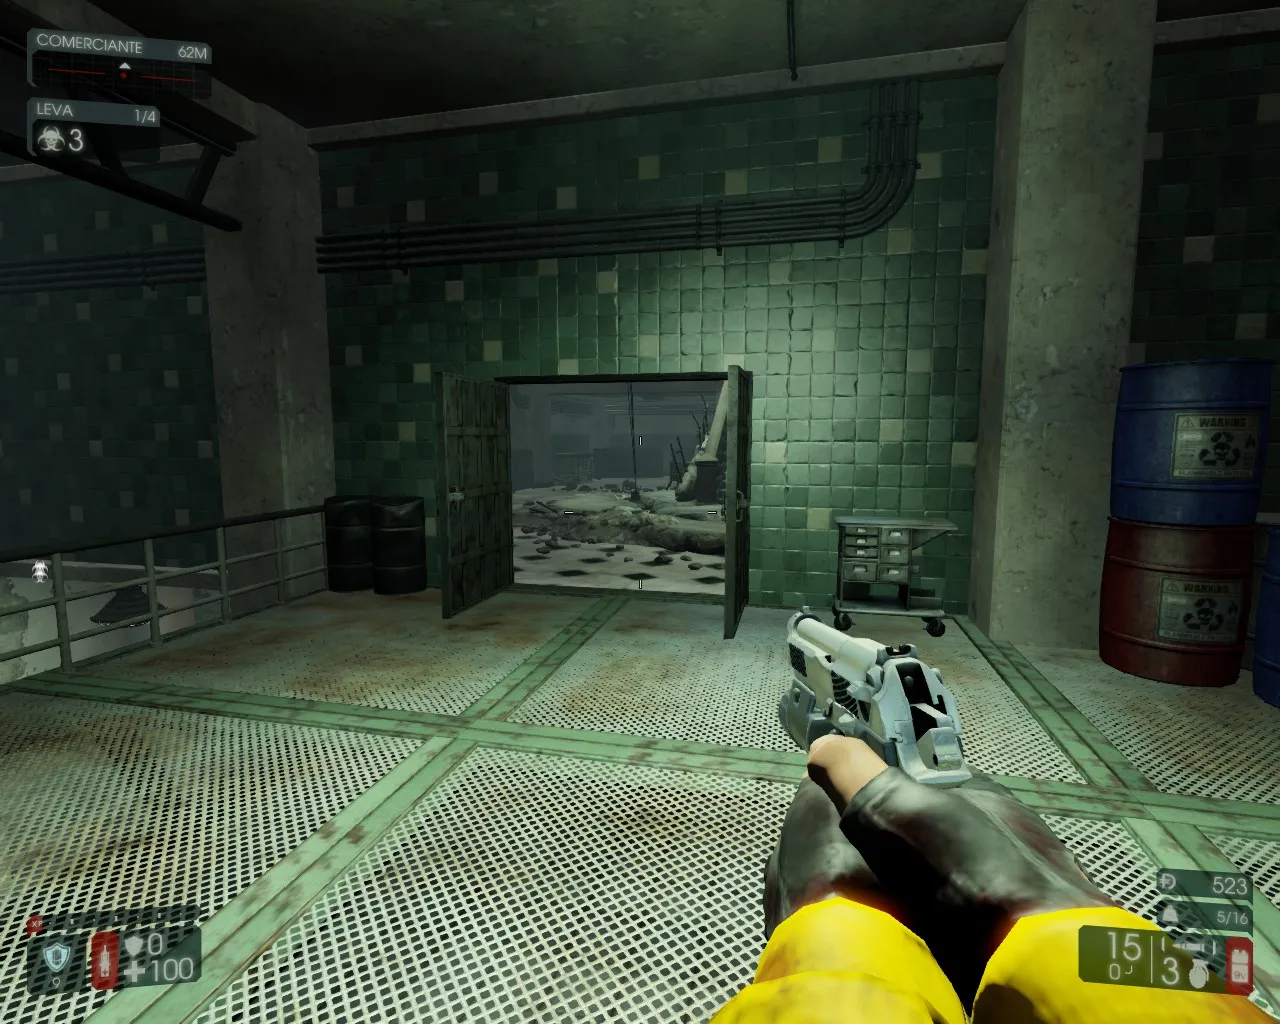 Route step 13.
Collectible 6
Climb the stairs, turn right and keep walking through a door between corridors. Near the table, past the door, a small blocked corridor opens on your right. Near the back on the left of that corridor, next to a column, is the collectible.
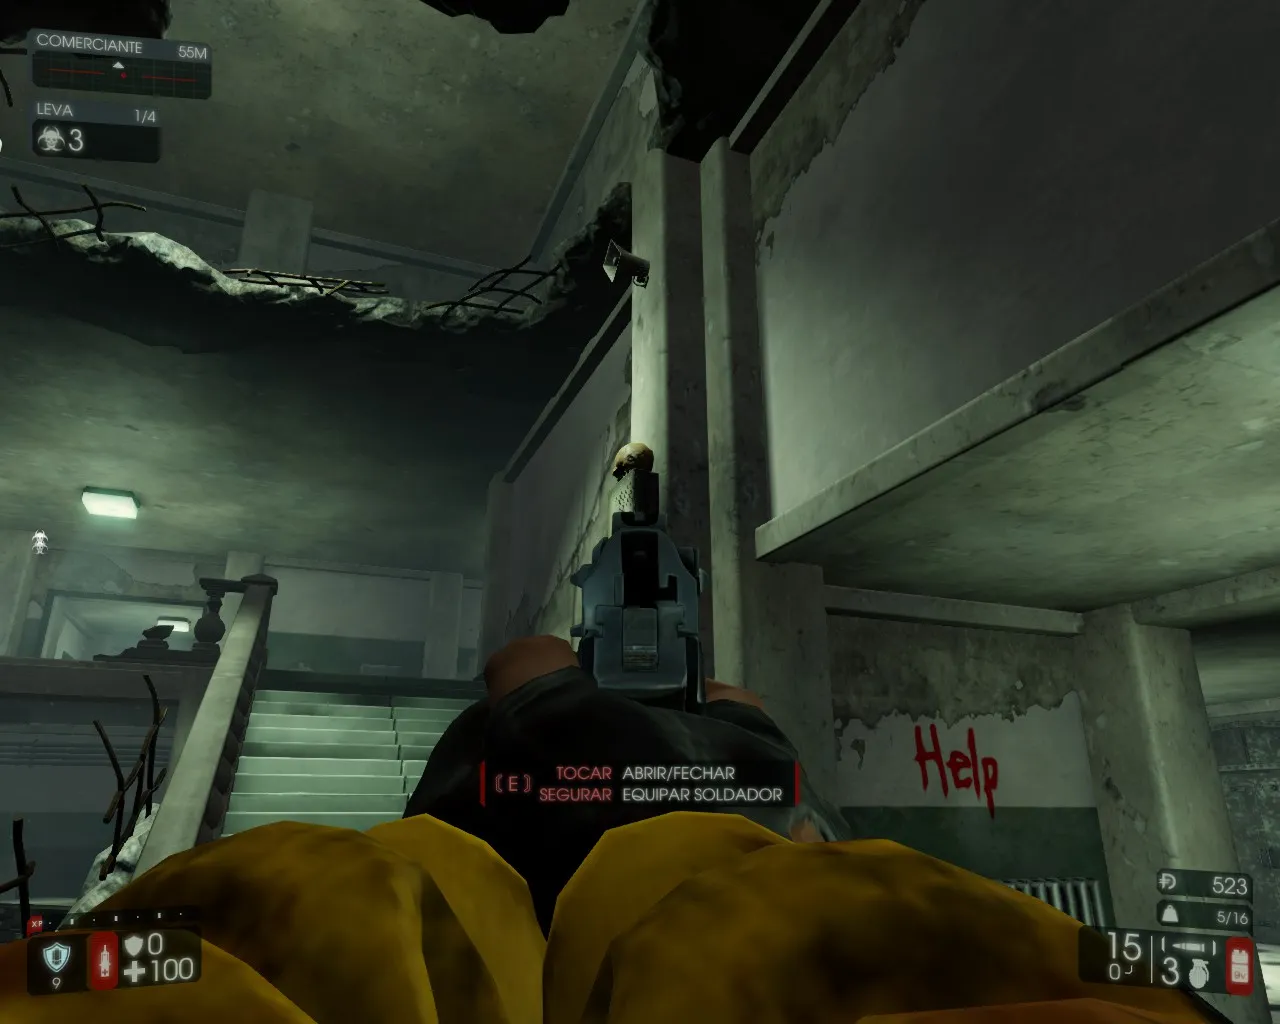 Route step 14.
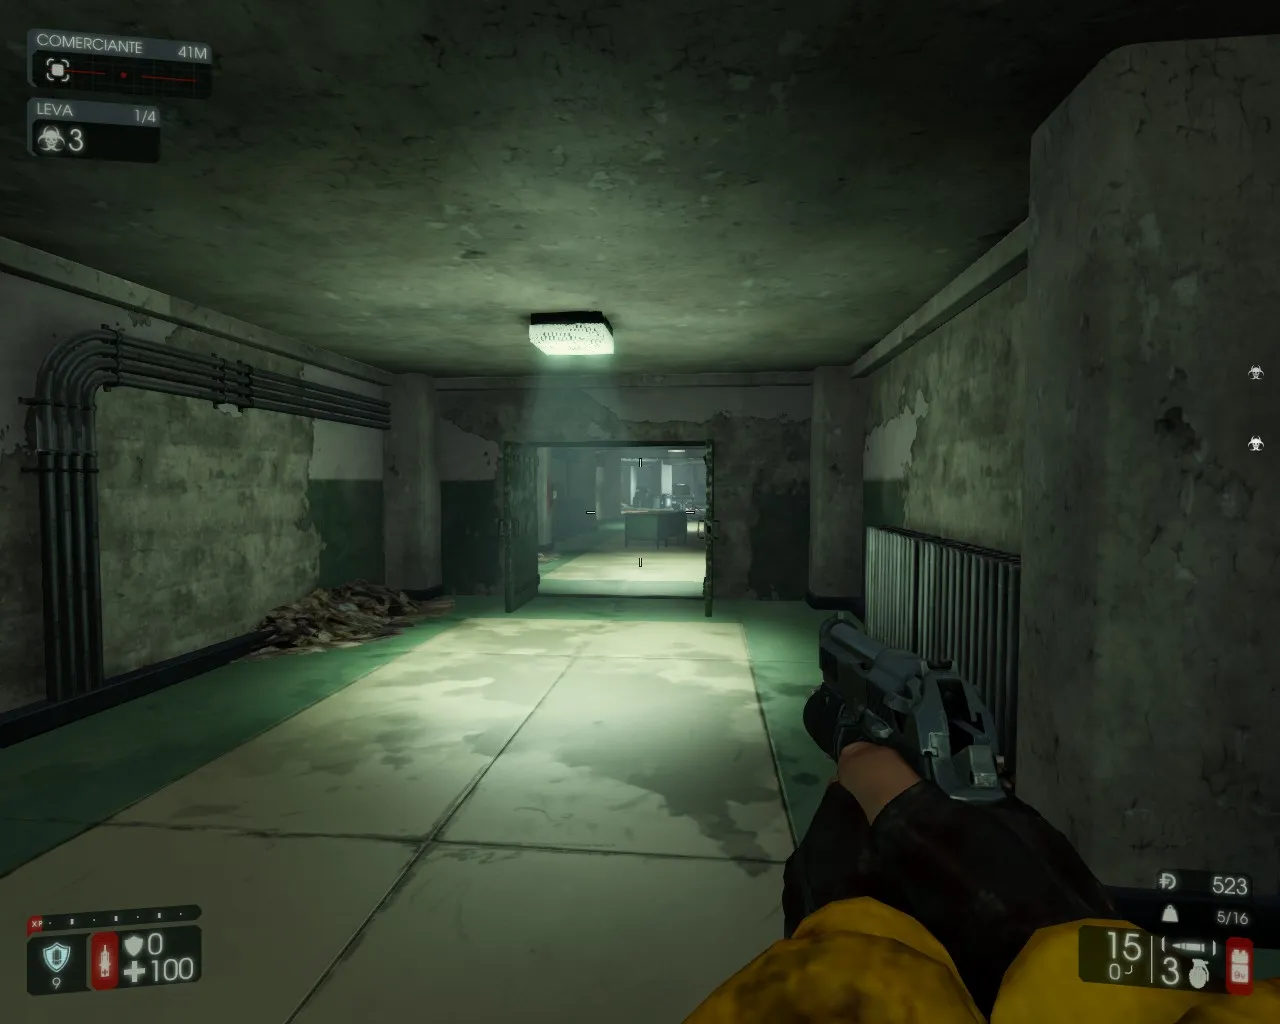 Route step 15.
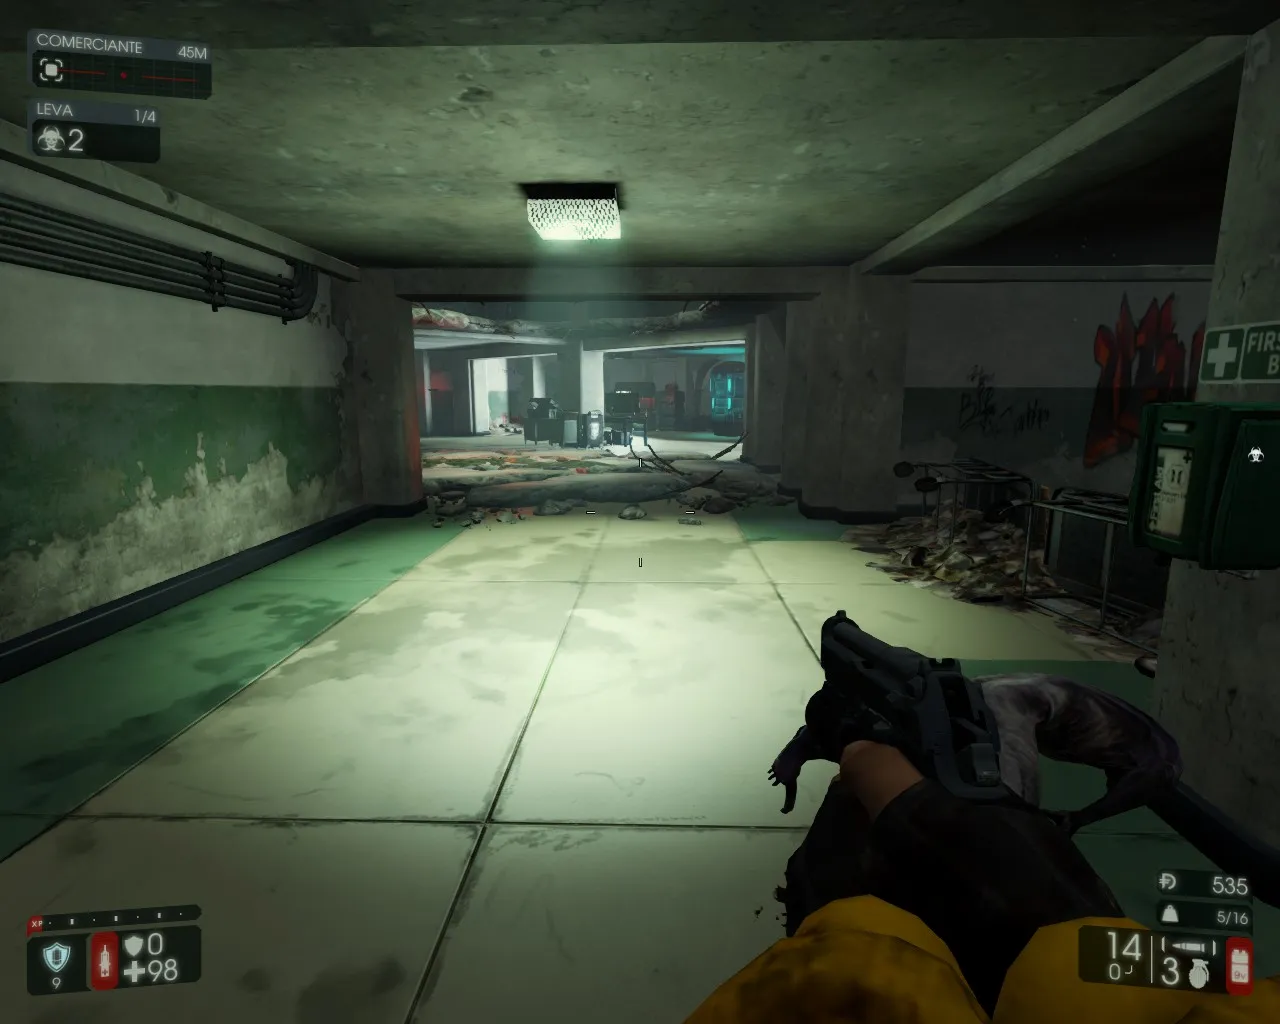 Route step 16.
Collectible 7
Nearby is a room with a broken ceiling. Look around: the collectible is on the ceiling (which is the floor of the level above). After taking it, turn right and walk to the end of the corridor.
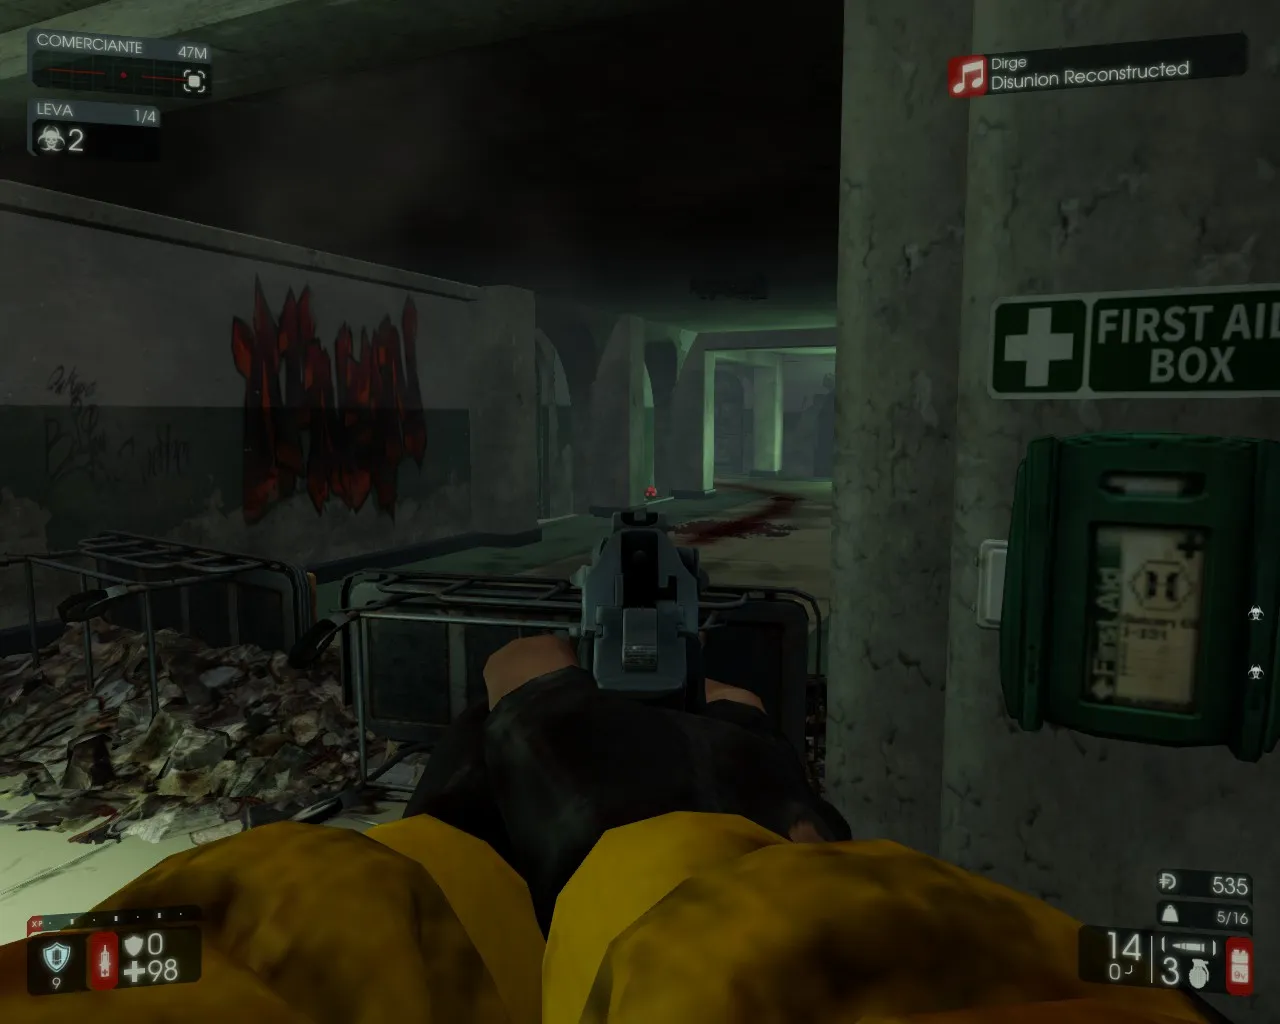 Route step 17.
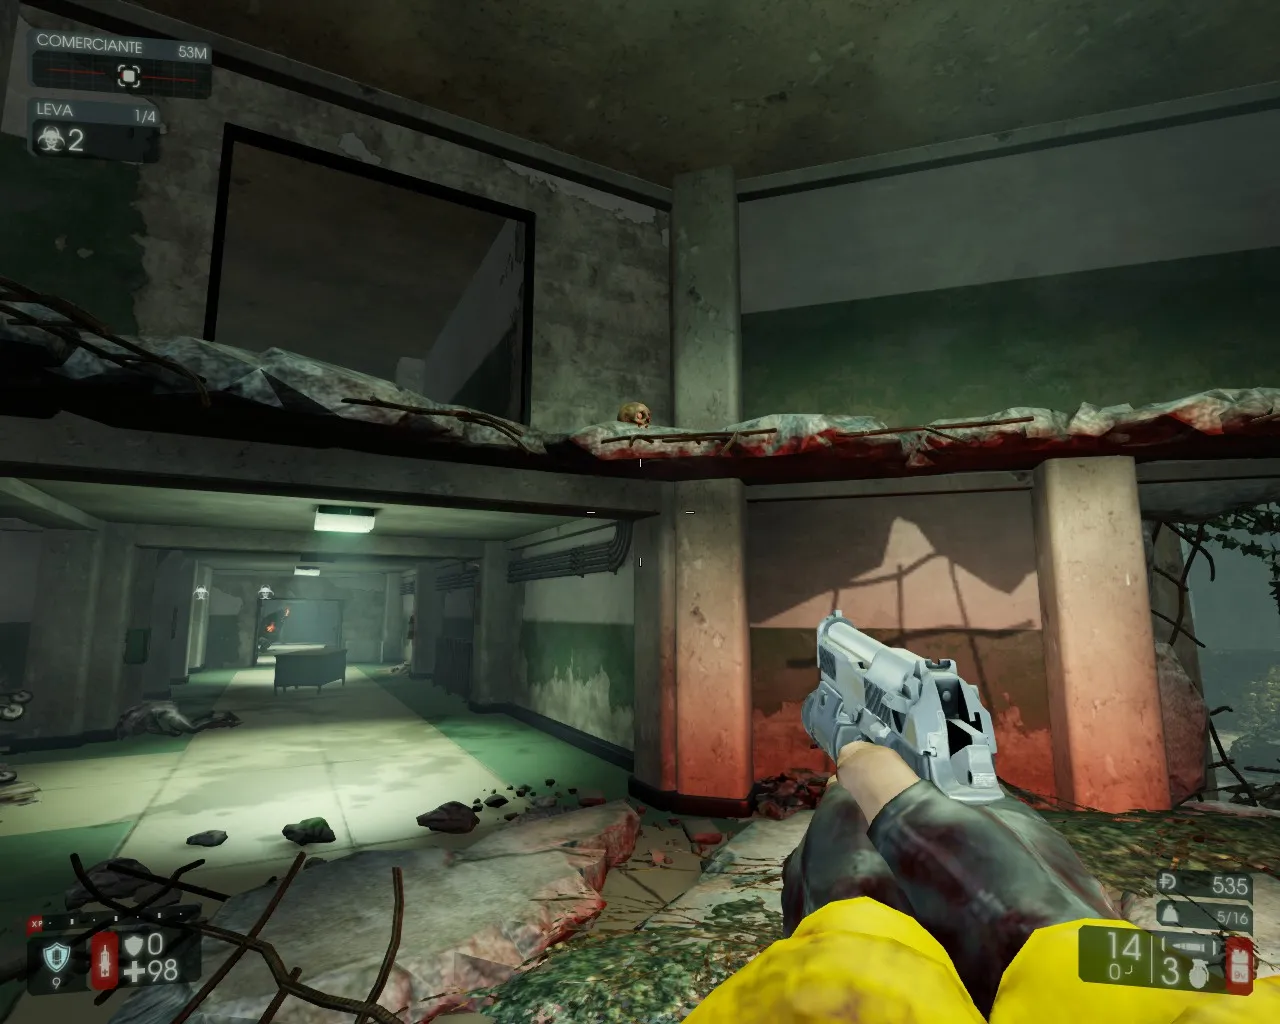 Route step 18.
Collectible 8
At the end of the corridor go through the door, turn left and walk to the door on the other side of the room. Beyond it is a bridge between two buildings with broken railings. Go to the broken railing on the right and look up at part of the building: another collectible sits there.
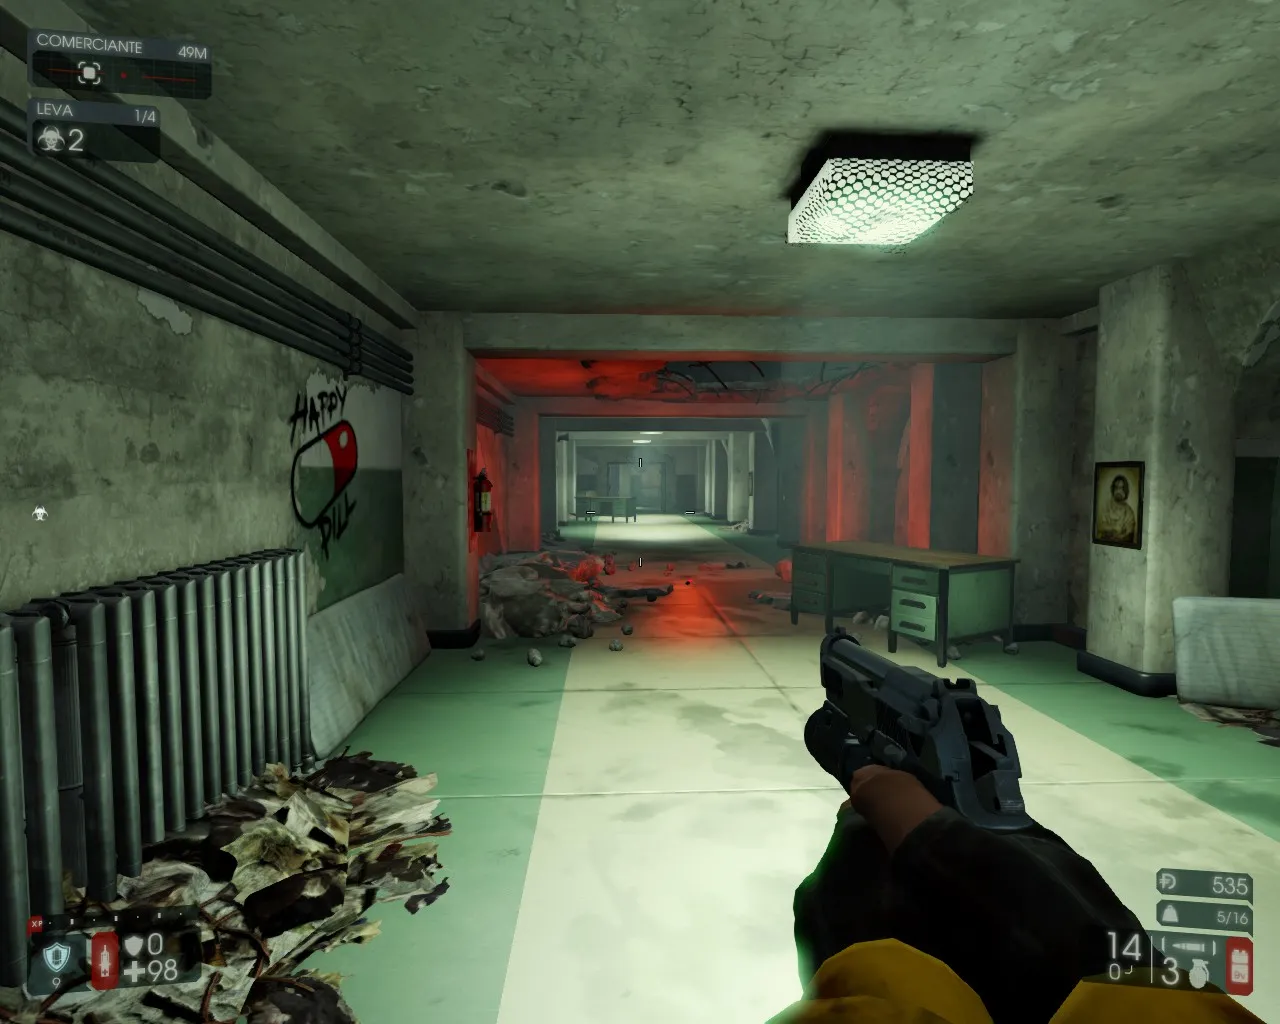 Route step 19.
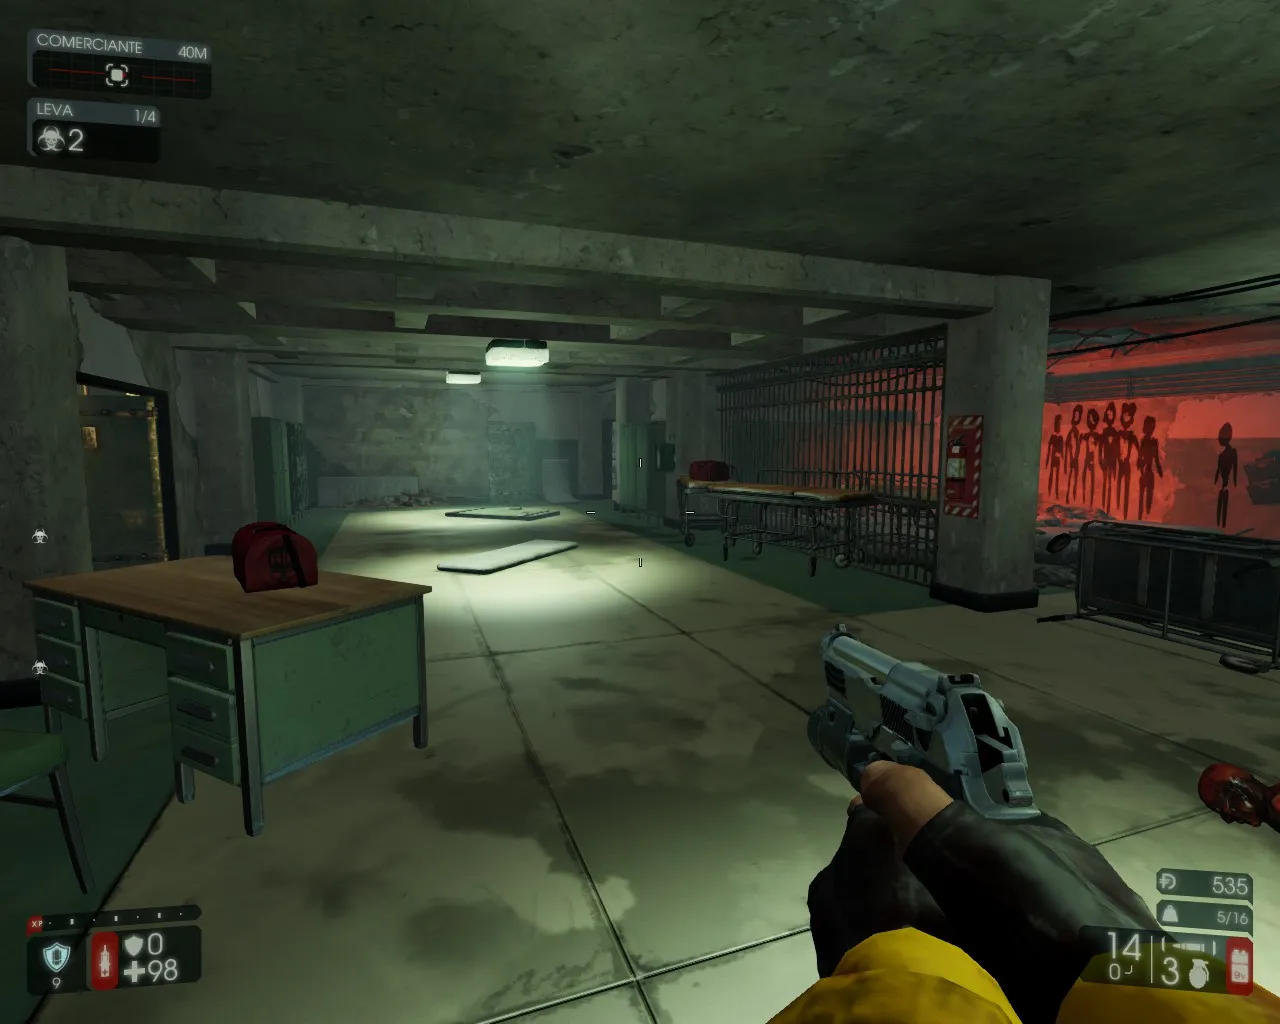 Route step 20.
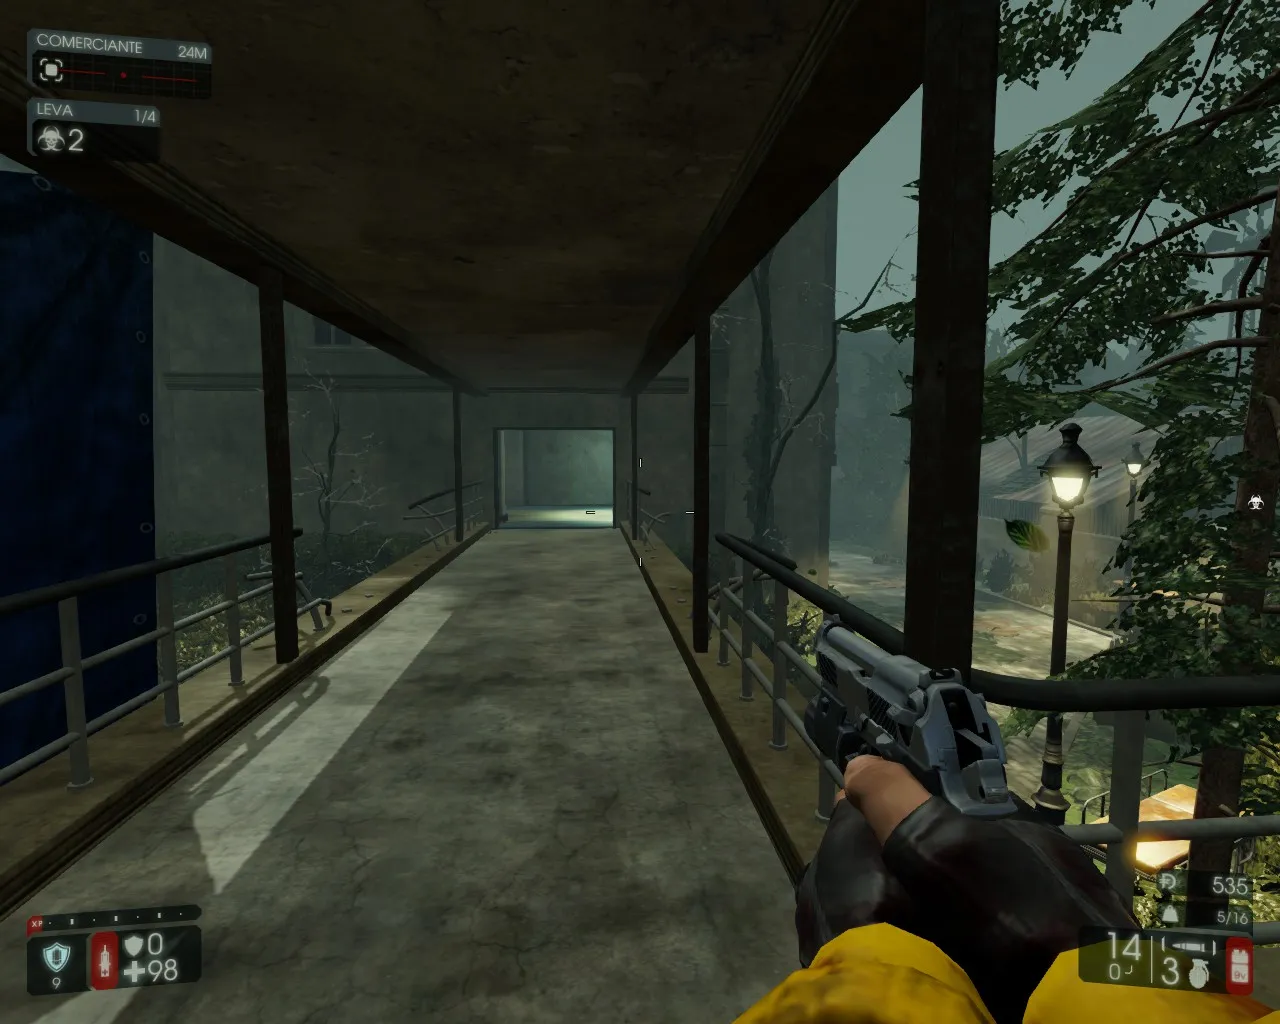 Route step 21.
Collectible 9
Turn left and walk to the door, which leads to a set of cells; turn left again. At the end of the corridor there is a fork: go right toward the stretchers. On the second stretcher, where a small room has one stretcher blocking the door, you find the next collectible.
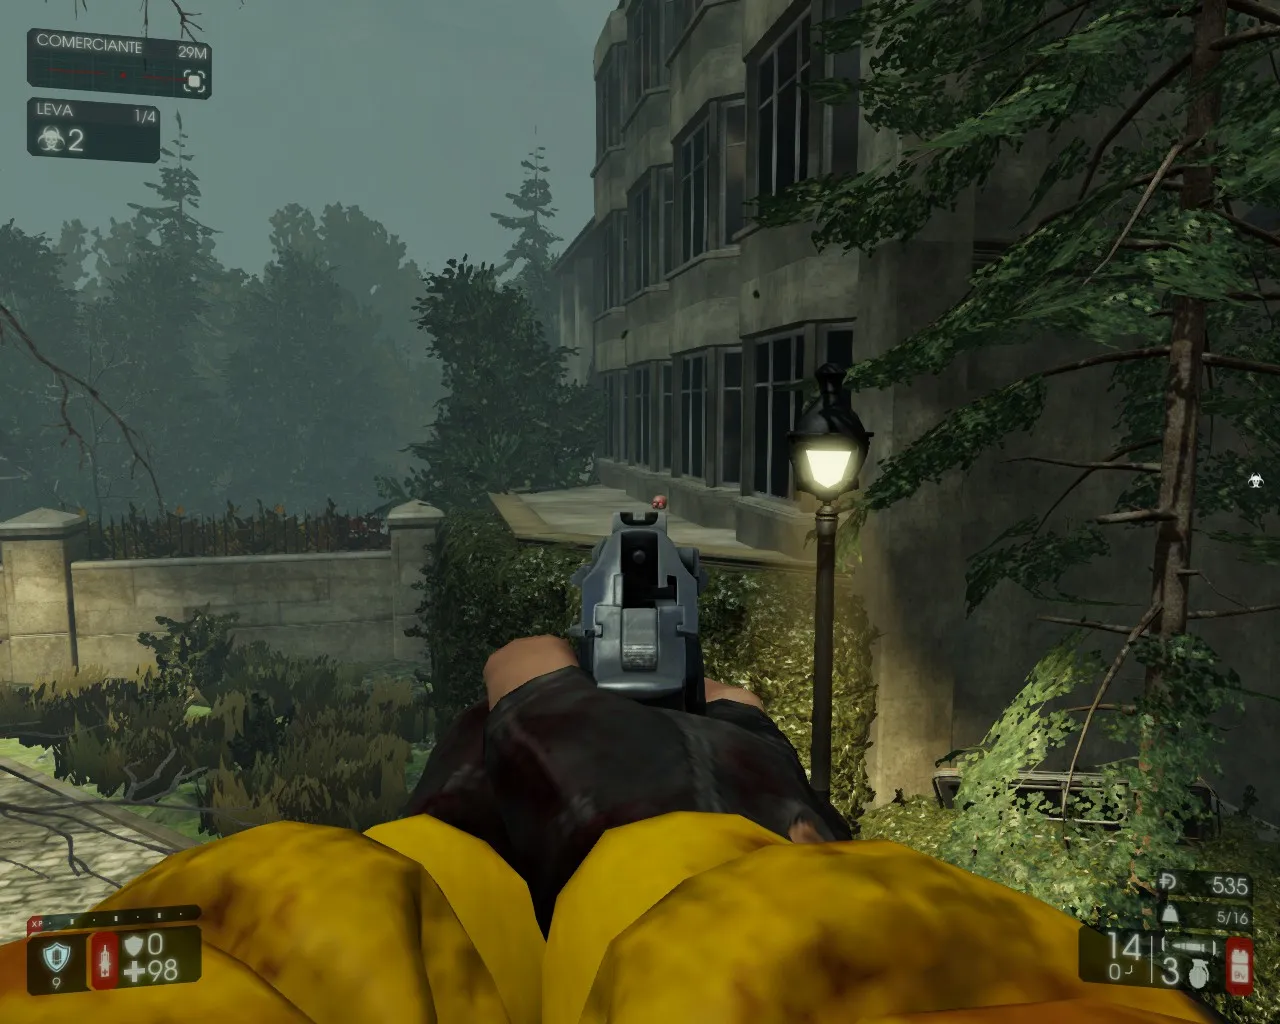 Route step 22.
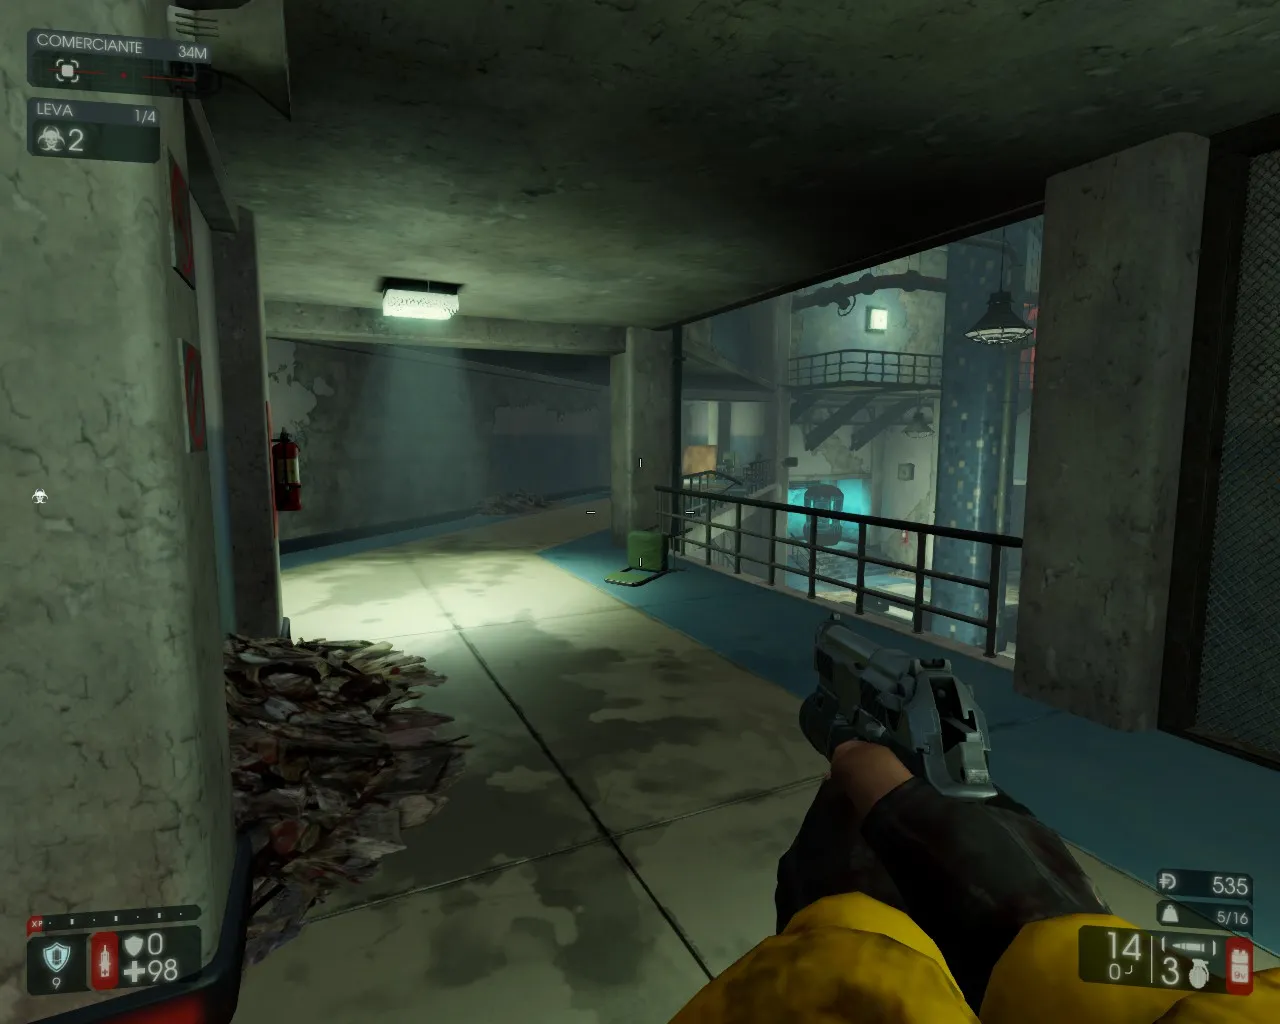 Route step 23.
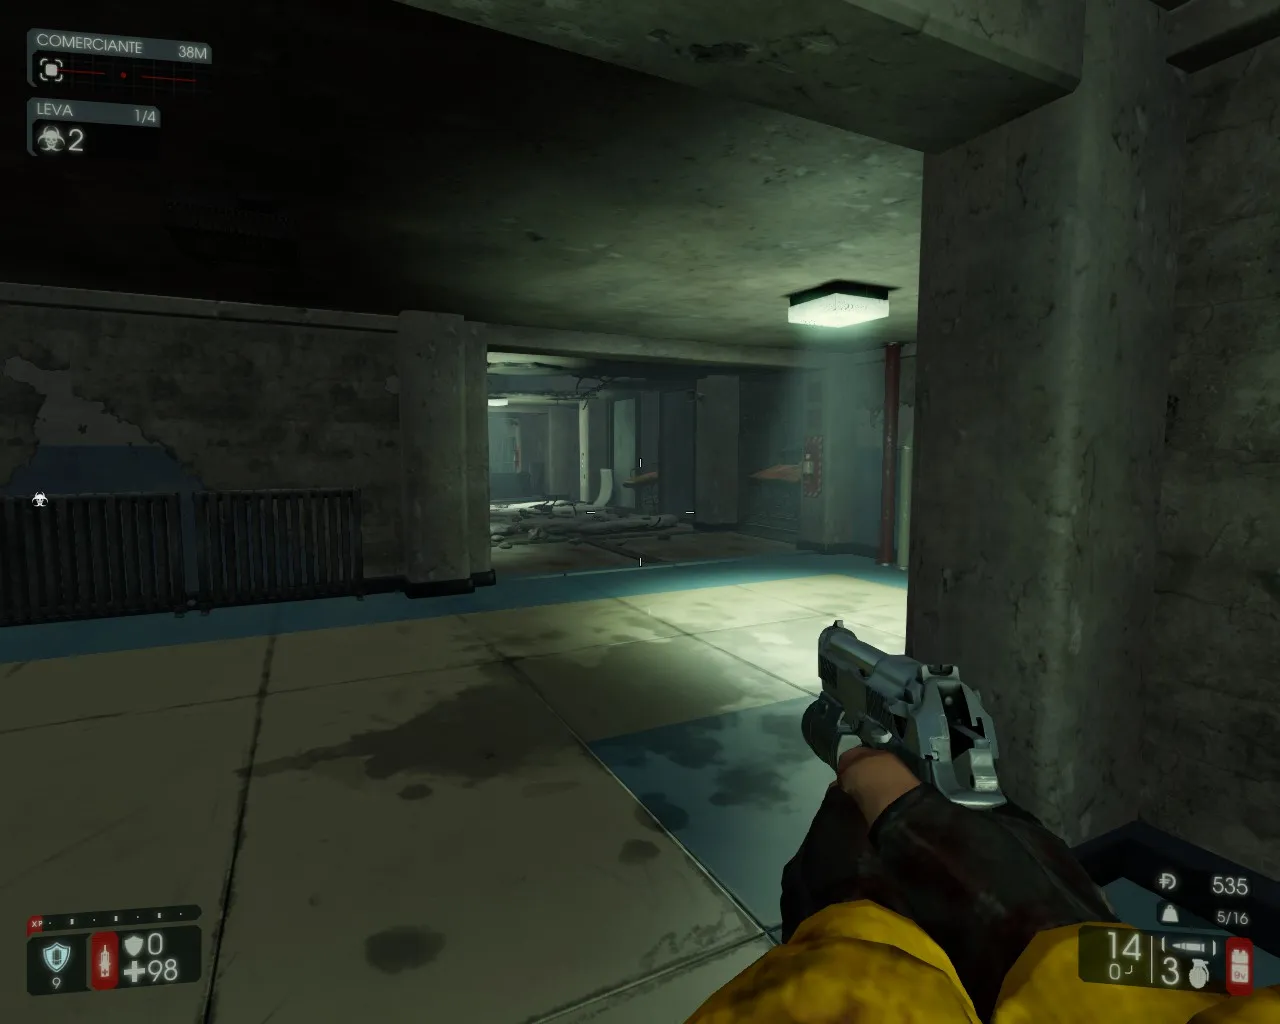 Route step 24.
Collectible 10
Go straight, then turn left to a door leading outside. At the edge you will see a collectible on the roof of the building.
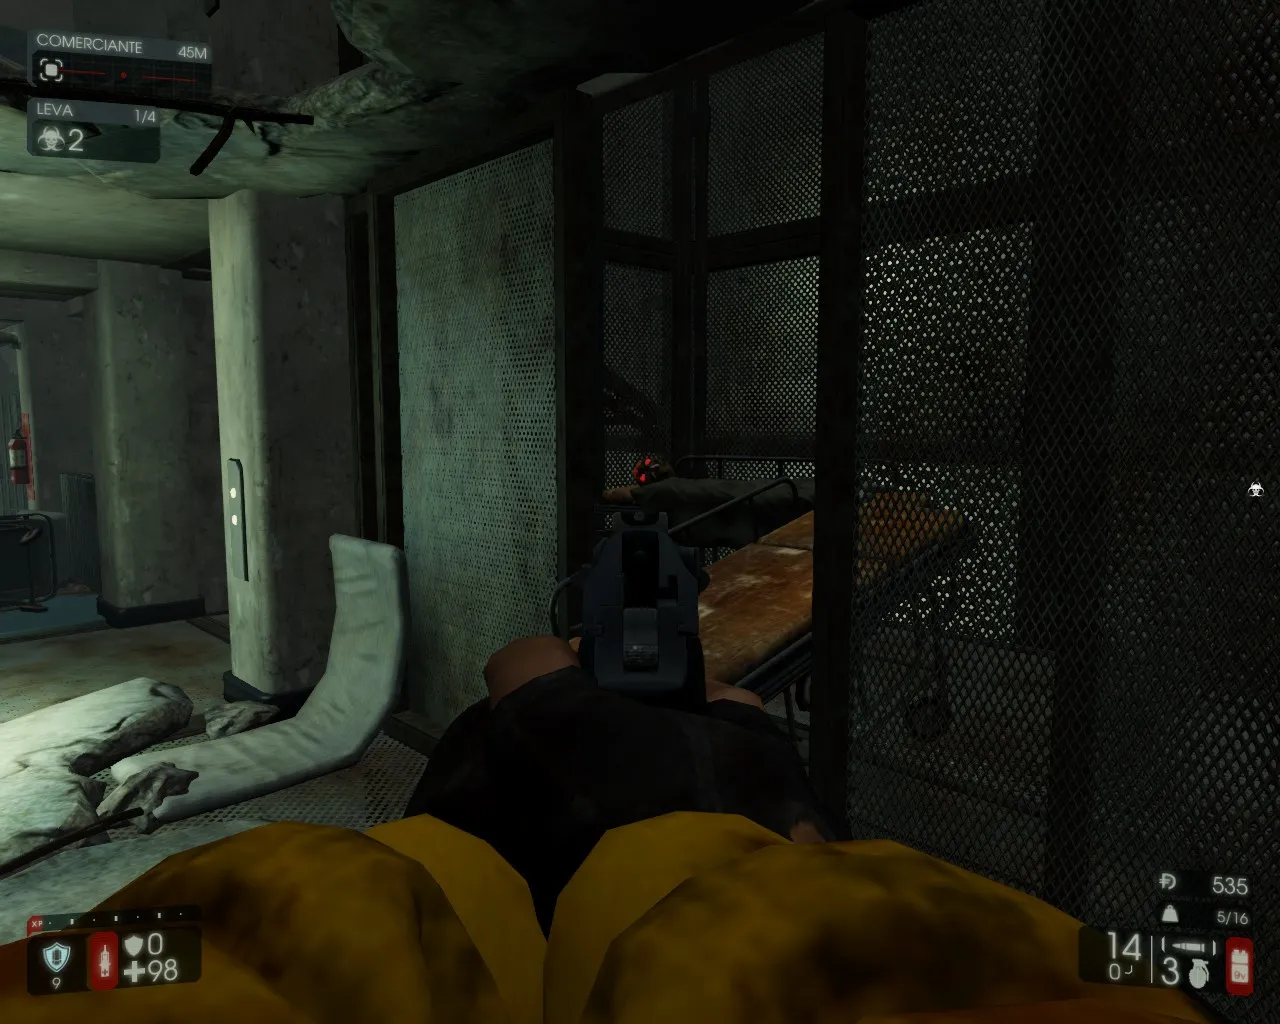 Route step 25.
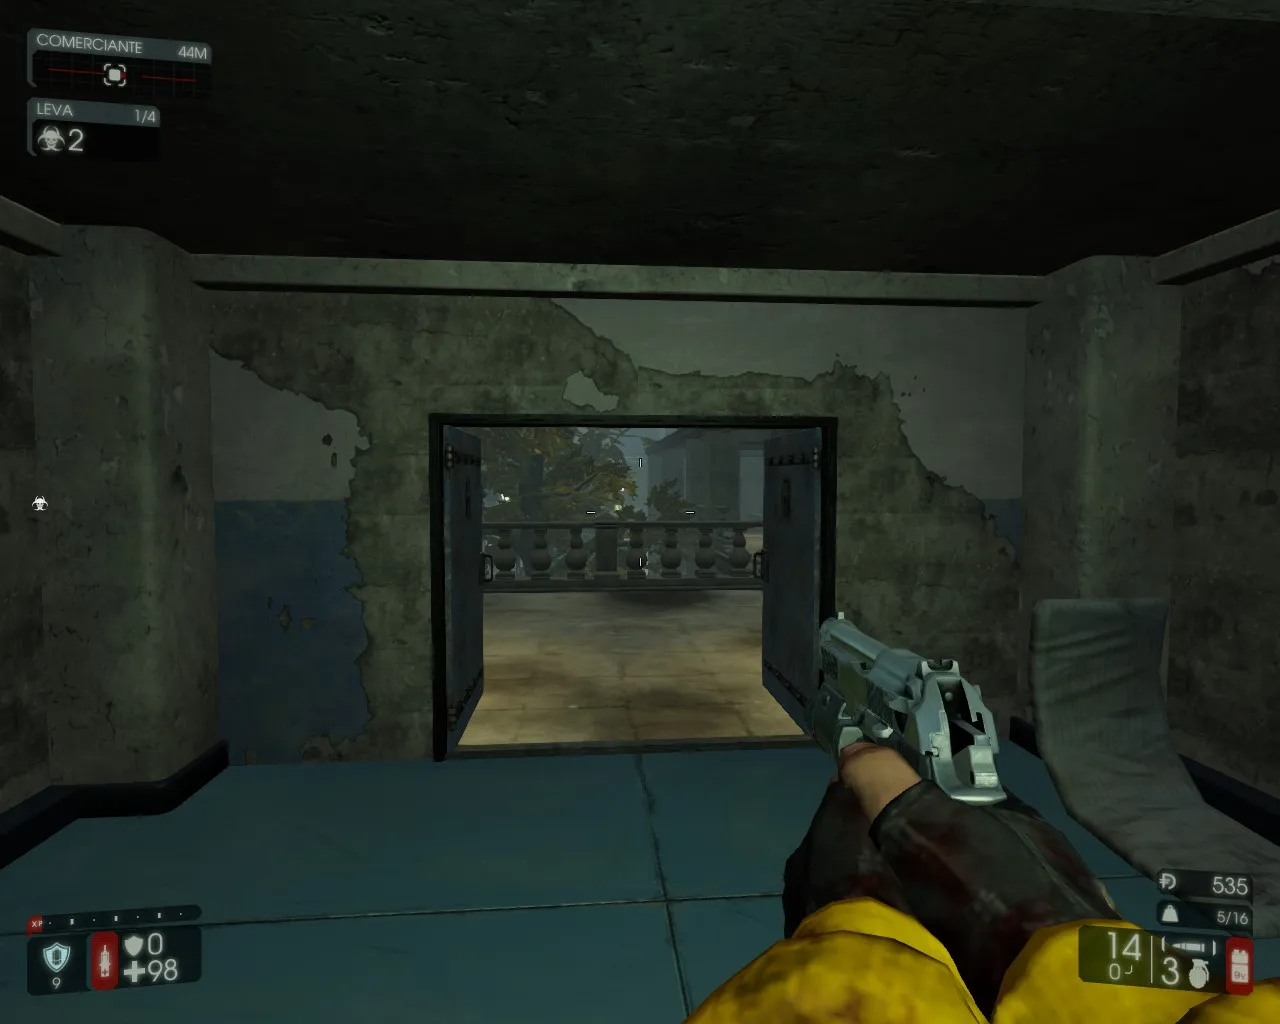 Route step 26.
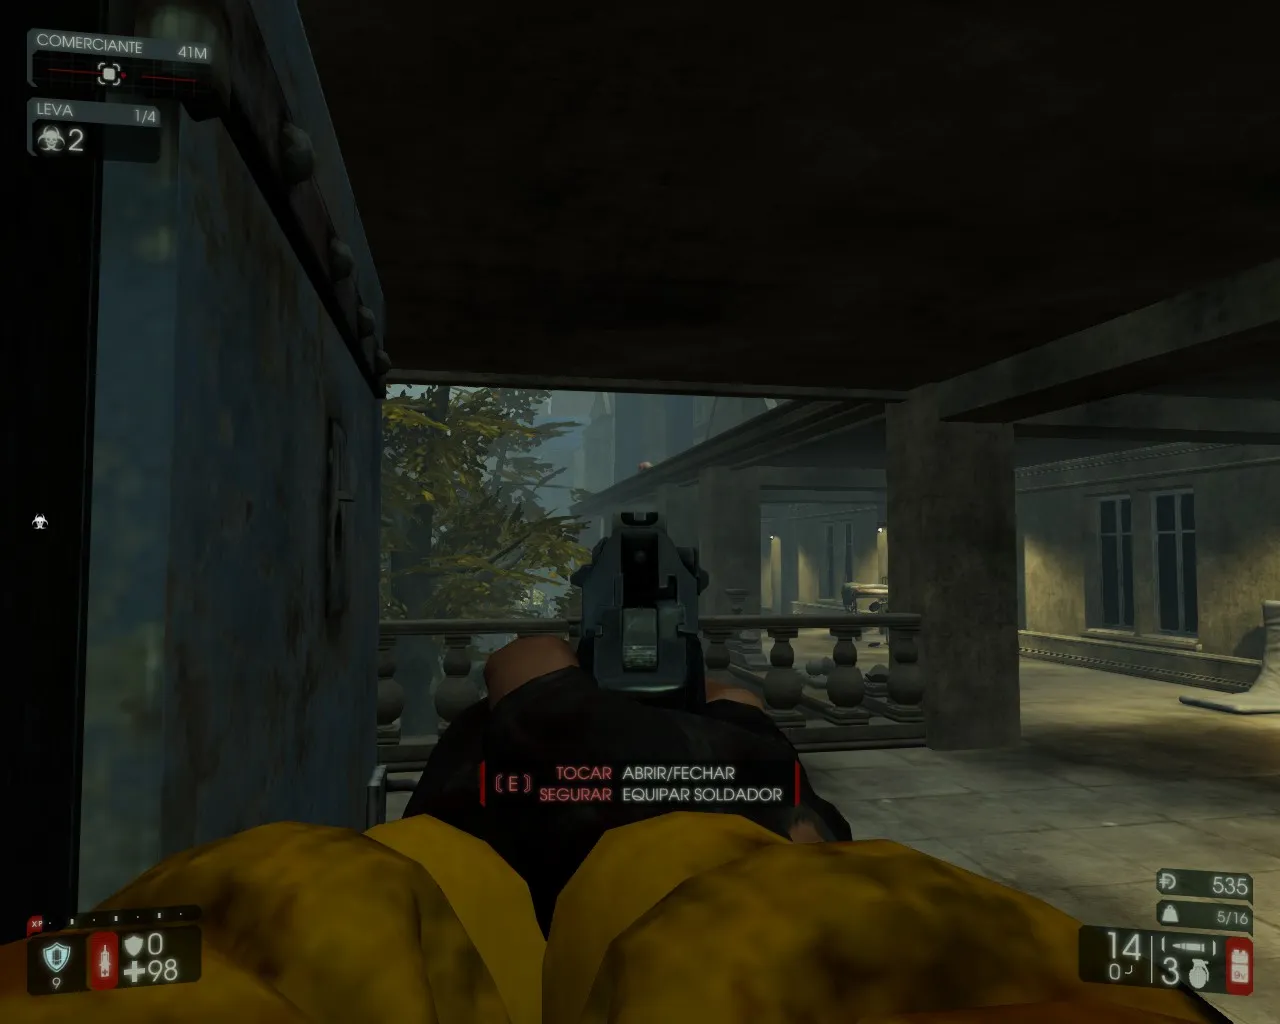 Route step 27.
Done
That completes the 10 collectibles needed for the achievement. Other collectibles exist elsewhere on the map, but this route gathers enough in one go. The author welcomes polite suggestions and comments.
FAQ
- How many collectibles does this route cover?
- Ten, which is enough for the Ashwood Asylum collectibles achievement. The map has more than ten.
- How do I pick up a collectible?
- Shoot it.
- Where do I start?
- At the asylum entrance where you spawn; turn right and continue straight.
