
KF2 Perks Explained: Support, Attack and Mixed Roles
This community guide was written in Spanish for newcomers who want to understand the roles in Killing Floor 2 and 1, both cooperative games where you and a few friends fight to the final wave and kill the boss. It sorts the ten perks into three groups by what they do for the team, then gives short, opinionated advice per perk. It is the author's personal view, so treat it as a starting point. For a broader overview see perk roles and Zed tips (Spanish) and perk overview for beginners.
The three roles
- Assist: Field Medic, Commando, SWAT and Firebug. They support the team and clear small Zeds, but cannot reliably handle big ones alone.
- Attack: Gunslinger, Sharpshooter, Demolitionist and Berserker. They deliver the heavy damage.
- Mixed: Survivalist and Support, which can step into either role.
Field Medic
 Field Medic.
The medic is built to stand behind teammates and is often the key to the team's survival. Keep out of reach of a Scrake or a Fleshpound, and ideally of a Siren.
- Watch your teammates' health constantly.
- When a teammate, especially a Berserker, is under attack from a Scrake or Fleshpound, throw grenades. They also deal damage and are very handy in closed spaces.
- Carry two weapons. The medic burns through ammo, like the Commando and SWAT.
- Healing gives plenty of XP, so keep assisting.
Commando
 Commando.
The Commando's signature ability is seeing Stalkers. It is excellent at removing weak Zeds, Stalkers, Clots, Slashers and even Gorefasts, and gets harder from there.
- Commando grenades are essential against big groups.
- Carry as much ammo as you can as you level, because fast-firing guns drain it quickly.
- The author recommends semi-auto (or burst) to save ammo and improve accuracy.
- Work at medium range and keep your distance from Zeds so you can see the whole picture and help the team.
SWAT
 SWAT.
SWAT cannot kill big Zeds on its own but has the highest rate of fire in the game, which clears rooms of weak Zeds in seconds.
- Carry two weapons; ammo drains quickly.
- SWAT weapons penetrate well, so use them against Scrakes with teammates' help and aim for the head.
- The blinding grenades are a great way to escape and now and then kill weak Zeds.
- It is most effective at medium to short range, since the guns have good sights for SMGs, except the MP5.
- Shoot crouching. The author finds it essential and says you almost never miss.
Firebug
 Firebug.
The author puts the Firebug under assist because it struggles alone and needs help: it cannot handle big Zeds, and most of its kills are Crawlers, Bloats, Slashers and Clots.
- Do not burn the Scrake or the Fleshpound, except when they are already enraged.
- Stand behind your teammates and cover them with flames.
- Use the Molotov: set doors and corridors on fire where all the Zeds pass and watch them panic.
The microwave gun
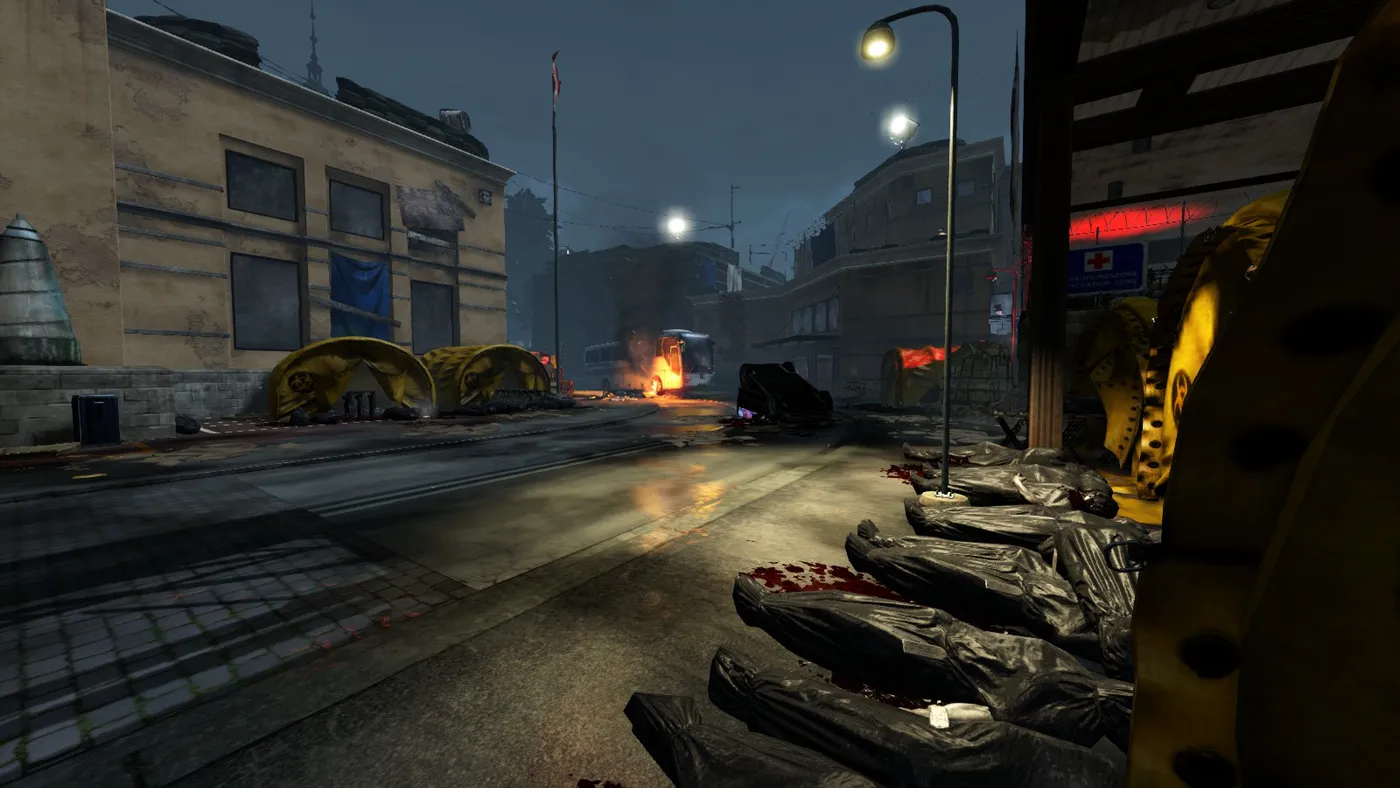 The microwave gun in a Killing Floor 2 street.
The microwave gun changes the Firebug's effectiveness, though not hugely. It hurts most against Gorefast, Bloat, Siren, Husk, Scrake, Fleshpound, Hans Volter and the Patriarch.
Gunslinger
 Gunslinger.
For players who like dual pistols. The author says it sits somewhere between the Commando and Sharpshooter: good rate of fire, headshots as the main method, and lots of ammo. It can push forward and deal huge damage to all Zeds as long as you hit the head.
- Use the hand cannon or Desert Eagle, single or dual.
- Click the mouse wheel to change aiming modes on dual weapons.
- You can unload on big Zeds like Scrakes and Fleshpounds, and the .500 handles them standing.
- Pay close attention to your skills; they have a high impact here.
Sharpshooter
 Sharpshooter.
Made for popping heads. It is offensive even from the back line: lots of damage per shot, but a low rate of fire, especially effective against the biggest Zeds.
- Aim for the head whenever possible.
- The M14 is highly recommended for its damage and a laser sight when in trouble.
- Freeze grenades save teammates. The big Zed is frozen and your friend has around four seconds to get away.
- Watch for Stalkers, which attack from behind while you aim.
- Stay aware of the fight while aiming, and crouch.
Demolitionist
 Demolitionist.
Fun and gore in equal parts. It is effective against nearly all Zeds except the Scrake, which is vulnerable to bullets but resistant to explosives.
- Save it for the last wave against the boss.
- Explosives hurt you too.
- The author likes the M16 with the 203 grenade launcher for thinning groups, although its reload is long.
- Grenade launchers and the RPG need distance to arm. Fire at point-blank and they do not explode, wasting ammo.
- Siren screams destroy your explosives, even rockets, but at level 15 you unlock a skill that lets explosives pass through the sound barrier.
- When teammates handle the small Zeds, use the M79 and the RPG to thin the groups.
Berserker
 Berserker.
The melee fighter, great for taking the front, but not on its own. It often needs a healer or Field Medic. It holds a horde in place, resists Bloat vomit and, like the medic, never runs out of ammo, unless you buy the Eviscerator, which is great but eats ammo. It is a class you have to learn, and the author says adapting to close range took them a lot of effort.
- With practice a Berserker can take on any Zed, even larger ones.
- Tank.
- The katana is one of the best Berserker weapons in the author's opinion.
- The MP grenade is fundamental to stop an enraged Fleshpound or Scrake while teammates shoot it.
- Check your skills; they matter a lot for this perk.
Survivalist
 Survivalist.
The team's wildcard, covering the roles of other perks. Its skills let you specialise in small or big Zeds. The drawback is that it is a mix, and unless you use the skills well it can become a perk you dislike.
That makes it a class for new players: no weapon limits, so money does not have to be managed wave by wave, and no perk limits, so it is as customisable as you want.
- Use it if you are new to the game.
- Pick a skill set that supports your team or boosts damage, to maximise the class.
Support
 Support.
A mixed class: it can stand in front or at medium range and see the damage it does, and with its carrying space it can pick up weapons or gear to hand to teammates, or carry medic weapons. Effective against nearly all Zeds, using the powerful AA-12 for the biggest ones.
- Carrying a medic weapon costs nothing and can pull teammates out of a bad spot.
- Use the double-barrelled Boomstick; with the alt-fire (mouse wheel) you fire both barrels for high damage and wide spread.
- Shotguns reduce groups to nothing, even more once you get the shell penetration skill.
- Support grenades are fragmentation and do very good damage on groups.
- Mind reload times, especially at low levels. Reload whenever no Zed is approaching, with any weapon.
- Use the AA-12 to remove the biggest threats.
Final words
The author says the information comes from personal knowledge and the official wiki, and promises more guides on Zeds and their weaknesses.
FAQ
- How does this guide group the perks?
- Into three roles: assist (Field Medic, Commando, SWAT, Firebug), attack (Gunslinger, Sharpshooter, Demolitionist, Berserker) and mixed (Survivalist, Support).
- Which perk is best for a brand-new player?
- The author recommends Survivalist. It has no weapon restrictions, so money does not need to be planned wave by wave, and its skills are fully customisable.
- What is the Berserker's biggest weakness according to the guide?
- It needs practice and often needs a Field Medic nearby, because fighting at close range is hard to adapt to.
- Where does the author's information come from?
- From personal experience and the official Killing Floor 2 wiki, which the guide recommends consulting too.
