
KF2 Field Medic In-Depth Guide (2018): HM-Tech, ZEDs, Bosses
This page condenses the long Field Medic guide by TheyCallMePinCushion (also known as Cereal Killer, a Procrastination Zone community member), first published in October 2015 and updated in January 2018. It targets Suicidal and Hell on Earth, solo or with a team, and reflects the game around the 2018 Medic loadout, so costs and numbers may have moved on since. For other Medic views see the Medic perk page, the darts versus AoE guide and the Medic Chinese guide.
Why a team needs a Medic
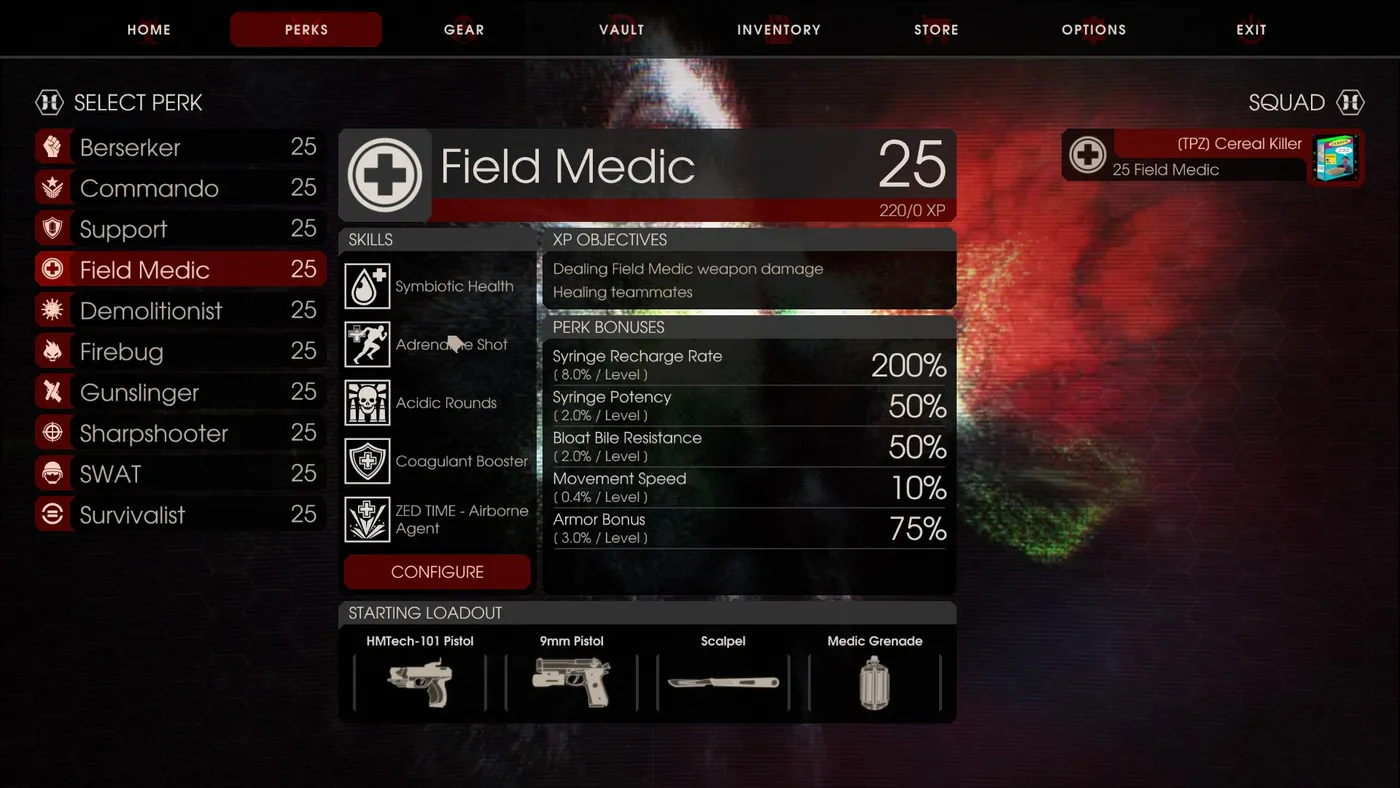 The Field Medic.
At level 25 the Medic provides:
- Syringe recharge rate 200 percent faster.
- Syringe potency 50 percent more effective heals.
- 50 percent Bloat bile resistance.
- 10 percent faster movement with all weapons.
- 75 percent more armor.
Skill tree
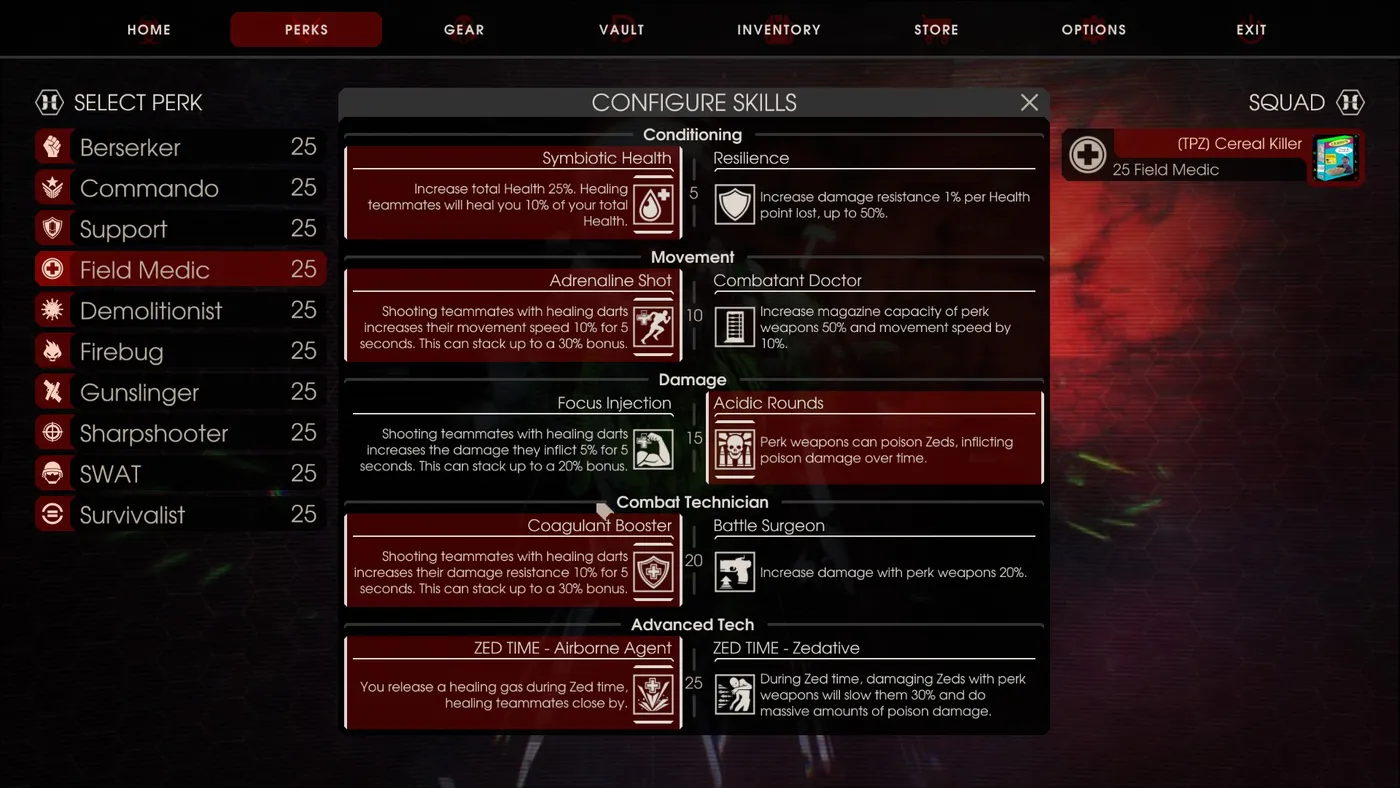 The Medic skill tree.
| Tier (level) | Option A | Option B |
|---|---|---|
| 1 (5) | Symbiotic Health: +25 percent health (125 percent base) and an implant that heals you when you heal teammates and applies your buffs to you. Best for team Medics. | Resilience: damage resistance that grows as you take damage, up to 50 percent at 50 health. Good for combat or solo. |
| 2 (10) | Adrenaline Shot: healing gives a move-speed boost (up to 30 percent for about 5 seconds), from darts, grenades or Airborne Agent. | Combatant Doctor: half an extra magazine and 10 percent base speed. Good solo, not team. |
| 3 (15) | Focus Injection: healed players get a damage boost (stacks up to 20 percent for 5 seconds). | Acidic Rounds: Horzine toxin on scalpel and ammo causes poison damage over about 5 seconds and sometimes makes ZEDs panic. Good for both. |
| 4 (20) | Coagulant Booster: healed players take less damage (stacks to 30 percent over 5 seconds). | Battle Surgeon: +20 percent weapon damage. |
| 5 (25, ZED Time) | Airborne Agent: a healing gas cloud on ZED Time, also toxin damage to nearby ZEDs, lasting about 5 seconds after ZED Time ends. Great for teams. | Zedative: a damage buff that slows ZEDs by up to 30 percent and deals heavy poison. Great solo, since Airborne Agent needs allies. |
Recommended setup: Symbiotic Health, Adrenaline Shot, Acidic Rounds, Coagulant Booster, and your choice at Tier 5. With Symbiotic Health you do not need to hit the heal button yourself, you just tank and heal the team, and you receive the buffs you selected but only if you have lost health before healing.
On-perk arsenal
HM-Tech weapons need Acidic Rounds for their poison damage (the Medic grenade is the only exception).
| Weapon | Cost | Magazine and reserve | Darts | Notes |
|---|---|---|---|---|
| Medic Scalpel | Spawn | n/a | n/a | Slash and poison, slow. The Lacerate skill makes it a decapitation tool. |
| 9mm Beretta | 110 | 15 + 210 | none | Standard sidearm for all classes. |
| HM-Tech 101 Handgun | 200 | 15 + 225 | 2 darts, 15 s regen | Standard Medic sidearm, low damage. |
| HM-Tech 201 SMG | 650 | 40 + 440 | 2 darts, 15 s regen | Tier 2, high fire rate, low to moderate damage. |
| HM-Tech 301 Shotgun | 1100 | 10 + 70 | 3 darts, 12 s | Tier 3, moderate to high damage. Take it if you do not have the rifle. |
| HM-Tech 401 Assault Rifle | 1500 | 40 + 400 | 4 darts, 10 s regen | The optimal choice, very high damage, moderate to far range. |
| HM-Tech Hemogoblin | 1100 | 7 + 77 | 3 darts, 10 s | Slow, bleeding and poison, attacks the nervous system. Hard to justify over the 401. |
| Medic Grenade | 40 each | belt of 5 | n/a | Explosive and poison, healing cloud. Essential. |
| Horzine Med-Syringe | spawn | n/a | n/a | Self heal 20, teammate heal 20 plus increased regeneration. |
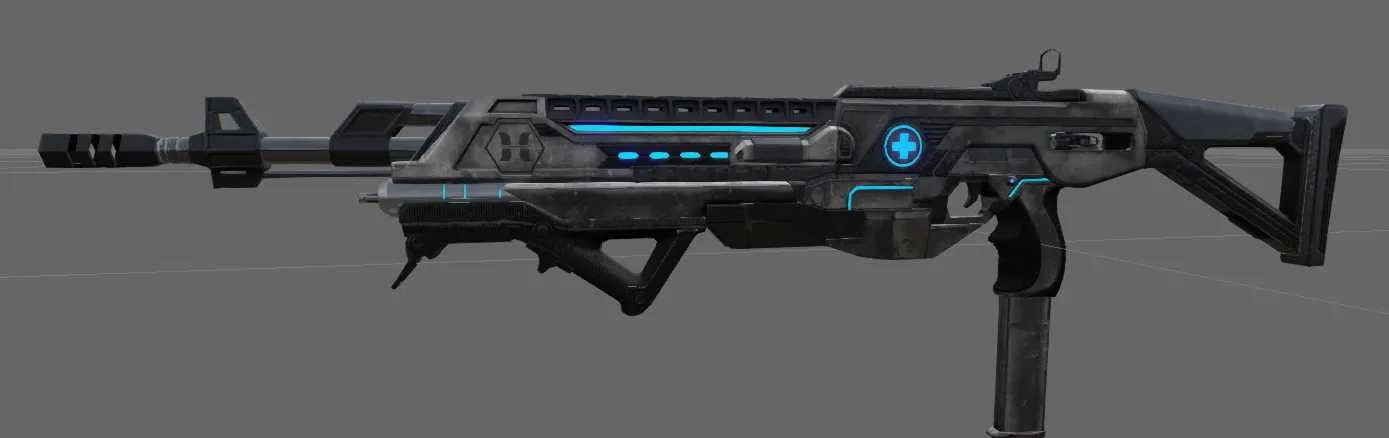 The 401 assault rifle.
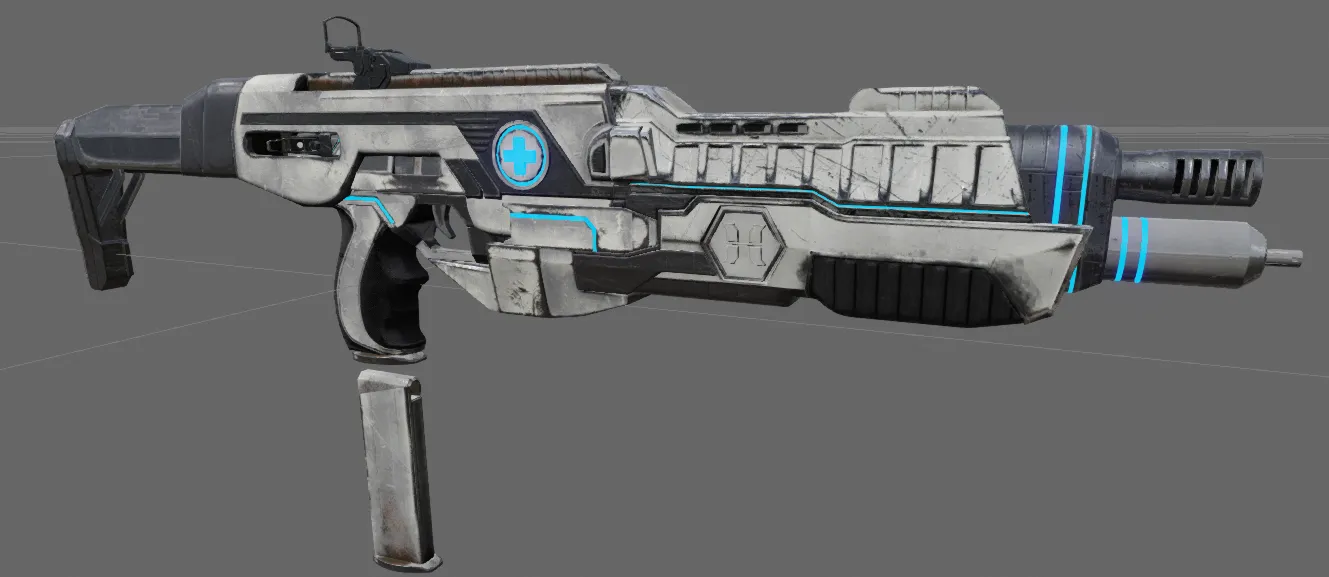 The 301 shotgun.
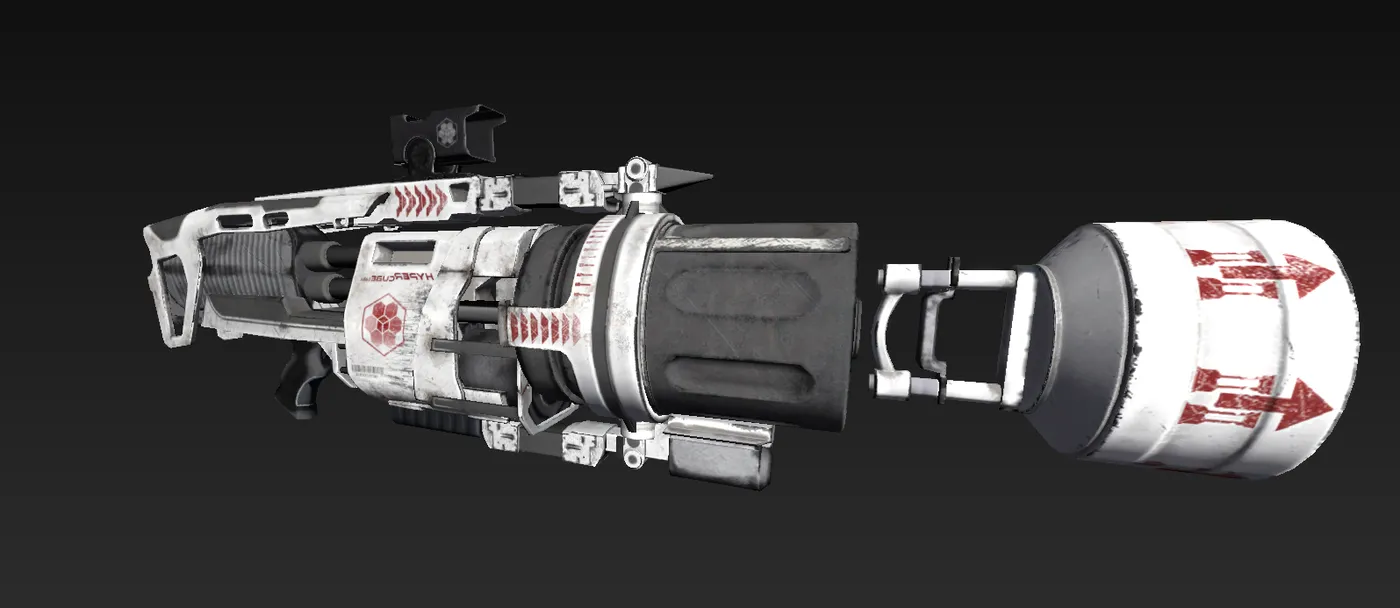 The Hemogoblin: a blue tint on the skin, a blood-drop icon and falling blood particles show bleed damage.
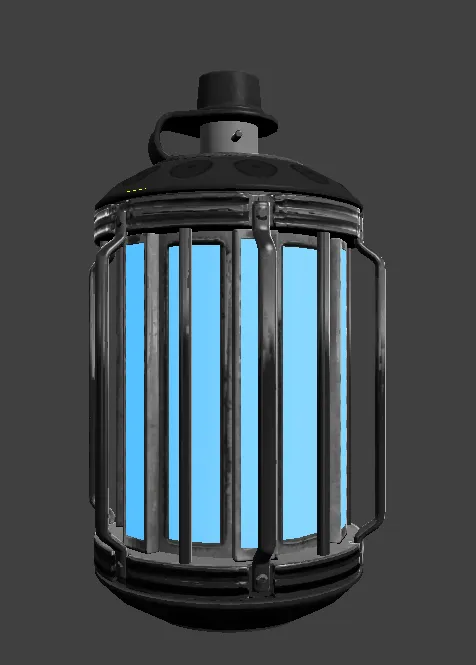 The Medic Grenade.
Off-perk picks
Medic weapons are not designed to be offensive, so bring other classes' weapons for damage and always carry a sidearm.
- Melee: Katana (600, very fast swings) and Pulverizer (1100, blunt and explosive). The guide's favorite pair is the Pulverizer and the 401 rifle.
- Shotguns: Hunting (double-barrel) Shotgun (650, knocks down ZEDs in a wide arc and nearly always one-shots), Dragon's Breath Trenchgun (650, burning).
- Rifles: Winchester 1894 (200), SPX 464 lever-action (650), Crossbow (650, high damage, bad in close quarters).
- SMGs: HK MP5 (650), HK UMP .45 (1200), Kriss Vector (1500, 33 round magazine empties in about 3 seconds).
- Others: M16 with M203 grenade launcher (1200), Desert Eagle (550 single, 1100 dual), AA12 (1500, the top damage option) and the Microwave Gun (1500).
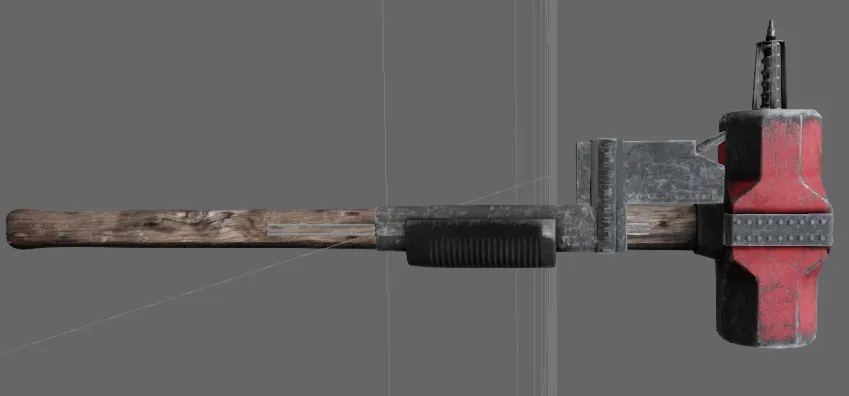 The Pulverizer, a favorite melee for Medics.
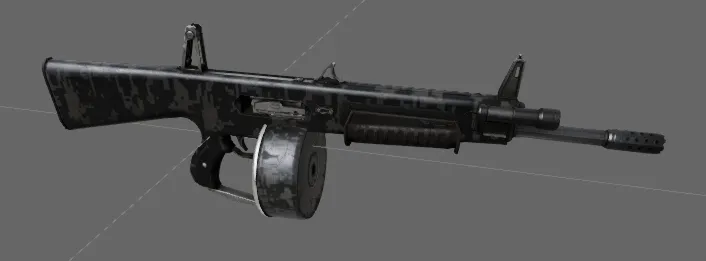 The AA12.
Know your enemies
Low threats: Clots, Stalker
- Cyst: very slow, weakest of the Clots, still can grab.
- Clot: slow to moderate speed, average. Do not get swarmed.
- Slasher: fast, jump-dives and slashes, the most dangerous Clot variant. Kill it early.
- Stalker: weak but dangerous because of cloaking. Listen for her sounds. Her biggest threat is blocking your grenades so you blow yourself up.
Moderate threats
- Bloat: easy target, the threat is the spew and blocking doors and windows. Keep it at a distance.
- Gorefast: moderate to high threat. Starts calm then runs and lunges. Kill at range.
- Crawler: two body shots or one headshot kill it on all difficulties. Up to 6 spawn in a group. A flamethrower or assault rifle works best.
High threats
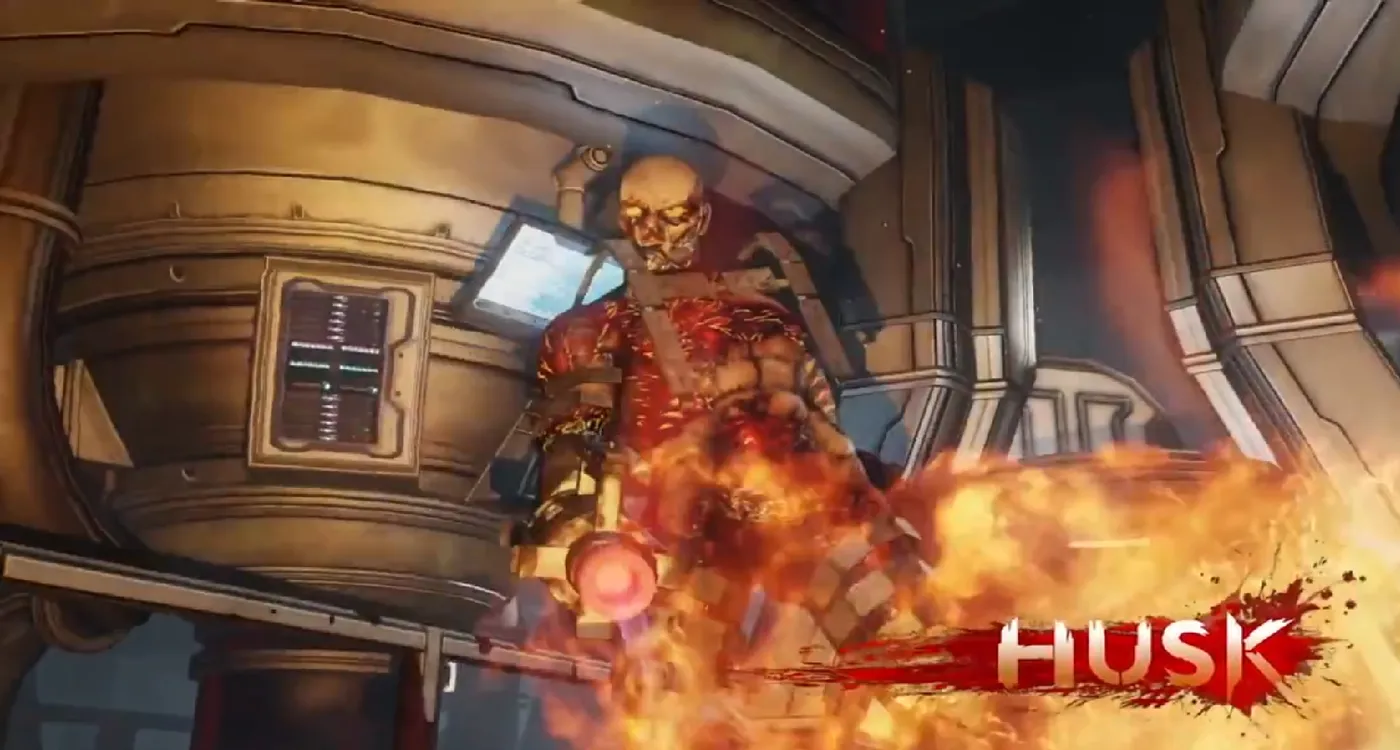 Husk.
- Husk (code red): hides behind big ZEDs and enrages them with napalm. Often the first to enrage a Scrake or Fleshpound, so target it immediately. Shooting the napalm canister makes it explode and hurts nearby ZEDs.
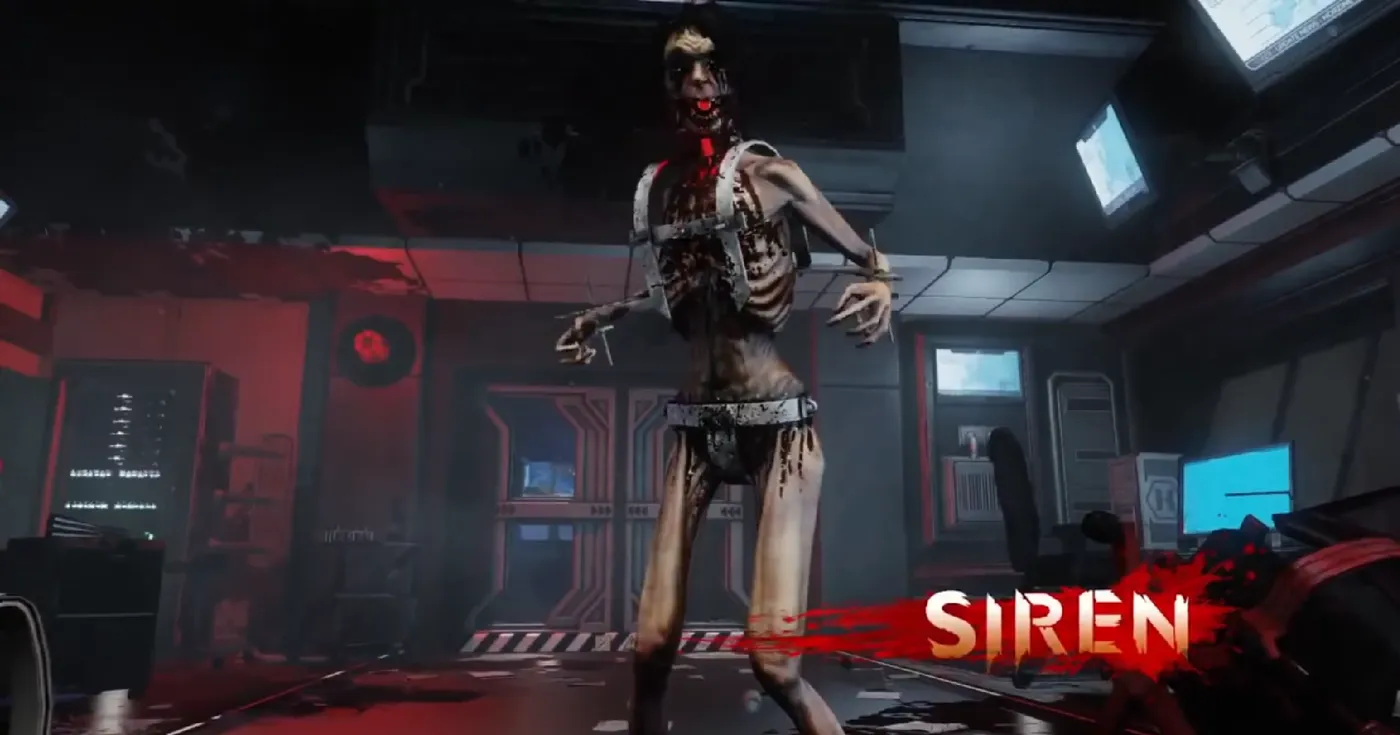 Siren.
- Siren (code red): armor-ignoring scream. Kill on sight.
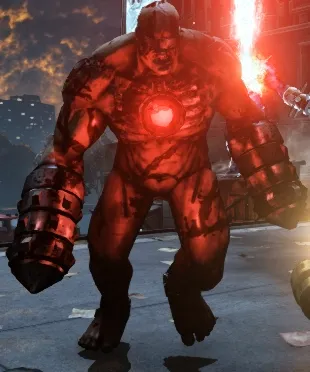 Quarter Pounder.
- Quarter Pounder: a smaller, faster, slightly weaker Fleshpound that spawns in groups of 4 or 5. Lay into its head.
Scrake
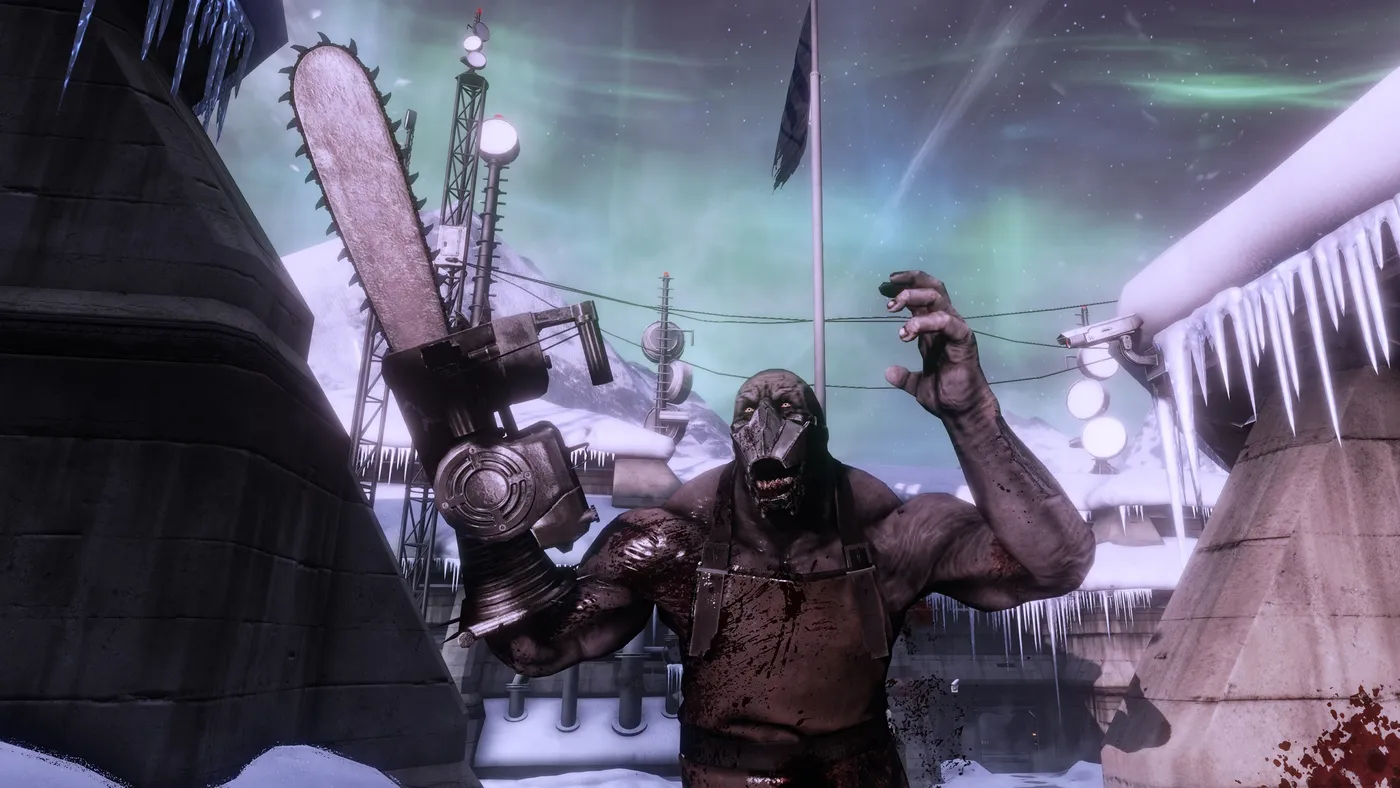 Scrake.
The Scrake has a rage threshold: it rages at 75 percent health or lower on Suicidal and Hell on Earth, and at 50 percent or lower on Hard and Normal. Once raged it runs at its target nonstop and may use an AoE lunge. It catches almost everyone except a Berserker with maximum health.
Rules from the guide:
- Do not attack a Scrake without teammates unless you know how to kill it safely and quickly.
- Only attack when you are a safe distance from other ZEDs or it is the last ZED.
- Do not throw any explosive or Medic grenade at a Scrake.
- Take Scrakes one at a time, getting the team to run extra Scrakes around the map.
- Never attack a Scrake that is chasing someone unless it is already raged. Attack only when you plan to kill it on the spot.
Also, do not panic. At levels 24 and 25 a Medic can outrun a raged Scrake even on Hell on Earth, and can use poison grenades.
Fleshpound
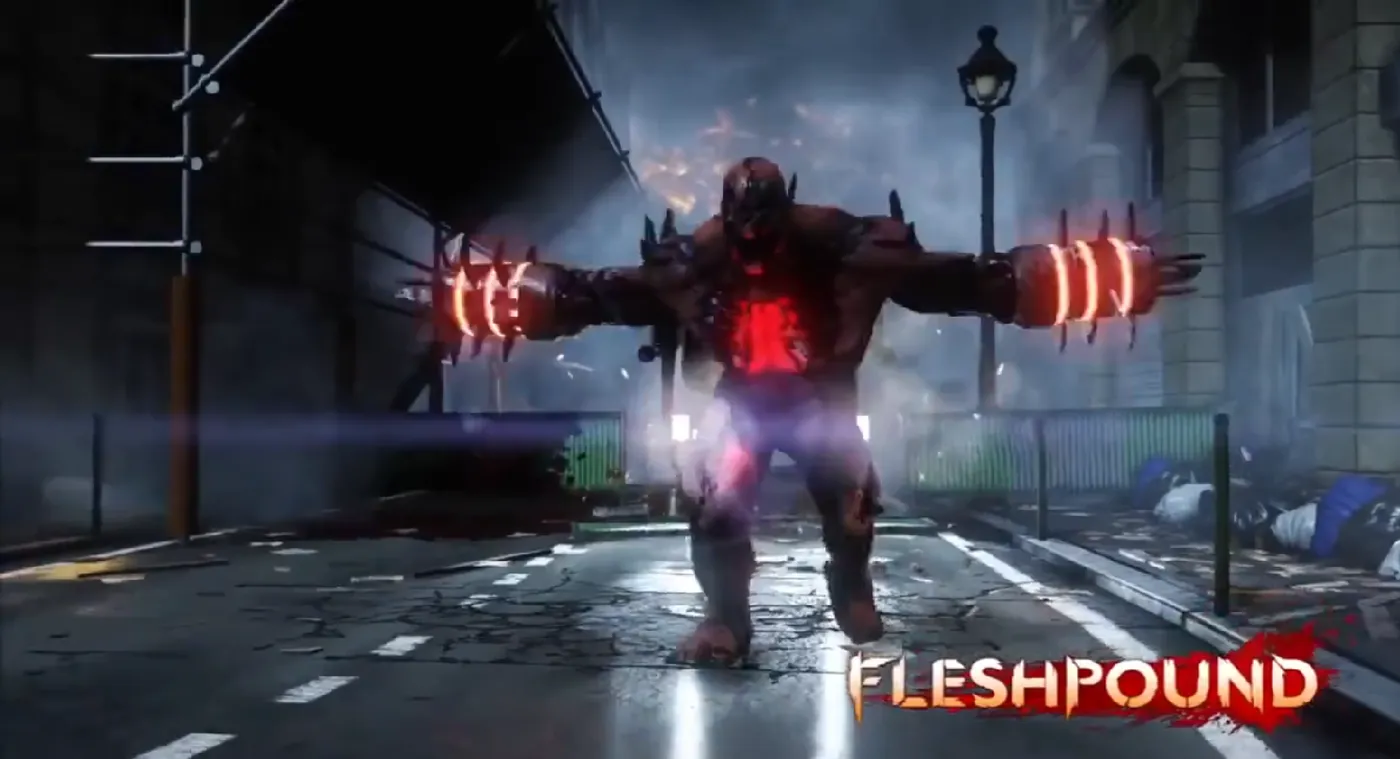 Fleshpound.
It rages after 10 seconds without attacking, or when it takes too much damage within a threshold without performing an attack animation. A raged Fleshpound's chest glows red instead of yellow and it does not stop until it dies or hits a living player. When it is raged, dump damage into it, but stop shooting before it strikes someone to avoid a chain rage. EMP and Cryo grenades slow or freeze it for about 3 seconds. Ways to deal with it:
- Outrun it and shoot its head while keeping a wall between you.
- In multiplayer, parry its attacks with a large melee weapon such as the Pulverizer, while the team fires. This needs good timing.
- Use a Hunting Shotgun or AA12 spam.
- Shoot the metal plates, which do double damage and can cancel a rage.
Bosses
The guide lists resistances as multipliers (1.0 means normal damage).
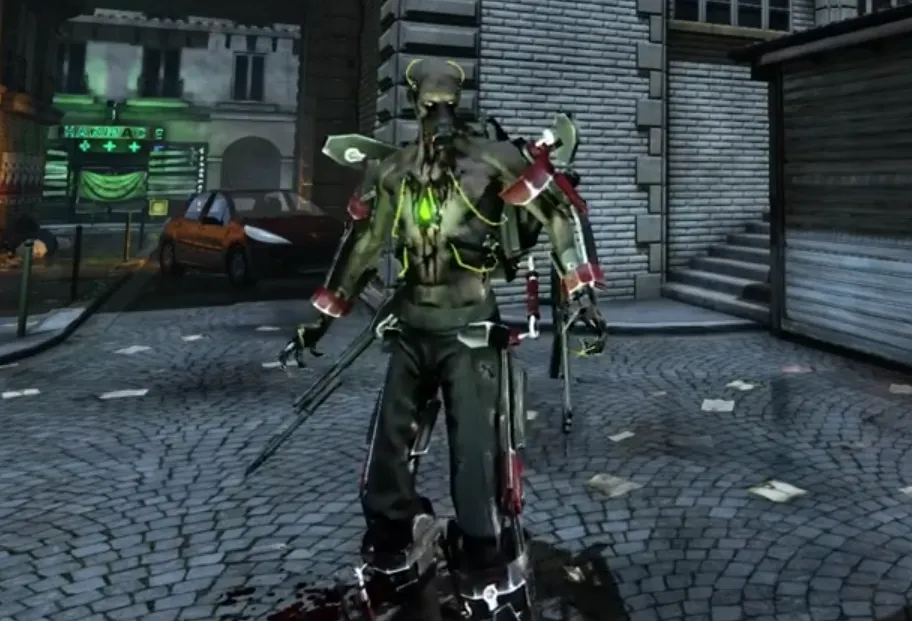 Hans Volter.
Hans Volter has four phases (green, yellow, orange, red) and heals three times by draining a player, each time becoming more aggressive. He resists poison (0.1) and piercing (0.8), and shotguns, SMGs, assault rifles and handguns do 0.8, while melee (1.0), explosives, slash, blunt, microwaves, freeze (1.0) and fire (1.1) work best. Tips:
- When he changes phase he is armored and takes no health damage. During the drain only smoke grenades are thrown.
- Grenade order is the same each game: first heal explosives, second heal gas (two Medics outheal it, do not run from it), final heal a lot of explosives that can wipe a team standing around.
- A support using the AA12 on the metal chest part deals big damage.
- After the drain there is a roughly 3-second window where he cannot attack. Wait a second after the shield drops and then fire.
- He cannot attack while throwing grenades. Bosses cannot be decapitated, but the head is still the weak spot.
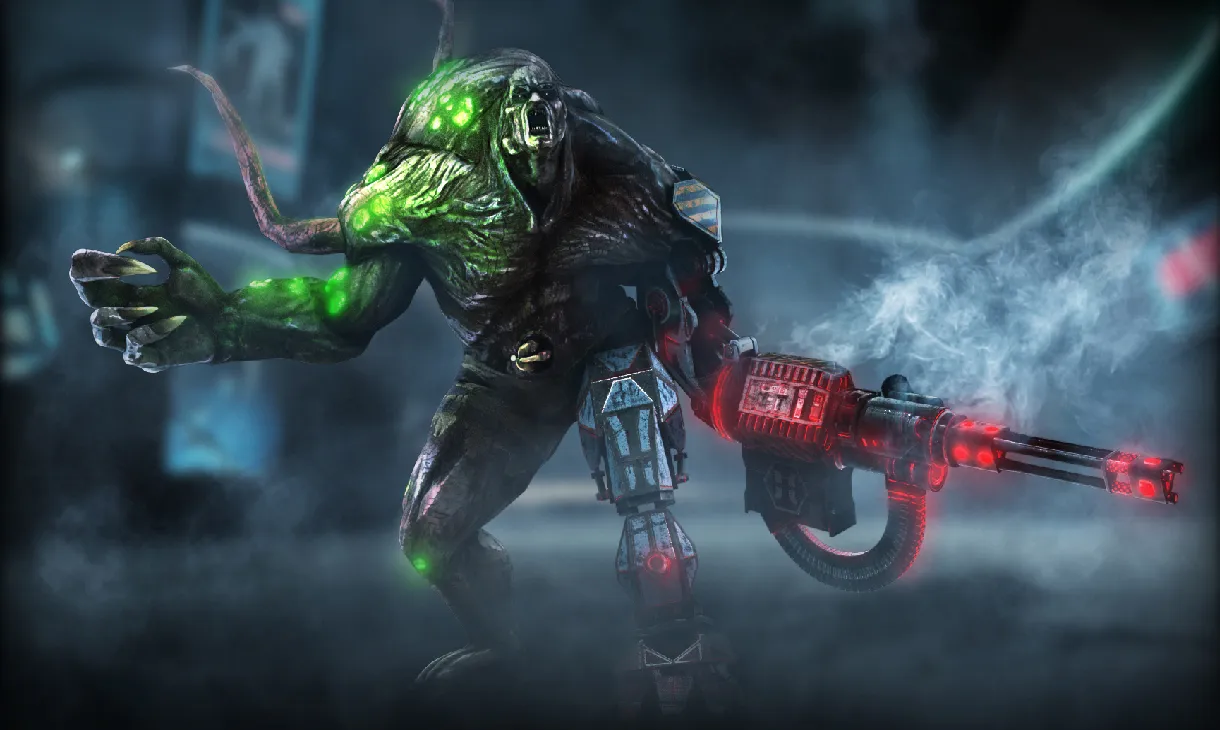 The Patriarch.
The Patriarch (Kevin Clamely) has four stages, cloaks and retreats to heal, and uses melee, rocket launcher, heat seekers, minigun and a close-range claw AoE. Stage 3 adds heat seekers and a minigun he can move with. He resists piercing, poison and fire at 0.5, explosives at 0.4 (shotguns 0.4) and all ballistics at 0.5. He takes full damage from melee, blunt, slash, freeze and 0.9 from microwaves, so Berserker, cryo and Firebug microwaves are effective. His main target is the Berserker, and while he flees to heal he is weak.
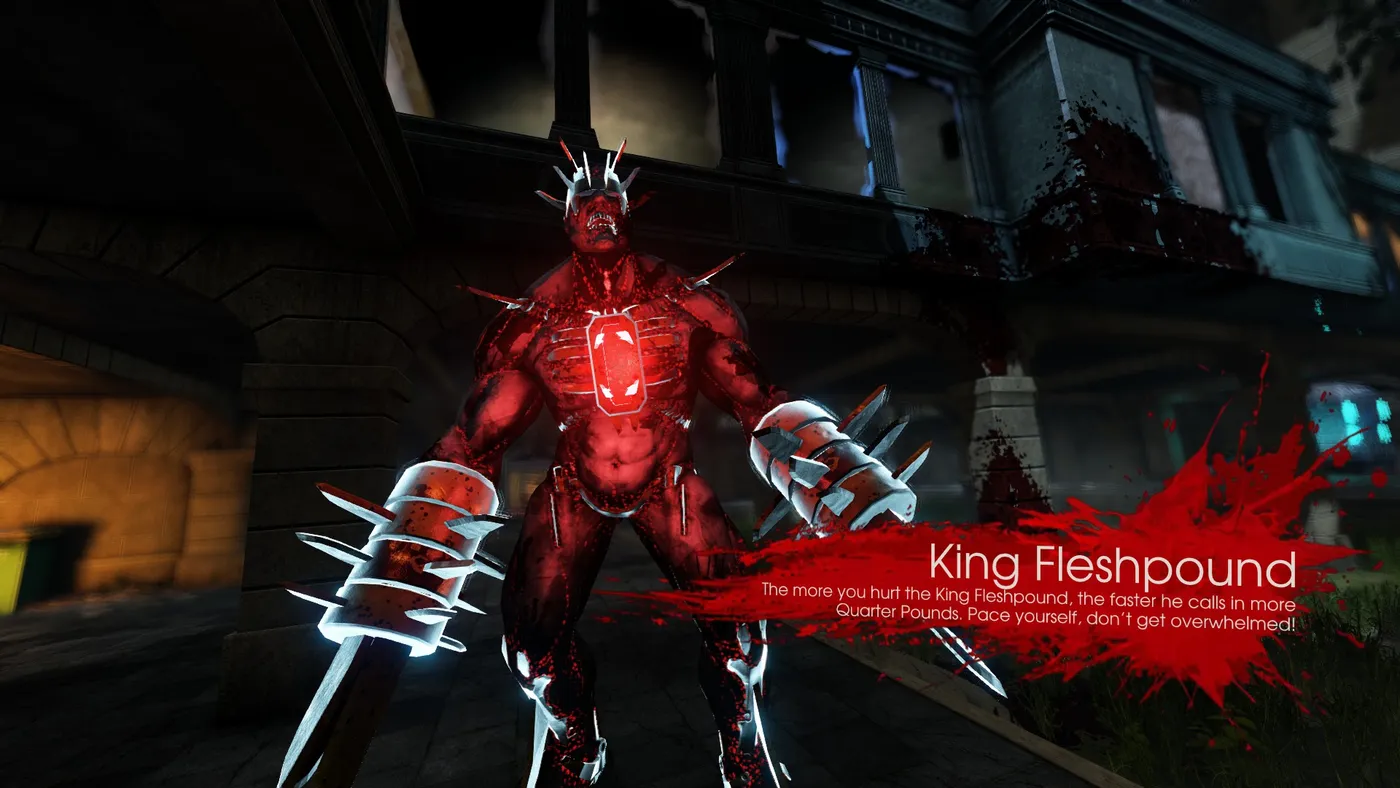 King Fleshpound.
King Fleshpound is a tougher Fleshpound with a chest laser (from stage 2, used after every rage ends), a ground pound at each phase change that sends a shockwave and spawns Quarter Pounders, and a shield in stage 4 that you must break first. Dodge the laser by ducking on level ground, no need to duck if you are lower, and jump or take cover if higher. He is useless at range except for the laser, weak to microwaves and especially explosives. His resistances: slash 0.5, blunt 0.6, poison 0.25, fire 0.3, assault rifles and SMGs 0.5. Shotguns, handguns and rifles are at 0.75, and cryo works at 1.0.
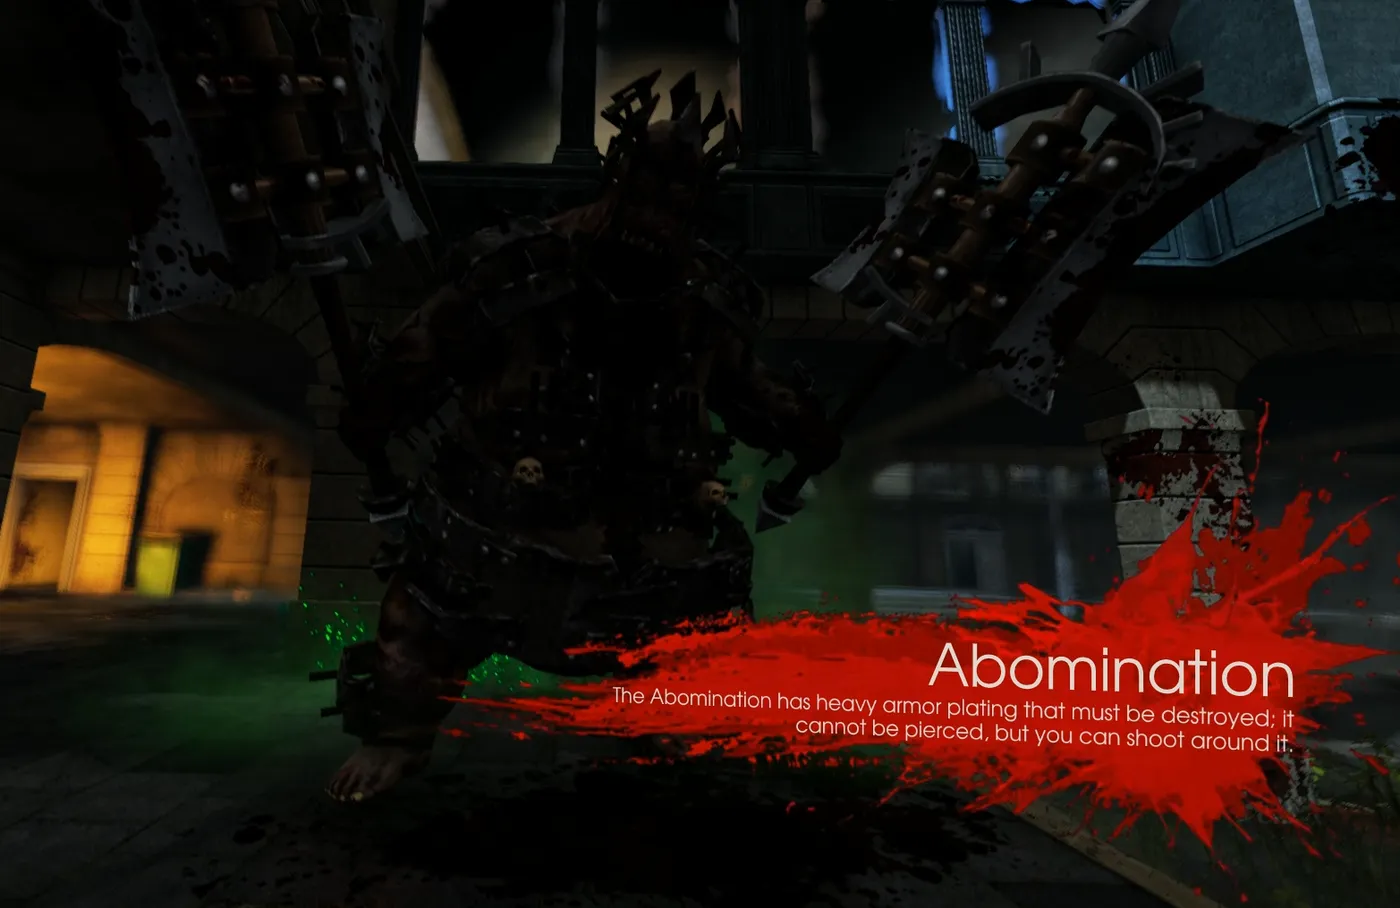 The Abomination.
The Abomination is a huge Bloat-like boss that spawns bilemen, which damage your armor. In stage 1 you must shoot its head to knock off the face mask. Stage 2 adds a toxic charge and puddles. Stage 3 adds a suction grapple (it leaves a player vulnerable for 20 seconds or more). By stage 4 bilemen are constant, so focus the boss. Its only weak spot is the head. Melee does 1.0, slash, blunt and freeze 1.0, and guns do only about 0.5, shotguns 0.4.
Survival tips
For yourself:
- Use quiet moments while kiting to inject yourself, and save grenades for when you really need them.
- Damage slows you down: at 50 percent health the slowdown is noticeable and at 25 percent you limp.
- Throw a healing grenade slightly in front so it explodes as you walk into it, which heals around 30 on the initial blast and then about 7 per second.
- Swamped by Clots, Crawlers or Stalkers? A Medic grenade kills them instantly on the blast and in 1 to 2 seconds in the cloud, and poisons others.
- Out of bullets? Use a melee weapon to save ammo and level Berserker.
- Last alive? Use teammates' dropped guns, and supply-run the last ZED around the map to collect ammo while saving dosh for better weapons.
- Medic and Berserker are the two solo classes.
For the team:
- Own a Tier 3 Medic weapon by wave 3 and aim for Tier 4 by wave 2 or 3. Do not spend on ammo and armor ahead of weapons.
- Keep moving, and stop only to heal.
- If a teammate is out of sight, drop a Medic grenade on their path.
- Do not heal yourself online unless you must. Healing teammates is faster, and both of you gain money and XP.
- Medic grenades leave a poison cloud lasting about 15 seconds that can agitate Scrakes and Fleshpounds, so clear the area before bombing.
- Group up and throw a grenade at your feet for a group heal. Stick with the Berserker and keep him alive.
- Medic grenades make good fallback spots and door blockers.
- While the team is healthy, kill weaker ZEDs like Sirens, Husks, Crawlers, Clots and Stalkers, so the big guns save ammo for big ZEDs.
Glossary
- Tank: a player who absorbs damage so the team does not die.
- Trash: anything other than Scrake or Fleshpound in general KF usage.
- AoE: area of effect. DOT: damage over time.
The author asked readers who borrow parts of the guide to credit it. The page references the Killing Floor wikis and the community stats spreadsheet.
FAQ
- What setup does the guide recommend for the Medic skill tree?
- Tier 1 Symbiotic Health, Tier 2 Adrenaline Shot, Tier 3 Acidic Rounds, Tier 4 Coagulant Booster, and a free choice at Tier 5 (Airborne Agent for teams, Zedative for solo).
- At what health does the Scrake rage?
- According to the guide, at 75 percent health or lower on Suicidal and Hell on Earth, and 50 percent or lower on Hard and Normal. Never attack a Scrake unless you plan to kill it on the spot.
- When does a Fleshpound rage?
- After 10 seconds without attacking a player, or when it takes too much damage within a threshold without performing an attack. It stays raged until it dies or hits a living player. Special grenades like EMP and Cryo can pause it for about 3 seconds.
- Which weapon does the guide treat as the best Medic weapon?
- The HM-Tech 401 assault rifle: 1500 dosh, very high damage, darts that regenerate in about 10 seconds with 4 darts in total.
