
KF2 Support Perk: Skills, Shotgun Stats and Builds
A Portuguese-language Steam guide to the Support perk in Killing Floor 2, translated and condensed here. It covers the XP bonus for welding, all passive bonuses and skills by level, then per-weapon stats with upgrade tables for the shotguns, followed by strategy and three example builds. Numbers are from the game version of the guide and may have changed. Compare with the Support perk guide with shotgun loadouts.
Role
With heavy weapons Support keeps ZEDs away from the group. It uses a range of shotguns whose penetration lets it handle crowds quickly, welds doors faster and can repair broken ones.
Welding XP bonus
Support earns bonus XP for welded doors. Each Support has a personal welding meter that fills when you weld (not when you unweld) at the welder's rate, from +68 points at level 0 to +102 at level 25. Every time the meter reaches 510 points it resets and you get a bonus XP reward, and the overflow carries over. For example, with 500 points in the meter and another +102 from the welder you get the XP and start the next cycle at 92 points. The guide lists the bonus as 8 on every difficulty.
Passive bonuses
- Welding speed +3 percent per level (75 percent at level 25).
- Perk weapon damage +1 percent per level (25 percent at 25).
- Perk weapon penetration +20 percent per level (500 percent at 25).
- Ammo +1 percent per level (25 percent at 25).
- Repairs broken doors.
- Carry weight +1 for every 5 levels (+5 at level 25 in total, giving 20 weight at level 25).
- Once per wave supplies ammo to the team.
Skills
| Level | Choice A | Choice B |
|---|---|---|
| 5 | High Capacity Magazines: perk weapon magazine +75 percent | Tactical Reload: faster reloads |
| 10 | Fortitude: health +50 percent | Salvo: perk weapon damage +30 percent |
| 15 | Armor Piercing Shot: much more penetration | Tight Choke: spread -50 percent |
| 20 | Resupply Pack: teammates take 30 percent more ammo and restore 20 percent armor when interacting with you; you carry 20 percent more ammo | Concussion Rounds: stumble power +150 percent |
| 25 | Penetrator: during Zed Time perk weapons pierce all targets | Barrage: during Zed Time you fire in near real time |
Weapons
Tier 1
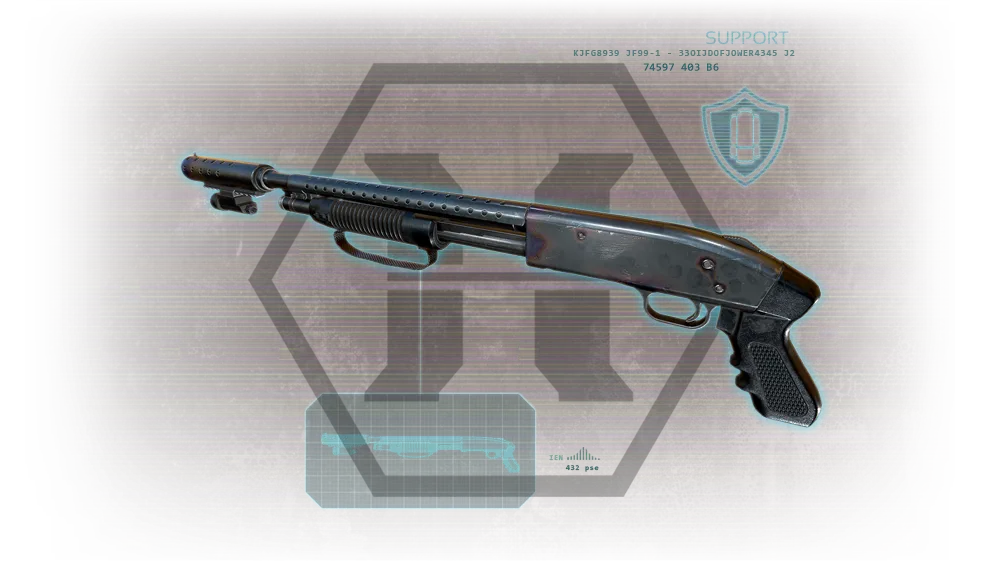 SG 500 Pump-Action, the Support starting weapon.
SG 500 Pump-Action (starting weapon): weight 5, price 200, 7 pellets x 20 damage, bash 25, magazine 8, total ammo 56. Upgrades: 500 (x1.25), 600 (x1.5), 700 (x1.75), 1500 (x2), each adding +1 weight. Recoil depends on stance and movement; crouching and aiming is lowest, and stance does not affect pellet spread.
Machete (default knife): light 32, heavy 64, bash 15; blocks 20 percent of damage.
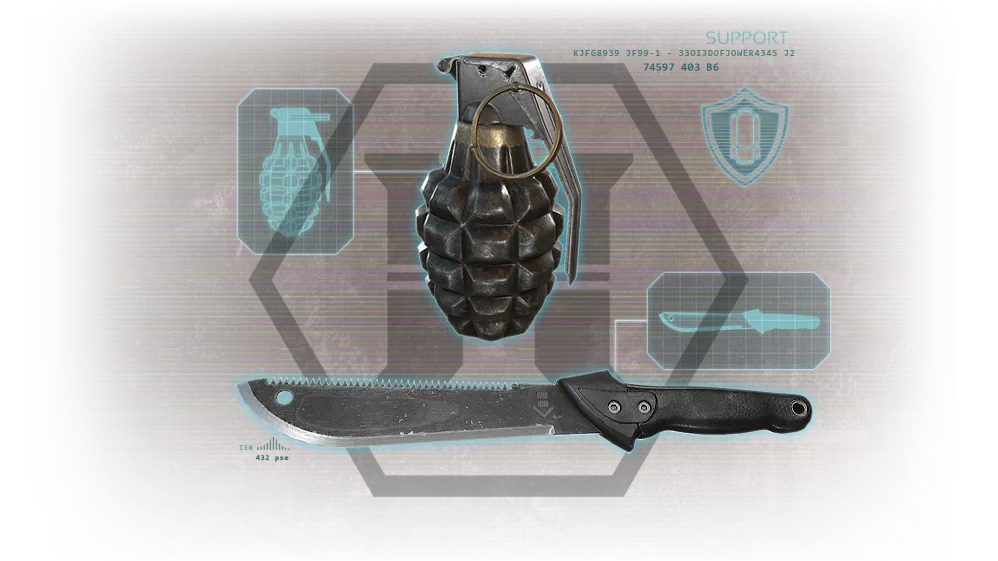 Knife and Frag Grenade.
Frag Grenade: 200 damage, 9 m radius, linear falloff, 2 s fuse; instant detonation creates 10 fragments of 50 damage at 40 m/s that ricochet twice. Devastating in corridors, where fragments keep bouncing.
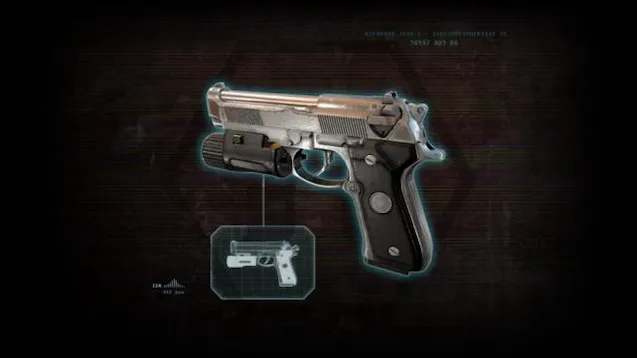 9mm pistol, the starting sidearm for every class.
9mm pistol (all classes): single/dual weight 0/2, price 0/150, damage 25, magazine 15/30, ammo 75/60. Five upgrades (200 to 1500) take it to x2. It gets all passive bonuses and skills, headshots decapitate Clots, Slashers, Cysts, Stalkers and Crawlers, and it is weak against everything else, becoming viable later only for Gunslinger, SWAT and Commando with the right skills.
Tier 2
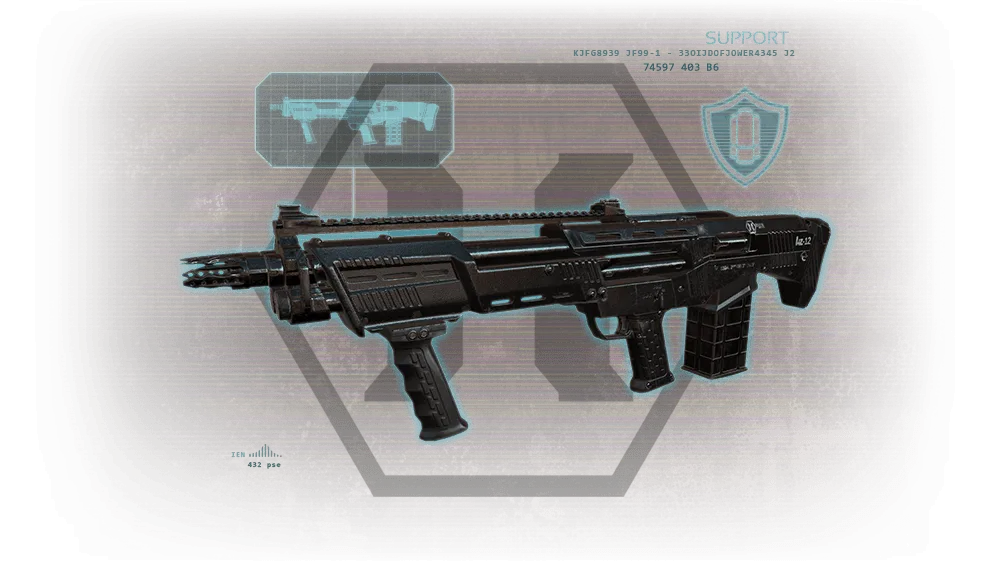 HZ12 Multi-Action.
HZ12 Multi-Action: experimental Horzine prototype. Weight 5, price 750, 10 pellets x 20, magazine 16, ammo 80. Upgrades 600, 700, 1500 give x1.1, x1.2, x1.3.
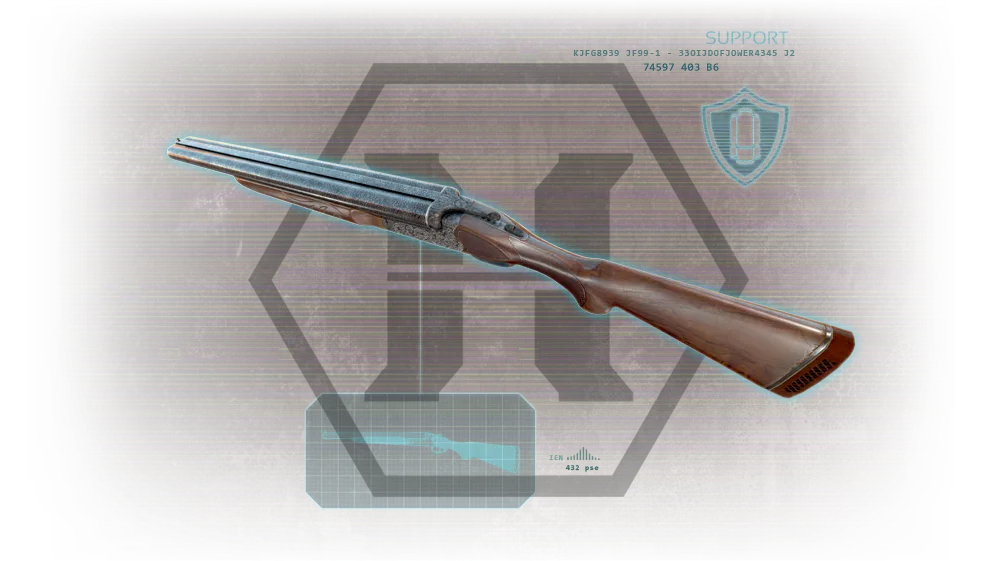 Double-barreled Boomstick.
Double-barreled Boomstick: weight 5, price 750, 25 per pellet, 10 pellets (20 on alternate fire), magazine 2, ammo 46. Upgrades x1.05, x1.1, x1.15. The alternate fire adds about 5 m/s to your current falling speed. Does 250 damage if all pellets hit; against a large ZED, jump and use the alternate fire as it attacks so that you deal damage without taking any.
Tier 3
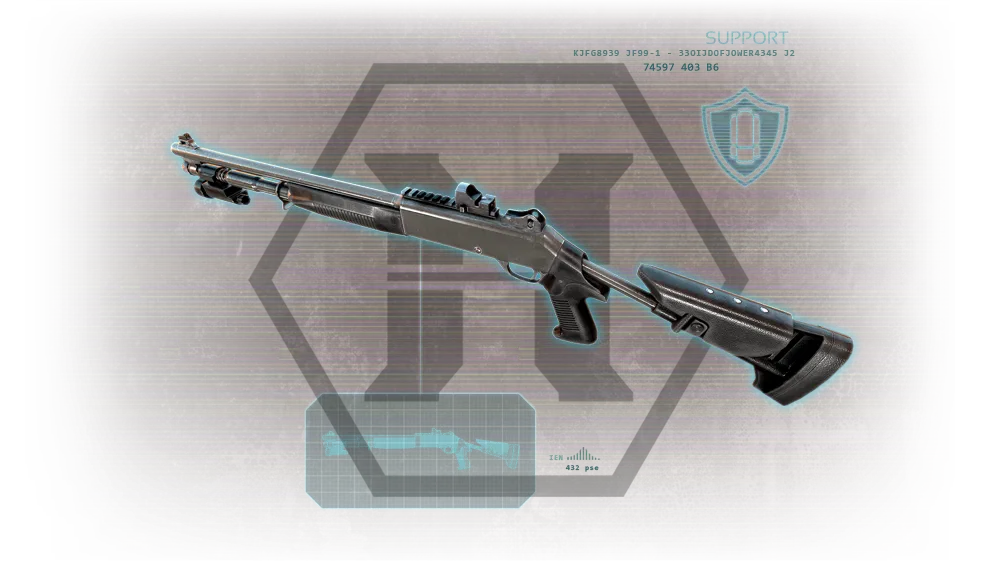 M4 Combat Shotgun.
M4 Combat Shotgun: powerful semi-auto. Weight 6, price 1100, 8 pellets x 30, magazine 8, ammo 64. Upgrades 700 (x1.1) and 1500 (x1.2).
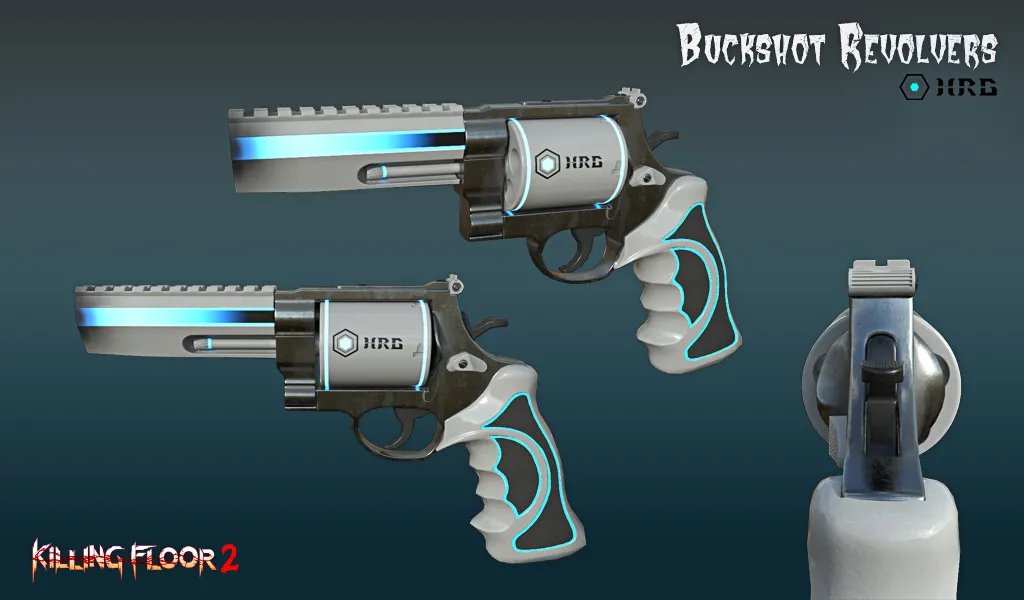 HRG Buckshots.
HRG Buckshots: single/dual weight 2/4, price 550/1100, 5 pellets x 32, magazine 5/10, ammo 85/80. Upgrades x1.15 and x1.3.
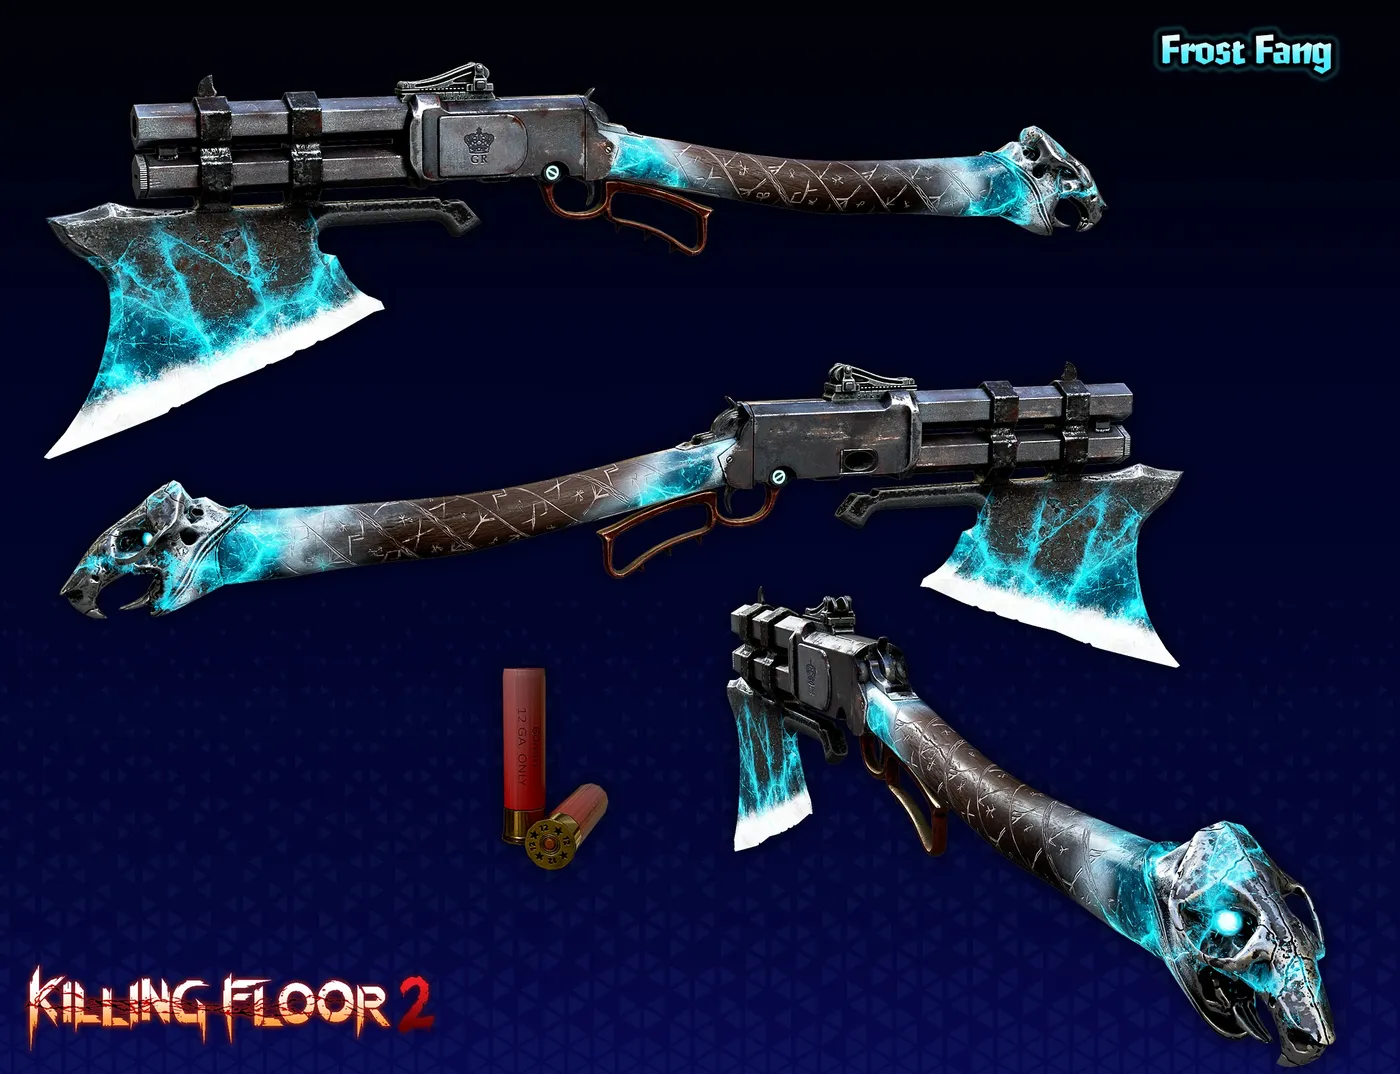 Frost Fang.
Frost Fang: shotgun-axe hybrid. Weight 7, price 1300, melee 75 (185 against frozen targets), 7 pellets x 30, magazine 6, ammo 66. Block reduces damage 40 percent and parry 50 percent. It deals extra damage to frozen ZEDs. Its swing is a light attack, so it gets Berserker's Massacre bonus, and as a melee weapon Survivalist gets its speed and Melee Expert bonuses for all its attacks.
Tier 4
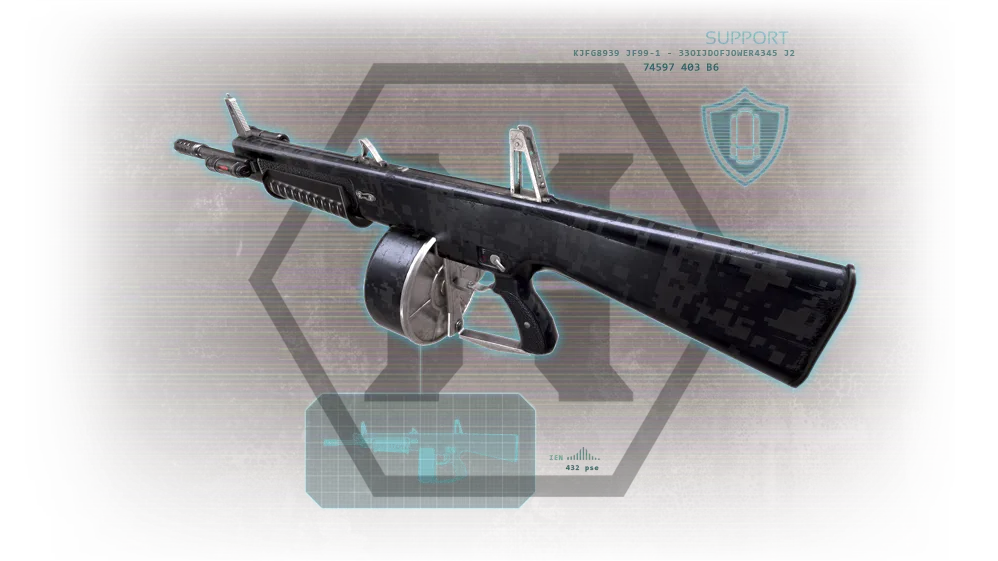 AA-12 auto shotgun.
AA-12: an ammo-hungry automatic. Weight 10, price 1500, 7 pellets x 20, magazine 20, ammo 120. One upgrade (1500, x1.15).
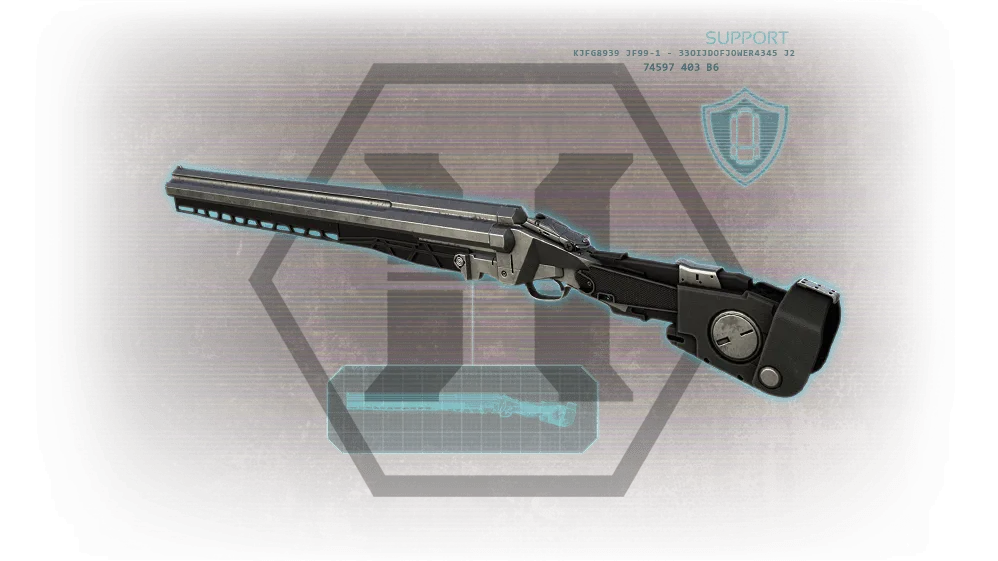 Doomstick.
Doomstick: four barrels. Weight 10, price 1500, 40 per pellet, 6 pellets (24 on alternate fire), magazine 4, ammo 48. One upgrade (x1.15). The alternate fire also pushes your fall speed.
HRG Blast Brawlers: weight 9, price 1600, 5 pellets x 39, bash 100, magazine 4, ammo 40; block 50 percent, parry 60 percent. One upgrade (x1.25).
Multi-perk weapons
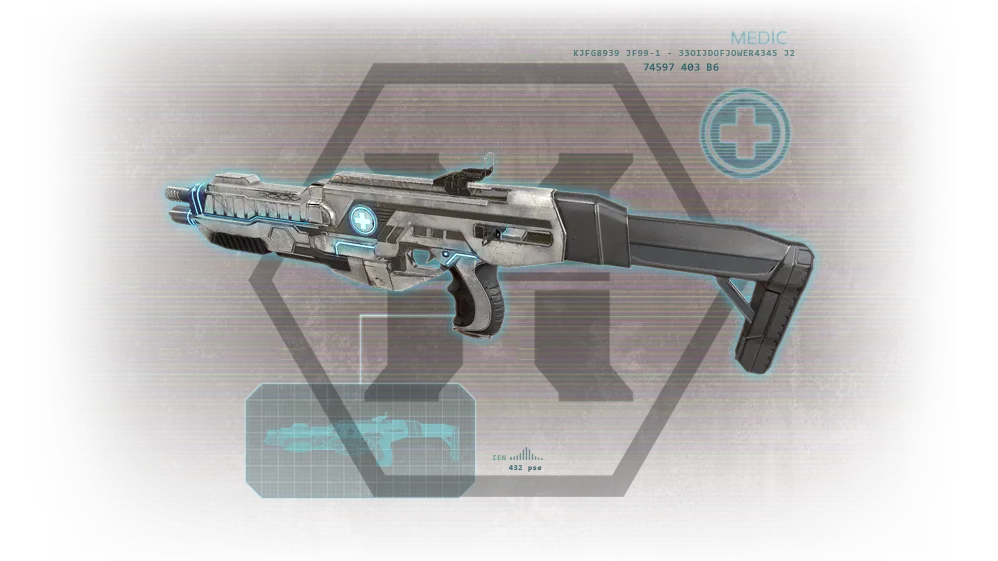 HMTech-301 Shotgun.
HMTech-301: weight 6, price 1100, 6 x 25, magazine 10, ammo 80. Heals 20 per dart at 40 percent of the ammo per dart; full reload 12 s. Upgrades 700 and 1500 give x1.15 and x1.3 and a faster heal reload.
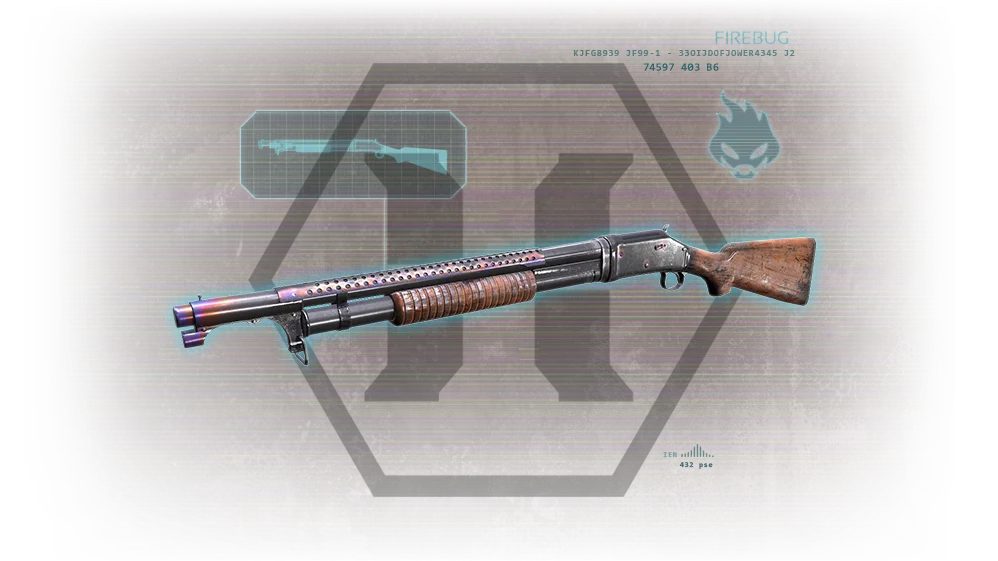 Dragonsbreath.
Dragonsbreath: fire shotgun. Weight 5, price 650, 6 x 35, lingering flame 8, radius 1.5 m, magazine 6, ammo 60. Direct hits may spawn lingering flames; projectiles are affected by gravity.
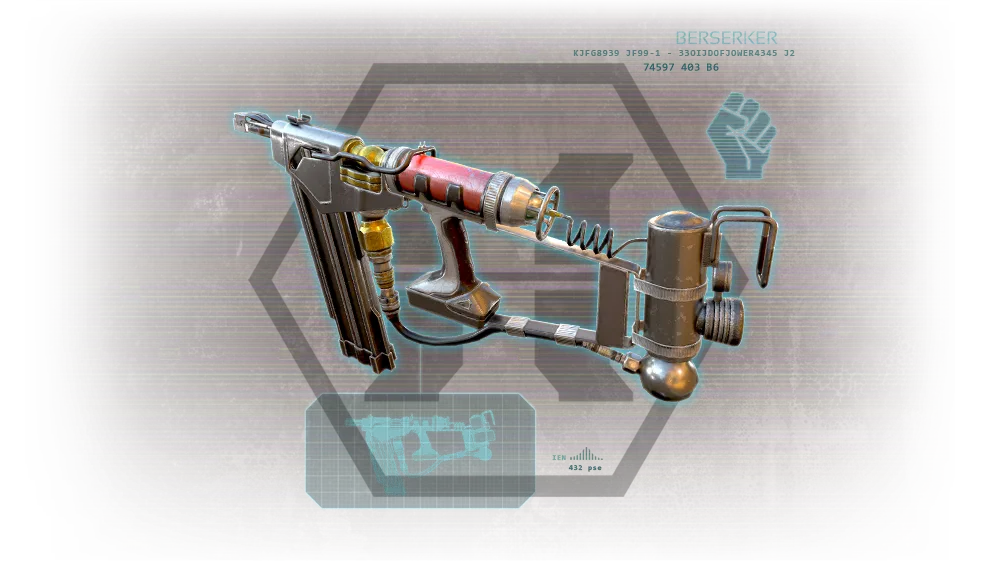 Nailgun.
Nailgun: weight 5, price 750, 35 per nail, magazine 42, ammo 378; the alternate fire shoots 7 nails for 245. Nails penetrate, which makes it good for Berserkers clearing weak ZEDs; accuracy is very low and multi-shot mode burns ammo fast.
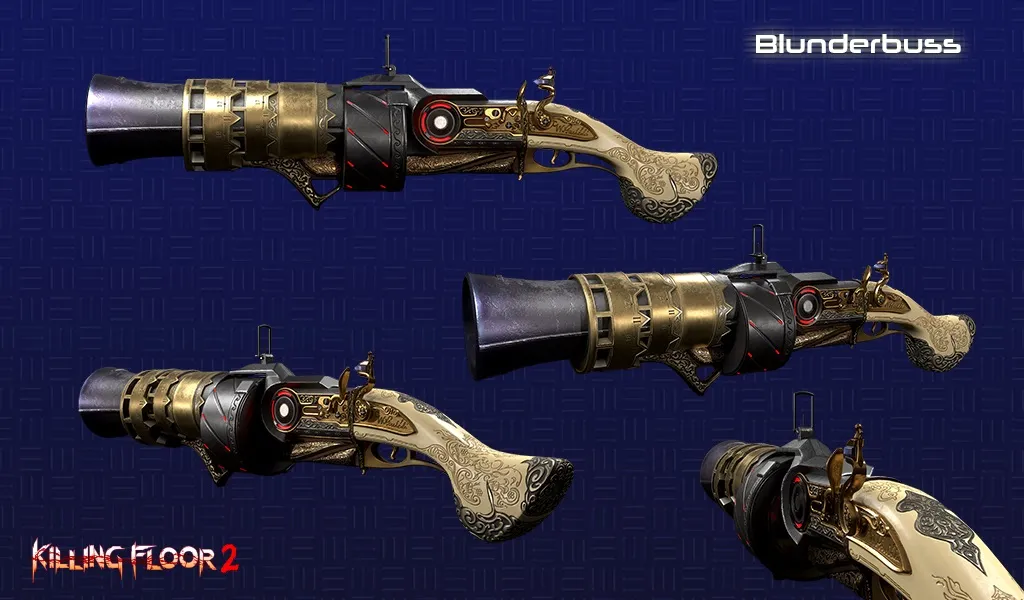 Blunderbuss.
Blunderbuss: weight 7, price 1500. Primary fire is a cannonball (300 impact, 250 explosion, 7 m radius); alternate fire is 10 shrapnel x 50 that ricochet twice. Magazine 3, ammo 39. Holding the button rolls the cannonball along the surface until you release; switching weapons detonates it. The blast does 50 percent damage to you.
General strategy
- A great crowd-control class at spots with many approach routes.
- Very effective against Gorefast and Gorefiend, which are weak to shotgun damage.
- The extra carry weight lets you take the medic shotgun to help heal the team.
- To kill a Scrake alone, use the Boomstick for a headshot; its stumble gives you time to reload or switch to a stronger shotgun, later the Doomstick.
- Team up with Demolitionist: Support's door repair plus Demolitionist's door traps kill many ZEDs at once. Hold the door until enough ZEDs are behind it.
- The Boomstick alternate fire can be used to escape and reduce fall damage; shooting in the air will always push you.
Example builds
- Solo: with so many small and medium ZEDs, take the M4 (one-shot kills on them) with the Doomstick for large ZEDs, or the AA-12, Boomstick and HZ12 at level 25. Reload the M4 after one or two shots.
- Boss, solo: AA-12 or Doomstick for damage (the Doomstick requires dangerous close range) and the M4 for small ZEDs.
- Co-op: a team-support build that provides ammo and armor and fires in near real time in Zed Time. Tactical Reload suits weapons reloaded one shell at a time (M4, Doomstick), High Capacity Magazines suits full-magazine reloads (AA-12, Boomstick). At level 10 take Fortitude if you lack health or Salvo if you struggle against large ZEDs.
- Boss, co-op: extra armor and ammo for the team, a medic shotgun for healing, and the AA-12 on the boss; the Doomstick is possible for the brave.
The author notes these are just some popular builds and encourages experimenting.
