
KF2 Survivalist Guide: Skills, Loadouts and Team Play
This page follows an English Steam guide by a long-time Survivalist player. It answers the usual questions: what can the perk do, can it support the team, which loadout to use, and why not just play a specialist? The author stresses that this is not a list of the best skills, but a look at which skills suit which situation. For other takes see Survivalist guide for team players and the expert-level Survivalist guide.
Base kit
The Survivalist is called the jack of all trades for good reason:
- 15% damage: low, the second lowest among all perks.
- 25% global damage resistance: helpful, and it makes the Survivalist a decent off-tank, especially after the Berserker nerf.
- Heavy body armor, like SWAT: armor takes the hits instead of health, except Siren damage.
- 75% faster Zed-time reload: very strong when timed well. With Lockdown at level 25 it can stun several large ZEDs if a Commando extends Zed time.
- Faster weapon switching: crucial when you handle small and large ZEDs at once, or switch between healing and killing.
The Survivalist can also choose its tier 1 weapon and grenade type. Molotovs hit harder than healing grenades, healing grenades support the team, and the author calls stun grenades the best pick for crowd control. For the starting weapon: Crovel suits Melee Expert, the medic pistol benefits from Medic Training, and the AR-15 works for small and medium ZEDs with good aim.
Skills by level
| Level | Choices | Author's take |
|---|---|---|
| 5 | Heavy Weapons Training vs Tactical Reload | Heavy Weapons Training speeds up Demolitionist, Sharpshooter and Support weapons. Tactical Reload covers Gunslinger, Commando and SWAT weapons. Pick by loadout. |
| 10 | Medic Training vs Melee Expert | Medic Training boosts syringe and dart recharge and healing potency. Melee Expert lets you handle small to large ZEDs in melee, like "half a Berserker". Both can be mixed with medic weapons. |
| 15 | Ammo Vest vs Weapon Harness | The author prefers Weapon Harness: 5 extra weight and Molotovs. Ammo Vest gives 15% ammo and healing grenades that are useful in early waves. |
| 20 | Spontaneous Zed-plosion vs Make Things Go Boom | Zed-plosion gives chance stuns, best in tight corridors. Make Things Go Boom adds 50% explosive radius and 50% explosive resistance, and the author takes it for the boss wave. |
| 25 | Zed Time - Madman vs Zed Time - Lockdown | Lockdown is strongly preferred. Stunning any ZED in Zed time, without aiming for the head, saves teammates. Madman lacks the damage boost to make up for it. |
Two example trees from the guide, written as the right (R) or left (L) skill at each level: R, R, R, L, R (Heavy Weapons Training, Melee Expert, Weapon Harness, Zed-plosion, Lockdown) and R, L, L, L, R (Heavy Weapons Training, Medic Training, Ammo Vest, Zed-plosion, Lockdown) for a more healing-focused build.
Loadout ideas
The loadout is like a LEGO set: mix pieces to fill the team's gaps. The author's main set uses Weapon Harness and a mix of heavy and medic weapons.
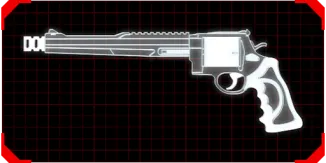 Weapon icon from the first example loadout.
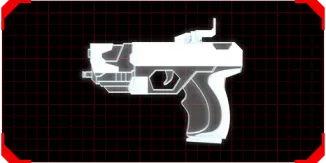 Weapon icon from the first loadout (the guide pairs a medic pistol with it for healing darts at range).
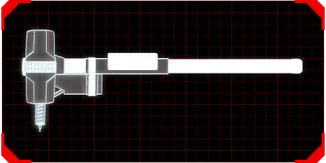 Weapon icon from the first loadout.
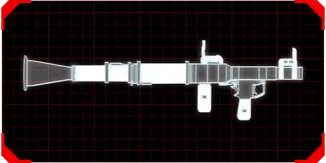 Weapon icon from the first loadout (the RPG is a staple heavy weapon in these builds).
A second example set (also enabled by Weapon Harness) acts like a medic loadout:
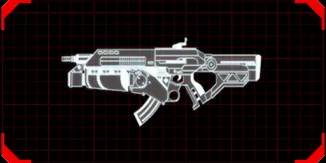 Weapon icon from the second example set (medic-style loadout).
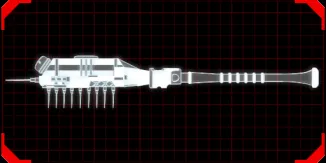 Weapon icon from the second example set.
For a part-time medic on 15 weight: the Static Strikers are one of the best melee weapons thanks to attack speed, damage and damage resistance, and their heavy attack calms enraged ZEDs briefly. The Hemogoblin is one of the best Survivalist weapons for its weight of 7: it debuffs, one-shots Rioters and heals. Upgrade it for damage and recharge. The Incision can replace it.
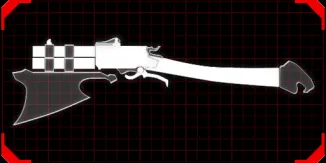 Weapon icon from the medic-style build.
More combinations the author lists: Incision, Hemoclobber and M14 EBR; RPG with HM-401 (Ammo Vest build); Dragon's Breath, Pulverizer and RPG; Frost Fang, Magnum, RPG and HM-101. The Nailgun, SCAR and FAL also fit.
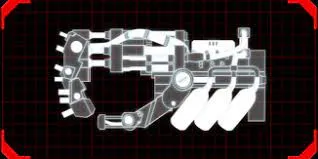 Weapon icon from another example set.
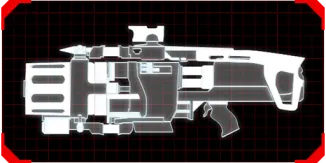 Weapon icon from the example sets.
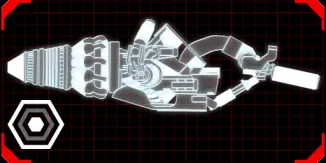 Weapon icon from the part-time medic build.
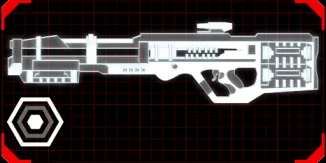 Weapon icon from the same build.
Mind the melee economy
Using the game's stats tables, the author found that a cheap Crovel absorbs damage nearly as well as pricier melee weapons. The damage resistance difference while blocking is only about 10-20% depending on the weapon. The saved dosh can help teammates buy better gear. For example a Demolitionist can afford an RPG instead of the Survivalist spending $1,200+ on a Hemoclobber. This matters if you take Melee Expert.
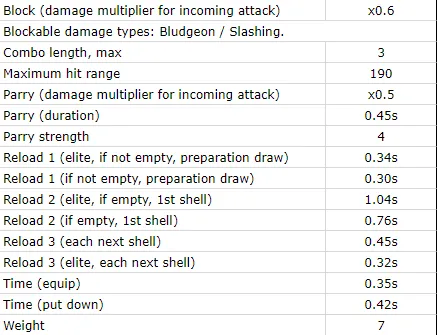 Melee weapon stat table from the guide (the first of the two compared, with Frost Fang on the left in the original).
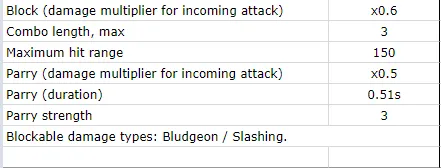 Crovel stat table: block multiplier x0.6, combo length 3, parry strength 3.
The downsides
The kit is spread all over the place, so the perk commits to a role only halfway:
- No true role: it lacks the takedown damage of Demolitionist, Sharpshooter or Gunslinger.
- No damage bonus, recoil reduction or healing potency strong enough to out-support specialists.
- No parry damage resistance like Berserker, so it is less durable.
- Weapons that rely on another perk's bonuses suffer. Firebug weapons such as the Caulk 'n Burn and the flamethrower suffer most.
- No healing buffs at all.
- Dosh is better spent on Medic, Commando and Sharpshooter, whose heals, Zed-time extension and freezing are vital.
- The early game is weak. Your tier 1 weapon is a random pick (the Caulk 'n Burn is a curse) and you stay on tier 1 gear until about wave 3-4. A full set of RPG ($1,500), Hemoclobber ($1,200), Magnum ($750) and medic pistol ($200) plus ammo and armor is dosh-hungry, so you only afford it around wave 5.
Laning and teamwork notes
- If you play with a Commando, do not kill the small ZEDs it needs to extend Zed time.
- Do not play suicidal: you are adaptable but not as durable as a Berserker. Do not lone-wolf.
- Next to precision perks avoid chaos weapons like Dragon's Breath that panic ZEDs. With chaos perks go ham together, and carry a melee weapon to be the first line against large ZEDs.
- Consider a medic pistol, and share dosh with your Medic first because their healing depends on weapons.
- With Melee Expert you can often last waves 1 and 2 with the shovel. Wave 3 is a stretch but possible.
Final thoughts
The perk can roleplay as almost any other perk within limits, which is both its strength and its weakness. It can heal, soak aggro and deal damage, depending on the loadout and skills. A specialist is limited to its role, while the Survivalist adapts. The author's example match used the Hemogoblin, Hemoclobber and RPG, distributing healing to both lanes at wave 3 and taking hits that would have killed other perks, and admits mistakes such as missed darts and Zed-time stuns. The guide credits the Tamari community server and a community spreadsheet of weapon stats.
FAQ
- What is the Survivalist's base kit in KF2?
- The guide lists 15% damage, 25% global damage resistance, heavy body armor like SWAT, 75% faster Zed-time reload and faster weapon switching.
- Which Level 25 skill does this guide recommend?
- Zed Time - Lockdown over Madman, because stunning any ZED during Zed time gives strong crowd control.
- What is the Survivalist's biggest weakness?
- It is an all-rounder that does every role only halfway: lower damage, no recoil reduction or healing buffs, no parry resistance, and a dosh-hungry, weak early game.
