
KF2 Hell on Earth Perk Roles: Japanese Team Guide (v1012)
This is a paraphrase of a long Japanese community guide to Hell on Earth, written for game version v1012 (September 2015) and assuming level 25 on a Long game. At least level 20 is advised before attempting HoE. With Firebug and Demolitionist added to the original four perks there is no fixed composition, but two Berserkers and one Medic are practically required: the Berserker is the wall, big-ZED killer and EMP thrower, the Medic heals, and the other three perks clear trash and add damage. With a Commando, bring two; with a Firebug, pair it with another Firebug or a Demolitionist. If unsure, tell the team in chat which perk you are switching to. Note that balance has changed in later updates, so treat the numbers as historic.
Berserker
The Berserker protects the team, hammers Fleshpounds and counters Scrakes with the EMP grenade. Typical gear is the Zweihander (hammer) plus an AK, SCAR, Medic AR or MWG.
Suggested skills: Poison Resistance (so Bloat bile does not blind the tank), Fortitude (doubles health and made the Berserker far stronger), Furious Defender, Smash (can knock down big ZEDs) and ZED Time - Spartan.
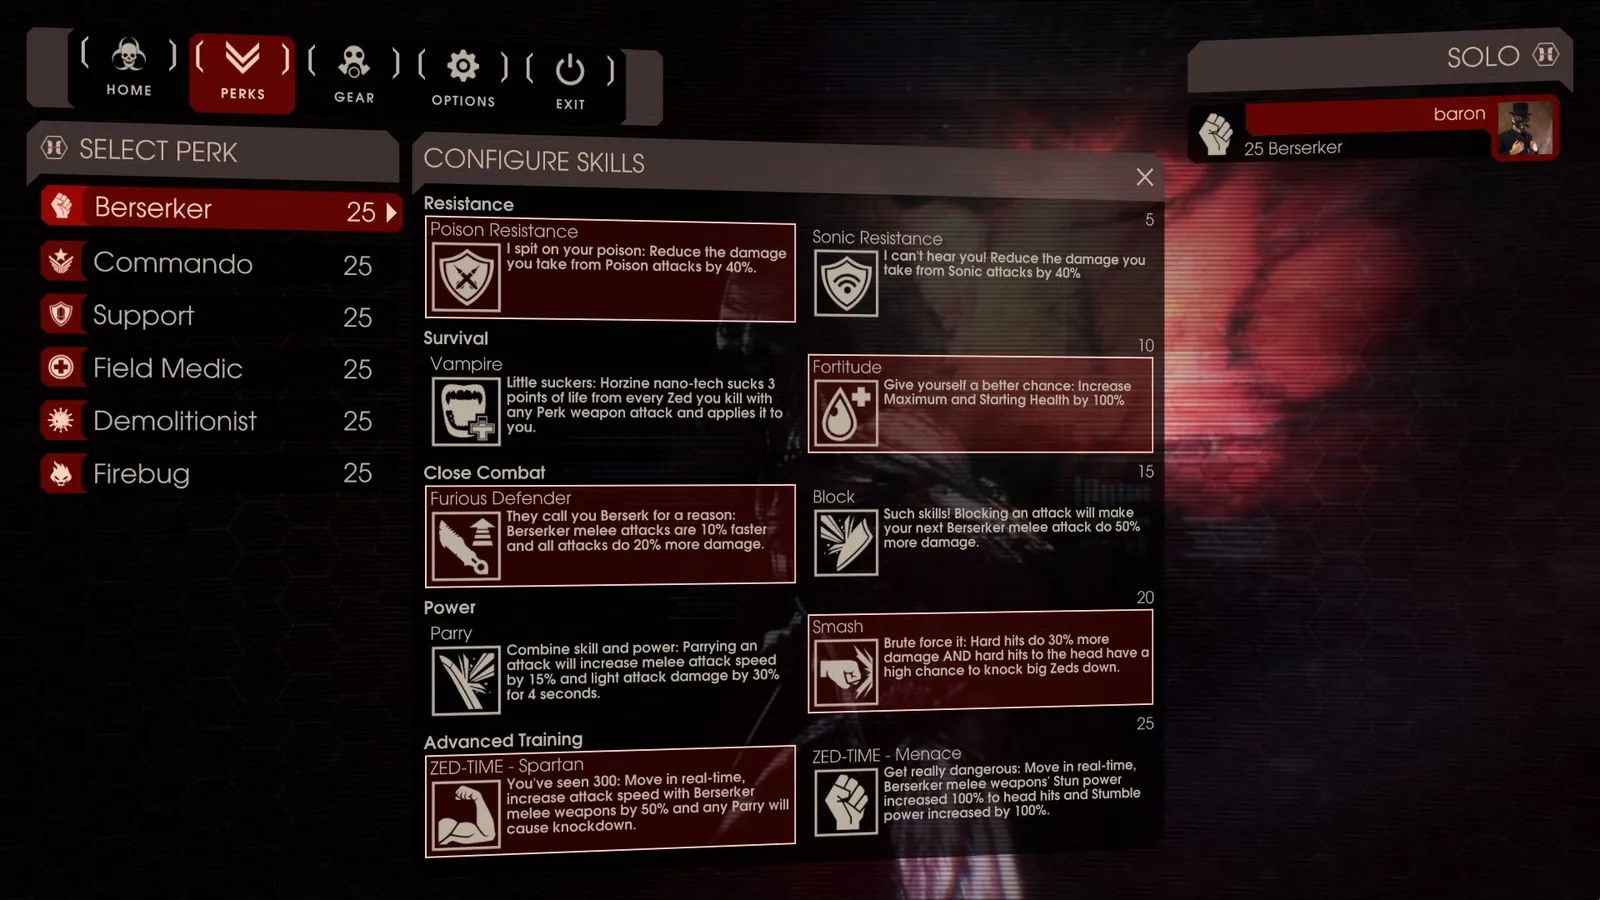 Recommended Berserker skills.
- Scrake: throw the EMP at range, watching teammates and nearby Sirens, then headshot with an assault rifle alongside Commandos. Since v1012 the Scrake staggers after the EMP, so wait until the stagger ends and focus headshots. A bash beforehand removes the stagger.
- Fleshpound: the Berserker's job. If a Scrake arrives at the same time, kill the Scrake first. Otherwise hit it with the hammer to take aggro, drag it into the middle of camp, parry, and use hammer alt fire (two Berserkers make it easy). Pulling it back keeps it away from followers, lets Commandos hold the front and lets the Medic heal.
- Do not run around the front line with the hammer: it blocks teammates' view. From wave 5 on, usually shoot from the back with an AR. Do not charge a Scrake in melee; this makes covering fire hard.
- If an enraged Scrake or Fleshpound appears, step in as the team's shield. If the Berserker flees, the camp usually collapses.
Commando
The all-rounder from trash to Scrakes, with typical gear AK and SCAR. Skills: Large Mags, Tactical Reload, Call Out (Leadership is the alternative since v1012), Autofire and ZED Time - Professional.
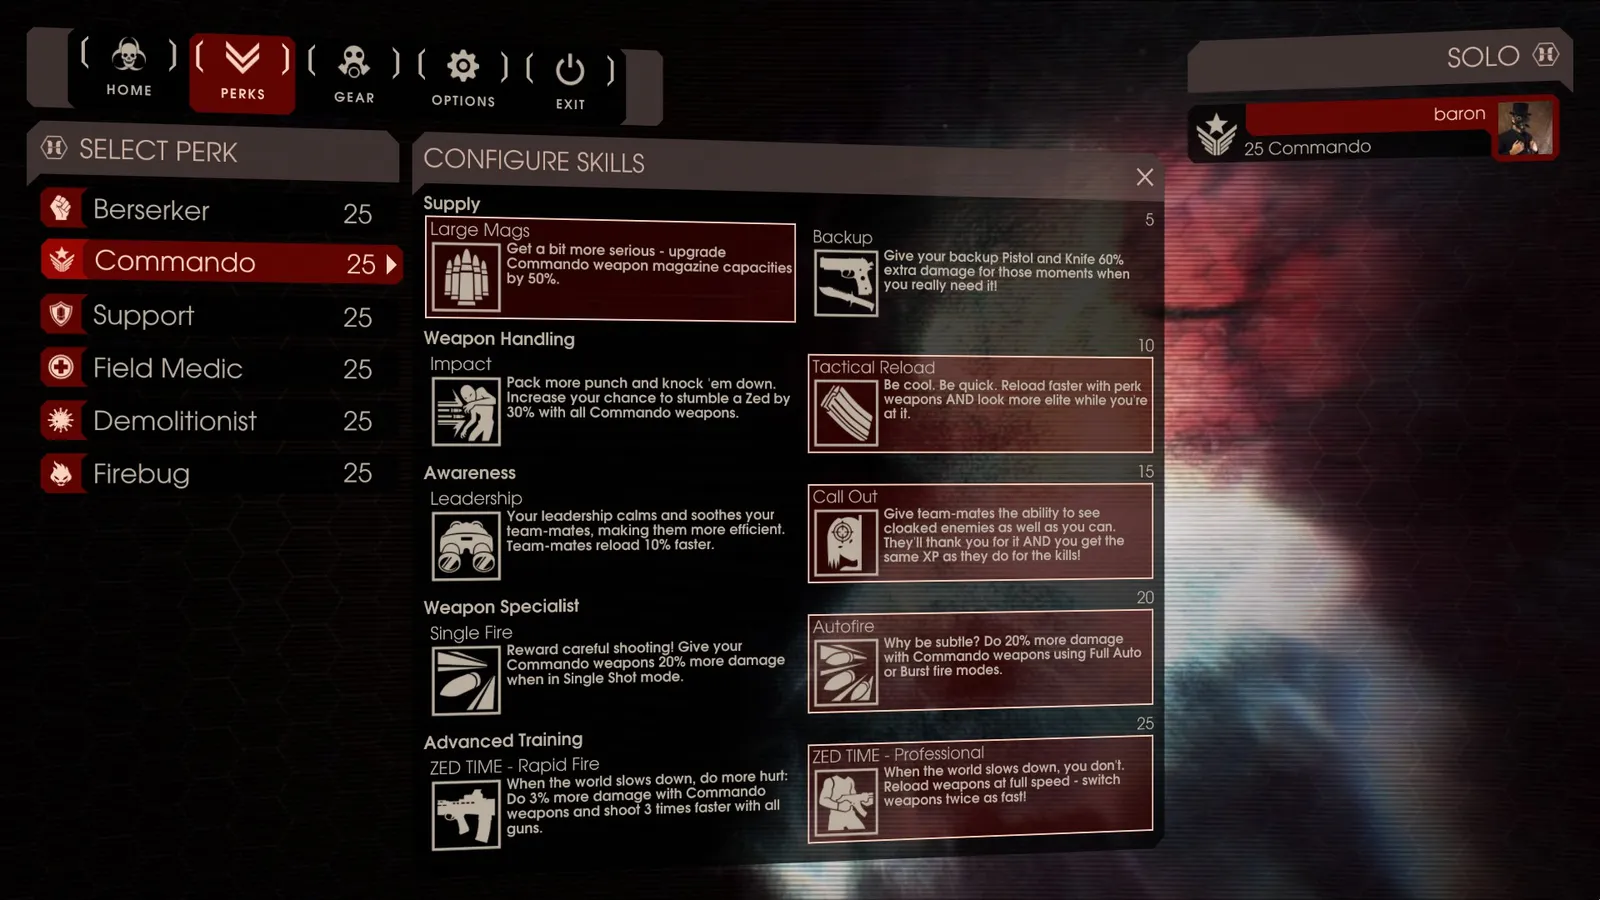 Recommended Commando skills.
This perk needs the best aim. Kill trash quickly and take out Sirens and Husks at range. After the Berserker's EMP, the Commando's full-auto SCAR or AK headshots are the main damage on Scrakes. Fleshpounds take little damage except from grenades, so leave them to the Berserker and Medic and stall the followers instead. Holding the front against what comes behind a Fleshpound or Scrake often decides the game. The v1012 patch cut AK ammo, so manage it; with SCAR plus AK, consider a Medic SMG in the spare weight.
Support
Heavy firepower with the AA12 and Boomstick, plus support. Skills: Ammo or Supplier, Fortitude, Tactical Reload (shines with shotguns), Strength (+5 weight) and ZED Time - Barrage.
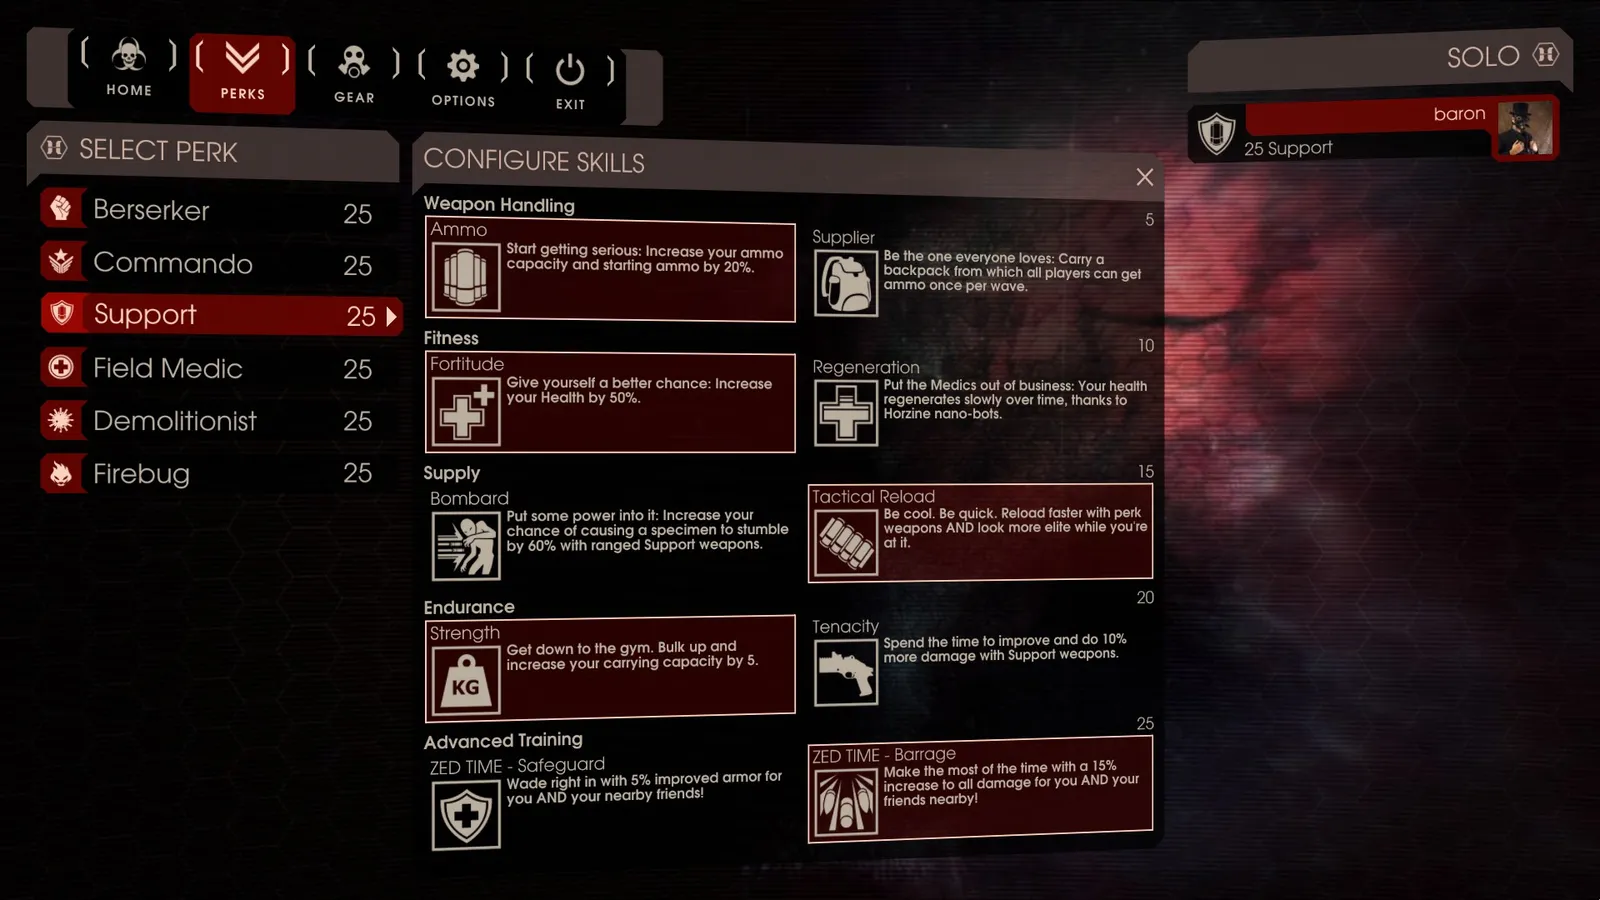 Recommended Support skills.
The AA12 hits hard but has little ammo, so save it for emergencies, Fleshpounds and Scrakes. Supplier refills allies' ammo and grenades, which matters for the Berserker's EMPs; since v1012 the Demolitionist can also resupply grenades, so Supplier matters less and Ammo is a fair pick for an AA12 user. Against Scrakes work like a Commando with a rifle, and fire the AA12 when followers threaten, but do not stand too close or you trigger the Scrake's attack. Against Fleshpounds, help with the AA12 or hammer and grenades. Support also excels against the boss Hans.
Field Medic
The lifeline of the team, usually with the Medic AR plus possibly a hammer. Skills: Healing Surge, Armament (essential: restores allies' armor), Lacerate, Vaccination and ZED Time - Sedative.
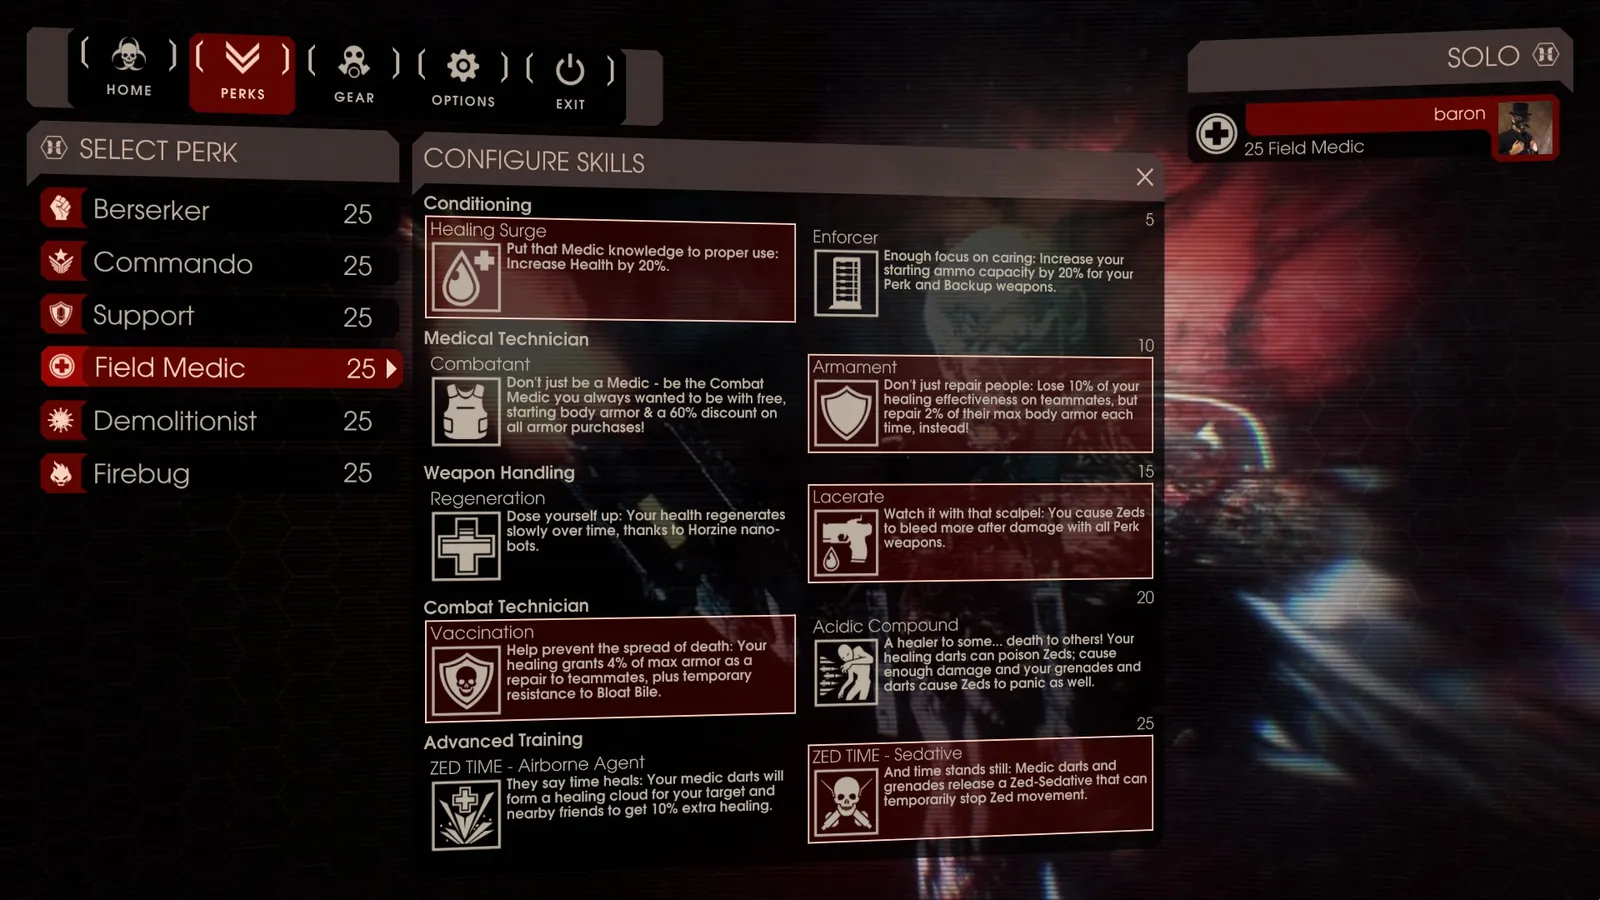 Recommended Field Medic skills.
Always watch teammate health (the scoreboard helps if the camp is spread out). The Medic AR gives three darts per 100 charge and recharges quickly. Armor can only otherwise be restored by picking up a vest, so Armament and Vaccination are key. Since v1012 darts can restore armor even on full-health allies. Medic weapons stagger enemies, so shoot Scrakes after the EMP, and Zed Time Sedative darts can briefly stun Scrakes and Fleshpounds, even in emergencies. For a lone Fleshpound the Berserker can survive on medic grenades; look after the Commandos and Supports holding the front instead. A Medic should not fight on the front line.
Demolitionist
Explosives with little ammo but huge damage; RPG plus C4 are recommended with a Medic pistol in the spare slot. Skills: On Contact, Explosive Resistance, Siren Resistance (essential so Sirens cannot clear your explosives), On Perk (+30% stumble, knockdown and stun power; RPG headshots can knock down Scrakes and Fleshpounds) and ZED Time - Nuke.
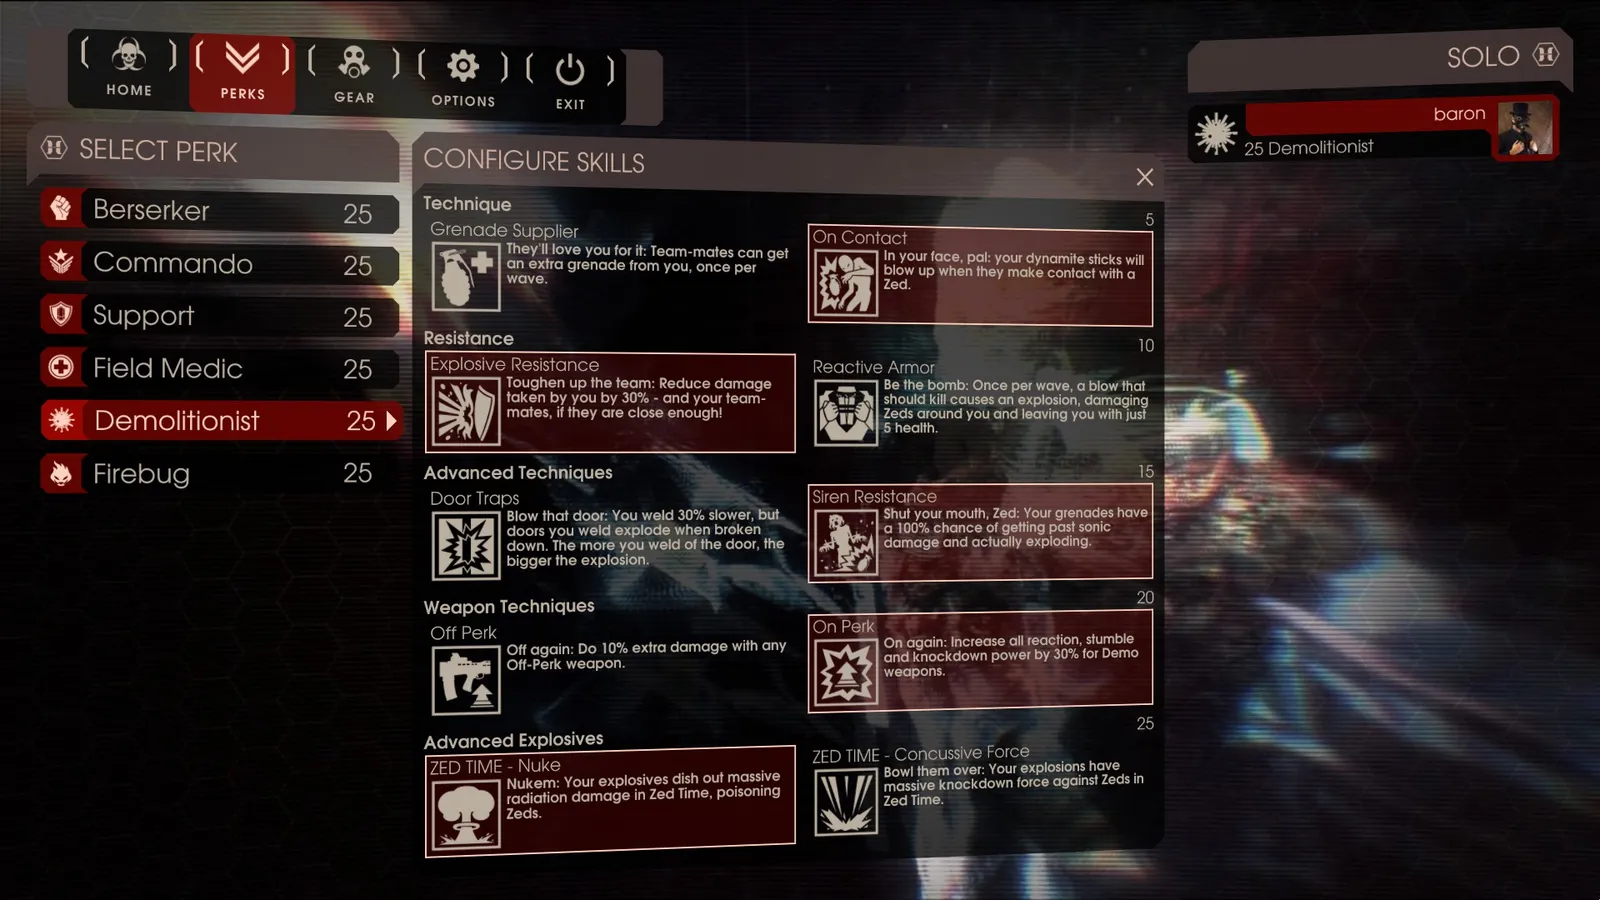 Recommended Demolitionist skills.
Stand at the back of the camp, let teammates handle trash, and save explosives for big groups and Zed Time. Nuke strength depends on the weapon used, so trigger it with an RPG or C4, not a weak launcher. Its poison cloud kills trash and chips big ZEDs, though they may enrage out of sight, which requires the tanks to cover. Do not stack C4 detonations: damage falls off after the first. Use explosions sparingly against Scrakes because the effects block vision, and shoot freely when one is enraged. It shines in scrums where the EMP method does not work.
Firebug
The Firebug returns with a burning effect (damage over time plus panic). Typical gear is the Microwave Gun (MWG) plus a Trench Gun, or a SCAR for versatility. Skills: Fully Stocked, Heat Wave, Zed Shrapnel, Splash Damage and ZED Time - Scorch.
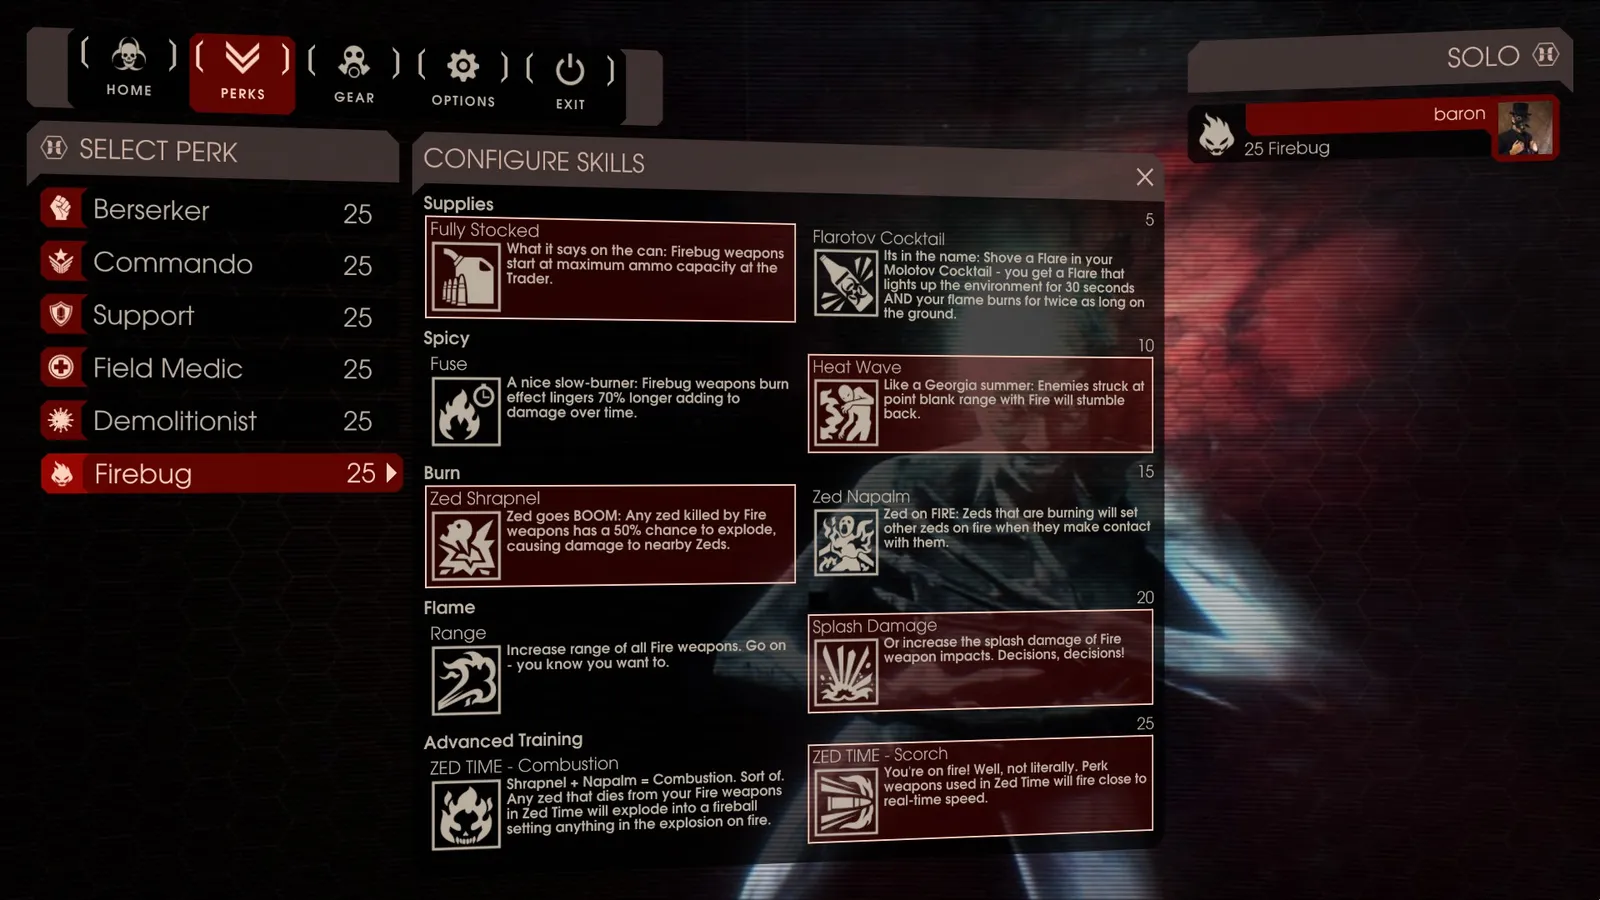 Recommended Firebug skills.
The effects obscure vision, so the Firebug does not mix well with Commandos and works best covering a single direction. During EMP volleys use the sidearm (SCAR) if Commandos are the main damage; once a Scrake enrages, fire the MWG. The MWG is very strong against Scrakes (a reader reported double damage), and alt fire knocks big ZEDs back for stalling. Aim at the ground at their feet: splash hits trash around and does more damage than direct hits. Do not rely on burning damage, since half-burnt ZEDs keep coming. Range is shorter than it looks and ammo runs out like the AA12.
Scrake tactics
Scrakes are more dangerous than Fleshpounds and cause over half of HoE deaths. The standard approach is EMP, then volleys of SCAR/AK headshots from the Commando plus one or more others (about three players is stable); shooting at the moment the EMP triggers staggers the Scrake, so wait until it has taken effect. If you must face one alone, side-stepping past a charging Scrake makes it swing at nothing; bash can stagger it so you pass unharmed, but bash then stops working for a while. Since v1012 circling behind a Scrake at close range no longer works. Running in a straight line is the worst option. If the Berserker is busy with a Fleshpound, Commandos or Supports should bash to take the Scrake's attention. Demolitionist Nuke and Firebug MWG can also muscle through, with the tanks' help.
Fleshpound tactics
From v1012 Fleshpounds hit harder, have unparryable attacks and two spawn in wave 7. The Berserker takes the target and uses hammer alt fire while the Medic heals with grenades and darts; explosives work well. Commandos aim for heads, so they contribute little here, so focus on followers. In waves 7 and 10 with two Fleshpounds, use two Berserkers. A Fleshpound left among the last few ZEDs stays enraged permanently, so deal with it early; alone, use stairs and doors to gain distance. A jump-parry sends you flying away from a kick, which can be an escape.
Hans Volter
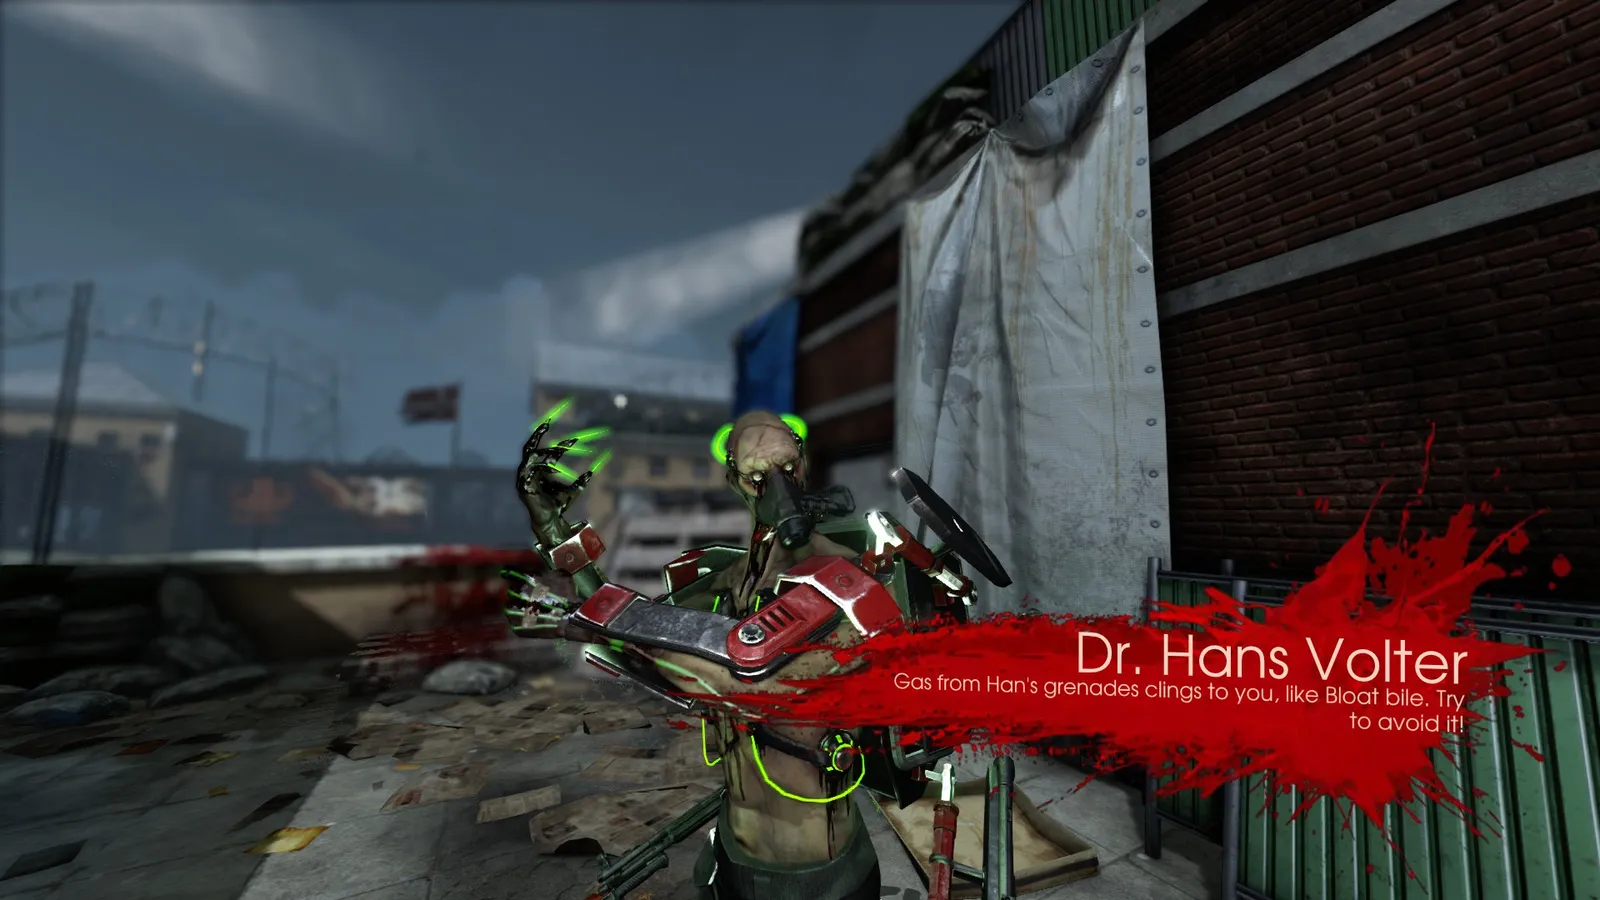 Fighting Hans on HoE.
Hans is tough, but after v1012 his SMG and poison gas are much less threatening. Fight near cover. Recommended team: two or more Medics, two Berserkers as wall and Support for AA12 damage; Demolitionist and Commando are less suited. Pre-buying weapons near the Trader removes ammo worries.
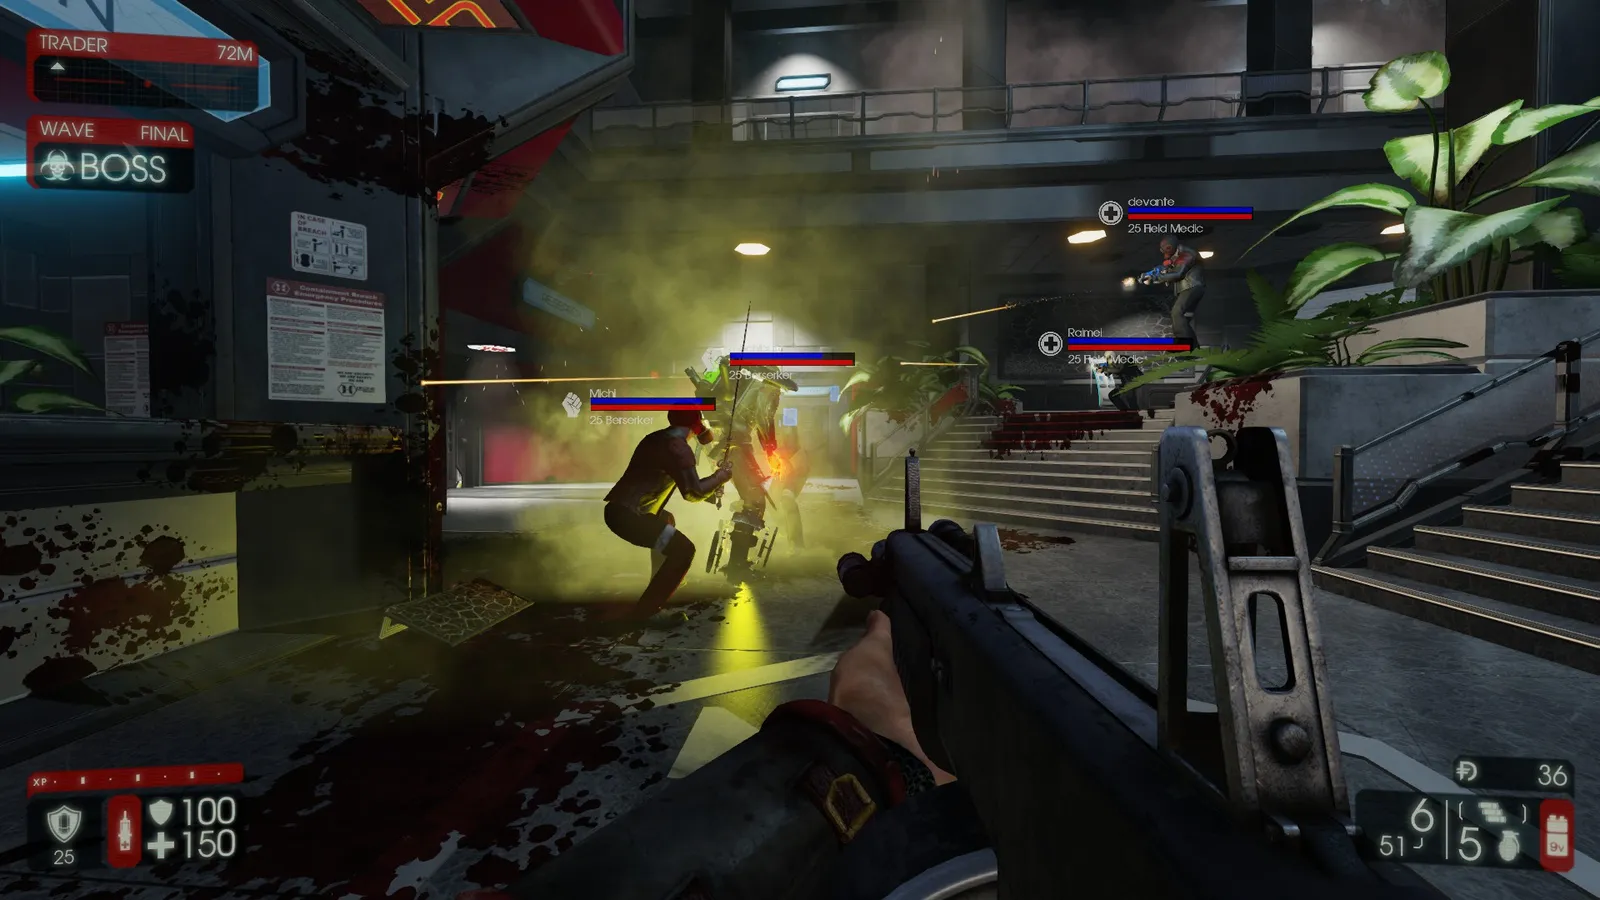 Position with cover near the Trader.
Carrying a Medic weapon as a sidearm helps mutual healing. Back-circling and parry exploits stopped working, and his thrusting combo is the heavy hitter, so back off when it starts. When Hans releases white smoke and goes into drain mode he is almost immune, so stop attacking, get his trash under control, and let a designated player be grabbed (non-Medics should volunteer; Berserkers can alternate). If players keep running so he cannot drain, he becomes invincible and spawns endless trash.
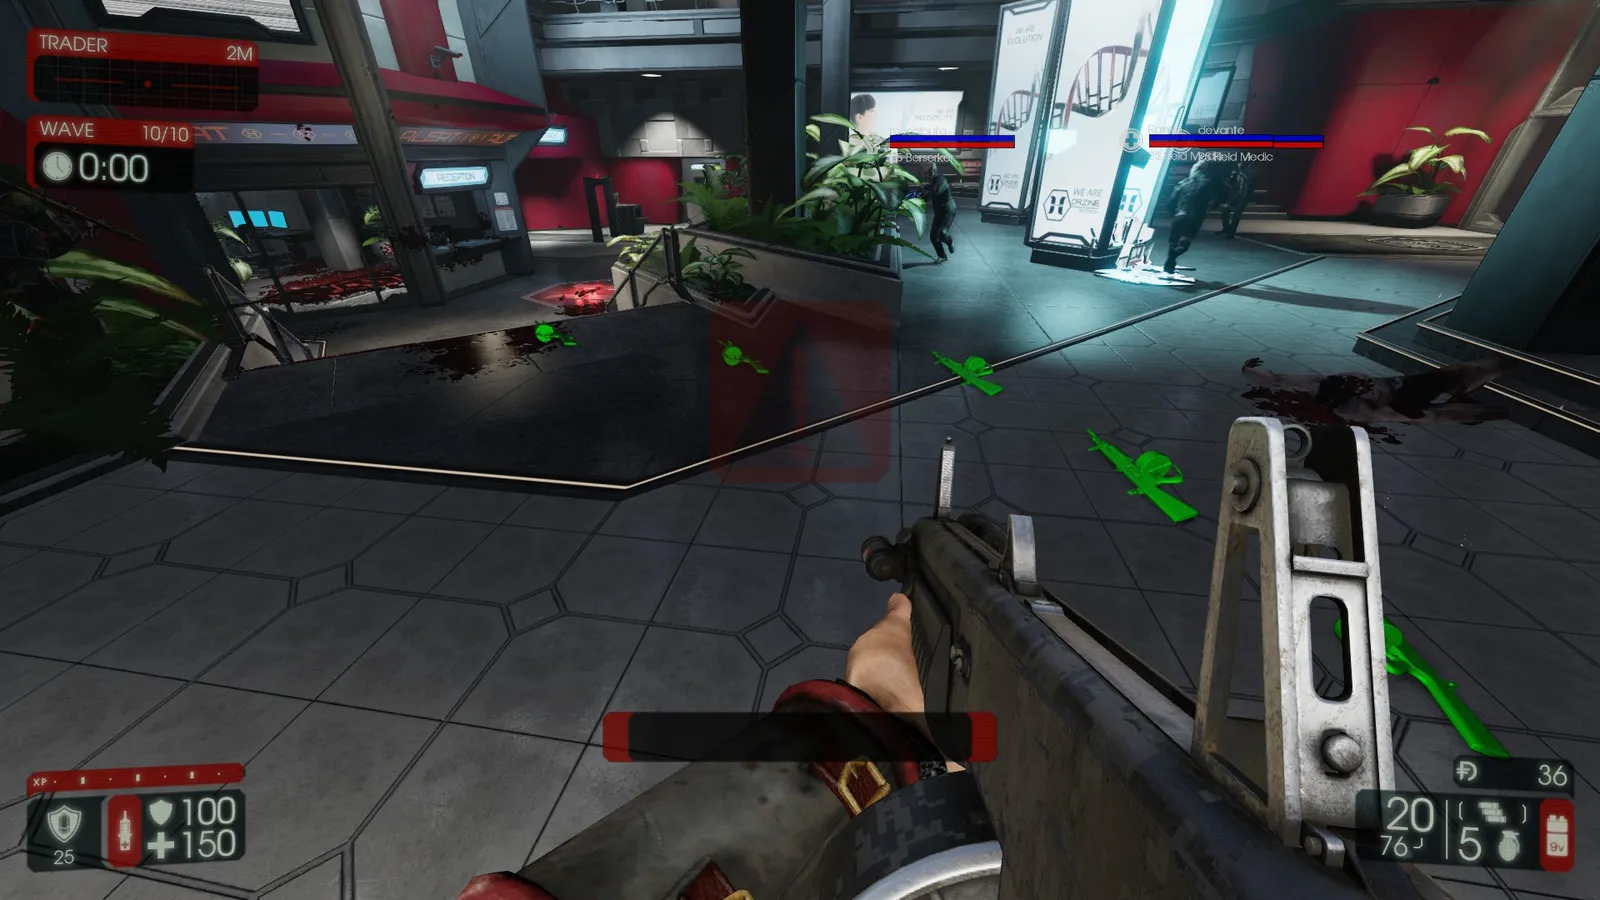 Hans in drain mode.
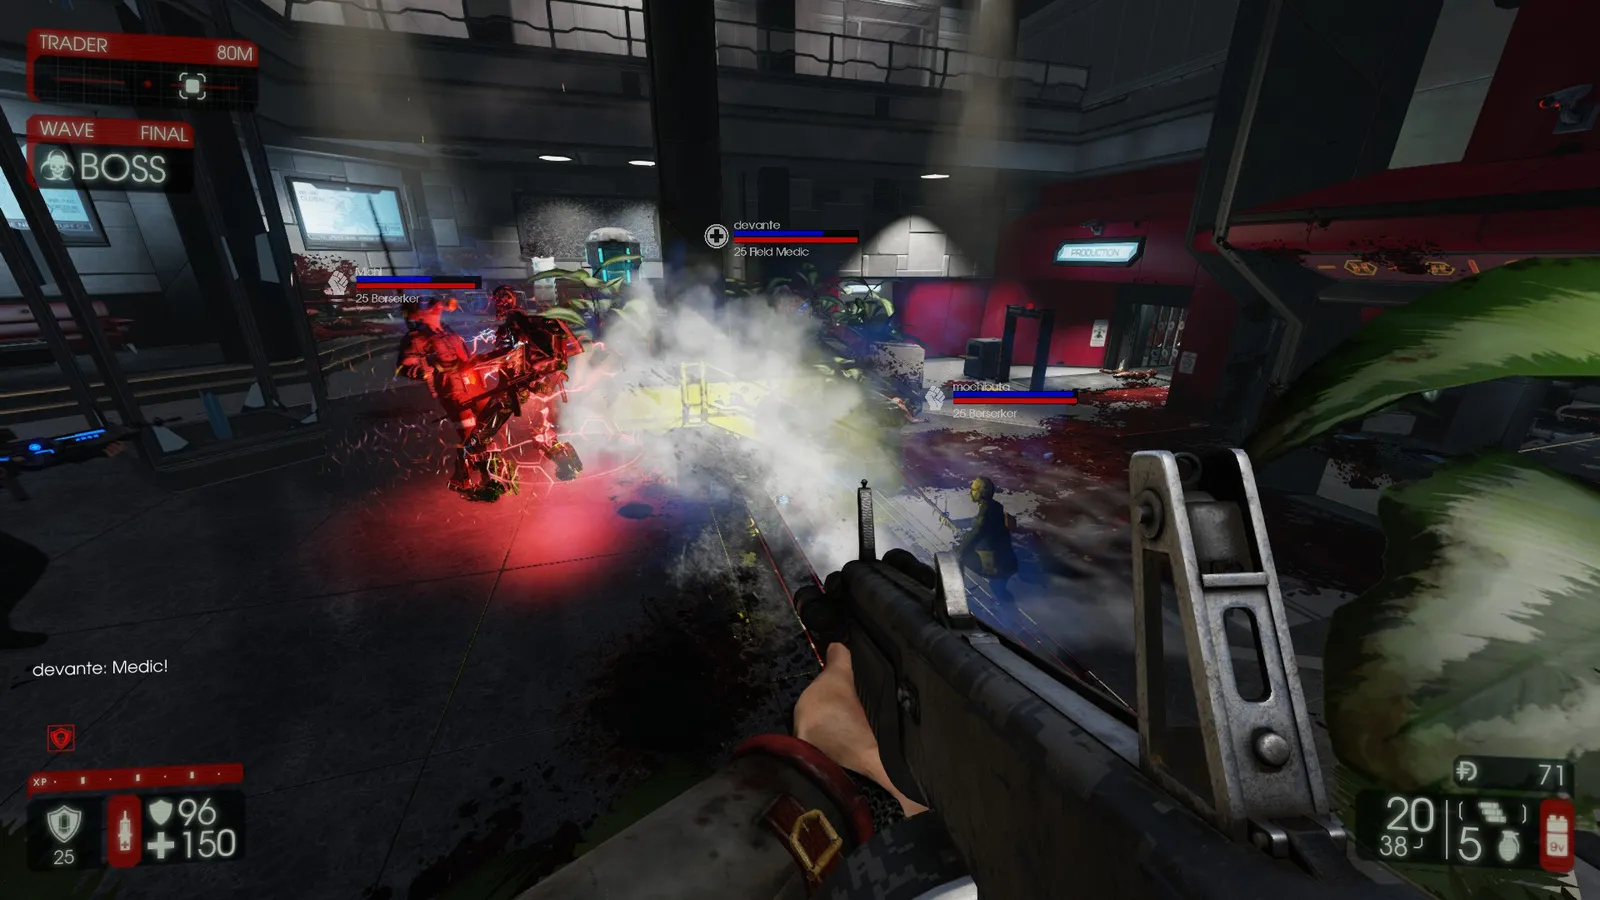 Sirens and trash during the boss fight.
Closing advice
HoE is demanding but rewarding when the team coordinates. Learn each role, avoid the common mistakes, chat when unsure, and watch videos or spectate to see it in action. Tactics may differ on non-Japanese servers.
FAQ
- What team makeup does the guide recommend for HoE?
- Two Berserkers and one Medic are close to mandatory: Berserkers tank and handle big ZEDs and EMP grenades, the Medic heals, and the remaining three perks provide DPS.
- How do you kill Scrakes on HoE?
- A Berserker throws an EMP grenade, then Commandos and others headshot with full-auto rifles once the stagger ends.
- What level is recommended?
- The guide assumes level 25 and a Long game; at least level 20 is advised for HoE.
