
KF2 Objective Mode Walkthrough: Zed Landing, Outpost, Steam Fortress
This page paraphrases a community walkthrough written during beta 1 of Objective Mode in Killing Floor 2. The author warned that details could shift in beta 2 and the full release, but said the order of objectives had barely changed. Treat map specifics as beta-era notes.
 Cover of the original guide.
Objective types
- Escort (drone): lead a drone to an area and weld or repair it on the way. Similar to the Santa's Workshop sled defense, but the path is less fixed.
- Operate and Control: a Stand Your Ground wave where you also push a button, like the Santa's Workshop lever.
- Hold the Zone: Stand Your Ground under another name. You do not lose dosh for leaving the zone; the timer just does not advance.
- Exterminate: kill the boss or specific ZEDs. In the beta only one wave used it for non-boss ZEDs, the all-Crawler wave on Zed Landing.
- Transport: pick up items and bring them to a location (on Steam Fortress all parts go back to the drone). Gears can spawn depending on where you stand, but usually near three areas.
- Weld and Repair: like Santa's Workshop and Airship.
Perks for each objective
- Weld and Repair: any perk, as long as you can kite.
- Transport: any perk, but speed beats everything.
- Exterminate: any perk, though ammo may matter.
- Hold the Zone: whatever you play best for Stand Your Ground.
- Escort: the hardest. The author knows of four perks that work well:
- Firebug: most recommended, creates a wall of fire and handles trash best with low ammo use.
- Demolitionist (all-R skills): underrated, clears trash as well as Firebug and incapacitates medium and big ZEDs. Ammo may be an issue. Nukes work but only poison-panic ZEDs, and panicking ZEDs can stop the drone.
- Berserker (tank skills, Massacre instead of Smash): holds the area behind the drone; Rage pushes ZEDs away and he can kite big ZEDs.
- Medic (poison panic): cleans trash and panics bigger ZEDs.
For the trader pod weld on Zed Landing and Outpost the author does not recommend Support, especially solo, since the SG 500 is poor at killing an endless stream of trash. Speed matters more than weld strength: one welder plus about 3 seconds, or two welders, is enough.
Other perks: Commando, Support and Survivalist can support (Commando's Zed Time extension helps and uncloaks Stalkers). Sharpshooter, Gunslinger and SWAT are best avoided because of cost and because endless trash is the main threat.
Weapons and skills
- Berserker: skip the Nailgun and Pulverizer; the Hemoclubber is far better in the beta. Bone Crusher tanks, Battle Axe and Eviscerator clear hordes.
- Support: magazine-fed weapons for trash; avoid single-shot reloads.
- Demolitionist: HX25 for trash and nukes.
- SWAT: only the P90 or Tommy Gun for large magazines.
- Sharpshooter side: the Crossbow stuns big ZEDs and EDARs.
- Firebug: flamethrower, Caulk 'n Burn and Microwave Gun clear trash and push medium and big ZEDs away; Helios adds small penetration.
- Medic: HMTech-501 for grenade splash and buffs.
- M79, M32 and RPG clear zones and incapacitate with the right skills; frag rounds give a wider blast.
- Ice Thrower holds ZEDs in a line. ZED counts on the map are capped, so freezing delays new spawns.
- Commando: M16 for quick grenade clears.
- Gunslinger: AF2011 for versatility; .500 works if you line enemies up.
- Killerwatt charged beam clears lines of ZEDs.
Skills worth noting: Berserker Rage heals and keeps ZEDs off the objective; extended magazine skills; Frag Rounds and Make Things Go Boom; Shock Trooper and Mad Bomber; Massacre over Smash; Heatwave and ZED Shrapnel for Firebug; Battering Ram and Cripple for SWAT; Ballistic Shock and Ranger for Sharpshooter, since delaying medium and big ZEDs delays new spawns.
Zed Landing
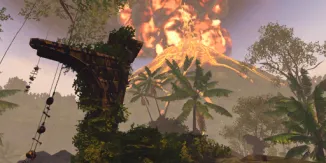 Zed Landing.
The easiest map to start with.
- Repair and weld the broken trader pods. The usual order: the one on the beach by the crashed plane, the cave pod near the extraction point with the flares, the pod outside the drone cave and campfire, then the one facing the volcano.
- Exterminate the all-Crawler wave. Firebug or Berserker is easiest. Good spots: the rocky ridge near the flares, the cave if you weld the door, or the small ledge left of the spawn near the crashed plane.
- Escort the drone. It comes out at half health, so repair it. On Suicidal or HoE Quarter Pounders (QPs) spawn, so let a Berserker lead them away. Solo, throw a damage grenade at the path every 3 seconds. The route is beach, past the rocks, through the cave, along the stream and into the cave with the drone equipment.
- Transport the Horzine touchpads. They spawn farthest from you, usually under the ledge near the flares, at the bottom of the stairs by the second door, or near the extraction point. Carriers are slowed. Let a Berserker or big-ZED killer carry it, not a trash killer, and note you can throw the pad with backspace or throw grenades without dropping it.
- Hold the zone while the data downloads. The timer needs 1 player in zone solo, 1 of 2, 2 of 3-4, or 3 of 5-6. Put three players in the center and the rest outside. Watch the small hole where Crawlers spawn.
- Escort the drone to the extraction zone. Scrakes and Fleshpounds (or QPs) appear. Pre-weld the doors near the stairs. Fan out in groups of three ahead of and behind the drone.
- Operate and control: press the flare button. Three players in the zone and three trash-killers spread along the paths.
- Exterminate the Fleshpound boss. Use microwave weapons, Eviscerator or a tank Berserker. After the kill you are airlifted after about 10 seconds.
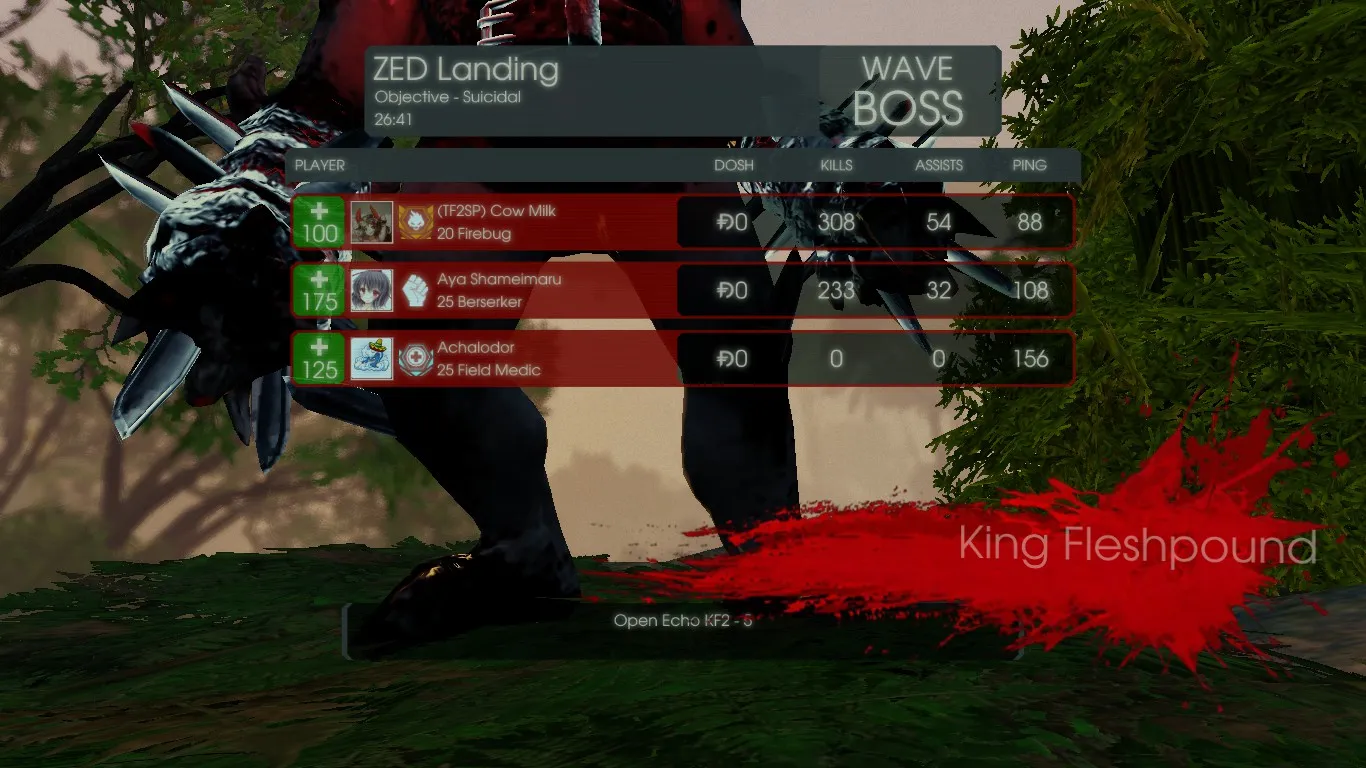 The flares area.
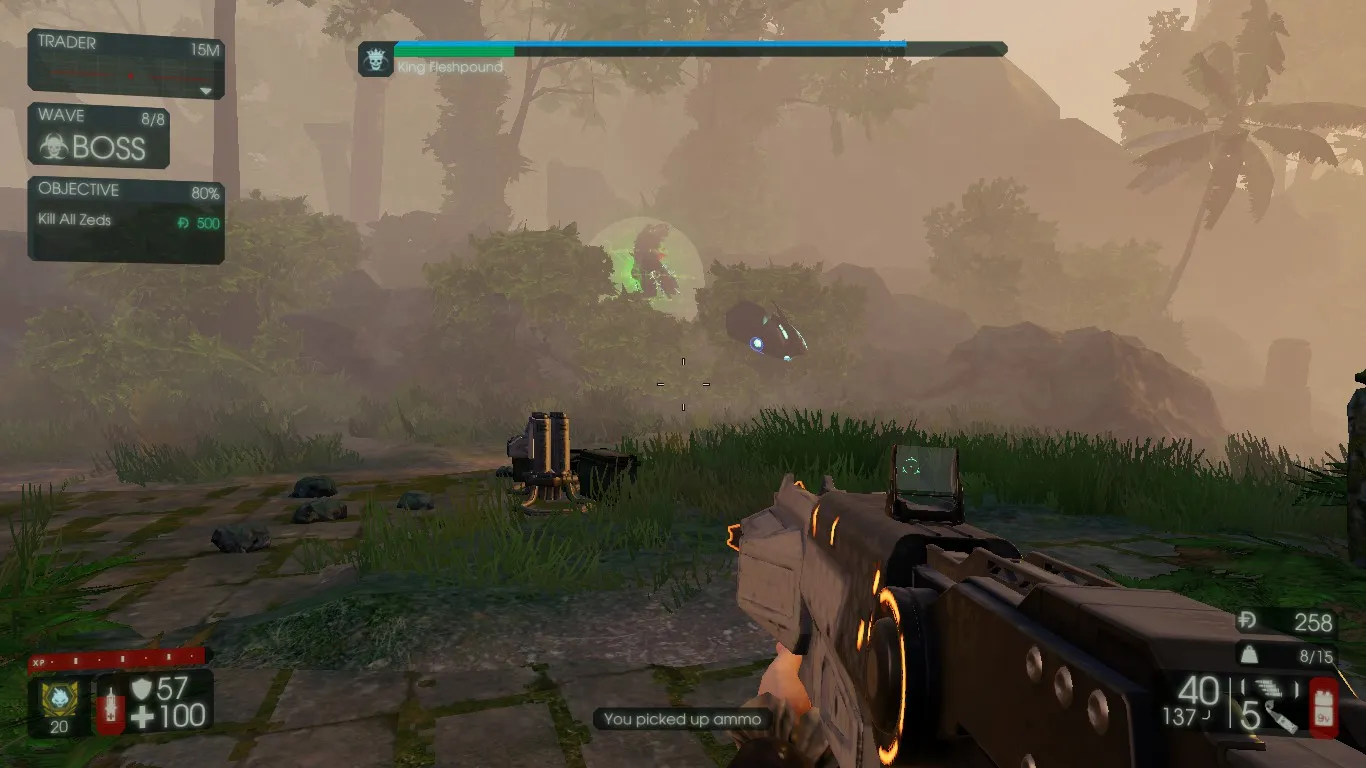 The Fleshpound boss.
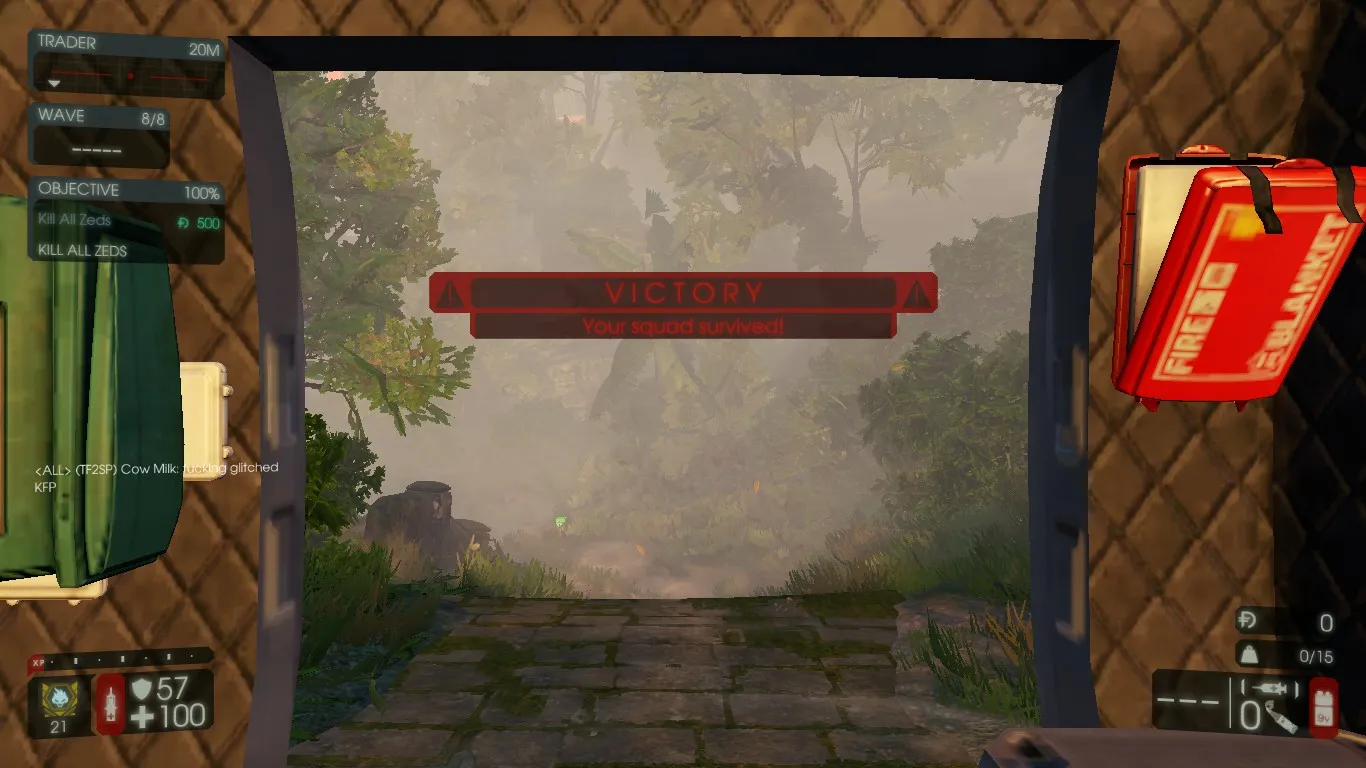 Extraction.
Outpost
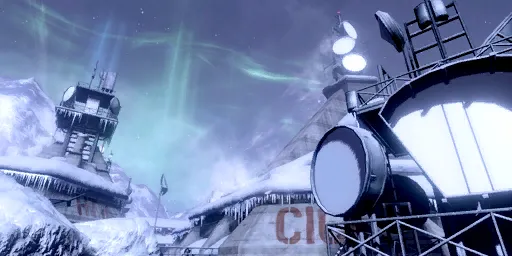 Outpost.
The second easiest, favoring close combat and heavy welding.
- Weld and repair 4 of the 6 trader pods. Which ones is random; the far west garage pod almost never needs it, and sometimes the gun range pod is skipped too.
- Operate and control: overload the servers near the gun range. Put one trash killer at the end of the gun range hallway and two toward the open range.
- Escort the drone: open the gate by the crates, then follow the route up the stairs left, a right turn, the metal screening room and west down the hallway to the drone equipment. Pre-weld the central west door. Three ahead and three behind, fanning out on the stairs. Weld the door behind the drone once it reaches the screening area.
- Transport the touchpads: usually in the garage at the bottom of the stairs, near the gun range, and at the central doors recommended for welding.
- Escort the drone back to the command center (the large orange H). Pre-weld the double doors around the equipment area and cafeteria. Four ahead and two behind, as ZEDs spawn mostly in front and at the sides.
- Operate and control: destroy the terminal. Pre-weld the screening hallway and outside double doors.
- Exterminate the Patriarch. Bring a Commando to see cloaked targets, or stick C4 on him. Eviscerator Berserker, Hemogoblin Medic or Microwave Gun or Helios Firebug work. Kite him around the command center.
- Hold the zone at the extraction helipad. Four or five players on the hallway into the double screening room and at least one watching the metal ledges above.
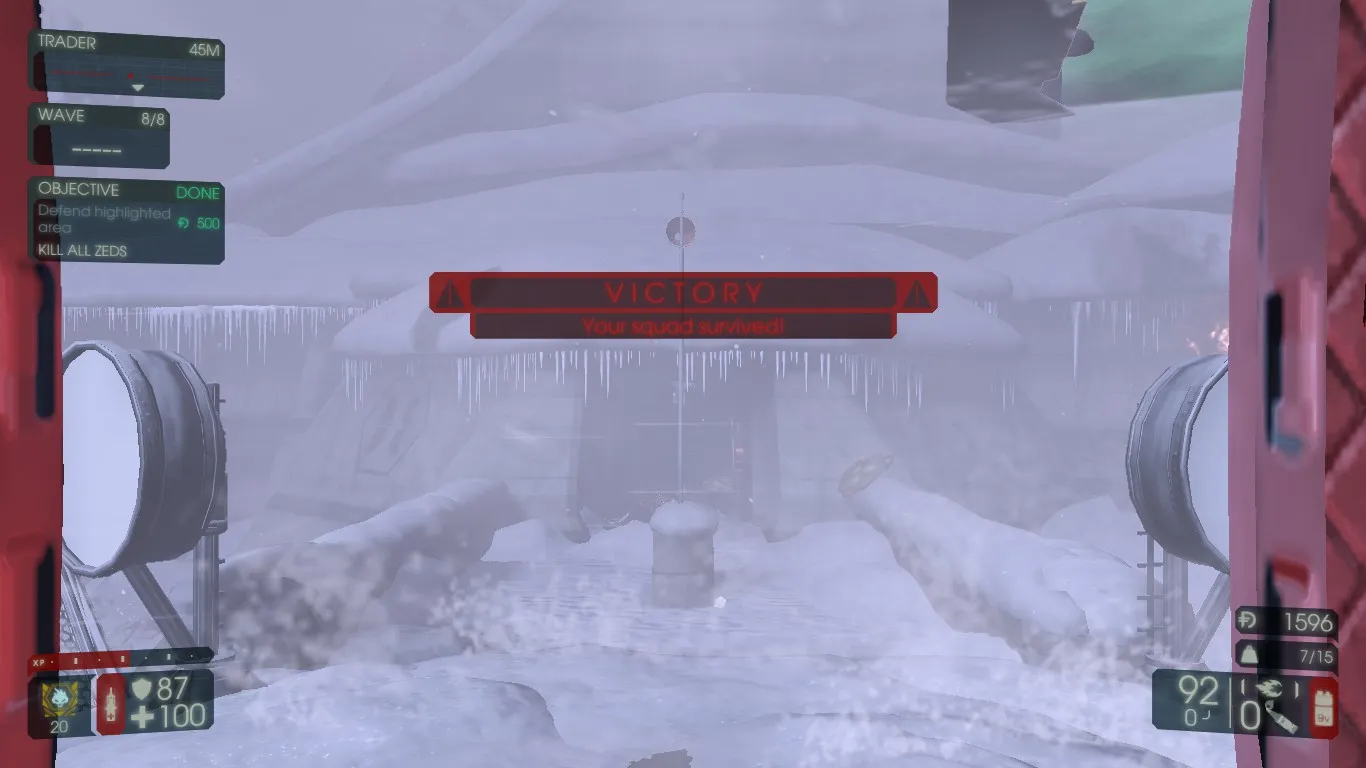 Extraction helipad.
Steam Fortress
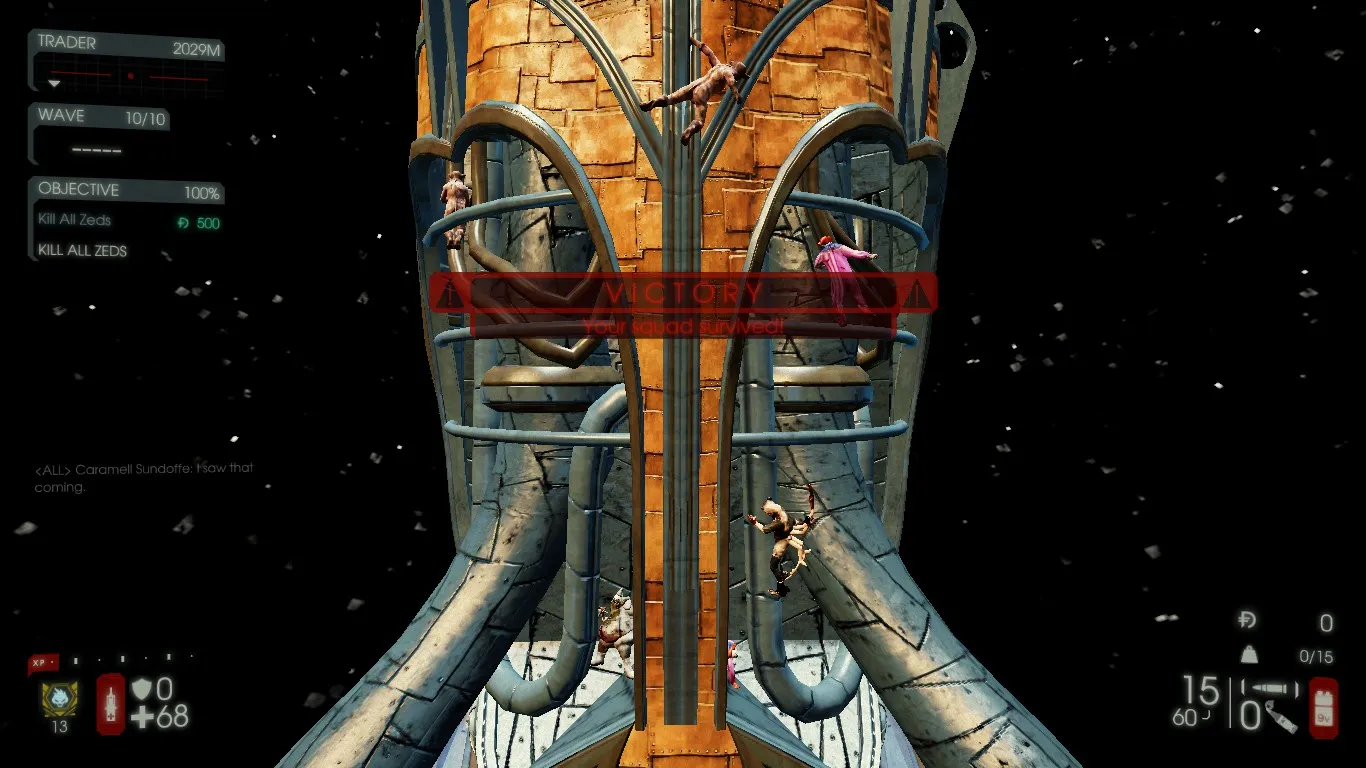 Steam Fortress.
The author found this the hardest map at the time, with ten waves instead of seven or eight.
- Escort the drone (Rover), starting right away. Weld the door at the top of the stairs early, then push forward through the elevator.
- Weld and repair the bottom area. Usual order of fuse boxes: nearest the entrance, left of the spawn near the elevator, near the bottom trader pod, then the one near the crate room. Support is recommended since the welding takes very long.
- Transport gears to the spawn area (bottom area, near the globe or the boiler, and above the bottom trader pod).
- Operate and control: activate the command console. Zeds come from the west hole, east side and above.
- Escort the drone to the spawn point down the east side. Majority in front on the stairs, and near the drone approaching the spawn.
- Transport gears to the boiler (near the bottom trader, the hallway with the broken door, and the water wheel).
- Hold the zone at the boiler.
- Weld and repair the second fuse boxes (water wheel, middle box, and the one by the command console).
- Operate and control at the rocket pad.
- Exterminate any boss: Hans, the Patriarch, a Fleshpound king or the Abomination can appear.
The author closes by saying Objective Mode is not too hard even at lower difficulties, with competence, patience and teamwork. A Nuked section was promised but marked as coming soon.
FAQ
- Which perks work best for Escort objectives?
- The author recommends Firebug first (a literal wall of fire and good trash clearing), then an all-R Demolitionist, a tanky Berserker and a poison-panic Medic.
- Which perks does the guide advise avoiding in Objective Mode?
- Sharpshooter, Gunslinger and SWAT, because of ammo cost and because endless trash hordes are a bigger threat than big ZEDs.
- How many waves does Steam Fortress have in Objective Mode?
- Ten waves, compared with seven or eight on the other beta objective maps.
