
KF2 Solo Hell on Earth Black Forest: Kein Bier Vor Vier
This guide covers beating Black Forest solo on Hell on Earth to unlock the "Kein Bier Vor Vier" achievement. The achievement can be earned on any game length, but the author found the short 4-wave game least frustrating: it is about as hard as a long game and dying costs much less time. The approach is simple: camp one spot for every wave, buy a short list of weapons and survive the boss.
Why a short game is not simply easier
You will not meet Fleshpounds or Scrakes before wave 4, but there is no time to bank much dosh. You cannot afford a tier 3 and a tier 4 weapon plus ammo and armor, so every purchase has to be planned. The real fight is the boss, and that is identical in short and long games.
Perk, level and skills
Perk: Berserker. On Hell on Earth solo, speed and damage to ZEDs are key. Berserker (and Medic) offer the best survivability:
- More health than any other perk (with the level 10 Fortitude skill).
- Damage resistance.
- Speed.
- Enough damage with little ammo or weapon spending.
Medic is the second choice, but ammo costs and weak damage against the big ZEDs on wave 4 make Berserker the better solo pick. Gunslinger is fast but has lower health.
Perk level. The author used a level 25 Berserker and would not attempt Hell on Earth below level 20. Rough guide:
- Normal: level 0-5
- Hard: level 0-10
- Suicidal: level 10+
- Hell on Earth: level 20+
Skills used (level 25 Berserker):
- Level 5: Sonic Resistance, since bloat bile is easier to avoid than Siren screams. Poison Resistance may be worth swapping in if you get Hans.
- Level 10: Fortitude, more health instead of relying on kills to regain it.
- Level 15: Furious Defender, because blocking is of little use against the swarm.
- Level 20: Smash instead of Parry, for the same reason.
- Level 25: Spartan. Menace is better in a team, but Spartan kills swarms of small ZEDs faster when solo.
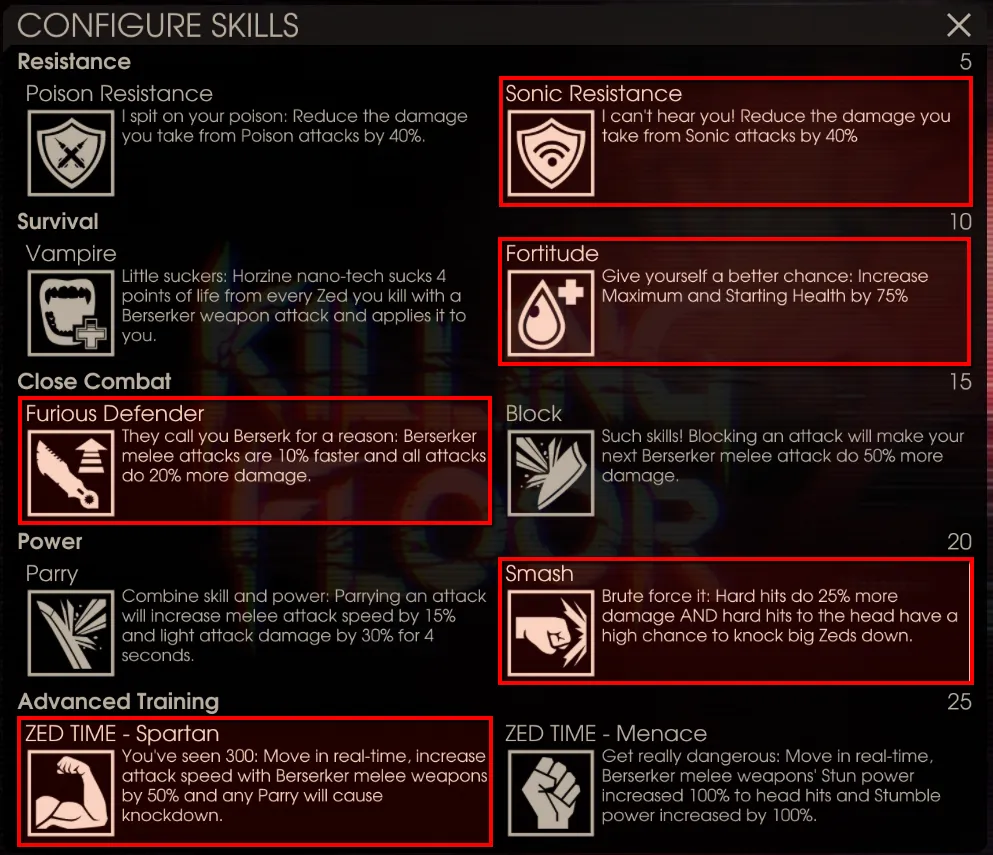 The Berserker skill setup used for the run.
Waves 1 and 2
Camp. The spot is upstairs in the rickety house you spawn near. Go straight through the front door: the spot is to the right of the stairs (if you enter from the ground floor and climb the stairs, it is on your left, facing the front door). Stand out near the post on the right, not deep in the corner. Swing whenever a ZED gets near the post, aim for heads, step back if it gets thick and heal in every lull.
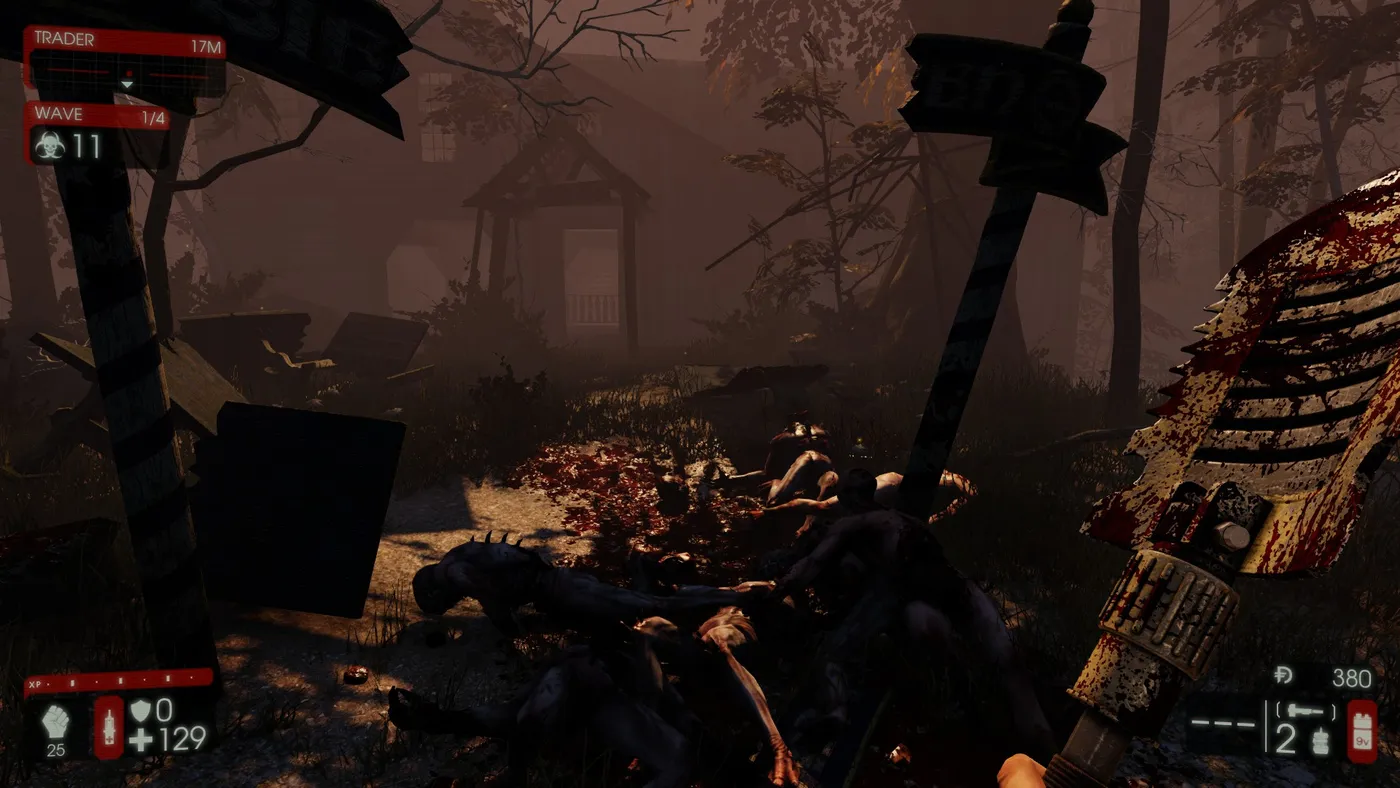 The house is straight ahead of the spawn.
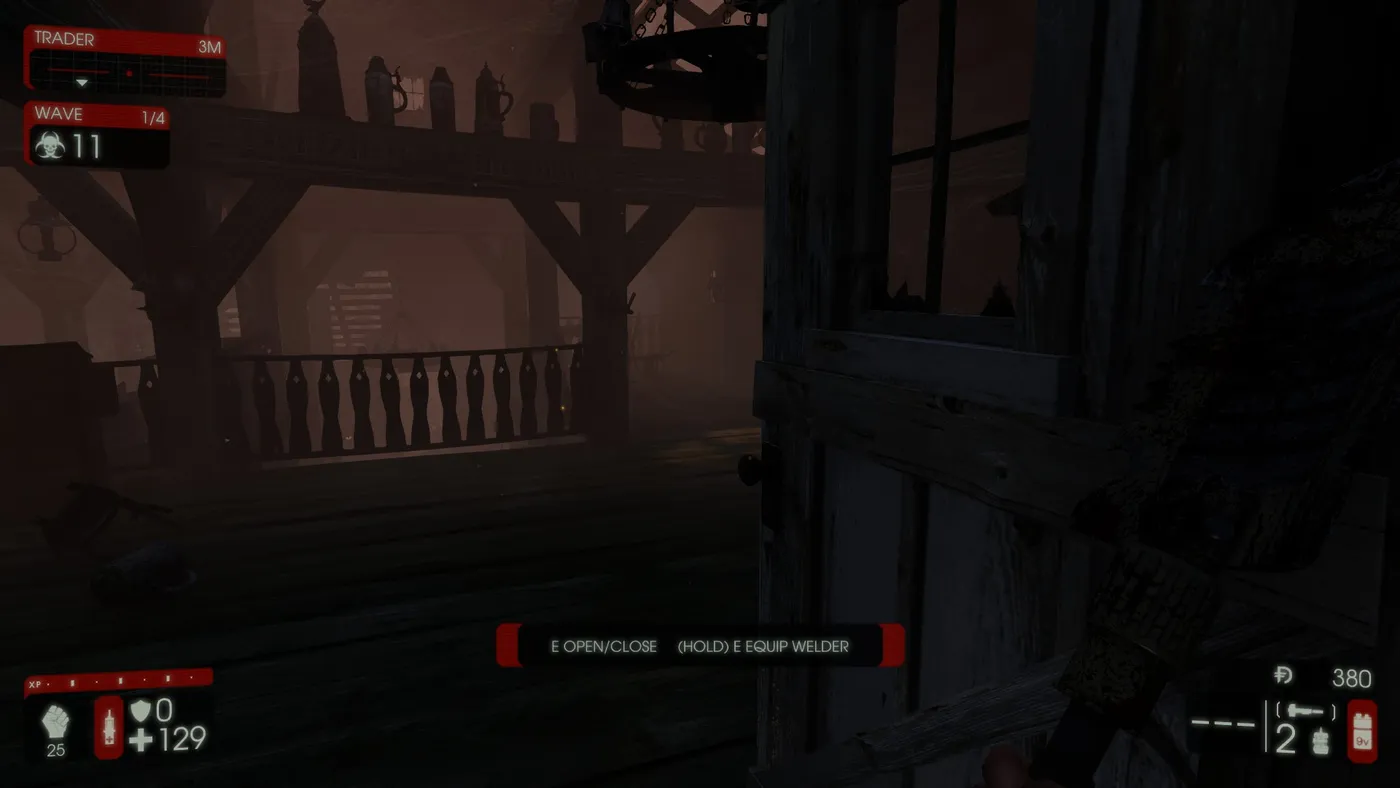 Through the door, straight ahead and to the right.
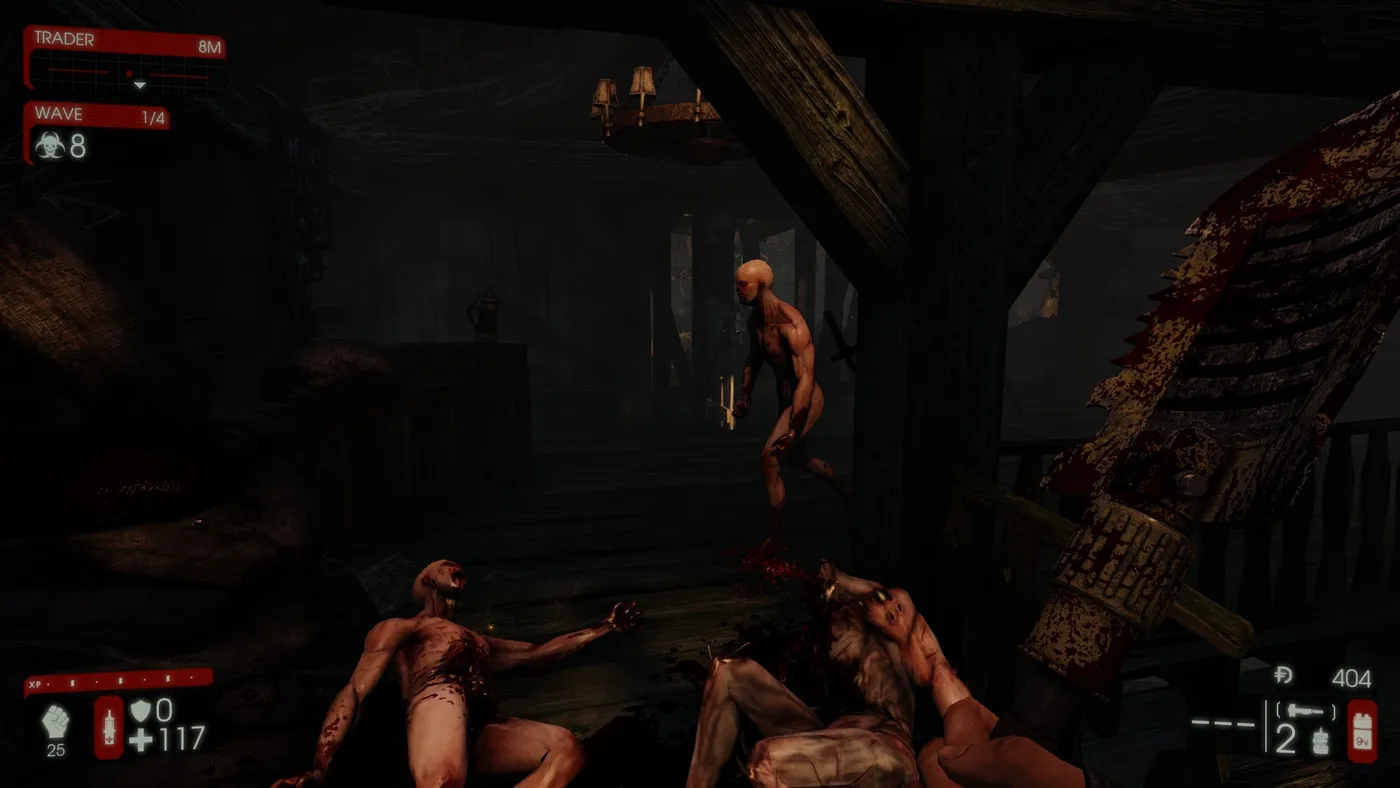 The view once you are in position.
First trader visit. Skip it. Stay put and heal. Few ammo boxes spawn between waves 1 and 2. Use the break to smash out the walls on your left with the crovel so you have an escape route.
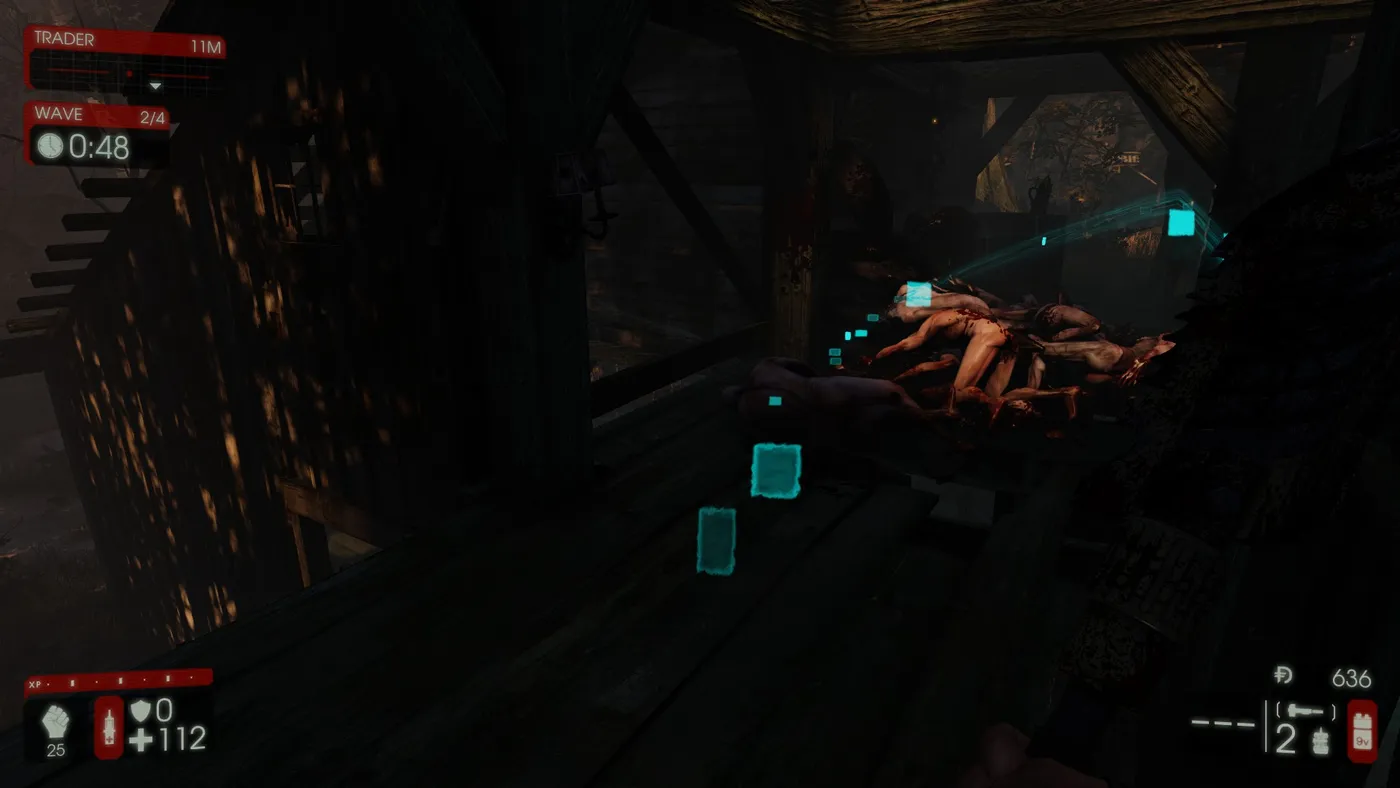 The wall after it has been broken open.
Wave 2. Repeat. Crawlers and probably one Husk are the main danger. Step back as a Crawler leaps and hit it. Close on the Husk quickly and use the secondary attack on its head before it flames you.
Second trader visit. Go to the trader, sell the crovel and buy a Pulverizer. Do not buy ammo or armor yet. Grab any ammo crate you pass for grenades.
Wave 3
Same camp. Leave only if health drops below 100, using the broken wall. Kill Sirens fast with the Pulverizer secondary attack and use secondaries on thick crowds. Expect a couple of Husks.
Third trader visit. Buy a nail gun and fill its ammo, then spend the rest on Pulverizer ammo or armor. The author prefers ammo over armor, because armor is usually gone by the time wave 4's Fleshpound and Scrake show up.
Wave 4
Camp again and hold out, leaving only when health falls to about 75. Be near full health when the Fleshpound or Scrake spawns. Spawns on the short game can be inconsistent: usually one Scrake and one Fleshpound, sometimes only a Fleshpound. Hit the Fleshpound fast and hard with the Pulverizer secondary (about 3-4 hits to the head), optionally with all your grenades first, and stand your ground.
Final trader visit, buy in this order:
- Pulverizer ammo
- Nail gun (if you do not have one)
- Smith and Wesson .500
- Nail gun ammo
- S&W .500 ammo
- Armor, last
Boss fight: picking a battleground
You want the Patriarch rather than Hans Volter: Hans is faster, hits harder and his gas adds to the work. The boss fight will probably take longer than the first four waves combined. The author runs loops around fixed cover; good spots are the cave and the train bridge columns.
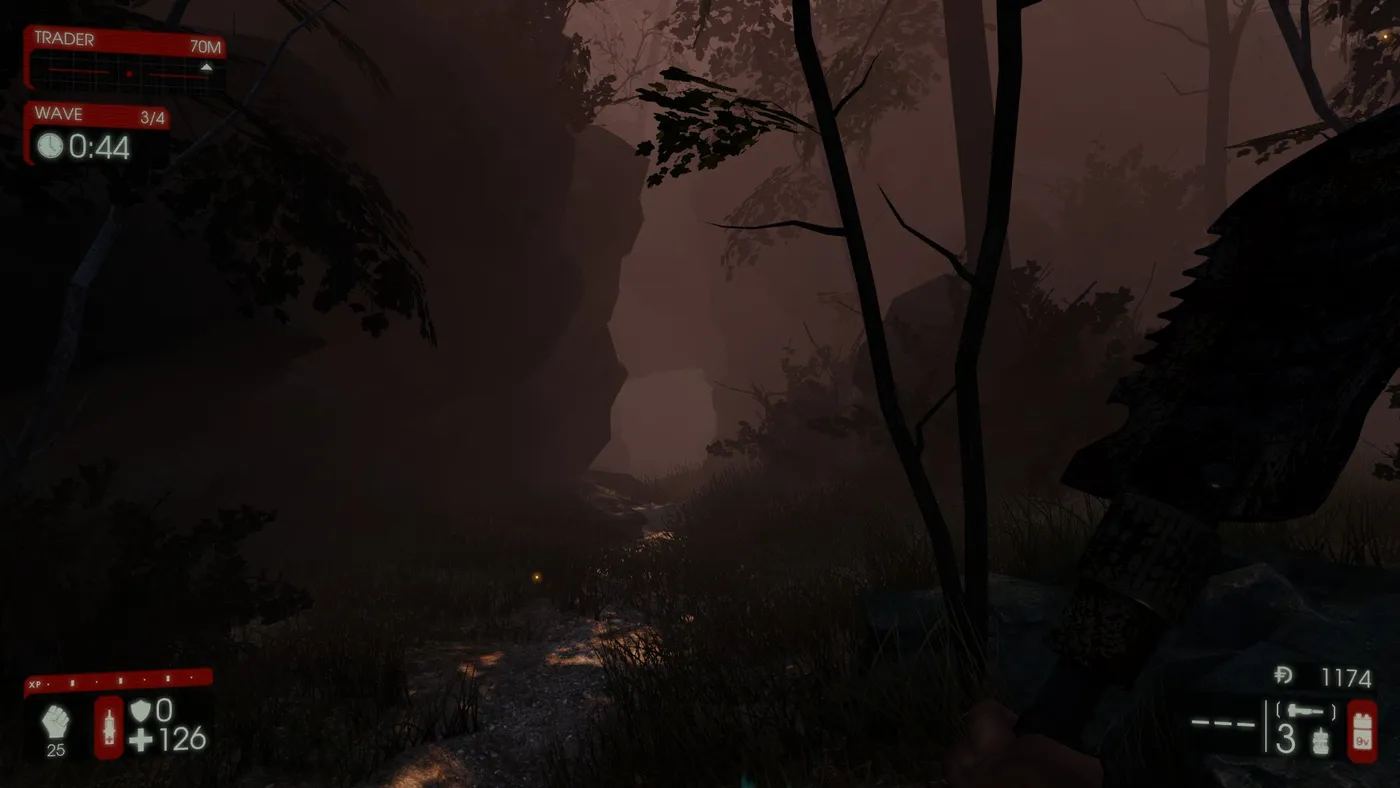 Cave as a boss arena.
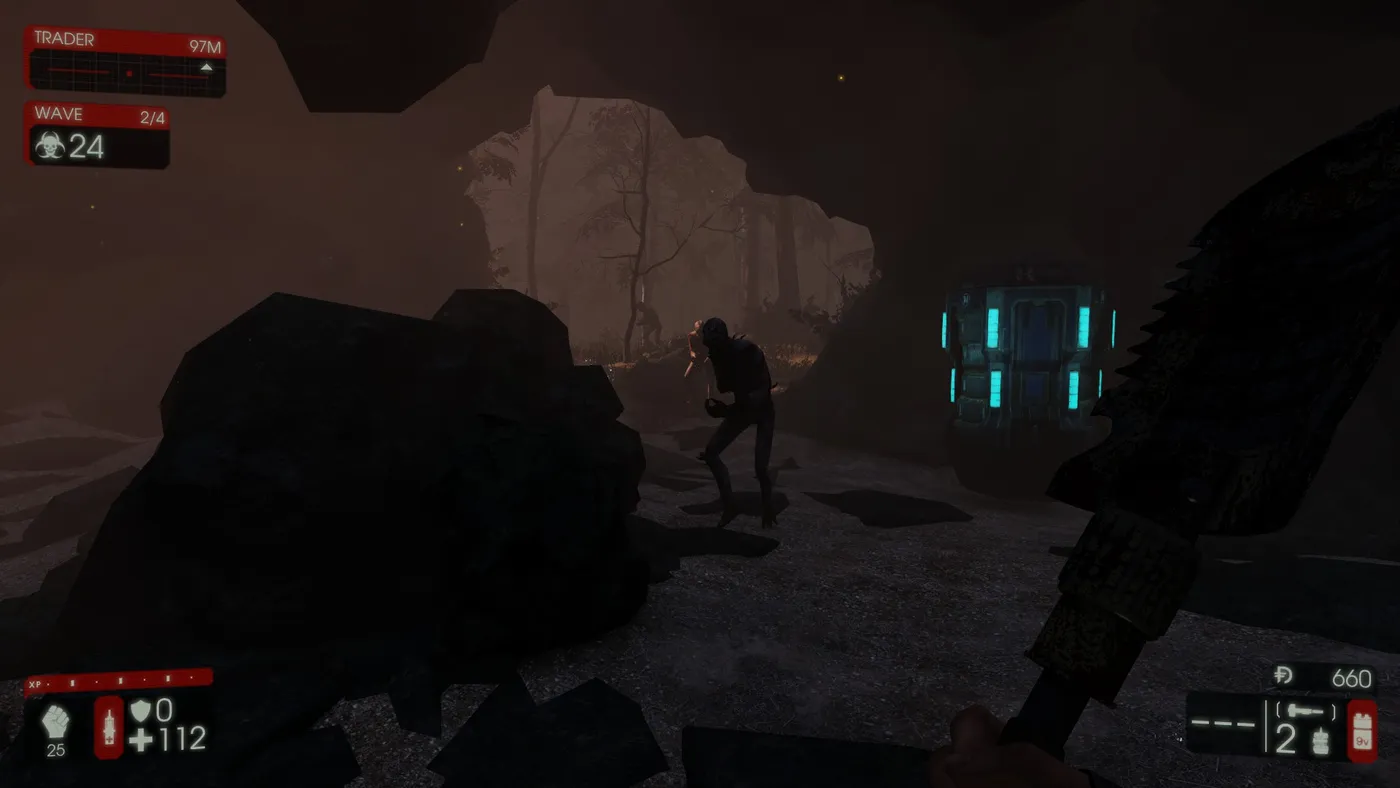 Another angle of the cave.
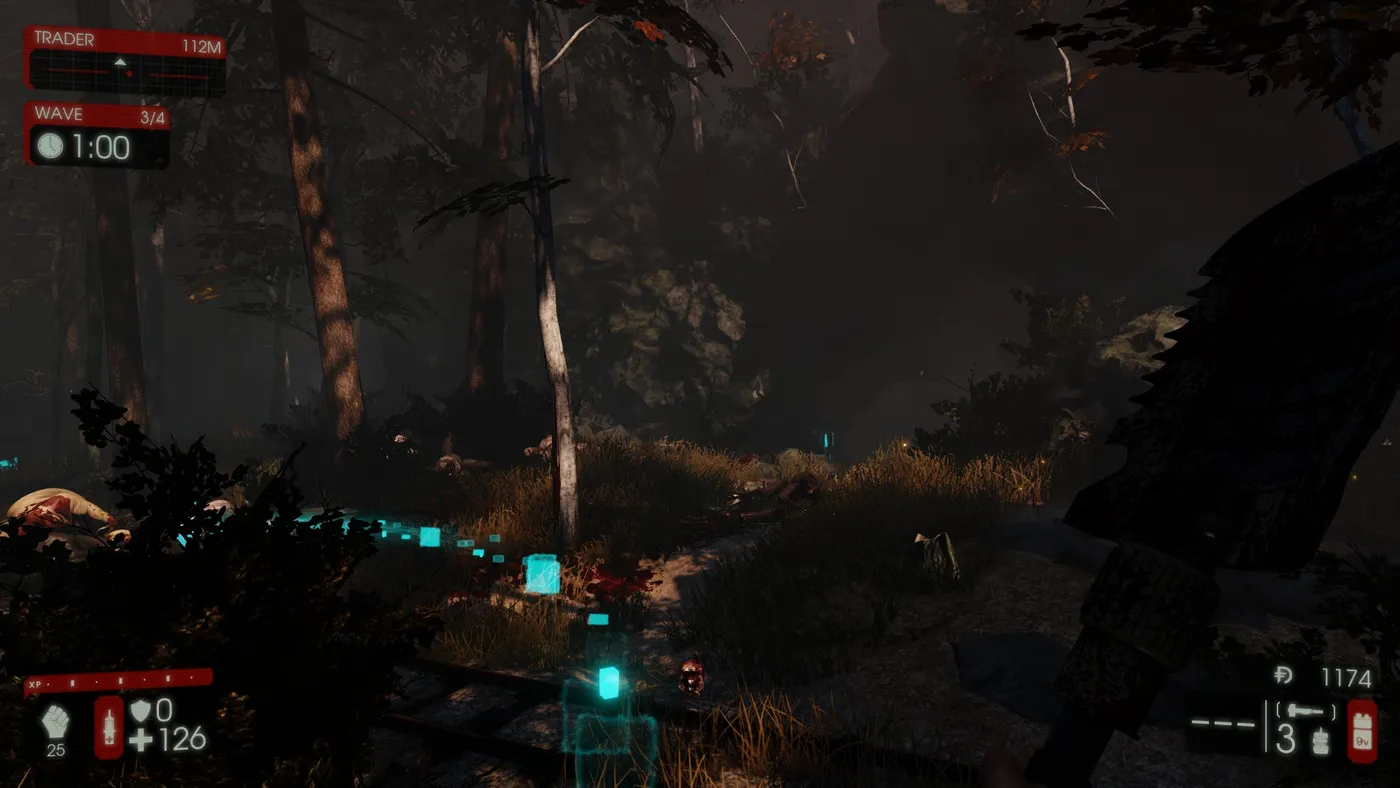 A third angle of the cave.
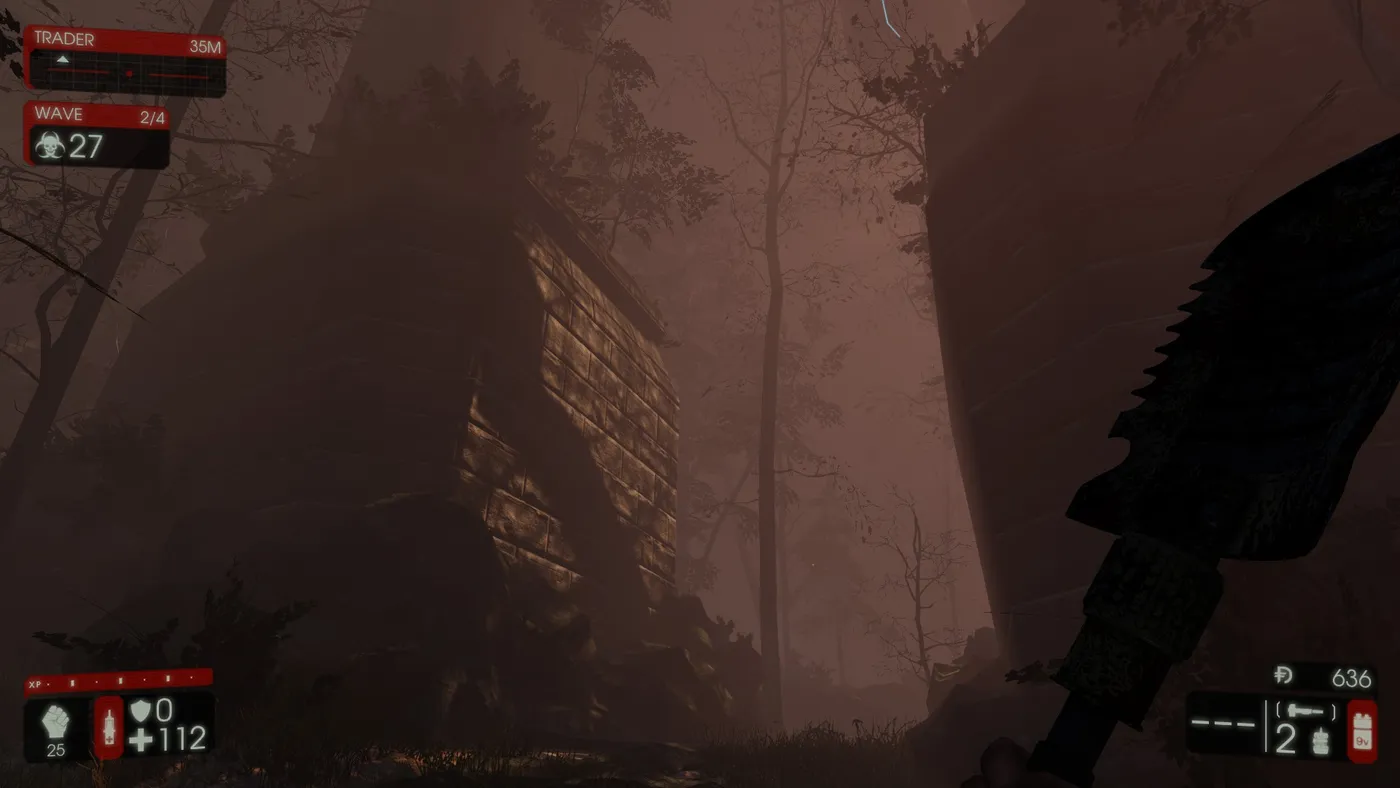 Train bridge columns and pillars.
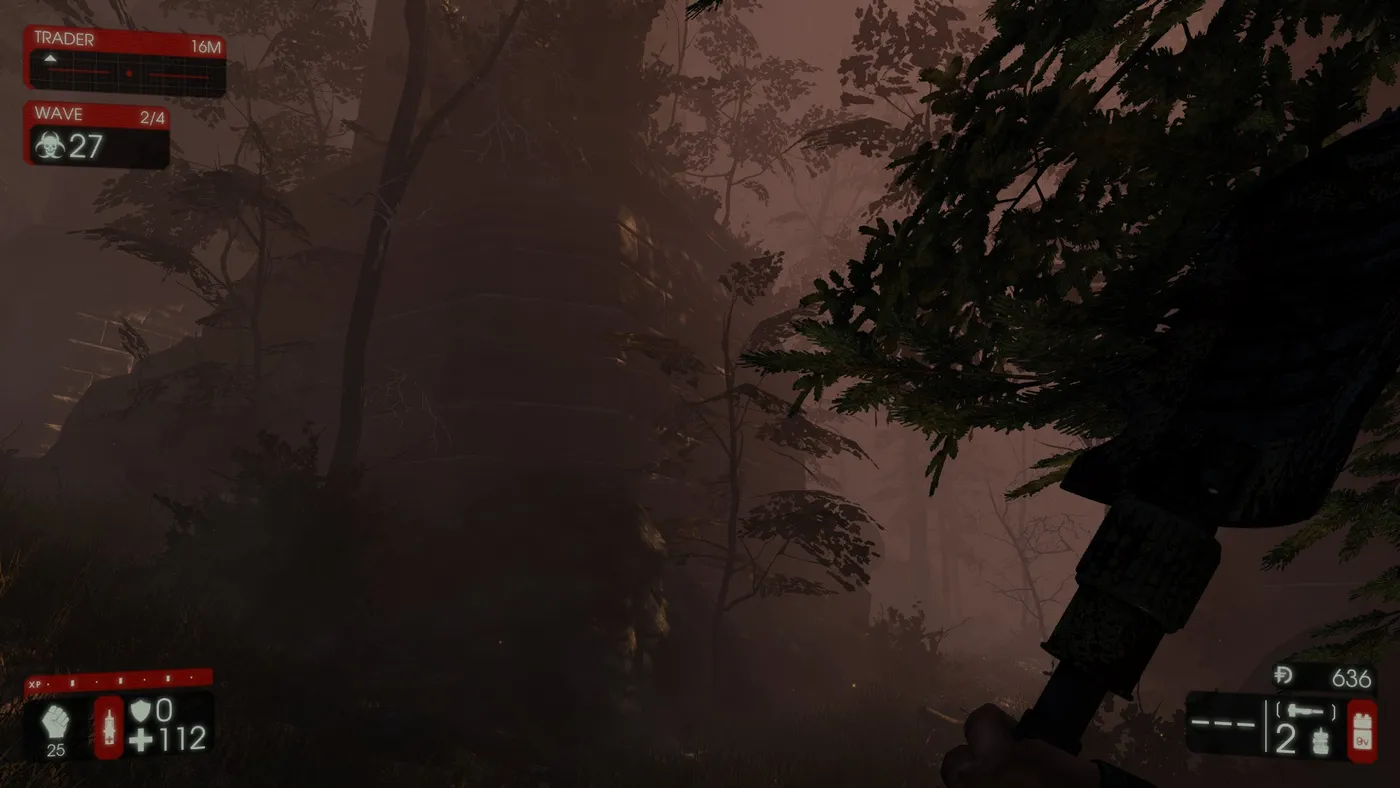 Pillars give cover from gunfire, grenades and missiles.
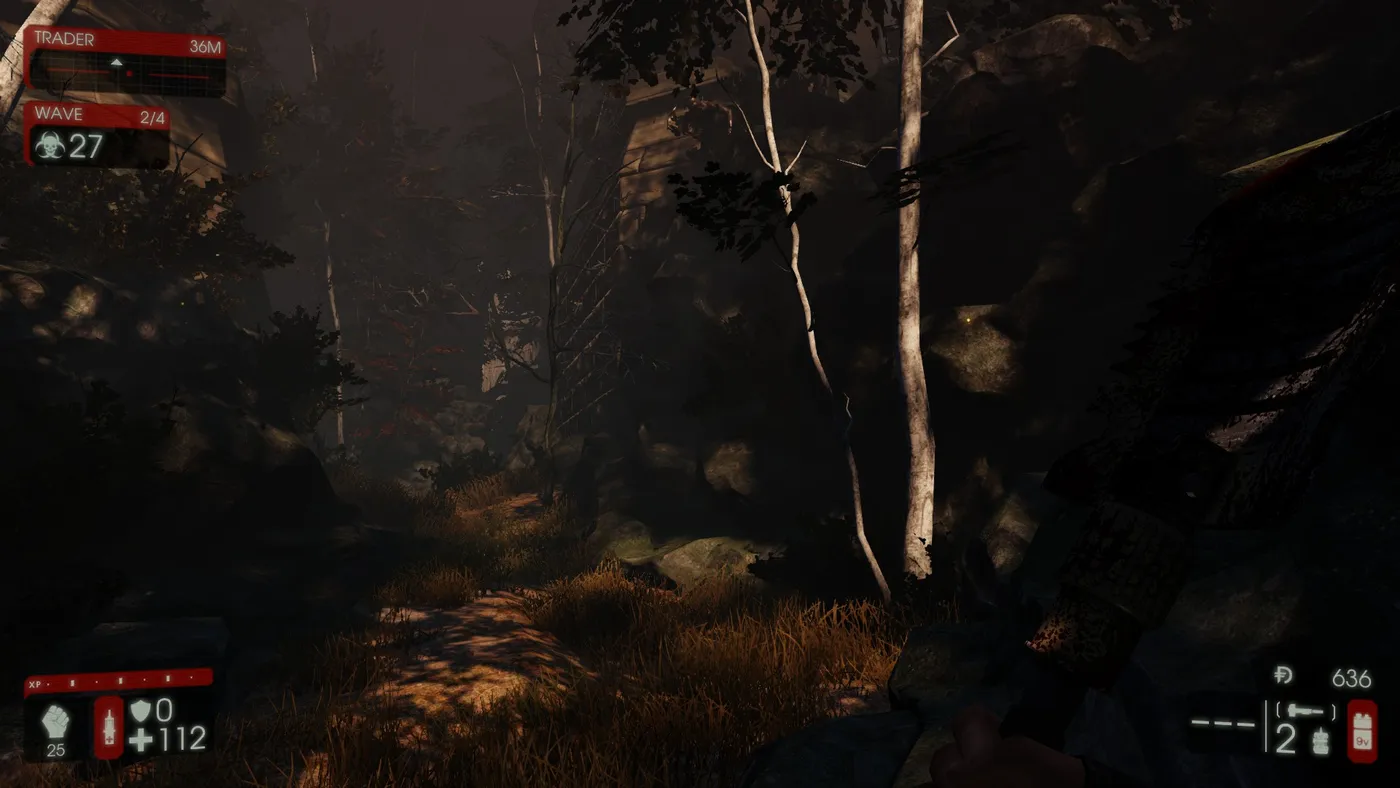 A third view of the bridge area.
Patriarch. The Patriarch is easier except for the many minions he summons as he nears a heal. Kill as many as you can while he is away healing.
Hans. He spawns fewer ZEDs. You will not have time to stop for trash solo, so avoid the gas and hit and run. When he goes to heal, be near full health before you let him grab you, and avoid the grab until your syringe has nearly recharged.
Boss strategy basics
- Avoid damage by circling around rocks and walls for cover. Use one repeatable path, but be ready to change direction if the boss turns back.
- Use ranged weapons first (nail gun, then S&W .500), keep the Pulverizer out for running because Berserkers move faster with melee, and risk the secondary attack only when you cannot get away.
- Once the boss has used all his heals you are in good shape. The 9mm is nearly useless on Hell on Earth unless you have the backup perk.
- Black Forest is a forest: running backward gets you stuck on trees and rocks, which is why a known loop matters.
The key is endurance: both bosses take a long time, but persistence wins. For other Berserker solo routes see KF2 Berserker solo Hell on Earth guide.
FAQ
- Which game length is easiest for the Kein Bier Vor Vier achievement?
- The author recommends the short, 4-wave game. It is about as challenging as a long game but costs far less time if you die, and the boss fight is the same either way.
- Which perk is best for solo Hell on Earth Black Forest?
- Berserker. Fortitude gives the most health, plus damage resistance, speed and enough damage without spending much on ammo. Medic is the runner-up.
- What perk level is needed for Hell on Earth solo?
- The author did it with a level 25 Berserker and would not try Hell on Earth below level 20.
