
KF2 Conflicting Accessories: SetCharacterAttachment Guide
Normally Killing Floor 2 stops you from combining certain cosmetic items, such as two head items. This Steam community guide (by two authors, Zulu and Dragonfly, with a long list of per-character codes) shows how to override that with the console so a character can wear up to three accessories of your choice. It does not change gameplay; it is a friendly cosmetic use of the console. See also the cosmetics overview and console cheat codes.
Rules and limits
- Characters can only wear accessories from your own inventory.
- A character can wear up to 3 accessories, and any accessory available for that character can be combined with any other, whether head, body or back.
- An item may not show if you own only part of a set, for example just the head of a chicken or cardboard costume without its body.
- Back items can conflict with characters whose body already uses that spot (a chicken with a mini chicken on the back, or a Hazmat suit with a bump), so a gas tank or a Hazmat plushy will not fit there.
- Big heads (animals, chicken, Hazmat) hide other items, and some items are too small or too big to show under certain outfits, such as an EMS arm band under some suits.
- Some characters simply lack an item; the code table marks those as N/A.
- Codes can change with game updates and events (Xmas, Halloween, summer), so a combination that stopped working may need to be re-checked.
The codes
The authors keep a Cosmetic Codes PDF that lists, for each character, the Mesh Index and the Skin Index of every accessory. Notes from the table:
- A missing Mesh Index means the authors had not looked it up or did not own the item.
- The Skin Index is the same for all characters, except the Scullyphones for Scully, which have their own column.
- The Human Cannon helmets for D.A.R. have an extra Mesh Index row, because the helmet appears twice in the cosmetic menu and the second entry sits lower.
- The Coffin Backpack (RIP) for Oisten also has an extra row; the second entry sits closer to the back.
Step 1: find the numbers
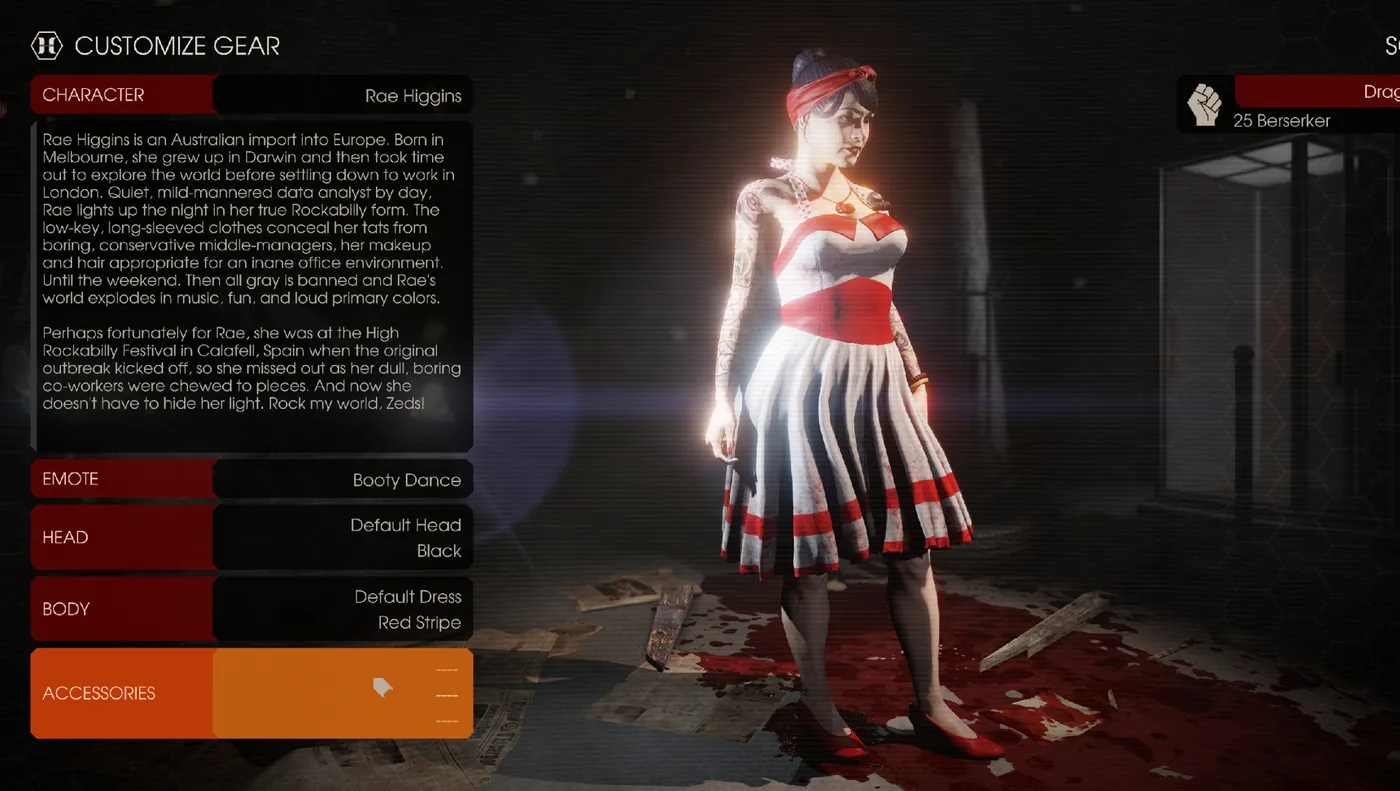 Step 1: choose a character and check the accessories you own for it.
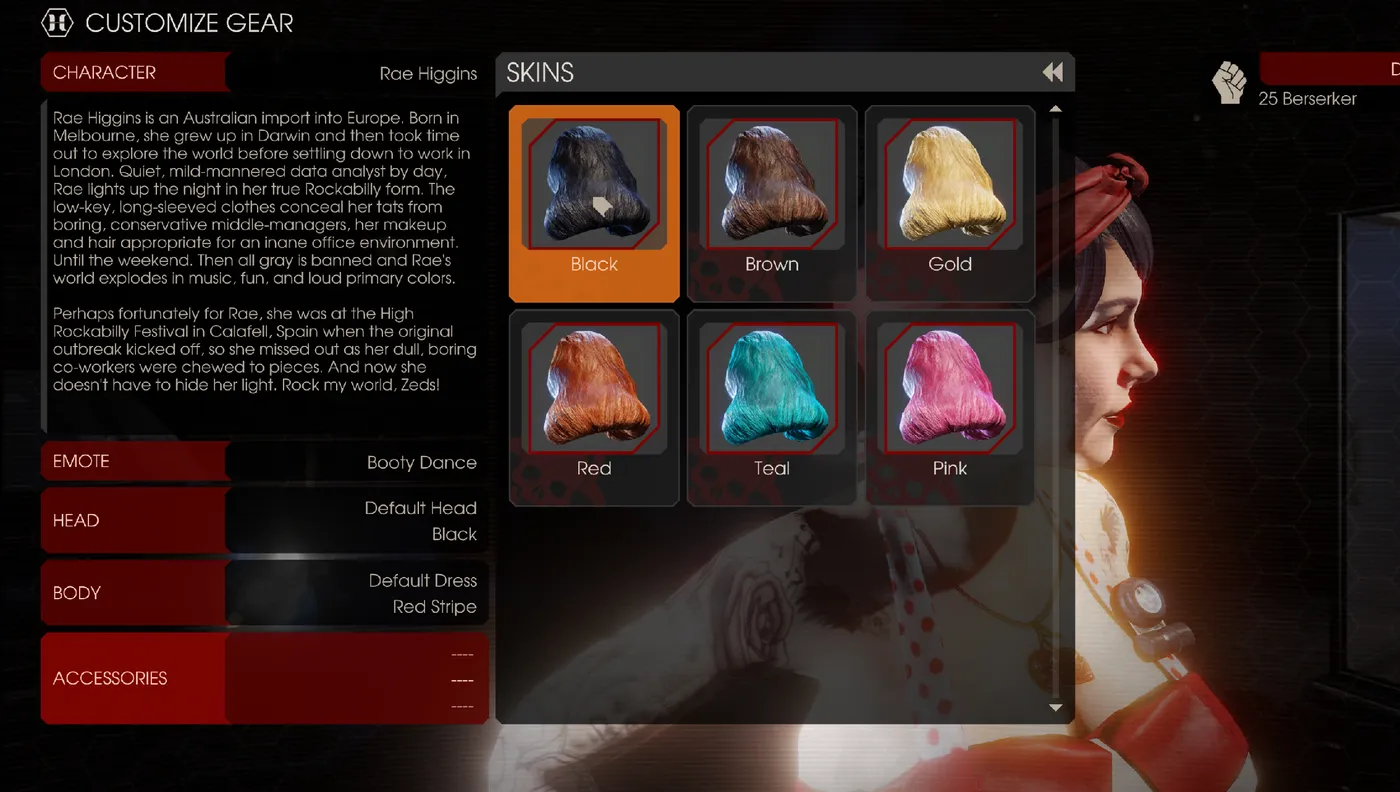 Step 2: select the first accessory.
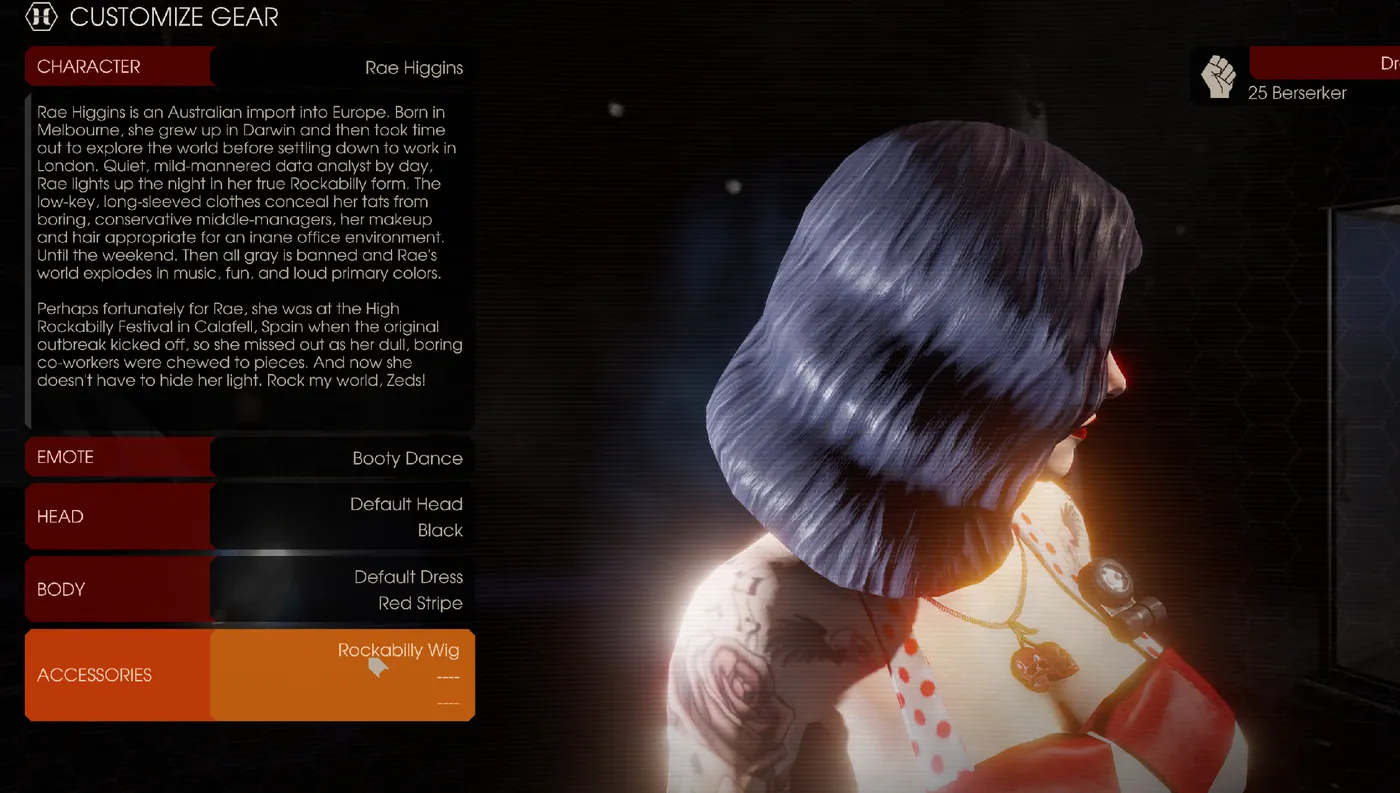 Step 3: load it; the first accessory always loads normally.
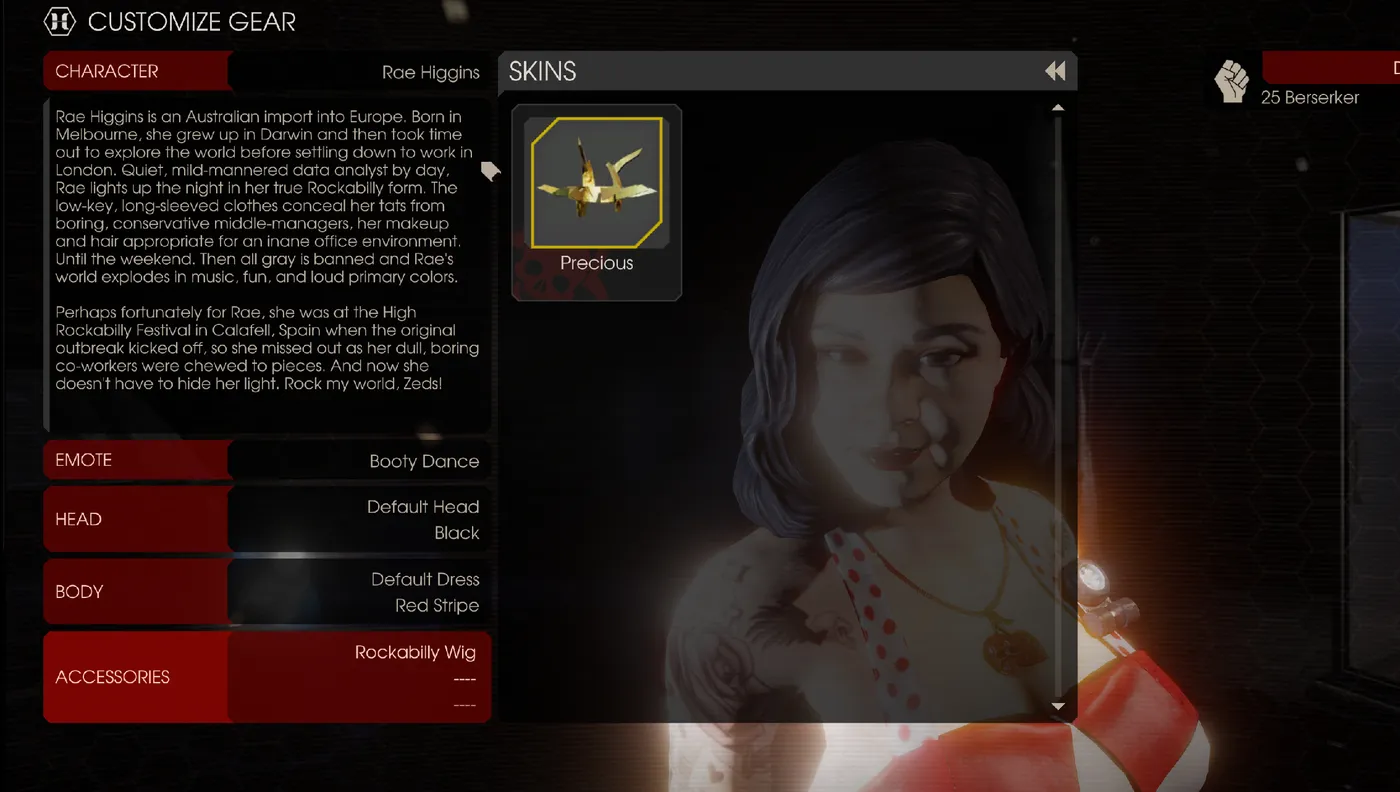 Step 4: select the second accessory and try to load it.
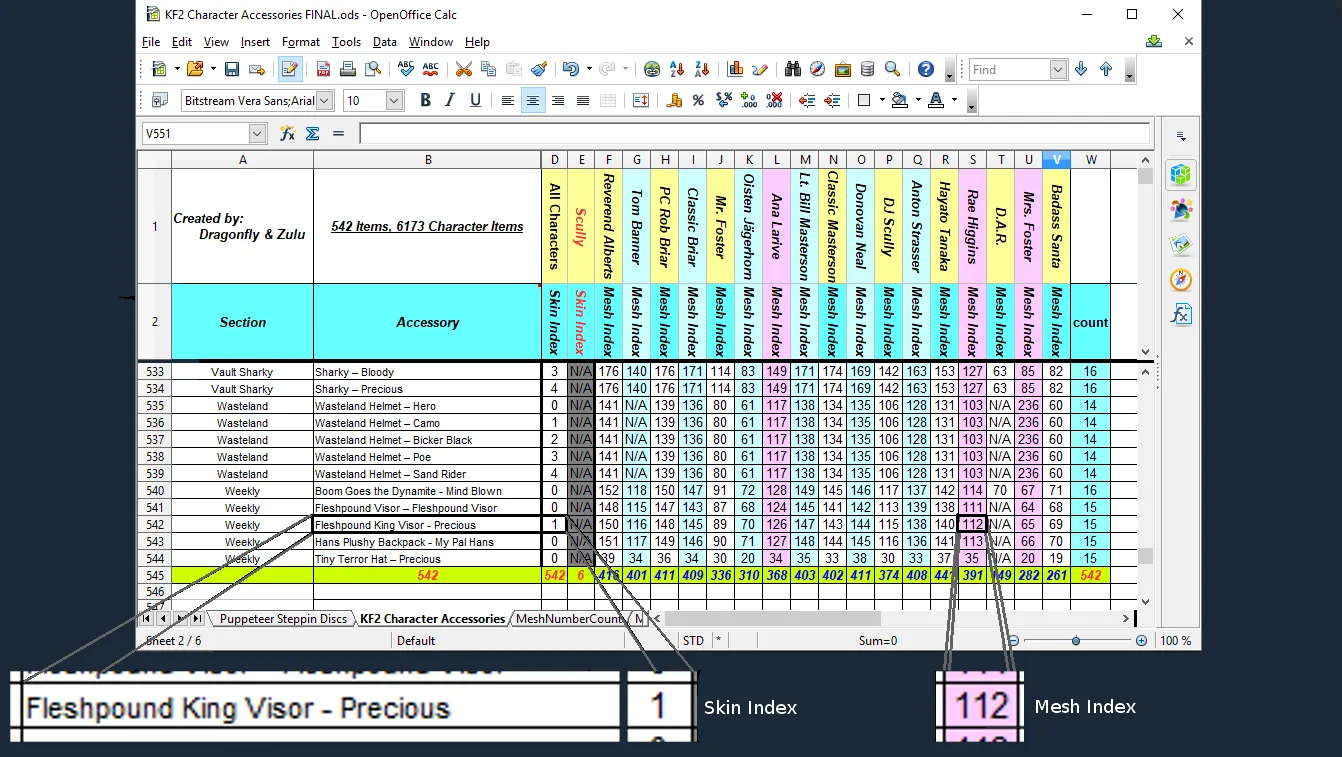 Step 5: if it conflicts, look up its Skin Index and Mesh Index in the code table.
Load the first accessory normally, then try the second one. If it conflicts, look up the Skin Index and Mesh Index of the second (and third) accessory in the table. The first accessory always loads, so you only need numbers for the next two.
Step 2: apply them with the console
Clear everything in the Gear tab and load the first accessory that you do not have numbers for.
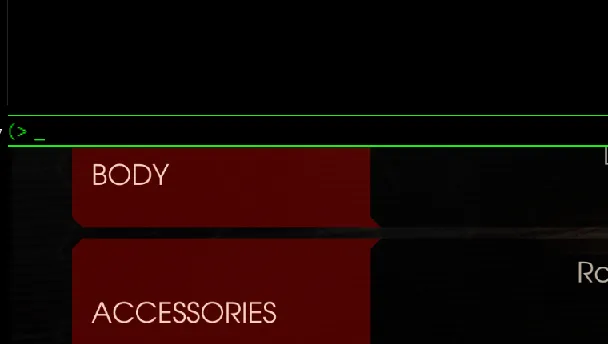 Open the console with the tilde key.
Open the console with the tilde (~) key and enable cheats:
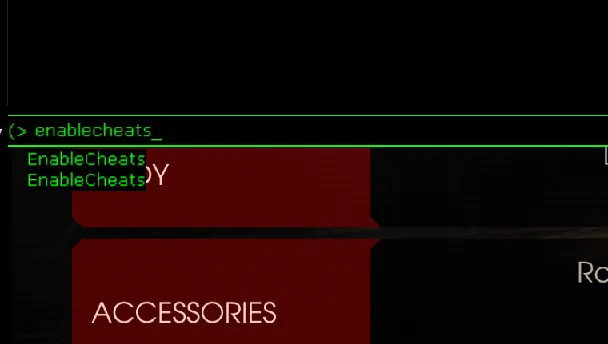 Enter enablecheats.
Then enter the attachment command. The example uses the King Visor from the Fleshpound King Precious set:
SetCharacterAttachment 112 1 1 TRUE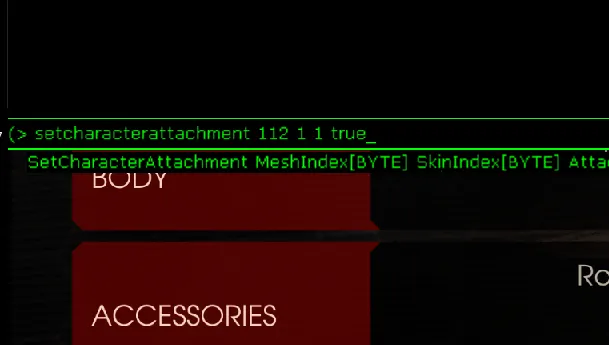 Enter SetCharacterAttachment with the mesh, skin and slot numbers and TRUE.
The values are: 112 is the King Visor Mesh Index, the first 1 is its Skin Index, and the second 1 is the Slot Index. The slot is 0, 1 or 2 depending on where you place the attachment: the accessory you loaded normally is already in slot 0, the visor goes into slot 1, and a third one would go into slot 2. The TRUE, together with enablecheats, allows the override.
 What the four values in the command mean.
For a third conflicting accessory, open the console again and use slot 2, for example the Tiny Terror cap with mesh 35 and skin 0:
SetCharacterAttachment 35 0 2 TRUE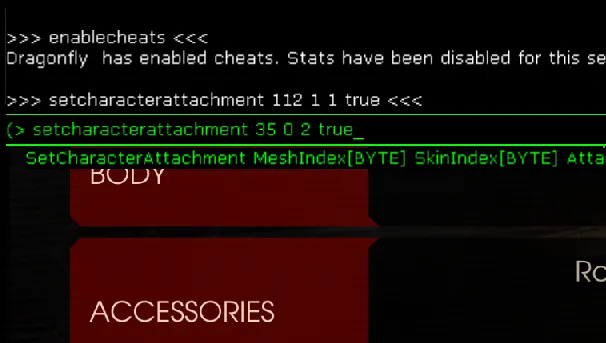 Third accessory: repeat the command with slot 2.
Close the console with tilde. The character now wears all three cosmetics.
 Result: three accessories on one character.
Because cheats were enabled, exit Killing Floor 2 to reset the console, then start it again and try a map; the look stays applied.
Examples
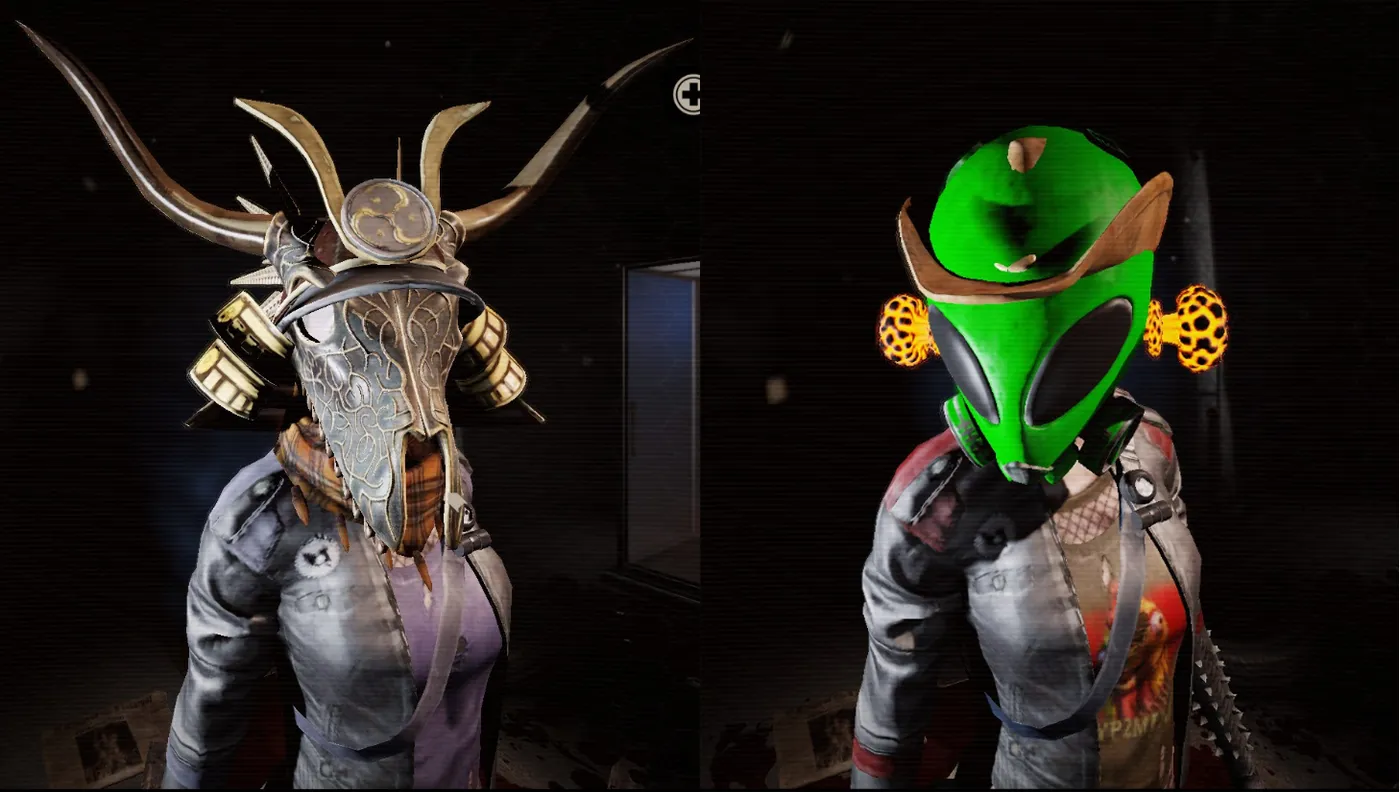 Example: Ana Larive with a combination of accessories.
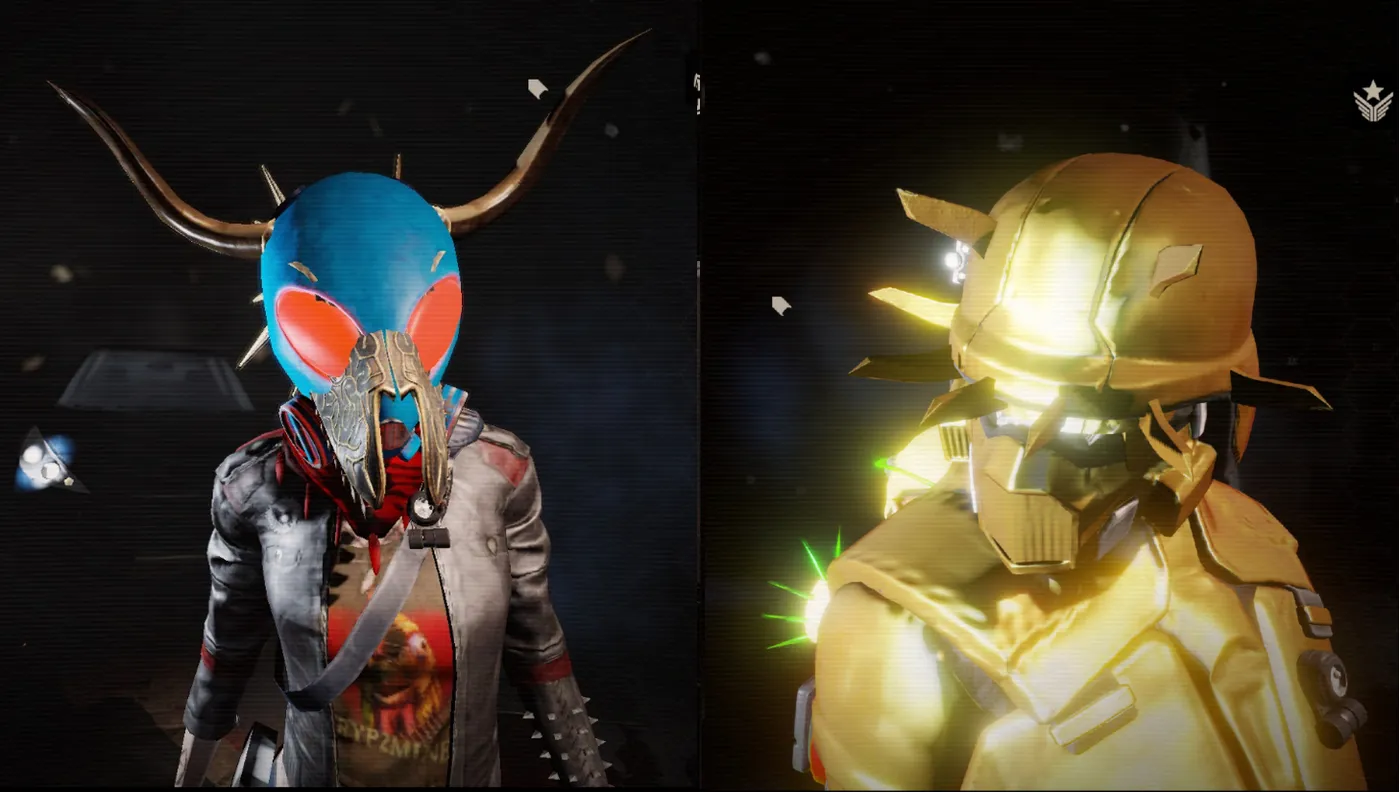 Example: Ana and Rae.
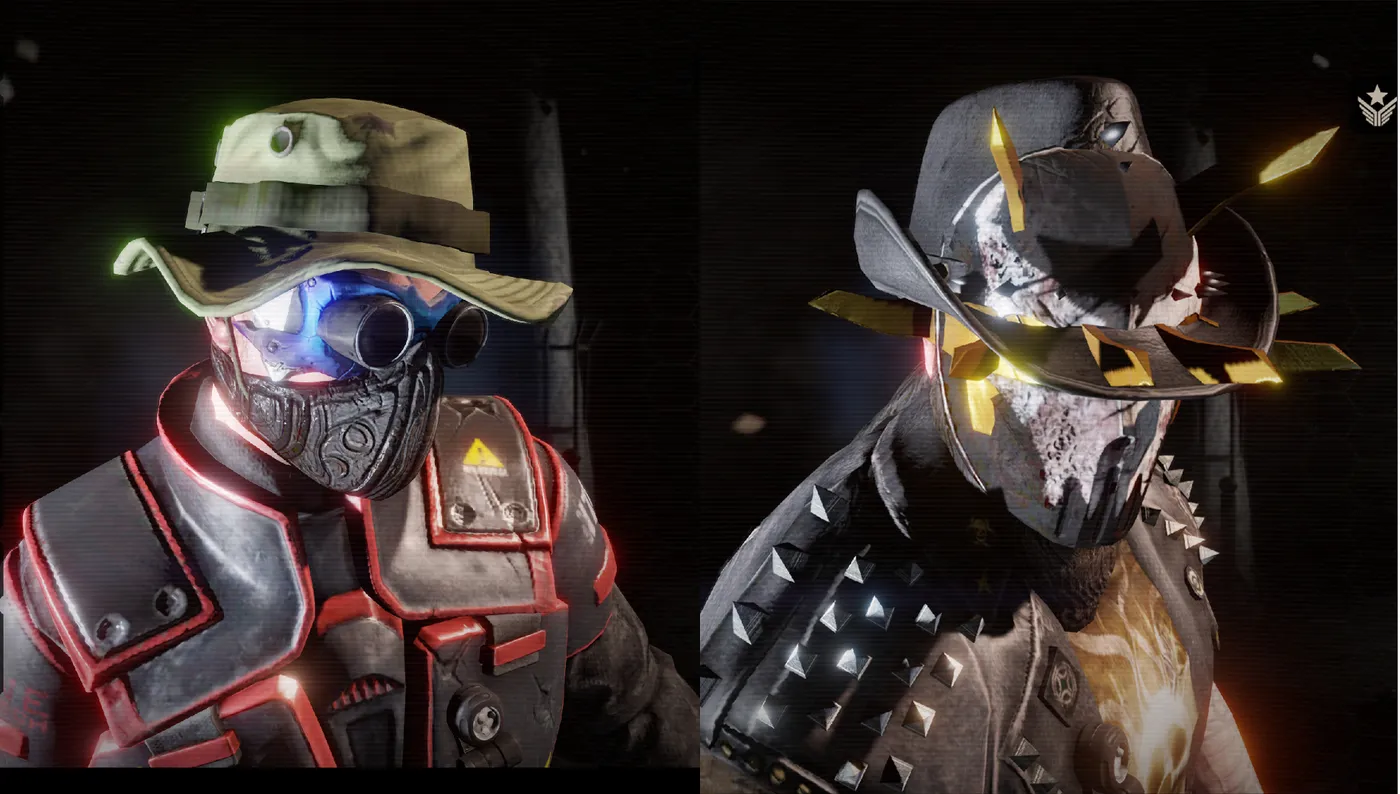 Example: Bill and Oisten.
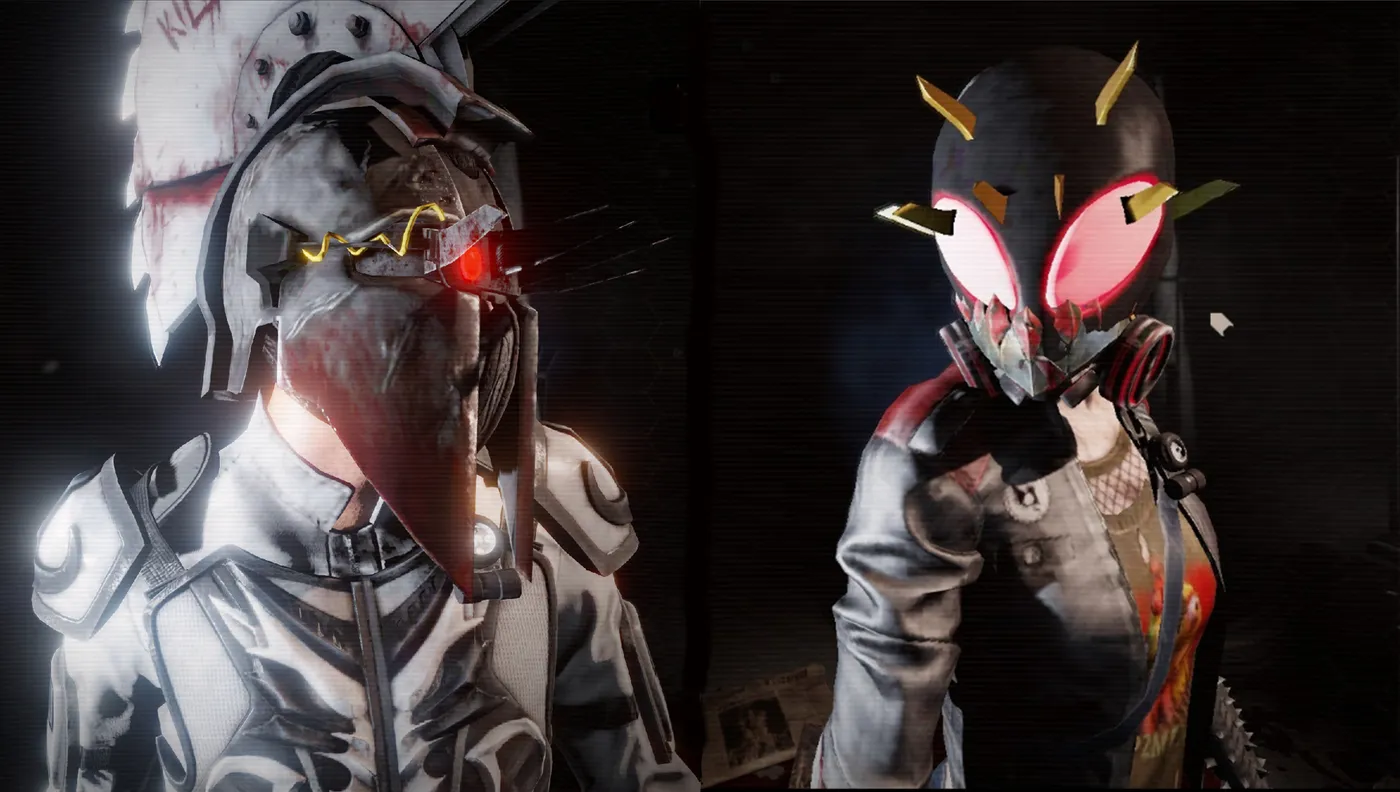 Example: Hayato and Ana.
Disclaimer
The authors warn that this guide was a huge amount of work, that some of the numbers may be wrong, and that they cannot promise fixes when Tripwire changes the codes. In October 2017 the per-character code lists were moved into separate guides, and the codes for Reverend Alberts, Rae Higgins and DJ Scully were corrected after a batch of codes above 140 had shifted.
