
Team Composition & Roles Guide
Killing Floor is a cooperative game at its core. The best teams aren't just a group of random players—they're a coordinated unit where each player knows their role and works together. This guide will teach you how to build effective teams and play your role to perfection.
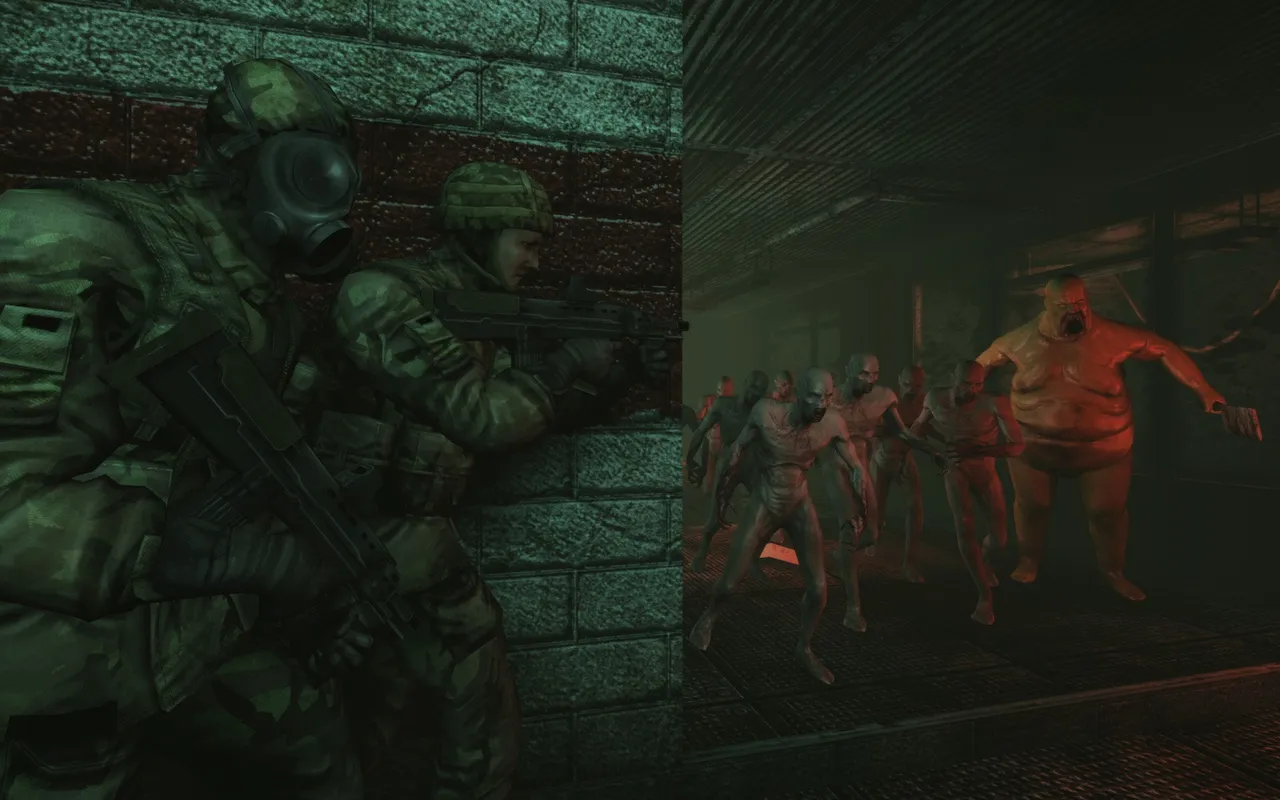 A squad holds a corner while a Bloat leads the horde toward them.
Why Team Composition Matters
A good team composition:
- Covers all necessary roles
- Balances damage and support
- Handles both trash and large Zeds
- Supports each other effectively
- Survives longer and wins more
A bad team composition:
- Lacks essential roles
- Too many of one perk type
- Can't handle certain threats
- Players work against each other
- Dies quickly and loses often
Essential Roles
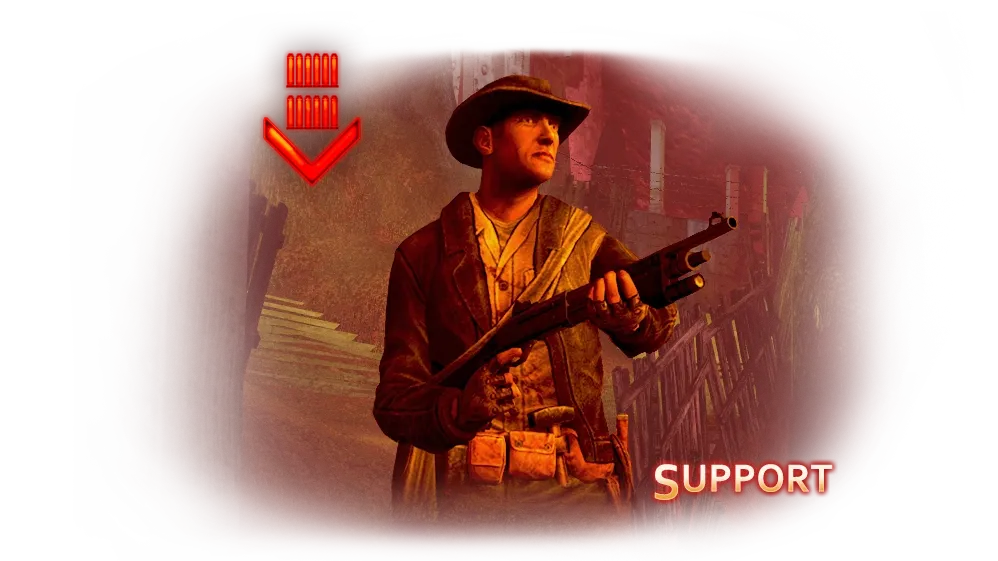 Support Specialist, the shotgun and welding perk.
Damage Dealers
Primary Role: Kill Zeds efficiently
- Commando — Trash clearing, Stalker detection
- Sharpshooter — Large Zed takedowns, precision kills
- Demolitions — Crowd control, area denial
- Support — Close-range damage, door welding
Support Roles
Primary Role: Keep team alive and functional
- Medic — Healing, damage resistance
- Support — Door welding, ammo sharing
- Berserker — Tanking, drawing aggro
Ideal Team Compositions
6-Player Team (Optimal)
Recommended:
- 1 Medic (essential)
- 1 Support (essential for doors)
- 1 Sharpshooter (large Zeds)
- 1 Commando (trash clearing)
- 1 Demolitions (crowd control)
- 1 Berserker (tanking) OR 1 Sharpshooter (more damage)
Why this works:
- All roles covered
- Balanced damage types
- Good support coverage
- Can handle all threats
4-Player Team
Recommended:
- 1 Medic (essential)
- 1 Support (essential)
- 1 Sharpshooter (large Zeds)
- 1 Commando OR Demolitions (trash clearing)
Why this works:
- Core roles covered
- Balanced for smaller teams
- Still effective
2-Player Team
Recommended:
- 1 Medic (essential)
- 1 Damage dealer (Sharpshooter, Commando, or Support)
Why this works:
- Medic keeps both alive
- Damage dealer handles threats
- Simple but effective
Classic line-ups
Source: killingfloor.ru forum, thread "What team composition?", 2010.
Line-ups from the early versions, before the Firebug and DLC weapons:
- Yan's six: 2 Commandos, 1 Medic, 1 Sharpshooter, 2 Supports. The Sharpshooter removes Fleshpounds and Scrakes, the Medic heals and finishes off Crawlers and Stalkers, the Commandos kill the bulk of the zeds, and the Supports deal with whatever gets close and cover the Commandos while they reload.
- Sharpshooter pair on Hard: one with the Crossbow, the other with the M14 (the M14 has plenty of ammo and high damage); for the Patriarch both take Crossbows.
- On the Crossbow: it pierces through zeds and is strong against one tough target or several weak ones, but it is not a crowd-clearing weapon. When zeds come from two or three sides or spread out, the second group reaches you from behind while you aim at the first.
- Typical mistakes: players who leave the team and die alone, players who stand still and get eaten, grenades thrown at teammates' feet.
- The thread's conclusion: a skilled player who does not like dying will find a place in any line-up.
Role Responsibilities
Medic
Your Job:
- Heal teammates constantly
- Keep everyone alive
- Provide damage resistance
- Spot threats and call them out
- Stay alive—you're the team's lifeline
What NOT to do:
- Don't focus on kills
- Don't ignore teammates
- Don't take unnecessary risks
- Don't waste healing on yourself if others need it
Support
Your Job:
- Weld doors to control enemy flow
- Provide close-range damage
- Share ammo with teammates
- Protect the team's position
- Handle close-range threats
What NOT to do:
- Don't weld doors at bad times
- Don't waste ammo
- Don't ignore your role as damage dealer
- Don't forget to unweld doors when needed
Sharpshooter
Your Job:
- Take down large Zeds (Scrakes, Fleshpounds)
- Provide precision damage
- Cover long-range threats
- Help with trash when possible
- Coordinate takedowns with team
What NOT to do:
- Don't waste ammo on trash
- Don't rage large Zeds unnecessarily
- Don't ignore your role
- Don't take unnecessary risks
Commando
Your Job:
- Clear trash Zeds efficiently
- Spot Stalkers for the team
- Provide sustained damage
- Cover medium-range threats
- Help with large Zeds when needed
What NOT to do:
- Don't waste ammo
- Don't ignore Stalkers
- Don't rage large Zeds
- Don't forget to spot threats
Demolitions
Your Job:
- Control crowds with explosives
- Provide area denial
- Clear groups of trash Zeds
- Support team with crowd control
- Be careful not to rage large Zeds
What NOT to do:
- Don't rage large Zeds with explosives
- Don't waste expensive ammo
- Don't ignore friendly fire
- Don't forget your role as crowd control
Berserker
Your Job:
- Tank damage for the team
- Draw aggro away from teammates
- Handle close-range threats
- Provide melee damage
- Support team with tanking
What NOT to do:
- Don't take unnecessary risks
- Don't ignore your role as tank
- Don't forget to protect teammates
- Don't rage large Zeds unnecessarily
Communication
Essential Callouts
- "Scrake!" — Large Zed spotted
- "Fleshpound!" — Large Zed spotted
- "Stalkers!" — Invisible enemies
- "Husk!" — Ranged threat
- "Siren!" — Sound-based threat
- "Need healing!" — Request help
- "Door!" — Request door welding
- "Ammo!" — Request ammo sharing
Coordination
- Plan takedowns — Coordinate large Zed kills
- Share information — Call out threats
- Request help — Ask when you need it
- Offer help — Help when you can
- Coordinate positioning — Work together
Common Team Mistakes
- Too many of one perk — Balance your team
- No Medic — Always have a Medic
- No Support — Doors are important
- Poor communication — Talk to your team
- Working against each other — Coordinate, don't compete
Advanced Team Strategies
Positioning
- Stick together — Don't split up
- Cover angles — Each player covers an area
- Protect Medic — Keep Medic safe
- Control chokepoints — Use doors and narrow areas
Target Priority
- Trash first — Clear trash before large Zeds
- Large Zeds second — Focus fire on large Zeds
- Boss last — Save boss for coordinated attack
Resource Management
- Share ammo — Support shares with team
- Share money — Help teammates buy weapons
- Share healing — Medic heals everyone
- Coordinate purchases — Plan weapon buys together
Adapting to Your Team
If You Have No Medic
- Play more carefully — No healing available
- Buy more healing items — Self-sufficiency
- Stick together — Safety in numbers
- Consider switching to Medic — If possible
If You Have No Support
- Can't weld doors — Adapt strategy
- More open areas — Use different positioning
- More mobile — Kite more
- Consider switching to Support — If possible
If You Have Too Many of One Perk
- Coordinate roles — Don't compete
- Share resources — Work together
- Cover different areas — Spread out
- Consider switching — Balance the team
Conclusion
Team composition and role understanding are crucial for success in Killing Floor. Know your role, communicate with your team, and work together. Remember—you're not just playing for yourself, you're playing for the team. The best teams are the ones that work together, not the ones with the best individual players.
