
KF2 Hell on Earth and Suicidal Guide: Zeds, Bosses, Perks, Collectibles
Written by two players (Alpha Leopard and Atlaimond) after playing through the game and recording videos, this guide mixes general tips, collectible items per map, notes on the nastier zeds and bosses, and perk advice for 6-player Hell on Earth.
Helpful tips
- Near the end of each wave (1 to 5 zeds left) head to the trader to have more shopping time. The next trader distance is shown in metres at the top left; line the small blue arrow up with the blue dot and run. Arrows mark whether the pod is above, below or level with you.
- Take ammo from Demolitionists and Support at the end of every wave; it costs less than buying it.
- Headshots matter a lot: far more damage with less ammo.
- Healing teammates with your syringe recharges it twice as fast and gives dosh and Field Medic XP.
- Crouching reduces recoil but also movement.
- Every melee weapon can block and parry. You cannot parry attacks with a red glow on the hands, only block them; these are more common on higher difficulties. A parry shows as a green flash and mitigates more than a block. All knives have parry strength 1 and 20 percent block mitigation.
- If you die you drop the weapon in your hands (except the knife, syringe and single 9mm).
- Stay with the team, and share money once you are fully kitted out.
- Before the boss wave spend all your cash, buy spare weapons with ammo and drop them on the floor (RPGs, rifles), so you can pick one up instead of searching for ammo. A dropped weapon lasts 5 minutes, and picking it up and dropping it again resets the timer.
- You can cancel a reload (or the quick reload of dual pistols) with Reload, then Melee, then Shoot. It is useful when Zed Time starts and a teammate needs healing immediately.
Drops, skins and accessories
You earn USB sticks, crates, outfits, weapon skins, accessories and keys by playing, with a daily limit. You get roughly one random drop per day, usually after the first match, and it does not depend on difficulty. Tripwire sometimes runs Double XP and Double Drop weekends. A weekly challenge (normally released on Monday) gives a special item, and the Basic Training rewards a free hat. Supply crates hold outfits and accessories, USBs hold weapon skins, and keys come from lucky drops or purchase. Crafting works at a cost: 10 common items make 1 uncommon, 10 uncommon make 1 rare, 10 rare make 1 exceptional.
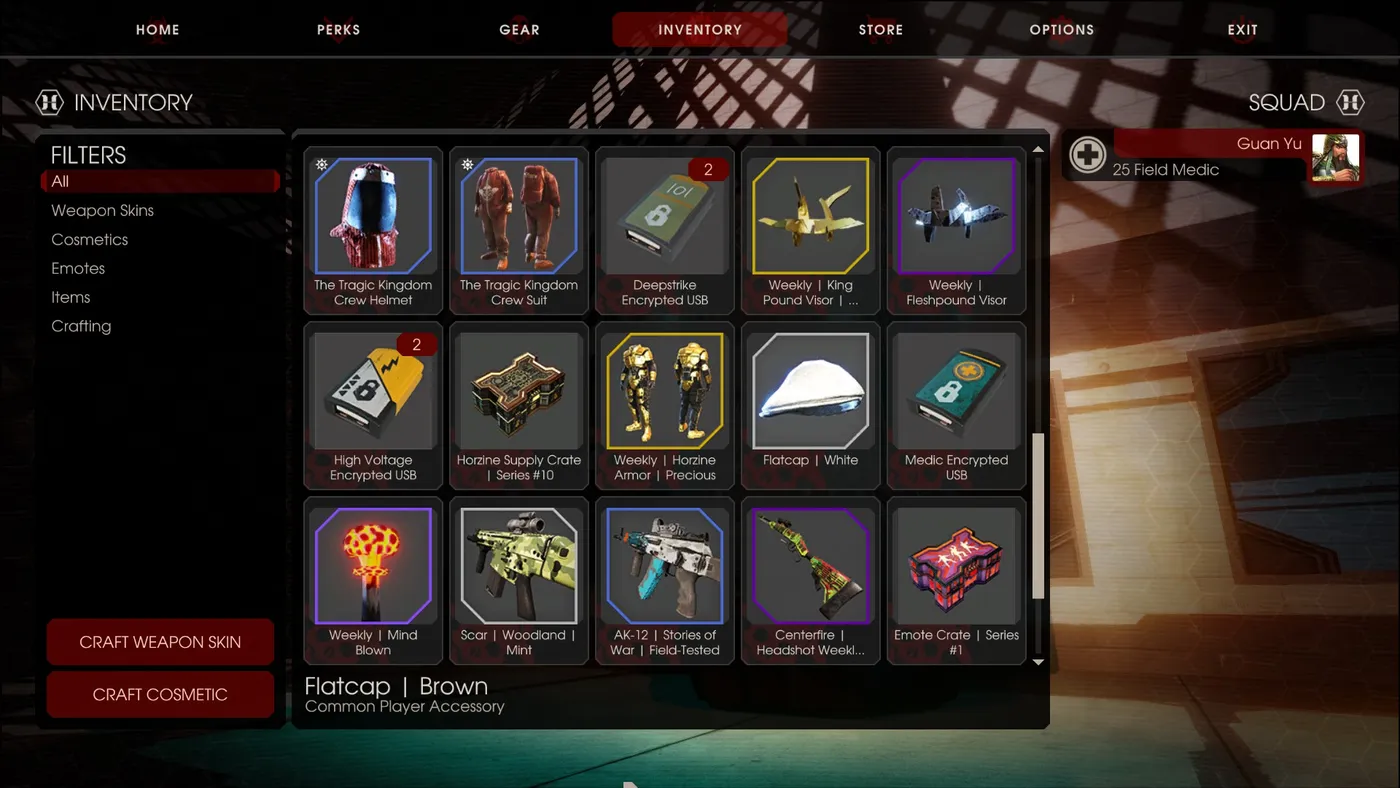 Crafting items in the inventory.
Collectibles by map
You need 10 of each item, destroyed with any weapon, for the achievement; each map has about 15. The guide names the item and links a video for each map.
| Map | Item |
|---|---|
| Black Forest | Purple Squid |
| Farmhouse | Spooky Doll |
| Prison | Soap |
| Infernal Realm | Eyeballs |
| Nuked | Green Nukes |
| The Descent | Volter Teddy (the next room is random, so a playlist of every room is given) |
| Zed Landing | Volley Balls |
| Tragic Kingdom | Snowman Clown |
| Nightmare | Clown Mask |
| Power Core | Battery (sectors 1 to 8, DKG, RTN-TNZ and CRE-Boss hold 2 or 3 each) |
Maps also covered: Burning Paris, Outpost, Biotics Lab, Volter Manor, Catacombs, Evacuation Point, Containment Station and Hostile Grounds.
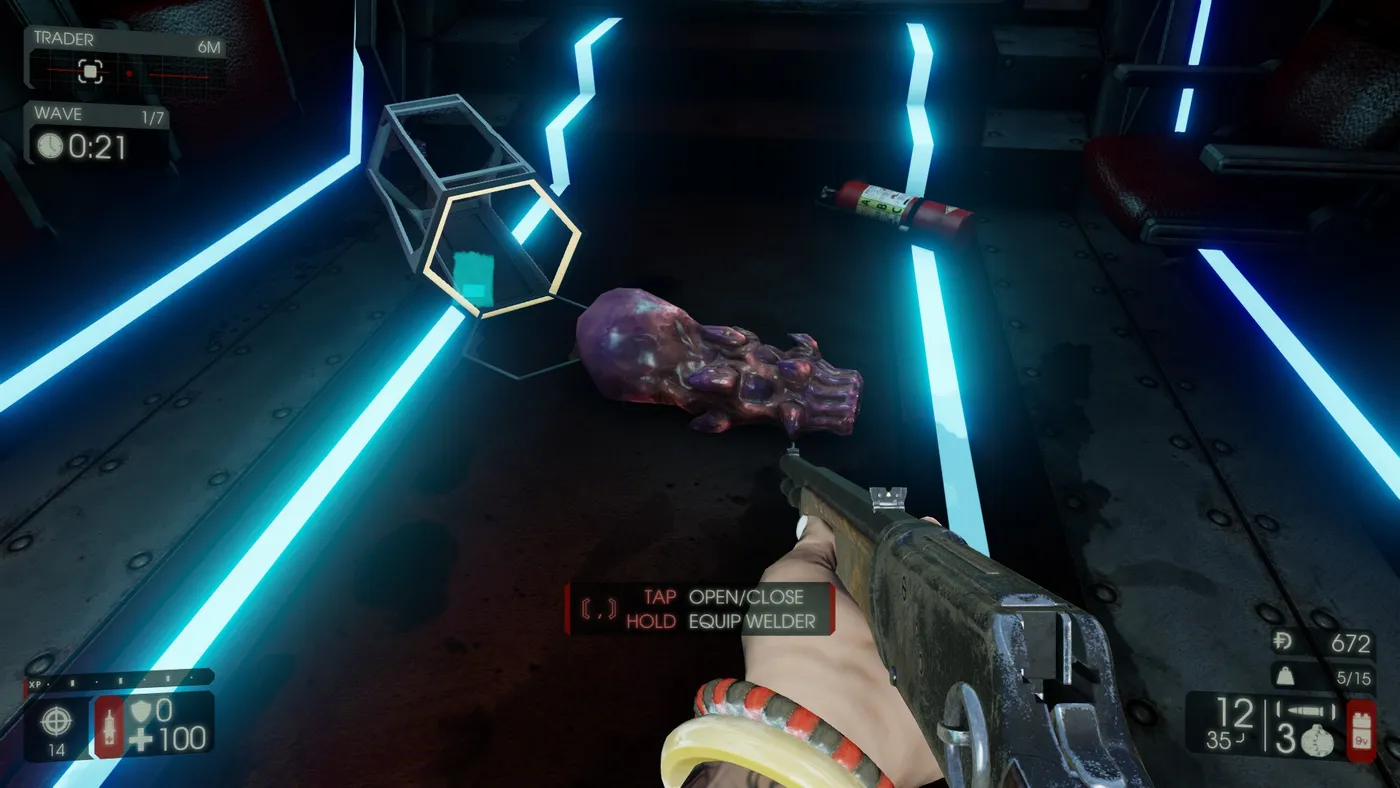 Purple Squid collectible, Black Forest.
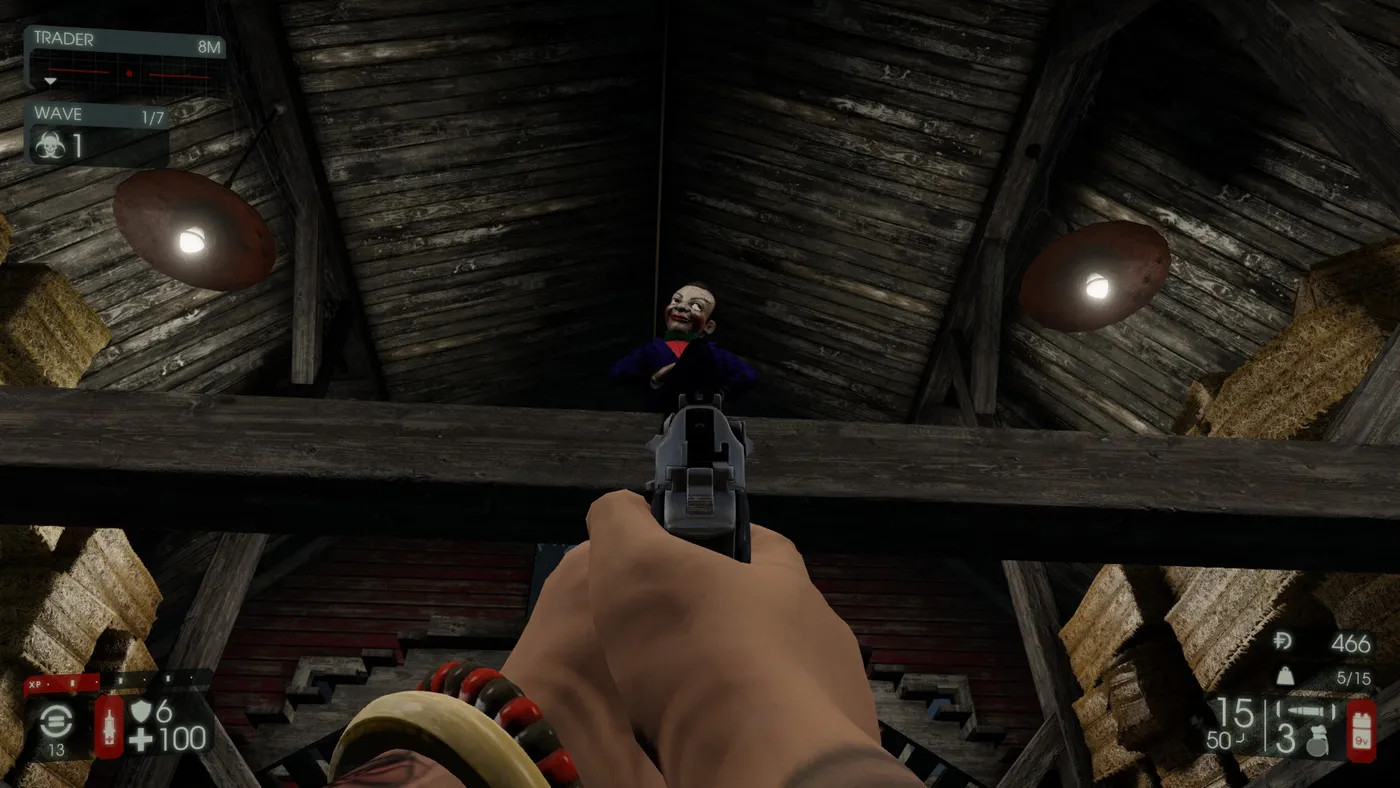 Spooky Doll collectible, Farmhouse.
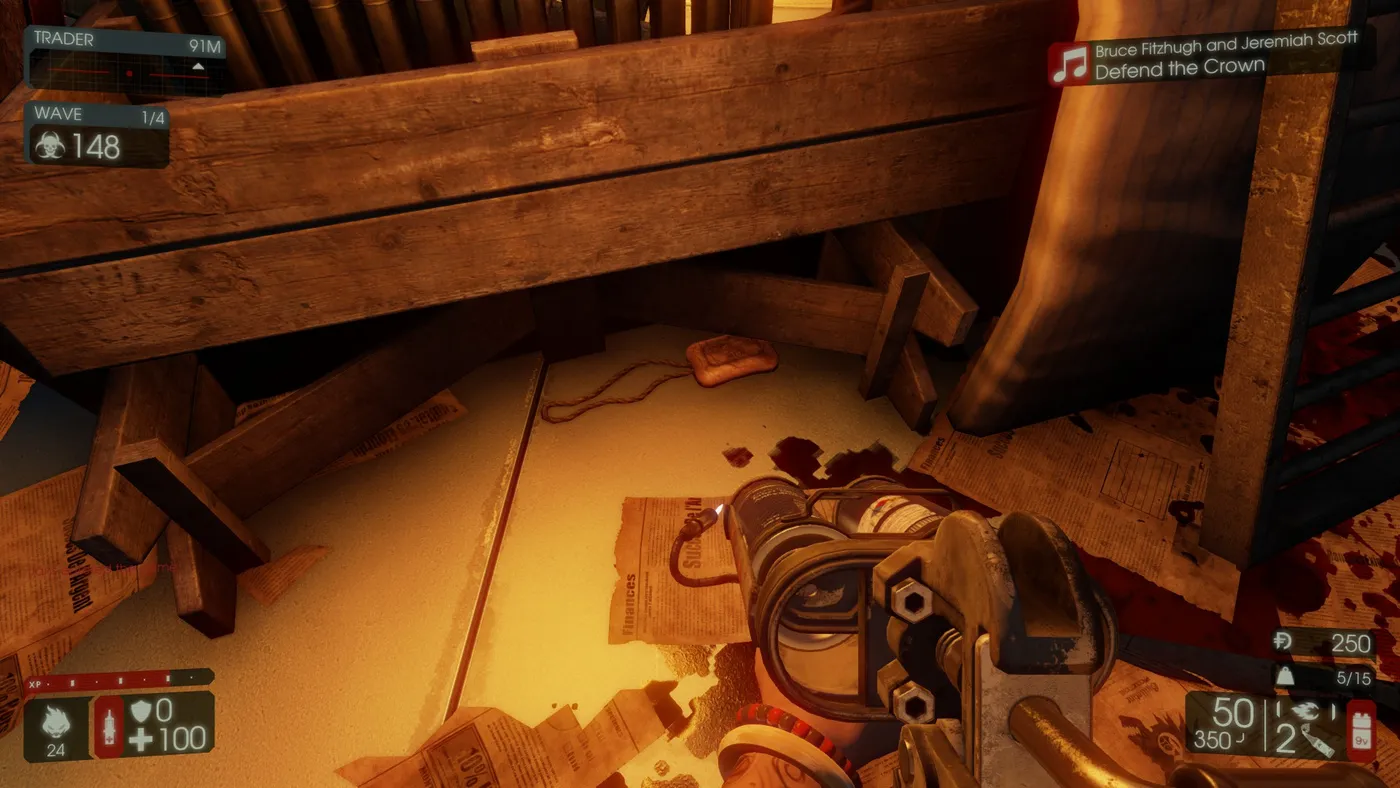 Soap collectible, Prison.
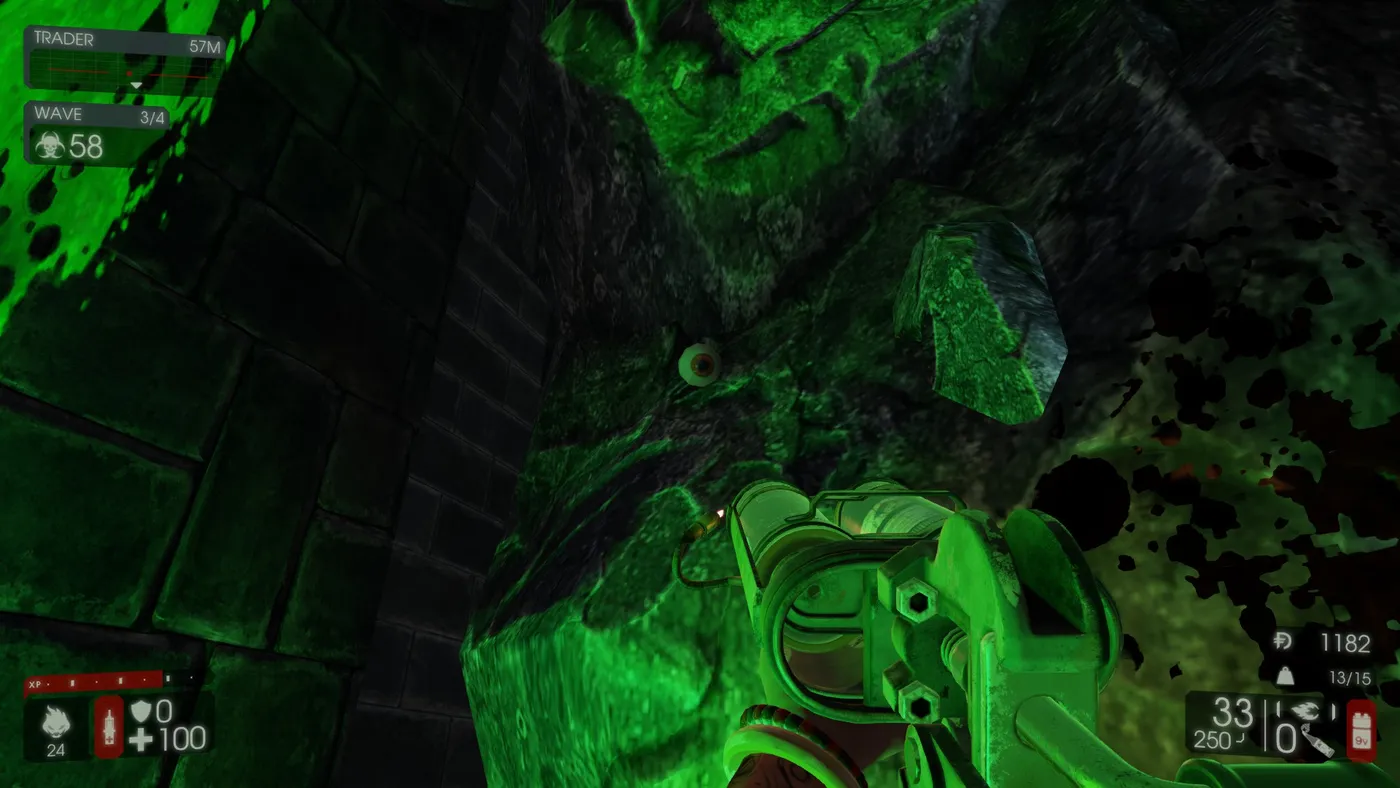 Eyeball collectible, Infernal Realm.
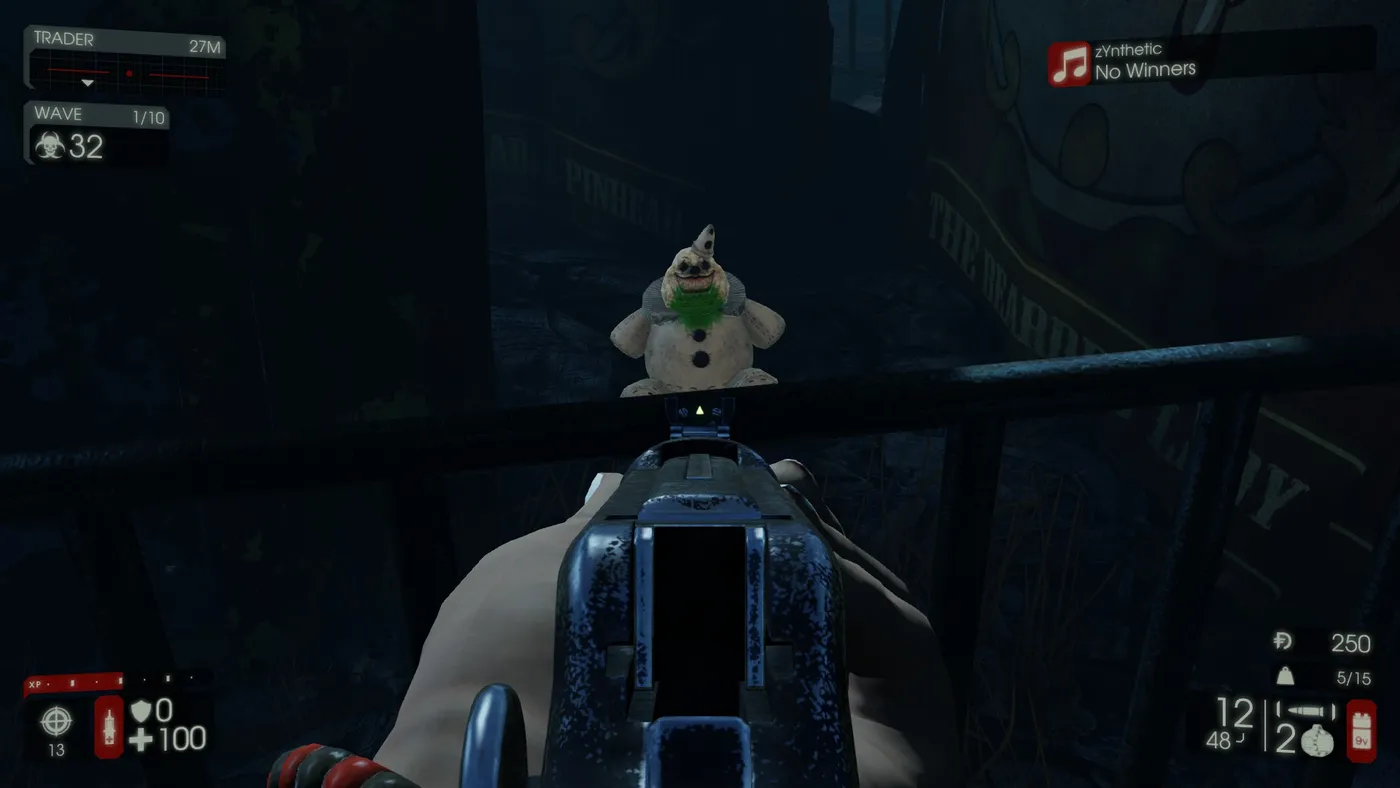 Snowman Clown collectible, Tragic Kingdom.
Trickier zeds
- Bloat: headshots only. If you cannot hit it, wait for it to show its face. On Hard and above a dying Bloat may leave three green sticky blobs that explode when you get close; shoot them.
- Siren: aim for the head, because a metal brace on the body can deflect bullets. Her scream destroys grenades and explosives; the Demolitionist skill Sonic Resistant Rounds prevents that.
- Husk: shoot its backpack if you can, since the explosion damages nearby zeds. On Hard and above it flamethrows at close range. It resists fire, so Firebugs should use the 9mm, Incendiary Trench Gun, Spitfire or Microwave Gun.
- Scrake: an RPG headshot from very close range from a Demolitionist, a rifle dump in the face from a Sharpshooter, or a P90 or Kriss mag dump from a SWAT works. Scrakes are weak to bullets and 70 percent resistant to explosives, so do not spam grenades. Once enraged it never stops charging.
- Fleshpound: aim for the head. Shooting the chest crystal only enrages it sooner. Explosives are effective, bullets are resisted. Have your Berserker take point to delay it, and call it out to the team.
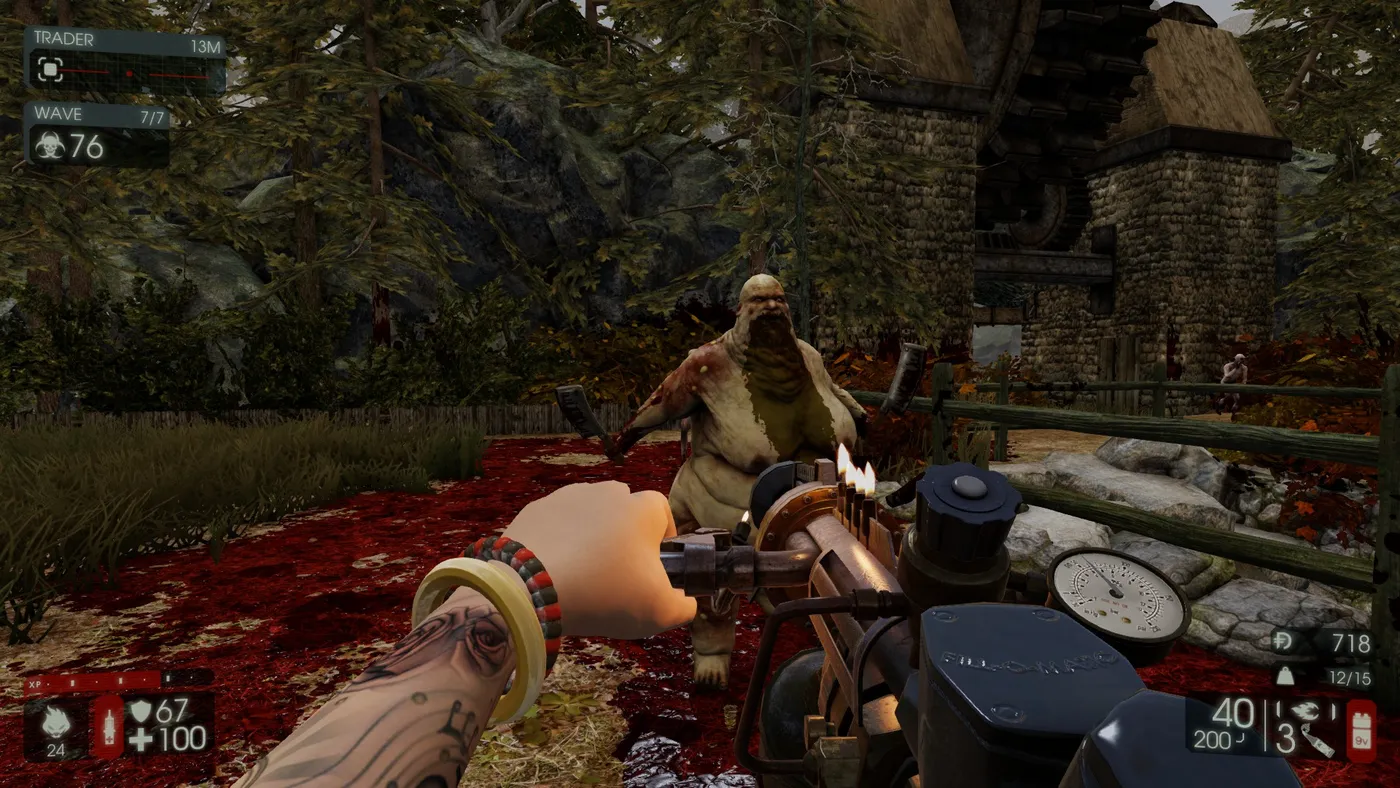 Bloat.
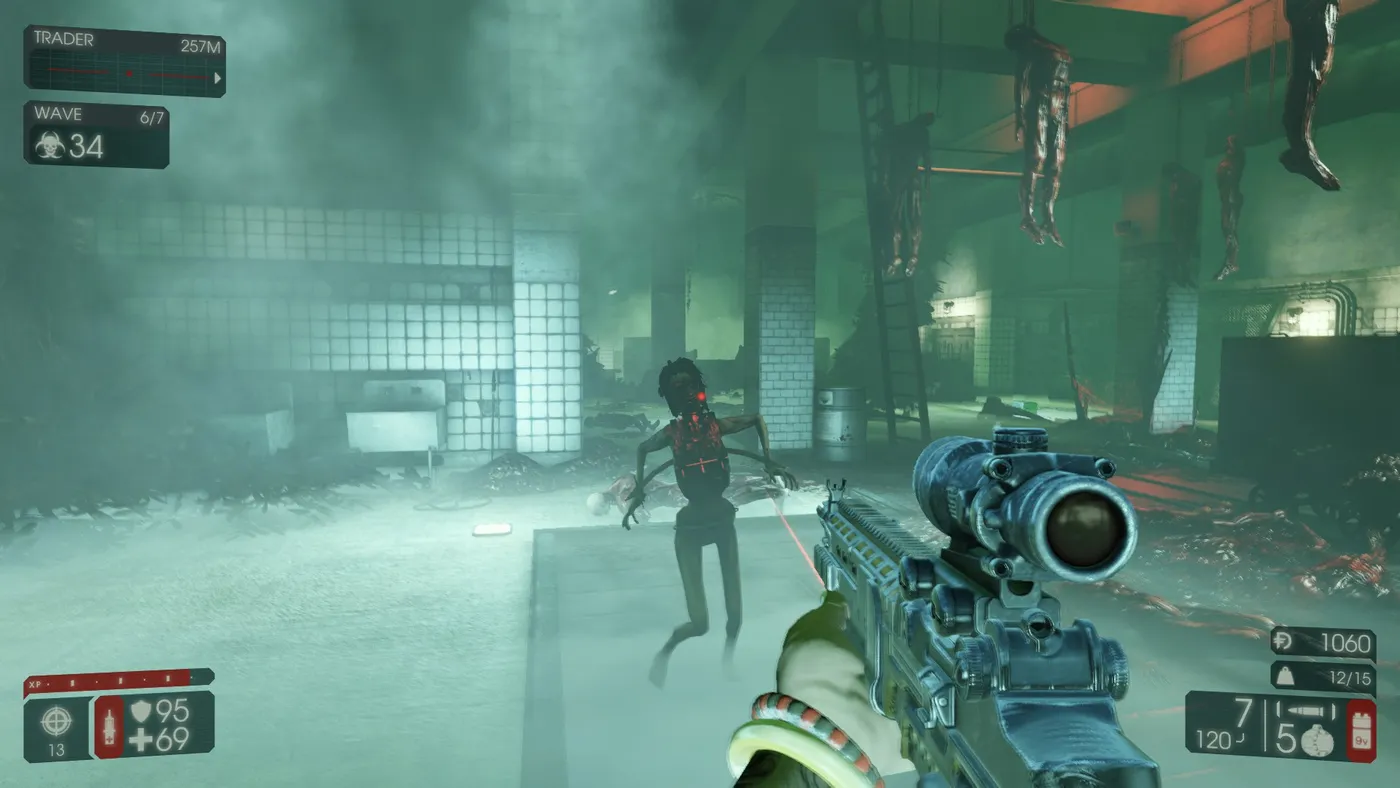 Siren.
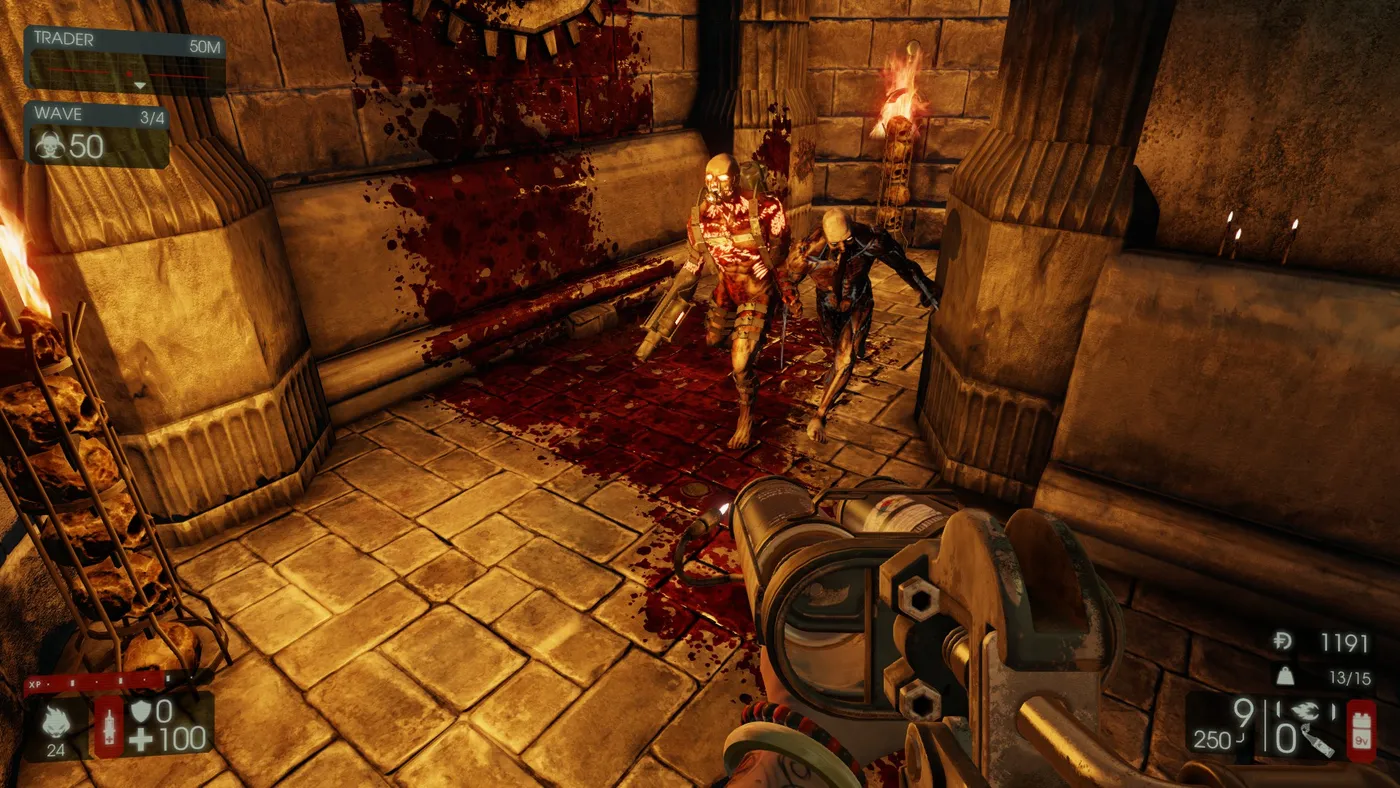 Husk.
Bosses
- Patriarch: he announces what he will do. "Be right there" means the rocket launcher or mini-gun, and "Hide and seek? I love this game." means cloak. Attacks: melee bash, three-missile launcher (could be instant death), mini-gun (deadly even on Hard), mortar (keep moving), and a belly tentacle that pulls and kicks players, even off the map. He heals with syringes when below 35 percent health, running away cloaked. Weak spots: head, green bubbles on the right arm, belly hole. Resistant: left arm, left leg and other metal parts (the Microwave Gun gets extra damage on metal).
- Hans Volter: "Holding your breaths, mortals." means gas grenades; "Perhaps some grenades finish you." means explosive grenades. Attacks: claws (two or three strikes, repeating until someone is hit), dual MKb42 rifles (take cover), explosive grenades (move constantly), gas grenades, smoke grenades before a blood-pump grab (the grabbed player is out until Hans heals or the shield is broken). Weak spots: head and the green chest crystal. Resistant: backpack and metal parts.
- King Fleshpound: weak and resistant spots match a normal Fleshpound. Sharpshooters aim at the head, Firebugs with the Microwave Gun hit the drills, others the chest crystal. He does not heal but raises a strong energy shield below 20 percent health. Attacks: calling Quarter Pounds, a spinning whirlwind (watch for dead ends), ground pound shock-waves, and a chest beam you avoid by crouching on flat ground.
Team composition and perks
Star ratings from the guide: Trash killing is strongest for Firebug (3 stars) and decent for Berserker, Commando, Support, Demolitionist and SWAT (2); Large zed killing is strongest for Demolitionist and Sharpshooter (3) and decent for Berserker, Support, Gunslinger and SWAT (2). Two Medics lower overall DPS, two Commandos add little because Stalkers are no more visible, but two Supports can be good since extra ammo doubles.
- Berserker (tank): keep large zeds busy while others do damage. Parry numbers per weapon in the source include Crovel 0.51 s / 50 percent / strength 3, Katana 0.375 s / 50 percent / 4, Zweihander 0.47 s / 60 percent / 5, Pulverizer 0.47 s / 60 percent / 5 (block 50 percent), Eviscerator 0.49 s / 70 percent / 5 (block 60 percent) and Bone Crusher strength 6 with 75 to 50 percent mitigation by angle (it also blocks bullets and Husk flames).
- Commando: spots Stalkers and the Patriarch, and extends Zed Time. The SCAR-H in single-fire is recommended for large zeds with the AK-12 for trash; a commenter notes the AK-12 burst kills a Scrake in about 1.7 s versus 2.1 s for the SCAR and uses fewer rounds. Tap fire.
- Support: balanced, can repair doors and gives teammates ammo. Boomstick, M1 and Haymaker stand out.
- Field Medic: stay out of harm. The HMTech-401 and 301 heal best; dart costs are 50 points (101 and 201), 40 (301) and 30 (401). The medic grenade heals and poisons.
- Demolitionist: large zed killer. A point-blank RPG headshot can one-shot Scrakes up to 5-player HoE; injure them first on 6-player HoE. Explosives are strong against Fleshpounds.
- Firebug: crowd control; Fleshpounds and Scrakes take only 30 percent fire damage. Aim at legs, tap fire to save ammo, and use ground fire to steer Hans.
- Gunslinger: recommended 2 Magnums plus SPX, 1 Deagle and a 1911 or medic pistol; QuickDraw and FanFire matter more than Steady.
- Sharpshooter: railgun builds beat large zeds but are weak against trash; the EBR build is better against trash. Freeze grenades cannot freeze an angry Fleshpound.
- Survivalist: weaker in every role but has global damage resistance and heavy armor, with freedom of build.
- SWAT: mainly trash; the flashbang stuns large zeds but not an angry Fleshpound.
Defending maps
Aim for levels 20+ and 4 or 7 waves for the Suicidal and Hell on Earth achievements. Examples from the guide: on Zed Landing the cliff edge worked best, with a Sharpshooter thinning zeds on the beach, two groups guarding the entries and a medic in the middle. On Prison, hold the courtyard guard tower area: a Berserker blocks the gateway, a medic is up the first stairs and a Sharpshooter and Demolitionist stand at the top.
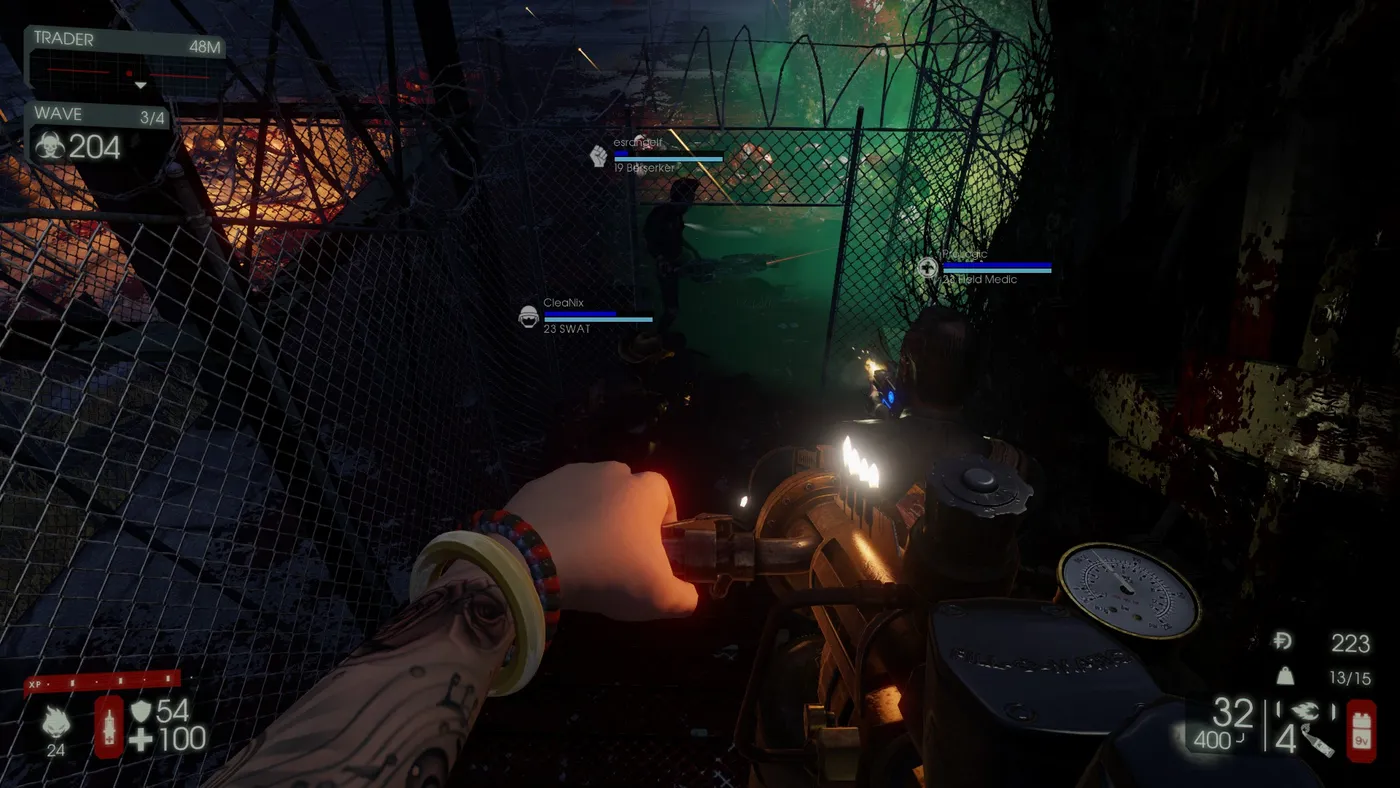 Prison courtyard, the author's preferred defence.
For a far deeper theory guide see the Suicidal and Hell on Earth meta guide.
FAQ
- How many collectibles do I need per map?
- Ten of each item, destroyed with any weapon, for the achievement. Each map has around 15.
- When should I head to the trader?
- When 1 to 5 zeds remain in a wave, so you have more time to shop.
- Which weapons does the guide call best for a Commando against large zeds?
- The SCAR-H in single-fire mode, though a commenter argues the AK-12 in burst mode kills Scrakes faster and with less ammo.
