
KF2 Suicidal and Hell on Earth Meta Guide: Optimal Play Explained
This page summarizes one of the longest and most opinionated guides ever written for Killing Floor 2. It was written for version 1059 by a player who put it on hiatus in April 2018 out of disappointment with the game's design direction, and it is concerned with a single question: what gives a 6-player team on Suicidal and Hell on Earth (HoE) the highest probability of winning with the lowest risk. It is deliberately elitist and does not care about fun, kill counts or favorite weapons. The numbers inside are tied to that game version and have since changed.
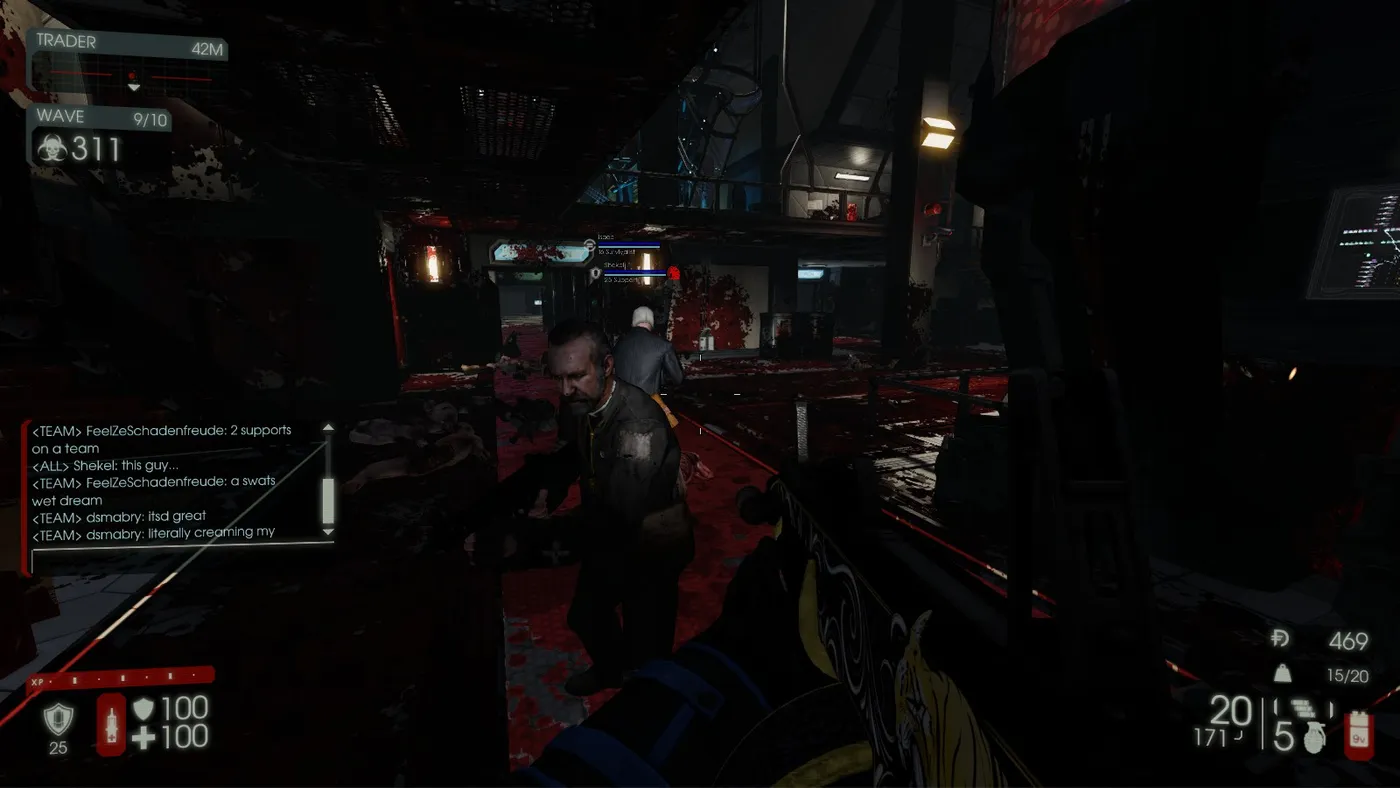 A holdout position viewed through the spectator camera.
Why teams wipe
The author borrows the Anna Karenina principle: winning teams look alike and converge on the same proven behaviors, while failing teams fail in many ways. The claim is that every map is winnable, every zed has a simple counter and every wipe is preventable. Causes:
- Lack of knowledge: not knowing changes in mechanics; Normal and Hard are easy enough to breed bad habits. Poor technique against large zeds (with one exception every perk kills from range and every zed uses melee). A badly chosen camp spot.
- Lack of mechanical ability: a poor team composition, missing a good large zed killer, trash cleaner or Medic, or underleveled players.
- Lack of coordination: no initiative, no plan, misunderstood perk roles.
- Pure incompetence: picking the favorite instead of the best, ignoring visual and audio cues (Scrake footsteps are heavy), and losing self-control through panic, glory seeking or wandering off.
Key mechanics
- Perk damage modifiers are additive, not multiplicative: a 30 percent and a 20 percent boost make 50 percent. The result is multiplied by hitzone factors and weapon weaknesses.
- Rate bonuses are really reductions in time: a 25 percent fire rate increase cuts the time between shots to 75 percent.
- Penetration: a weapon has penetration power X and each zed type has a resistance. The first zed takes full damage; the next takes (X minus the first resistance) / X of full damage, and so on until the remainder reaches zero.
- A Medic's syringe recharges twice as fast on another player and heals 20 in multiplayer. Dart heals are 15 (Hemogoblin 20), healing is capped at 10 HP per second, and damage taken after a dart hits is not healed. Healing halves fire damage-over-time.
- The damage fallacy: assuming more damage means fewer shots. Only a change in the shots-to-kill breakpoint matters.
- Head health is always below 50 percent of body health, zed status is binary (alive or dead), time, space and attention are resources, and Scrake and Fleshpound health are orders of magnitude above other zeds.
Perk roles
Mandatory roles: trash cleaner (kills crawlers, clots, slashers, cysts, bloats, sirens and husks fast) and HVT killer (can solo a Scrake or Fleshpound). Optional roles: knife fighters (tanks and choke holders) and team support (buffs and supplies). Every role has diminishing returns, so perk diversity usually beats stacking the strongest perk.
Survivalist
The guide argues the Survivalist is always suboptimal: his damage boost (15 percent at level 25, versus 25 percent for most combat perks) rarely reaches a breakpoint; he lacks perk-specific bonuses on shotguns, handguns, rifles, melee, SMGs, explosives and medic weapons; and his resistance matters little in a good team. Example: a level 25 Commando kills a 6-player HoE Scrake in 23 AK12 shots with Hollow Point Rounds, off-perk needs 36 and a Survivalist 32. The author admits a skilled Survivalist can work, but calls it a waste of a slot.
Meta loadouts
Skill choices are written as the left (L) or right (R) option at each of levels 5, 10, 15, 20 and 25.
| Perk | Build and loadout | Notes |
|---|---|---|
| Commando | RRLLR: AK12 + HMTech-401 + HMTech-101 or Deagle | AK12 has the highest AR DPS; the HM401 has the highest stumble power (25 vs 18 for SCAR) and can flinch a Scrake. |
| Field Medic | LLLLL or RLLLL: HM401 + HM301 + HM101 | Full healing; alternatives add a Katana, Pulverizer or Freezethrower. |
| SWAT | RRLRR or RRRRR: Kriss + P90 or UMP + MP5 or MP7 | Three SMGs for staying power. |
| Demolitionist | LLLLL: RPG-7 + C4 + .500 Magnum | A .500 headshot plus an RPG headshot decapitates a Scrake. |
| Sharpshooter | LLLLL or LLLRL: Railgun + .500 Magnum or SPX | One headshot kills Scrakes, two Fleshpounds. EBR + SPX builds suit solo lanes. |
| Gunslinger | RLRLR or RLRLL: Dual .500 + Dual Deagles + M1911 + HM101 | Or Dual .500 + Deagle + SPX. |
| Support | RRRLR or RRRRR: AA-12 + DBS + Katana + Deagle or .500 + HM101 | Switch to RRRRR once Fleshpounds start spawning. |
| Berserker | LLRLR: Bone Crusher + anything | Full tank with a Medic; without a Medic, Katana + Deagle + Eviscerator or Railgun. |
| Firebug | LRLLR: Microwave Gun + Caulk n Burn | Microwave for enraged large zeds, Caulk for small ones. |
A "hard carry" section lists last-man-standing picks: Berserker RLRLL with Eviscerator, Deagle and Katana, or a Medic LLLRL with the HM401, DBS and Katana.
Teamplay and composition
General rules: ballistic perks dislike Berserkers, Firebugs and spammy Demolitionists; do not take more than 2 trash specialists; avoid a perk heavily outranged by others. Example compositions from the guide:
- Zerkwalling: 1 tank Berserker, 1 Medic, 1 Demo, 1 Support, 2 fillers.
- Coordinated and skilled DPS team: Commando, RLRLR Gunslinger, level 25 EBR Sharpshooter, RRRRR Support, RRLRR SWAT, 1 filler.
- Camp and bait: five camp in an enclosed space while one roams.
- Open space, defined lanes, kiting: each with a Medic, a high-value-target specialist and a mix of trash and DPS perks.
Camping
Principles: fewer entrances for large zeds is better (six people watch one entrance, two watch three), flat ground makes aiming easier, always have a retreat path and know when to run, change perk to fit the spot, and appoint a caller for large zed priorities.
Noob traps (holdable by a good team but poor spots): the Outpost courtyard with the trader pod, the central hanging-bodies room in Infernal Realm, the Volter Manor courtyard, the Hostile Grounds overturned truck, the Evacuation Point escalator room, the Black Forest water sluice, the large central Catacombs room and the Farmhouse cars.
Viable HoE spots include: the blenders room in Biotics Lab; the trucks at Outpost; the courtyard in front of the Eiffel Tower or the bridge over the fountain in Burning Paris; the horseshoe walkway by the hedge maze in Volter Manor; the small staircase in Catacombs; the cruise ship back area in Evacuation Point; the second floor balcony or the barn in Farmhouse; the raised rock by the train in Black Forest; the guard tower in Prison; the turbine room in Containment Station; the T intersection in Hostile Grounds; the corridor right of the clock in Infernal Realm; the beach or the river corridor in Zed Landing; the truck lot or front entrance in Nuked; and the rollercoaster or swing ride in Tragic Kingdom.
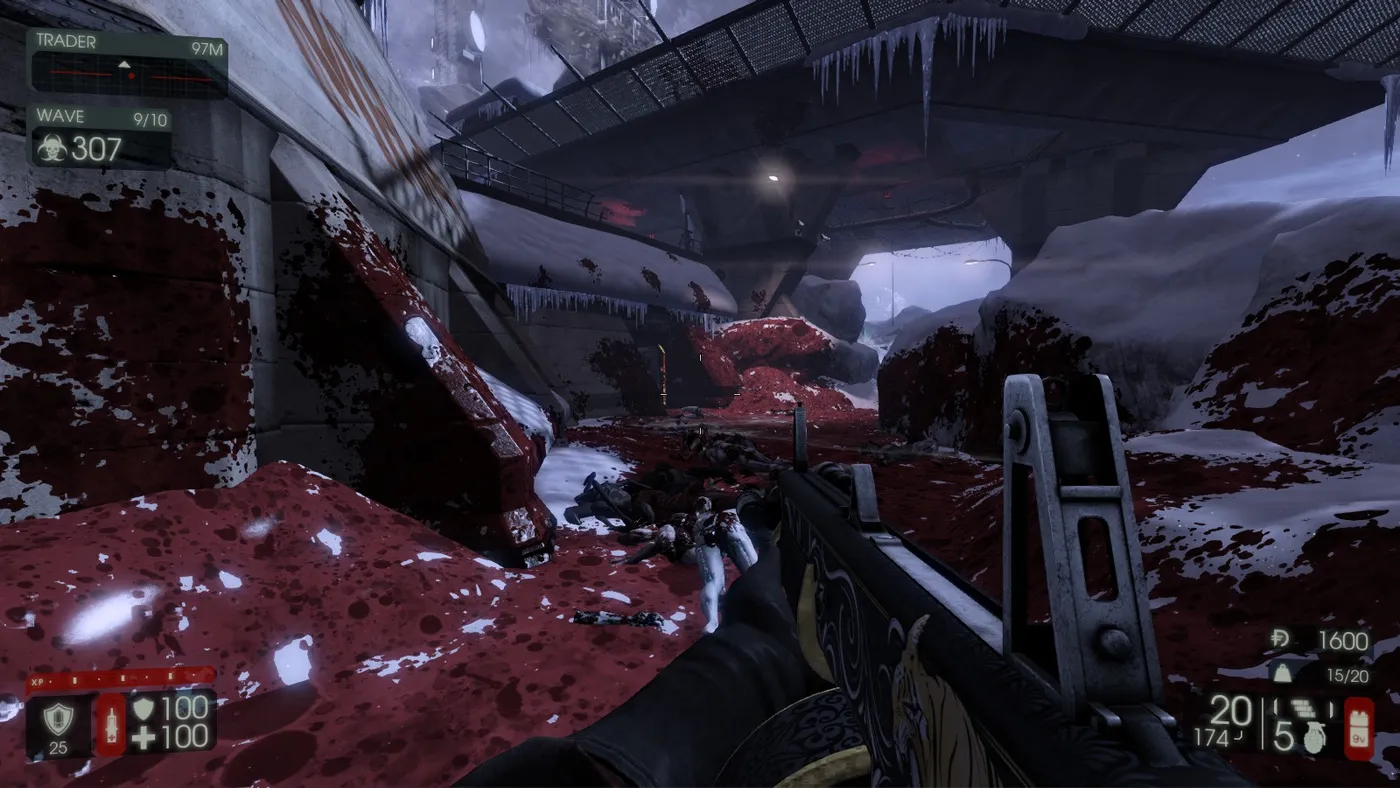 Camping position example.
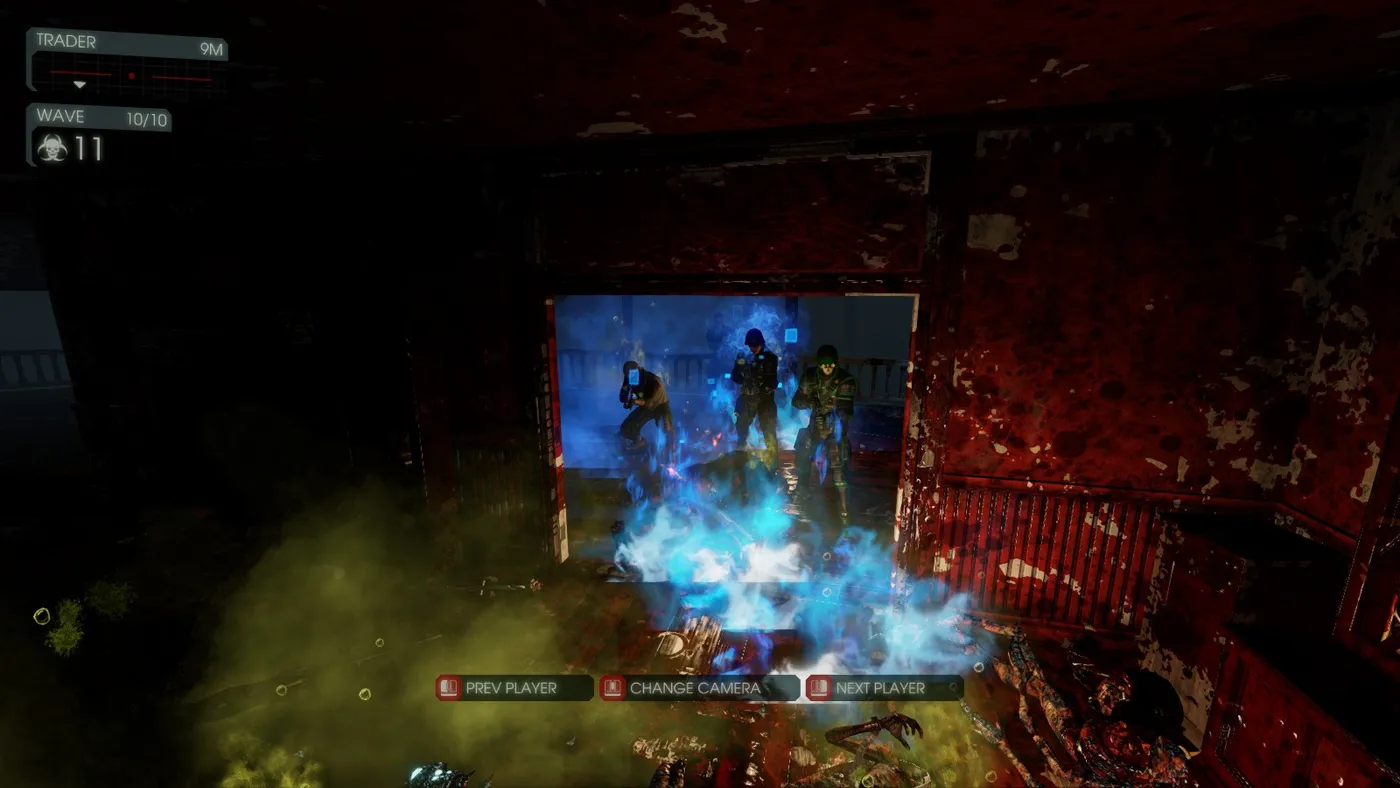 Camping position example on an outdoor map.
For Holdout (The Descent) treat the match as zerkwalling: 1 Medic and 1 Support in the back, 2 Demolitionists to drop the hammer on large zeds, 1 Berserker as bait and tank, and 1 Firebug on trash.
Kiting
Do not stop moving; do not loiter in front of narrow choke points, where a Scrake can spawn and box you in; kite as a group; kite indoors as little as possible; and do large zed takedowns with several players. An organized kiting team has a vanguard (Support with AA12, Commando, SWAT), a middle (Medic, Railgun Sharpshooter, Demolitionist), a rearguard (Berserker, Firebug, Support with DBS) and flex DPS perks with movement bonuses (Gunslinger, EBR Sharpshooter, Skirmisher Berserker).
Boss wave
Biggest causes of losing: no Medic with Coagulant Booster and the medic rifle, no tank to manage aggro, a bad fighting area, being out of position, too many low-DPS or precision perks, ignoring trash during the boss round, not parrying and leaving a teammate to fight alone. Pick a composition that can handle any boss. Mandatory: the Medic; top tier: a tank Berserker (Dreadnaught preferred), Demolitionists with RPGs and C4, and a Railgun Sharpshooter; good: one Support and a Firebug; mediocre: Commando and Gunslinger; Survivalist is not recommended.
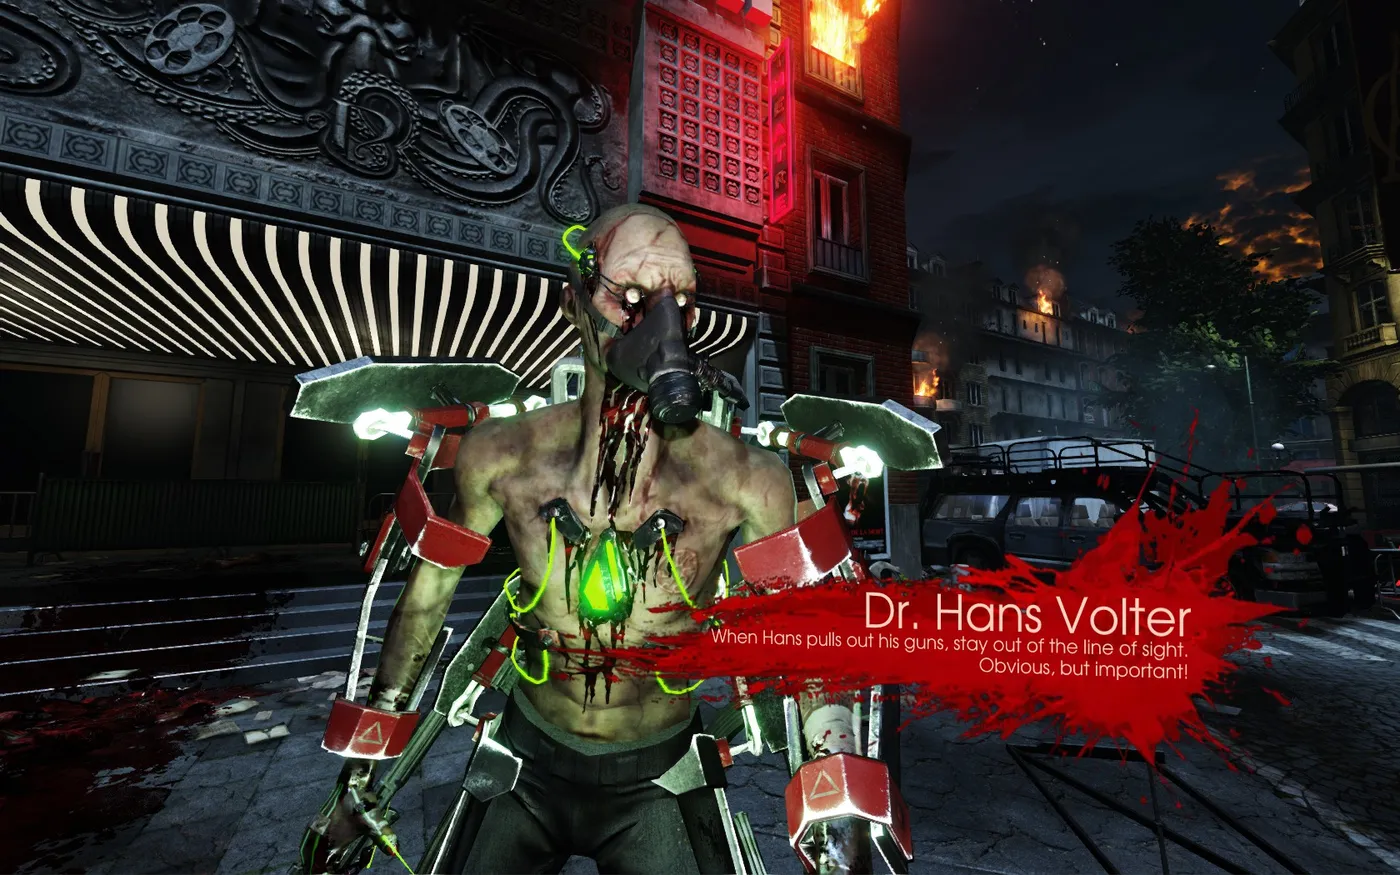 Hans Volter.
- Hans: he is fast and twitchy and does most of his damage in melee, so explosives (which hit him for 120 percent) work better than bullets. Assume every grenade is explosive until confirmed otherwise (95 damage with a blast radius of 800). The Berserker tanks with a tier 4 weapon while the Medic heals; with Parry and Coagulant buffs a Bone Crusher block takes 10 or less per strong strike. Break his shields (the first two matter most), keep a DBS handy to push away from melee, heal anyone he grabs, and kill trash first. On 6-player HoE his maximum health after healing is 14273 HP, and one level 25 Demolitionist C4 with Bombardier does about 1230.
- Patriarch: a large, slow target with a huge weak zone on the right arm, ranged attacks that can kill in one hit (the chaingun does 133 damage per second, a missile 200), and a cloak. Stay within one second of cover, pick wide open spaces with cover to circle, or run to his chest so projectiles spawn behind you. C4 attached to him reveals him when cloaked.
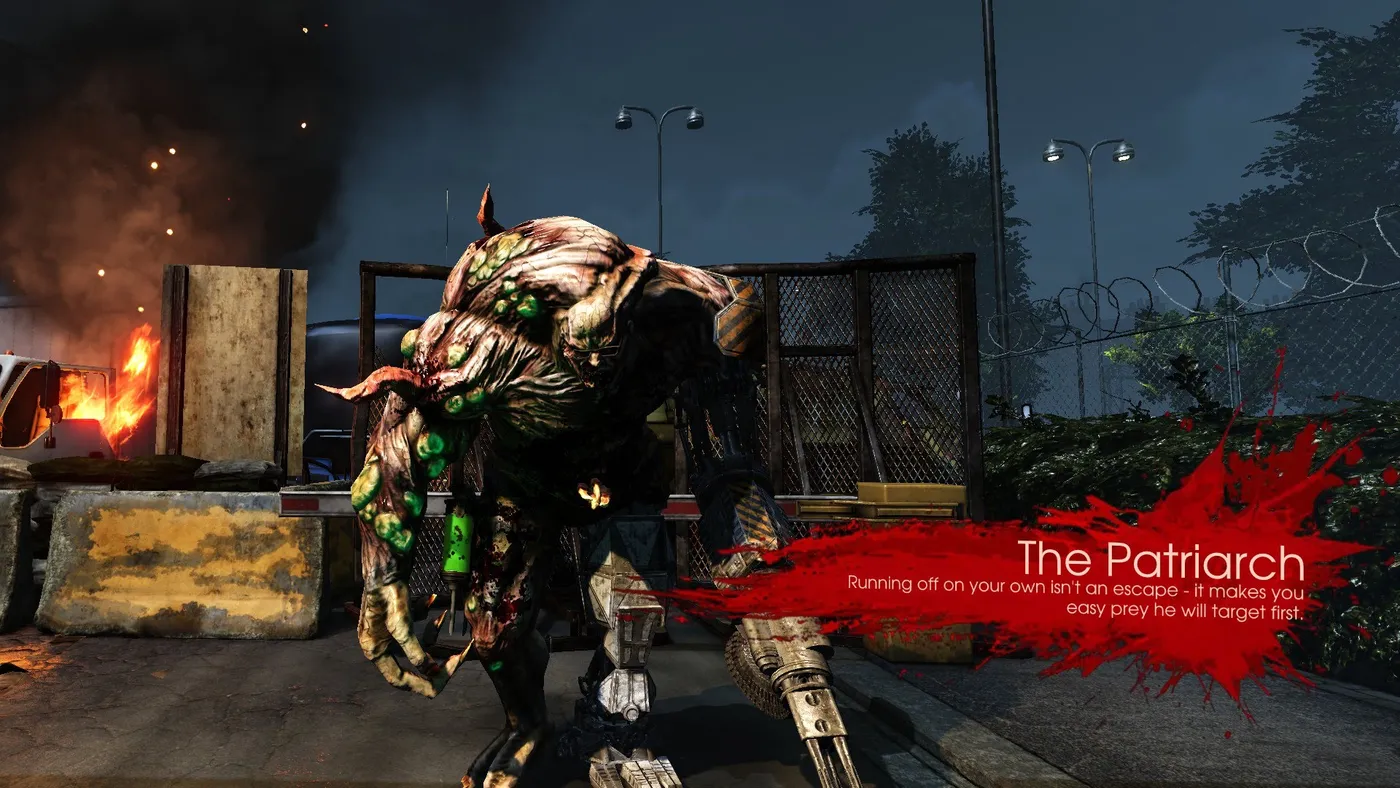 The Patriarch.
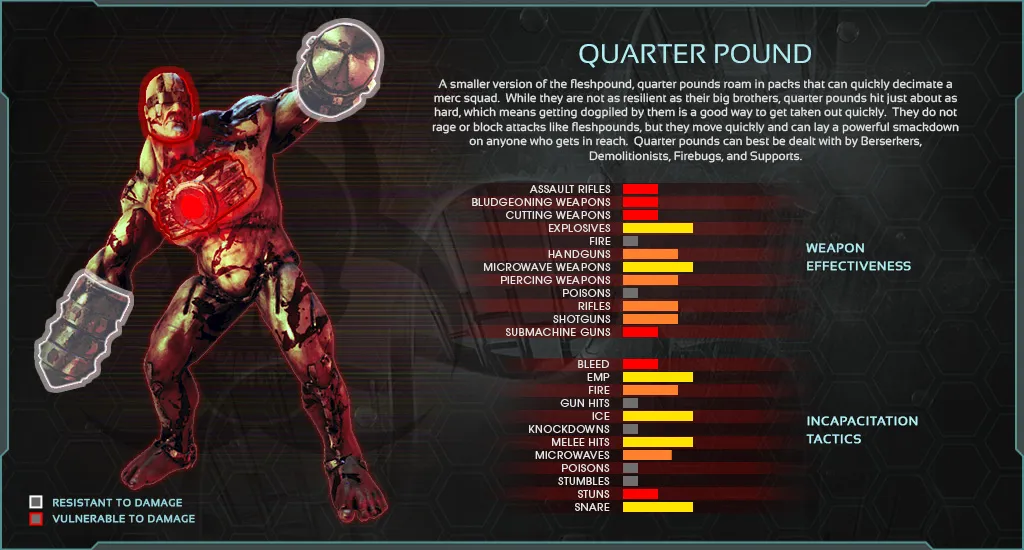 Quarter Pound weakness and resistance chart.
For a gentler introduction see the beginner Suicidal and HoE guide and the shots to kill reference.
FAQ
- Why do Hell on Earth teams usually wipe?
- The guide groups the causes into lack of knowledge (large zed techniques, camp spot choice), lack of mechanical ability (poor composition or low levels), lack of coordination (no plan, misunderstood perk roles) and pure incompetence (favorite over best, panic, tunnel vision).
- What roles must a team cover?
- A trash cleaner and a high value target (Scrake and Fleshpound) killer are mandatory. Knife fighters (tanks) and team support (Medic, Commando) are optional or map dependent.
- What is the biggest cause of losing the boss wave?
- No Medic with Coagulant Booster and the medic rifle, no tank perk to control the boss, a bad arena, and too many low-DPS or precision perks against Hans.
