
Cheap KF2 Server on a VPS: LinuxGSM, Web Admin and Hardening
This page paraphrases an English community guide (by a French author) on running your own Killing Floor 2 dedicated server on a cheap VPS using LinuxGSM. Other hosting guides: KF2 dedicated server with SteamCMD and systemd user service on Linux.
Step 1: choose a host and log in
Aim for the cheapest server that meets the requirements. Suggested providers include Serverspace, Vultr, Scaleway and OVH; switch the site language to see prices for your country. Serverspace and Scaleway let you stop the server when not in use so you do not pay for idle months. Choose a data center near you (check even the city, since a neighboring country can be closer than another city of your own) for lower latency.
Minimum configuration:
- 1 CPU core
- 1 GB RAM
- 25 GB disk, SSD ideally (a 20 GB disk is not enough to install KF2)
- IPv4 only, no IPv6
- Unlimited traffic (optional)
- Ubuntu Server 18.04
While you wait for the server, install PuTTY. When the server is ready you receive the IPv4 address and root credentials by email or in the control panel. In PuTTY enter the IPv4 address, port 22, connection type SSH, save a name, open it and accept the certificate. Log in as root with the provided password.
 The PuTTY main page with the server address and SSH port.
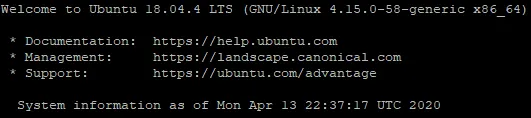 A successful root login.
Step 2: install the KF2 server
- Update the system:
apt-get update && apt-get upgrade -y. - Install SteamCMD from the multiverse repository (it is not in the default list on a 64-bit system):
add-apt-repository multiversedpkg --add-architecture i386apt updateapt install lib32gcc1 steamcmd(confirm with y and accept the license using arrow keys, space and enter).
- Install the needed packages:
apt install mailutils postfix curl wget file tar bzip2 gzip unzip bsdmainutils python util-linux ca-certificates binutils bc jq tmux libstdc++6 lib32stdc++6 netcat. - Create a normal user instead of using root:
adduser kf2server, set a strong password, thenusermod -aG sudo kf2serverandsu - kf2server. - Download LinuxGSM:
wget -O linuxgsm.sh https://linuxgsm.sh && chmod +x linuxgsm.sh && bash linuxgsm.sh kf2server. - Install:
./kf2server install. It takes roughly 15 to 20 minutes and about 20 GB; if packages are missing the installer asks for the user password to install them with sudo. - Start and stop once to create the config files:
./kf2server startand./kf2server stop.
Step 3: configure the server
Install nano if needed (sudo apt install nano) and go to serverfiles/KFGame/Config.
-
KFWeb.ini: in
[IpDrv.WebServer]setbEnabled=trueand optionally changeListenPort=8080to another port between 2000 and 9999 to enable the web admin panel.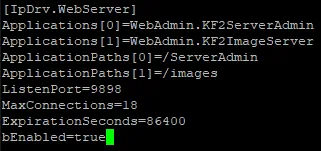 Enabling the web admin in KFWeb.ini.
-
LinuxServer-KFEngine.ini: search with Ctrl+W for
bUsedForTakeoverand set it toFALSEto disable the server lease (takeover) system, so that another player's search cannot take your server over.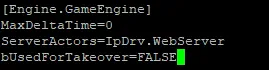 Turning off takeover.
-
LinuxServer-KFGame.ini: under
[Engine.AccessControl]setAdminPassword(web admin password) and optionallyGamePasswordto limit joins to friends. Difficulty can be set later in the web admin.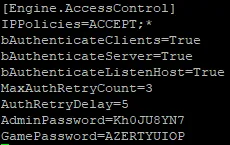 Setting passwords in KFGame.ini.
Save in nano with Ctrl+X, Y, Enter. Return to the root of your folder (cd .. repeatedly), then ./kf2server start and ./kf2server details. The status should say online. If "WebAdmin enabled" is false, repeat the KFWeb.ini and KFGame.ini edits in serverfiles/KFGame/Config/kf2server and run ./kf2server restart.
Open the link from details (http://<ipv4>:<port>) in a browser, log in with the user Admin and your admin password, and adjust the game settings.
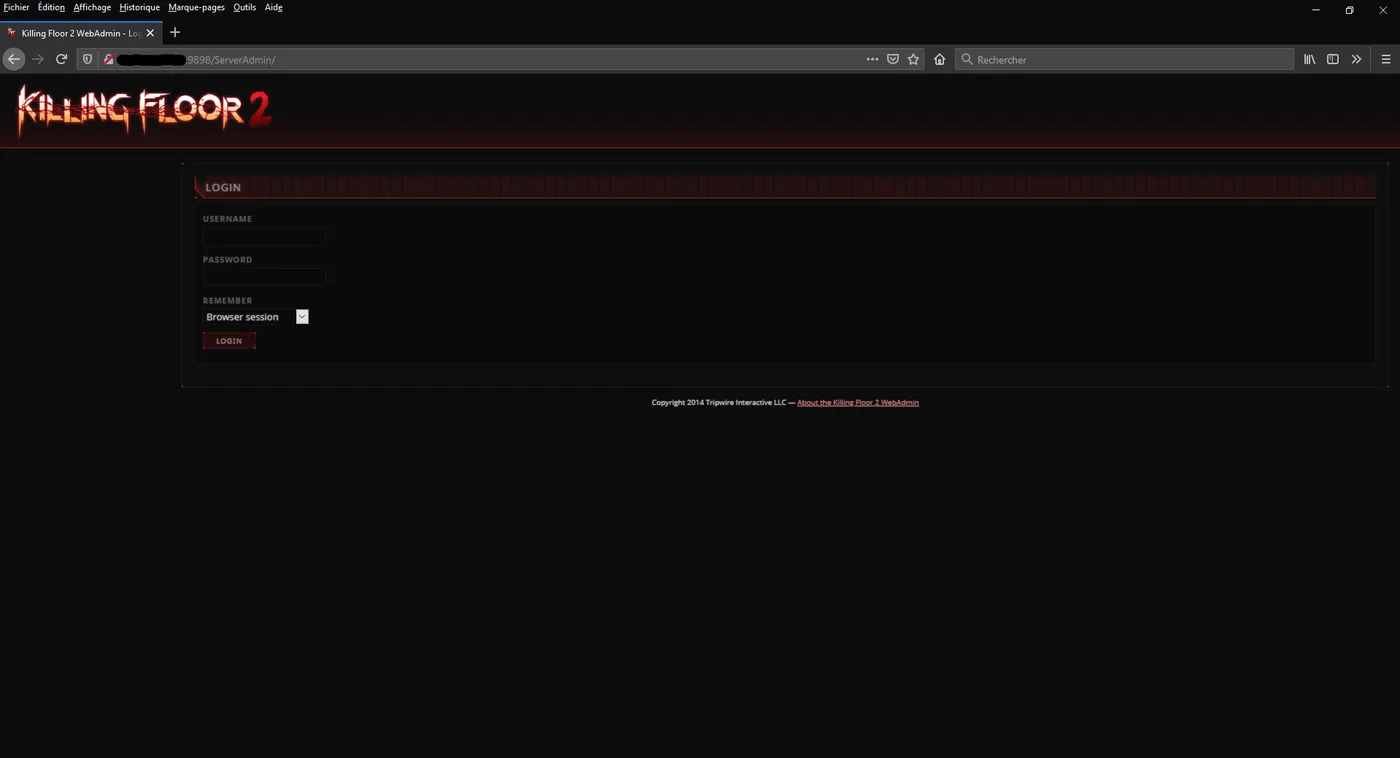 The web admin login page.
To join, start KF2, press F3 for the console and type open <ipv4server>. A game password, if set, is requested automatically.
Step 4: secure the VPS (optional)
-
Change the root password:
su - root, thenpasswd root. -
Change the SSH port and block root login: as root edit
nano /etc/ssh/sshd_config. Uncomment the Port line and set a port between 2000 and 9999; search for "Authentication", uncomment the three lines and setPermitRootLogin no. Save, then run/etc/init.d/ssh restart. Remember the new port: port 22 will stop working and root can no longer log in directly. Test by logging in again with the new port askf2server.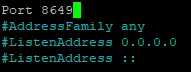 Set the SSH port in sshd_config.
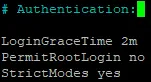 Disallow root login.
-
Firewall: as root,
apt install ufw, thenufw allow <your SSH port>first (a mistake here can lock you out), and the game ports:ufw allow 27015/udp,ufw allow 20560/udp,ufw allow 7777/udp,ufw allow 123/udpandufw allow <web admin port>/tcp. Remove a wrong rule withufw delete allow <port>/.... Then runufw disableandufw enableand confirm with Y; if you are not kicked out, it worked. Check withufw statusand remove the default "OpenSSH" rule for port 22.
Exit root and test the game server and web admin.
Basic LinuxGSM usage
Run ./kf2server to list all commands. The common ones:
start,stop,restart, andconsole(view the live console; exit with Ctrl+B then D, since Ctrl+C terminates the server).update(checks and applies updates, restarts only if needed),force-update(skip the check) andvalidate.details(passwords, ports, config files),debug(output to terminal) and logs in/home/kf2server/logs.backupcreates a tar.bz2 archive of the server;monitorchecks the process and can restart it and send alerts, scheduled with cron.
Settings of LinuxGSM itself are described in its documentation (config files page).
FAQ
- What VPS specs does a KF2 server need?
- The guide's minimum is 1 CPU core, 1 GB RAM, 25 GB of SSD space (20 GB is not enough to install the server), IPv4 only and Ubuntu Server 18.04.
- Which firewall ports are needed?
- 27015/udp, 20560/udp, 7777/udp, 123/udp and the TCP port of the web admin (8080 by default), plus your custom SSH port.
- How do I connect to the server in game?
- Open the console menu with F3 in the game and type open followed by the server's IPv4 address.
