
KF2 Dedicated Server Setup Part 1 (Korean Guide): Ports, Config, Maps
This page paraphrases the first part of a Korean community guide to running a Killing Floor 2 dedicated server. The author wrote it late, when the player base had already shrunk, and a second part about mutators and custom servers follows separately. For other versions see the Korean server setup page, the Japanese guide and the Workshop setup page.
Introduction
Killing Floor 2 does not provide official servers or listen servers where the room owner hosts. Many newcomers are caught off guard by this. To play with others you must install a dedicated server that runs separately from the game client. In Korea there are two common ways:
- A. A Discord auto server opener that rents a server for a limited time. It is convenient, but it only supports official maps and modes, not custom maps or mods, so it suits a quick game with friends.
- B. Install the dedicated server on your own machine, the main method. If you run the server and the game on the same PC, make sure your hardware can handle both. Plan for at least 40 GB of disk space, up to 70 to 80 GB with custom maps and mods.
1. Installing the server
The traditional way is SteamCMD, but there is a PowerShell-based auto installer made by a community member that sets up the basics. After installing, you may find that the server does not show up in the server browser. Work through these steps:
- A. It does not appear even on LAN. The server itself is the problem. Check that it is really running, because some people finish the install and never start the launcher bat. If it runs but still does not appear on LAN, reinstall.
- B. Visible on LAN but not in the browser (others cannot join). This is a port forwarding issue, common with ISP-supplied routers whose firewalls block traffic. Run
portmapper-2.2.1.jarfrom thecmdfolder of the server and follow a port forwarding tutorial. Add these ports (protocol, external, internal):
| Protocol | External | Internal |
|---|---|---|
| TCP | 8080 | 8080 |
| UDP | 20560 | 20560 |
| UDP | 7777 | 7777 |
| UDP | 27015 | 27015 |
- C. Still failing. Windows Firewall or antivirus may be to blame. Remove the antivirus or allow the launcher. In Control Panel go to System and Security, Windows Defender Firewall, "Allow an app or feature", Change settings, Allow another app, and add
KFServer.exefrom the server folder underBinaries\Win64. If it is already listed, find it and enable it for Private. - D-1. Configure the router directly in its web page. Run
ipconfig /allin the command prompt, open the IPv4 address in your browser and log in with the credentials on the router label. The layout differs per ISP. - D-2. If you have a main router with a second router behind it, forward on the upstream router first, pointing to the downstream router, and then on the downstream one.
- E-1. If nothing works, give up.
- E-2. If you absolutely must, enable DMZ in the router's network settings with your PC's IP. This almost certainly makes the server reachable, but it opens all ports and is a security risk, so it is not recommended.
2. The launcher bat
After installation you will see the launcher bat file. Right-click, Edit.
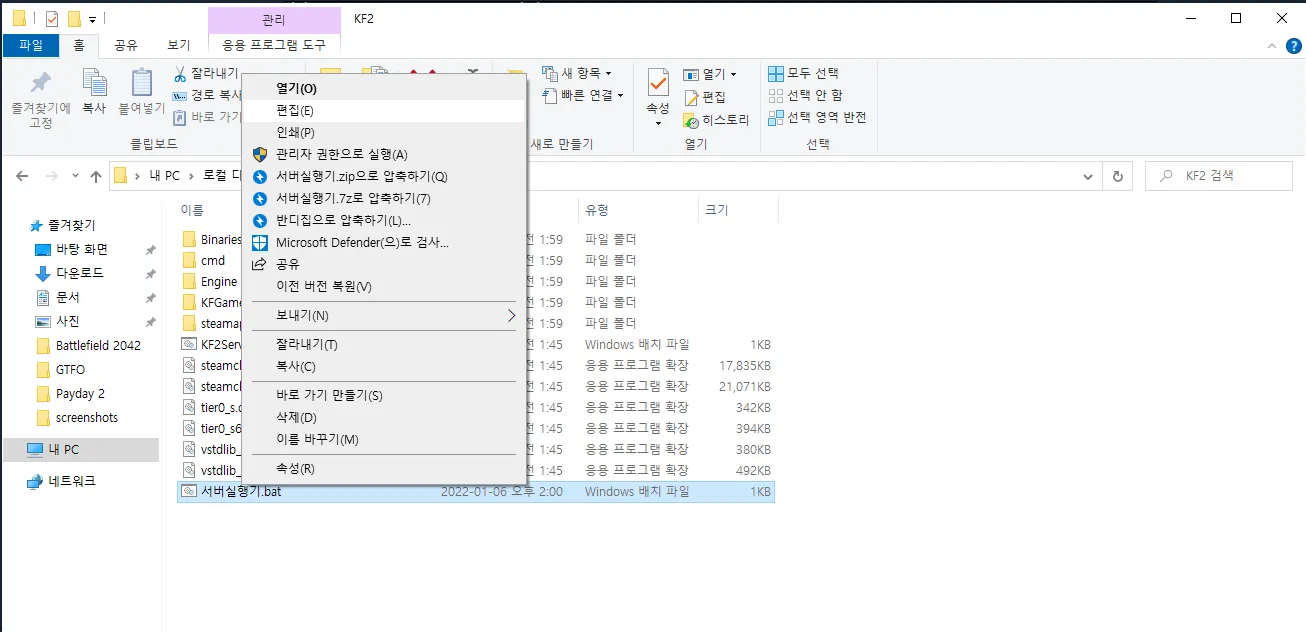
The highlighted parts of the launcher file.
In the author's screenshot the colors mean:
- yellow: the default map the server starts on;
- red: the web admin password;
- green: the game mode (objective, endless or custom mode; not needed for Survival only);
- blue: difficulty (0 Normal, 1 Hard, 2 Suicidal, 3 Hell on Earth);
- purple: the server ports.
Other useful options: mutator= adds game modes and mutators, configsubdir= is used for multiple servers, and gamelength= sets wave length (0 is 4 waves, 1 is 7, 2 is 10). Separate commands with ?, and note that the port options and configsubdir go at the very end, each prefixed with -. Positions are otherwise free, and the name after configsubdir= is anything you like.
3. Multiple servers
Only needed if you run more than one server. Copy the launcher bat into the server folder and rename it (for example Guide01 and Guide02).
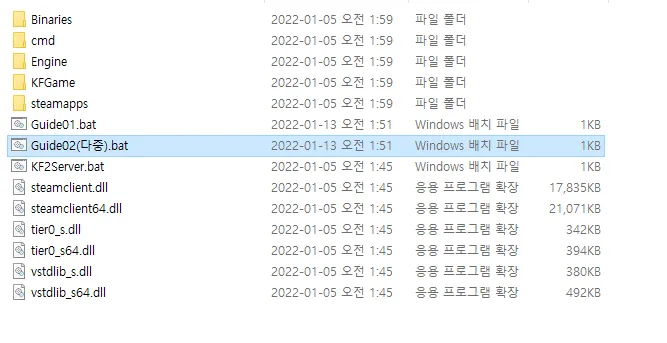
The renamed launcher copies.
Edit the copy and change the ports: keep -port at least 5 apart and -Queryport at least 50 apart.
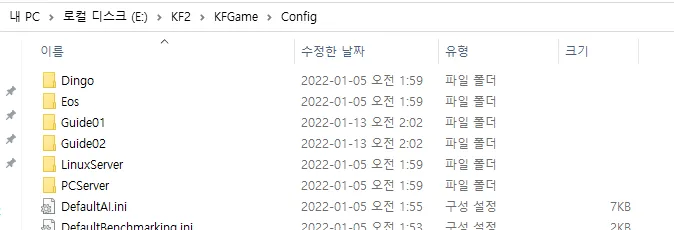
Ports changed in the copy.
configsubdir matters because without it two servers mix their config files together; with it, each gets its own folder. Then open the new server's PCServer-KFEngine.ini and change Port=7777 to your -port value, and PeerPort=7778 to that value plus 1. Finally forward the new ports.
4. PCServer-KFGame.ini
Found in the server's config folder. Main in-game settings:
- GameDifficulty (0 Normal, 1 Hard, 2 Suicidal, 3 Hell on Earth)
- MaxSpectators, GamePassword, ServerName
- KickVotePercentage: share of yes votes needed to kick
- GameLength (0 is 4 waves, 1 is 7, 2 is 10)
- GameStartDelay: delay after everyone is ready; VoteTime
- FriendlyFireScale: percentage, 1.0 is 100%
- bDisableTeamCollision: True means no body blocking
- BannerLink: 512x256 RGB PNG direct link; ServerMOTD (centered message); ClanMotto (subtitle under the banner); WebsiteLink (bottom link)
- GameMapCycles: easier to edit from the web admin
If the server name or MOTD uses Korean, change the file encoding to UTF-16 LE so the text is not garbled.
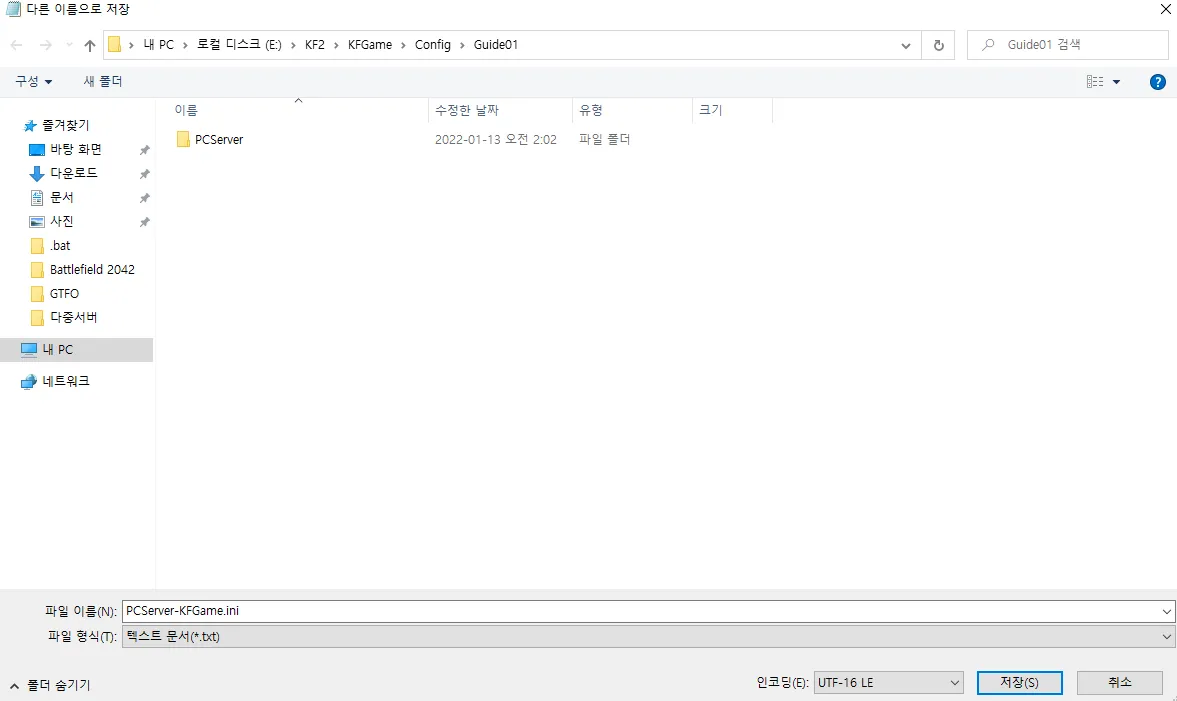
The in-game settings in PCServer-KFGame.ini.
5. Adding custom maps
Only for those who use Workshop maps. In KFGame\Config\PCServer-KFEngine.ini, search for the DownloadManagers list and add DownloadManagers=OnlineSubsystemSteamworks.SteamWorkshopDownload as the topmost line. At the very bottom add [OnlineSubsystemSteamworks.KFWorkshopSteamworks] and below it ServerSubscribedWorkshopItems=. Find the map on the Workshop, copy the number after ?id= and paste it. Add # and a note to remember which map it is.
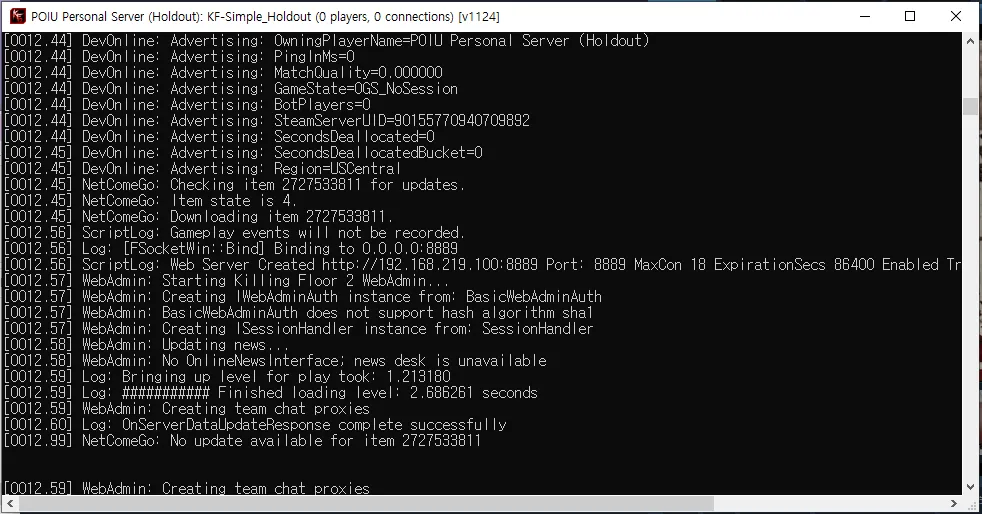
A Workshop ID with a note after the hash.
Start the server once and it will load the Workshop maps. They still will not appear in the map vote unless they are in the map cycle. Open the web admin at your-ip:8080 (the port you chose) with user admin and your admin password, go to MapCycles, drag your map across and save. To remove one, hover over it in the right pane and click the prohibition sign.
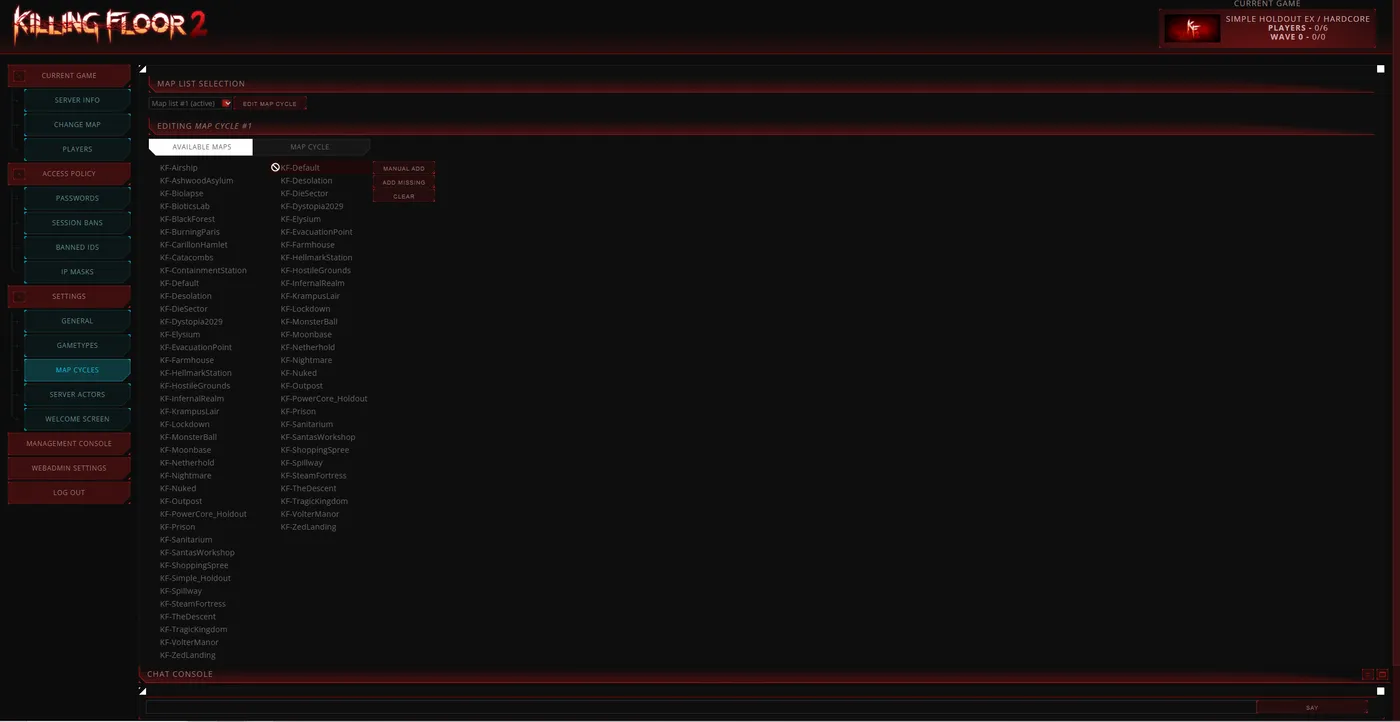
Dragging a custom map into the cycle.
If only official maps show up in MapCycles, open PCServer-KFGame.ini, copy an official map block and paste it below it, then set:
- bPlayableInSurvival
- bPlayableInWeekly
- bPlayableInVsSurvival
- bPlayableInEndless
- bPlayableInObjective
Set True only for the modes you want and delete the rest. The map will then appear in the web admin.
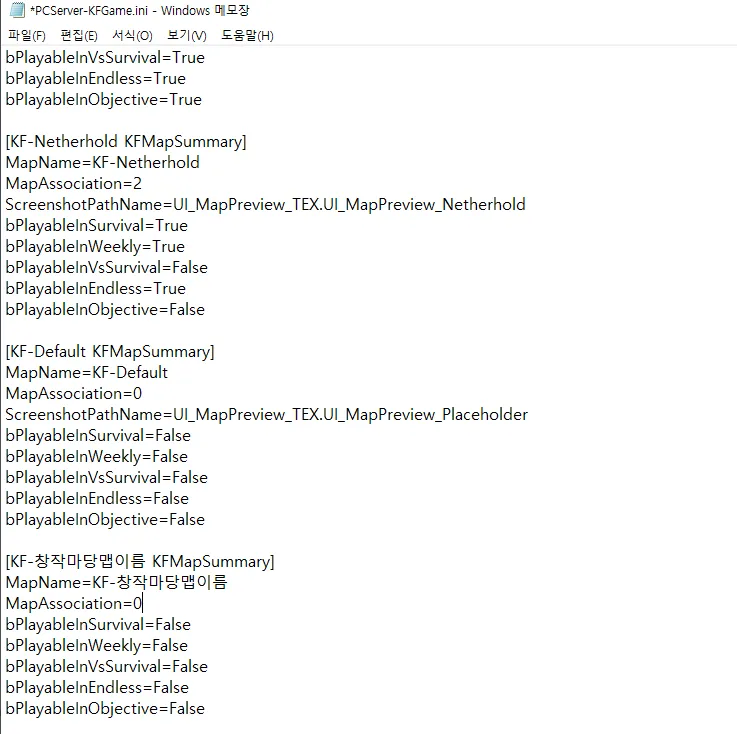
A copied map entry with the playable flags.
Wrapping up
With this setup you can run a server with custom maps. For mutators and custom server tweaks the author points to part 2.
FAQ
- Why does KF2 need a dedicated server?
- The game has no listen servers and the developer does not host servers for you, so you must run a dedicated server yourself or rent one.
- Which ports must be forwarded?
- TCP 8080 for the web admin, and UDP 20560, 7777 and 27015.
- How much disk space does a server need?
- At least 40 GB, growing to 70 to 80 GB as custom maps and mods are added.
