
KF2 SDK: Custom Textures with a MaterialInstanceConstant
Early in the Killing Floor 2 SDK era there was no official way to add custom textures to a map. This guide shows a workaround that works: use a MaterialInstanceConstant (MIC) that inherits from a material already shipped with the game and swap its textures for your own. It is not a mapping tutorial, so it assumes you can already build simple geometry (the example uses CSG, but modular maps work the same).
Initial setup
Start with a simple hollow 512x512x512 cube so you have surfaces to texture.
Prepare textures
You need the textures you want to use in .tga format: diffuse, plus separate normal and specular maps if you have them. The author used textures taken from a Doom-style map, stylised with normal maps and some specular. Any image editor works (the author uses Photoshop CS6). Do not put data in the alpha channel unless the texture is transparent.
 Example textures prepared as TGA files.
Import into the SDK
- Save your map into the Unpublished folder:
C:\Users\YOU\Documents\My Games\KillingFloor2\KFGame\Unpublished\BrewedPC\Maps(example name: KF-TextureTesting). - Open the Content Browser (View, Browser Windows, Content Browser). A package named after your map appears. If it looks empty, place a light and build lighting to generate shadowmap textures and confirm you have the right package.
- Right-click the empty area to the right of the package list and choose Import, then pick your textures. Importing into the map package is easier and works best.
- For normal maps, set compression to TC_NormalMap and LODGroup to TEXTUREGROUP_WorldNormalMap.
Create the MIC
Raw textures cannot be used directly. Normally you would make your own Material, but the game then fails to recognise it and shows the default checkerboard. Instead, right-click and choose New MaterialInstanceConstant, and give it a recognisable name (the author appends _MIC).
Open the MIC and look at its Parent parameter. Set it to a stock material, for example:
Material'Env_Mat_Lib.Metal.Env_Basic_Metal_PM'
The preview shows a shiny metal. Now your MIC inherits all properties from that material, and the game knows the material, so it does not need to load it from another package.
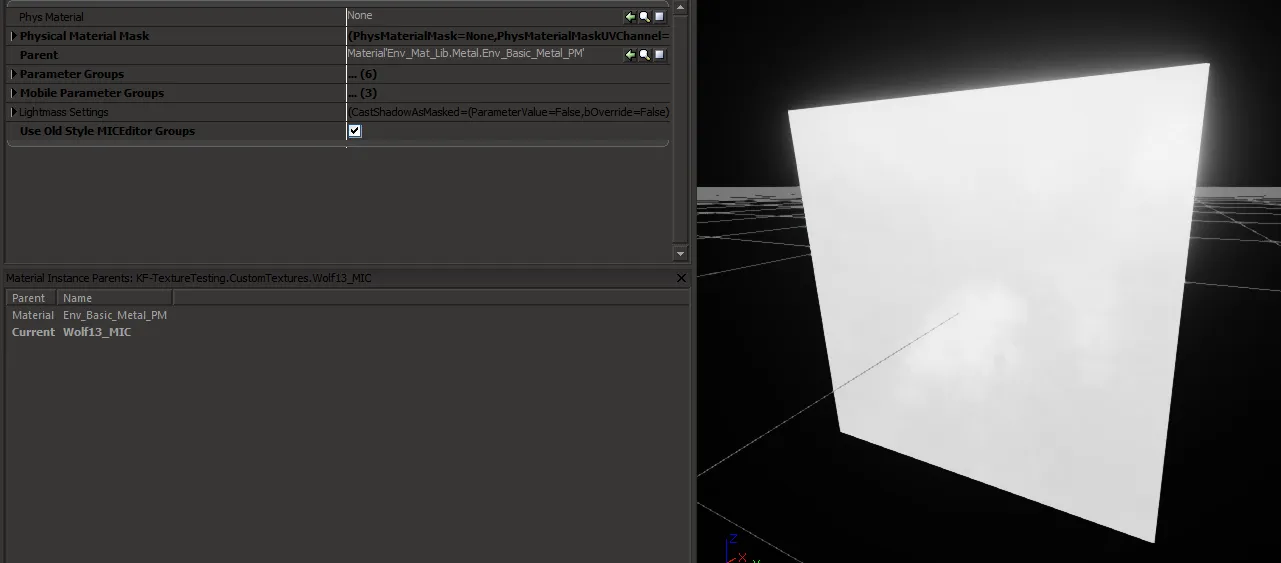 The MIC editor with a stock parent material.
Expand Parameter Groups, then Texture Parameter Values. The checkboxes are all unticked; ticking one makes the MIC override that parameter. Select your diffuse texture in the Content Browser (a yellow square appears), return to the MIC window and press the green arrow next to Tex2d_Diff. Remember to tick the checkbox, otherwise the preview does not change. Do the same for the normal map and specular map.
 Assigning the diffuse texture to Tex2d_Diff.
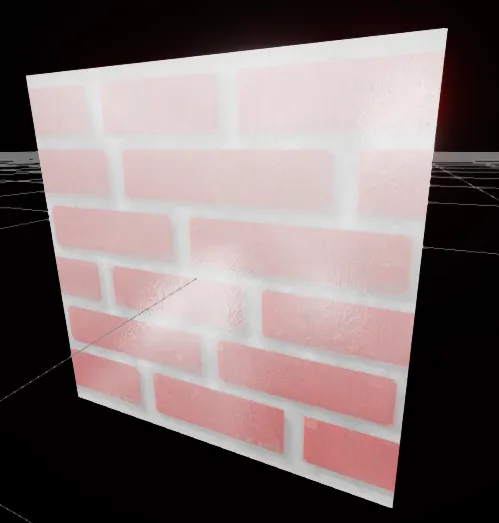 After ticking the checkbox the preview shows the new texture.
Tweak parameters
Bricks should not be as shiny as metal. Open the Specular group and lower Scalar_Specular_Intensity to about 0.2 (tick the box). The false reflection value can be set to 0. Better, properly baked maps give better results than the author's quick textures.
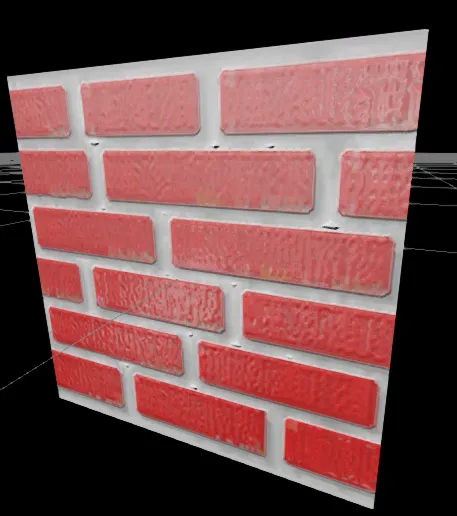 Reduced specular intensity makes the brick look matte.
Apply to the map
Drag the Content Browser thumbnail onto a surface, or select surfaces, right-click and choose Apply Material. Save with File, Save Current Level. Your textures and MIC are part of the map package, so the map loads them automatically.
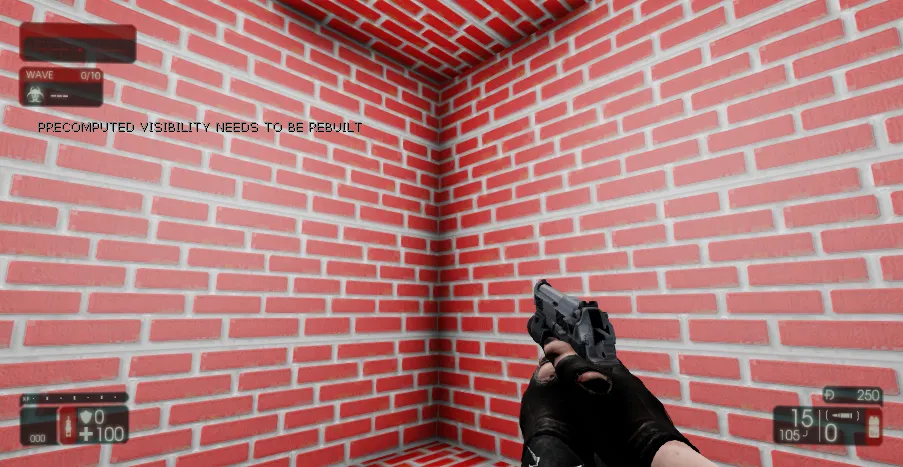 The finished brick texture in the test cube.
MICs can be used with as many textures as you like, and also for static meshes, including custom ones and reskins. For modular maps, use Static Mesh Actor, Static Mesh Component, Rendering, Materials to give a mesh a custom material.
Useful parent materials
If a texture looks bad, try a different parent:
Material'Env_Mat_Lib.Screen.Env_Screen_Basic_PM'- full-bright, good for screens and lights.Material'Env_Mat_Lib.Metal.Env_Basic_Metal_PM'- very shiny, good for metal or as a base to tweak.MaterialInstanceConstant'ENV_Paris_MAT.Building.Generic.Env_Paris_Gen_Bldg_02_Railing_LOD_MIC'- has alpha but is flat, good for transparent textures.
When importing transparent textures for an alpha MIC, tick the alpha checkbox in the import dialog.
FAQ
- Why does my own Material show a checkerboard?
- The game does not recognise custom Materials in a map package. Create a MaterialInstanceConstant whose Parent is a stock KF2 Material and override its texture parameters instead.
- What settings do normal maps need on import?
- Set compression to TC_NormalMap and LODGroup to TEXTUREGROUP_WorldNormalMap.
- Can the same method be used on static meshes?
- Yes. MICs can also reskin existing static meshes or give custom ones textures, via the Static Mesh Component Materials list.
