
KF2 Survivalist Perk Guide: Skills, Weapons and Stats
The Survivalist is the team's imitator: it has no specific role and does what the team needs. Its skills let it do a bit of everything, but this means it will never really be better than a specialist perk in any single role. Instead it offers a combination no other perk can match. This article rewrites a Brazilian Portuguese perk guide with its skills and weapon stats. Other write-ups of the same perk: Survivalist guide with skills, weapons and builds and Freezethrower stats.
XP bonuses
Bonus XP for killing Clots (like SWAT) and for killing ZEDs close to other players (like Berserker):
| Bonus | Normal | Hard | Suicidal | Hell on Earth |
|---|---|---|---|---|
| Clot kills | 2 | 3 | 4 | 7 |
| Kills near teammates | 6 | 8 | 10 | 14 |
Passive bonuses
- Weapon damage +0.6% per level (15% at level 25).
- Resistance to all damage +1% per level (25% at level 25).
- Armor +1% per level (armor takes no health damage while worn), 25% at level 25.
- Reload speed in ZED Time +3% per level (75% at level 25).
- Weapon switch speed +1.4% per level (35% at level 25).
Skills
Every 5 levels you pick one of two skills.
| Level | Option A | Option B |
|---|---|---|
| 5 | Tactical Reload: faster reload with Commando, Gunslinger and SWAT weapons | Heavy Weapons Training: faster reload with Demolitionist, Sharpshooter and Support weapons |
| 10 | Medic Training: +30% healing potency and 50% lower syringe and dart cooldown | Melee Expert: +20% melee attack speed, +75% damage and +25% movement speed with melee weapons |
| 15 | Ammo Vest: up to 15% more ammo; allows the healing grenade | Weapon Harness: +5 weight capacity; allows the Molotov |
| 20 | Spontaneous Zed-plosion: 30% chance that killed ZEDs explode, damaging and knocking down nearby ZEDs | Make Things Go Boom: +40% explosive resistance and +50% explosion area |
| 25 | Madman: all weapons fire 3 times faster in ZED Time | Lockdown: all weapons can stun any ZED in ZED Time |
Advice on choices
- Level 5: Tactical Reload if you carry Commando, Gunslinger or SWAT weapons (multi-perk weapons count too). Heavy Weapons Training for Demolitionist, Sharpshooter and Support weapons.
- Level 10: Medic Training if you want to play like a medic or will not use Berserker weapons. Melee Expert if you will use a Berserker weapon.
- Level 15: Ammo Vest complements Medic Training, since it unlocks healing grenades; it also gives extra ammo. Weapon Harness suits heavy weapons and gives the Molotov for crowd control (do not throw it at a Scrake).
- Level 20: Spontaneous Zed-plosion only if you are not using explosives; otherwise Make Things Go Boom.
- Level 25: depends on you and your weapons. Madman eats ammo fast, so it works best with high-damage, medium-magazine weapons. Lockdown is best for getting rid of a large ZED hunting you.
Starting equipment
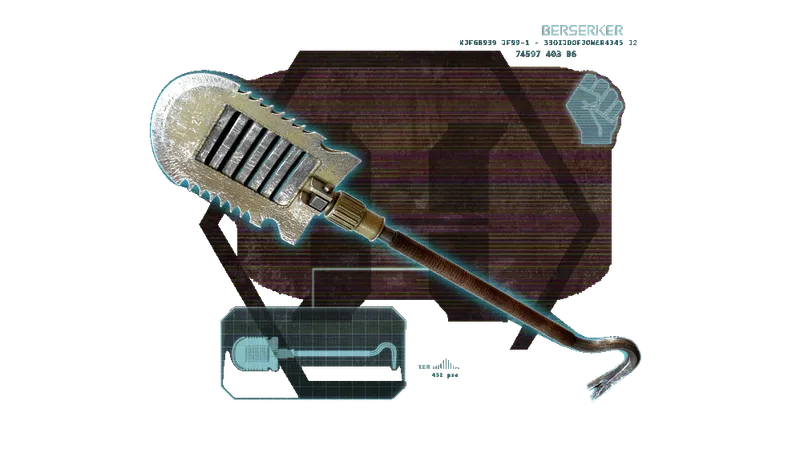 The starting weapon is random and can be any starting weapon of the other perks.
Goreshiv (the default knife): light attack 32, heavy attack 64, bash 15; block and parry reduce damage by 20%. Horizontal attacks do not deal more than 75% damage and less than 50% of base damage, depending on the player's angle. It blocks slashing damage and normal hits.
Grenade: the Survivalist can pick among several grenades, and at level 15 gets more options depending on the skill chosen. Knife and grenade are used up to level 15.
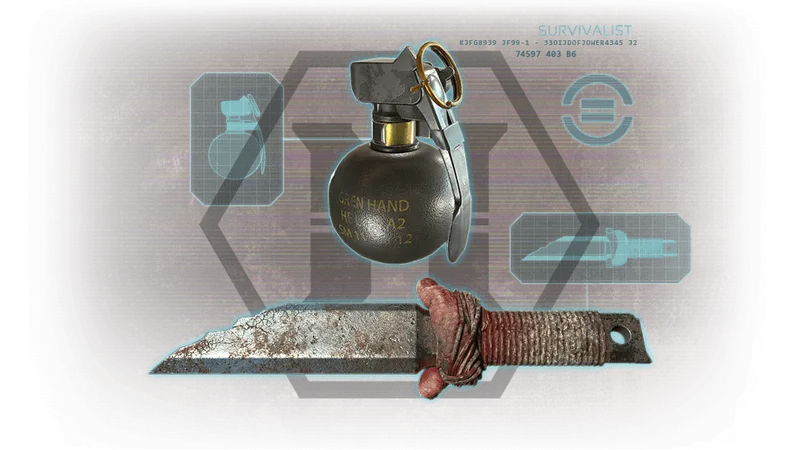 Knife and grenade.
9mm Pistol (the starting pistol of all classes), single/dual: weight 0/2, price 0/150, damage 25, bash 20/22, magazine 15/30, total ammo 75/60.
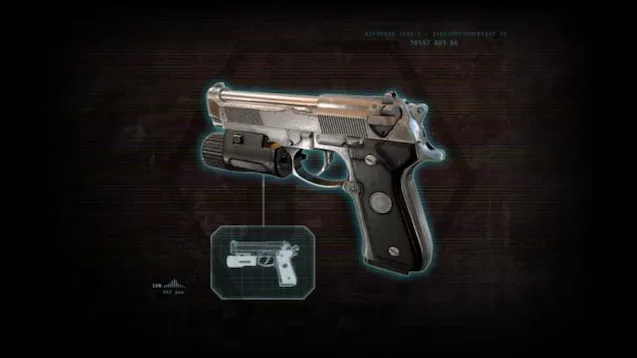 9mm pistol.
| Upgrade | Price | Base damage |
|---|---|---|
| 1 | 200 | x1.2 |
| 2 | 500 | x1.4 |
| 3 | 600 | x1.6 |
| 4 | 700 | x1.8 |
| 5 | 1500 | x2 |
Recoil depends on stance and movement; crouching and aiming gives the least. It receives all passive bonuses and skills. Headshots can decapitate Clots, Slashers, Cysts, Stalkers and Crawlers, but it is weak against everything else. In the hands of Gunslinger, SWAT or Commando, with the right skills, it becomes viable in later waves.
Tier 3 weapons
Freezethrower
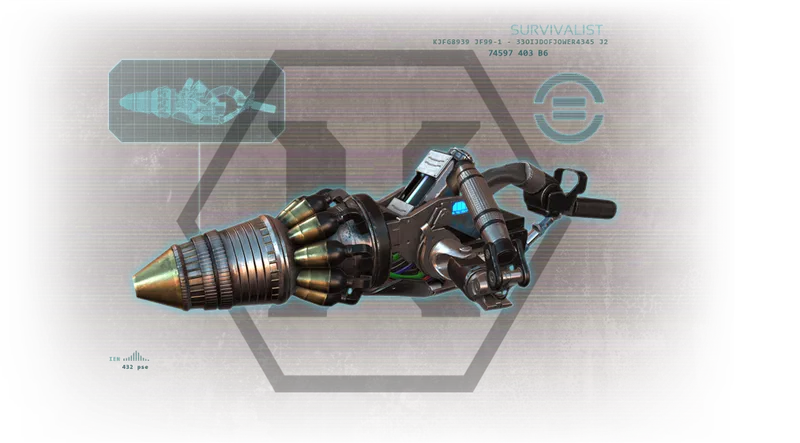 Freezethrower.
Weight 7, price 1100. Direct hit damage 10, ice beam length 11 m. Alt fire (shotgun mode): 35 per projectile, 8 projectiles, splash 5 with 1.2 m radius. Damage per ice on the ground 7, radius 1.8 m. Bash 28, magazine 100, total ammo 500.
| Upgrade | Price | Base damage (primary/alt) | Weight |
|---|---|---|---|
| 1 | 700 | x1.4 / x1.15 | +1 |
| 2 | 1500 | x1.8 / x1.3 | +2 |
Ammo pickup scale x0.75. The player takes no splash or ice damage. No damage over time. The beam lives briefly after firing and deals damage without consuming ammo, so tapping the trigger gives more damage per magazine than holding it.
Reducto Ray
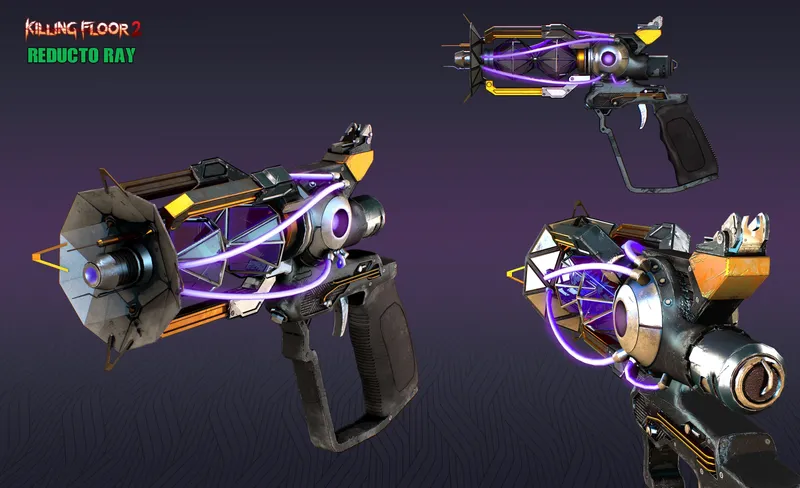 Reducto Ray.
Weight 5, price 1200, beam damage 3, bash 26, magazine 100, total ammo 600. Upgrade 1 (700): x1.35, +1 weight; upgrade 2 (1500): x1.7, +2 weight. The beam also persists after firing, so tapping is more efficient, and it reaches about 11 m. The smaller a ZED becomes, the more damage it takes.
HRG Locust
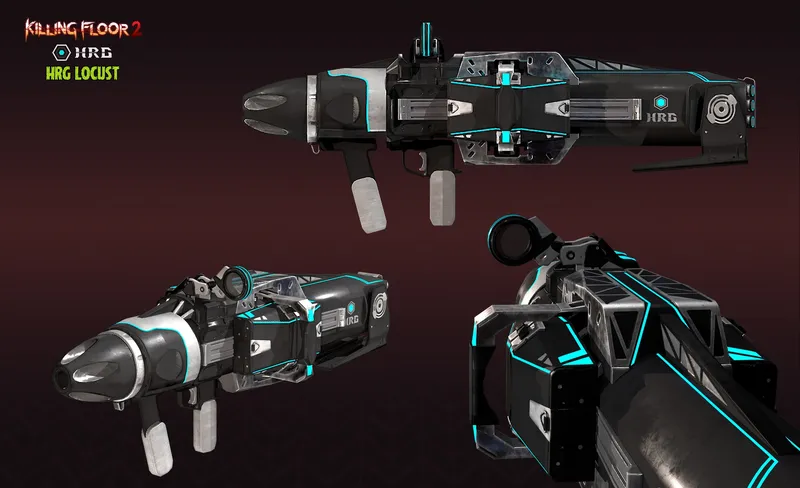 HRG Locust.
Weight 6, price 1100. Projectile impact 1, explosion 60, radius 2 m, explosion lasts 3 s, damage over time 30 for 3 s. Bash 29, magazine 6, total ammo 84. Upgrade 1 (700): x1.15, +1; upgrade 2 (1500): x1.3, +2. It can track 6 targets and does not hurt the player.
Tier 4 weapons
HRG Arc Generator
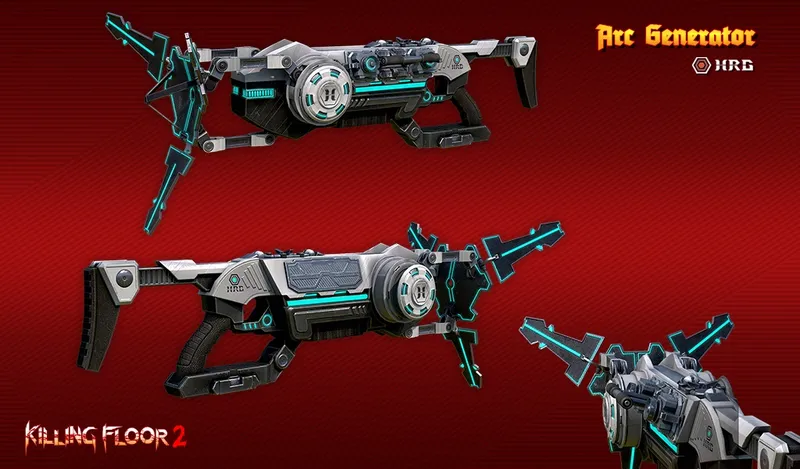 HRG Arc Generator.
Weight 9, price 1500. Damage 21 per direct hit; chain damage 7 over 4.75 m, up to 4 ZEDs. Bash 26, magazine 90, total ammo 450. Alt fire: 220 per impact, chain damage 25, up to 3 ZEDs, chain radius 2.5 m. Upgrade 1 (1500): x1.15, +1 weight. The beam has no damage over time or splash.
Tier 5 weapons
Killerwatt
Weight 8, price 2000, magazine 50, total ammo 300, bash 26. Primary attack: 50 ballistic damage. Secondary: 40 microwave damage, 0.25 s duration, 5.5 m length. The beam starts at 0 charges and gains 1 per second while the fire button is held, consuming 8 to 9 ammo per second; 25 ammo fully charges it. Each charge adds +5 damage and +0.75 s of firing duration. Fully charged it reaches about 10 to 10.5 m, pierces several ZEDs without damage loss and uses no ammo. The player moves 25% slower while firing the beam. No upgrades; it can obliterate ZEDs.
General strategy
The perk is a stopgap and jack of all trades, master of none: it fits the role the team needs. If the team struggles with large ZEDs, bring the RPG; if health is low, use medical weapons; remember that the right skill choice boosts your weapon's stats. All weapon and damage types benefit from the passive bonuses, so there are many combinations to try.
FAQ
- What is the Survivalist's role?
- None in particular. The Survivalist does whatever the team needs, but will never beat a specialist at any single role.
- Which weapons does the Survivalist start with?
- A random starting weapon from the other perks, plus a knife and a grenade, and the 9mm pistol that all classes share.
- Which level 25 skill is better, Madman or Lockdown?
- It depends on the weapon: Madman burns ammo quickly, so it suits high-damage weapons with medium magazines; Lockdown helps shake off a large ZED chasing you.
