
KF2 SWAT Guide for 10-Wave Games (Brazilian Portuguese)
This is a translation and paraphrase of a Brazilian Portuguese guide for 10-wave matches, marked outdated by its author, so numbers and skills have since changed. See also the in-depth SWAT guide for a later view.
Introduction
Bonuses (as listed)
- Perk weapon damage (1 percent per level)
- Bullet resistance (5 percent plus 1 percent per level)
- Magazine size (4 percent per level)
- Weapon switch speed
The SWAT is a hybrid of Commando, Berserker and Support: the same role as the Commando with tank abilities to take more damage, and a costly buy-in like Support. It needs careful economy. Key skills:
- Heavy Armor Training. The vest becomes a second health bar, Clots cannot grab you, and you start each match with 50 percent armor. Siren screams ignore armor and hit HP directly.
- Close Combat Training. Like the Commando's skill: the 9mm gains a damage bonus and you start with two. The pistol uses cheap ammo, so you can use pistols almost an entire wave and keep main weapons for emergencies when many ZEDs appear.
- Assault Armor. Combined with Heavy Armor Training, it raises the armor cap by more than 50 percent of the original maximum and gives another 50 percent at the start, so you start with 100 armor.
- Note: skills that grant points at the start of a match also apply if you die and respawn, so the next round you start again with 100 armor and two pistols.
- ZED Time - Battering Ram. The most interesting skill, on the last tier: the SWAT moves at normal speed in ZED time and can run into ANY ZED to knock it down like an American football player.
Priority targets
Cyst, Clot, Slasher; Crawler; Gorefast; Gorefiend; Stalker; Siren; Scrake.
One of the SWAT's biggest flaws is very low DPS (like the Commando), so targets are limited. It is great at short range, clearing an area quickly. The easiest big target is the Scrake: throw a flashbang to stun it for a while, then step up with the Kriss SMG and shoot it in the face before it can move.
Arsenal
The arsenal is focused entirely on submachine guns, fast and lethal at short range but tricky against distant targets.
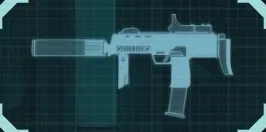 Starting SMG icon.
SMG (starting). Fast, quiet and with plenty of bullets.
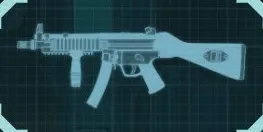 MP5 icon.
MP5. Slightly slower and with a horrible sight, but wins on higher damage and more bullets.
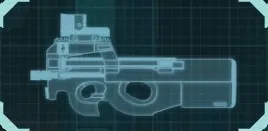 P90 icon.
P90. The most bullets of the SWAT's weapons, with great speed and damage.
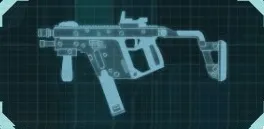 Kriss SMG icon.
Kriss SMG. The fastest of all, with considerable damage and less ammo than the P90. ZEDs around it vanish like water.
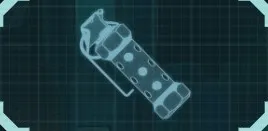 Flashbang icon.
Flashbang. Stuns enemies for a good while; the blast is strong enough to tear weaker ZEDs apart.
Loadout and economy
By the end of the match the SWAT should carry the top SMGs, with pistols for most of the game. Economy is tricky: with armor skills above 150 points, fully repairing costs over 450 dosh and higher-tier weapons are almost 400-500 dosh. Close Combat Training gives the pistols a damage bonus and starts you with two, which helps because pistol ammo is cheap and headshots keep shots low. Instead of refilling main weapon ammo constantly, buy by magazine. When you move from the starting SMG to the Kriss or P90, buy their ammo by magazine; with pistols you limit the main weapons to two situations: a Scrake showing up and many ZEDs around the team.
Skills
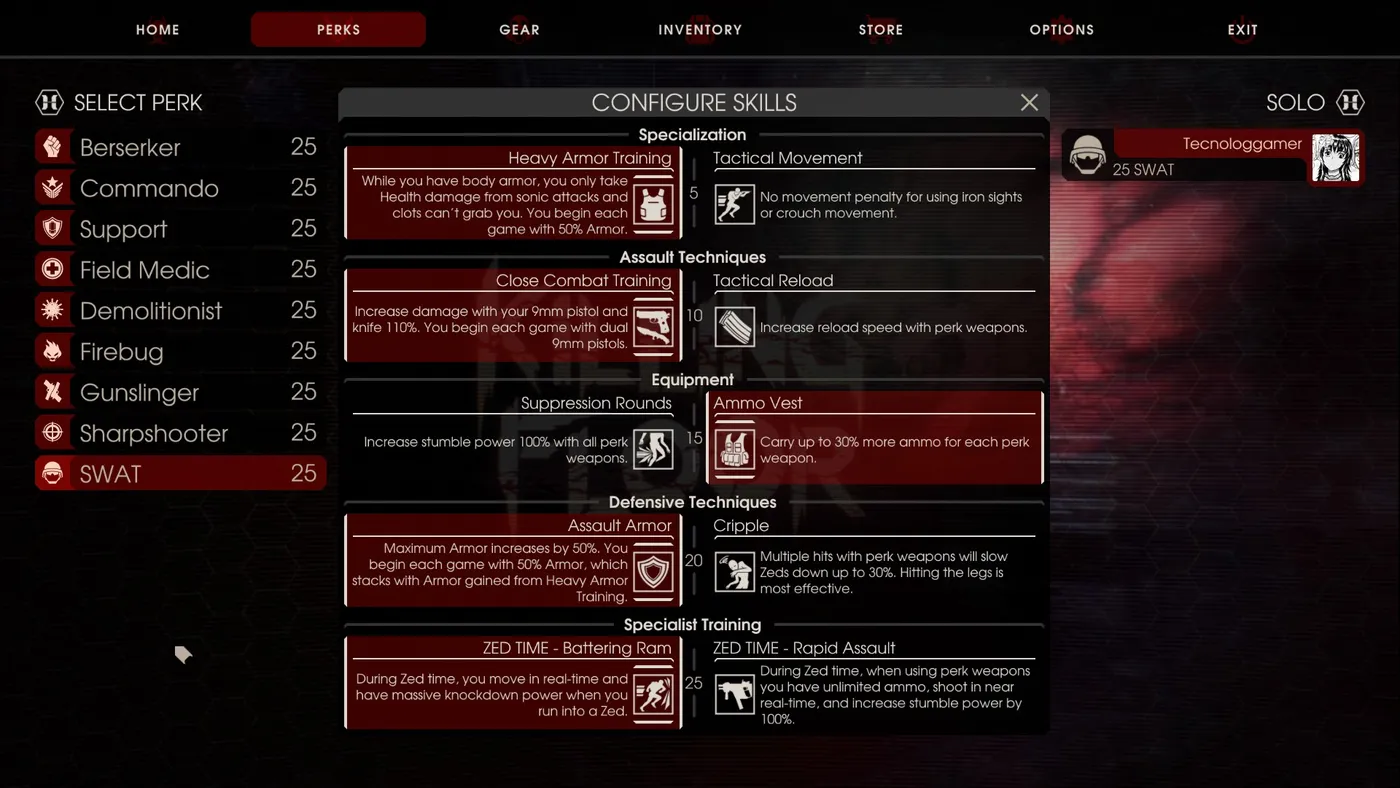 "Hibrido" build: for those who want two health bars; tiers 2, 3 and 5 can be changed.
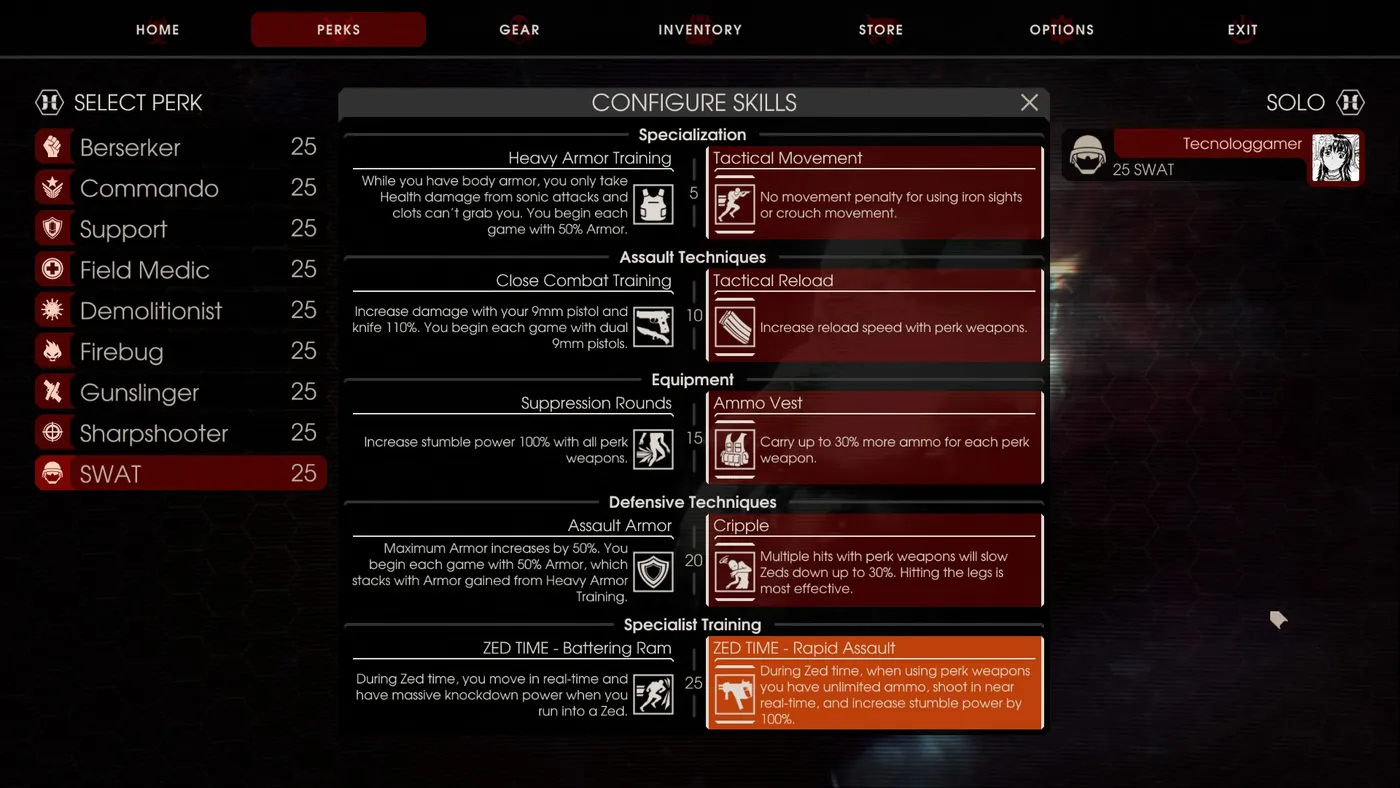 "Veloz e Furioso" build: for those who want lots of ammo and high speed.
FAQ
- What makes the SWAT's armor special?
- Heavy Armor Training turns the vest into a second health bar, prevents Clot grabs and starts each match with 50 percent armor; Assault Armor raises the cap by more than 50 percent and starts you with 100 armor.
- What is the SWAT's easiest big target?
- The Scrake: flashbang it to stun it, then walk up and empty a Kriss SMG into its face.
- Why is SWAT economy tricky?
- Full armor repair can cost over 450 dosh with the high armor skills, and top-tier weapons cost around 400-500, so buy ammo by magazine and rely on the pistols.
