
KF2 Support Guide: Weapons by Wave and Skills, Solo vs Co-op
This is a veteran-style rundown of the Support perk from the days when it still used the early skill tree: what the class is for, which shotgun to hold in each stage of a match, and how every skill plays in solo and in co-op. It reflects one player's experience up to level 25, so numbers and balance may have shifted since. For the current numbers see the Support perk page and Support level bonuses.
Match the difficulty to your level
Players dislike a low-level Support on Hell on Earth, so the author's rule of thumb is:
| Difficulty | Support level |
|---|---|
| Normal | 0 to 8 |
| Hard | 8 to 15 |
| Suicidal | 15 to 20 |
| Hell on Earth | 20 to 25 |
What playing Support involves

The Support perk icon.
Support is a short-range class built around shotguns. It clears big groups of small ZEDs with penetrating shots in tight spaces while its heavier guns hurt big ZEDs, and it can weld doors when needed. Its weak spot is reload speed, which the level 5 Tactical Reload skill partly fixes. When the situation is calm enough to choose targets, go for dangerous ZEDs first and leave weak ones last; the author's priority groups are high, medium and low, with the weakest ZEDs so harmless you might as well knife them.
Support arsenal
Machete and frag grenade. Use the machete to save ammo in the first wave, possibly the second on Normal or Hard. Keep frags for clusters, but kill Sirens first, because they scream at close range and you will rarely be far enough away to throw safely.
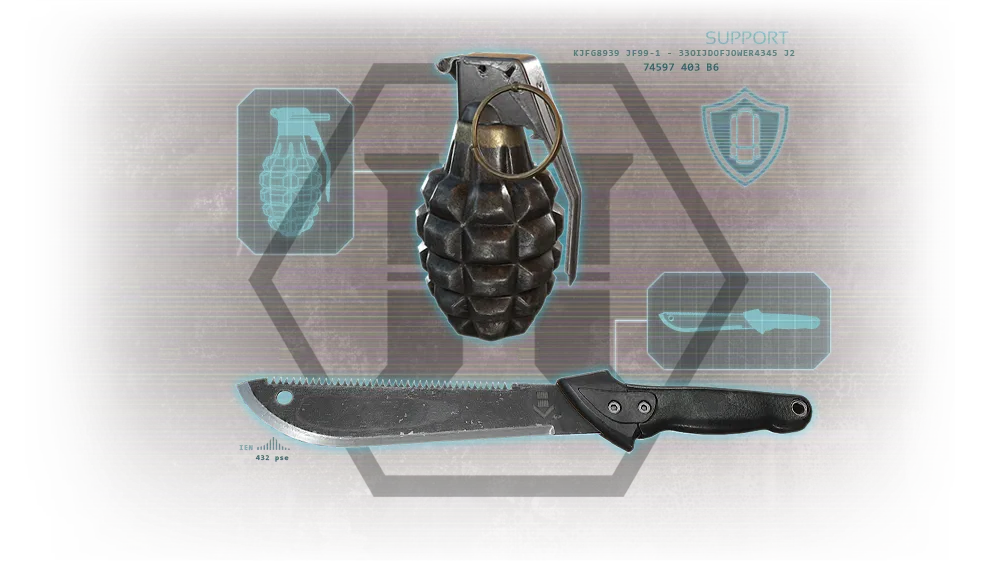
Starting melee and grenade.
9mm pistol. A backup for waves one to three, or for weak ZEDs when it is safe.
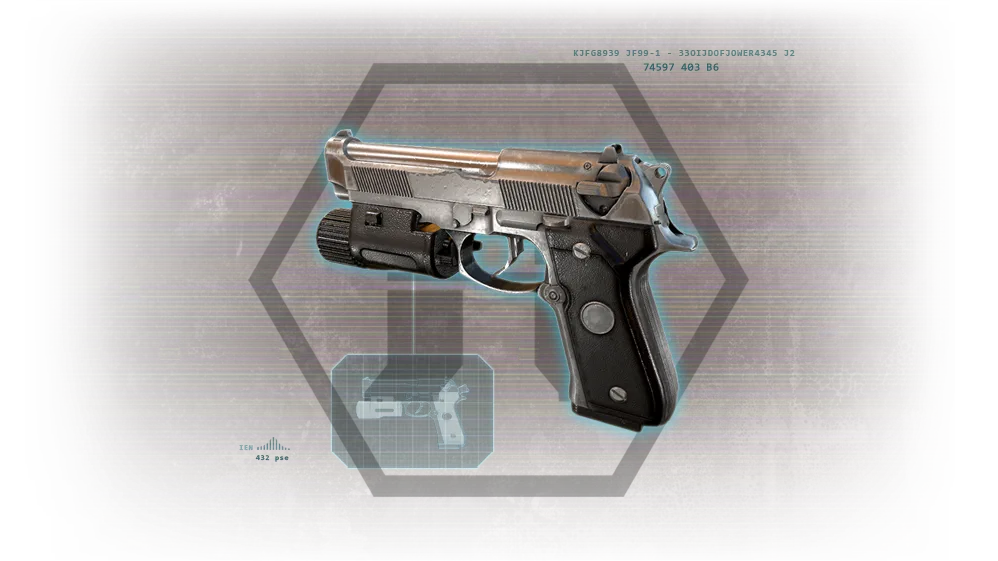
The 9mm backup.
SG 500 pump-action. Best in waves one to four (second to fourth on harder settings, or the first if you cannot parry yet). Its damage is low, so line up headshots and hit several ZEDs at once.
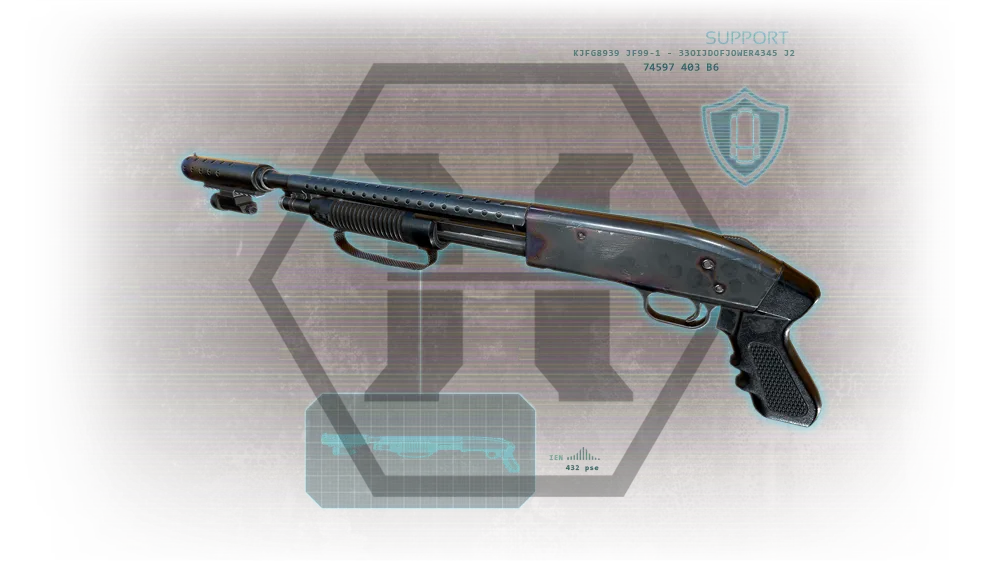
SG 500 pump-action shotgun.
Double-barrel Boomstick. First of two optional guns, used from about wave three to the boss. Fired downward at about 45 degrees with the middle mouse button (both shells at once) it throws you a long way backwards, a handy escape. See also the boomstick double jump guide.
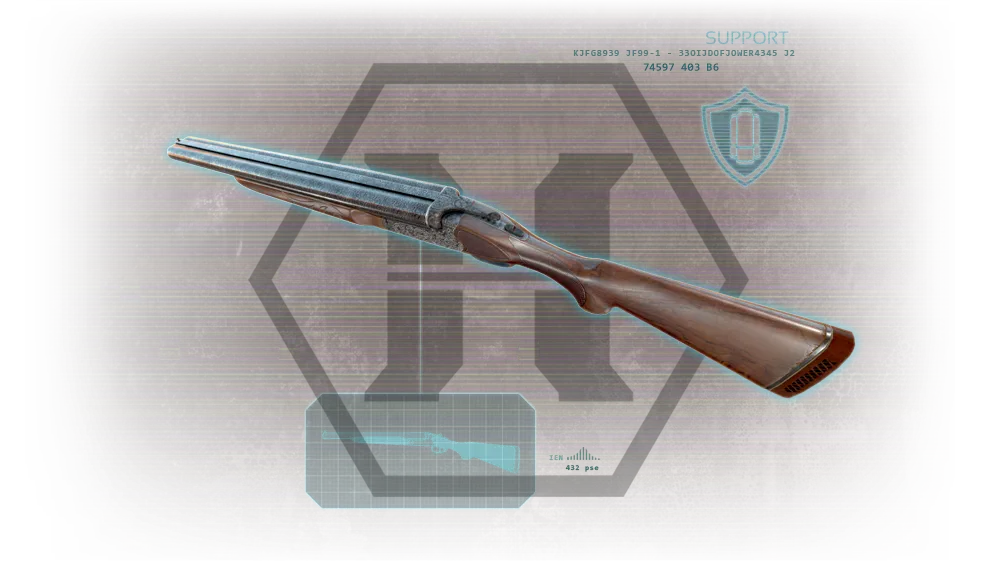
The Boomstick.
M4 combat shotgun. For wave five onward. An upgraded pump-action with eight shells, more damage and a proper sight, but it sees little use if you plan to buy the AA-12 as well.
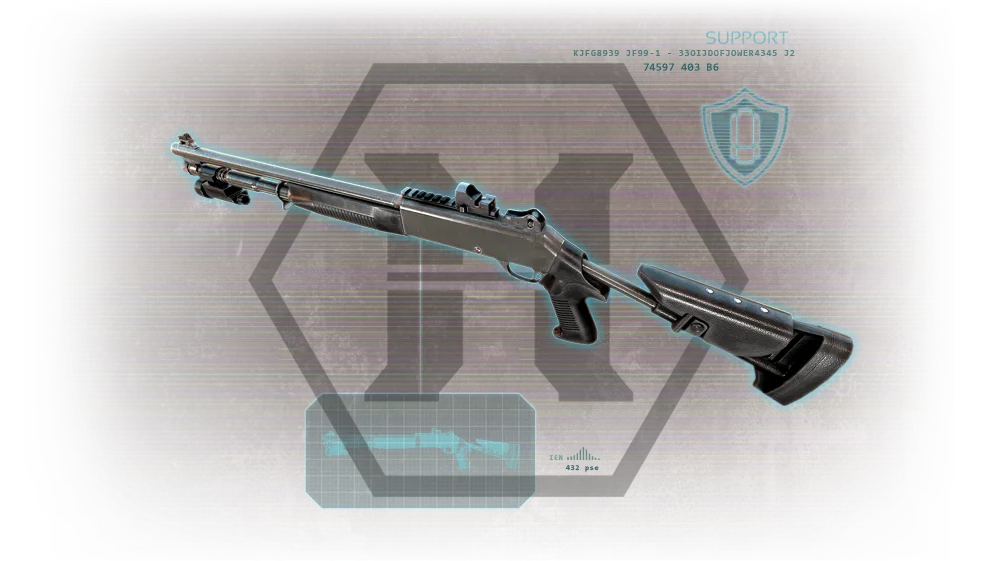
M4 combat shotgun.
AA-12 auto shotgun. The bread and butter of a Support game; pick it up by wave five and keep it to the boss. Save it for Scrakes and Fleshpounds rather than small ZEDs: on Normal or Hard, one clip with a little team help can kill them.
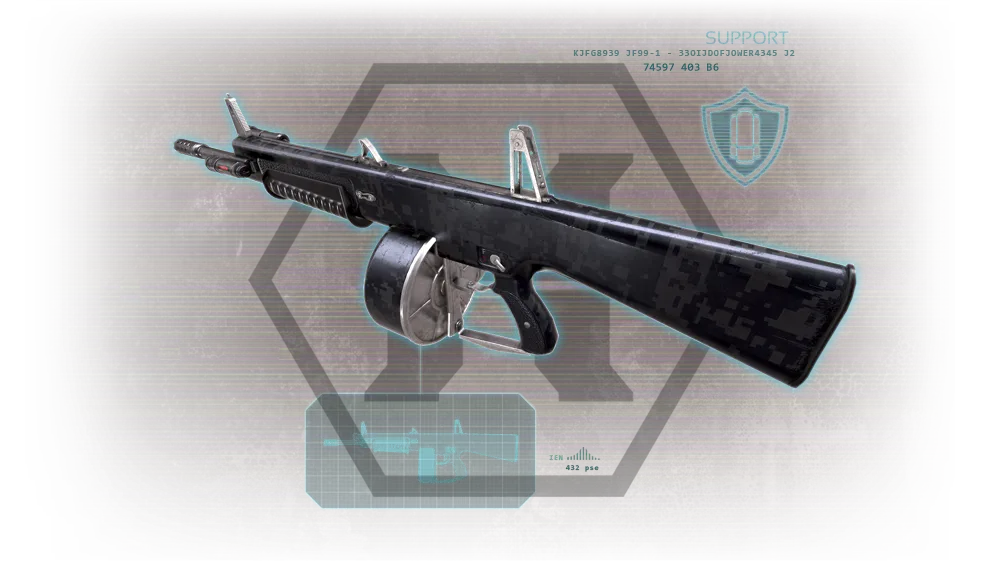
AA-12 automatic shotgun.
VLAD-1000 nailgun. Best bought in waves three to six and hit or miss. Single-fire mode saves ammo but loses perk spread benefits; the default mode fires ricocheting nails.
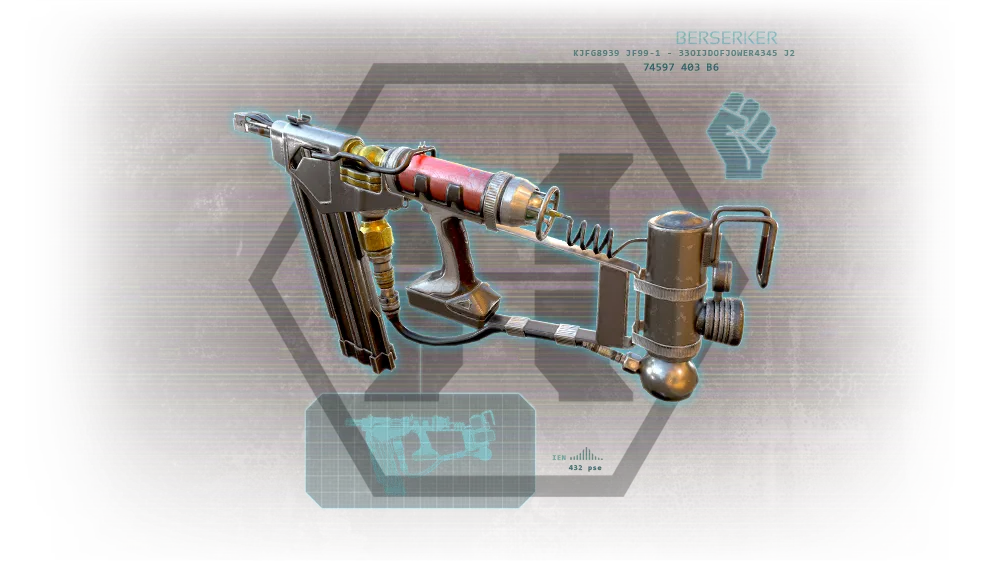
VLAD-1000 nailgun.
HMTech-301 shotgun. Buy it between waves three and five. Less impressive on a Field Medic, it shines in Support hands with higher damage via skills and levels, and heals teammates better.
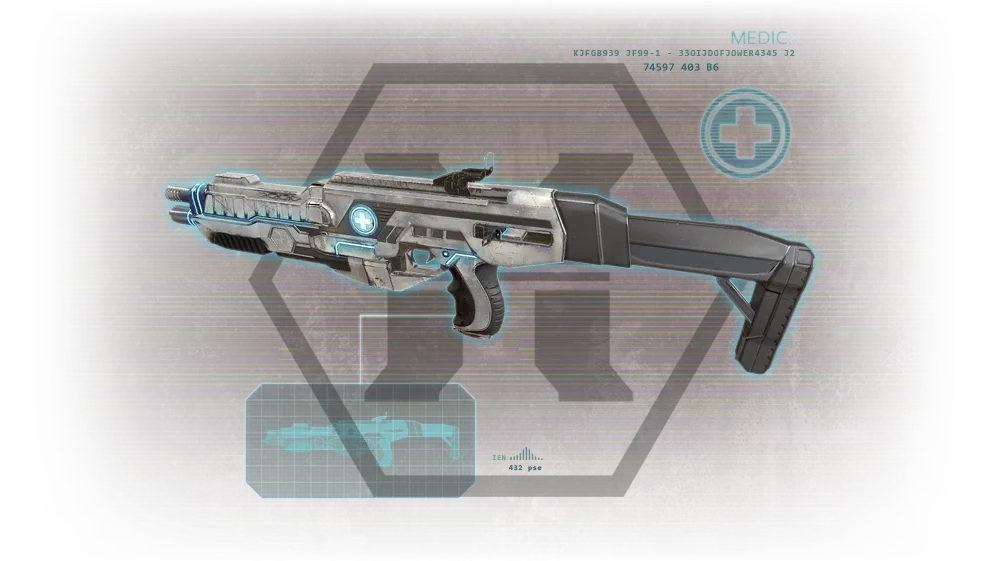
HMTech-301 shotgun.
Incendiary trench gun. After wave three it adds ignition to your kit. Fire damage will not match a Firebug, but perk bonuses help.
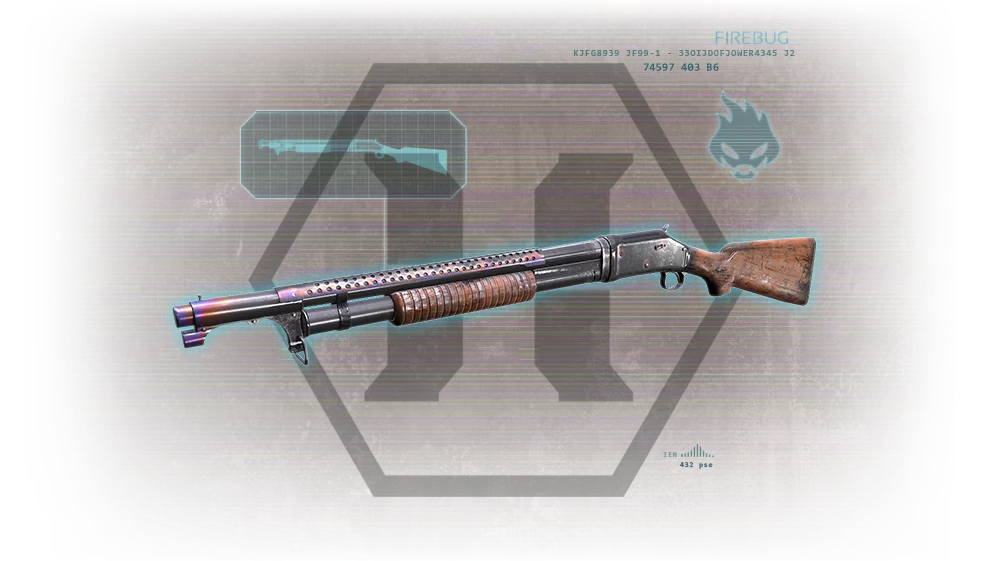
Incendiary trench gun.
Skills
Level 5: ammo management
- High Capacity Magazines (+50 percent magazine size). Solo it makes a comfortable position because you reload less. Co-op: it costs more ammo money, but it is excellent on the AA-12 for killing Scrakes and Fleshpounds before the clip empties.
- Tactical Reload (faster reloads). Solo it is a matter of taste; in co-op it quickly returns you to the fight.
Level 10: training
- Fortitude (+50 percent health). Helps in tight spots; in a team with a Medic, leave tanking to Berserkers but do not shy from taking a hit.
- Salvo (+30 percent damage). Very strong in co-op and pairs well with High Capacity Magazines, Armour Piercing Shot, Tight Choke or either Zed Time skill.
Level 15: firepower
- Armour Piercing Shot (greatly increased penetration). Solo, line ZEDs up and hit the whole file. Co-op, teammates thin the group first so it matters less.
- Tight Choke (-50 percent spread). Best in corridors, and for players who aim at heads, even large ZEDs.
Level 20: logistics
- Resupply Pack: teammates get 30 percent more ammo and 20 percent armor once per wave from you, and you carry 20 percent more ammo. Useless solo apart from the ammo cap. Remember to stand away from the trader after shopping so teammates can reach you.
- Concussion Rounds (+150 percent stumble power). Take it solo. In co-op the author considers Resupply Pack the better choice, especially on harder difficulties.
Level 25: advanced training
- Zed Time - Penetrator: shots penetrate everything during Zed Time. Great in small spaces.
- Zed Time - Barrage: weapons fire in near real time during Zed Time. Strong, but get a Commando on the team or you risk running dry when Zed Time ends.
Final note
The author planned further perk guides (Commando, Berserker, Demolitionist, Firebug, Gunslinger, Sharpshooter, Field Medic, SWAT, Survivalist), and all content comes from play up to level 25, so some details may be inaccurate.
FAQ
- What difficulty fits my Support level?
- The author suggests Normal for levels 0 to 8, Hard for 8 to 15, Suicidal for 15 to 20 and Hell on Earth for 20 to 25.
- Which level 5 skill should I take?
- High Capacity Magazines gives 50 percent more magazine size and is especially good on the AA-12; Tactical Reload speeds up the slow shotgun reloads. In co-op the extra magazine size costs more ammo money.
- Resupply Pack or Concussion Rounds at level 20?
- Resupply Pack in a team, because it gives teammates ammo and armor once per wave and raises your own ammo cap; in solo take Concussion Rounds.
