
KF2 Specimen Files: Scrake Behavior, Rage and Statistics
The Scrake is the first of the large, truly dangerous ZEDs in Killing Floor 2: a towering butcher with a chainsaw arm. It starts slow and calm, but once angered it sprints and attacks very frequently. This page paraphrases the community "Specimen Files 2.0" entry written in late 2015 and keeps its numbers, which reflect the game at that time. For related reading see do not attack calm Scrakes and how to stop raging Scrakes.
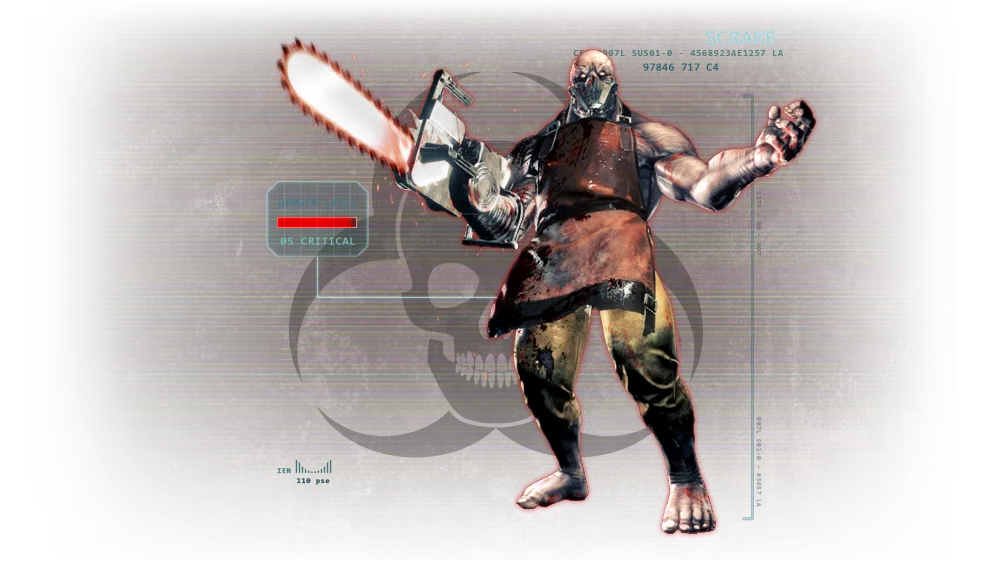 The Scrake.
When it appears
Wave 3 in a short game, wave 4 in a normal game and wave 5 in a long game. It does not appear in the boss wave.
Behavior
A Scrake announces itself with a revving chainsaw and a guttural roar. It slowly walks toward the target nearest to the group and attacks with the chainsaw in melee range. It changes target only if the current target is not damaging it and another player is closer. When its health falls below a difficulty-dependent threshold, it enters a raged state: it sprints at its targets and attacks much more often, and it stays raged for the rest of its life. According to this source it remains calm even when only five ZEDs are left in the wave, and it does not react to friendly fire from other ZEDs, which can also trigger its rage.
| Difficulty | Rage threshold (health remaining) |
|---|---|
| Normal | 50% |
| Hard | 75% |
| Suicidal | 75% |
| Hell on Earth | 90% |
Strategy
- Do not rage a Scrake if your team is unprepared. If the team is dealing with a bigger threat, leave the Scrake for last; it stays calm indefinitely unless damaged.
- Aim for the head: it is the most ammo-efficient way to kill it.
By perk
- Berserker: can tank most Scrake attacks with Field Medic support while the team clears lesser ZEDs. The EMP grenade can disable its ability to rage and briefly bring it out of the raged state, which helps others land headshots.
- Commando: the SCAR on the head kills it fast, but a raged Scrake swings frantically and moves its head around. Ask a Berserker for an EMP to keep it calm long enough.
- Support: the AA-12 works if aimed at the head, but needs to be close for the spread, which costs damage. Often better to let someone else handle it.
- Field Medic: heal whoever fights the Scrake; do not face it alone. Shots to the leg from higher-tier weapons can stumble it.
- Demolitionist: its 50% explosive resistance makes most Demo weapons weak, but an RPG that has not exploded does 400% damage, headshot, and knocks it down. This requires getting close.
- Firebug: the microwave gun can kill it quickly, but spend that ammo wisely.
- Gunslinger: one of the most efficient perks thanks to Rack 'Em Up headshot damage, provided teammates handle the lesser ZEDs.
Statistics
Total health by player count
| Players | Normal | Hard | Suicidal | Hell on Earth |
|---|---|---|---|---|
| 1 | 935 | 1100 | 1485 | 1705 |
| 2 | 1402 | 1650 | 2227 | 2557 |
| 3 | 1870 | 2200 | 2970 | 3410 |
| 4 | 2337 | 2750 | 3712 | 4262 |
| 5 | 2805 | 3300 | 4455 | 5115 |
| 6 | 3272 | 3850 | 5197 | 5967 |
Head health by player count
| Players | Normal | Hard | Suicidal | Hell on Earth |
|---|---|---|---|---|
| 1 | 510 | 600 | 690 | 750 |
| 2 | 663 | 780 | 896 | 975 |
| 3 | 816 | 960 | 1104 | 1150 |
| 4 | 969 | 1140 | 1311 | 1425 |
| 5 | 1122 | 1320 | 1518 | 1650 |
| 6 | 1275 | 1500 | 1725 | 1875 |
Attacks and multipliers
- Gutbuster attack interval 0.4 s, melee damage 30, melee range 200.
- Melee damage multiplier to doors 3/4, to players 1.
- Damage multiplier by difficulty: Normal 0.5x, Hard 1x, Suicidal 1.25x, Hell on Earth 1.75x.
- Hitzones: head 1.1, chainsaw 0.5, everything else 1.
- Resistances: explosive 2x, microwave 0.5x, penetration 4x, RPG impact 0.25x, slashing 2x.
Movement. Walking speed random 153-187, sprinting random 540-660, hidden speed 600. Speed multipliers by difficulty: Normal 0.87x, Hard 1x, Suicidal 1.1x, Hell on Earth 1.15x.
Rewards
| Difficulty | Dosh | XP |
|---|---|---|
| Normal | 83 | 34 |
| Hard | 75 | 45 |
| Suicidal | 64 | 60 |
| Hell on Earth | 49 | 69 |
Miscellaneous. Chance to evade a grenade 0.75 (it cannot evade while raged). Damage to doors 450. Doors have 4000 total health and 1500 maximum welded health; when either reaches zero the door breaks and never returns, but welded health can be repaired.
Conclusion
Do not let a Scrake get close, because chainsaws hurt. A community note from the guide: Field Medics can stumble a Scrake with leg shots from higher-tier Medic weapons.
FAQ
- When does a Scrake rage?
- When its health falls below a threshold that depends on difficulty: 50% on Normal, 75% on Hard and Suicidal and 90% on Hell on Earth. Once raged, it stays raged for the rest of its life.
- In which waves does the Scrake appear?
- Wave 3 of a short game, wave 4 of a normal game and wave 5 of a long game. It does not appear in the boss wave.
- What is a Scrake weak to?
- Microwave gun damage is listed with a 100% weakness in the strategy notes, and an unexploded RPG impact does 400% damage to it. Its head takes 1.1x damage.
