
KF2 ZED Guide for Beginners: Every Regular Specimen Explained
This is a light-hearted but accurate overview of the regular ZEDs you meet between wave one and the boss wave. Bosses are not covered. The author updated it on 16 August 2018 to include every ZED up to that date and added the Fleshpound entry on 24 June 2020. Artwork belongs to Tripwire and comes from the official wiki.
Clot family
Clot
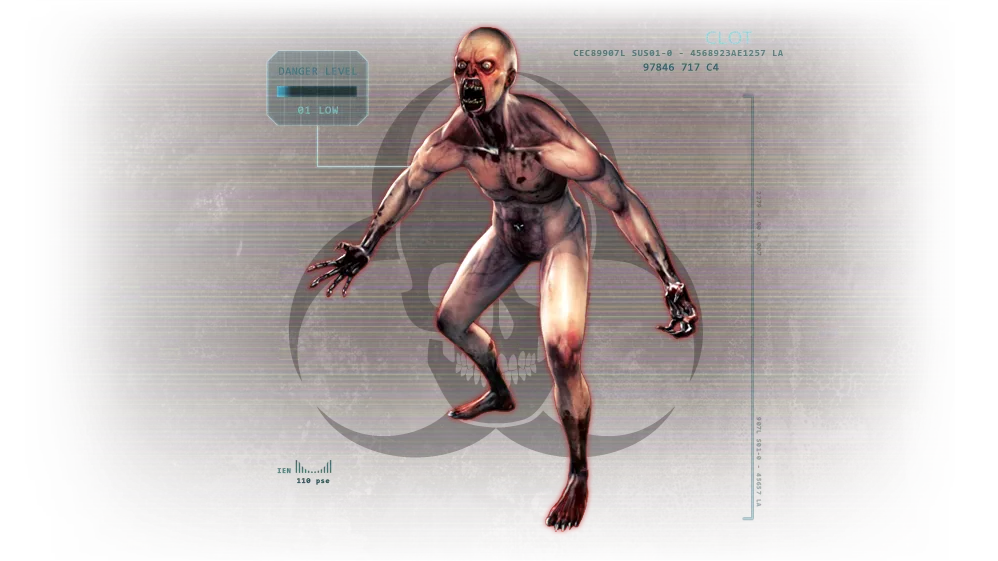 The Clot, the most basic ZED.
Spawns every wave and is rarely a threat; it clambers around looking for you. The notable thing is the grab: a Clot holds on until you kill it or bash it off. The Berserker is immune by default, and both SWAT and Survivalist can slip free using Heavy Armour Training.
Cyst
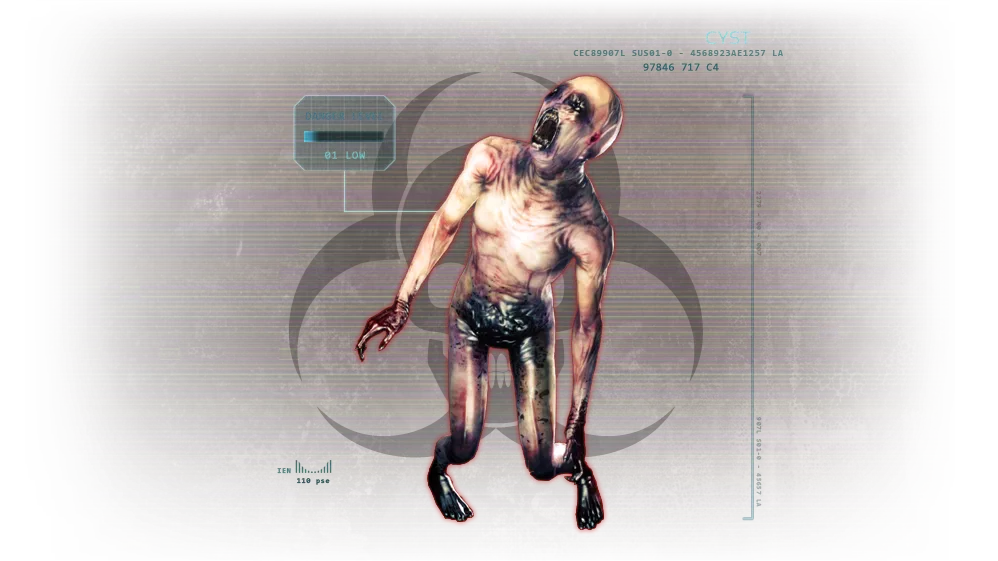 The Cyst.
A relative of the Clot that can also grab. It lunges when trying to grab you and then falls on its face. Its greatest weakness is simply you walking away.
Slasher
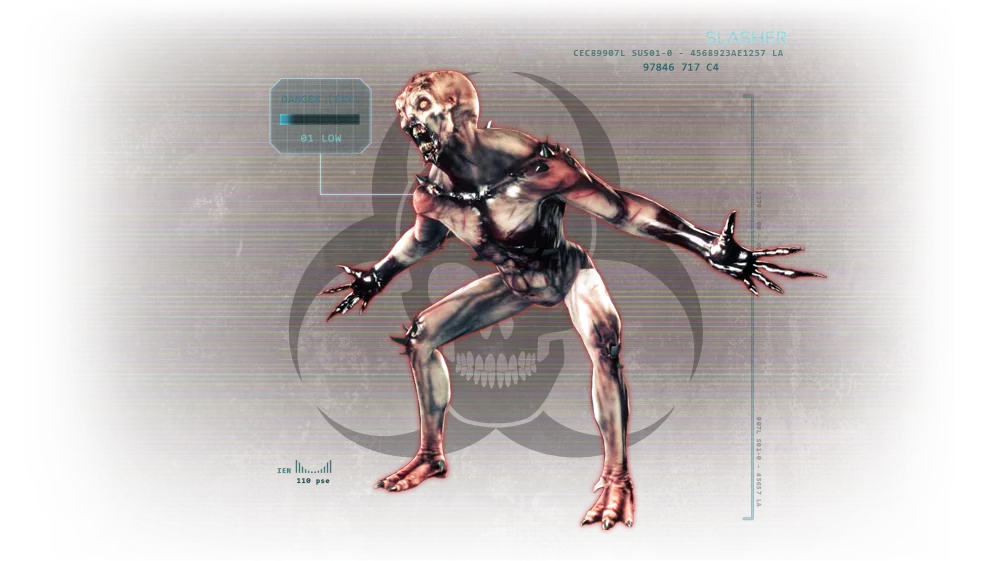 The Slasher.
Another Clot family member that can grab and immobilize you. On harder difficulties it rolls and dodges side to side like a ninja, but a bullet to the head still ends it.
Rioter
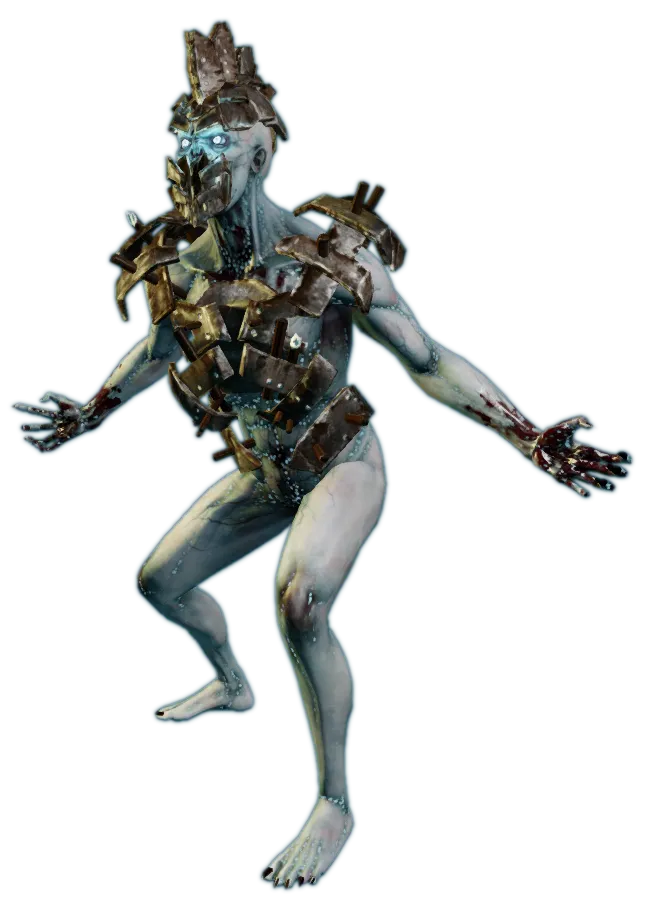 The armoured Rioter.
Pale and armoured, it only appears on harder difficulties. It rallies nearby ZEDs, making them resist damage better and hit harder; buffed ZEDs have glowing red eyes. Its armour makes headshots awkward, so if you cannot one-shot through armour and head, shoot off its kneecaps instead.
Blade ZEDs
Gorefast
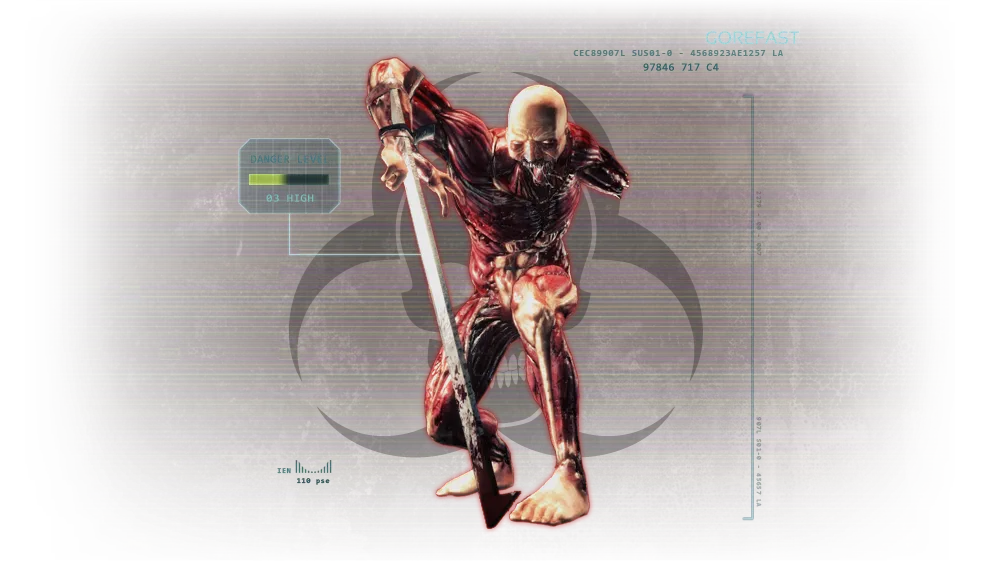 The Gorefast.
Charges at you waving its blade arm and sometimes blocks its head with the blade, but you can still shoot any other body part. When it gets close or takes heavy damage it charges, so keep your distance and shoot.
Gorefiend
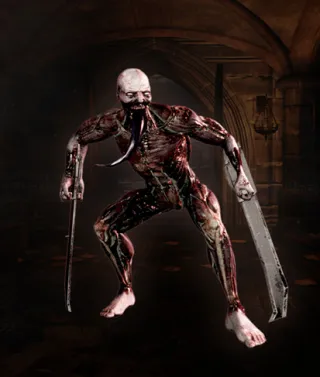 The Gorefiend.
A two-bladed Gorefast variant that appears often on high difficulties and rarely on low ones. It can charge and block bullets with its blades. On Suicidal and Hell on Earth it can also spin like a rotor and hover along the ground, slicing everything in its path.
Crawlers and Stalkers
Crawler
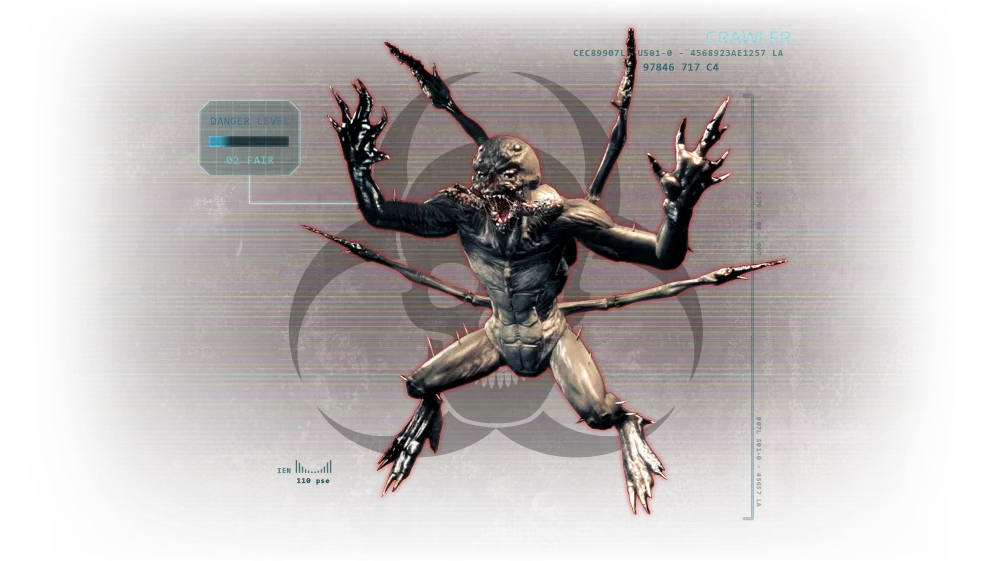 The Crawler.
Scuttles across the floor and leaps at you. Hard to hit because of its low height and high mobility, and it wants to bite your knees. Fire is effective against groups.
Elite Crawler
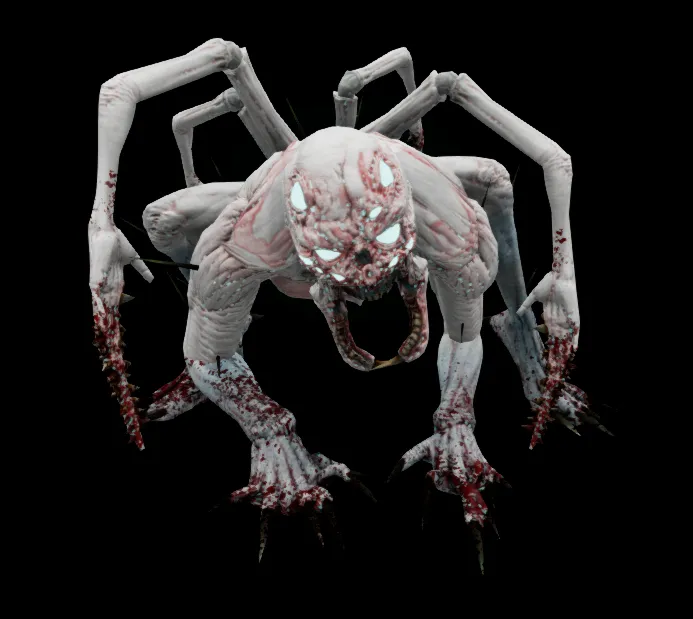 The Elite Crawler.
Imagine a Bloat's body stuffed into a Crawler. It is just as fast and annoying, and if you do not shoot it in the head you will also be choked by a gas cloud. Shoot it in the head.
Stalker
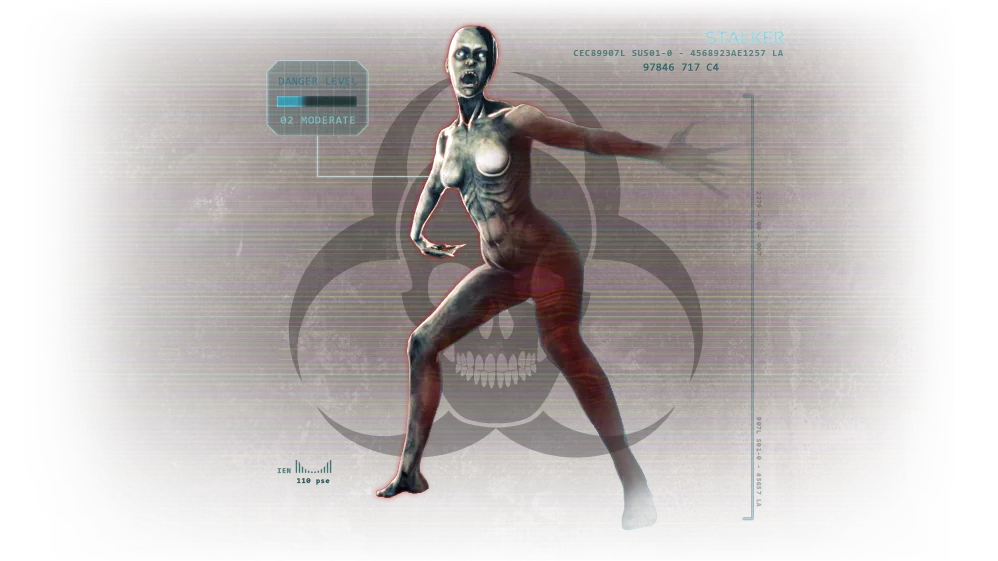 The Stalker.
A cloaking Clot. It cloaks about 90 percent of the time, but the cloak is imperfect: you may see a white shimmer and distortion of whatever is behind it. It is very fast and claws with all four limbs when close. Spamming pistol bullets at close range works.
Bloat and Siren
Bloat
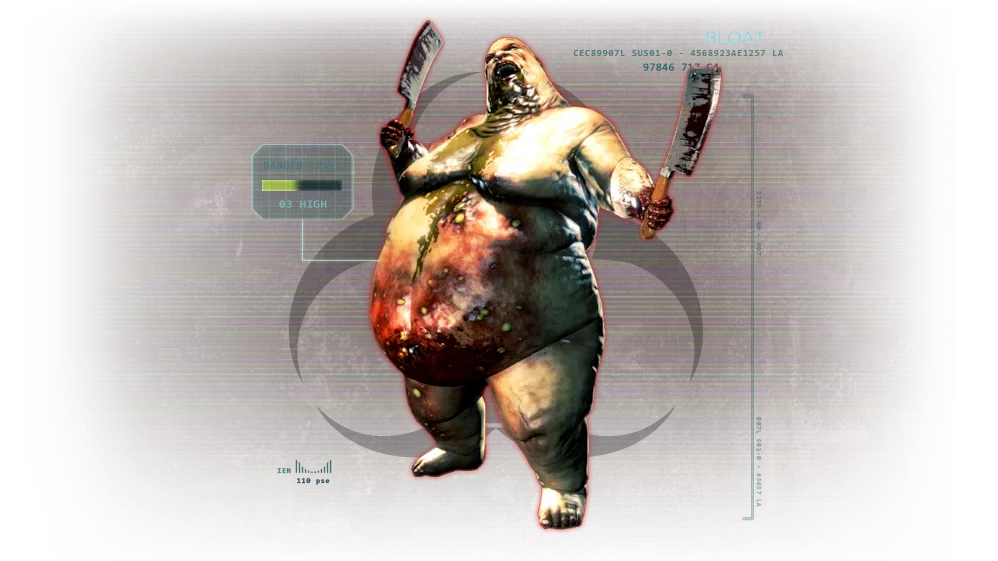 The Bloat.
Chops at close range with dual cleavers or pukes bile at medium range, blinding and damaging everyone in the area. It is slow and often one of the last ZEDs left in a wave, but bumping into one in a tight space can be deadly. Aim for the head: the belly is a bullet sponge and a belly kill bursts into acid.
Siren
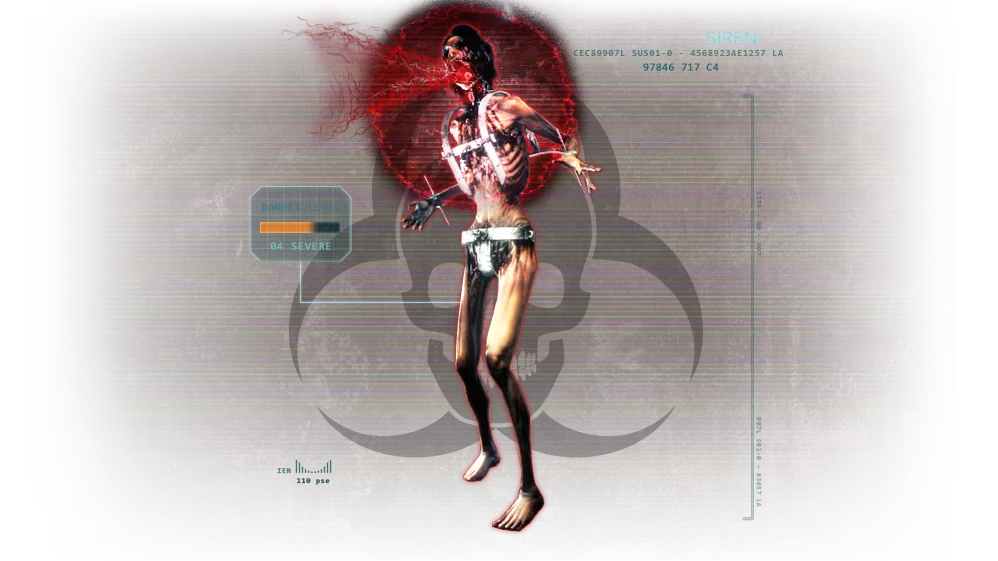 The Siren.
Walks slowly toward you and screams. Its body is encased in metal so it takes several shots. Scream damage goes straight to health, ignoring armor, and the scream nullifies any explosives, so do not throw grenades at it while it screams. Stay back and shoot from range.
E.D.A.R.s
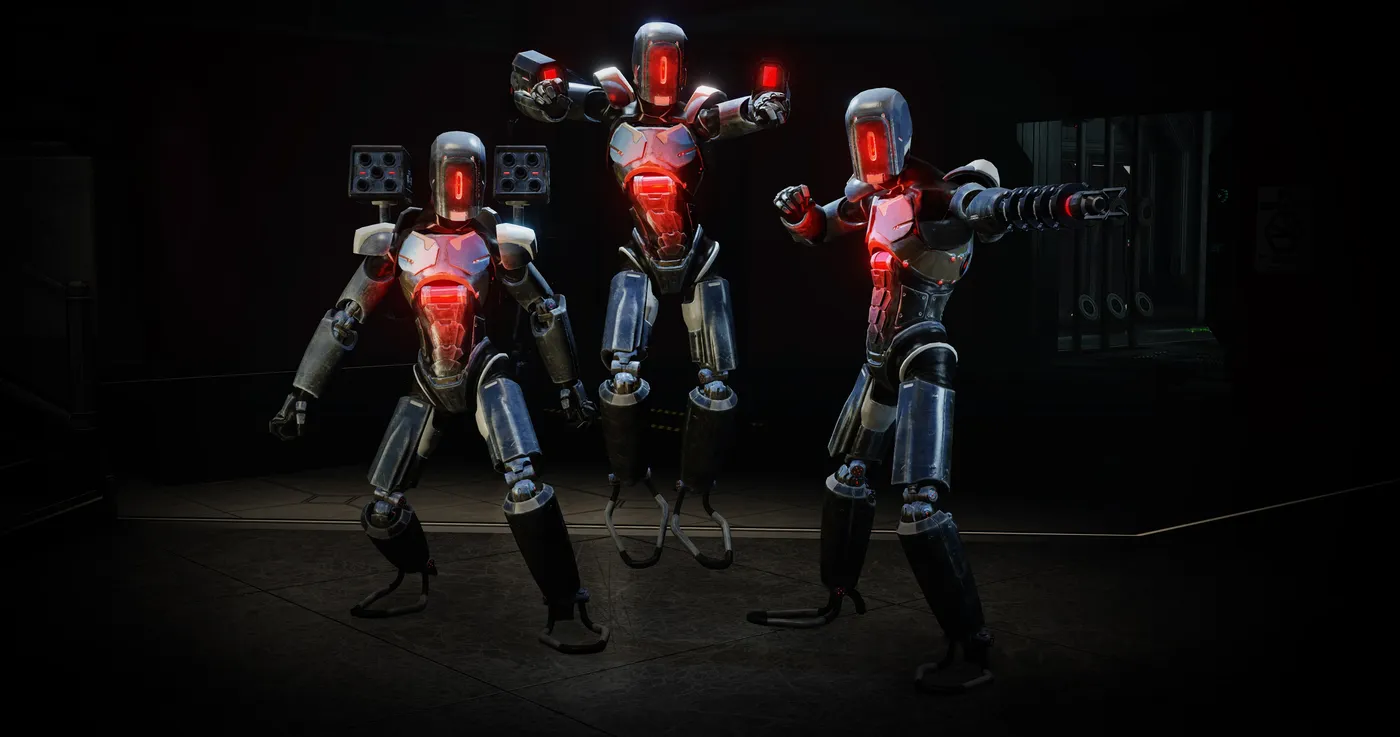 An E.D.A.R. robot.
Elite Defence and Assault Robots are among the most durable enemies. Three variants:
- Laser E.D.A.R.: shoots lasers with Stormtrooper-level aim; standing still or directly in front of it is surprisingly safe.
- Bomber E.D.A.R.: shoulder launchers fire rocket volleys with a small explosion radius; strafe left and right. It may kill other ZEDs too.
- Trapper E.D.A.R.: one arm is replaced with tech that immobilizes you for a short time at medium to close range. When you hear its arm charging, stun it with a shot or hide behind cover.
Their critical spot is the glowing power core under the chest armour, which takes about 3.5x damage. Shoot the armour off first for an easier hit. Unless you are a Sharpshooter, aim at the chest, not the head.
Husk
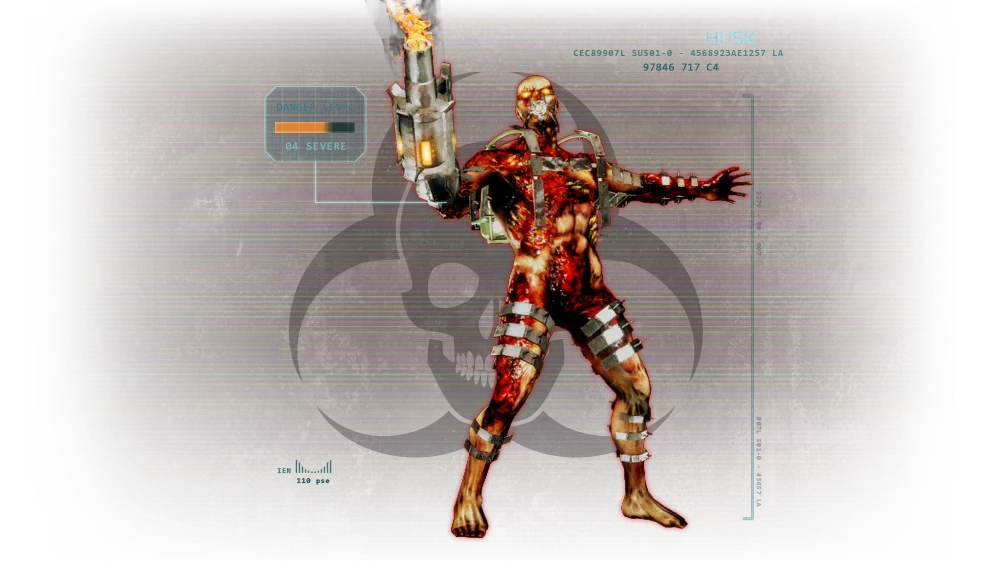 The Husk.
Fires fireballs from a cannon replacing its arm. They hurt but are easy to dodge by sidestepping. On harder difficulties the cannon also becomes a flamethrower at close range. At low health it can self-destruct by aiming at the ground. Wait for it to charge a fireball and shoot the fuel canisters on its back as they are exposed.
Heavy hitters
Scrake
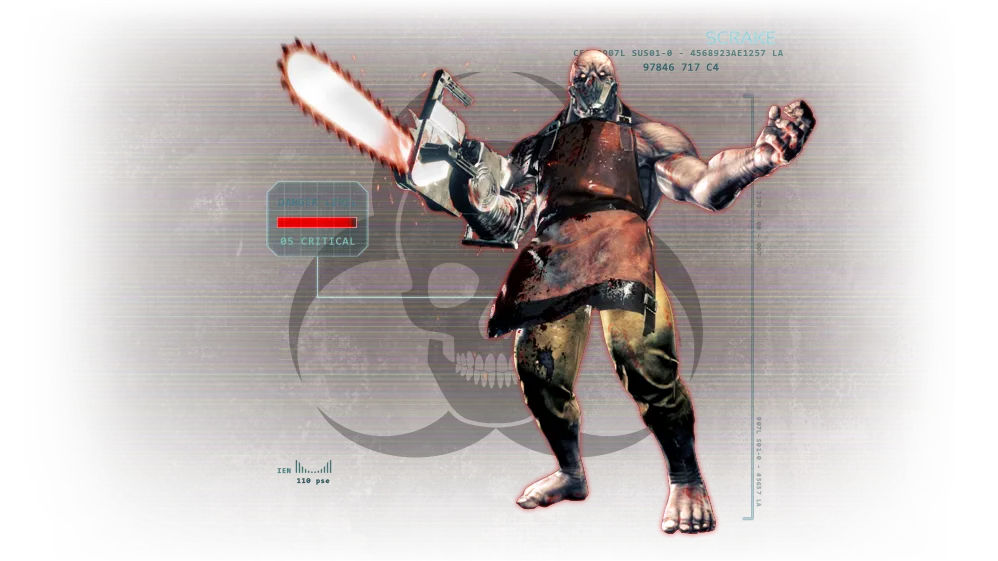 The Scrake.
The chainsaw-armed ZED. It walks slowly and only charges once damaged enough. Once angry, it chases you swinging the chainsaw and will not stop. It can be left alone to wander after you as long as a Demolitionist does not speed it up. Kill it before it rages.
Fleshpound
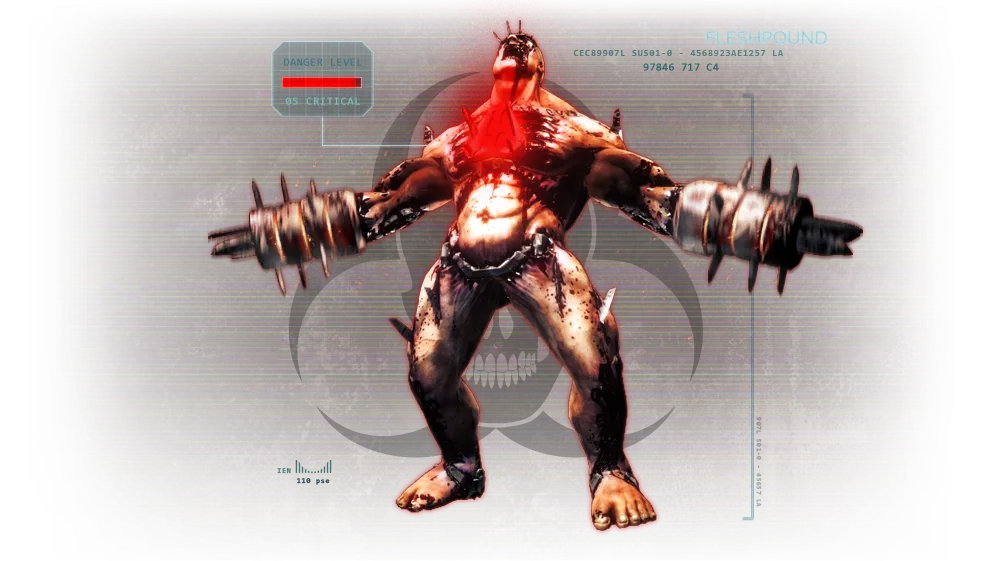 The Fleshpound.
It charges after being alive long enough or after taking a certain amount of damage; its lights turn from yellow to red and it hunts you with both grinders spinning. It will not stop until it hits you, so block (melee weapons only, as the guide notes) or kill it.
Quarter Pound
A miniature Fleshpound that most often spawns in groups of four and can corner an unprepared team. Like other ZEDs with a big red spot, shoot its head or the red area. Keep your distance and take them down one by one. (The original page had no image for this entry.)
For deeper specimen data see Fleshpound specimen files and the bestiary guide.
FAQ
- Which ZEDs can grab you?
- The Clot family: Clot, Cyst, Slasher and Alpha Clot style grabs. A Berserker is immune by default, and SWAT and Survivalist can break free with Heavy Armour Training.
- Where should you shoot an E.D.A.R.?
- At the glowing power core under the chest armour. The guide says it takes about 3.5x damage and is better than the head for most perks.
- Can you block ZED attacks?
- Yes, but only with melee weapons.
