
ZED Bestiary with Threat Levels (KF2)
This bestiary covers every ZED type in Killing Floor 2, in the order they typically appear. On higher difficulties stronger ZEDs can spawn early, so be ready. On Normal and Hard most enemies fall to raw firepower, but on higher difficulties accuracy matters because ammo runs out quickly. The original guide is bilingual (English and Russian). For other bestiaries see the ZED bestiary in Russian and monsters bestiary.
Lesser ZEDs
Lesser ZEDs have low health, come in large numbers and have few defenses. Go for the head and watch out for crowds.
Cyst
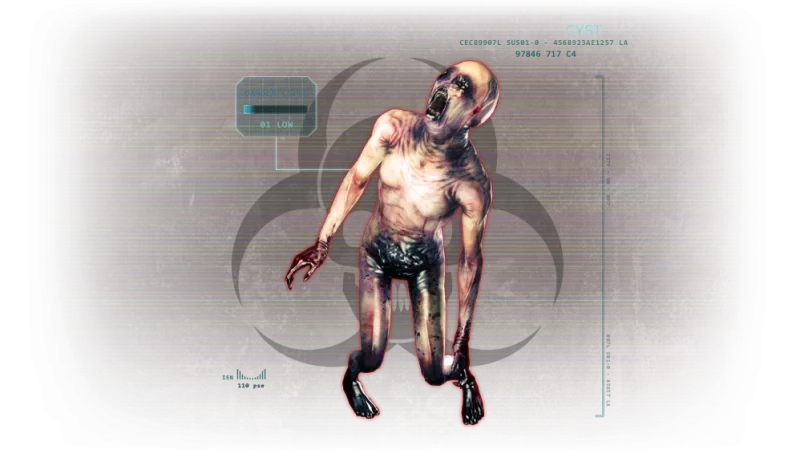 Cyst.
One of the earliest enemies. Slow and fragile; dangerous only in numbers, when several can hold a lone player.
- Threat level: 1/5
- Strengths: Can grab and ensnare a player.
- Weaknesses: One headshot kills it on almost any difficulty.
Alpha Clot
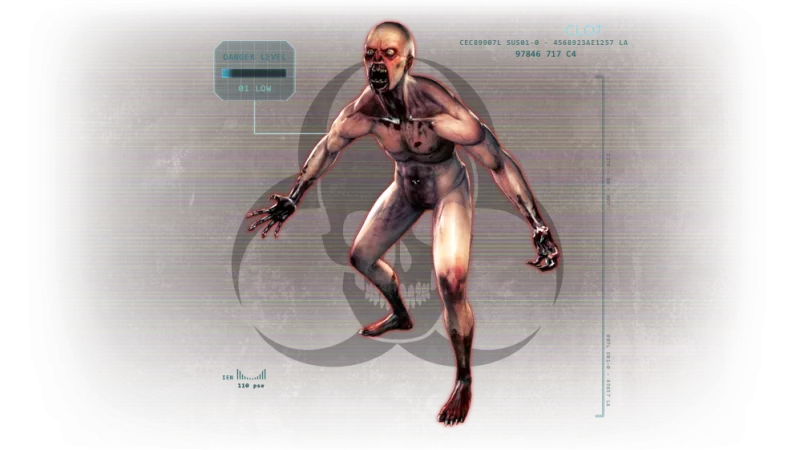 Alpha Clot.
A Cyst on steroids: faster and able to hit for moderate damage instead of just grabbing. Overwhelming in large groups.
- Threat level: 2/5
- Strengths: Fast; attacks quickly once in range.
- Weaknesses: No armor; up to about six headshots depending on difficulty.
Rioter
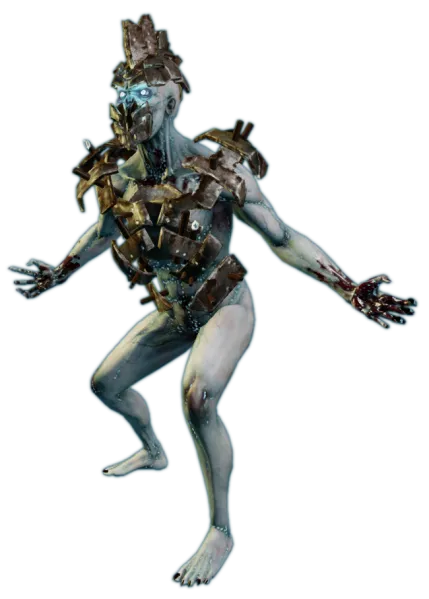 Rioter.
Blue-skinned with heavy head and torso armor. Walks at Cyst speed but can shout to make nearby ZEDs move and attack faster.
- Threat level: 1/5 (the guide)
- Strengths: Armor on head and torso that takes a lot of ammo to remove; empowers nearby ZEDs.
- Weaknesses: Arms and legs are unprotected. Shooting the legs slows and disables it before it enrages.
Slasher
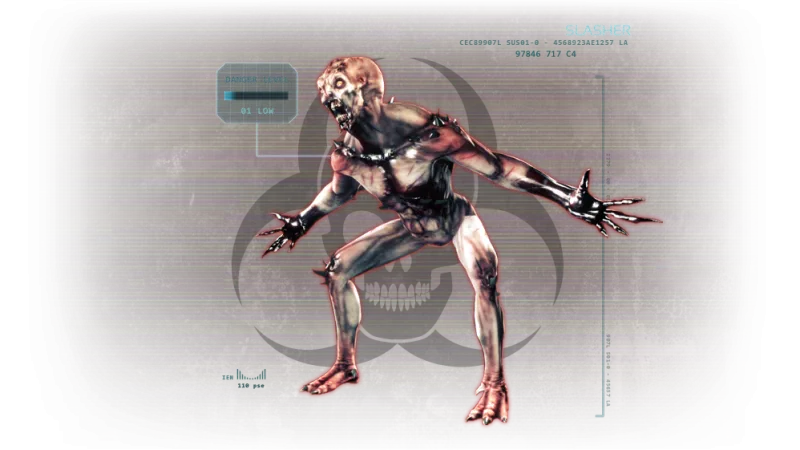 Slasher.
A more advanced Alpha Clot, much faster than its cousins and able to dodge and roll away from attacks. Once close it grabs and shreds.
- Threat level: 2/5
- Strengths: Speed and agility; can grab the player.
- Weaknesses: No armor, easy to kill with head or torso shots.
Crawler
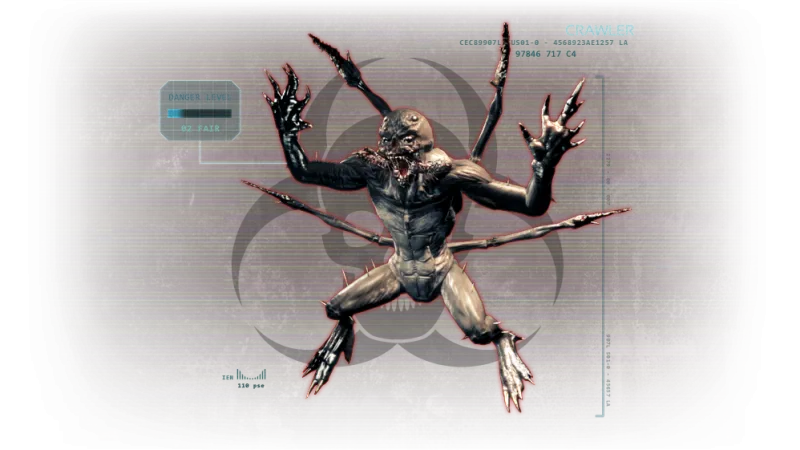 Crawler.
Looks harmless, but in chaos it sneaks up and chews through armor. Can use vents and show up wherever you do not want it.
- Threat level: 2/5
- Strengths: Extremely fast, jumps and crawls through vents, hits your back or flanks. White ones burst into a gas cloud on death, so kill them at range.
- Weaknesses: No armor and very low health; highly vulnerable to fire.
Stalker
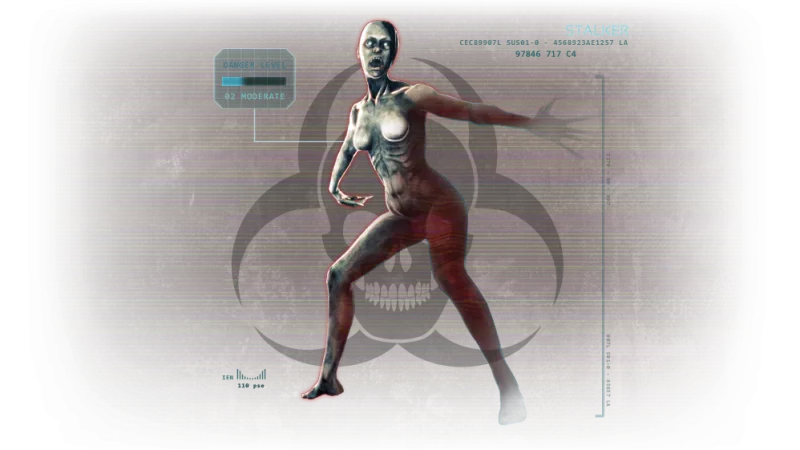 Stalker.
Hunts while invisible. Often paired with Crawlers as a covert force hitting from behind.
- Threat level: 3/5
- Strengths: Can turn invisible, uses vents, attacks like an Alpha Clot and can dodge.
- Weaknesses: No armor, low health. Look for a shimmer in the air, or have a Commando mark them.
Gorefast
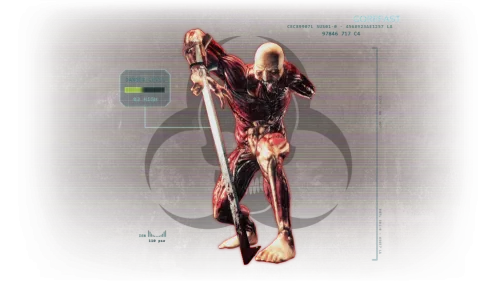 Gorefast.
Comes with a machete for an arm. Like an Alpha Clot with more damage, devastating in numbers.
- Threat level: 3/5
- Strengths: Very high damage; can hold its blades up to block bullets.
- Weaknesses: No armor; explosives, fire and high-damage headshots.
Medium ZEDs
Medium ZEDs have more health and unique defenses and deserve priority over trash. Go for the head, learn their weak spots and special abilities, and keep an escape route.
Bloat
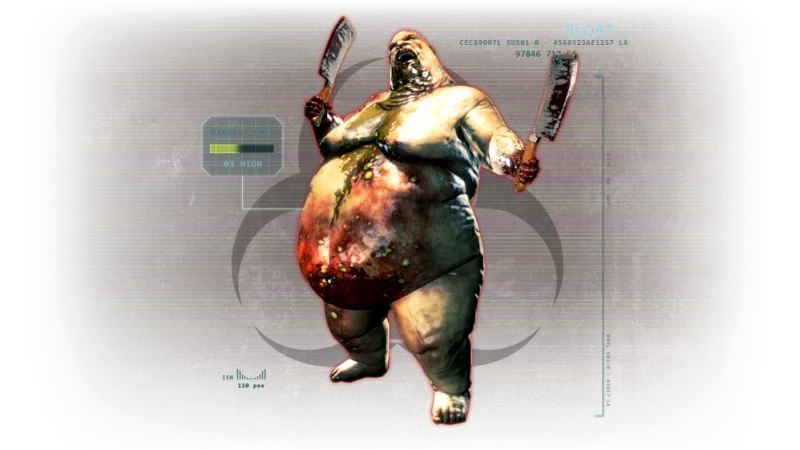 Bloat.
Slow, huge, taller and wider than most ZEDs, a lumbering bag of bile.
- Threat level: 3/5
- Strengths: Very high health. Vomits on players in range, reducing vision and rotting armor and health; sometimes bursts into gas on death.
- Weaknesses: Go for the head or use fire and explosives. Often the head dies but the body keeps walking and swings its knives. The starting 9mm deals excellent damage and is the cheapest way to kill Bloats.
Siren
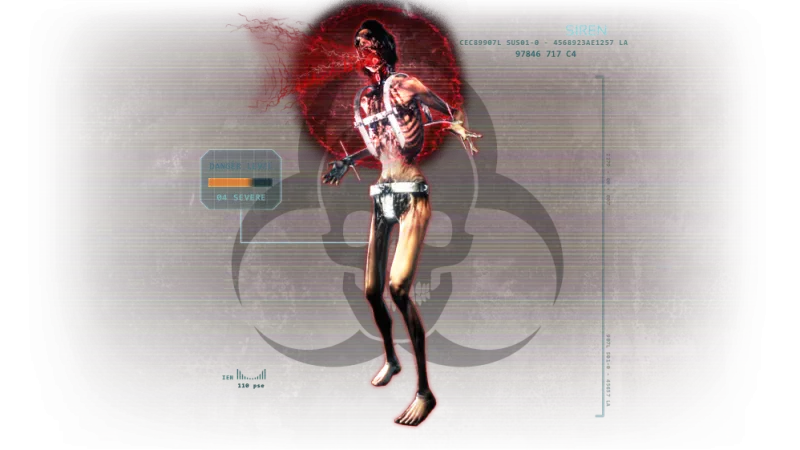 Siren.
Small and unarmored but very dangerous in crowds. Her scream destroys explosives and deployables in range and ignores armor to hurt health.
- Threat level: 4/5
- Strengths: Some armor on chest and head; scream blocks the use of explosives without special perks.
- Weaknesses: Headshots, fire, stabbing.
Gorefiend
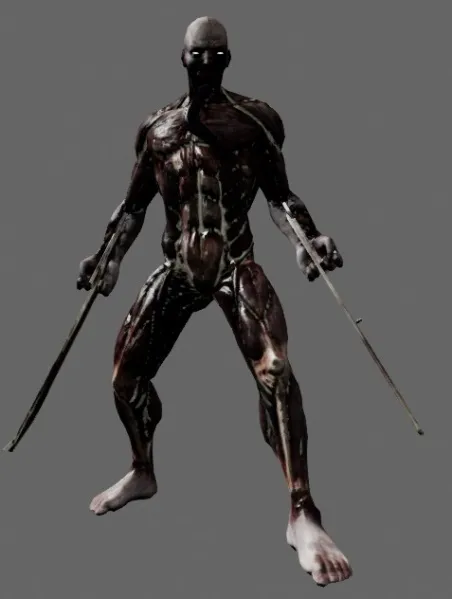 Gorefiend.
A Gorefast on performance enhancing drugs: darker skin, darker personality.
- Threat level: 3/5
- Strengths: High health and a painful spinning blade attack.
- Weaknesses: Headshots, torso, explosives and fire.
Husk
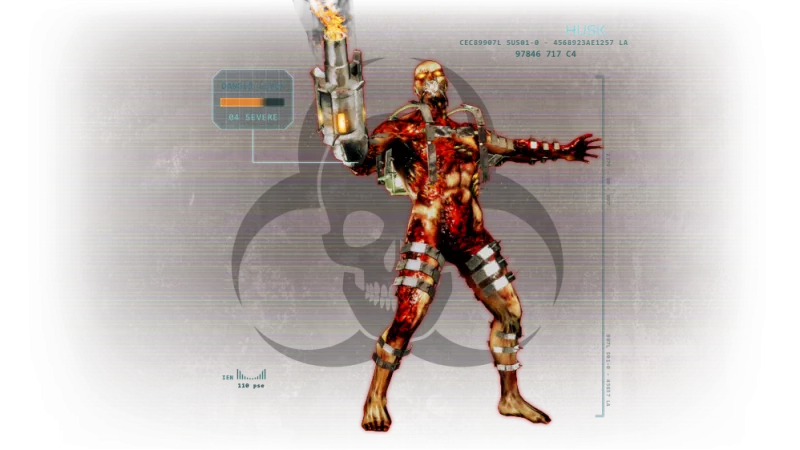 Husk.
The opposite of a firefighter: a big gun that shoots fire and fireballs with serious area damage.
- Threat level: 4/5
- Strengths: Ranged unit, fireballs from afar and a flamethrower up close; very high burning damage.
- Weaknesses: Headshots. His backpack explodes when shot enough. At low health Husks may charge and explode, so kill them at range.
E.D.A.R.
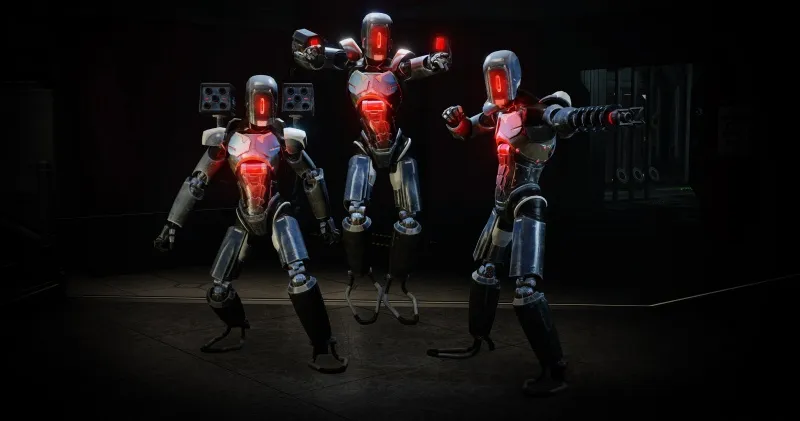 E.D.A.R..
Elite Defense and Assault Robot with three variants: rockets, blasters and trappers that pin you until you shoot them.
- Threat level: 4/5
- Strengths: Robot with lasers and missiles, high health and built-in armor. Target as soon as they appear.
- Weaknesses: EMP grenades and torso shots. Killing one through the core releases an EMP burst that stuns nearby enemies.
Scrake
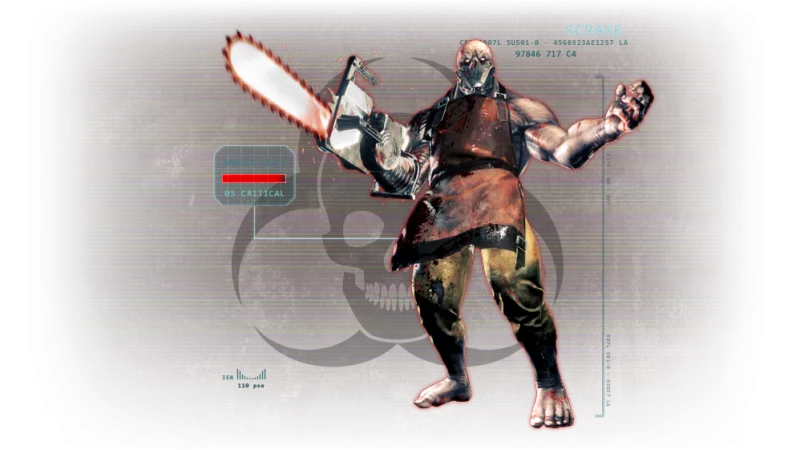 Scrake.
Big, mean, carries a chainsaw. After enough damage it enrages (more damage and speed) and chases players until dead.
- Threat level: 5/5
- Strengths: Very high health, massive damage, spinning chainsaw. The apron gives some armor and the saw deflects bullets.
- Weaknesses: Bullets, aimed at the head. Firebugs can slow raged Scrakes with ground fire. Players report RPG rounds fired at the head from close range may not detonate and deal 400 percent or more damage (unconfirmed); explosives are the best option.
Fleshpound
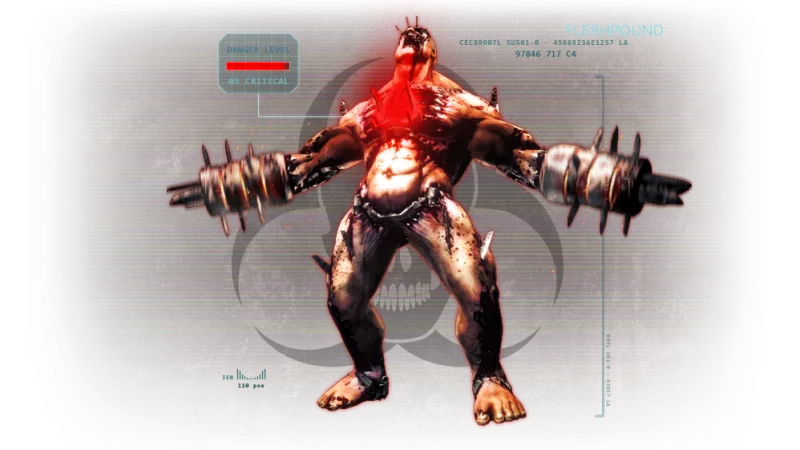 Fleshpound.
Recognized by massive grinders on its arms and chest plates. When enraged, grinders and plate turn red and it charges with catastrophic damage.
- Threat level: 5/5
- Strengths: Grinders deflect bullets; very high health and damage. Toughest enemy below the bosses.
- Weaknesses: Head and chest plate are weak points; use high explosives. RPG tactics against Scrakes may apply but the Fleshpound hits much harder.
Quarter Pound
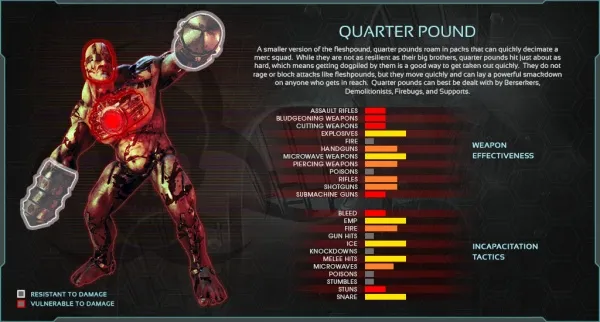 Quarter Pound.
A smaller, slightly weaker Fleshpound. Appears only in special events or as adds for King Fleshpound.
- Threat level: 5/5
- Strengths: Fleshpound-like attacks.
- Weaknesses: Easier to kill than a regular Fleshpound.
Bosses
Bosses are the strongest ZEDs, appearing after the last wave in Survival, on the last wave in Objective and every 5 waves in Endless. Keep your distance, do not split up, deal with trash as it spawns and keep an escape route.
Patriarch
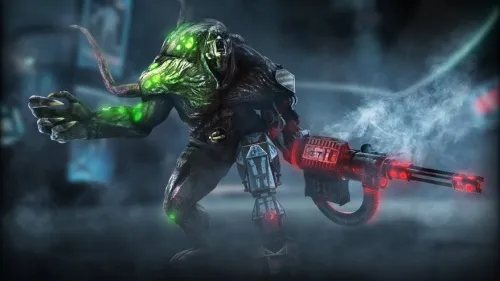 Patriarch.
Capable and adaptable. Minigun and missiles for massive damage, melee attacks, and an invisibility field to disorient players.
- Strengths: Minigun in tight quarters shreds armor; rockets outdoors can be avoided but burn badly; goes invisible at low health.
- Weaknesses: Headshots, explosives, fire. Get close and headshot him while he is locked into the minigun. At low health he turns invisible and runs to regenerate; chasing him can finish him first, otherwise the fight can last 3 to 5 damage stages.
Dr. Hans Volter
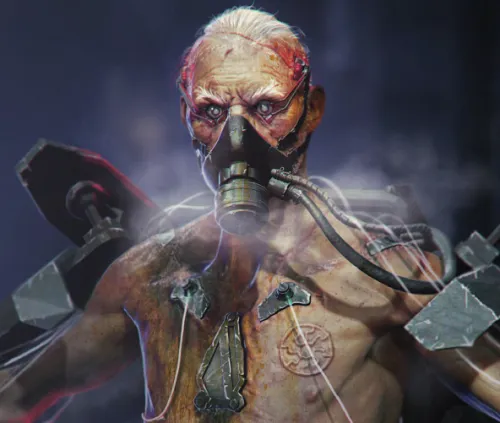 Dr. Hans Volter.
A mad scientist with a passion for violence. Deploys gas clouds, fights in melee and uses an energy shield that must be broken for the fight to progress.
- Strengths: Very high melee damage; shoots things; at low health summons adds and uses the shield while running away; at red health he enrages and melee attacks everyone in range.
- Weaknesses: Headshots, and his large backpack can be shot for extra damage. Fight at range and use cover.
King Fleshpound
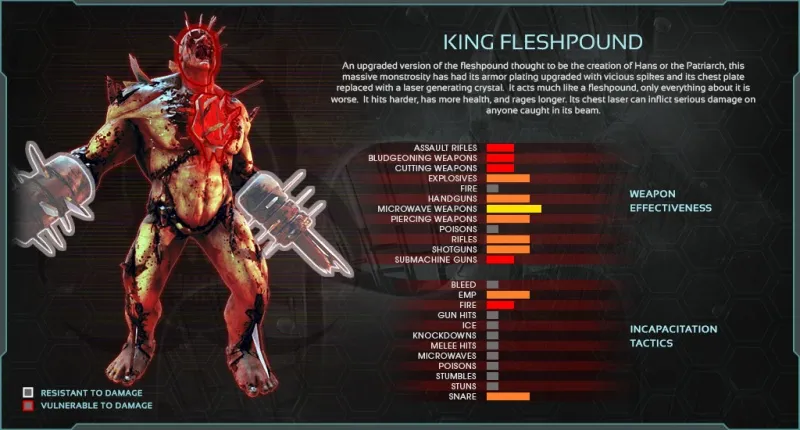 King Fleshpound.
Rules the Fleshpound society: like a Fleshpound, but bigger and badder.
- Strengths: Summons extra Fleshpounds and Quarter Pounds that can overwhelm the team; shoots lasers from its chest.
- Weaknesses: Explosives and headshots.
Abomination
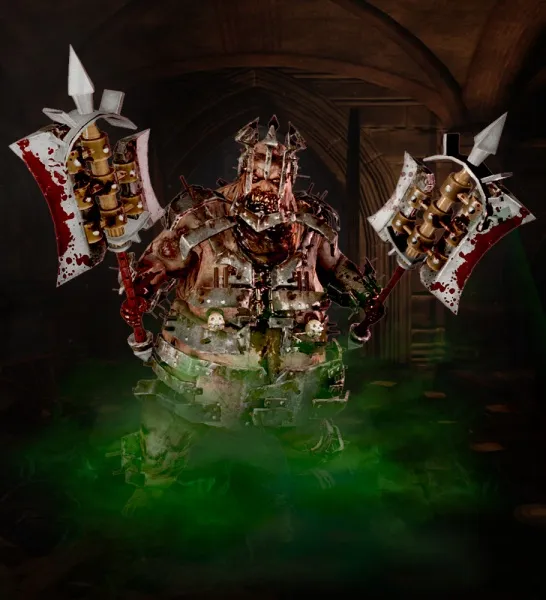 Abomination.
Also called King Bloat: big, armored and ugly. Summons gas adds that chase and explode, leaves gas everywhere and vomits on players. Krampus from the Christmas event is a reskinned Abomination with the same behavior.
- Strengths: Armor covers nearly all the body and must be removed for headshots and effective explosive damage; removing armor causes enrage. Small green gas adds sap armor.
- Weaknesses: Once the armor is gone it acts like a regular Bloat: go for the head, use ample explosives, keep your distance.
