
Killing Floor 2 Beginner Basics - Menus, Trader, Controls and Your First Boss
Killing Floor 2 regularly gets free weekends and deep Steam discounts, and every sale brings a wave of new players with the same questions: where do I pick a perk, how do I upgrade a weapon, how do I mark favorites, why did the Trader close before I got there. This guide answers them in the order you meet them, from the main menu to the end-of-match stats screen, and adds the context you need to stop feeling lost after your first few games.
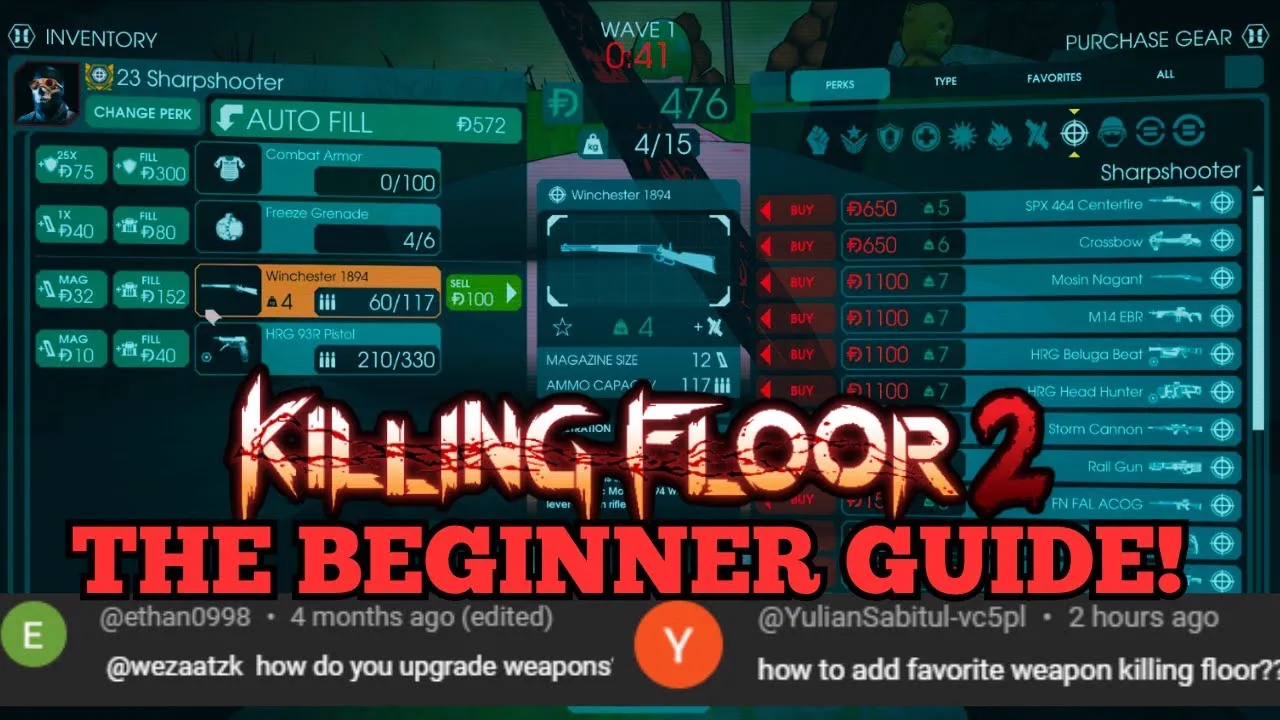 Cover of WezaaTZK's Killing Floor 2 beginner guide.
How a match is structured
Every Survival match follows the same loop:
- Waves. ZEDs spawn across the map. Kill the required number to end the wave.
- Trader time. After each wave the Trader opens for a short window. Buy, sell, upgrade and refill.
- Boss wave. After the last regular wave comes a boss fight.
Match length decides how many regular waves there are: Short has 4, Medium 7 and Long 10, each followed by the boss. Difficulty runs Normal, Hard, Suicidal and Hell on Earth. Higher difficulties do not just add health; ZEDs move faster and gain new behavior. Details: KF2 difficulty levels.
For your first matches: Normal, Short or Medium, a full public lobby.
Main menu
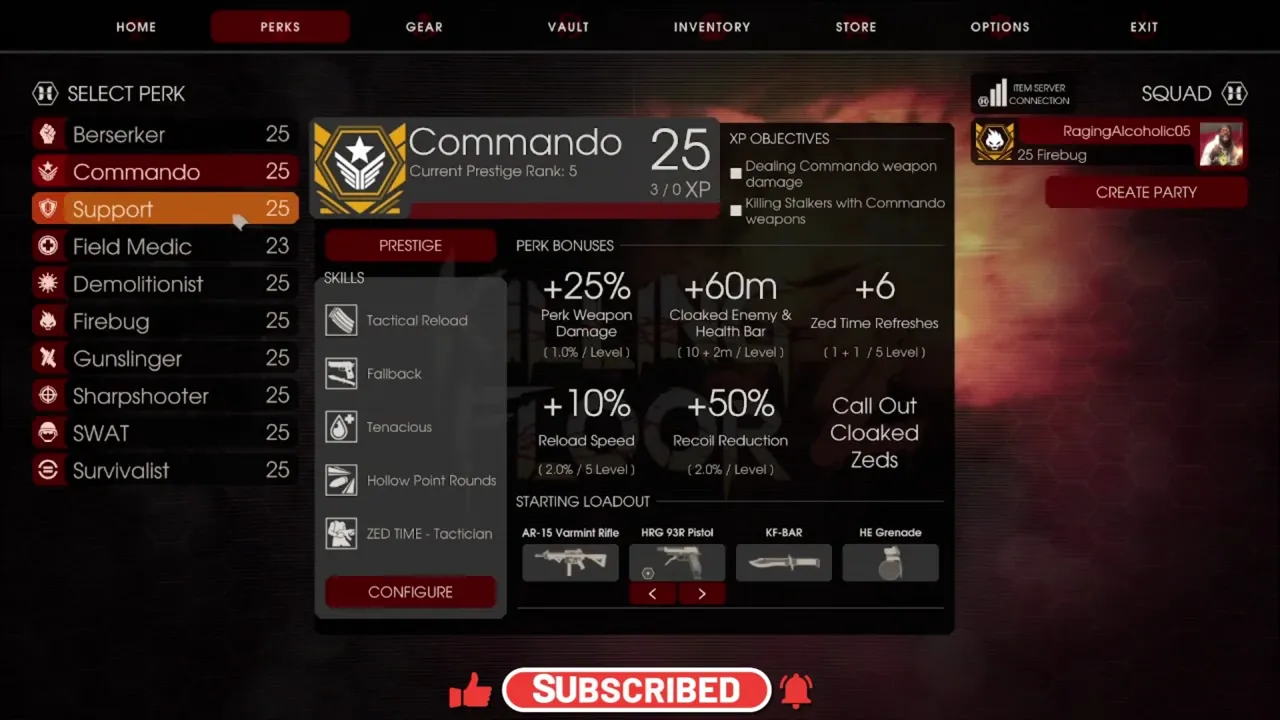 The Perks tab: perk list on the left, the selected perk's bonuses and skills in the middle.
| Tab | What it is for |
|---|---|
| Home | Find a Match, Create a Match, Browse Servers, Play Solo Offline, Basic Training. |
| Perks | Pick your perk here, not at the Trader. Shows level, passive bonuses and skill choices. |
| Gear | Character customization: head, body, three accessory slots, emotes. |
| Vault | Total dosh earned across all games. Purely cosmetic, it does nothing in a match. |
| Inventory | Weapon skins, cosmetics, items, crafting, headshot effects. Filter by perk, weapon type or rarity. |
| Store | Cosmetic shop. |
| Options | Graphics, audio, gameplay, controls and key binds. |
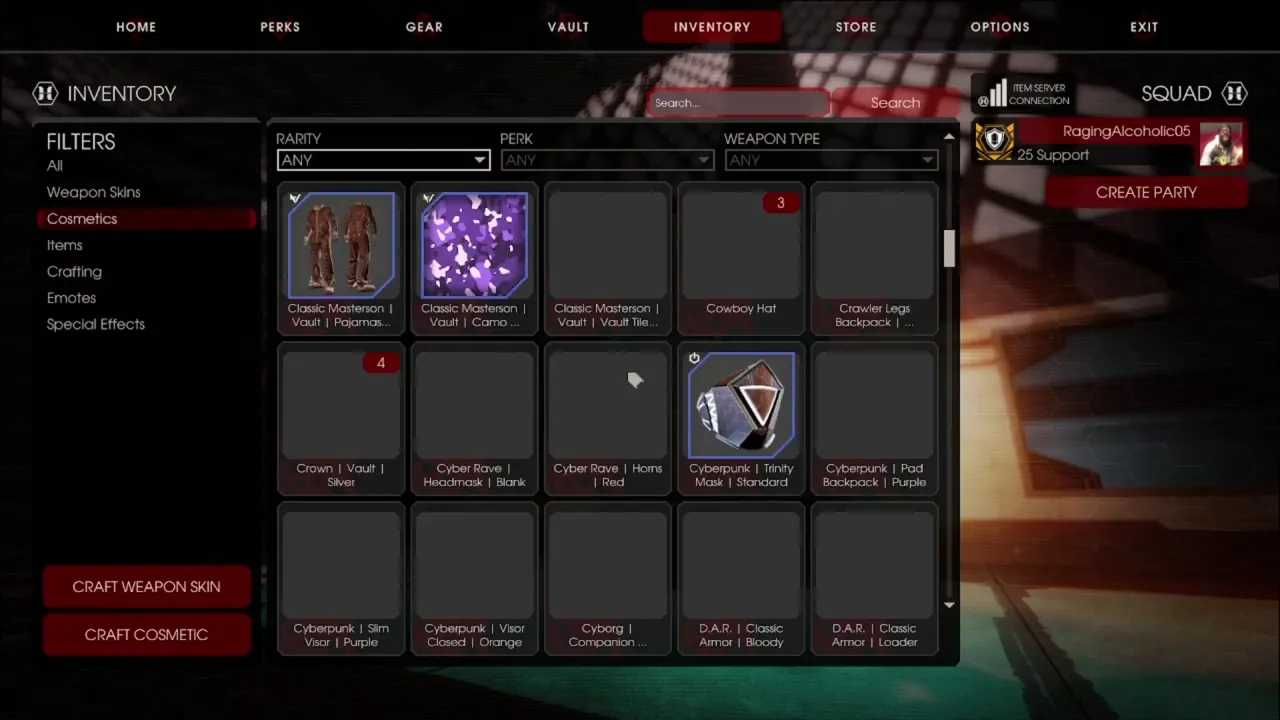 The Inventory tab with filters on the left and crafting buttons at the bottom.
Crafting turns duplicate items and seasonal tickets into new cosmetics and emotes. None of it affects gameplay. Read more in KF2 cosmetics, emotes and the item drop system.
Basic Training under Home is a short tutorial. It is worth one run before your first online match.
Choosing your first perk
Killing Floor 2 has ten perks: Berserker, Commando, Support, Field Medic, Demolitionist, Firebug, Gunslinger, Sharpshooter, SWAT and Survivalist. Each levels to 25. At every fifth level you choose between two skills, and you can switch them between matches.
Good first picks:
| Perk | Why it suits a beginner |
|---|---|
| Commando | Assault rifles, simple to aim, sees cloaked Stalkers and ZED health |
| Field Medic | Heals teammates, always welcome, forgiving weapons |
| Support | Shotguns, hands out extra ammo to the team |
| Berserker | Melee and parry, very tanky; teaches ZED behavior fast |
Full rankings and builds: best KF2 perks and the Berserker build. Leveling routes: fast perk leveling.
Lobby and changing perks
In the lobby the same Perks tab is available, and everyone must press Ready before the match starts.
Picked the wrong perk mid-match? Press Escape (or pause on a controller) and choose another. The change only applies at the end of the wave, and only once per wave. Plan the switch before the Trader opens so you can buy the right weapons.
During a wave
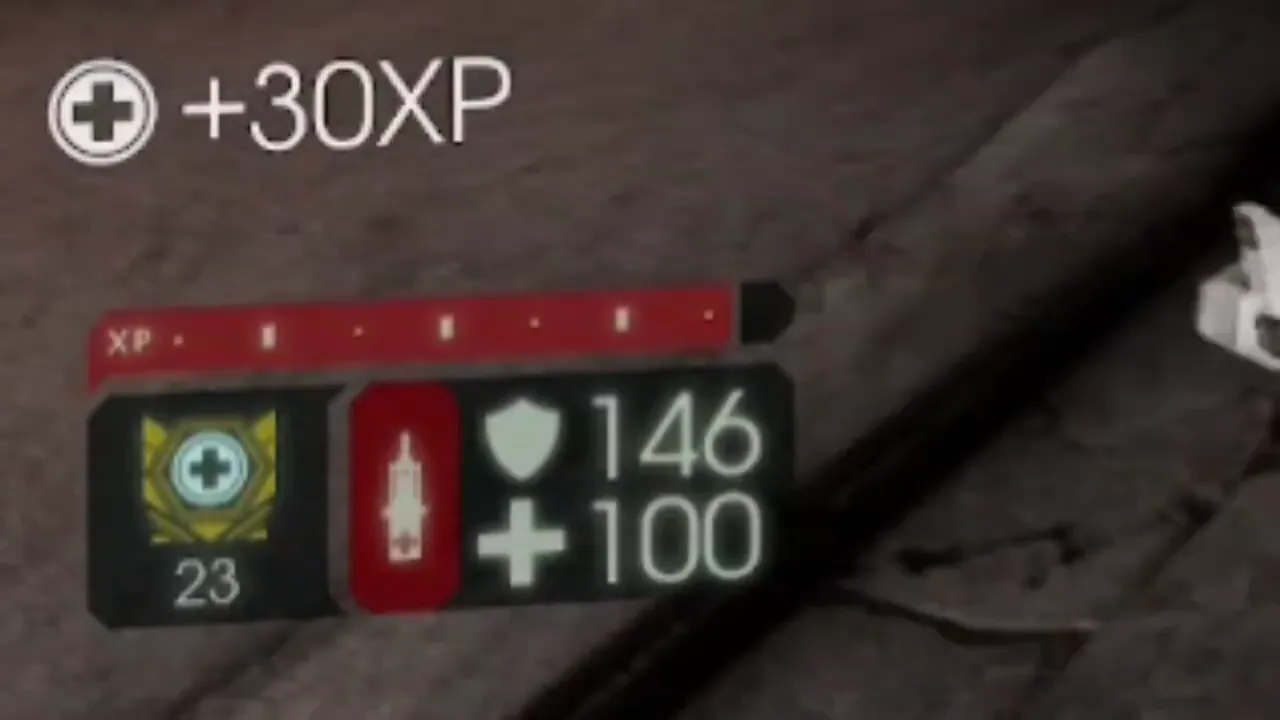 The bottom-left HUD: perk icon and level, health and armor, XP popups.
- Stay close to the Trader. When the wave ends the Trader opens for a limited time. Within about 60 m you are fine; at 100 m or more the pod may close before you reach it. The Trader arrow and the distance in the top-left corner show the way.
- Pick up ammo boxes and weapons lying on the map. They spawn less often on higher difficulties, so do not count on them on Suicidal or Hell on Earth.
- Bash ZEDs. A weapon bash interrupts attacks and sometimes kills weak ZEDs outright.
- Zed Time is the slow-motion moment triggered by kills. Use it for headshots. A level 25 Berserker moves fast in Zed Time, which is a good escape.
- Alt fire. Many weapons have a secondary mode: burst fire, a scope, a grenade launcher or a different attack. Middle mouse by default on PC.
- Flashlight: F on PC. Several maps are dark enough that you need it.
- Objectives. Some waves add an area security objective, a zone highlighted in purple with a purple arrow. Holding it pays bonus dosh and XP. Not every match rolls one.
At the Trader
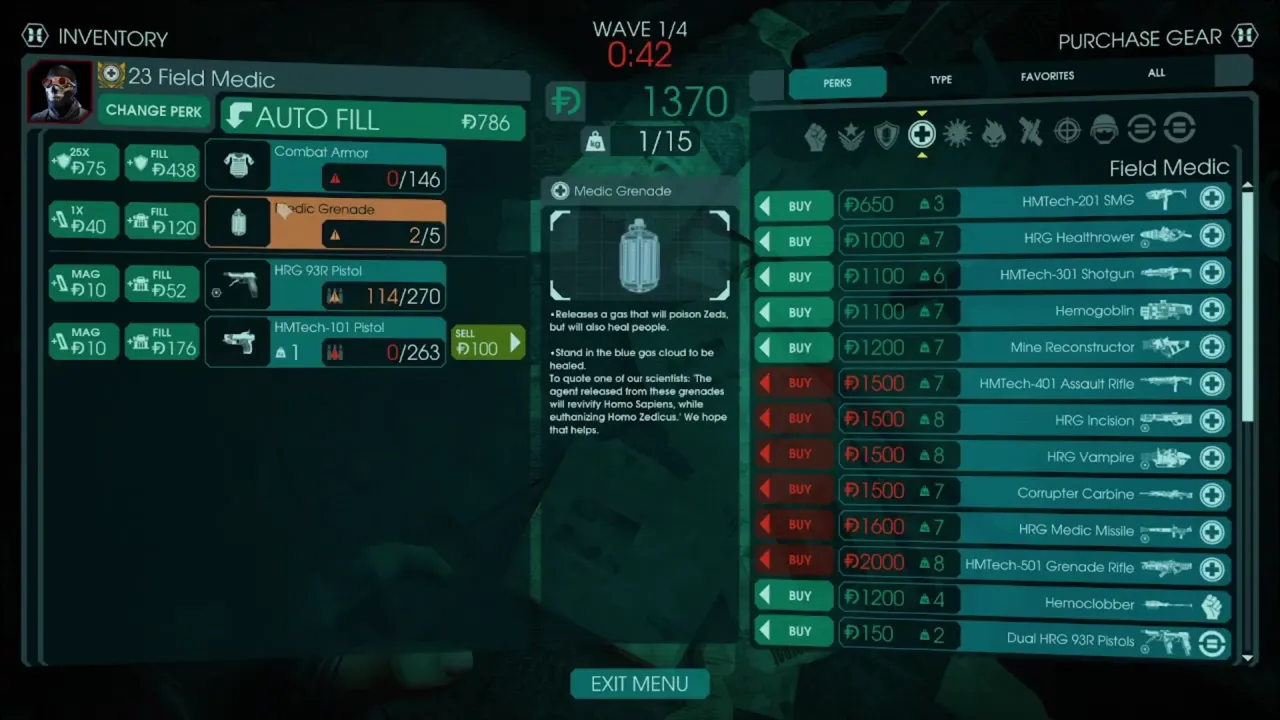 The Trader: your inventory and weight on the left, the shop list on the right.
- Press the star on a weapon to add it to Favorites. The Favorites tab saves time every wave.
- Filter by perk, by type (launchers, crossbows, snipers and so on) or show everything in one list. Filtering by your current perk is fastest.
- Auto Fill refills ammo and armor in one click.
- Sell weapons you no longer use. You get part of the price back.
- Upgrade a weapon with the Upgrade button. Each weapon can be upgraded a limited number of times, some not at all, and every upgrade level adds weight.
- Armor is on the left with your inventory. Buy it, especially from mid-game on.
- Skip Trader ends the shopping phase early once everyone is ready.
Which guns to buy: best KF2 weapons.
Weight
Every weapon has a weight, and your carry limit is shown at the bottom right (for example 14/15). Upgrades add weight, so a fully upgraded weapon may push something else out. Plan your loadout around weight, not just price.
Reading the HUD
| Area | What it shows |
|---|---|
| Top left | Wave number, ZEDs remaining, distance to the Trader |
| Bottom left | Perk icon and level, perk progress, health and armor |
| Bottom right | Ammo, grenades, carry weight, dosh |
| Center | Objective markers, Trader arrow, teammate names |
Controls worth knowing
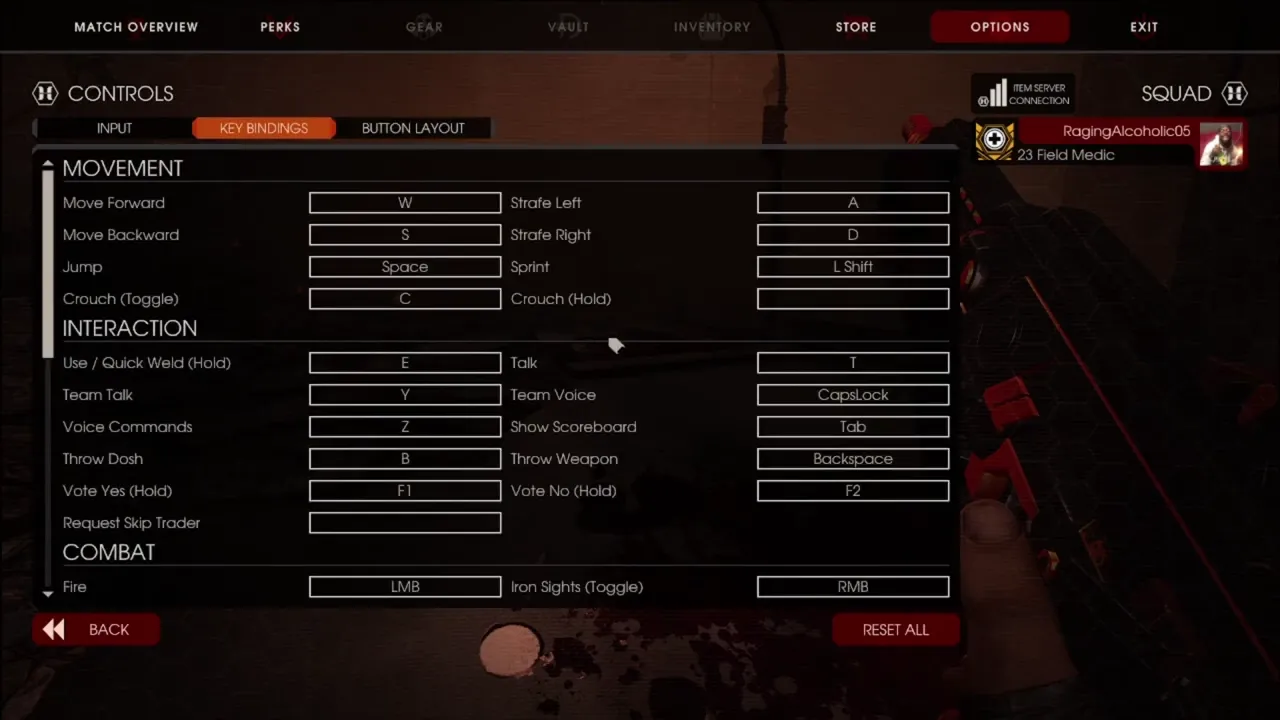 Options > Controls: every binding, including controller layout.
| Action | PC default |
|---|---|
| Use / weld | Hold E to take out the welder |
| Unweld a door | Welder alt fire (middle mouse) |
| Drop dosh for a teammate | B (you can pick it back up) |
| Throw a bought weapon | Backspace (the starting pistol can't be thrown) |
| Alt fire | Middle mouse |
| Flashlight | F |
Controller layouts are listed in Options > Controls > Button layout. More binds: keybinds.
Welding doors
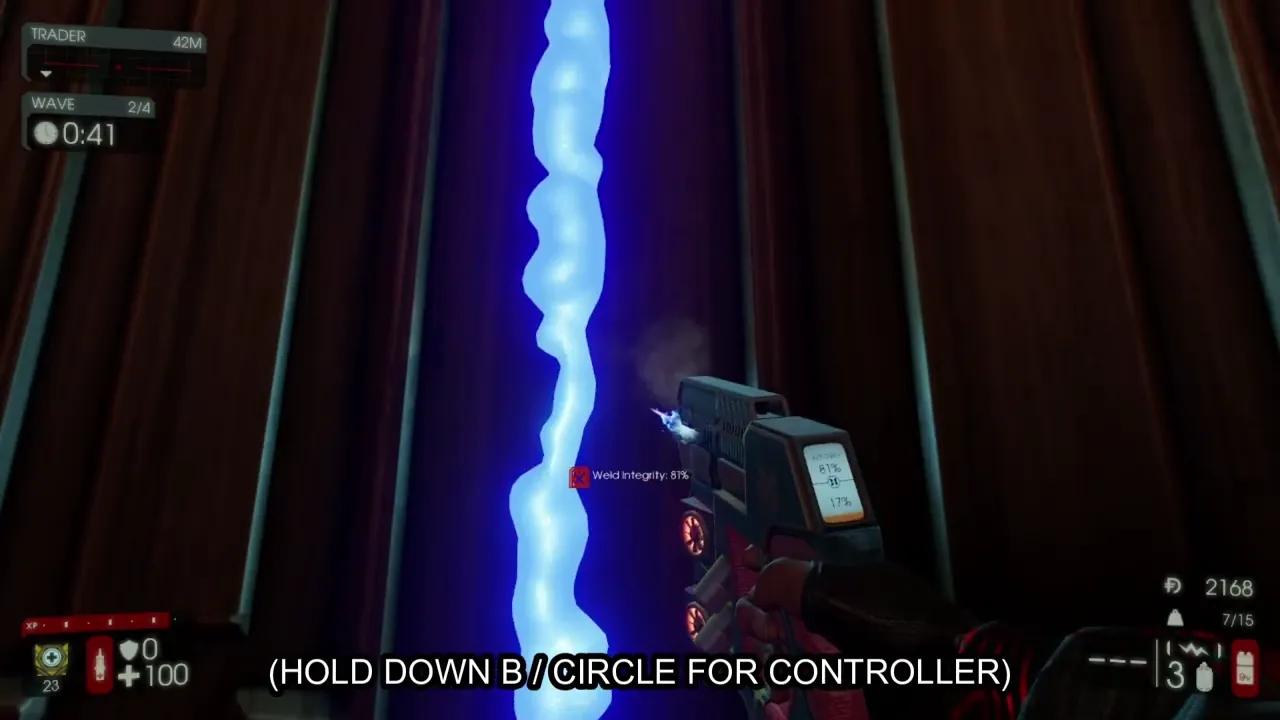 A welder beam in action.
Welded doors hold ZEDs back for a while and funnel them into routes you choose. Large ZEDs like the Fleshpound break doors quickly, so welding buys time, it does not seal a room for good. Do not weld a door your team needs as an escape route.
Sharing dosh and weapons
- B drops dosh. A teammate short on cash for armor or a key weapon is the best use of your spare money, especially before the boss.
- Backspace throws a bought weapon. Hand a spare medic gun or a shotgun to whoever needs it.
Settings to change first
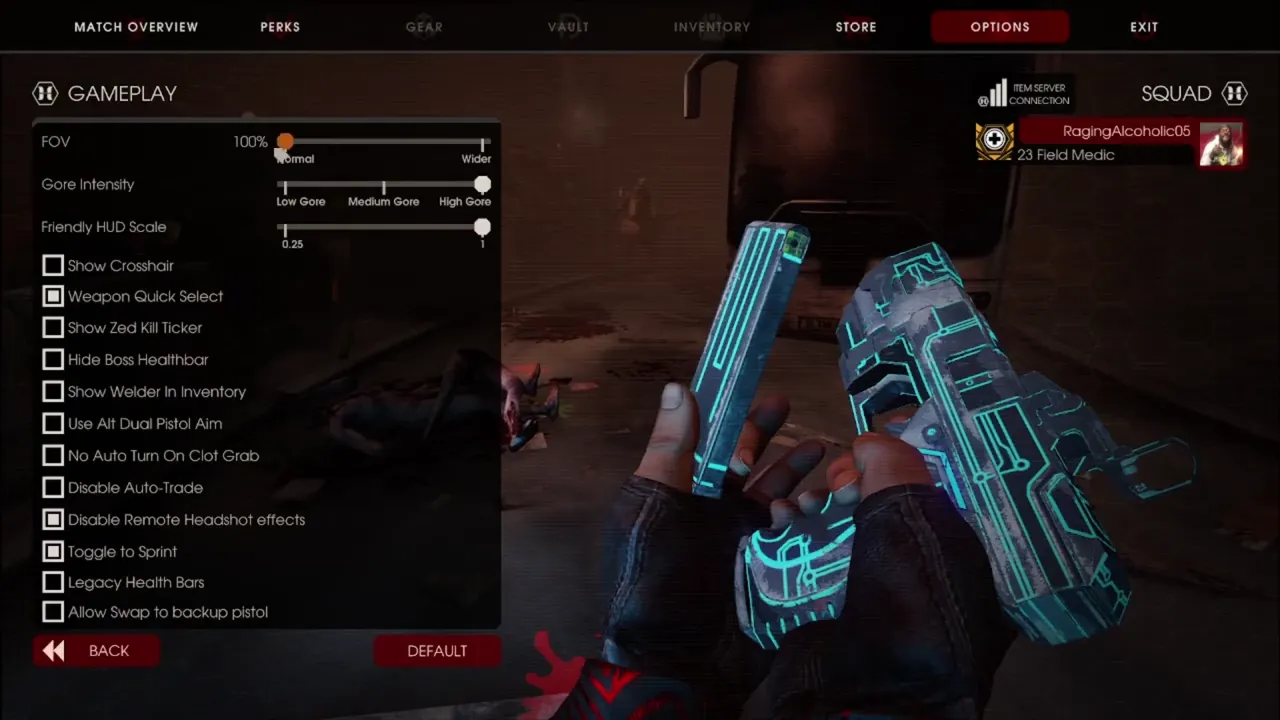 Options > Gameplay, where the field of view and HUD options live.
- Field of view. On PC, raise it. A higher FOV shows more ZEDs at once, so you get surrounded less often. Around 115 is a common choice; go higher if you like. Consoles may not offer the setting.
- Mouse sensitivity and zoom sensitivity. Set both before your first match. Zoom sensitivity matters for scoped weapons.
- Key binds. Check where weld, dosh drop and flashlight sit and move them if they clash with your habits.
Dailies, weeklies and progression
Daily and weekly objectives ask you to finish a map on a set difficulty, get kills with a specific perk or weapon type, or deal a certain amount of damage. They pay extra XP and are a good push to try perks you would otherwise ignore. Note that some weapon-specific dailies only count damage from that weapon class.
The Weekly Outbreak changes the rules for a week (for example, all ZEDs explode on death). After reaching level 25 you can prestige a perk for cosmetic rewards.
Boss wave
Before the boss wave, spend everything: fully upgraded weapons and full armor make the fight much easier. If you have spare dosh, drop it to a teammate who does not.
The boss is one of five, picked at random:
| Boss | What to watch for |
|---|---|
| Hans Volter | Gas grenades, dual guns; grabs a player to drain health |
| Patriarch | Minigun, rockets, cloaking, heals several times |
| Matriarch | Lasers, shields, and a mechanical suit |
| King Fleshpound | Rage charges, minions, a beam |
| Abomination | Spawns smaller creatures; armored |
Full breakdowns are in KF2 bosses.
Beating the Patriarch
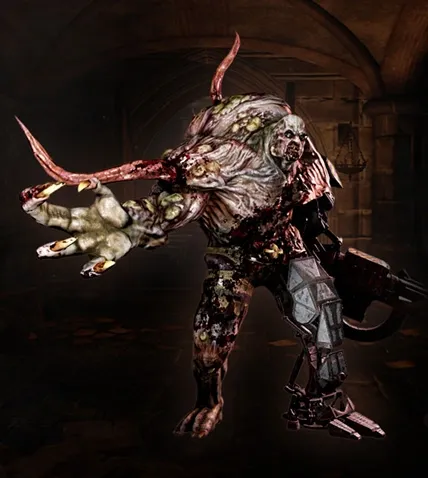 The Patriarch, the most familiar of the five bosses.
- He has a minigun and rockets. Never stand in the open; keep breaking line of sight with cover.
- Stay far behind cover. Close to a wall, rocket splash still reaches you.
- He has a grapple that pulls you into melee range. Keep distance.
- He fires a missile upward that comes down on your position. Move as soon as you hear it; it can be dodged.
- He flashes when hit, and you can hear him, which helps track him while cloaked.
- His health bar has four stages and changes color each time. At each stage he runs off to heal and gets slightly weaker.
- Shoot him while he flees. The more damage he takes on the way, the less he heals. Some teams burst him down before he heals at all.
- Use a light sidearm such as the 9mm on the small ZEDs he brings and save your main weapon ammo for him.
- Kite. Keep moving around the map in a loop. Standing still is how solo players die to him.
After the match
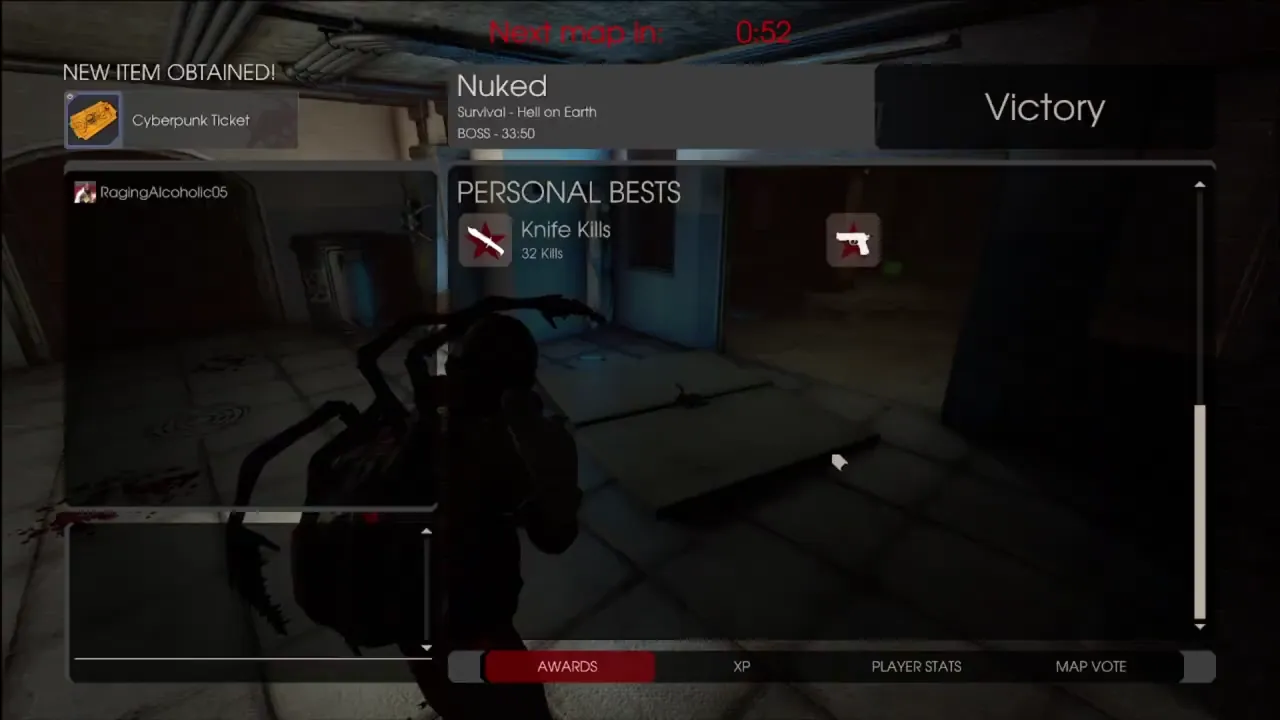 The end-of-match screen with personal bests, then the map vote.
The stats screen shows kills by weapon type, XP earned, damage dealt and your most used weapons, followed by team awards and the map vote. It is a quick way to see which weapons actually carried you.
Common beginner mistakes
- Finishing the wave far from the Trader and missing the shop.
- Buying weapons for a different perk. Off-perk weapons get none of your perk bonuses.
- Never buying armor.
- Over-upgrading one gun and running out of weight for a backup.
- Shooting a Scrake or Fleshpound with weak weapons and enraging it. Learn which big ZEDs to leave to the right perk: Scrake and Fleshpound takedowns.
- Welding every door, including the team's escape route.
Next steps
Parrying and ZED behavior come with practice. Once the basics feel natural, read the ZED types guide, pick a perk build, or try the PvP Versus Survival mode.
Sources
- WezaaTZK, Killing Floor 2: A Beginner's Basic Guide For Starting In 2024!, May 2024 (YouTube).
- Aureolin Heartrate Gaming, Shooting Zeds! Killing Floor 2, January 2022 (YouTube): a co-op session on Suicidal and Hell on Earth while working through dailies.
Screenshots on this page are frames from the first video.
 A co-op stream working through daily objectives.
FAQ
- Where do I choose my perk in Killing Floor 2?
- In the Perks tab of the main menu or the lobby, not at the Trader. Mid-match you can change it from the pause menu, but it only applies at the end of the wave.
- How do I upgrade a weapon?
- At the Trader, select the weapon and press Upgrade. Each weapon has a limited number of upgrade levels, some have none, and every level adds weight.
- How do I give money to a teammate?
- Press B on PC to drop dosh. The teammate walks over it to pick it up, and you can pick it back up yourself if needed.
- Which boss will I fight?
- One of five, picked at random: Hans Volter, the Patriarch, the Matriarch, the King Fleshpound or the Abomination.
- What field of view should I use?
- Raise it from the default on PC. Around 115 is a common choice because you see more ZEDs at once and get surrounded less.
- Why can't I reach the Trader in time?
- The Trader is open for a limited time after each wave. Finish waves within about 60 m of it and follow the Trader arrow.
