
KF2 Survival Guide for New Players: Perks, Money, Map Spots
This guide was written for the early access build of Killing Floor 2 by a Spanish-speaking player. It helps newcomers survive waves and build strategy: match parameters, what each perk does, how to save dosh and ammo, team tactics, good defensive spots on the launch maps and general tips. Where numbers appear, they describe the game as it was in that period.
Match parameters
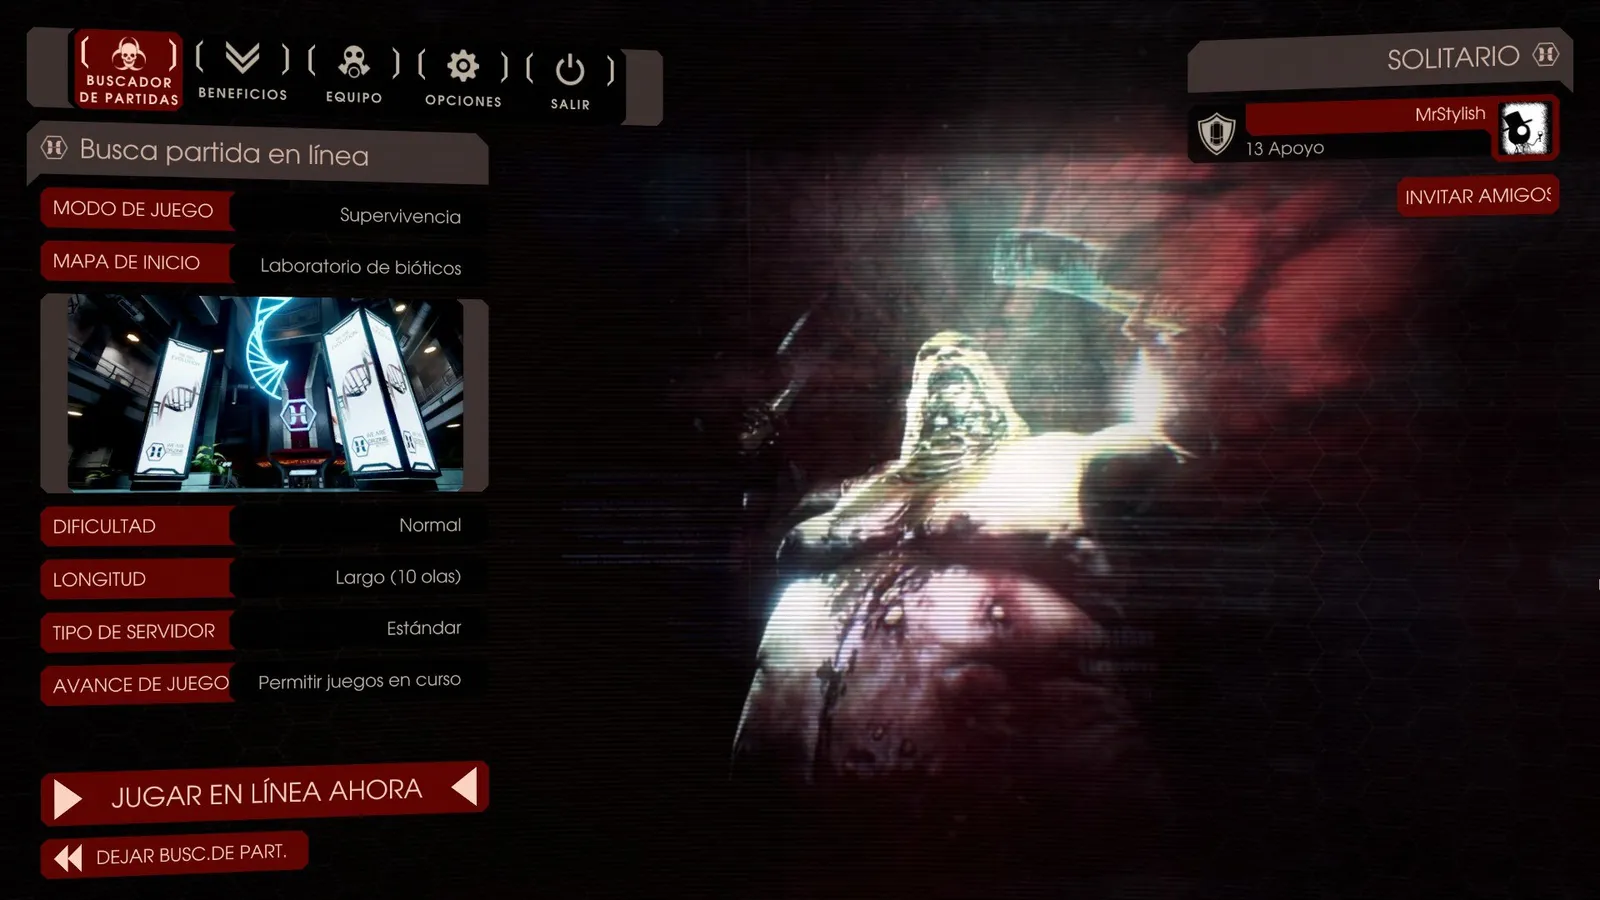 Server browser filters: mode, map, difficulty, length.
- Mode: Survival was the only mode at the time.
- Starting map: Biotics Lab, Burning Paris or Outpost. Choose "any" to find a match faster.
- Difficulty: the author recommends Normal for levels 0-10 (learn the maps and level up perks), Hard for 10-20, Suicidal for 20-25 and Hell on Earth at the top level. Treat this as advice: more players raise the chances of surviving a map.
- Length: Short is 4 waves plus the boss wave, Medium is 7 plus boss, Long is 10 plus boss. The author likes Long because the strong waves only start around wave 5 or 6, leaving time to save money.
- Server type: Standard (classic rules) or Custom (user managed, may change the experience).
- Game progress: allow games in progress, or only new games that start from wave 1.
Every filter has an "any" option.
Graphics
If your PC is limited, do not push the settings to the maximum. A stutter at a bad moment, for example when a Scrake is chasing you, can cost you the run.
Perks
Only four perks existed at that time:
- Berserker: heavy melee damage and high mobility. Bonus XP for kills with no allies nearby.
- Commando: kills normal ZEDs with assault weapons. Bonus XP for Stalker kills.
- Support: high damage and bullet penetration, great against bosses. Bonus XP for welding doors.
- Field Medic: keeps the team alive and is the toughest to kill. Bonus XP for every 20 HP healed on allies.
ZED kills give XP to the perk of the weapon you used, so a Commando killing with a shotgun feeds Support. XP also rises with difficulty.
Saving dosh and ammo
Everyone starts with a pistol, two grenades and a primary weapon, and everything costs money. On Long games the big threats such as Scrakes appear around waves 4-5.
- Pistol ammo is the cheapest (1 dosh per bullet), so until wave 3 save the primary ammo for a better weapon or extra ammo later.
- Kevlar costs 300. On Normal or Hard, early on, the medic pistol is a better buy for any perk.
- Die as little as possible, but if you expect to die, equip your most expensive weapon so a teammate can pick it up and return it. If you have no room for an ally's gun, drop your cheap starting gun.
- Share dosh with dead or newly joined players. You get a bonus at the end of a wave if you survive, and your team will lend you money too.
- Assists pay money and XP. Do not steal kills; a bullet often costs more than the reward.
- A good weapon beats a mediocre one. A Support who wants an AA-12 should not waste dosh on a hunting shotgun.
Team tactics
- Use the Z key quick-command menu if you have no voice chat.
- Do not run to rescue a lone wolf who ignores everyone; heal from a distance if you have a medic pistol.
- Call out Scrakes and Fleshpounds in chat (SC, FP) and never provoke them alone.
- Ignore a Scrake without provoking it and clear trash ZEDs first. A Fleshpound, with its area damage, should be handled by the whole team.
- Stay together but keep moving, unless you can cover the entire area. Then hold position and prioritize threats.
- If several Supports are present, do not all take the extra ammo bonus; one or more "Suppliers" are more effective, and they should announce it.
- Adapt: if the team has four identical perks, swap to another.
- Know your team's perk skills and the plan for the map before the game starts.
Defensive spots
Biotics Lab
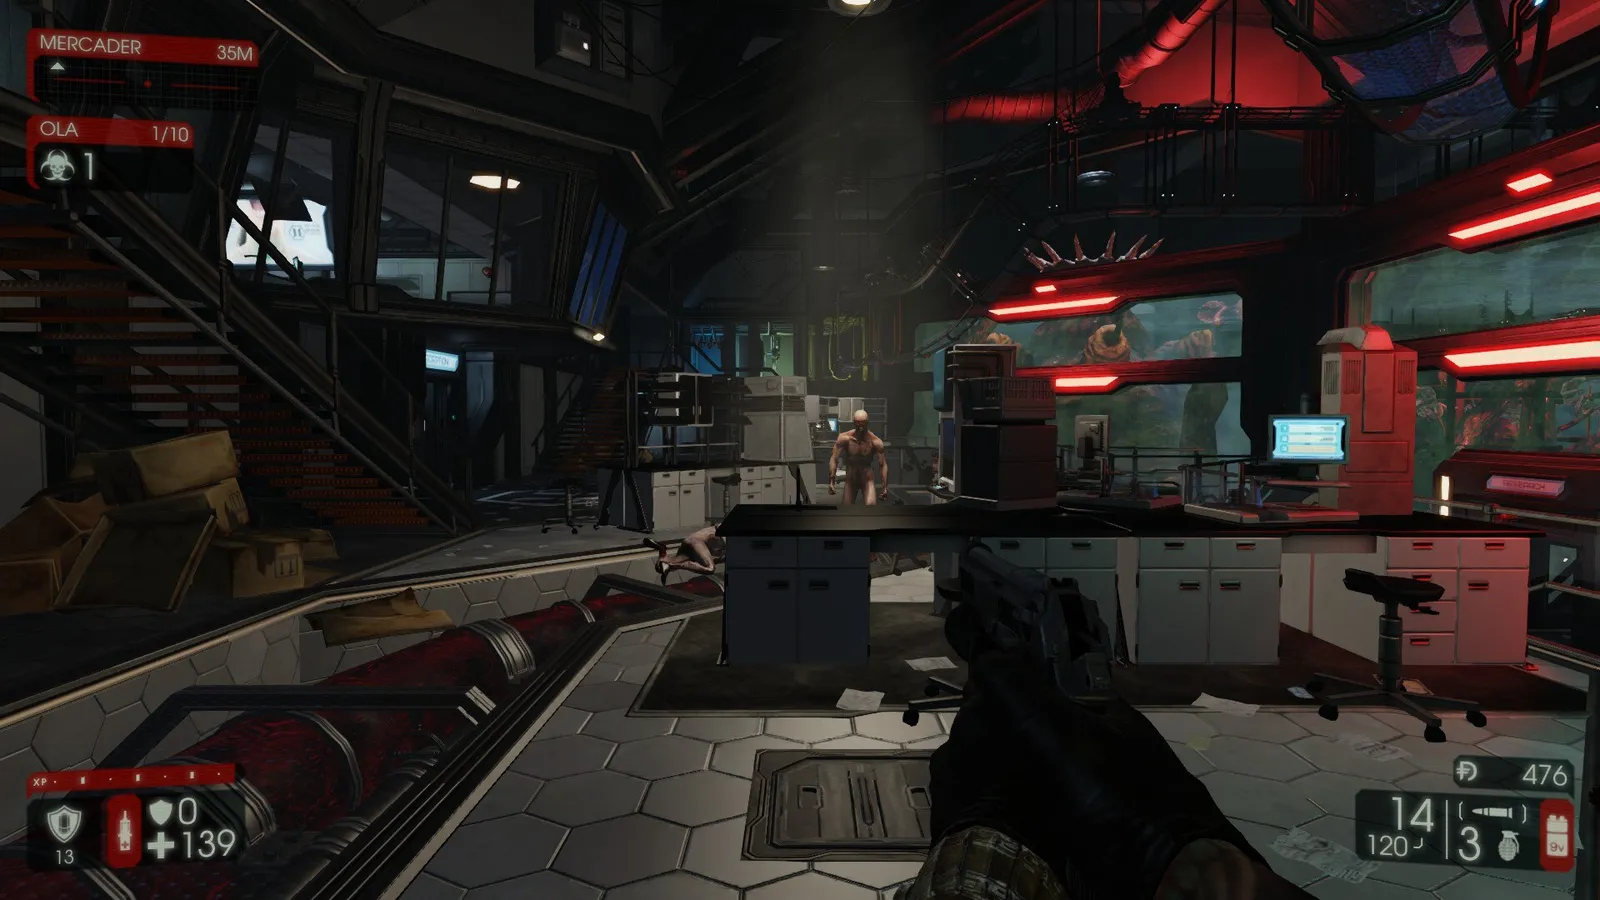 The main area, with several doors to weld.
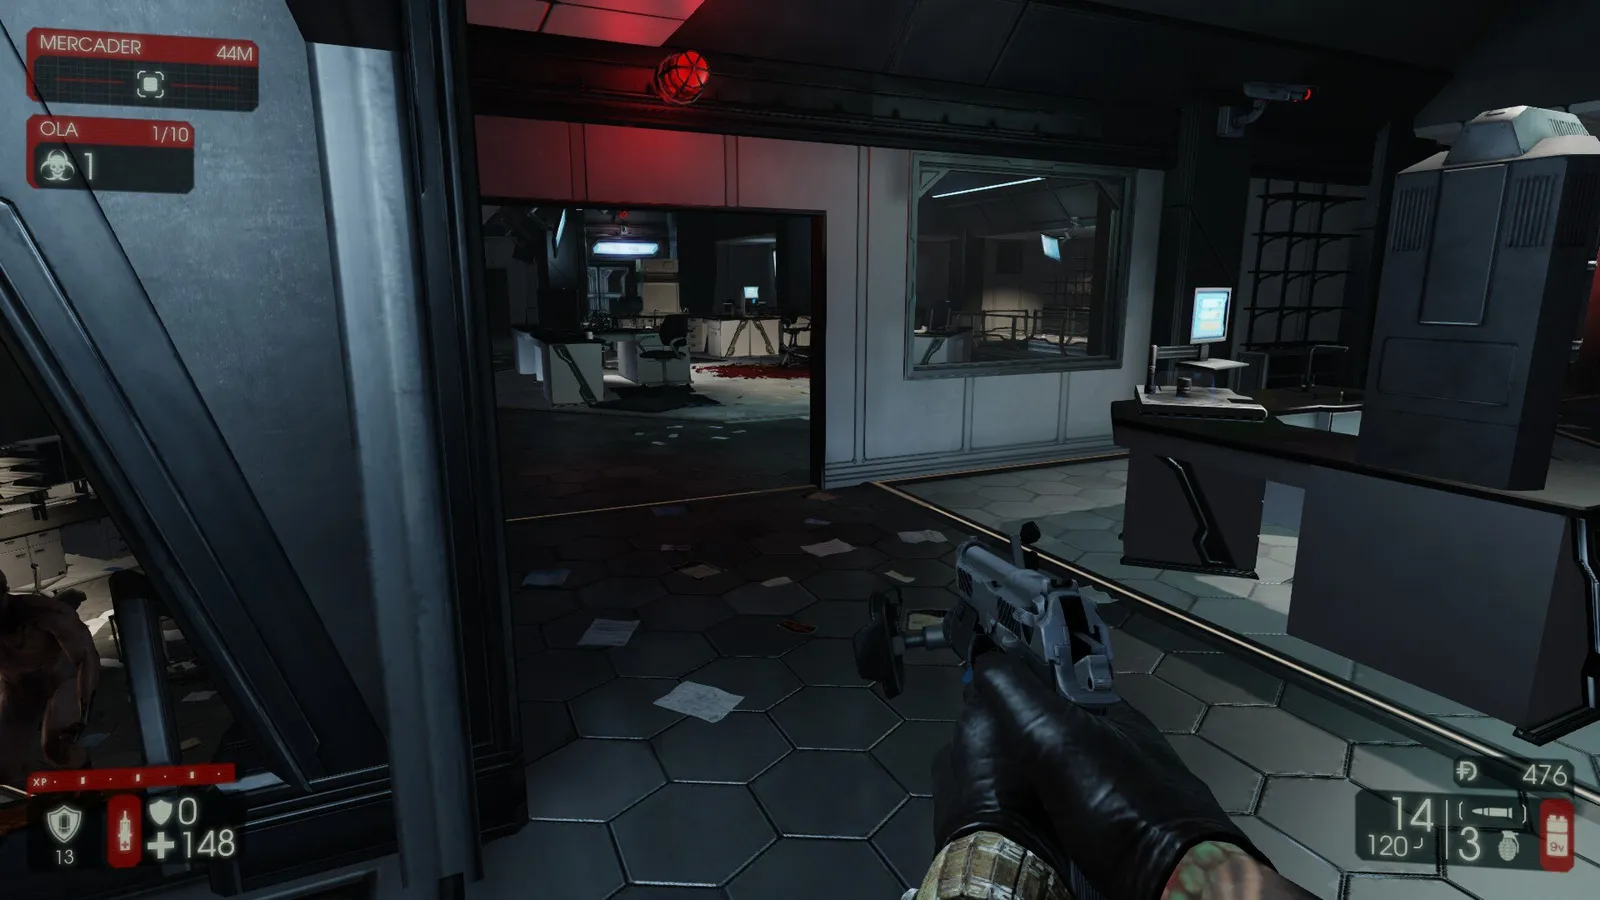 Second floor, held by one or two players.
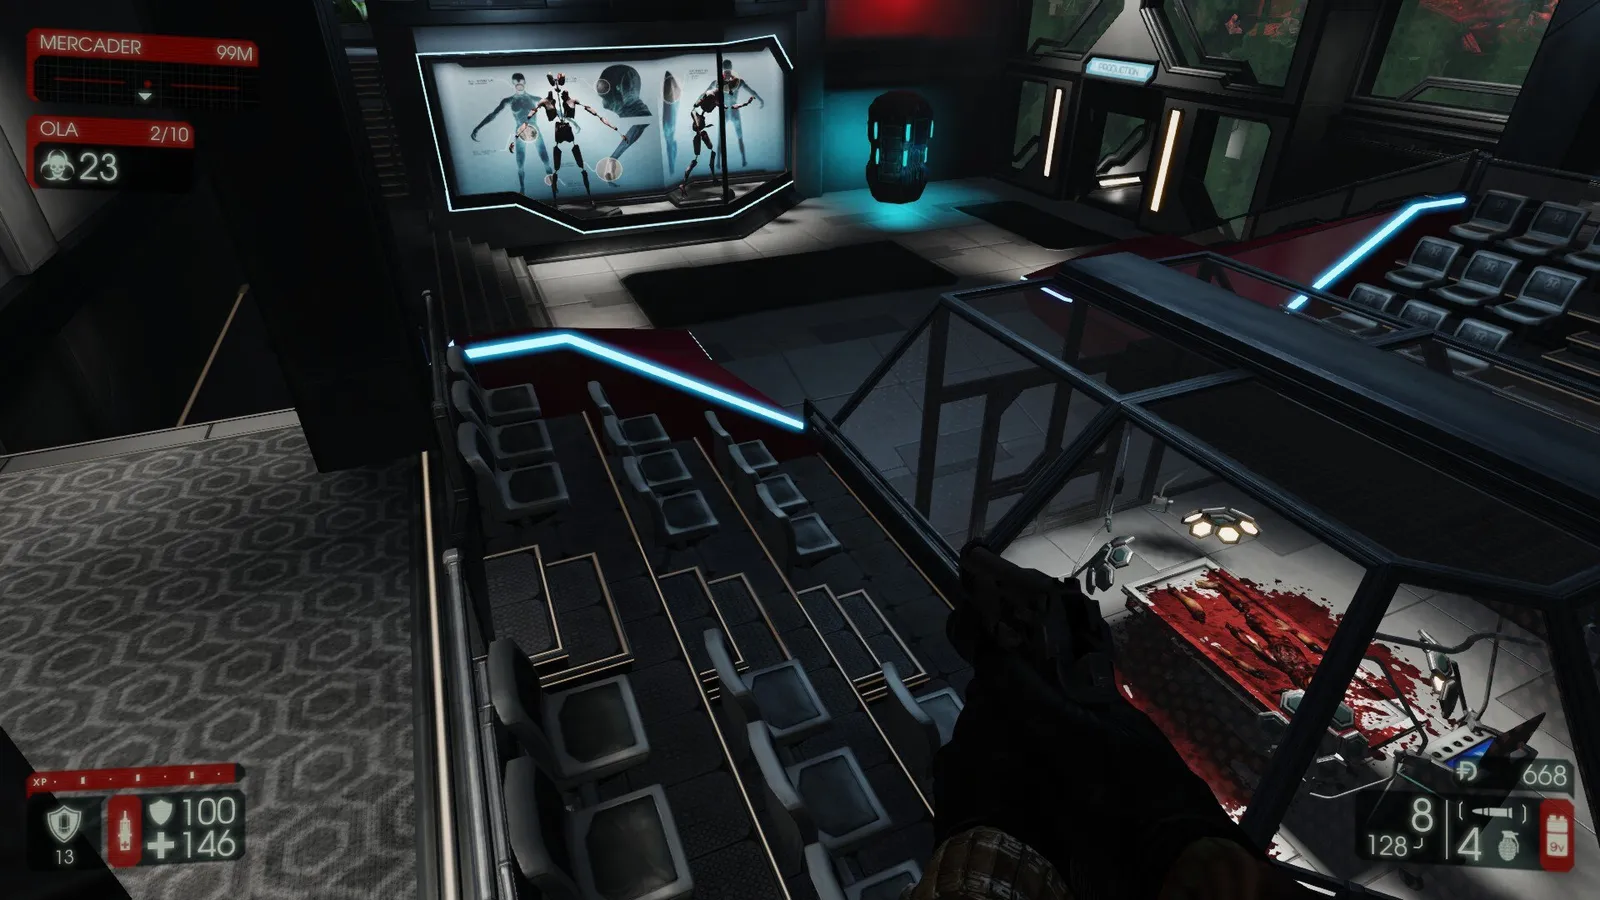 The dismemberment room with seats and pillars for cover, ideal against Hans.
Burning Paris
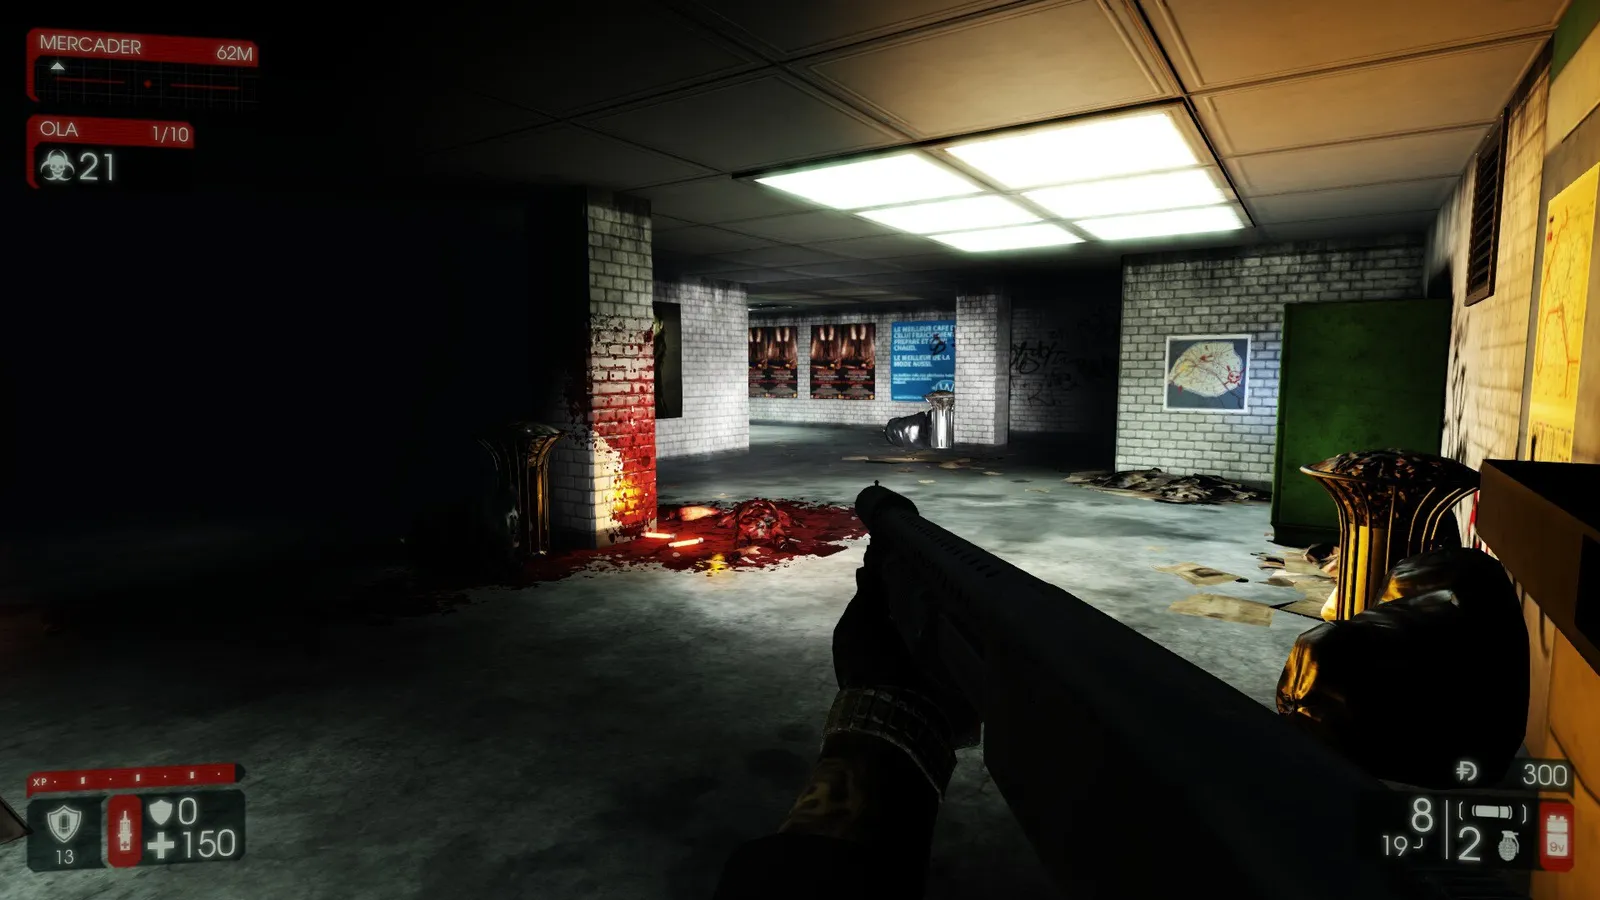 The tunnel, easy early, cramped on later waves.
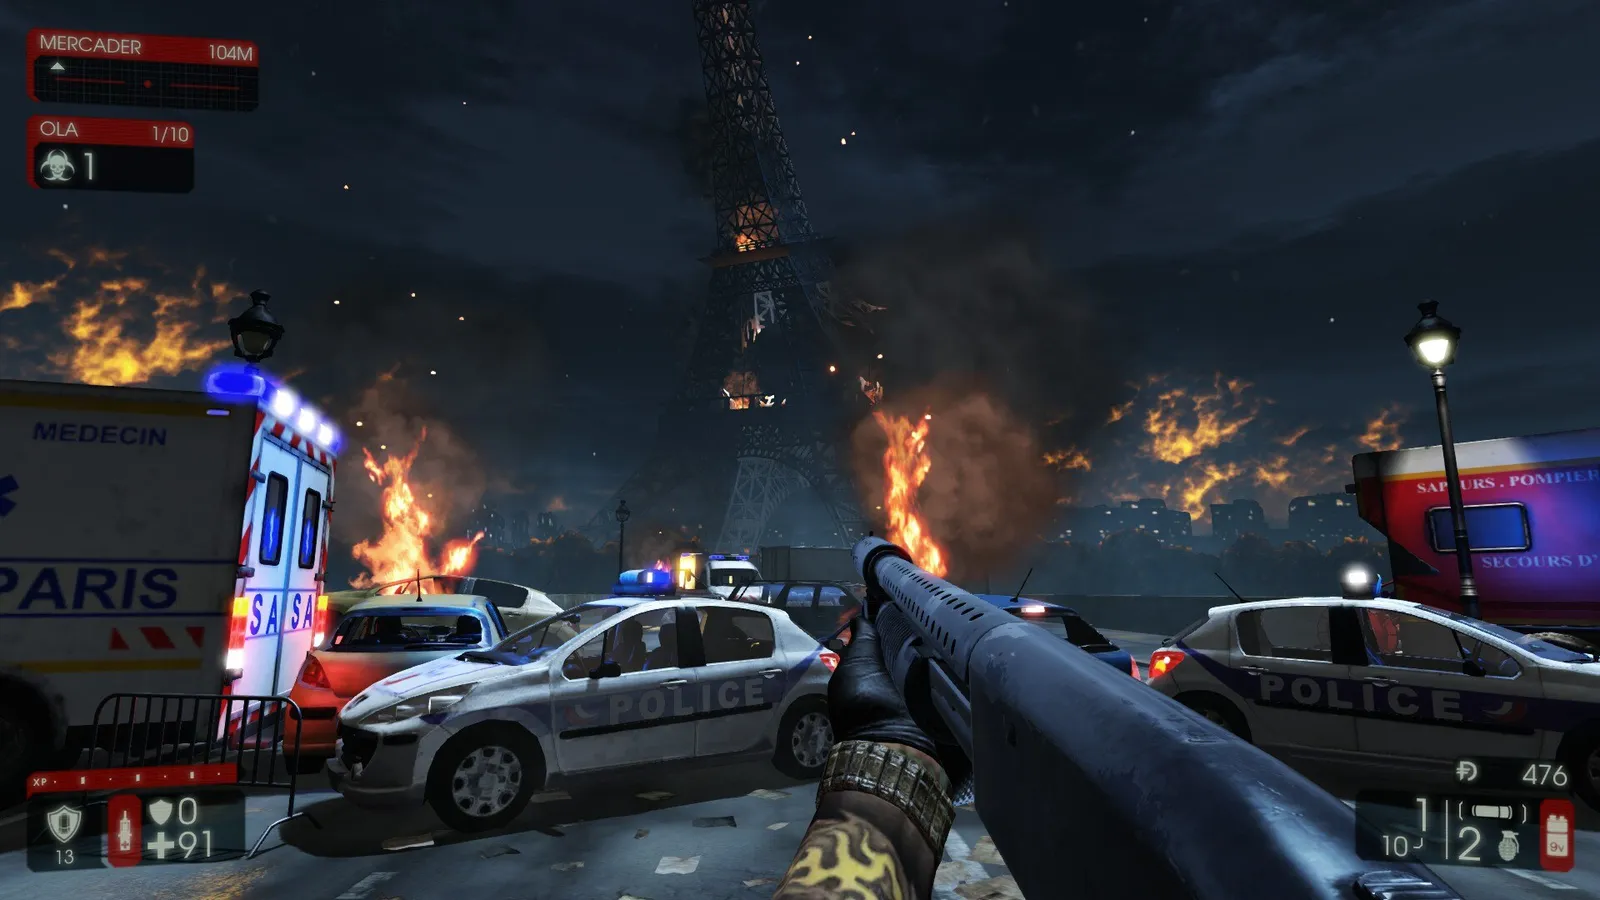 The area in front of the Eiffel Tower suits 5-6 players, but a Fleshpound can break the line.
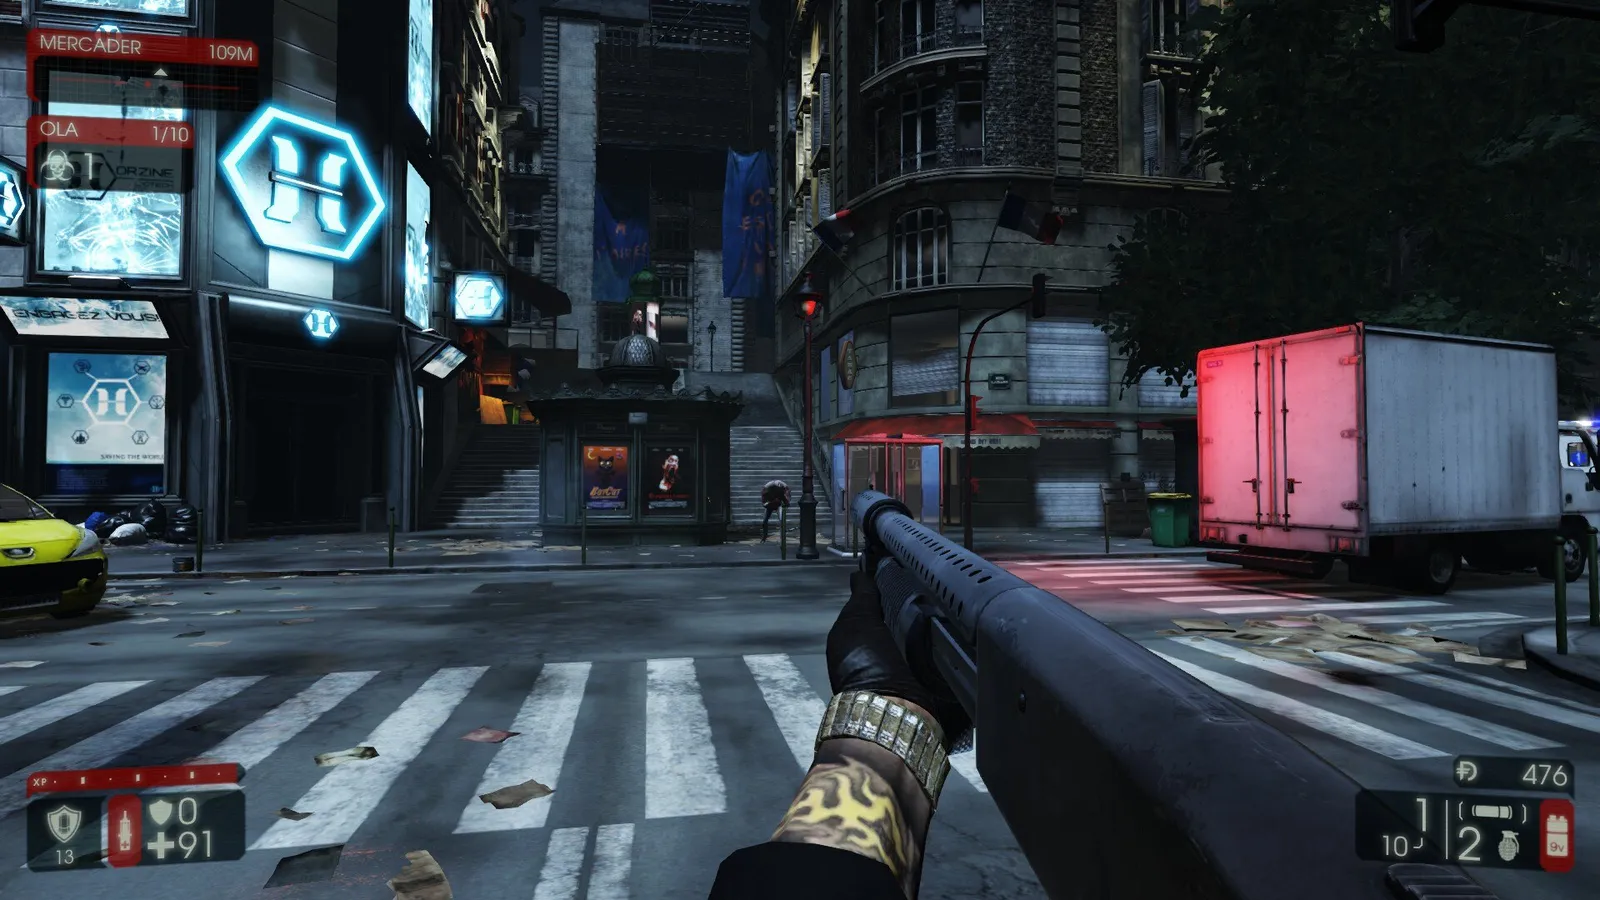 Another angle of the same position.
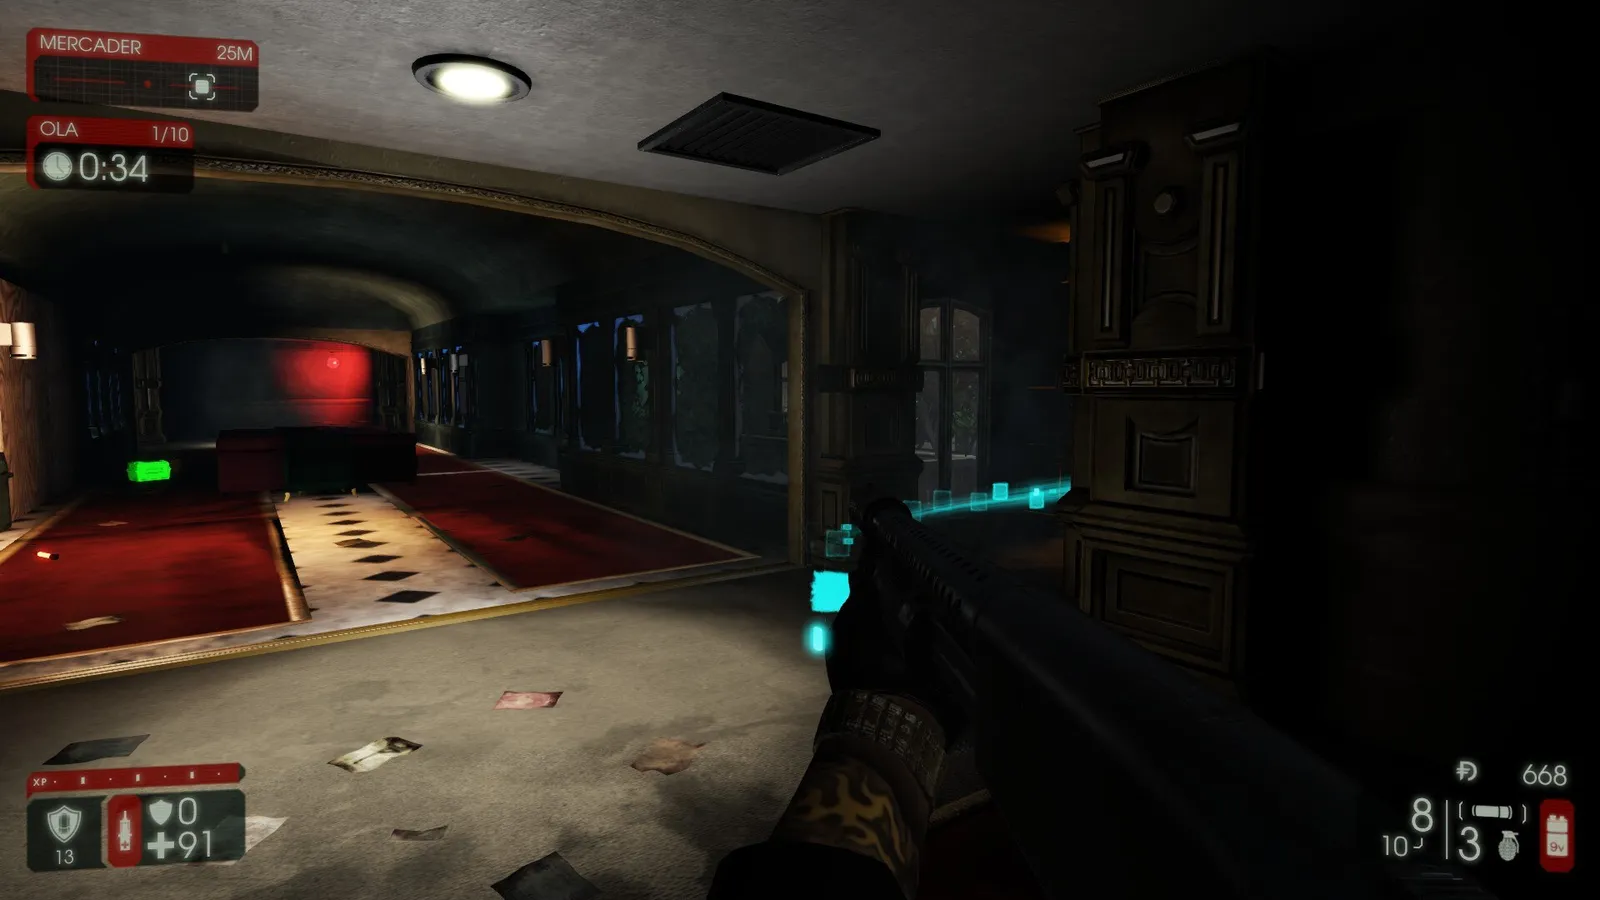 A spot for 3-4 players with an escape to the park below; seal the white doors on the right to control entry.
Outpost
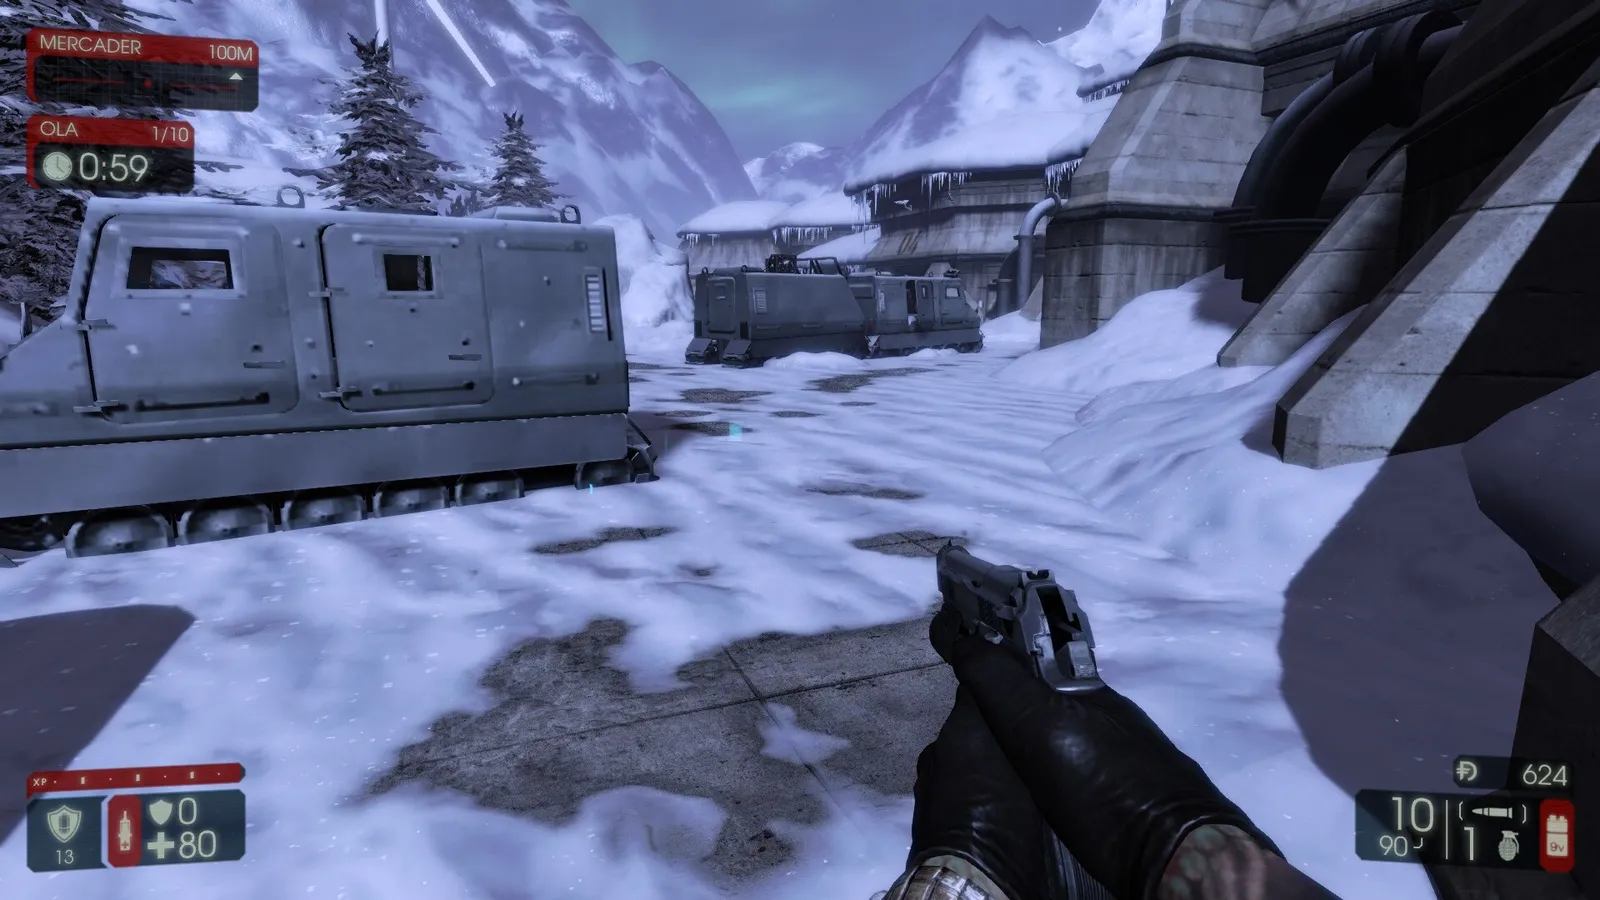 The vans area contains ZEDs well, but area damage from Scrakes and Fleshpounds hurts.
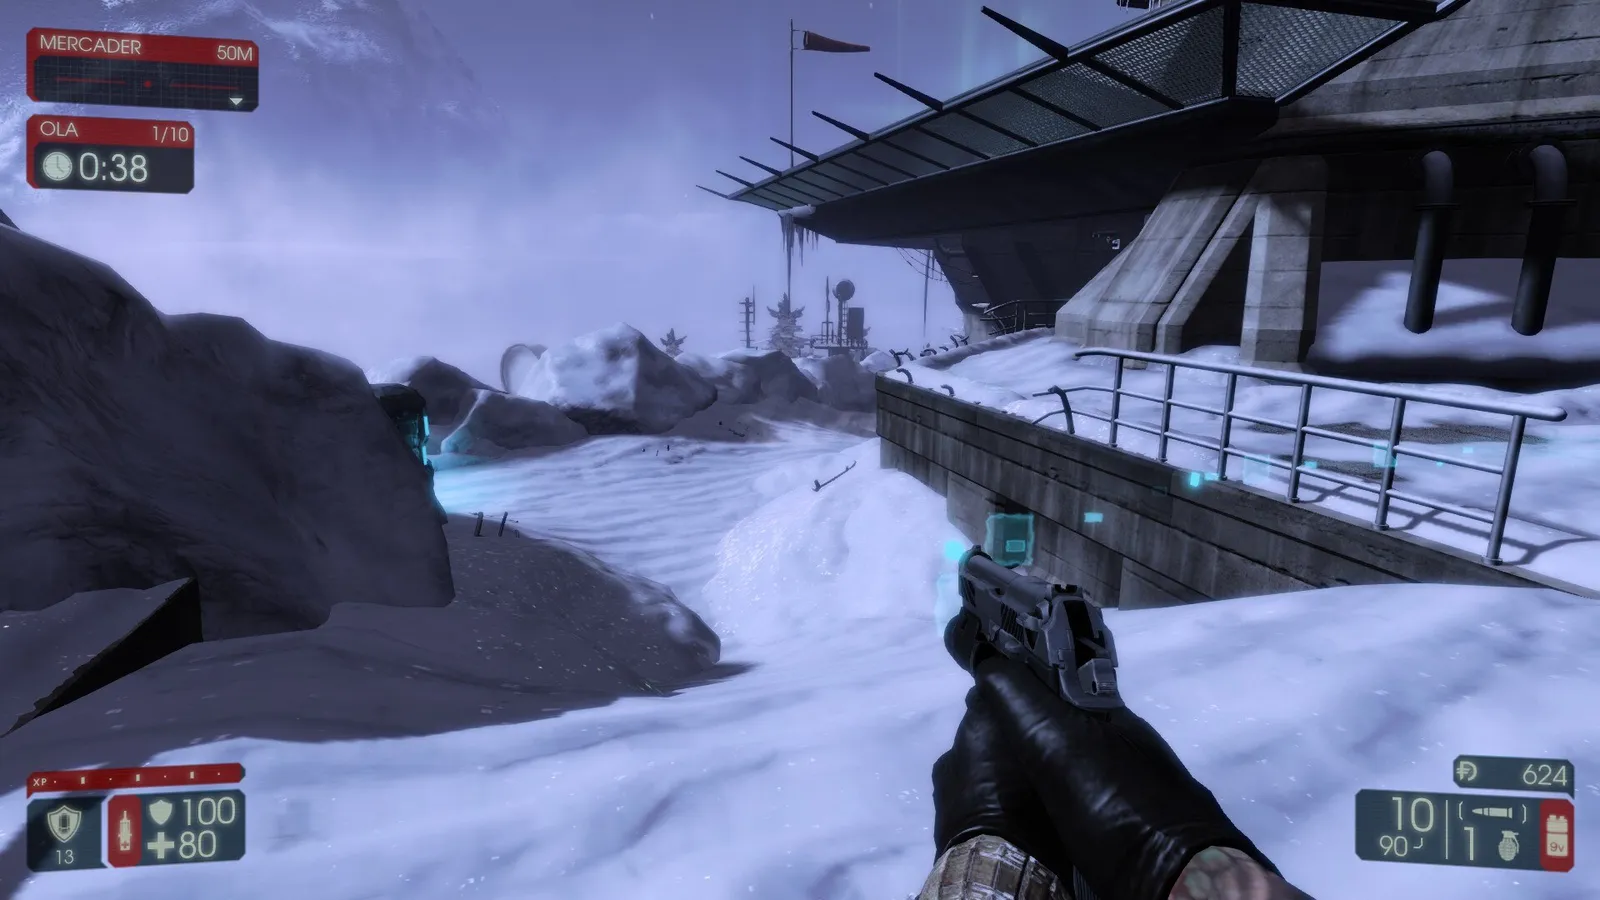 The ramp outside the bunker: holdable with 4 or more players.
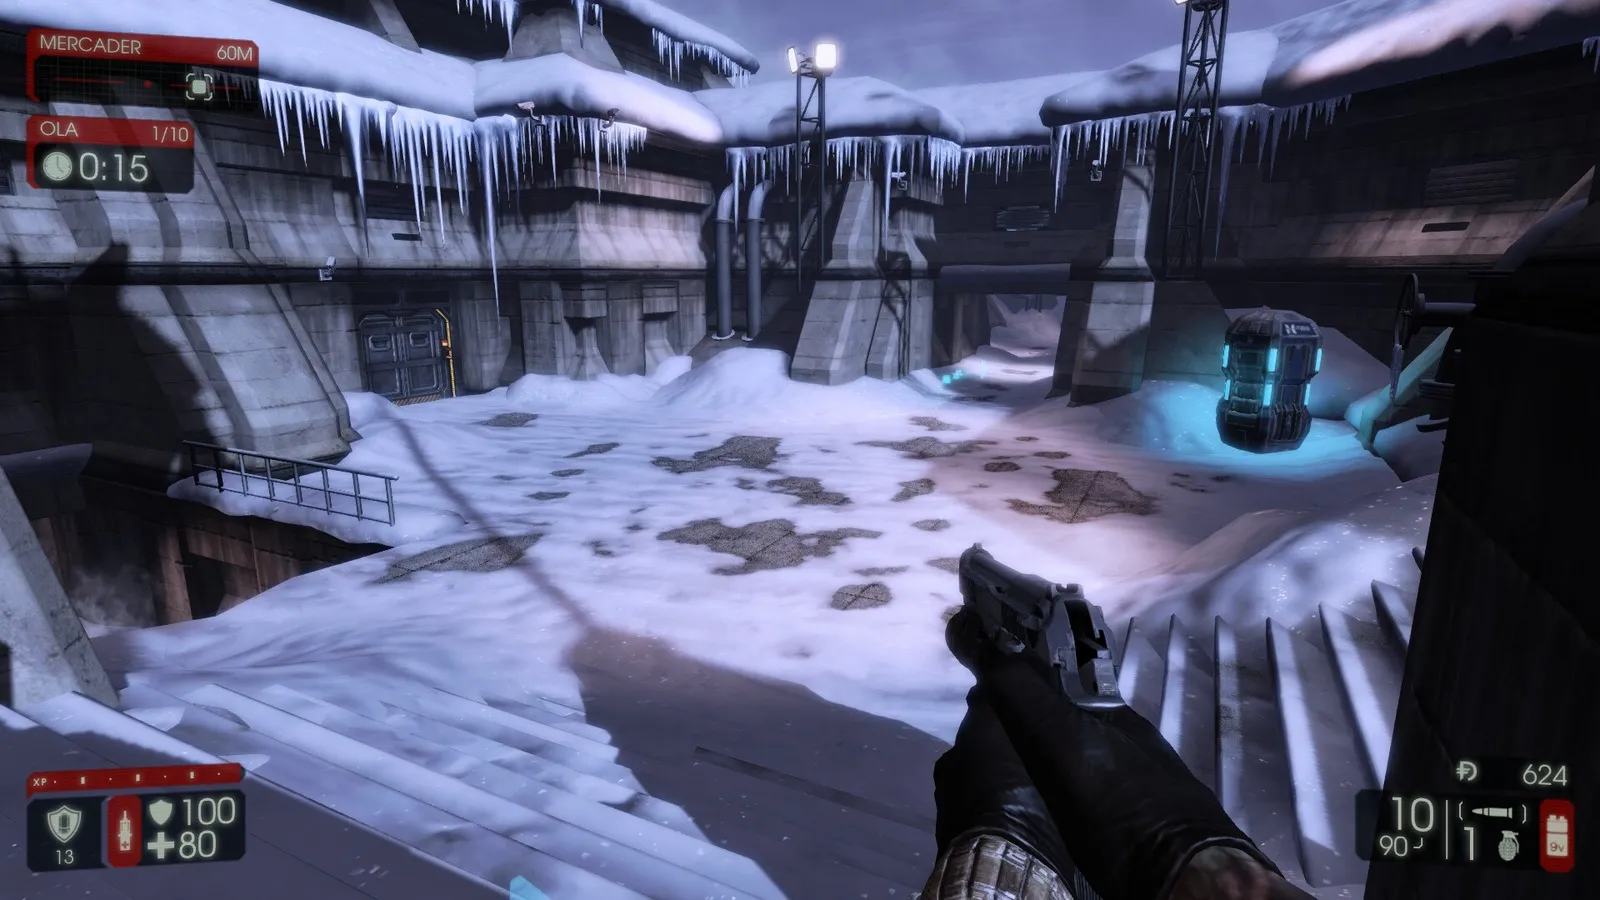 Considered the best spot, but needs 5-6 players to cover every angle.
Tips
- Priority of threats (all ZED types present, most to least dangerous): Fleshpound, Siren, Husk, Gorefast, Bloat, Clots, Scrake (if not provoked).
- Die holding your strongest weapon.
- Buy a medic pistol on any perk.
- Pick a defensive zone together and cover it; announce threats.
- Do not weld doors blindly; say so, so the team keeps an escape.
- Share dosh in high waves, and do not steal kills.
- Reload between waves so you do not run out of reserve ammo.
- Use the Z menu instead of typing.
- Check your escape route; in the first 4 waves and after shopping, walk the map and collect weapons and ammo.
- Pick perk skills that also help the team, such as Commando highlighting Stalkers.
- Do not underestimate Crawlers; they can distract the group while bigger threats approach.
- Pick up and sell loose weapons that do not belong to teammates.
- Shoot dead Bloats on the ground so they pop their small acid cloud away from players.
- Random weapon and ammo pickups spawn at fixed places, with one set during the wave and another in trader time.
- Aim for the head. When a ZED hesitates, it buys you seconds to run or heal.
- When isolated, keep moving: sprint, turn, pop heads (weaker ones first), keep running, as in the first Killing Floor.
- In waves 8-10 money is less of an issue, so give leftovers to others.
For other beginner material see KF2 beginner basics.
FAQ
- Which difficulty fits which perk level in this guide?
- Normal for levels 0-10, Hard for 10-20, Suicidal for 20-25, and Hell on Earth for the maximum level. These are recommendations, not hard limits.
- What is the cheapest way to heal teammates early on?
- Buy the medic pistol (about 200 dosh) regardless of perk. The guide suggests it instead of kevlar (300 dosh) in the first waves on Normal or Hard.
- How should I call out Scrakes and Fleshpounds?
- Type SC or FP in chat, or use the Z quick-command menu, and do not try to pull them alone.
