
KF2 Weapons Guide by Perk: Stats, Tiers, Prices and Builds (2020)
Killing Floor 2 has a huge arsenal, which prompts the question of which gun leads to victory fastest. This translated Russian community guide goes through every weapon by perk and briefly explains why some guns are good and others are not. It has not been updated since 25 February 2020 and the author marks its information as outdated, so treat it as a snapshot. It is meant to give players the minimum knowledge for high difficulties (Suicidal and Hell on Earth) and, like any guide, it cannot account for the human factor. For exact numbers use the official KF2 wiki. Related pages: weapons tier list and best weapons.
Terms
- DOT: damage over time. DPS: damage per second. DPM: damage per minute, which accounts for reloads, aiming and overkill.
- T0 to T5: weapon tier; each upgrade adds one tier up to T5. In builds, a number after "+" is the count of upgrades.
- Cross-perk weapon: a weapon that also gets bonuses from other perks, for example Dragonsbreath in Firebug and Support hands.
- Sharing mechanic: some weapons are not available to everyone, but once someone on the server owns them they appear for all players for the match.
- The 9mm pistol and all knives are perk-independent: you get XP for the perk you are playing.
Perk-independent weapons
Knife
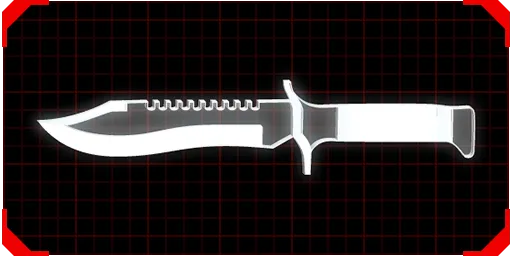 Knife: T0, free
Very high attack speed, low damage, short range. Nearly all knives are the same, always free and cannot be upgraded (the Scalpel pushes back twice as much). Use it on wave 1 to save ammo or to block 20 percent of damage from big zeds. Do not fight three Fleshpounds with a knife.
9mm Pistol
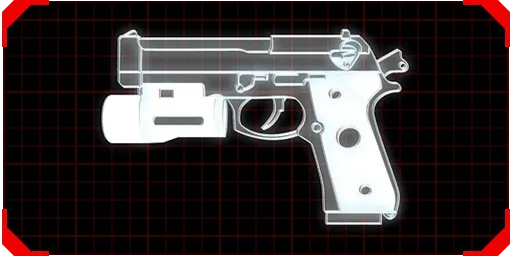 9mm Pistol: T0, free
Low damage (only the medic pistol is worse), mediocre rate of fire, little ammo. One 9mm is always available and weightless; a second costs 150 and weighs 2. Useful for Gunslinger and Sharpshooter headshot bonuses but otherwise only for waves 1 and 2.
Berserker
EMP Grenade
 EMP Grenade: T0, free, 40 each, max 5
Best thrown at a Scrake, Fleshpound or group of mini Fleshpounds before engaging. Enemies hit cannot run fast or use abilities other than a plain hit. Also very useful against Husks.
Crovel Survival Tool
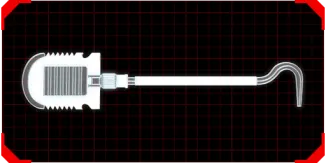 Crovel Survival Tool: T1, 200
Medium damage, range and speed. Not bad on early waves, problematic later. Replace it when you can.
Katana
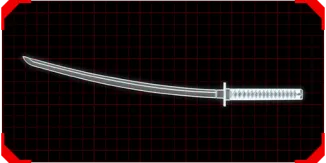 Katana: T2, 850
High attack speed, medium damage and range. Effective against small zeds; take it early or alongside the Eviscerator. The only weapon played with light attacks (with the Slaughter skill).
Fire Axe
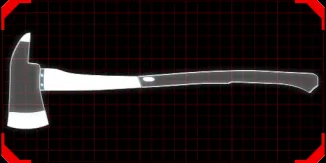 Fire Axe: T2, 850
High damage and range, low attack speed. A universal weapon; fully upgraded it is stronger than the Zweihander. Spend money on upgrades if you can; if not, buy the Battleaxe.
Road Redeemer
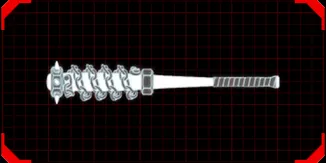 Road Redeemer: T2, 850
Same damage and range as the Katana but slower. Available if you own Road Redemption or via the sharing mechanic. A mediocre weapon with no strengths, so not recommended.
VLAD-1000 Nailgun
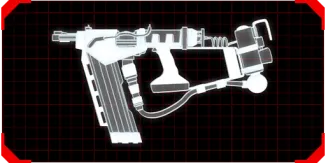 VLAD-1000 Nailgun: T2, 750
Low damage and fire rate, high spread, nails ricochet off walls; single and multi-shot modes. Pretty useless for a Berserker because of low damage and no penetration.
Zweihander
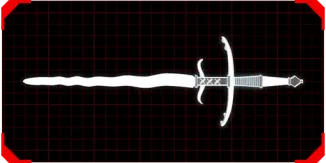 Zweihander: T3, 1300
High damage and range, low attack speed. A versatile weapon that takes skill (headshots required). Equally effective against small and big enemies. Available with Chivalry: Medieval Warfare, the Digital Deluxe edition or sharing.
Pulverizer
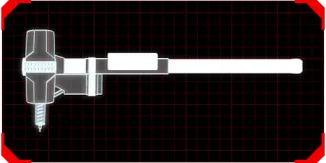 Pulverizer: T3, 1300
Questionable damage, medium range, low speed. The heavy attack releases a directional blast if you have ammo. Most of its damage is explosive, so it is poor against big zeds (a Scrake has 50 percent explosive resistance but 0 percent to blunt and edged).
Hemoclobber
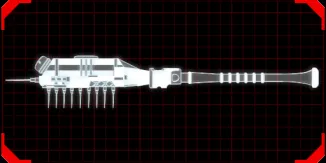 Hemoclobber: T3, 1200
Low normal and heavy damage, large gas-cloud damage, the longest reach of any melee weapon (2.3 m). Heals allies on hit; a charged heavy attack releases a gas that damages enemies and heals players. Useful solo or without a competent Medic; its low weight lets you carry it as an extra.
Eviscerator
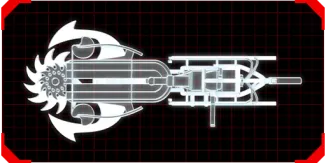 Eviscerator: T4, 1600
High disc damage, high saw DPS, low fire rate, medium saw range. A ranged (LMB) and melee (RMB) weapon; alt attack blocks. Discs bounce up to 5 times and can be picked up for 180 seconds. Slaughter does not work and Knockdown gives only 25 percent head bonus. Nerfed in spring 2018, but still used against bosses.
Static Strikers
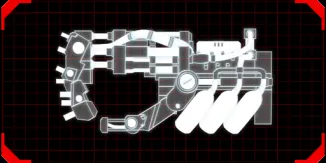 Static Strikers: T4, 1600
High damage, short range, medium speed. Heavy attacks work like an EMP grenade on enemies hit. A choice for killing big enemies: extremely effective against Scrakes, harder against Fleshpounds.
Bone Crusher
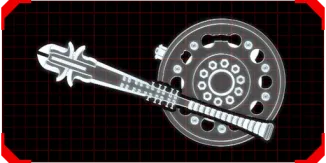 Bone Crusher: T4, 1600
High damage and speed, medium range. Blocks best of all weapons, including the Patriarch minigun and rockets and Volter carbines. Good against small enemies and a good tool for holding a chokepoint.
Battleaxe
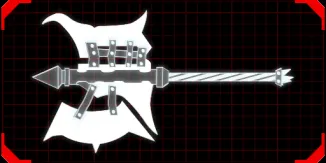 Battleaxe: T5, 2000
Crushing damage, high range, extremely low attack speed. The most powerful and hardest to master Berserker weapon; kills big and small enemies, but is very slow.
Ion Thruster
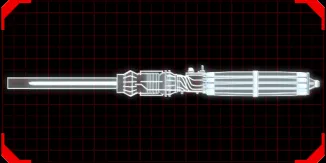 Ion Thruster: T5, 2000 (paid DLC)
High damage, range and attack speed; ignites enemies. It builds charge (1 percent per light hit, push or block, 3 percent per heavy hit, 5 percent per parry) and at 100 percent releases a special attack. The guide shows how to try it with console cheats, which disable stats and XP.
Builds
- Early waves: Katana against small zeds, Fire Axe as a middle option.
- Late waves: Zweihander +2 or Fire Axe +3 (universal), Bone Crusher +1 (small zeds and chokepoints), Static Strikers +1 (big zeds), Battleaxe (big zeds, skill dependent).
- Bosses: Eviscerator +1 plus one of Zweihander +2, Bone Crusher +1, Static Strikers +1 or Battleaxe on the ground.
Commando
HE Grenade
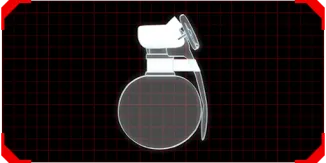 HE Grenade: T0, free, 40 each, max 5
Effective for clearing groups of small enemies. It can help against big targets, but only by spending everything on it.
AR-15 Varmint Rifle
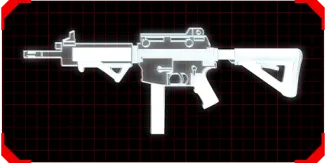 AR-15 Varmint Rifle: T1, 200
Decent ammo, low damage and rate of fire; burst of three and semi-auto. Fine for early waves but awkward recoil and poor sight.
SA80 L85A2 Bullpup
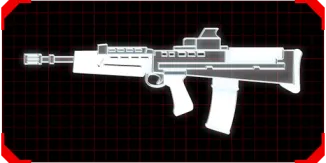 SA80 L85A2 Bullpup: T2, 650
Same damage as the AR-15 but better in everything else; closed sight, auto and semi. Usually skipped to save for a Tier 3 or 4 weapon.
Kalashnikov AK-12
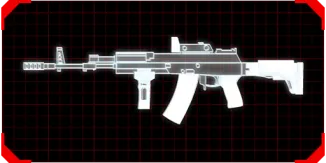 Kalashnikov AK-12: T3, 1100
Medium damage, high fire rate, enough ammo, has a sight; full auto and 3-round burst. High rate and no single-shot mode waste ammo.
Mkb.42(H) Carbine Rifle
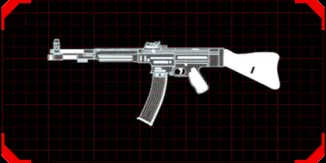 Mkb.42(H) Carbine Rifle: T3, 1100
Relatively high damage, high fire rate and enough ammo; full and semi-auto. Almost no recoil at level 25 and good DPS make it fairly universal.
SCAR-H Assault Rifle
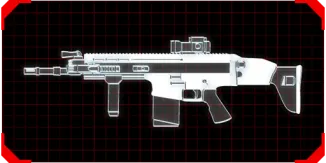 SCAR-H Assault Rifle: T4, 1500
Relatively high damage, high fire rate, enough ammo, has a sight; full and semi-auto. Stylish, handles any grip, tears through small zeds and can also deal with others when needed.
Stoner 63A LMG
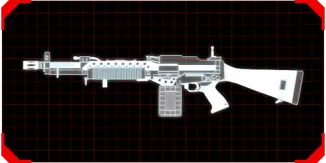 Stoner 63A LMG: T4, 1500
Medium damage, extremely high fire rate and a big ammo pool; full auto only. Lots of bullets toward the enemy in a short time.
Tommy Gun (cross-perk from SWAT)
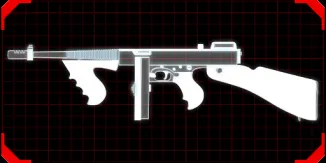 Tommy Gun (cross-perk from SWAT): T2, 650
Low damage, medium fire rate and ammo; full and semi-auto. Unpleasant recoil makes it hard to hold; damage equals the SA80 bullpup.
M16 M203 (cross-perk from Demolitionist)
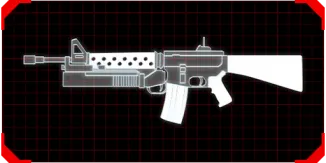 M16 M203 (cross-perk from Demolitionist): T3
Mediocre bullet damage, high grenade damage, medium fire rate; full auto only. The underbarrel launcher sits on the alt fire (MMB). Effective but not the most convenient.
FN FAL ACOG (cross-perk from Sharpshooter)
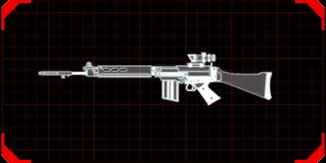 FN FAL ACOG (cross-perk from Sharpshooter): T4, 1500
High single-shot damage, low fire rate, medium ammo, high-magnification sight; semi and full auto. For many targets at long range or a marksman role.
HMTech-401 Assault Rifle (cross-perk from Field Medic)
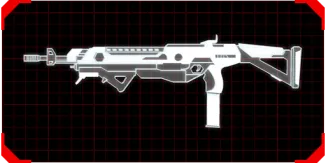 HMTech-401 Assault Rifle (cross-perk from Field Medic): T4, 1500
Mediocre damage, high fire rate and ammo, sight with a dart recharge indicator; healing darts on alt fire. Usable with Commando skills.
HMTech-501 Grenade Rifle (cross-perk from Field Medic)
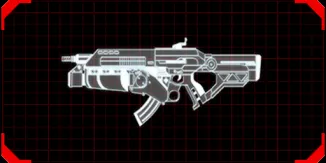 HMTech-501 Grenade Rifle (cross-perk from Field Medic): T5, 2000
Medium damage, mediocre fire rate, insufficient ammo; underbarrel launcher with healing grenades.
Builds
- Early waves: SA80 L85A2 (regular) or AR-15 (experienced, buy 2 to 3 mags).
- Late waves, accurate: SCAR-H +1, Mkb.42 +2 or AK-12 +2; rapid: Stoner 63A +1; balanced: SCAR-H and Stoner 63A; long range: FN FAL ACOG +1 and SCAR-H; half-medic: SCAR-H +1 and HMTech-501.
- Bosses: any late wave build.
Support
Frag Grenade
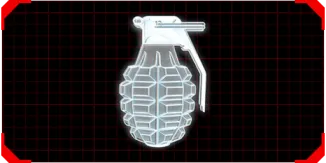 Frag Grenade: T0, free, 40 each, max 5
Effective against crowds. Fragments can hurt you too.
SG 500 Pump-Action
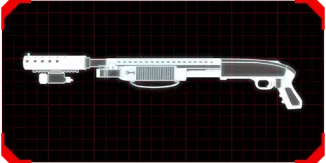 SG 500 Pump-Action: T1, 200
Fairly high damage, low fire rate, medium ammo; single shots with pump reload per shell. A good start, but ammo is expensive.
Double-barreled Boomstick
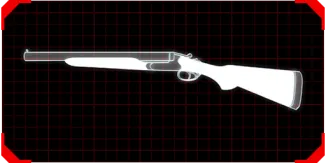 Double-barreled Boomstick: T2, 750
Extremely high point-blank damage, low fire rate, medium ammo; single shot or both barrels on alt fire. In skilled hands it kills Scrakes at close range and troubles Fleshpounds.
HZ12 Multi-Action
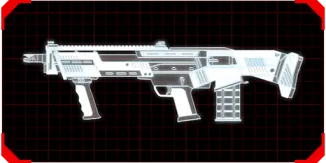 HZ12 Multi-Action: T2, 750
Relatively low damage, relatively high fire rate, low ammo; pump after two shots, magazine-fed. Extreme spread, effective only against small zeds.
M4 Combat Shotgun
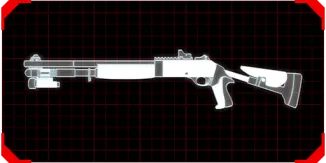 M4 Combat Shotgun: T3, 1100
High damage and fire rate, enough ammo, has a sight; semi-auto, one shell at a time. A universal, accurate weapon effective against all enemies.
HRG Buckshot
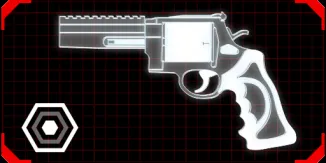 HRG Buckshot: T3, 550 each / 1100 pair
Relatively high single-shot damage, high fire rate and ammo. Surprisingly good against Scrakes: two mags kill one, and knockback keeps it away.
AA-12 Auto Shotgun
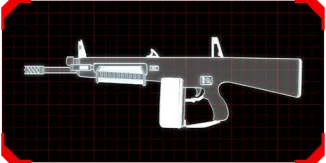 AA-12 Auto Shotgun: T4, 1500
Medium single-shot damage, high fire rate and medium ammo; full and semi-auto. Excellent for clearing crowds or big targets, but eats ammo like a machine gun.
Doomstick
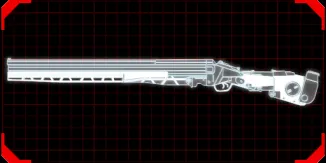 Doomstick: T4, 1500
Extreme single-shot damage, low fire rate, medium ammo; one shot or all barrels on alt fire. Nearly kills a Scrake point blank with the quad shot on six-player Hell on Earth.
Dragonsbreath (cross-perk from Firebug)
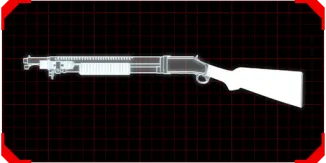 Dragonsbreath (cross-perk from Firebug): T2, 650
High damage, low fire rate, medium ammo; ignites enemies. A good option for early and middle waves; penetration makes the burning effective against many targets.
VLAD-1000 Nailgun (cross-perk from Berserker)
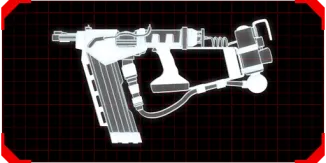 VLAD-1000 Nailgun (cross-perk from Berserker): T2, 750
Low damage and fire rate, high spread. For Support +50 percent damage and much better penetration make it quite decent.
HMTech-301 Shotgun (cross-perk from Field Medic)
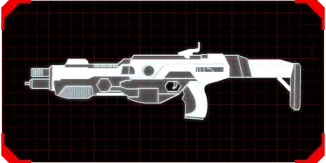 HMTech-301 Shotgun (cross-perk from Field Medic): T3, 1100
Low damage, high fire rate, enough ammo, healing darts on alt fire. Support skills make it fine, but the M4 is better for the same price.
Builds
- Early waves: HZ-12 (regular), Dragonsbreath (half-Firebug).
- Late waves, balanced: M4, AA-12; against big zeds: Boomstick + AA-12, or Doomstick + M4.
- Bosses: any late wave build.
Field Medic
Medic Grenade
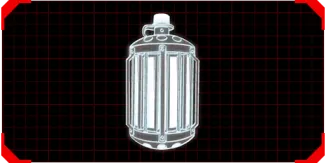 Medic Grenade: T0, free, 40 each, max 5
Creates a gas cloud that heals allies and hurts enemies. Knowing how and when to use it is the second most important Medic skill after dart healing. Typical uses: several big enemies break into the position, throwing under allies for a sure kill, being surrounded by small zeds, darts not enough, and retreating from a position. Healing from several identical grenades does not stack, but grenade and dart healing do.
HMTech-101 Pistol
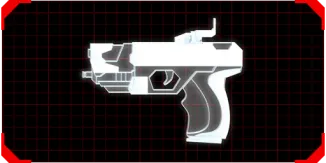 HMTech-101 Pistol: T1, 200
Lowest pistol damage, medium fire rate, high ammo, semi-auto only; healing darts on alt fire. The second most important piece of Medic equipment.
HMTech-201 SMG
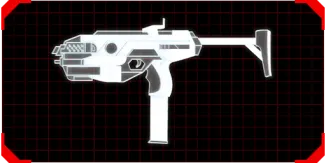 HMTech-201 SMG: T2, 650
Lowest SMG damage, high fire rate, medium ammo, full auto only; healing darts. Because of low damage it is used mostly for healing together with the 401 and 101.
HMTech-301 Shotgun
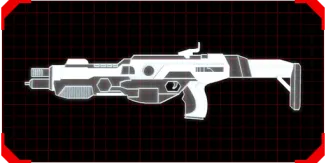 HMTech-301 Shotgun: T3, 1100
Low damage, high fire rate, enough ammo, semi-auto; healing darts. Decent DPS and quick reload make it an alternative to buying an SMG; taken with the HMTech-501.
Hemogoblin
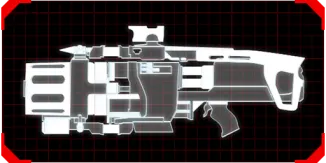 Hemogoblin: T3, 1100
Dubious damage, low fire rate, insufficient ammo, semi-auto; bleed darts on LMB and healing darts on alt fire. Many hoped for more at its announcement; it ended up as a heavy (weight 8) weapon with few strengths.
HRG Healthrower
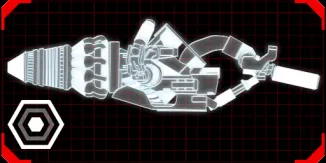 HRG Healthrower: T3, 1500
Extremely low damage, medium ammo, full auto only; heals on hit and has healing darts on alt fire. The idea is fine but the beam can hit only one target at a time, so it cannot properly heal a group.
HMTech-401 Assault Rifle
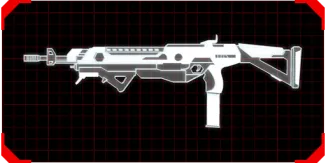 HMTech-401 Assault Rifle: T4, 1500
Mediocre damage, high fire rate and ammo, sight with ammo counter, full auto only; healing darts. The most important weapon for a Field Medic, best at healing, and decent with shooting stats too.
HRG Incision
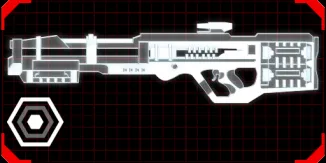 HRG Incision: T4 (shown without price)
High damage, low fire rate, medium ammo, scope; healing darts on alt fire, a dart hit deals 75 damage and applies EMP. Combat medics can finally deal damage with it. Its weight of 8 limits the rest of your loadout; for healing it is niche when allies are far away.
HMTech-501 Grenade Rifle
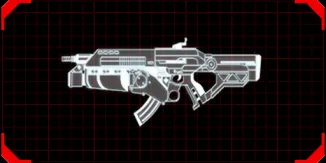 HMTech-501 Grenade Rifle: T5, 2000
Medium damage, mediocre fire rate, insufficient ammo; underbarrel launcher with healing grenades. A good alternative to the 401 for healing: throw grenades under allies holding a position or when retreating.
Hemoclobber (cross-perk from Berserker)
Hemoclobber (cross-perk from Berserker): T3, 1200
Insufficient normal and heavy damage, large gas damage; the longest weapon in the game (2.3 m). Heals allies on hit, but even +50 percent run speed is not enough to run between players and heal them.
Builds
- Early waves: HMTech-101, HMTech-201.
- Late waves via darts: HMTech-401 +1, HMTech-201 +2, HMTech-101 +2; via grenades: HMTech-501, HMTech-401; both: HMTech-501, HMTech-301, HMTech-101 +1.
- Solo: HMTech-401 +1, HMTech-301 +1 or Hemoclobber +2. Bosses: any late wave build.
Demolitionist
1/2 Stick of Dynamite
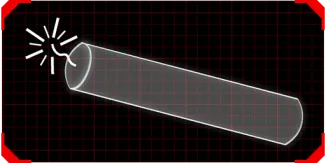 1/2 Stick of Dynamite: T0, free, 40 each, max 5
Relatively high damage and stopping power; explodes on touching an enemy. Throw it at enemies that got close to escape (you will be hurt).
HX25 Grenade Pistol
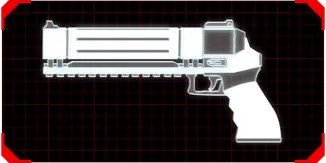 HX25 Grenade Pistol: T1, 300
Relatively low damage and fire rate, relatively high ammo. Spread makes it hard to focus damage.
C4 Explosives
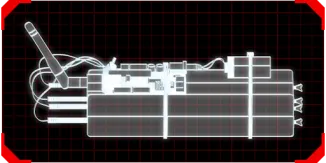 C4 Explosives: T2, 650, no upgrades
Extremely high damage and splash, medium ammo. LMB throws, RMB detonates the last one. A second C4 detonated within 3 seconds does 25 percent less damage. Powerful but very situational.
M79 Grenade Launcher
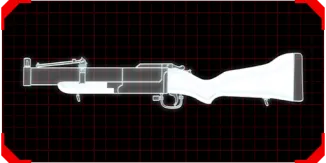 M79 Grenade Launcher: T2, 650
High damage, extremely high splash, enough ammo. The main workhorse of the Demolitionist, clearing enemies in groups.
Seal Squeal
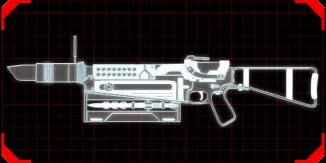 Seal Squeal: T3, 1200
Darts explode 4 seconds after hitting; instant detonation on alt fire. Meant to supplement or replace the RPG, it did neither well (weight 8).
M16 M203 Assault Rifle
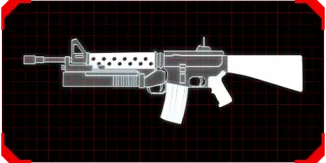 M16 M203 Assault Rifle: T3, 1200
Mediocre bullet damage, high grenade damage; full auto, underbarrel launcher on alt fire. Bought instead of the M79 when a Demolitionist needs to kill enemies close by.
RPG-7
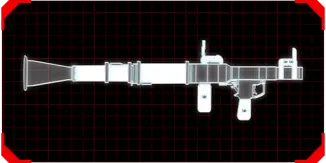 RPG-7: T4, 1500
Colossal damage, medium splash, enough ammo; the rocket exhaust also deals damage. Not for small enemies. The guide notes that not everyone can use it properly.
Seeker Six
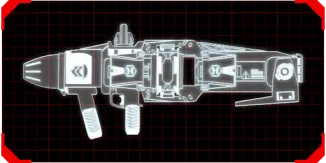 Seeker Six: T4, 1500
Small damage and splash, high fire rate and big ammo; normal and homing modes. Low damage makes it useless against big enemies and small splash against small ones.
M32
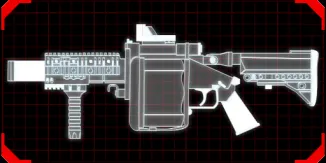 M32: T5, 2000
High damage and fire rate, extremely high splash, enough ammo. Basically a six-shot M79 with the same damage and splash and 10 more rounds in total.
Pulverizer (cross-perk from Berserker)
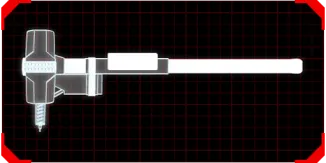 Pulverizer (cross-perk from Berserker): T3, 1300
Questionable damage, medium range, low speed; directional blast with ammo. The Demolitionist lacks the Berserker bonuses.
Husk Cannon (cross-perk from Firebug)
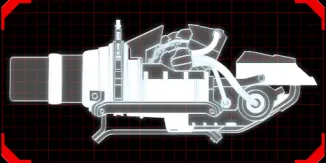 Husk Cannon (cross-perk from Firebug): T4, 1500
Low damage and splash, extremely weak DOT, big ammo. Holding fire increases damage and blast radius at greater ammo cost, not proportionally.
Builds
- Early waves: M79, HX25.
- Late waves, balanced: M79 or M16 M203 + RPG-7; against big zeds: RPG-7 +1 with HX25 +2, or RPG-7 + M79; against small zeds: M79 or M16 M203 + M32.
- Bosses: the big zed build; pure skill: RPG-7 +1, C4, Desert Eagle.
Firebug
Molotov Cocktail
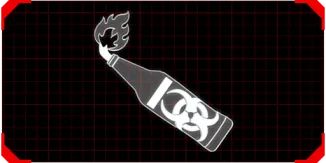 Molotov Cocktail: T0, free, 40 each, max 5
Explodes on contact for decent damage. A good way to close a passage to small zeds or break out. Until level 25 you can hurt yourself.
Caulk n' Burn
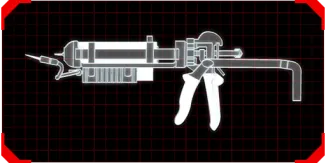 Caulk n' Burn: T1, 200
Medium damage, short range, insufficient ammo. Excellent against small enemies at short range, effective at the start and end of the game.
Spitfire
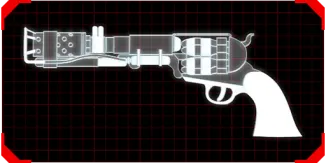 Spitfire: T2, 325 each / 650 pair
Relatively high single-shot damage, high fire rate; ignites on hit and can be dual-wielded. One of the two overpowered weapons of the class: with the whole left skill branch it easily outpaces others in kills.
Dragonsbreath
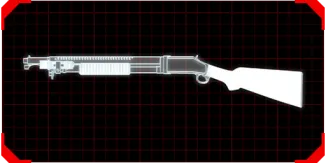 Dragonsbreath: T2, 650
Relatively high single-shot damage, weak burn damage, low fire rate and accuracy; ignites on hit. Inconvenient because of the slow fire and slow reload; the burn is counted from only part of the damage.
Flamethrower
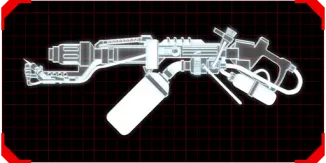 Flamethrower: T3, 1200
High damage, short range. In essence an enhanced starting flamethrower, used when the Firebug does not shoot at a distance or there are many enemies.
Mac 10
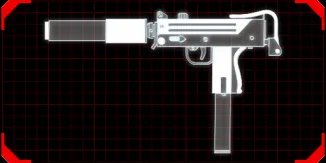 Mac 10: T3, 1100
Low damage, high fire rate; full and semi-auto, ignites. The burn is weak and it leaves no fire on the ground. The weakest Firebug weapon.
Microwave Gun
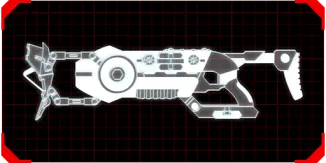 Microwave Gun: T4, 1500
High damage, medium range. A special damage type gives bonuses against Scrakes, Fleshpounds, Husks and E.D.A.R. with penalties against other enemies. Alt fire is a knockback shot that needs 10 charge.
Husk Cannon
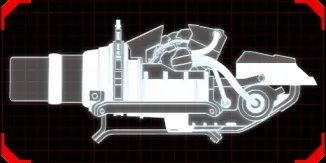 Husk Cannon: T4, 1500
Mediocre damage and blast radius. Holding fire raises damage and radius but wastes ammo disproportionately; it does not ignite the ground and deals little damage when spammed, with a low fire rate.
Helios Rifle
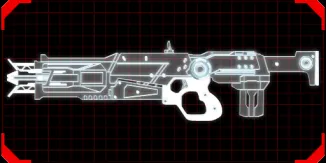 Helios Rifle: T5, 2000
High damage, fire rate and accuracy; auto and 3-round burst. It does not ignite the ground or get spreading-fire bonuses, and is ineffective against small enemies, but it handles big ones.
Builds
- Early waves: Caulk n' Burn, Spitfire.
- Late waves: mid range - Spitfire, Flamethrower +2; long range (the guide calls it Hell in slow motion) - Spitfire +3, Mac 10 +2; against big zeds - Spitfire +2, Microwave Gun or Helios Rifle.
- Bosses: the big zed build. Note: all Firebug weapons ignite, and big zeds such as Scrakes and Fleshpounds have 70 percent fire resistance.
Gunslinger
Nail Bomb
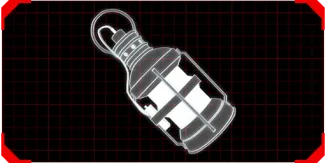 Nail Bomb: T0, free, 40 each, max 5
Explodes, throws shrapnel and stuns. A hybrid of the Support frag and SWAT flashbang that does less damage than the first.
1858 Revolver
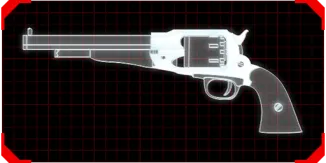 1858 Revolver: T1, 100 each / 200 pair
Insufficient damage, medium fire rate, relatively large ammo; can be dual-wielded. Easy to use but lacks damage in later waves.
M1911 Pistol
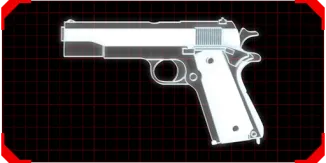 M1911 Pistol: T2, 325 each / 650 pair
Medium damage, high fire rate and ammo; can be dual-wielded. Seldom used because the damage equals the starting revolvers and is insufficient for big enemies.
HRG Winterbite
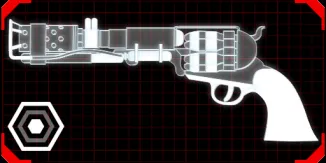 HRG Winterbite: T2, 325 each / 650 pair
Medium damage, medium fire rate, relatively large ammo; freezes on hit and can be dual-wielded. Fairly useless because freezing is hard to realise: small zeds die in 1 to 2 hits anyway.
.50 Desert Eagle
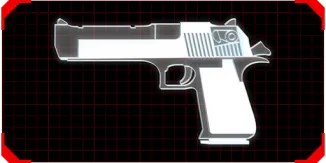 .50 Desert Eagle: T3, 550 each / 1100 pair
High damage, medium fire rate, enough ammo; can be dual-wielded. The Gunslinger workhorse: easy to use and kills all enemies except big ones in one shot.
Rhino
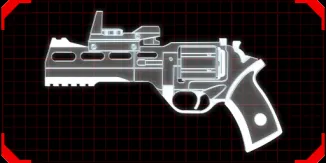 Rhino: T3, 550 each / 1100 pair (paid DLC)
Medium damage, high fire rate, relatively low ammo; the bullet splits into 3 shards on hit; can be dual-wielded. Good at clearing small zeds, but the splitting is also its main drawback.
AF2011-A1
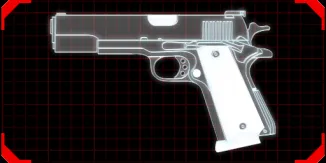 AF2011-A1: T4, 750 each / 1500 pair
High damage, high fire rate and ammo; fires 2 bullets at once and can be dual-wielded. Often bought instead of the Deagle for small zeds, since two bullets deal a bit more damage and raise the headshot counter faster.
.500 Magnum Revolver
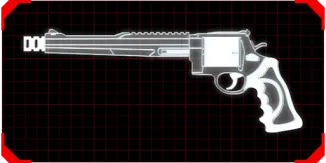 .500 Magnum Revolver: T4, 750 each / 1500 pair
Extremely high damage, medium fire rate and ammo; can be dual-wielded. Brings pain to anything it hits, especially to the head.
HMTech-101 Pistol (cross-perk from Field Medic)
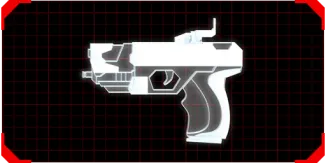 HMTech-101 Pistol (cross-perk from Field Medic): T1, 200
Lowest pistol damage, but enough to one-shot Clots, saving ammo of stronger guns. Healing darts on alt fire.
HX25 Grenade Pistol (cross-perk from Demolitionist)
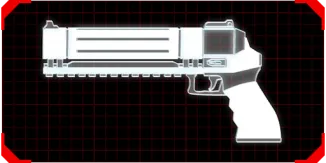 HX25 Grenade Pistol (cross-perk from Demolitionist): T1, 300
The Gunslinger skills give less bonus than Demolitionist skills and depend on headshot rate, so it is a poor fit.
Spitfire (cross-perk from Firebug)
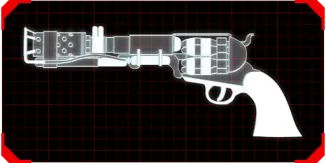 Spitfire (cross-perk from Firebug): T2, 325 each / 650 pair
Most of its damage is the burn, and the Gunslinger has no skills for it. Still not bad, but less effective than in Firebug hands.
Winchester 1894 (cross-perk from Sharpshooter)
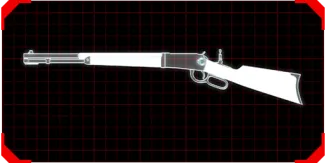 Winchester 1894 (cross-perk from Sharpshooter): T1, 200
Fine as a starting weapon but not suited to middle and late waves; do not buy it, but if you find one it can help.
SPX 464 Centerfire (cross-perk from Sharpshooter)
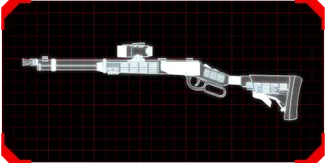 SPX 464 Centerfire (cross-perk from Sharpshooter): T2, 650
High single-shot damage, medium fire rate. Strong enough to kill most enemies with one headshot, but its fire rate is lower than that of the native weapons.
Builds
- Early waves: 1858 Revolver, HMTech-101 Pistol.
- Late waves, standard: Dual Magnums +1, Dual Desert Eagles +1 or Dual AF, HMTech-101 +1; long range: Dual Magnums +1, SPX 464.
- Bosses: the standard build.
Sharpshooter
Freeze Grenade
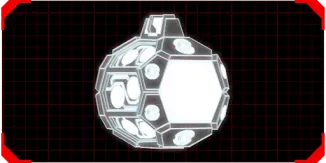 Freeze Grenade: T0, free, 40 each, max 5
Freezes enemies around the blast with low damage. Frozen enemies do not move and take extra damage, so you can shoot them freely.
Winchester 1894
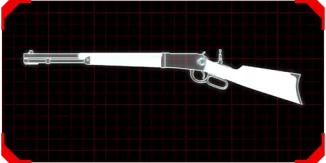 Winchester 1894: T1, 200 (starting weapon)
Relatively high single-shot damage, medium fire rate. The classic: not great, since SPX is stronger, but it hits hard in good hands. A starting weapon.
SPX 464 Centerfire
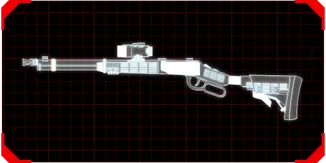 SPX 464 Centerfire: T2, 650
High single-shot damage, medium fire rate. A good weapon often used on middle waves before more powerful guns, or as a supplement to the Railgun.
Crossbow
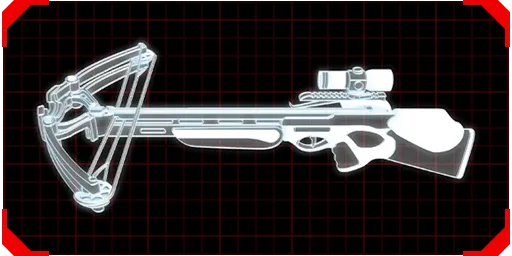 Crossbow: T2, 650
High damage, low fire rate, scope. Bolts can be picked up after shooting. High stun power can stun Scrakes, but why, when you can kill them in one shot.
M14 EBR
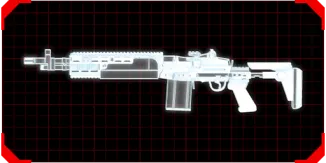 M14 EBR: T3, 1100
Relatively high damage and fire rate, scope and laser pointer. The fast sniper build is poor because the M14 EBR is outmatched by Commando weapons in fire rate and ammo.
Mosin Nagant
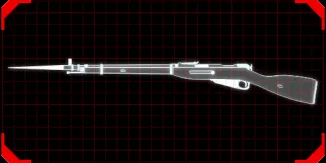 Mosin Nagant: T3, 1100 (paid DLC)
High damage, low fire rate, has a bayonet; can block on alt fire. A great spear that also shoots: the bayonet kills anything weaker than a Berserker with a body thrust. The guide shows how to try it with the console cheat GiveWeapon KFGameContent.KFWeap_Rifle_MosinNagant, which disables stats.
Rail Gun
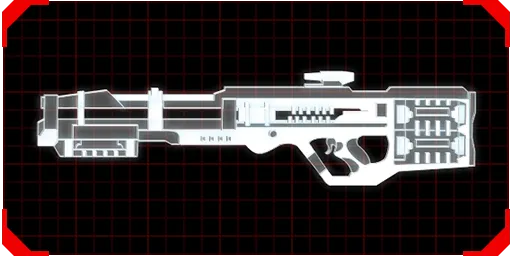 Rail Gun: T4, 1500
Huge damage per shot, above-average fire rate. Lock-on mode, when you hold a target for a few seconds, aims at a weak point and corrects the shot. Damage is enough to kill Scrakes in one shot on Suicidal with the first two left skills, but not on Hell on Earth.
FN FAL ACOG
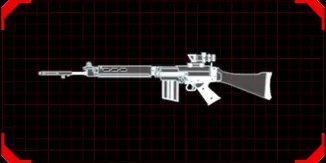 FN FAL ACOG: T4, 1500
High single-shot damage, low fire rate, medium ammo, high-magnification sight; semi and full auto. Not needed for the same reason as the M14 EBR: Commando clears small zeds better than a fast sniper.
M99 AMR
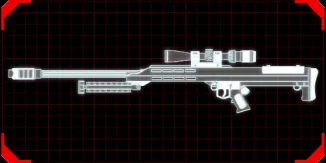 M99 AMR: T5, 2500
Huge single-shot damage, medium fire rate and ammo. Truly necessary only on Hell on Earth, since even the Rail Gun with the full left tree does not kill a Scrake in one shot there.
1858 Revolver (cross-perk from Gunslinger)
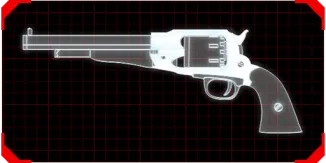 1858 Revolver (cross-perk from Gunslinger): T1, 100
In theory can be used with the M99, but in practice a Magnum is better. Fire it empty and sell it if you found one.
Spitfire (cross-perk from Firebug)
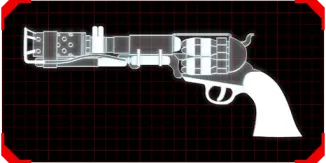 Spitfire (cross-perk from Firebug): T2, 325
Low ballistic damage means only Firebug can use it effectively.
.500 Magnum Revolver (cross-perk from Gunslinger)
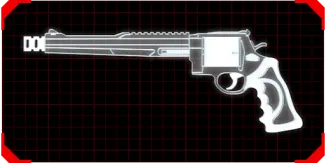 .500 Magnum Revolver (cross-perk from Gunslinger): T4, 750
Extremely high damage, medium fire rate and ammo. Used with the M99 to shoot small and medium enemies; ineffective as a main weapon because of difficulty at range.
Builds
- Early waves: Winchester 1894, SPX 464.
- Late waves: M99 + .500 Magnum, or Rail Gun +1 + SPX 464.
- Bosses: any late wave build.
SWAT
Flashbang
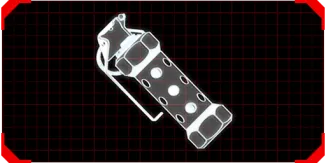 Flashbang: T0, free, 40 each, max 5
Medium damage; stuns enemies in the blast radius. Used to stun calm Scrakes and Fleshpounds so you can shoot them freely.
MP7 SMG
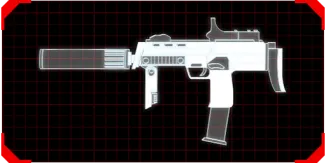 MP7 SMG: T1, 200
Low damage, high fire rate; full and semi-auto. Weak, only good for scaring Clots; fine for wave 1, then replace.
Tommy Gun
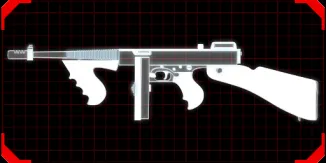 Tommy Gun: T2, 650
Medium damage and fire rate; full and semi-auto. Low fire rate and relatively high recoil make it uncomfortable.
MP5RAS SMG
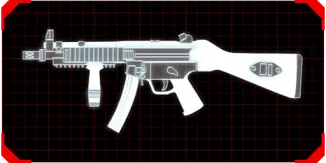 MP5RAS SMG: T2, 650
Below-average damage, high fire rate; auto and 3-round burst. A good intermediate weapon when you lack money for expensive guns.
P90 SMG
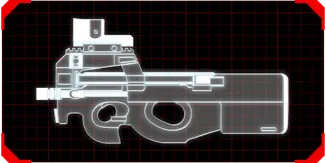 P90 SMG: T3, 1100
Medium damage, high fire rate; full and semi-auto. Universal and effective against small enemies; can hurt big ones if necessary.
HRG Nailgun
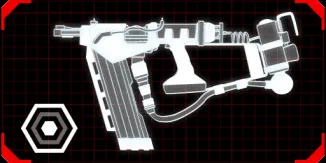 HRG Nailgun: T3, 1100
Relatively high damage, high fire rate; auto and 3-burst of 3 nails each. High fire rate and penetration clear small zeds quickly, and good damage makes it a decent replacement.
Heckler & Koch UMP
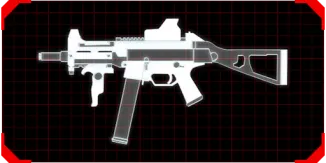 Heckler & Koch UMP: T3, 1200
Above-average damage and fire rate; auto and 3-round burst. Lower fire rate but more damage than the P90; the two are about equal.
Kriss SMG
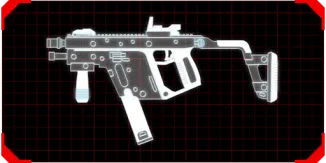 Kriss SMG: T4, 1500
Medium damage, extremely high fire rate; full and semi-auto. Mainly used to kill big enemies, since the extreme fire rate compensates for medium bullet damage.
Riot Shield & Glock 18
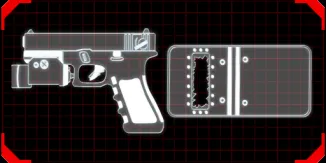 Riot Shield & Glock 18: T4, 1500 (paid DLC, 475 rubles or 720 with the Mosin Nagant)
Relatively high damage, high fire rate; full and semi-auto. While aiming, 60 percent of frontal damage within 170 degrees is blocked. The Glock matches the P90 in stats but has more ammo (660 versus 400). The guide shows how to try it with the cheat GiveWeapon KFGameContent.KFWeap_SMG_G18.
HMTech-201 SMG (cross-perk from Field Medic)
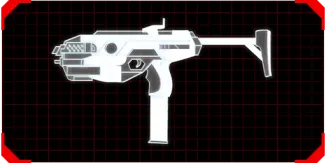 HMTech-201 SMG (cross-perk from Field Medic): T2, 650
Lower damage than anything except the MP7. It has healing darts that benefit from the level 25 skill, but shooting everything else is weak.
Mac 10 (cross-perk from Firebug)
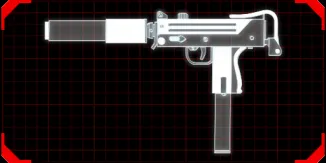 Mac 10 (cross-perk from Firebug): T3, 1100
Low single-shot damage and no fire skills make it not very effective in SWAT hands.
Builds
- Early waves: MP7, MP5RAS.
- Late waves: Kriss +1, HK UMP +2 or P90 +2.
- Bosses: the standard late wave build.
Survivalist
Freezethrower
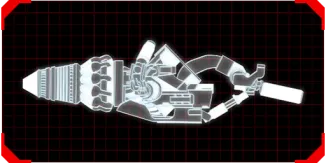 Freezethrower: T3, 1100
Low damage, no DOT with the beam, mediocre shotgun mode. The beam freezes enemies and the ground, slowing them. The author calls it junk: freezing is useless against small enemies, the grenade of a Sharpshooter does it better, and the shotgun mode is weak.
Killerwatt
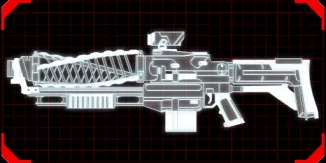 Killerwatt: T5, 2000
Medium damage, high fire rate, high damage in alt mode. The beam must be charged for more damage and duration, and has a weak EMP effect. It shoots and does damage, but as a 2000 weapon it is weak (base damage 50 versus 55 for the SCAR-H).
Builds
- There is no universal build for the Survivalist. Adapt to the needs of the team: pick the missing role (ideally two) and take weapons that fit.
FAQ
- Is this weapon guide still current?
- No. The original author stopped updating it on 25 February 2020 and marked the information as outdated, so newer weapons, buffs and nerfs are not covered.
- What are T0 to T5?
- Weapon tiers: every upgrade raises the tier by one up to T5. Tier 4 can be upgraded once, T5 cannot be upgraded.
- What is a cross-perk weapon?
- A weapon that also receives bonuses from some other perks, such as Dragonsbreath in Firebug or Support hands.
