
KF1 Mods: Install Maps, Skins, Weapons and Add Them to the Trader
This is a hands-on walkthrough for installing custom content in Killing Floor 1 by hand: maps, character skins and weapon packs, plus the part most guides skip, which is getting a modded weapon to actually show up in the trader. It covers two methods for the trader: the WeaponsWorkShop mutator (keeps the vanilla game) and ServerPerks (Server Veterancy Handler v7). If you only need the file-extension basics, see manual map installation; for an overview of mutator types see installing mutators.
Before you start
Everything goes into the game's root folder. On a typical Steam install it looks like this:
D:\SteamLibrary\steamapps\common\KillingFloorInside you will work with Maps, System, Animations, Sounds, StaticMeshes and Textures. Mods come either from the Steam Workshop or from third-party mod sites as archives.
The Steam Workshop 50-subscription limit
Steam has a hard limit for Killing Floor: in practice only the first 50 subscribed items install and work. It does not matter what they are (maps, music, weapons, characters); item 51 and beyond simply never arrive.
There is no direct way around it, but you can stretch it. Many Workshop authors add a direct download link in the description. For those mods, download and install manually; subscribe only to mods that have no link. That way you can run far more than 50 mods. More on the Workshop: Steam Workshop guide.
Server Veterancy Handler v7 (ServerPerks)
ServerPerks (Server Veterancy Handler) is the usual base for custom skins and weapons. The latest version is v7.50; plain v7 differs very little. It replaces the vanilla in-game interface and perk system with its own, which lets you plug in your own characters and weapons.
The downside is exactly that: it changes the interface and comes with its own perk logic. If you only want new weapons in an otherwise normal game, use WeaponsWorkShop instead (see below).
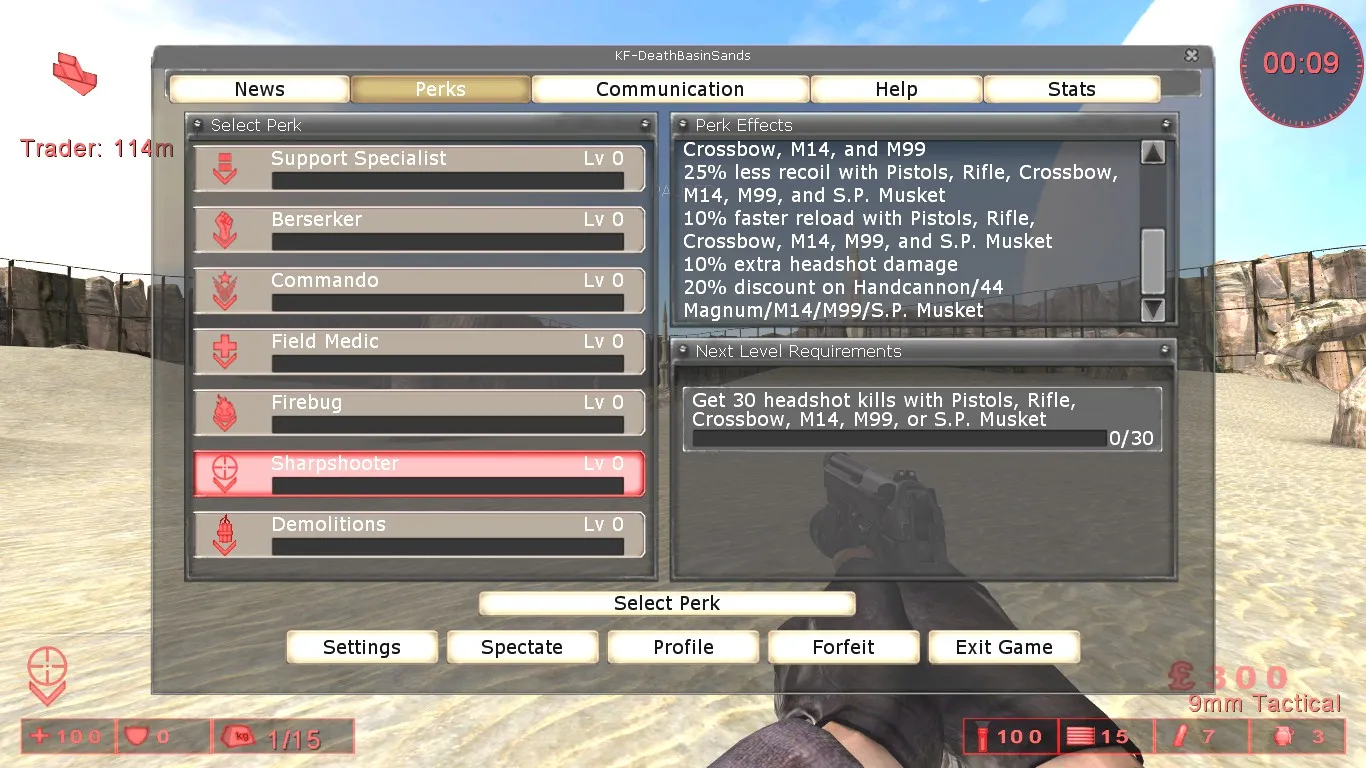 The in-game perk menu with Server Veterancy Handler v7 loaded.
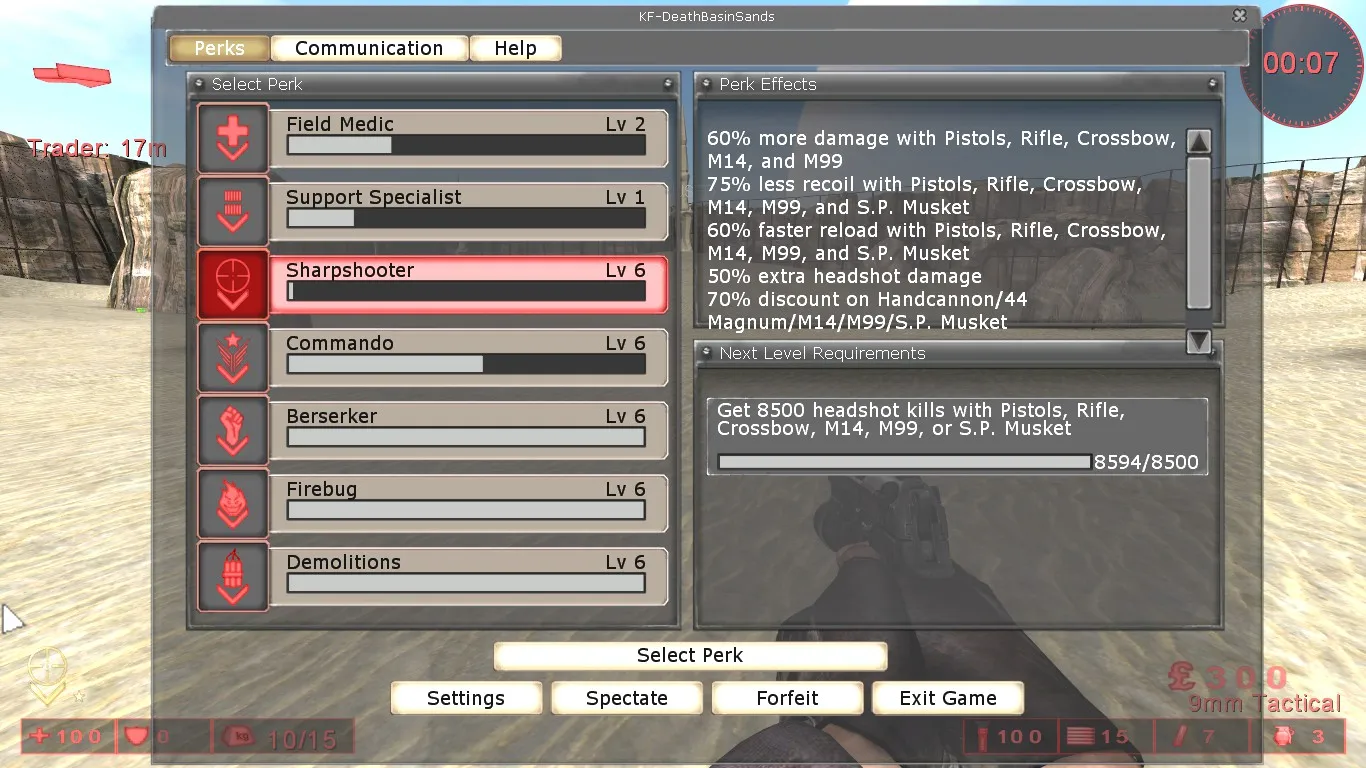 The vanilla Killing Floor menu for comparison.
Once you subscribe to it in the Workshop or install it manually, a ServerPerks.ini file appears in System. That file is where you will add skins and weapons later. Server-side setup of the same mod is covered in ServerPerks stats setup.
Listen server and ServerPerks 7. The thread "Server Perks 7" on the killingfloor.ru forum (2014) found that on a listen server running clean SP7 the host's Medic perk does not gain progress from healing, while connected clients level normally; Flame reproduced it on a listen server, although in his first test with bots (not on a listen server) the Medic leveled fine. Advice from the same thread: use a dedicated server, because many unofficial weapons are built for one and may misbehave on a listen server. While testing, Flame at first forgot to set MidGameSaveWaves=1 in the ini.
Installing maps
Maps are the easiest: no extra mods are needed. Subscribe to a map in the Workshop and it appears in the game.
If you do not want to spend a subscription slot and the map exists only in the Workshop, use a Steam Workshop downloader site: paste the map's Workshop link and download the archive.
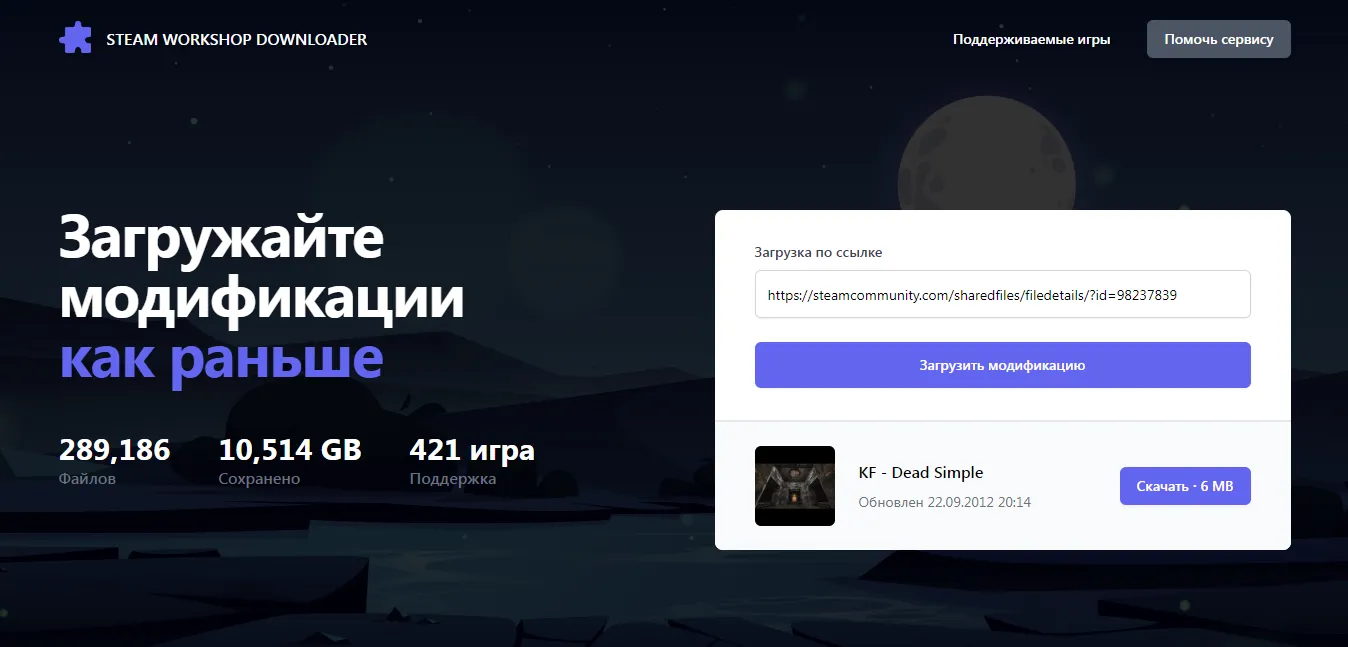 A Workshop downloader site: paste the item link to fetch the map without subscribing.
The archive should contain exactly one file in .rom format.
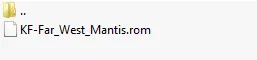 The downloaded archive holds a single .rom file.
Move that file into the Maps folder in the game root (...\KillingFloor\Maps).
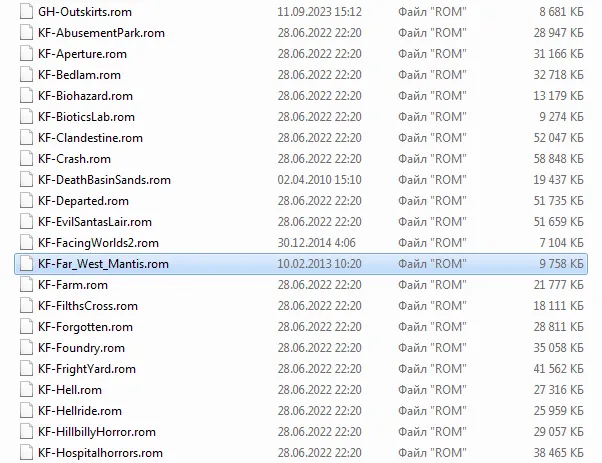 The map file goes straight into the Maps folder.
These downloader sites only work reliably for maps. For weapon or skin mods they download the wrong files. Maps from other websites install the same way: drop the .rom into Maps.
Installing skins
Custom characters need Server Veterancy Handler v7. Skin archives come in a few layouts.
Two folders, Animations and System. Open each folder in the archive and move its files into the matching game folder: Animations to Animations, System to System. Move files, not the folders themselves: if the archive folder is called animations and you drop the whole folder, you can end up with both animations and Animations in the game root, and the skin will not load.
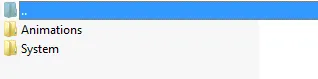 Layout 1: an Animations folder and a System folder.
Only a System folder. Move its contents to System.
 Layout 2: only System.
Loose files. Put the .u and .ucl files into System.
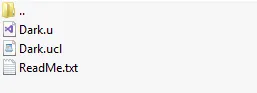 Layout 3: loose files; the .u and .ucl go to System.
The mod page gives a line like CustomCharacters=SeriousSam. Copy it and add it at the very end of ServerPerks.ini. Every further skin gets its own line at the end in the same way.
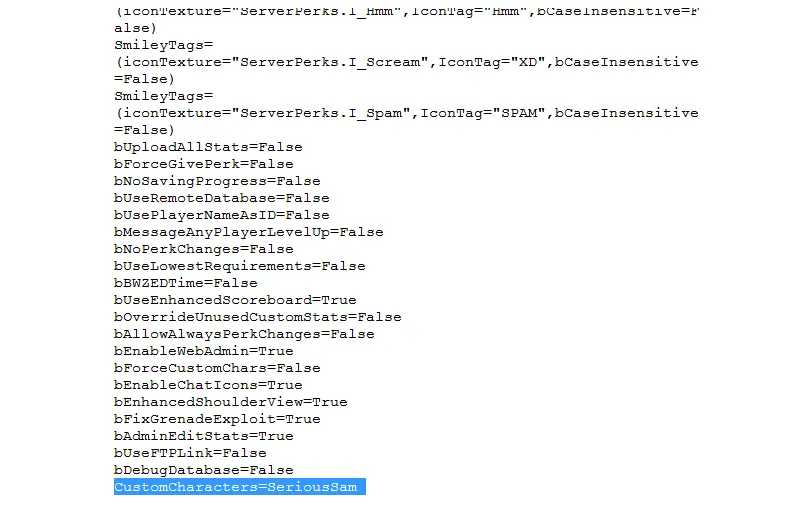 Add the CustomCharacters= line at the end of ServerPerks.ini.
Start the game, choose a mode, open the Mutators tab and add Server Veterancy Handler v7 plus the character mutator (Sam, in this example).
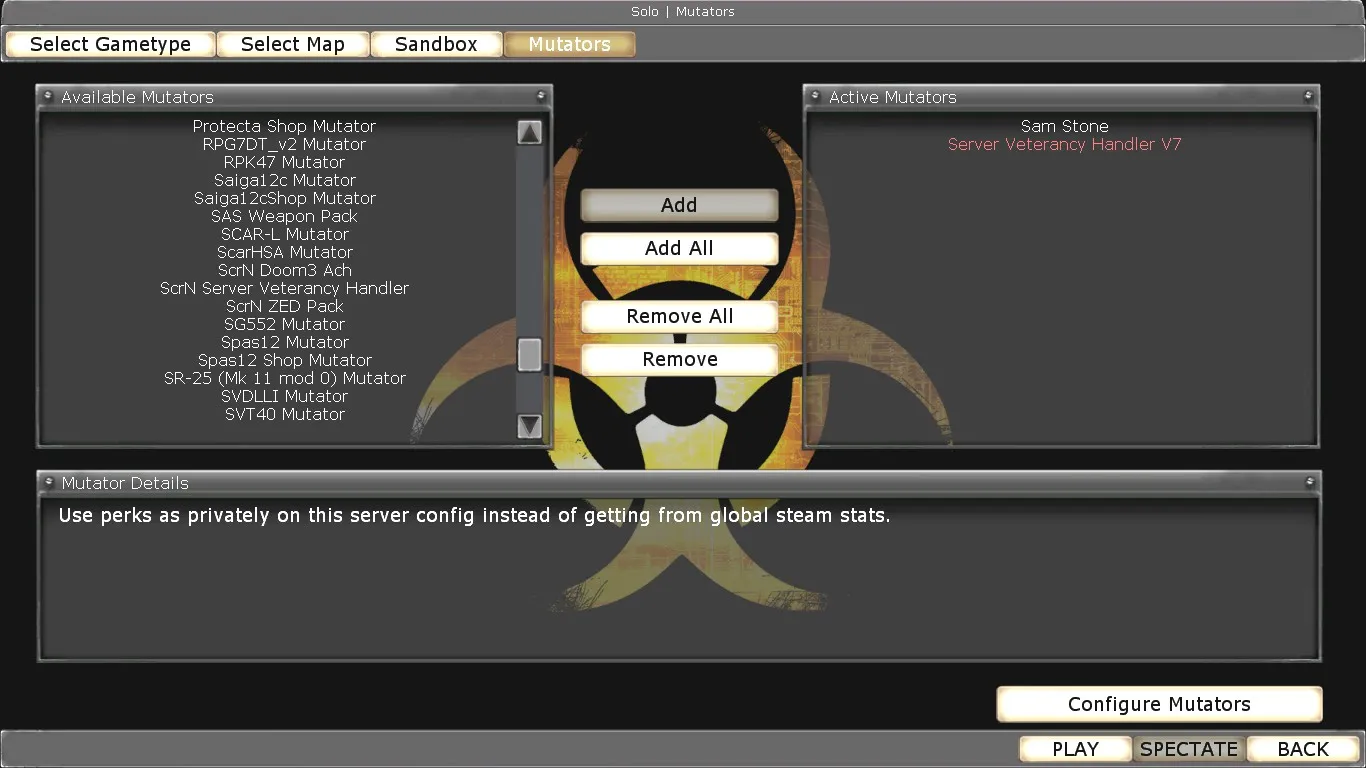 Enable Server Veterancy Handler v7 and the new character in the Mutators tab.
Load a map and pick the character.
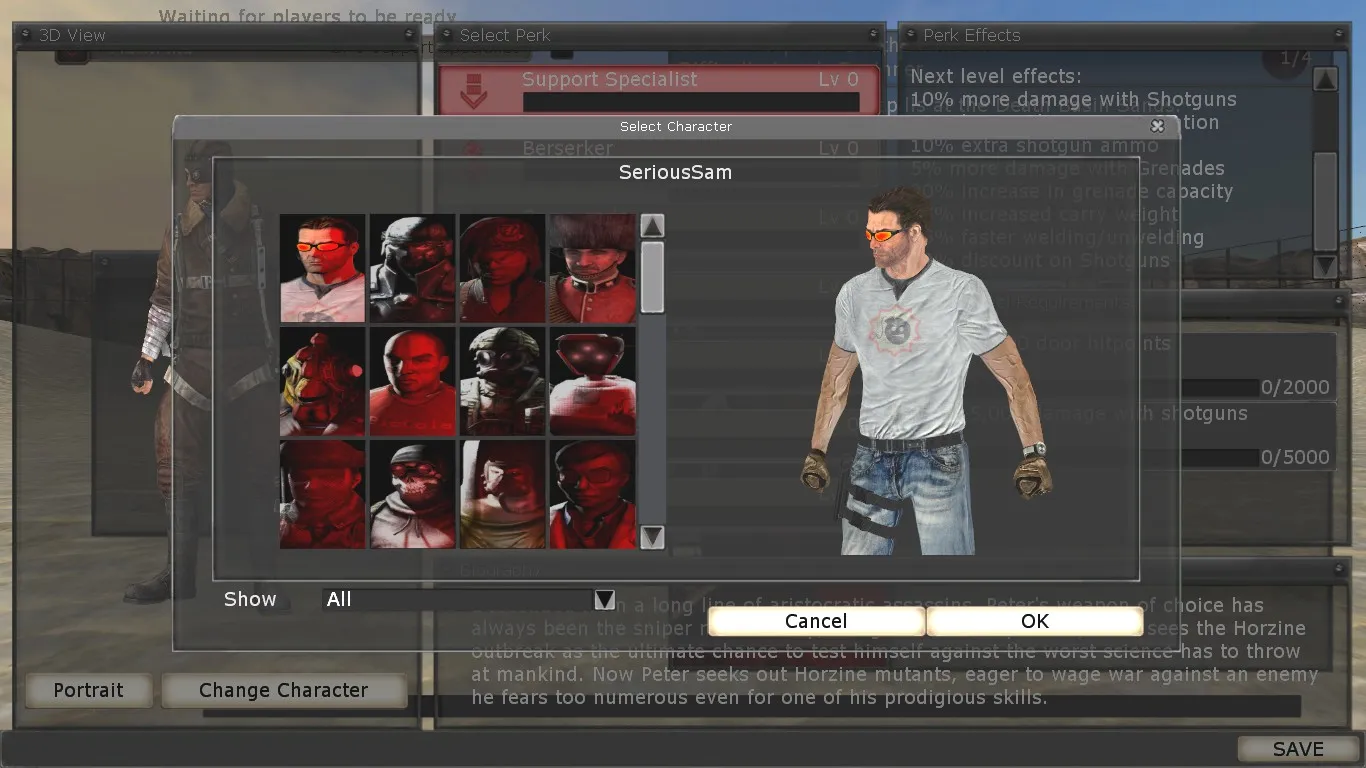 The custom character is now selectable.
A few skins come with their own voice lines, but most use the standard character voice. If you want to build your own skins, see custom player skins.
Installing weapons
Download a weapon mod and open the archive. It usually contains several folders.
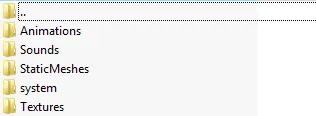 A typical weapon archive with one folder per content type.
Move the files folder by folder, again avoiding duplicate folders with different case (System and system):
- Animations to Animations
- Sounds to Sounds
- StaticMeshes to StaticMeshes
- System to System
- Textures to Textures
Some archives look different: one top-level folder plus a picture and a Readme.
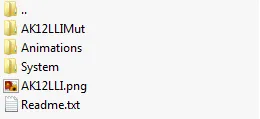 Alternate layout: open the main folder and move its contents; keep the Readme for later.
Open the main folder and move its contents the same way. The picture is not needed. Keep the Readme: it often contains the line you will need for the trader.
Start the game, choose a mode and open Mutators. New entries appear. With an AK47 pack, for example, AK47LLI Shop Mutator puts the gun in the trader, while AK47New Mutator makes you start the match holding it.
 The Shop mutator adds the gun to the trader; the other gives it to you at spawn.
Sometimes a pack only adds the weapon-name mutator, without a Shop variant. Then you spawn with the gun but cannot buy it.
 No Shop mutator: you start with the weapon but the trader does not sell it.
The rest of this page shows how to put any weapon into the trader anyway. For a catalog of popular packs, see custom weapons.
Finding the trader line (PickupClassName)
Both trader methods need one string from the weapon mod. Authors usually post it in the description or comments. It looks like V94LLImut.V94LLIPickup (V-94) or Beretta96FSDT.Beretta96FSDTPickup (Beretta pistol). It always ends with Pickup.
If the author did not post it and there is no Readme, find it yourself. For the Beretta 96 example, open the archive, go to System and open the weapon's .ucl file.
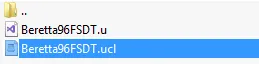 The .ucl file inside the archive.
For a Workshop subscription, look for the mod's .ucl in the game's System folder instead.
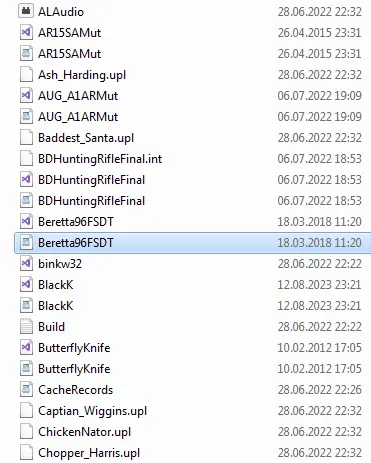 The same file in the game's System folder for Workshop installs.
Open it, find PickupClassName= and copy the value after the equals sign.
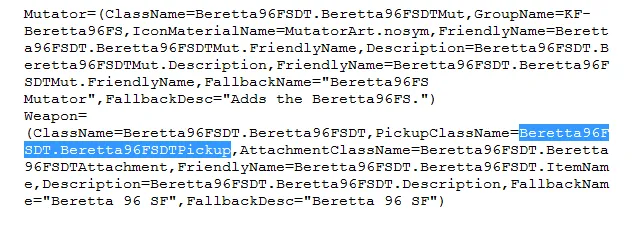 Copy the value after PickupClassName=.
Method 1: WeaponsWorkShop (vanilla game, new guns in the trader)
WeaponsWorkShop is a mutator that sorts modded weapons into the right perk categories in the normal trader. Subscribe to it in the Workshop (item 147258902) and restart the game. Three new entries appear in the left column of Mutators.
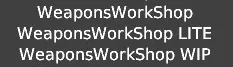 WeaponsWorkShop adds three entries to the available mutators.
Select WeaponsWorkShop WIP. The Configure Mutators button in the bottom right becomes active.
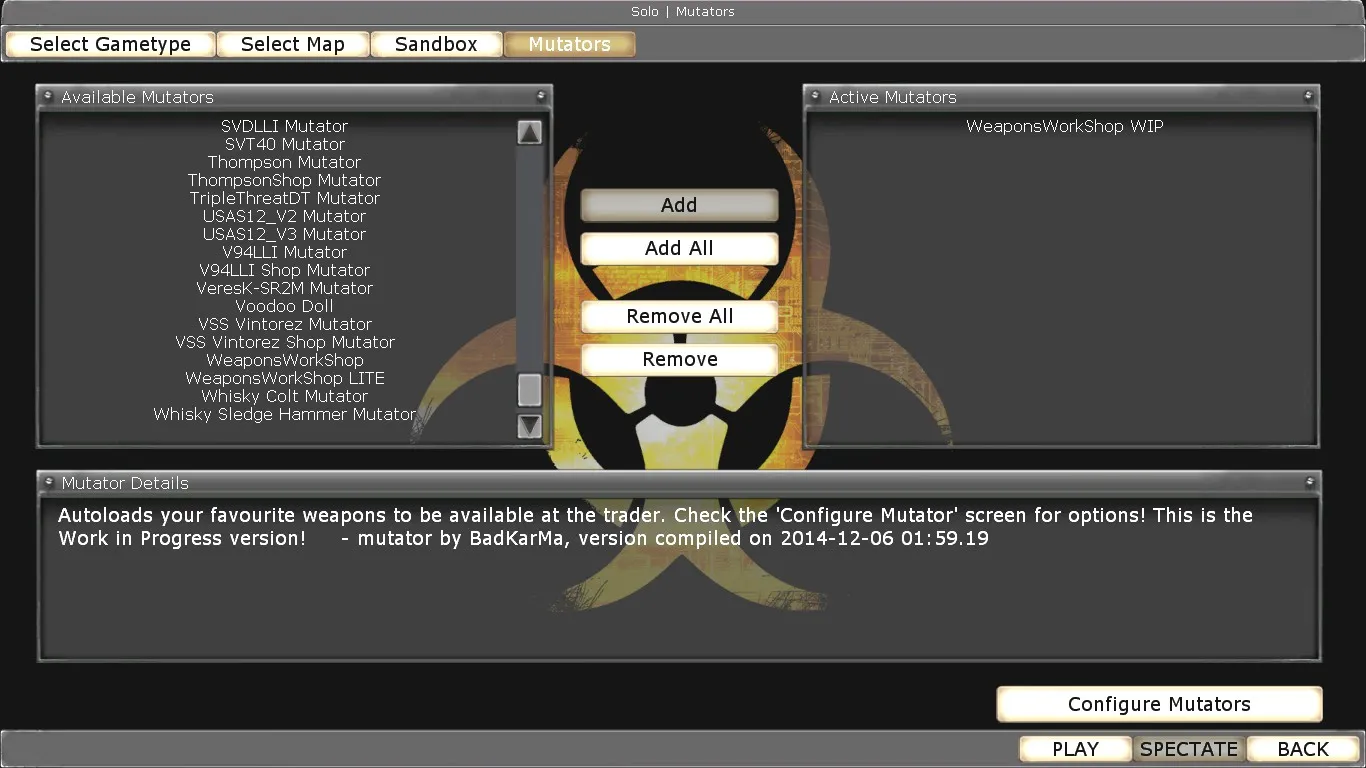 Select WeaponsWorkShop WIP to enable the configure button.
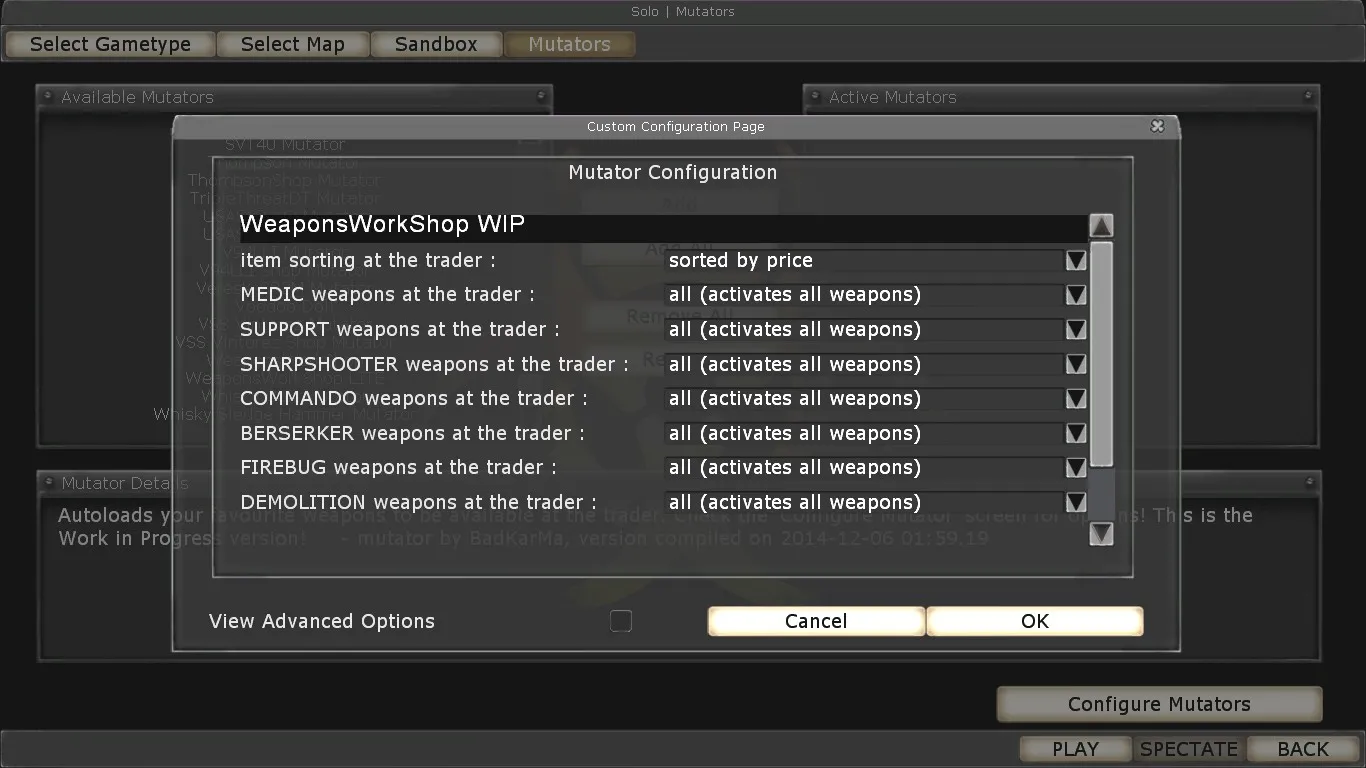 Open the mutator configuration.
Tick View Advanced Options to see the full weapon list.
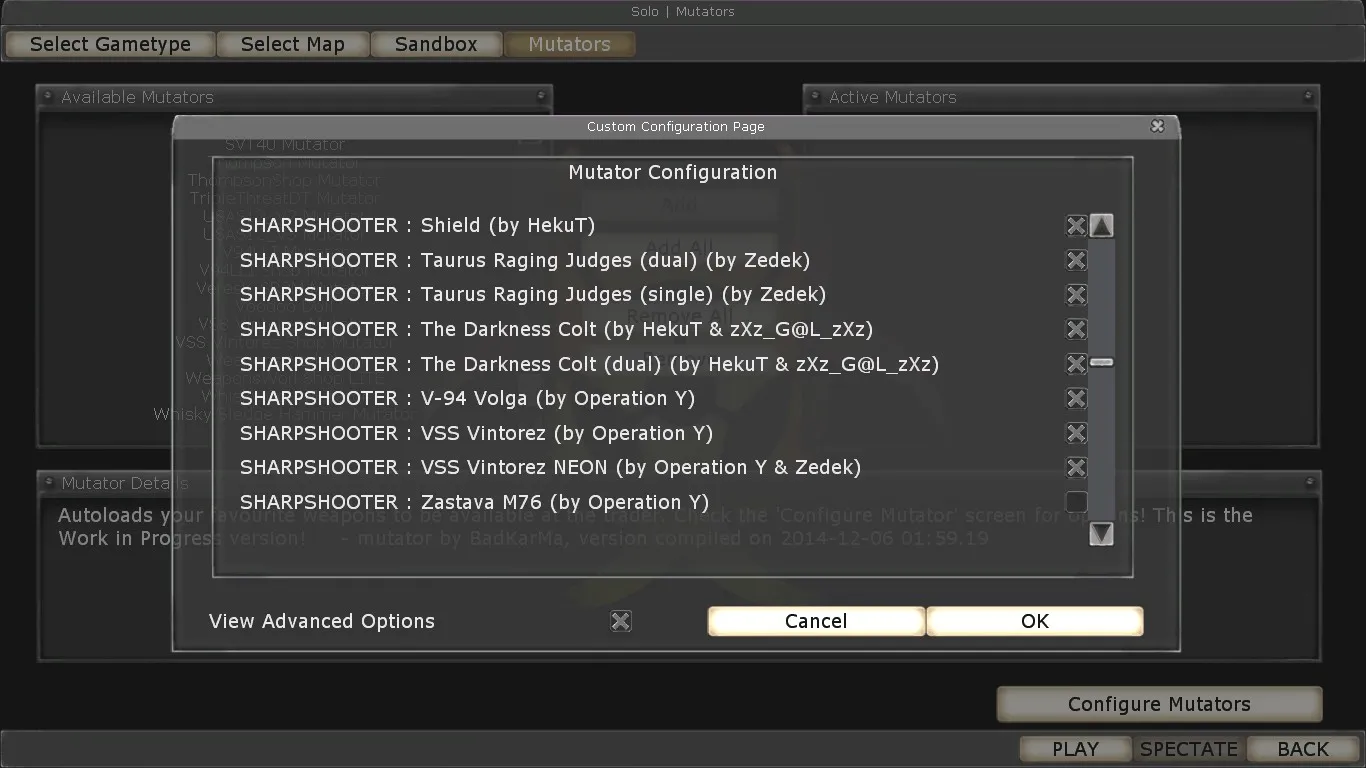 The built-in list of supported modded weapons, grouped by perk.
Any installed weapon that is on this list shows up in the trader automatically. You do not need to add the weapon's own mutator. Using the V-94 as an example, here is what each combination gives:
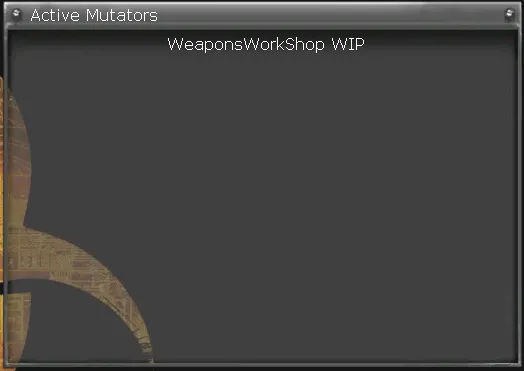 Only WeaponsWorkShop active: V-94 in the trader, normal spawn loadout.
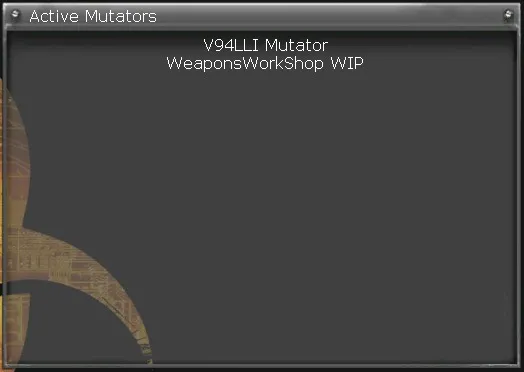 WeaponsWorkShop plus the plain V-94 mutator: V-94 in the trader and you spawn with it.
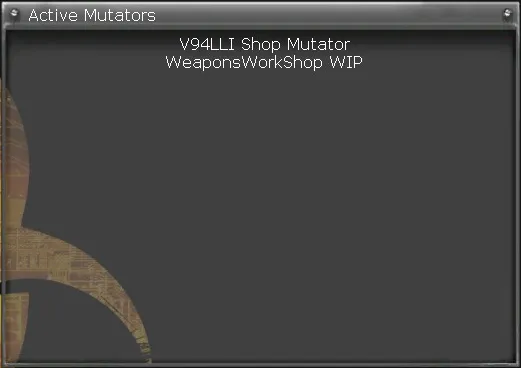 WeaponsWorkShop plus the V-94 Shop mutator: the V-94 appears twice in the trader.
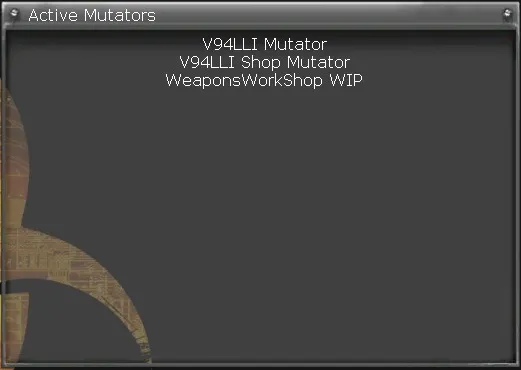 All three: a duplicate V-94 in the trader and the V-94 at spawn.
Weapons that are not on the list
If the weapon is not in the list and has no Shop mutator, add it by hand. Take the pickup line from the mod page; for the VERESK SR2 M example the page says Code for ServerPerks: VereskSAMut.VereskSAPickup. Open Configure Mutators, scroll to the bottom, paste the line into the empty additional unsupported weapons field and press OK.
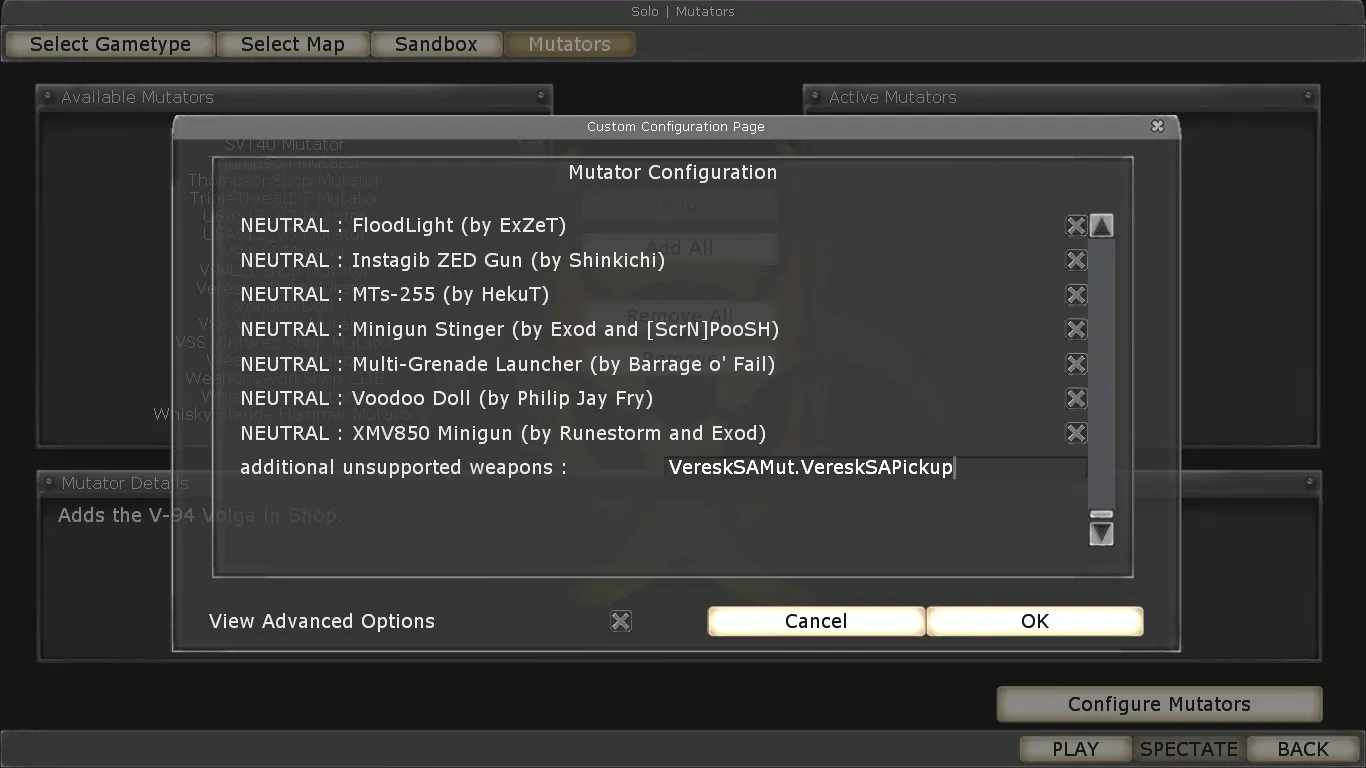 Paste extra pickup classes into "additional unsupported weapons".
For several weapons, separate them with commas and no spaces:
PP19VityazSAMut.PP19VityazSAPickup,VereskSAMut.VereskSAPickupThe field holds roughly 1000 characters. Modded weapons are only sold while WeaponsWorkShop WIP is active. The upside of this method: a large list is already built in, and the mutator changes nothing else in the game.
Method 2: ServerPerks TraderInventory
With ServerPerks you add weapons straight into its config. Copy the pickup line, for example Beretta96FSDT.Beretta96FSDTPickup, and open:
D:\SteamLibrary\steamapps\common\KillingFloor\System\ServerPerks.iniFind the lines that start with TraderInventory.
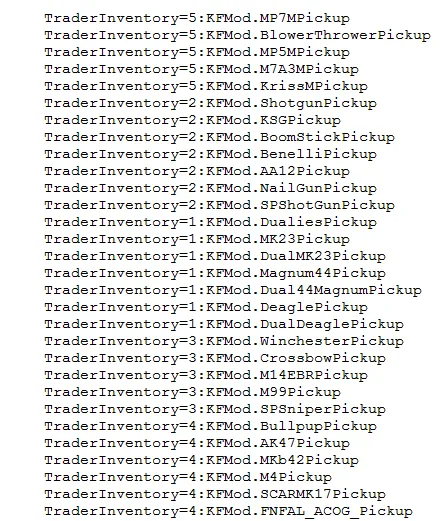 The TraderInventory entries define what the trader sells.
Lower in the file there are comments explaining the category numbers. They are wrong. Do not edit the WeaponCategories lines; use this list instead:
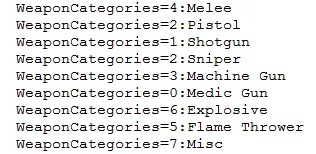 The category comments shipped in ServerPerks.ini do not match the real numbers.
| Number | Category | Examples |
|---|---|---|
| 0 | Melee | Katana, axe |
| 1 | Pistol | Pistols |
| 2 | Shotgun | Shotguns |
| 3 | Sniper | Winchester, M99, M14 |
| 4 | Machine Gun | Machine guns, Thompson |
| 5 | Medic Gun | Medic weapons, light SMGs |
| 6 | Explosive | Explosives, grenade launchers |
| 7 | Flame Thrower | Any fire weapon |
| 8 | Misc | Everything else |
Add a new line after the last TraderInventory entry in this format:
TraderInventory=[category number]:[pickup line]For the Beretta pistol:
TraderInventory=1:Beretta96FSDT.Beretta96FSDTPickup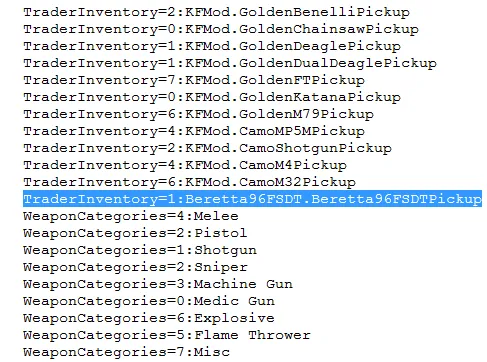 The new line goes after the existing TraderInventory entries.
In the game, enable only Server Veterancy Handler v7 in Mutators.
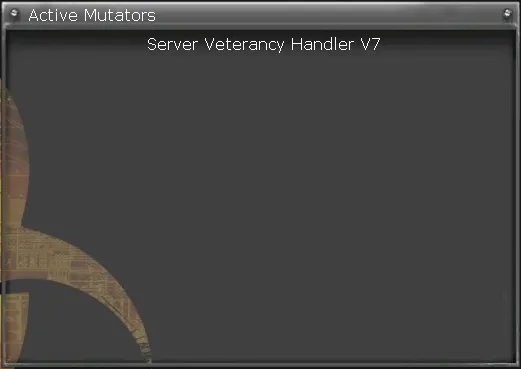 Only ServerPerks needs to be active for this method.
Start a match and visit the trader: the Beretta 96 SF is listed with the pistols.
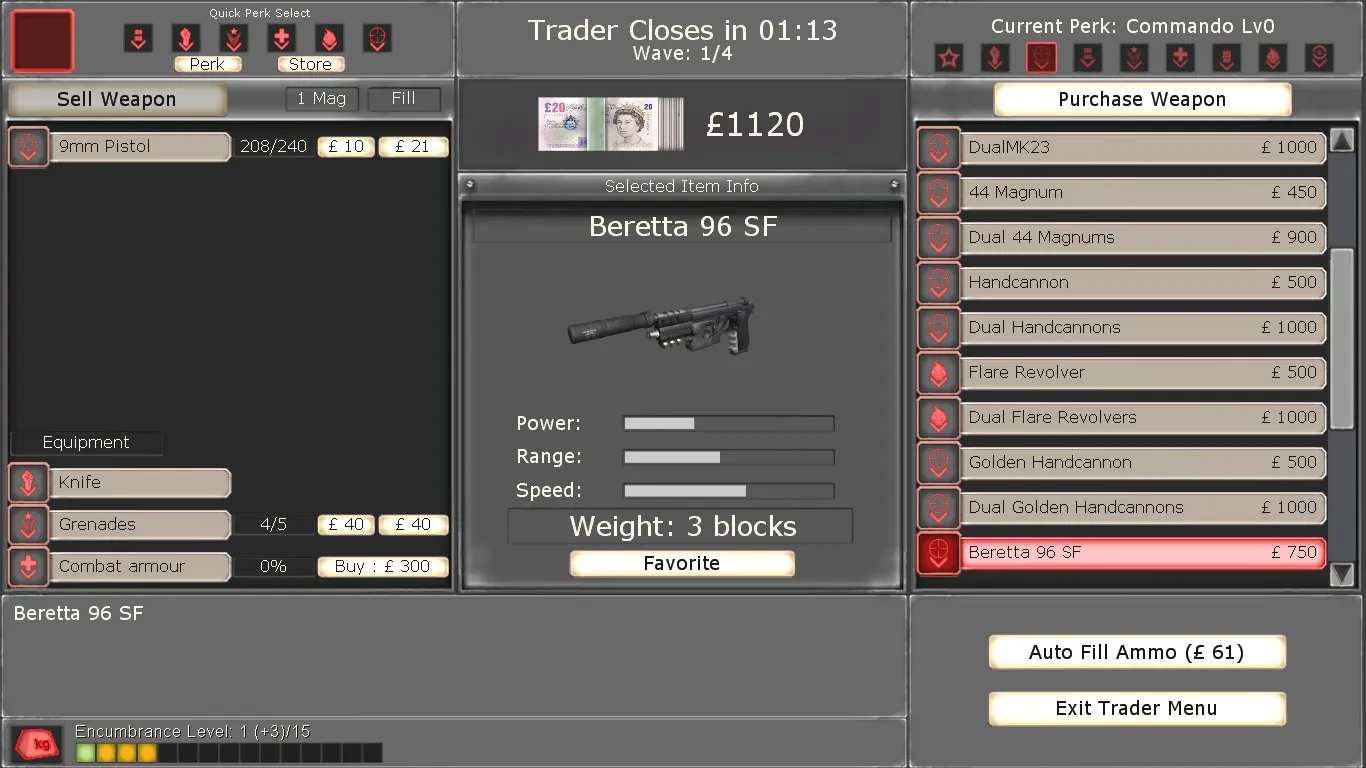 The modded Beretta 96 SF on sale in the pistol category.
Weapons added this way are only sold while Server Veterancy Handler v7 is active.
Custom categories, for example by perk. From the killingfloor.ru forum thread "сортировка оружия по классам в KFCustomShopMutV2" (sorting weapons by class in KFCustomShopMutV2): the number before the colon in TraderInventory is the zero-based position of a WeaponCategories line in ServerPerks.ini. In the ServerPerks version discussed there, the default list had 7 categories (Melee - index 0, ..., Flame Thrower - index 6), so TraderInventory=0:KFMod.ScythePickup puts the Scythe in Melee and TraderInventory=6:KFMod.FlameThrowerPickup puts the Flamethrower in Flame Thrower. Flame sorted weapons by perk simply by replacing the category list:
WeaponCategories=SupportSpec
WeaponCategories=Berserker
WeaponCategories=Commando
WeaponCategories=FieldMedic
WeaponCategories=FireBug
WeaponCategories=Sharpshooter
WeaponCategories=Demolitions
With that list the same entries become TraderInventory=1:KFMod.ScythePickup and TraderInventory=4:KFMod.FlameThrowerPickup. Also from the thread: the ServerPerks perk class sources (SRVetBerserker.uc, SRVetCommando.uc and so on) are in ServerPerksP.u (since ServerPerks v5 the files ship separately, warpel's tip); to remove the discounts, Flame suggested making GetCostScaling always return 1.0 in every SRVet* class.
DLC weapons for every player. From the killingfloor.ru forum "DLC" thread: to let every player buy paid DLC weapons from the trader, it is enough to list them in ServerPerks.ini with the same TraderInventory lines, without extracting anything from the packages, for example TraderInventory=4:KFMod.SCARMK17Pickup or TraderInventory=2:KFMod.GoldenAA12Pickup. This works with ServerPerks 6.50 and older; according to SeRGakaMOON, newer versions need the CleanAppIDMut mutator (by Flame).
Why DLC weapons cannot be bought without the DLC. From the killingfloor.ru forum "DLC1040" thread: Flame found that the DLC weapons of patch 1040 carry the line AppID=210934 in their defaultproperties; it is a protection that blocks buying the weapon from the trader if the DLC was not purchased. He built a package without that line. To enable it, add
ServerPackages=DLC1040Weaponsto KillingFloor.ini and these lines to ServerPerks.ini:
DLC1040Weapons.ScythePickup
DLC1040Weapons.CrossbuzzsawPickup
DLC1040Weapons.DualFlareRevolverPickup
DLC1040Weapons.FlareRevolverPickup
DLC1040Weapons.ThompsonPickup
For players who had not installed patch 1040, Flame separately extracted the scythe (DLC1040Scythe.ScythePickup) and the buzzsaw crossbow (DLC1040Crossbow.CrossbuzzsawPickup).
Which method to pick
| WeaponsWorkShop | ServerPerks | |
|---|---|---|
| Changes the game interface | No | Yes |
| Built-in weapon list | Large | No, add each line |
| How to add a weapon | Config dialog in game | TraderInventory in ServerPerks.ini |
| Custom character skins | No | Yes |
| Must stay active | WeaponsWorkShop WIP | Server Veterancy Handler v7 |
FAQ
- Why do some of my Workshop mods for Killing Floor not install?
- Steam only installs the first 50 subscribed items for the game in practice. Anything past that never arrives. Download extra mods manually from links in their descriptions instead of subscribing.
- Where do I find the line needed to add a modded weapon to the trader?
- Open the weapon's .ucl file from the System folder in a text editor and copy the value after PickupClassName=. It always ends with Pickup, for example Beretta96FSDT.Beretta96FSDTPickup.
- What category numbers does ServerPerks TraderInventory use?
- 0 Melee, 1 Pistol, 2 Shotgun, 3 Sniper, 4 Machine Gun, 5 Medic Gun, 6 Explosive, 7 Flame Thrower, 8 Misc. The comments inside ServerPerks.ini list them incorrectly.
- Do I need ServerPerks to play with custom skins?
- Yes. Custom characters are registered with a CustomCharacters= line in ServerPerks.ini and need the Server Veterancy Handler v7 mutator active.
