
KF2 Modding for Dummies: SDK, Mutator and Workshop Upload
This is a beginner walkthrough for making a Killing Floor 2 code mod: install the SDK, write a tiny game type and a mutator in UnrealScript, compile, test, brew, and upload to the Steam Workshop. It is based on a Steam community guide titled "KF2 Modding for Dummies". For the engine-side setup see UnrealScript modding setup and the SDK mapping guide.
Prerequisites
You need a PC with Windows, Steam, an internet connection and Killing Floor 2 itself.
Getting started: install the SDK
In the Steam library switch to Tools, find "Killing Floor 2 - SDK", right-click it and choose Install Game.
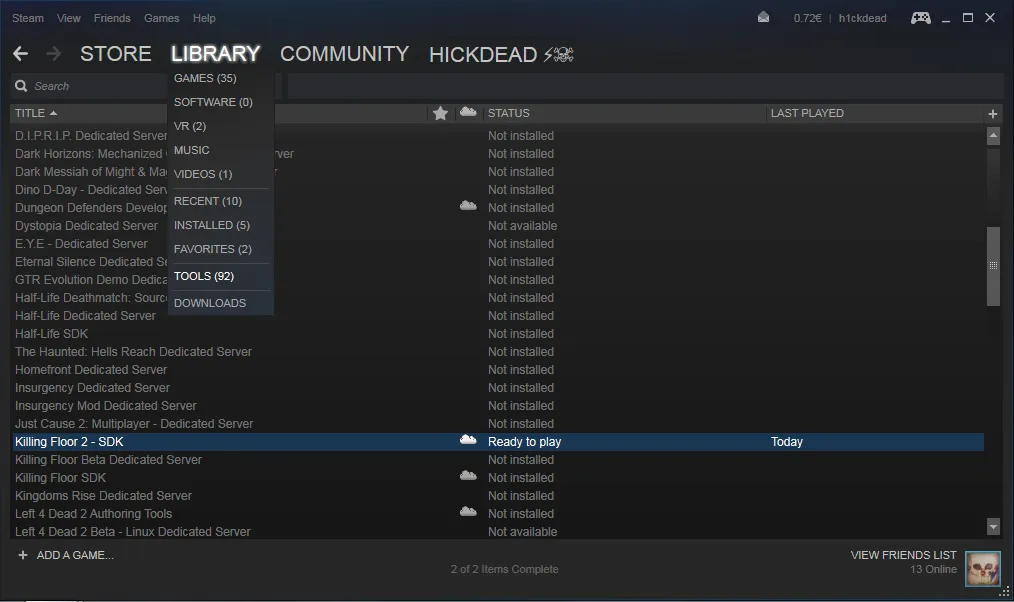 Killing Floor 2 - SDK in the Steam library Tools list.
The author installed KF2 on a small SSD and the SDK on another drive, which caused problems that were solved by copying the KF2 folder over the SDK folder. It is simpler to install both in the same default location. The guide uses three placeholders:
<KF2Userdir>:C:\Users\<UserName>\Documents\My Games\KillingFloor2<KF2Gamedir>:C:\Program Files (x86)\Steam\steamapps\common\killingfloor2<KF2SDKdir>: the SDK install folder; it may be the same as the game directory.
If running KFEditor.exe starts the game itself instead of the editor, the killingfloor.ru forum thread "Killing Floor 2 SDK - обсуждение" advised launching it with parameters (for example, from a shortcut):
Win64\KFEditor.exe editor -NoGADWarningCreate the source folders: <KF2Userdir>\KFGame\Src\DummyMod\Classes. Then tell the editor about the package by editing <KF2Userdir>\KFGame\Config\KFEditor.ini and adding ModPackages=DummyMod to the [ModPackages] section. The value must equal the name of your mod directory.
Adding a game type
To create a new game type, extend KFGameInfo or one of its descendants. Create Dummy_Survival.uc in the Classes folder (the class name is up to you but must match the file name):
class Dummy_Survival extends KFGameInfo_Survival;

event InitGame( string Options, out string ErrorMessage )
{
	Super.InitGame( Options, ErrorMessage );
	`log("Dummy game type initialized");
}
Adding a mutator
For a mutator, extend KFMutator. Create Dummy_Mutator.uc:
class Dummy_Mutator extends KFMutator;

function InitMutator(string Options, out string ErrorMessage)
{
	super.InitMutator( Options, ErrorMessage );
	`log("Dummy mutator initialized");
}
Compiling
Compiling turns the source into binary code the engine can read, and you must repeat it after every source change. Open a command prompt in <KF2SDKdir>\Binaries\Win64 and run:
.\kfeditor make -useunpublished -logThe -useunpublished argument is not needed by this example but you may need it later.
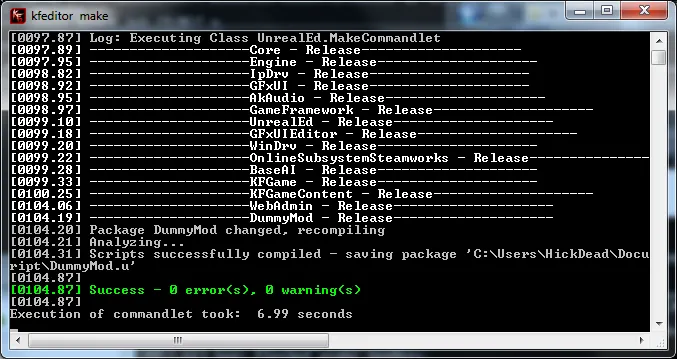 The compiler console window after a successful make.
The compiled .u file (for example DummyMod.u) appears in <KF2Userdir>\KFGame\Unpublished\BrewedPC\Script.
Stripping the source. In the killingfloor.ru forum thread "Защита файлов от декомпиляции", the "old-fashioned" method was suggested for KF2: compiling with the -stripsource switch:
KFEditor.exe make -stripsourceDelete the old package and compile it again, adding the switch to the regular make. Freddy thought this would stop few people from decompiling, and described another approach: split the code into server and client parts, keep all the logic in server files that are never downloaded to the client, and give the client only a minimal set of subclasses that describe properties. More on source stripping in KF1 is in the code protection article.
Merging one mutator into another. In the killingfloor.ru forum "Вшитие одного мутатора в другой" thread (the question was about the !RTD mutator and Server Extension mod), w.a.l explained that combining scripts into one package works the same as in any Unreal game: put all the scripts into one Classes folder inside a folder named after your mutator (package), and in every *.uc change the class references to your package name: your_package_name.needed_uc. Rename the sections in the configs to match. In his words, "roughly, that's all".
Testing
Open a command prompt in <KF2Gamedir>\Binaries\Win64 and run one of these:
KFGame KF-BurningParis?game=DummyMod.Dummy_Survival -log -useunpublished
KFGame KF-BurningParis?mutator=DummyMod.Dummy_Mutator -log -useunpublished
KFGame KF-BurningParis?game=DummyMod.Dummy_Survival?mutator=DummyMod.Dummy_Mutator -log -useunpublished
The first tests the game type, the second the mutator, the third both at once.
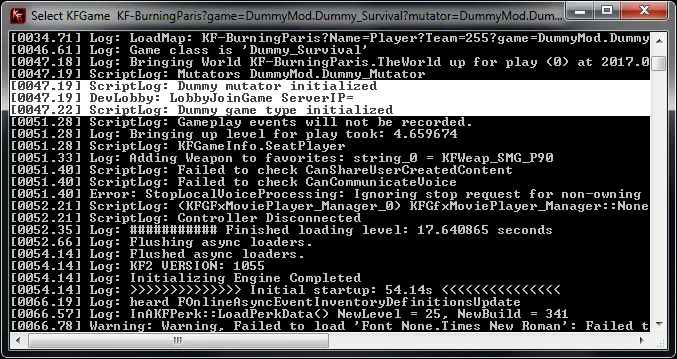 The game started with the dummy mod and the log window.
Brewing
Brewing packages the mod for release. In the SDK binaries folder run:
.\kfeditor make brewcontent -platform=PC DummyMod -log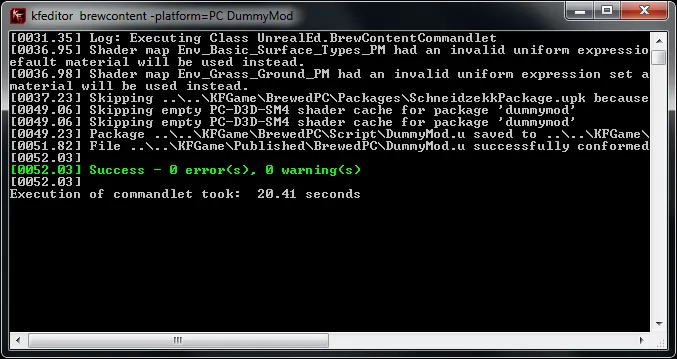 Console output of the brew step.
The result lands in <KF2Userdir>\KFGame\Published\BrewedPC, and from then on you can launch the game as above without -useunpublished.
Uploading to the Workshop
Right-click Killing Floor 2 - SDK in the Steam library and choose Workshop Upload Tool. Fill in the window as in the screenshot and press Start.
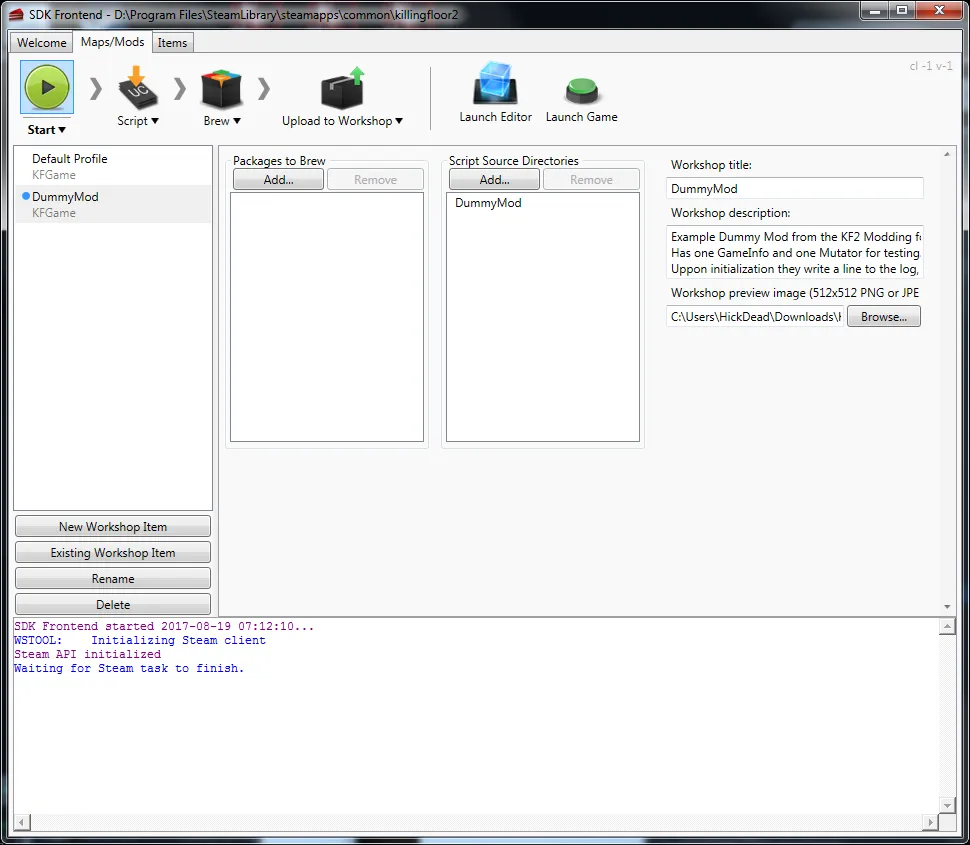 The Workshop Upload Tool window filled in.
After a successful upload the mod appears under the Workshop Items tab of your content page.
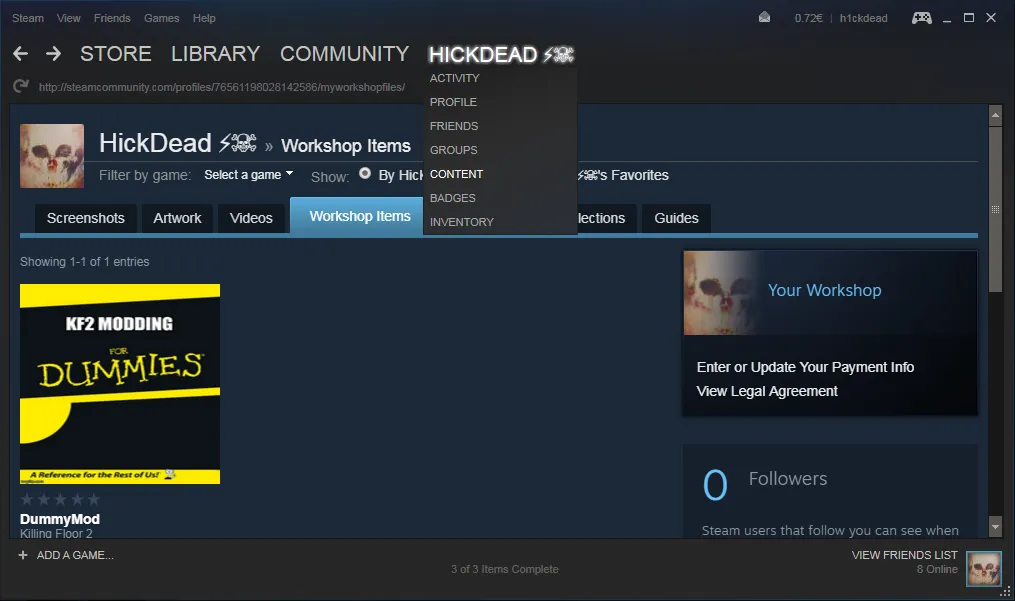 The uploaded mod on the Workshop items page.
Advanced uploading
If your mod needs extra files such as configuration (.ini) and localization (.int, .deu, .fra, .rus and so on), use the command-line uploader WorkshopUserTool.exe. The author found that shipping config files this way is impractical, because the copy under steamapps\workshop\content\232090\<workshopId>\Config overwrites yours each time the game starts. It is better to generate configs from code or ship an example config under another name.
Create <KF2Userdir>\wsinfo_DummyMod.txt with these lines, in exactly this order and with the quotes:
$Description "This is an example mod."
$Title "DummyMod"
$PreviewFile "C:\Users\<UserName>\Pictures\DummyModPicture.png"
$Tags "Maps,Mutators,Gamemodes,Weapons"
$MicroTxItem "false"
$PackageDirectory "C:\Users\<UserName>\Documents\My Games\KillingFloor2\DummyModUpload"$Descriptionand$Titlecan be edited later in the Workshop.$PreviewFileis the full path of the preview image.$Tagsare Maps, Mutators, Gamemodes and Weapons; tags cannot be changed in the Workshop, only by a re-upload.$MicroTxItemshould always be false.$PackageDirectoryis the full path of your upload folder.
Example layout of the upload folder: BrewedPC\KF-DummyMap.kfm, BrewedPC\Packages\DummyModPackage.upk, BrewedPC\Packages\ENV_DummyMap\...upk, Script\DummyMod.u, Config\DummyMod.ini, Localization\INT\DummyMod.int. No two filenames may be the same, even in different folders. Run WorkshopUserTool wsinfo_DummyMod.txt from <KF2SDKdir>\Binaries\. Note that this resets your description, so save any edited text first.
If the upload fails, double-check the full paths and convert the preview image to .jpg for a smaller size.
Further reading
The author points to the UDK GameInfo wiki, the UnrealScript reference, open-source KF2 mods on GitHub (Controlled Difficulty, Weaponized Dosh and others), and the Tripwire wiki pages on code modding, custom GameInfo and the Workshop upload tool.
