
KF2 Weapon Texture Variation Mask: Channels, Glow, Blood
This page paraphrases a modding guide about the mask textures of Killing Floor 2 weapons: how to split them into channels, what each channel controls and how the diffuse and specular maps combine. The author notes that still images do not show everything, because colors change with viewing angle, and shares the example textures and grayscale layers.
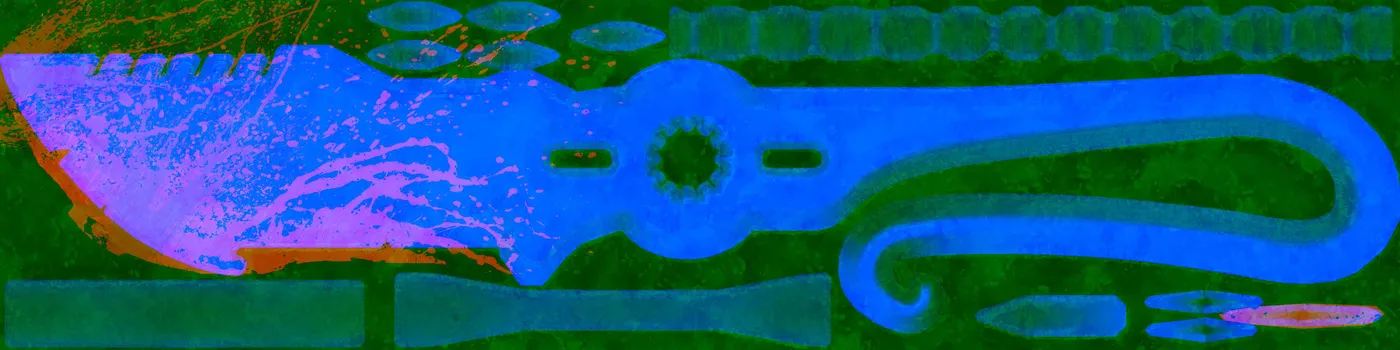 Cover of the original guide.
What you need
- The Berserker's Knife textures for the examples. Textures for most KF2 weapons are available from the Tripwire modding wiki. Gunslinger weapons and anything added after the Spitfire need to be extracted another way.
- GIMP 2 as the image editor (the author's choice).
Preparing the mask
To edit a mask you have to split it into color channels.
- Open
Wep_1stP_BerserkerKnife_M.jpgin GIMP. - Choose Colors, Components, Decompose.
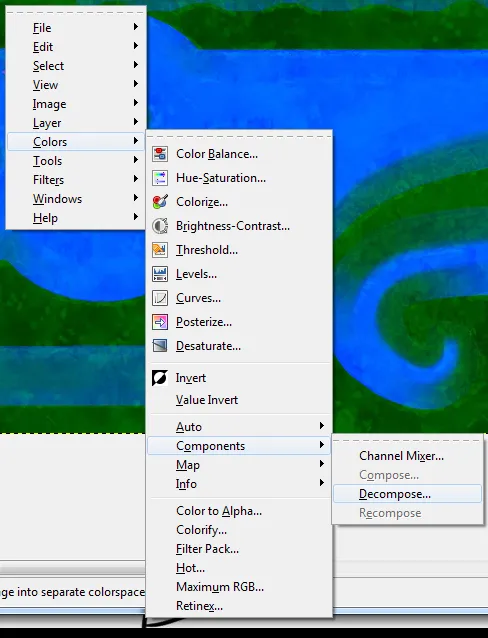 The Decompose command.
Use the RGB color model for most skins, or RGBA if the weapon has glowing parts.
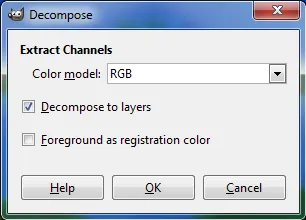 Decompose dialog with RGB selected.
You get three layers (four with RGBA), one per channel. They are grayscale: the brighter the gray, the stronger that channel after recomposing. Layer names do not matter, but keep the order Red, Green, Blue, Alpha so composing later is easy.
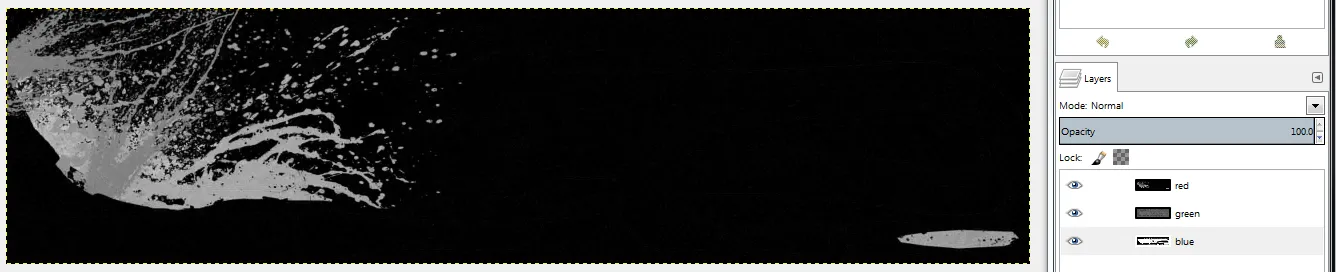 The resulting channel layers.
Composing the mask again
Choose Colors, Components, Compose. Select RGB if there is no alpha layer, or RGBA if you have a fourth one.
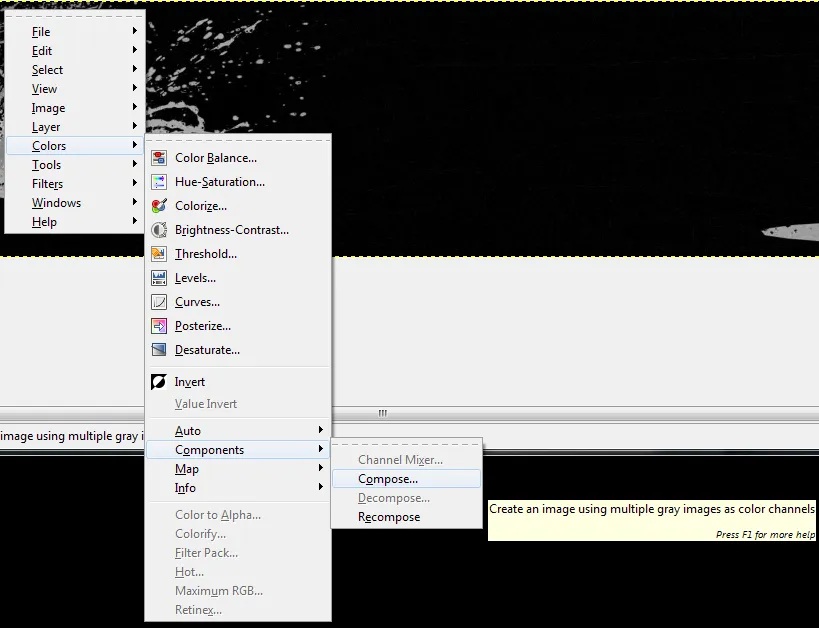 The Compose command.
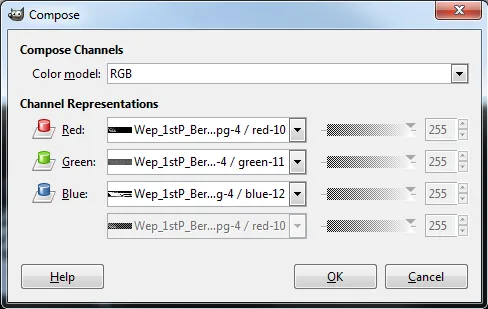 Compose dialog with RGBA selected.
Layers are placed in the order you have them: the first is treated as red, the second as green, the third as blue and the fourth (or a copy of the first) as alpha. You can change what each layer does in the Compose menu.
Red and alpha layers
The author's grayscale layer for the glow sample has boxes with values 0, 25, 50, 75 and 100 across the top row, and the same values flipped in the second row.
 Glow sample grayscale layer.
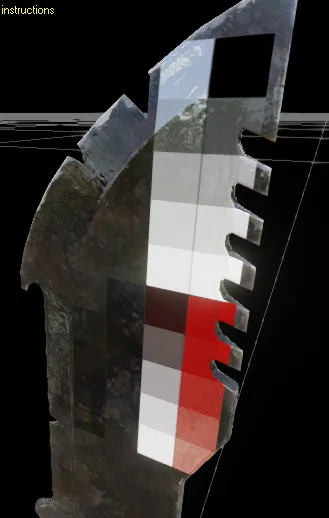
The red layer is for blood. It is normally used only on melee weapons, but you can turn blood on for any weapon and bashing a ZED will add blood just as with melee. The closer to white a spot is, the fewer hits it takes for blood to show there. It may slightly affect blood color, but the author is not sure. Solid black never gets bloody.
 Blood response of the red layer.
The alpha layer drives the glow. Here the grayscale layer above was used as alpha on the Berserker's Knife with glow switched on.
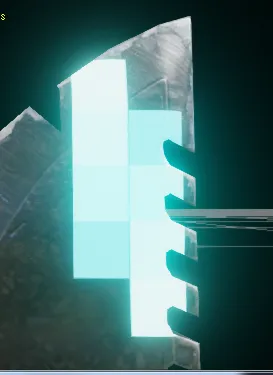 Glow applied to the Berserker's Knife.
In the MAT file's material instance, two switches matter: StaticSwitch_HasBlood allows the weapon to get bloody from melee attacks (including bashing with any weapon), and StaticSwitch_HasGlow adds the glow effect. After checking both, the vector parameter values appear, which change the blood or glow colors.
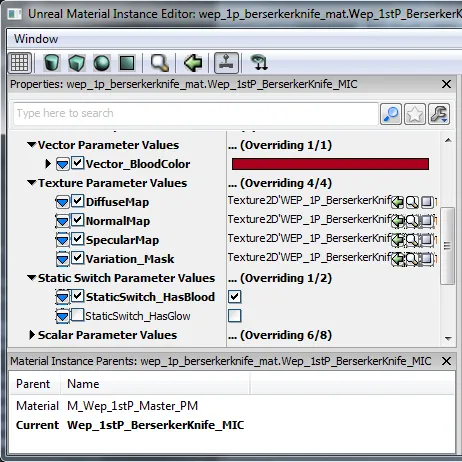 Blood and glow switches in the material.
Diffuse and specular maps
Screenshots do not do justice to how skins look, so the author invites you to use their textures. The examples use a diffuse texture and a specular texture, with the red value set to 50 and blocks of 0, 25, 50, 75 and 100.
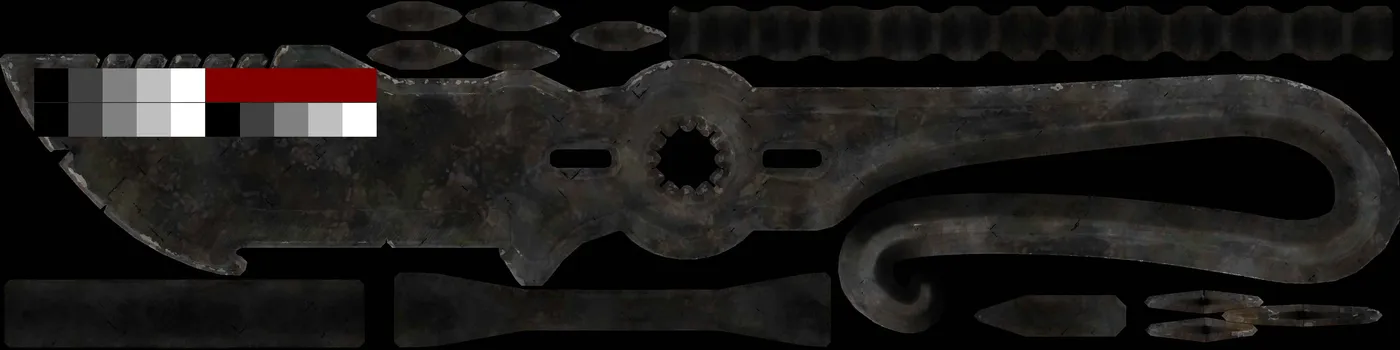 Diffuse texture used for the example.
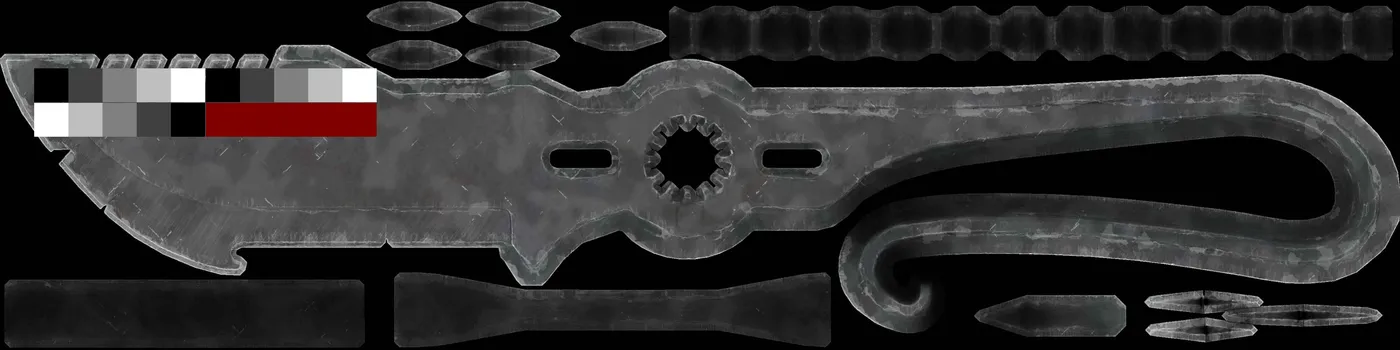 Specular texture used for the example.
Diffuse alone looks the same from most angles.
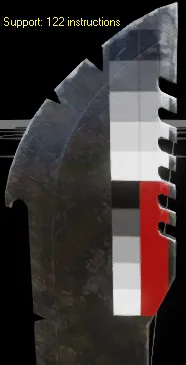 Diffuse only.
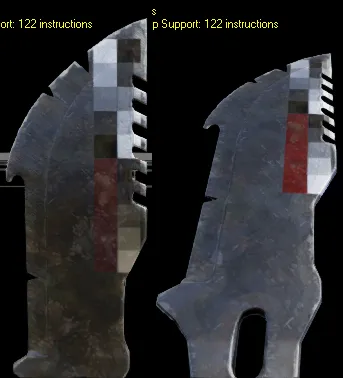 Specular only.
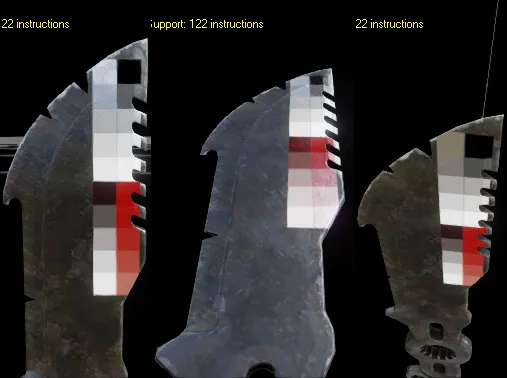 Both together.
Green and blue layers
The author is not entirely sure what blue and green do, and suggests using the textures to build your own masks. Two reference bases were used, one white and one black.
 Used for white.
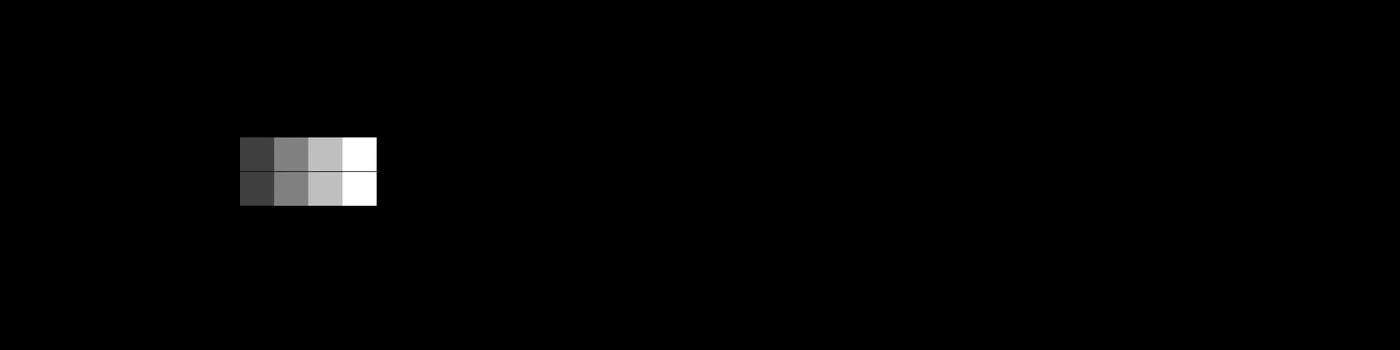 Used for black.
Left to right: both black, blue only, green only.
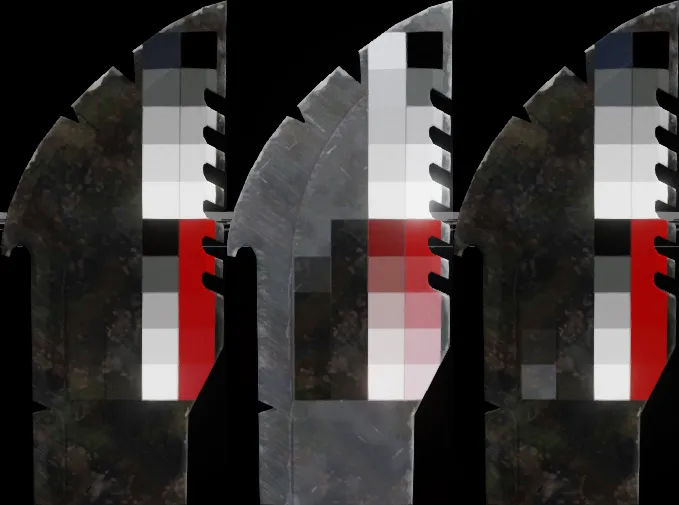 Blue only versus green only.
Findings: blue sets how much of the specular layer shows, with a flat, non-glossy look. Green lets the diffuse show with a glossy look. With both at maximum the skin is very glossy, and wherever the specular is brighter than the diffuse it gets a shiny metallic look.
 Both channels at maximum.
FAQ
- What does the red channel of a KF2 weapon mask do?
- It controls blood. The whiter the pixel, the fewer hits it takes for blood to appear there; solid black never gets bloody. It is normally used on melee weapons, but blood can be enabled for any weapon so that bashing a ZED adds blood.
- What do the green and blue channels do?
- The author is not fully sure, but found that blue controls how much of the specular layer shows with a flat, non-glossy look, while green lets the diffuse show with a glossy look. Both at maximum gives a very glossy skin with a shiny metallic look where specular is brighter than diffuse.
- Which program is used in the guide?
- GIMP 2, with the Colors, Components, Decompose and Compose commands. RGB works for most skins, RGBA for glowing parts.
