
KF2 Gunslinger Guide (Thai Community): Skills, Pistols and Boss Tactics
This guide was written in Thai by a player who wanted to show how to play the Gunslinger "cool, like Clint Eastwood". It has been translated and condensed here. Numbers reflect the game at the time of writing (2017) and later patches may have altered some of them.
Perk overview
 The Gunslinger perk screen.
XP objectives: deal damage with Gunslinger weapons, and score headshots with Gunslinger weapons.
Perk bonuses
- Perk damage 25% (1% per level)
- Bullet resistance 30% (5% + 1% per level)
- Movement speed 20% (0.8% per level)
- Recoil reduction 25% (1% per level)
- Zed Time reload 75% (3% per level)
Role: take out medium and large ZEDs and pick off heads. Strengths: powerful weapons, handles any ZED type, fast and mobile. Weaknesses: reloads often and ammo is hard to manage.
Perk skills
- Level 5: Steady (iron sight movement speed no longer reduced and less recoil) or Quick Draw (less hip fire recoil, +5% speed, 50% faster weapon switching; best used with a crosshair).
- Level 10: Rack 'em Up (consecutive headshots add 10% damage up to 50%) or Bone Breaker (+20% damage and +30% damage to limbs).
- Level 15: Line 'em Up (no damage reduction when shooting through ZEDs) or Speedloader (faster reload).
- Level 20: Skullcracker (headshots slow ZEDs by 30%) or Knock 'em Down (shooting the legs of sprinting ZEDs causes a knockdown and a chest shot causes a stumble).
- Level 25: ZED Time - Whirlwind of Lead (infinite ammo in Zed Time) or ZED Time - Fan Fire (perk weapons fire faster in Zed Time; the guide says 4x).
Weapons
Any pistol or Western-style gun.
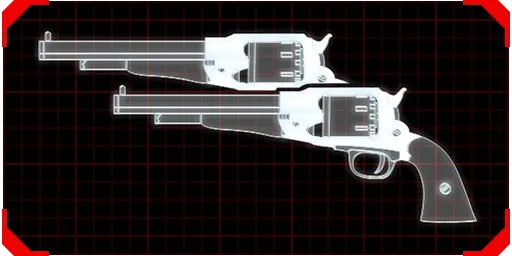 1858 Revolver.
1858 Revolver (Remington Model 1858): the starting weapon. Fires fast but reloads slowly, so Speedloader helps. Low recoil, so Steady or Quick Draw are both fine; crouching removes almost all recoil. Price 100 single / 200 dual, ammo cost 12, damage 30, bash damage 24, no penetration, magazine 6 single / 12 dual.
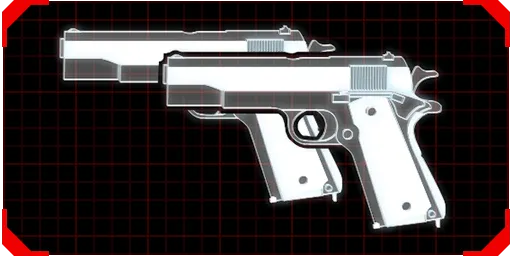 M1911.
M1911 (Colt 1911): price 325 / 650, ammo cost 26, damage 30, bash 24, penetrates 1+ ZEDs (2+ with Line 'em Up), magazine 8 / 16.
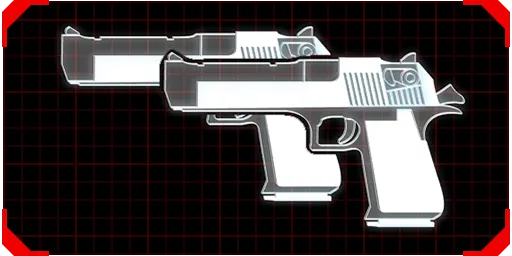 .50 Desert Eagle.
.50 Desert Eagle (Handcannon): price 550 / 1100, ammo cost 21, damage 90, bash 24, penetrates 1+ (3+ with Line 'em Up), magazine 7 / 14.
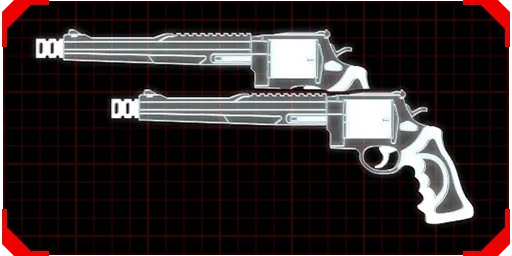 .500 Magnum.
.500 Magnum (Smith and Wesson Model 500): the largest pistol, the guide jokes it can shoot a melon in one go. Price 750 / 1500, ammo cost 25, damage 150, bash 24, penetrates 2+ (4+ with Line 'em Up), magazine 5 / 10.
Skill set 1 (solo, Hell on Earth, 6 players)
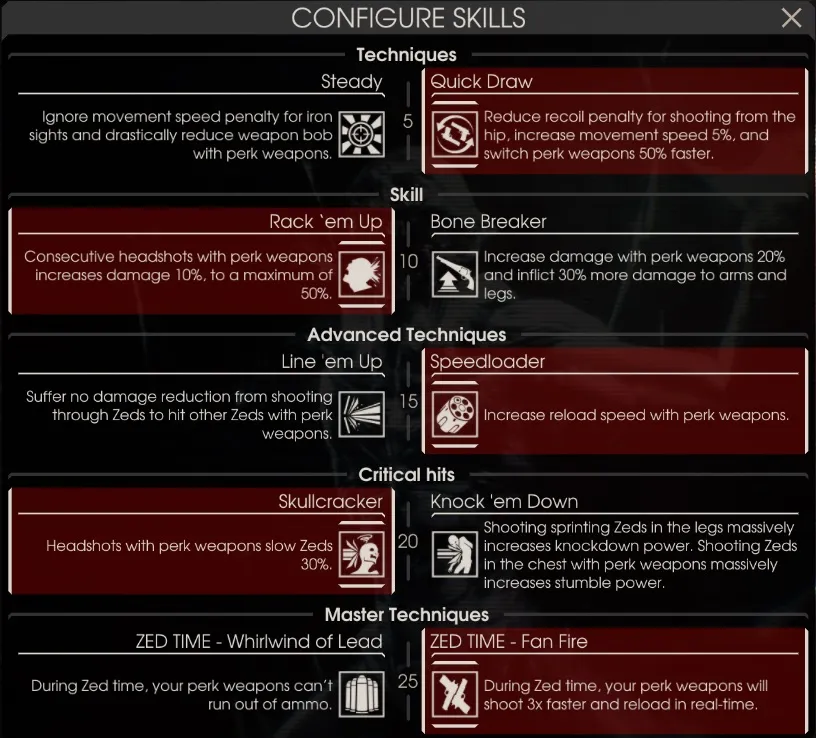 Quick Draw, Rack 'em Up, Speedloader, Skullcracker and Fan Fire.
Pros: can take on big ZEDs, fast, quick reload, good at medium and close range. Cons: poor at long range, and big ZEDs must be handled one on one, since a teammate drawing their attention can make you miss.
Skill set 2 (Hell on Earth, 6 players)
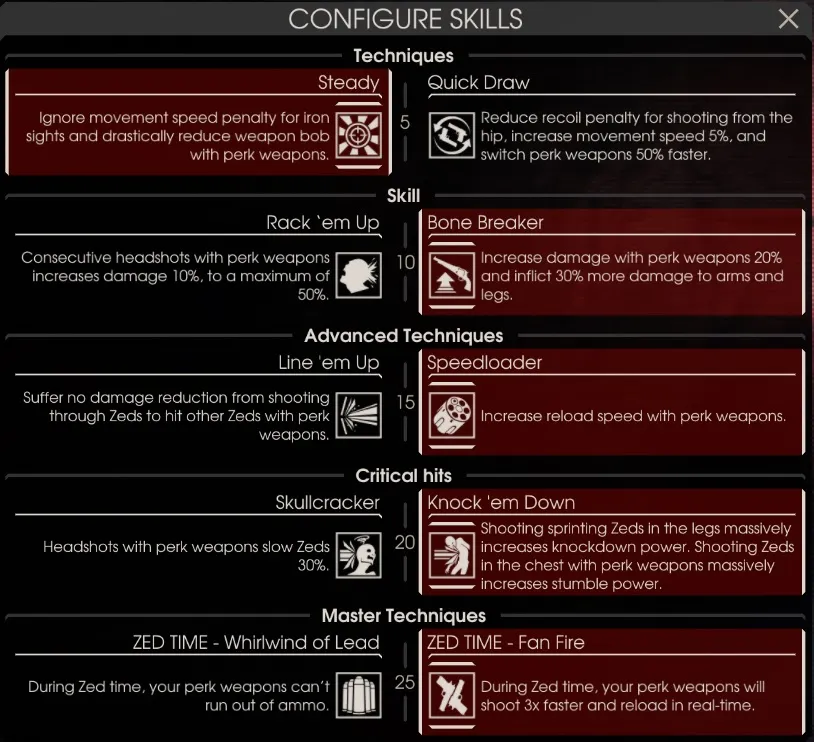 Steady, Bone Breaker, Speedloader, Knock 'em Down and Fan Fire.
Pros: easy to knock down Scrakes (Desert Eagle, .500), helps a teammate who is being chased, strong damage. Cons: cannot knock down Fleshpounds, you must shoot the legs for a knockdown and the chest for a stumble.
Low on money in a Hell on Earth game?
A single Desert Eagle is enough to start. Take Steady or Quick Draw as you prefer, and Speedloader if the map is narrow and you run a lot.
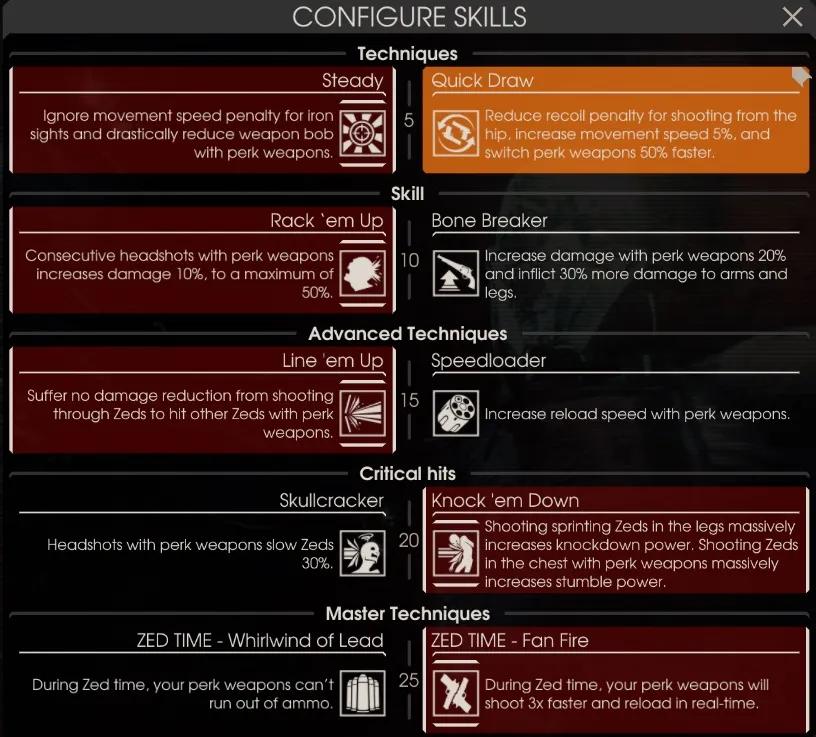 Suggested set for a cheap start: Steady or Quick Draw first, Rack 'em Up, Line 'em Up, Knock 'em Down and Fan Fire.
Small ZEDs (Cyst, Clot, Slasher, Crawler, Stalker)
- A Crawler dies to one shot from the M1911 and the Winchester 1894. If many Crawlers appear, use grenades or guns.
- Cyst, Clot and Slasher die to one headshot from any gun, or one body shot from the Desert Eagle, .500 or Winchester.
- A bash to the head also kills them in one hit.
- Stalkers die to one headshot from any gun, or one hit from the Desert Eagle, .500 or Winchester.
Medium ZEDs (Husk, Gorefast, Gorefiend)
- Gorefast with the 9mm: 3 headshots. To save ammo, two shots plus a bash, or three bashes.
- Gorefast with the 1858: 2 headshots, or one shot plus a bash, or two bashes.
- Gorefast dies to one headshot from the M1911, Desert Eagle, .500 and Winchester 1894.
- Gorefiend dies to one headshot from the .500. With the Desert Eagle it takes two, unless Rack 'em Up is at x2. The M1911 also needs two.
- When a Gorefiend shields its head, shoot below the blades.
- A Husk fuel tank can be destroyed with one shot from the Desert Eagle, .500 or Winchester 1894.
Large ZEDs, solo (Scrake, Fleshpound, bosses)
- Scrake: easy, a single Desert Eagle is enough. Use Quick Draw and accurate headshots, walking backwards while firing (the Scrake cannot catch you with Skullcracker). With Steady, find a good angle at a good distance.
- Fleshpound: also easy, but do not get too close or it will jump on you and you will miss. The easiest moment is when it rages and pounds the floor. Avoid the M1911, 9mm and 1858 against Fleshpounds.
- Patriarch: pick maps with many corners because he stands still while firing, and on wide maps you can get shot to death. While he fires the minigun, find an angle and shoot his head. Boost damage with the M1911 and then switch to the Desert Eagle, or shoot with the M1911 until his blood colour changes and then burst. If he chases you, run and do not turn back until you have enough distance; Quick Draw is useful. Do not try to tank him, his swipe is very strong.
- Hans Volter: choose maps where you can escape easily and which are not too long, because his guns are strong. After he drains your blood he stands still as a target for about two seconds, so hit him hard. Do not fight at under 50 health; run and heal first. When his armour appears use a heavy weapon like the .500 to break it (or the Desert Eagle if you have a damage boost). Repeat and he drops quickly.
- Zed Time skills are optional; the author rarely gets good opportunities.
Large ZEDs in a team (Hell on Earth, 6 players)
- Same principle as solo but you need more ammo. Scrake options: empty a Desert Eagle magazine into the head without missing; or use the 9mm with the damage boost stacked to x5 (avoid the M1911 because its damage makes the Scrake rage and run); or the .500 without missing. If you miss twice with the Desert Eagle, switch to the .500 (and vice versa).
- Raging Fleshpound chasing you: find a long flat area to shoot and run. It cannot be killed with one full magazine while raging unless a Medic adds a damage boost. Do not get close, you will miss.
- Fan Fire is very useful. A level 25 Commando who keeps producing Zed Time makes Fan Fire shine.
- A pack of Scrakes is not scary as long as you have a Medic. A pack of Fleshpounds is dangerous alone; use a teammate as bait, Freeze Grenades or wait for Zed Time.
- Bosses: shoot heads; if chased use heavy guns on the head. For Hans see the solo advice, run if you do not want the risk, and heal below 50 HP.
Solo Hell on Earth plan
Very easy unless the map is narrow or has many height levels. Skill set as in set 1.
- Wave 1: shoot freely.
- Next waves: buy a Desert Eagle and its ammo, and swap to Line 'em Up.
- Waves 2-3: Dual Desert Eagle and an M1911.
- Waves 4-5: buy all ammo and, if you can, Dual M1911.
- Wave 6 is comfortable thanks to the Dual Desert Eagle, and easy afterwards.
- On the boss wave keep one gun dropped for stacking damage boosts, such as the M1911.
Tip from the comments
A commenter notes that a Fleshpound does not need much room: the golden moment is when it pounds the floor. Practise tracking its head and you can kill it easily; watch out for teammates stealing the kill when it loses its head.
Fun extra
The author recommends Western films to get in the mood: The Good, the Bad and the Ugly (1966), Unforgiven (1992) and Django Unchained (2012).
See also the related Gunslinger guides: Gunslinger in depth with shot counts and Gunslinger scrub sheet.
FAQ
- What are the best weapons for a poor Gunslinger on Hell on Earth?
- A single Desert Eagle is enough to get started. Pair it with Steady or Quick Draw, and add Speedloader if the map is tight and you run a lot.
- How does the guide kill Scrakes solo?
- Use Quick Draw and accurate headshots with the Desert Eagle while walking backwards. With Skullcracker the Scrake cannot catch you.
- Is the M1911 good against Scrakes in a team?
- No. The guide warns against it because the high damage makes the Scrake rage and run, making it harder to hit. Use the 9mm with a stacked x5 damage boost, the Desert Eagle or the .500 instead.
