
KF2 Support Perk Guide (Spanish): Shotguns, Skills, Zeds and Bosses
This is a translation of a long Spanish-language Support guide written in the Early Access era. It treats the Support as a damage dealer (a "glass cannon") rather than a classic healer-type support, and walks through the perk's tools, weapons, skills, every enemy and the two bosses. The author recommends Support and Firebug to new players because they are easy and enjoyable, but warns of early ammo scarcity.
About the perk
Shotguns are strong at short range and can wipe out one or several Zeds in seconds. The perk has the welder: Support gets bonus XP for every weld and welds faster than other perks. Welding is less useful than in Killing Floor 1, though: if a weld is destroyed you must rebuild the door with the welder before welding again, and doors have a hidden health bar, so a fully welded door can still break while 70% of the weld remains. Plan before you weld.
Passive bonuses:
- Welding efficiency: 3% per level, max 75%.
- Shotgun damage: 1% per level, max 25%.
- Shotgun penetration: 25% per level, max 500%.
- Shotgun total ammo: 1% per level, max 25%.
- Strength: 1 kg more carrying capacity every 5 levels (20 total at max: 15 base plus 5).
- Ammo backpack: allies approach and press E to restock one magazine, independent of your own ammo.
- Door repair.
Pros: massive damage in short time, faster welding, versatility against trash and heavy Zeds, more carry weight, door repair, shotguns. Cons: low starting ammo so you cannot spray, slow reloads, no passive health or armor bonus and more expensive ammo than other perks.
Support's own shotguns
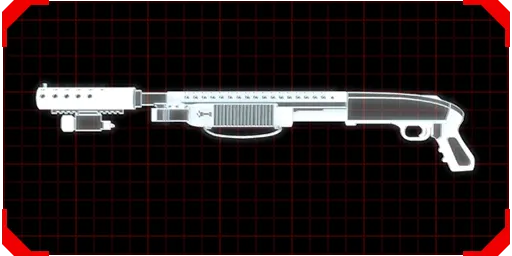 The Mossberg SG 500, the starting weapon.
1. Mossberg SG 500. Pump-action starter, 8 shells and 24 in reserve (32 with the right skill). Sells for 100, costs 200. Tips: do not use it on wave 1 because ammo is expensive; use the 9mm pistol or machete instead. At level 4 or 5 you have enough penetration to kill 2-3 Zeds with one shot, so line them up. It has less spread than you expect, good at medium range against Gorefasts and Husks. Shells load one at a time, so reload every 3 or 4 shots.
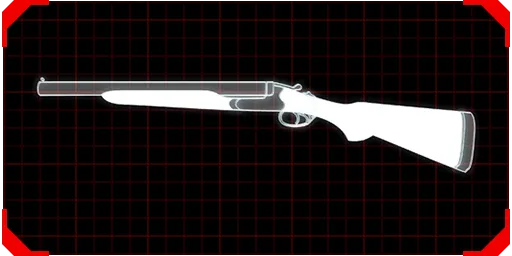 The double-barrel Boomstick.
2. Double-barrel shotgun (Boomstick). 650 dosh, the most powerful Support shotgun and one of the most powerful weapons in the game. It can kill Scrakes like Clots and fight the boss, but holds only 2 shells. Buy it as soon as you can. Tips: lots of spread, so use it on groups within 10-15 meters. The middle mouse button fires both barrels at once for massive damage, ideal against Scrakes. The recoil can launch you into the air, called the "Scrake Jump": jump and fire the secondary to escape large Zeds and bosses while damaging them. At 4 weight with a fast reload, it is mandatory.
3. M4 Combat Shotgun (Benelli M4). 8 shells, 1100 dosh, 7 weight versus 5 for the SG500, slightly slower reload. Probably the worst Support shotgun: the AA12 does everything better, and carrying both leaves room only for a medic pistol. Semi-auto, so it burns ammo quickly. It is nearly the same as the starter shotgun apart from slightly less spread and fire rate.
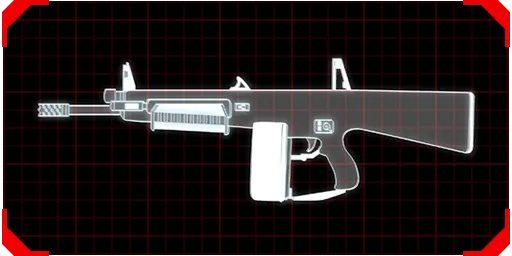 The AA12 auto shotgun.
4. AA12. Similar damage per shot to the starter shotgun, but automatic with a 20-shell magazine, giving big DPS against large Zeds. It has the most reserve ammo but eats it quickly. Tips: the middle mouse button toggles auto and semi-auto; use semi-auto on trash to save ammo. Do not sell everything to buy it; it is not as essential as the Boomstick, its ammo is expensive and reserve is low at first. Consider buying it around wave 7 or 8. Crouch to control recoil during sustained fire.
Shared multi-perk shotguns
Under the multi-perk weapon system, shotguns from other perks can be used by Support with its bonuses. Kills with them earn Support XP, while special functions (like healing) earn XP for the owning perk.
HMTech-301 Shotgun. The Medic's third weapon and the weakest shotgun, even weaker than the starter, but useful online (not offline). Semi-auto, 2 more shells than the M4, loaded by magazine and 2 weight lighter. Buy it in groups even with a Medic, because a 6-player Hell on Earth or Suicidal game has too many enemies for one Medic. Use it on trash (Clots, Crawlers, maybe Bloats and Gorefasts), not on strong enemies. Skip it when playing solo.
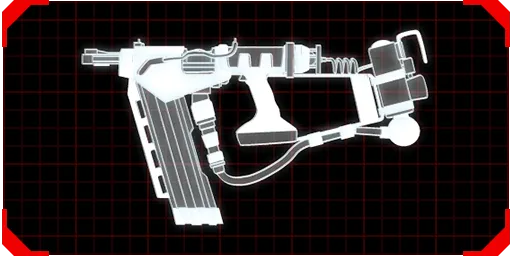 The VLAD-1000 Nailgun.
VLAD-1000 Nailgun. Originally a Support weapon in Killing Floor 1, now a Berserker weapon, but usable by Support. It fires several nails at once with longer range. The middle mouse button switches between two spread modes: wider for groups, narrower for distant or lined-up enemies. Cheap and a good replacement for the starter shotgun thanks to power, fast reload and high fire rate.
Winchester M1897 Trench Gun. A Firebug weapon with Dragon's Breath shells that deals two types of damage and sets enemies on fire. Slightly more powerful and precise than the VLAD but with much less reserve ammo. Every 3 shots can make a Scrake panic (5 for a Fleshpound), good for escaping or reloading but annoying for precision perks. Follow the SG500 tips.
Recommended loadouts
- To kill when your Medic is weak: AA12, Boomstick, HMTech-301 shotgun.
- To kill and have fun: AA12, Boomstick, VLAD or Trench Gun, HMTech-301 pistol.
- To be a destructive beast: AA12, RPG, HMTech-301 pistol.
Skills
You get a new skill every 5 levels and can change them between rounds or from the main menu.
- Level 5: High Capacity Magazines (+50% magazine size, no effect on the Boomstick; best only with magazine shotguns such as the AA12) or Tactical Reload (faster reloads, affects the Boomstick, the author's most recommended).
- Level 10: Fortitude (more health, but healing takes longer in a group without a Medic, and Medic priority goes to the Berserker) or Salvo (+30% Support damage, which with the base 25% gives 55% extra damage and makes the Boomstick even more broken). The author prefers Salvo.
- Level 15: Armor Piercing Shot (more penetration, which the author finds mostly redundant but still preferred) or Tight Choke (50% less spread, which the author finds a nerf, since shotguns are for crowds).
- Level 20: Resupply Pack (allies restock 30% ammo and 20% armor once per round, and you carry 20% more ammo; always take it) or Concussion Rounds (+150% stumble power, never worth it).
- Level 25 (Zed Time only): Zed Time Penetrator (pierces anything, not recommended) or Zed Time Barrage (near real-time shooting, very useful, especially for pump-action shotguns; keep your gun loaded when Zed Time starts because reload is still slow).
Enemies and how to kill them
-
Cyst, Clot Alpha, Slasher: weak; use the 9mm headshot or knife early, shotgun in later waves against groups. Slashers are faster, cover their heads and have a charging claw attack on Suicidal and Hell on Earth.
-
Elite Clot (Albino): RNG-based, absent on Normal, rare on Hard, common on Suicidal and Hell on Earth. It makes nearby enemies rage and run. Kill it with one good shotgun blast before it uses the ability, and note it does not always come with other Clots.
-
Crawler: weakest enemy, but annoying in groups of 4-7. A pistol headshot kills it; leave them to Firebug or SWAT.
-
Elite Crawler: if not killed in one headshot it releases poison gas that blurs vision and damages health and armor. Kill it fast; Sharpshooter, Gunslinger or Commando can handle it.
-
Stalker: invisible, comes in groups of 3-4, dangerous on Suicidal and Hell on Earth. Commando can see them and gets extra XP; a single shotgun shot kills them if you must.
-
Gorefast: slow, hits hard, but weak to shotguns: one shot from almost any shotgun (except maybe the Medic's) kills it. Charges when within about 5 meters. Prioritize them.
-
Gorefiend: a Gorefast with two blades, weak to shotguns too, dying to 2 body shots or one headshot. Priority target; on 6-player Suicidal or Hell on Earth its spin attack can kill you. Common on high difficulties.
-
Bloat: slow and annoying, usually guarding a Siren or accompanying Scrakes and Fleshpounds. Shoot the head with the Boomstick secondary; avoid body shots that make him explode and leave bile mines.
-
Siren: her scream ignores armor and can kill; it lasts 5-7 seconds with a 3-5 second cooldown. She comes with a Bloat, Scrake or Fleshpound. Her metal plates reduce damage by 95%; shoot the head with the Boomstick secondary or let a Sharpshooter or Commando do it.
-
Husk: among the most dangerous. Fireball, a short-range melee, a suicide charge if reduced below 90% health without dying (an instant kill), and a flamethrower on Suicidal and Hell on Earth that can kill in about 5 seconds. Leave it to Sharpshooter or hit its backpack, which explodes when exposed during its shot.
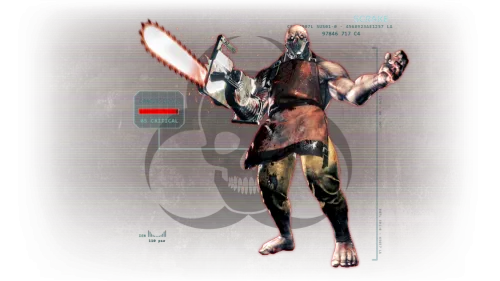 The Scrake, the first heavy Zed.
-
Scrake: passive until damaged enough, then runs at you. Leave it for last and kill one at a time. Use the Scrake Jump with the Boomstick secondary (about 4 or 5 good shots), or empty 1-2 AA12 magazines, or let a Sharpshooter with a Railgun do it.
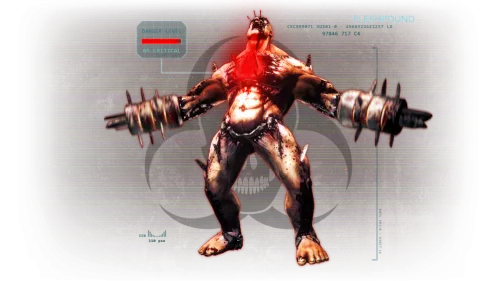 The Fleshpound.
-
Fleshpound: a stronger Scrake with drills; enters rage when hurt a lot or when it has not hit anyone for a while, shown when its chest core turns from yellow to red. Appears in later waves (wave 3 of 4, 5 of 7, 7 of 10), one per wave, with 2 or 3 in the last wave of a 6-player Hell on Earth game. Resistant to shotguns; weak to explosives, so let a Demolitionist handle it, or a Berserker plus Medic team. If you must, use Scrake Jumps (about 8-10 good shots in high difficulty 6-player games) or 3-4 AA12 magazines. Aim at the chest core and head.
Bosses
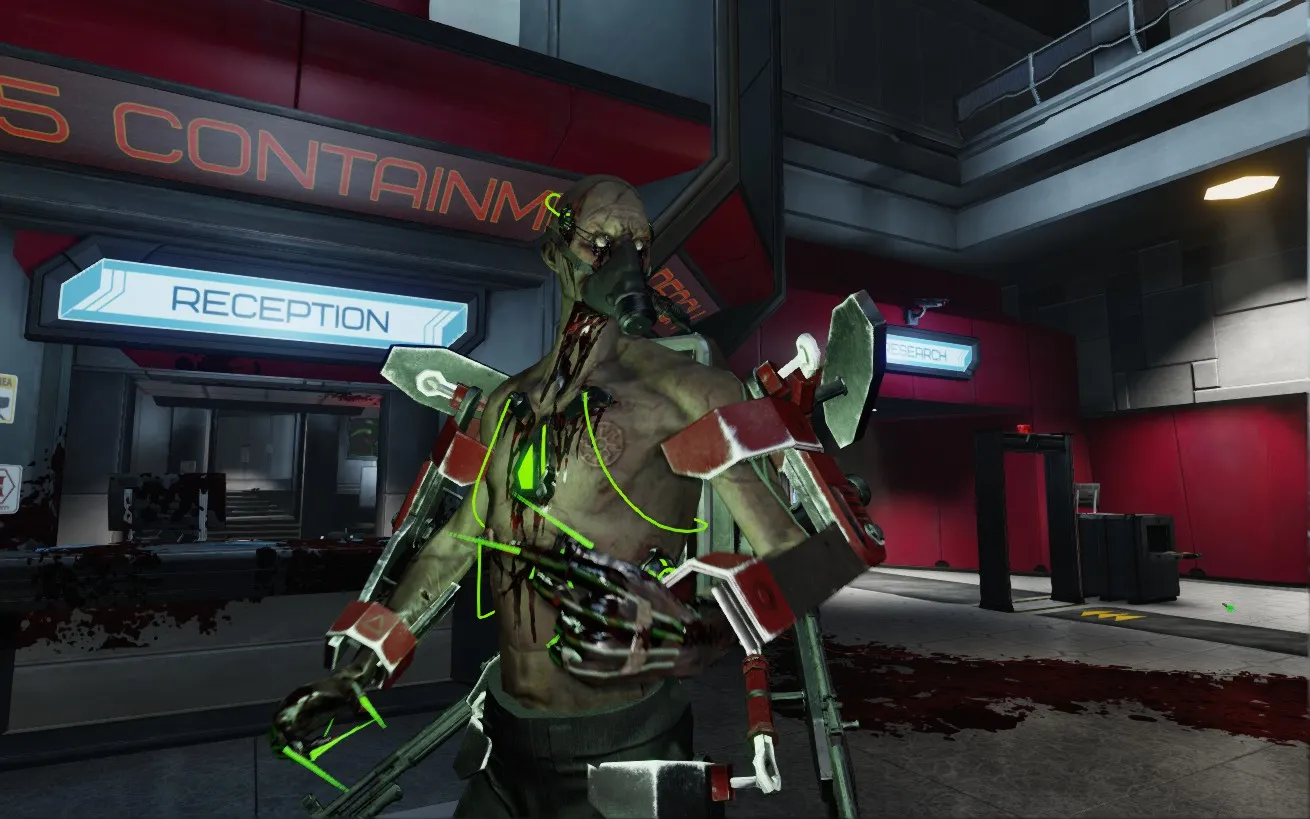 Dr. Hans Volter.
Hans Volter. A German scientist more than a hundred years old with robotic implants; a bullet sponge. He has three grenade types (poison gas, smoke and explosive), two MKb42 rifles with bayonets that can strip armor in one or two bursts, and a final claw charge that can kill in 2-3 hits in a 6-player Hell on Earth game. Four phases: after heavy damage he raises a shield, throws smoke grenades, calls other Zeds and then runs to grab you and drain life to heal. Destroying the shield in time avoids that. Alone: lure him around a big structure (such as the giant rock on Farm), empty the AA12 magazines and circle; if he charges, escape with a Boomstick jump. In a group, stay with the team and fire at will.
Patriarch. Returns with the same attacks: minigun burst, a three-missile launcher, a mortar-style missile attack, his chest tentacle pull followed by a kick, and two melee strikes. Four phases: at about 30 or 25% health he screams, turns invisible and runs to heal, with Zeds spawning to keep you busy. This happens 3 times because he has 3 syringes, unless you kill him quickly. Use the same plan as Hans: circle a structure while emptying the AA12, jump away with the Boomstick if he gets close. A competent team with a Demolitionist and Sharpshooter can kill him in seconds; he is much easier than Hans.
Closing
The author says to expect no map-by-map tips, because Support works well on all maps and the best advice is simply a camping spot you learn by playing. Feedback in the comments is welcome.
For related guides see the Early Access Support weapons by wave guide and Hans Volter phases.
FAQ
- What is the Scrake Jump?
- Jumping and firing the Boomstick's secondary shot, which fires both barrels, so the recoil launches you into the air. It lets you escape big Zeds and bosses while damaging them.
- Which skills does the author recommend?
- Tactical Reload (level 5), Salvo (level 10), Armor Piercing Shot (level 15), Resupply Pack (level 20, always) and Zed Time Barrage (level 25).
- What should a Support buy first?
- Save for the Boomstick (650 dosh), which the guide calls mandatory. Buy the AA12 later, around wave 7 or 8, because its ammo is expensive.
