
KF2 Support Specialist (Early Access): Weapons by Wave and Hans
The Support Specialist is the damage dealer of the first batch of Killing Floor 2 perks, with the highest DPS of the original set. This work-in-progress Early Access guide covers how to use that damage, which shotguns to buy in which wave and how the team should handle Hans Volter. Numbers come from the Early Access build and may differ from the current game.
What Support does
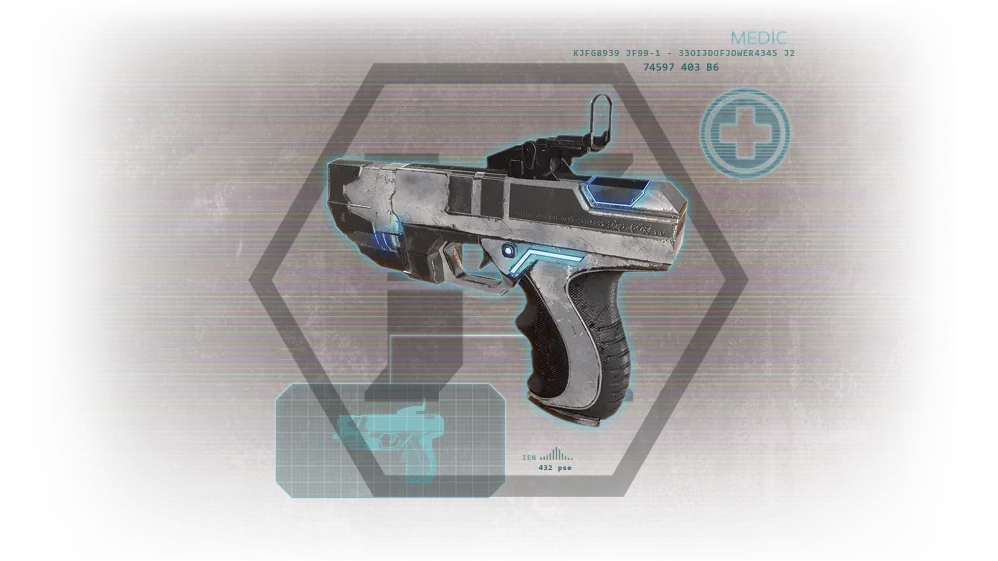 The Support Specialist and the medic pistol.
- Highest DPS of the first perk batch; the job is damage while conserving weapons and ammo.
- Levels only with shotguns (the stock pistol excepted).
- With spare weight, buy a medic pistol: not only Medics use the alt-fire to heal.
- Clears hordes of trash Zeds without trouble, and should protect teammates from the crowds.
- Recommended perk level by difficulty: levels 1-10 on Normal, 8-20 on Hard, 20-25 on Suicidal and 25 on Hell on Earth. Low-level Support has too little penetration and damage for high-level Zeds, so rank up before moving to harder difficulties.
Perk bonuses and skills
Every level gives +2% welding efficiency, +1% shotgun damage, +25% shotgun penetration and +2% grenade damage.
| Level | Choice |
|---|---|
| 5 | Ammo or Supplier |
| 10 | Fortitude or Regeneration |
| 15 | Bombard or Tactical Reload |
| 20 | Strength or Tenacity |
| 25 | Zed Time: Safeguard or Zed Time: Barrage |
Recommended picks:
- Supply: always take the supplier option, because keeping teammates stocked is your priority.
- Fitness: Regeneration if there is no medic or a poor one, Fortitude with a good medic.
- Weapon handling: faster reload; stumbling can be handled by Berserkers or Medics.
- Endurance: skip the extra weapon space and take Tenacity.
- Advanced training: Safeguard for the early waves (3-4 on Medium, 4-5 on Long), then Bombard for the final ones.
Weapons and waves
Skip the Benelli M4
The guide recommends not buying the Benelli M4: it blocks the AA12 unless you take the extra 5 kg skill, has a long reload, is less accurate than its sight suggests and lacks the damage of the Boomstick.
Early waves (1-3 Normal, 1-4 Long)
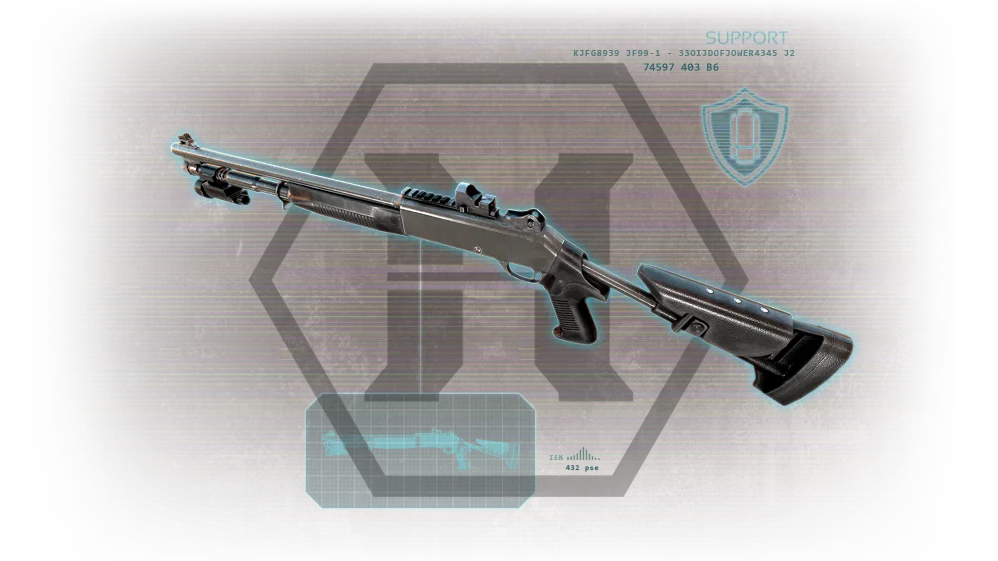 The Benelli M4, the shotgun this guide tells you to skip.
You start with a pistol, two grenades, a knife and the SG500 pump-action. Earn dosh, scavenge ammo and armor near the end of the wave and protect teammates. Do not wander alone unless your aim is good.
- Pistol: unsellable stock weapon, good for early headshots.
- Frag grenades: the strongest grenade in the game; keep them for Fleshpounds, Scrakes or hordes of 5-10 minor Zeds.
- SG500: good at range and a little more accurate than the pistol. Sells for about 100 dosh.
- Wave 1: use the pistol for clean headshots and punch to finish. Do not burn pump shells you will need in waves 2-3.
- Waves 2-3: you can shoot Bloats and similar; always headshot Bloats and Sirens to stop their abilities. Group Zeds so one shell hits several, weld doors, and use the pistol and SG500 on leftovers.
Mid game (waves 3-5 Normal, 4-7 Long): Boomstick
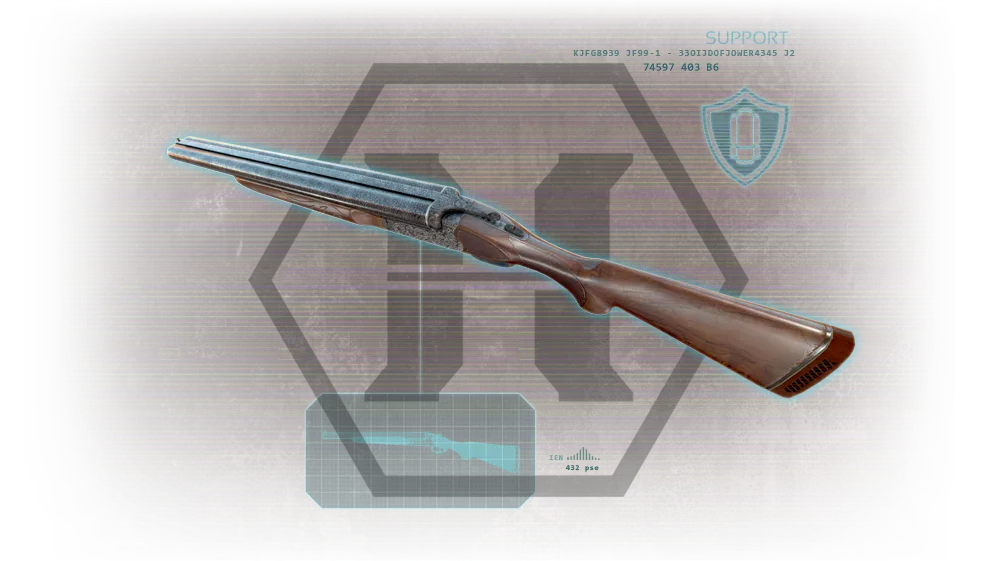 The Boomstick, the mid-game purchase.
Save up for the Boomstick; if you cannot afford it, sell the SG500 and rebuy it later. Why not the M4? The M4 is an upgraded SG500, you already have one for minor Zeds, and you need the Boomstick's faster reload and the weight left for the AA12.
| Stat | Benelli M4 | Boomstick |
|---|---|---|
| Cost | 1100 | 650 |
| Weight | 8 | 4 |
| Ammo capacity | 42 | 46 |
| Magazine | 6 | 2 |
| Damage | 25 | 25 |
| Accuracy | 7 | 2 |
| Penetration | 2 | 2 |
| Fire rate | 266 | 240 |
| Reload | 5 s | under 2 s |
Values as listed in the guide for the Early Access build.
- Primary fire is a single blast; the alternate fire is a double discharge with enough recoil to push you back, which you can use to gain distance.
- Roughly a round and a half of ammo per purchase.
- Scrakes and Fleshpounds appear now. A double blast can stagger big Zeds. Aim for headshots to save ammo.
- Use the alt-fire against Sirens and Husks, or to get space from a Scrake or Fleshpound.
- Stay with the team. If a Scrake or Fleshpound chases you, do not enrage it alone; lead it to teammates.
- Use the SG500 or pistol for minor Zeds rather than the Boomstick every time.
Late game (waves 5-7 Normal, 7-10 Long): AA12
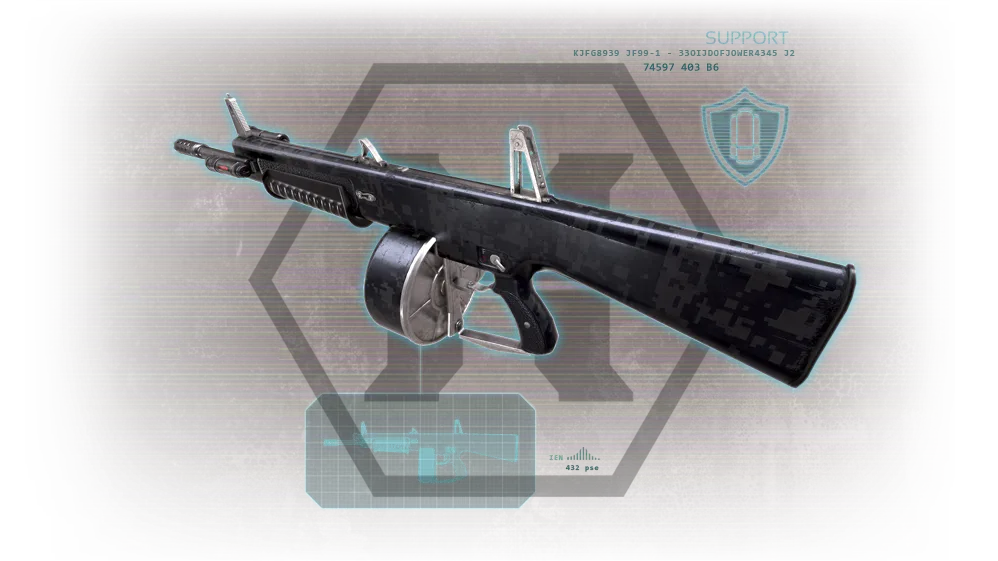 The AA12, the bread and butter of the Support.
Sell the SG500 to free weight for the AA12. Final loadout: pistol, grenades, knife, Boomstick and AA12.
- Mouse 3 toggles manual and auto fire.
- High recoil and the highest damage; one magazine can take down a Fleshpound.
- Stay with the medic. Use the AA12 for Scrakes and Fleshpounds and the Boomstick for the rest. Keep reloading whenever you can.
Medic pistol
It is not part of the Support's weapon line but useful for topping off teammates.
- Alternate fire shoots a healing dart; you get two shots and they recharge slowly.
- Weight of 1, slightly more damage (20) than the stock pistol, has a dot sight and lets you run faster.
- Helps teammates who are running from enemies, encourages team awareness and reduces reliance on one medic's cooldown.
- Good for killing lone Clots, but treat it as a last resort for damage.
Killing Hans Volter
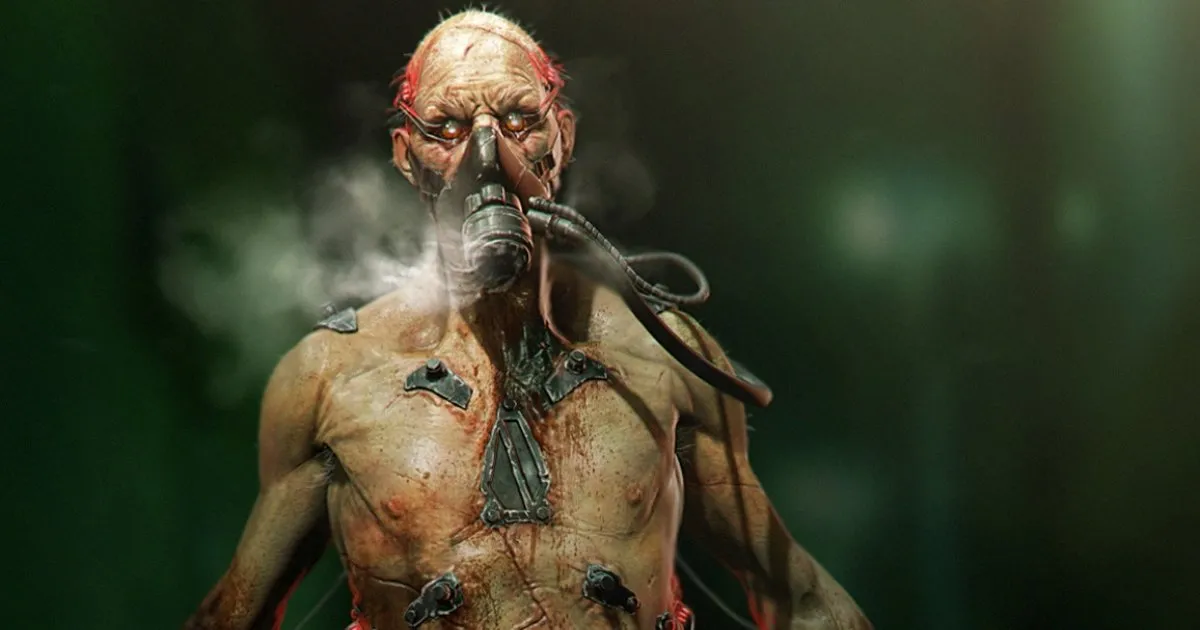 Hans Volter, the Early Access boss.
Health bar color shows his state: green is full, orange to red is medium, red is low and red with sparks is very low.
Abilities:
- Lifesteal grab: throws smoke grenades and rushes a player to drain life; he is invincible while grabbing. He can do it three times, and after the third he no longer has damage reduction, so let him drain first.
- Nerve gas: damage-over-time area grenade with a red flare; he shouts a warning before launching it.
- Bombardment: grenades aimed at one person; they can hurt Hans too.
- Berserk: charges a teammate with heavy melee damage.
- Weapons: dual STG-44 rifles and heavy melee.
Team plan:
- Heal the grabbed teammate; if you have no medic pistol, you can walk up and use the syringe.
- Fight in a large open area with plenty of cover, because his rifles chip health fast.
- Avoid grenades; running towards Hans often works better than running away into a thrown grenade.
- After the third grab, go all out. The AA12 has the raw damage to finish him when he is red with sparks. He stands still for 3-5 seconds while throwing grenades, so use that window.
- Meanwhile, use the AA12 to clear random Clots so teammates can focus on Hans, and line them up for penetration.
For his phase mechanics see KF2 Hans Volter phases and strategy.
Gear
Cosmetics are your choice; the author uses the Taxi Skully outfit with a Scullyphones or Scullycap accessory. A crosshair option exists in the settings for new players. The Matriarch boss was not released at the time of writing.
FAQ
- Which weapon should a Support buy mid-game?
- The Boomstick. It costs less, weighs half as much as the Benelli M4, reloads faster and fires more pellets, which leaves weight for the AA12 later.
- Which Support skills does this guide recommend?
- Supply (ammo supplier), Regeneration without a medic or Fortitude with a good one, faster reload, Tenacity for endurance, Safeguard early and Bombard late.
- Is the medic pistol worth carrying?
- Yes if you have spare weight: it weighs 1, fires two healing darts and does slightly more damage than the stock pistol.
