
KF2 Beginner Tips from Early Access: Perks, Teamplay, Outpost
A German-language beginner guide from the early days of Killing Floor 2, when the game had seven perks (Berserker, Medic, Commando, Support, Firebug, Demolitionist and Gunslinger; the Sharpshooter was still "coming soon"). It covers what each perk is for, basic team rules, a position plan for the Outpost map and tips for Hans Volter. Details such as weapons and numbers come from the early-access state and have changed since. See also the beginner basics and the long early-access basics guide.
Perks at a glance
Berserker
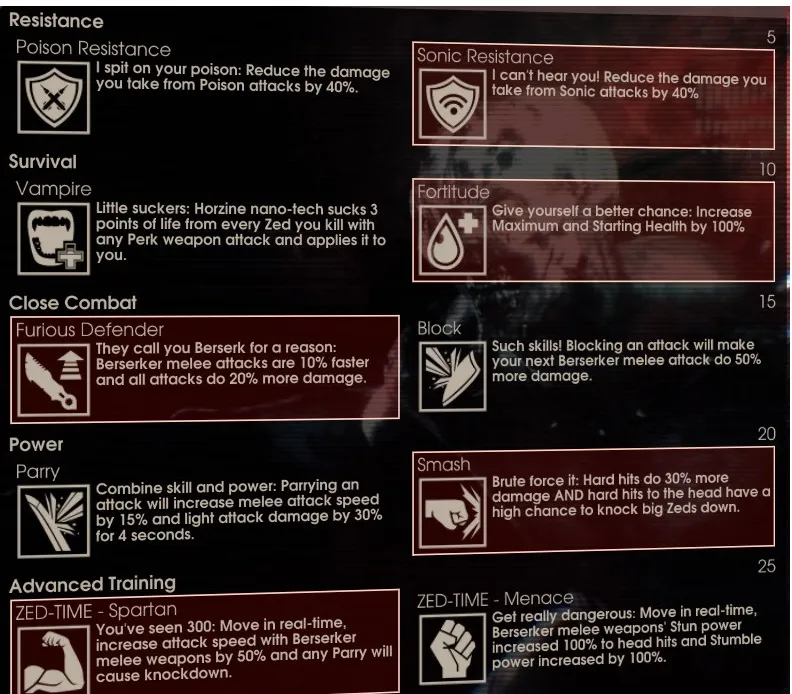 Berserker perk.
- Takes a lot of damage (up to 200 health), specializes in melee and moves faster.
- A key player: the Berserker normally deals with Scrakes and Fleshpounds.
- The EMP grenade confuses small ZEDs and calms large ones (Fleshpound, Scrake).
- The Pulverizer is the best friend: it knocks out strong enemies and parries well (mouse wheel), giving the team time to shoot a Fleshpound.
- The VLAD-1000 makes every shot stagger enemies (even boss Hans), so Sirens cannot scream and Husks cannot fire.
- On higher difficulties the Berserker is the "bank" of the team because he kills the most ZEDs and earns the most money.
- New weapon (at the time): the Zweihander, a sword with a long reach that blocks and fells large ZEDs. After the update it is almost impossible to block a Scrake, so attack instead.
Medic
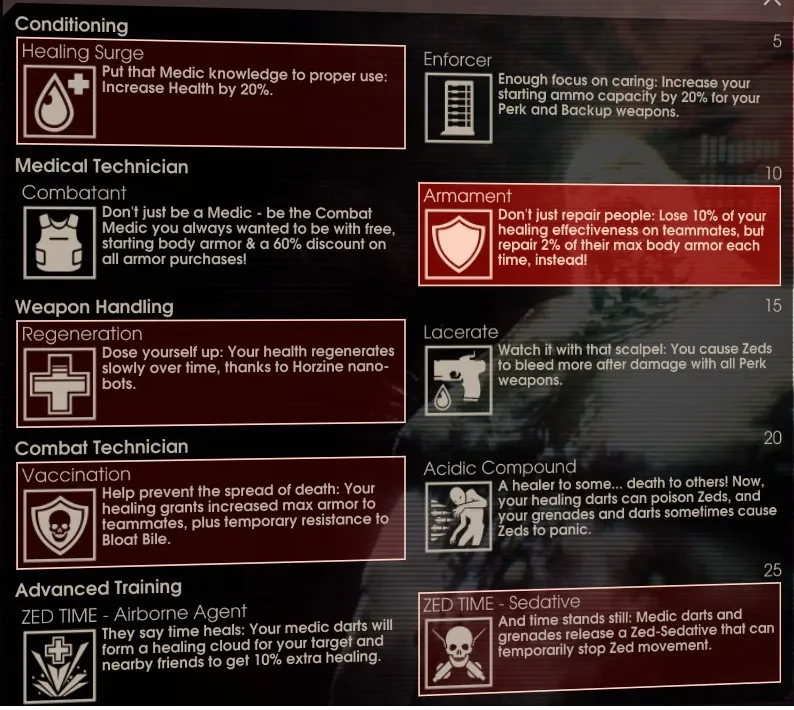 Medic perk.
- Takes a lot of damage, has a big armor bonus (up to 175), heals fast and moves faster.
- With lots of responsibility, the aim is to keep the team alive. The author had many games with two medics where he was never healed once.
- You can heal with any medic weapon and still deal damage. When a teammate is hurt and you aim at them, a small sound tells you that you can heal (the dart has a slight auto-aim).
- You start with a good pistol; never sell it.
- Watch the Berserker first: he needs the most healing.
- Each medic weapon has its own dart charge: after two shots with the pistol, switch to another medic weapon and you have a full set of darts again.
- At higher levels you can choose to restore armor with each dart (up to 20 percent).
- The medic grenade heals the team and damages ZEDs.
Commando
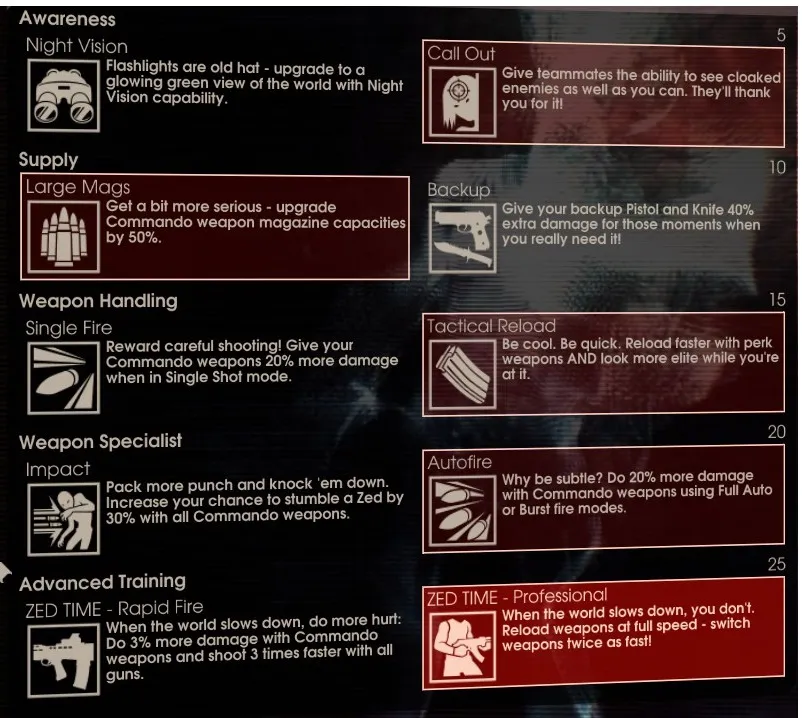 Commando perk.
- More health (up to 150), very important for trash kills, best played at range.
- A good all-rounder with a solid assault rifle and strong HE grenades.
- Target specimens (Husks, Sirens) and trash (Clots, Gorefasts). Stay behind and keep distant ZEDs off teammates.
- The SCAR is strong and makes headshots easy, preventing special attacks.
- Against a Fleshpound use only grenades (high explosive damage) and save ammo for the ZEDs above.
- Do not hold down the fire button: aim for the head and save lots of ammo, since one headshot is often enough.
Support
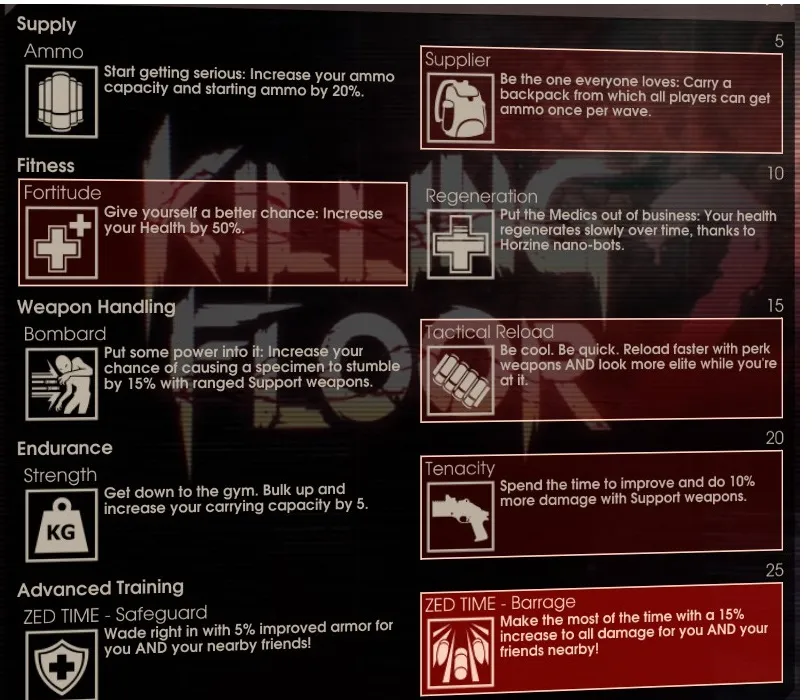 Support perk.
- More health (up to 150), specialized in close range, very strong against Scrakes and Fleshpounds, and at level 5 the Supplier skill.
- Kills large groups; the assault shotgun brings down a Fleshpound or Scrake quickly, but watch your ammo: after one or two Fleshpounds the primary is empty.
- At level 5, Supplier gives your team an ammo box every round.
- HE grenades are a bit weaker than the Commando's, with a smaller radius, but they fragment. Use them the same way.
Firebug
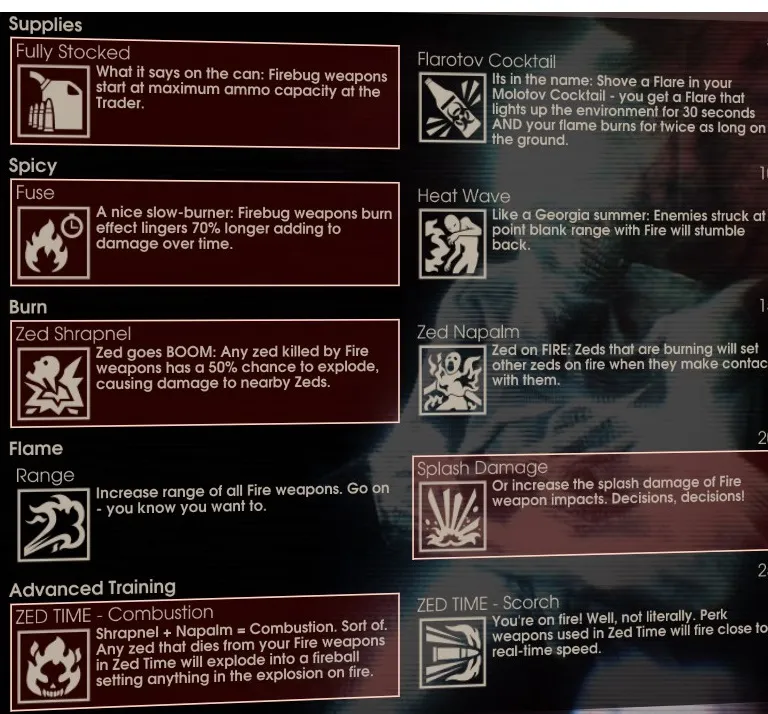 Firebug perk.
- Melee and mid range, strong against Scrakes and Fleshpounds, a very good trash killer.
- With the standard Caulk'n Burn you ignite anything, very effective on small ZEDs. Buy the incendiary shotgun from round 2 or 3: it has a wide spread but also plays well at mid range.
- The Microwave Gun is a miracle against Scrakes and Fleshpounds, and its secondary pushes any ZED away so you gain room. Ammo runs out quickly.
- Strong only in a team; stand at the front with the Berserker or in the middle at a small distance.
Demolitionist
- A very good mob killer, strong against Fleshpounds, weak in melee.
- Blasts the way free: the tier 4 RPG kills large ZEDs and big mobs quickly. You are usually in the back and an important part of killing Fleshpounds.
- Scrakes are fine too: splash damage to you is zero if you dare to fire the RPG directly at the body from close, and the Scrake usually falls and becomes easy prey.
- On Hell on Earth, being too close to a Scrake or Fleshpound normally means death, so kill from range and push only in suitable moments.
Gunslinger
- Melee and mid range, strong against Scrakes, moves faster; a very good all-rounder.
- Fast movement and precise aim are the key: always aim for the head. Stay in the rear mid-field for range, like the Commando.
- For fast kills (a Berserker stuns a Scrake, for example) fight alongside the Berserker with the Desert Eagle or revolver.
- The author recommends longer training: only with perfect aim are you really useful.
Team behavior
- Keep the team mixed: not four medics. A possible split: 1 Berserker, 1 Medic, 2 Commandos, 2 Supports.
- You rarely have time to type, so use voice or short calls like Fp, Sc, run and fm (follow me).
- At level 3, avoid Suicidal and Hell on Earth: you lack experience and the perk is not yet useful.
- Do not go solo (except in rounds 1 to 3 to look for ammo, weapons and armor).
- Help each other, watch your teammates and give away money you do not need.
Tactics on Outpost
Outpost is a big map, in the author's opinion the easiest. Stay outside: the dark corridors are hell when many ZEDs come. A good spot is the two vehicles downstairs, with a two-way system you can overview. One Commando and one Support take the right side; another Commando, Support and the Berserker take the left; the Medic pendulates between the two vans, covering and healing both sides.
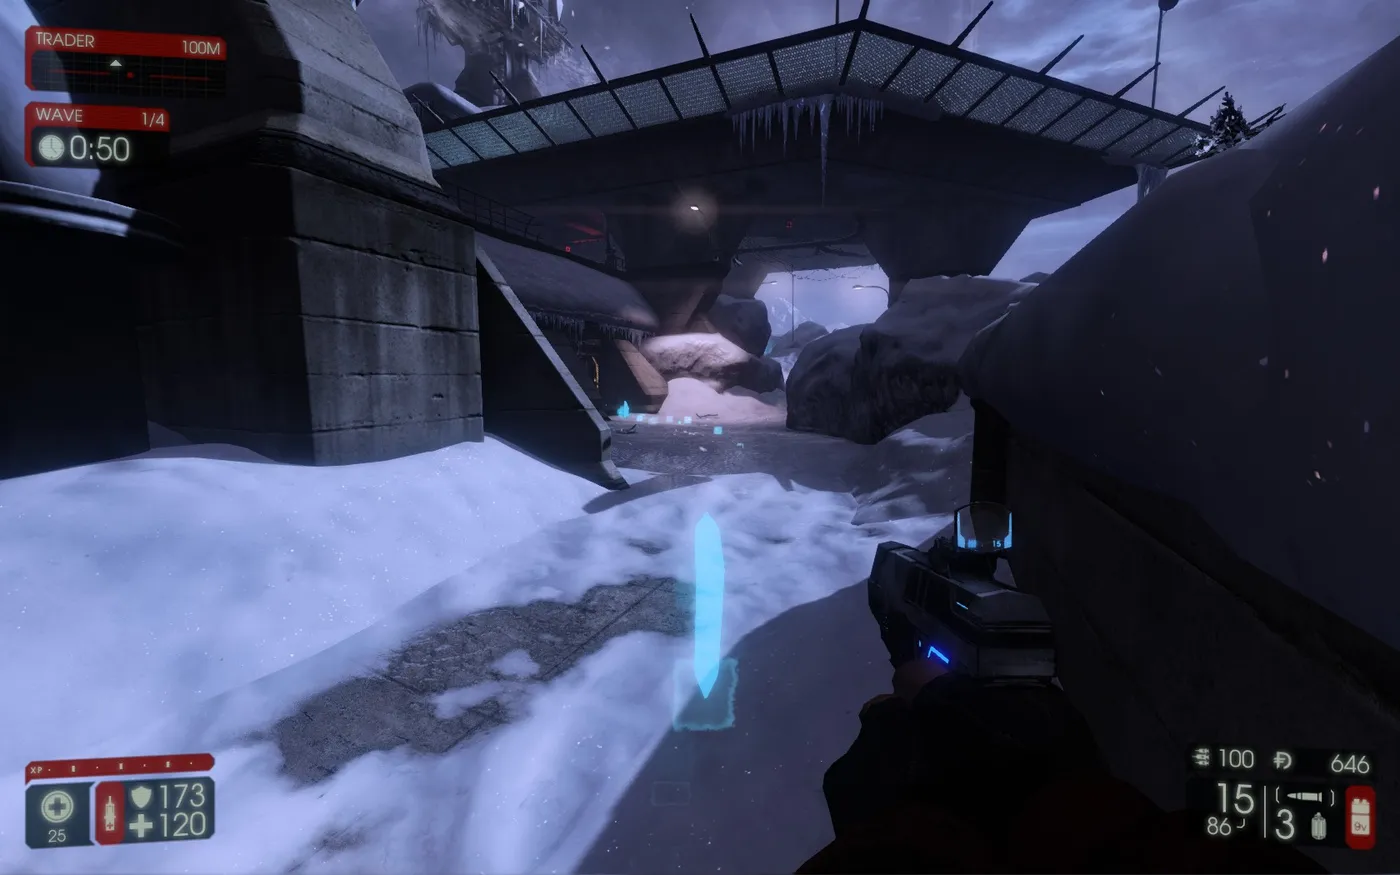 Right side: Commando and Support.
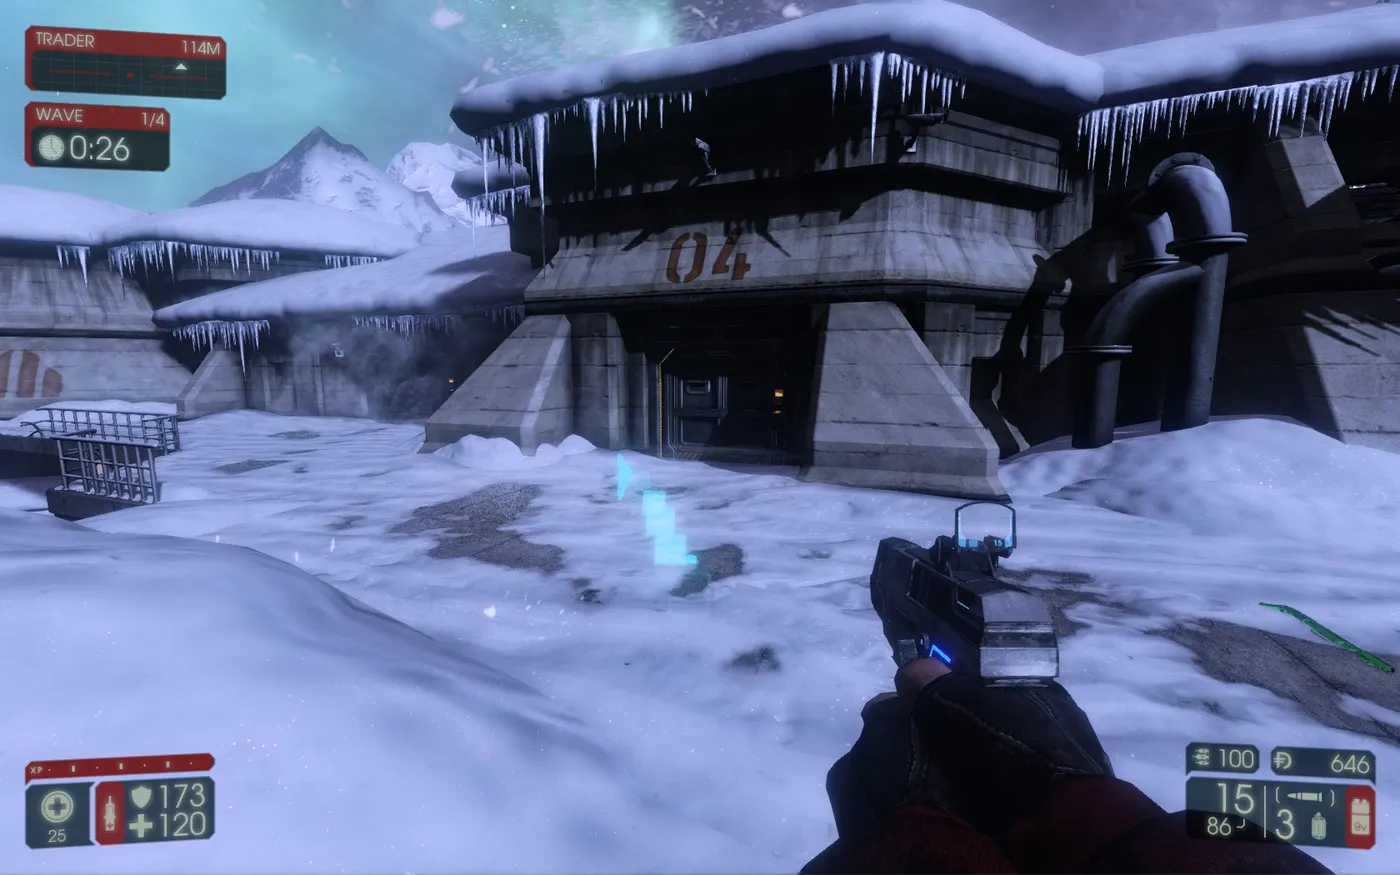 Left side: Commando, Support and the Berserker.
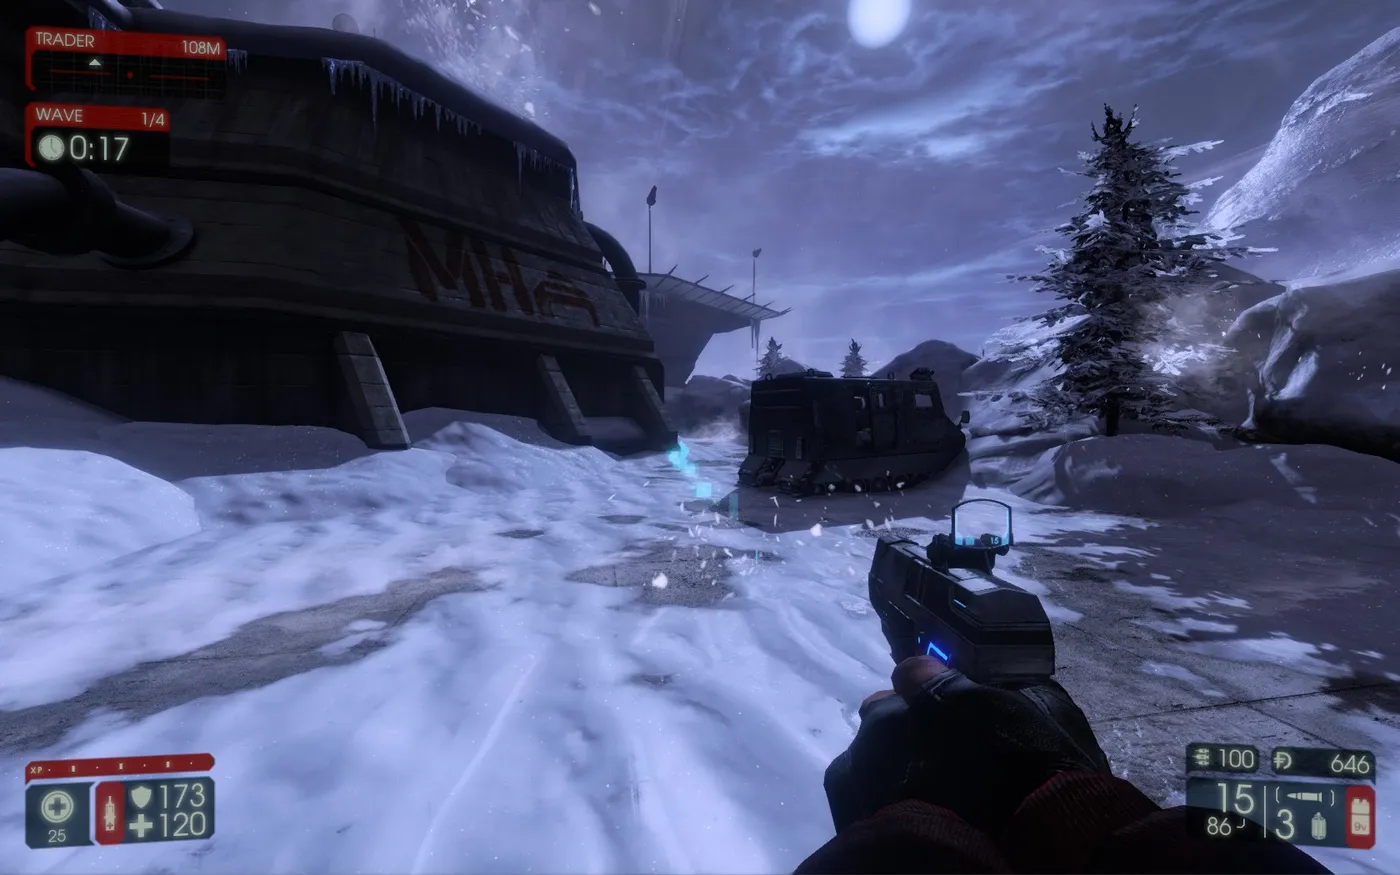 Right view from the vehicle position.
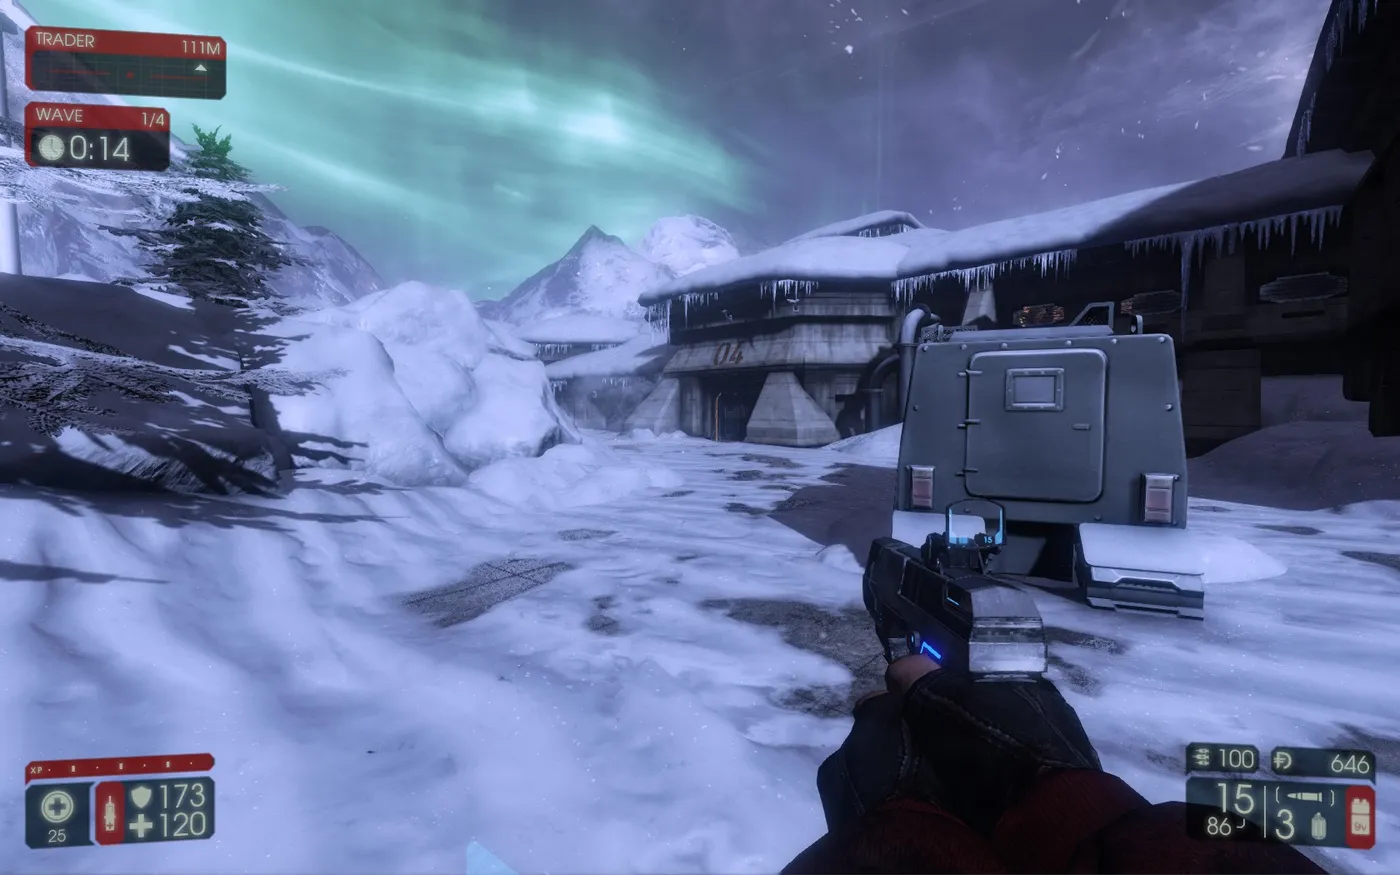 Left view from the vehicle position.
From wave 4 (on Medium length, 7 waves) or wave 5-6 (Long, 10 waves) the first Scrakes arrive. Tactic: the Berserker throws an EMP grenade while the Commando, Medic and Support aim only at the head; a quick death with no wounded. If that fails, circle the Scrake and keep shooting, or dodge its attacks. For a Fleshpound everyone gathers briefly: the Berserker blocks, the Commando and Support throw grenades and the Medic heals the Berserker. The second Commando clears trash and smaller specimens (Siren, Husk).
Hans Volter
There is no clear structured tactic for the boss; just choose a spot without a big open area.
- He carries two machine guns with blades for melee stabbing and uses smoke, explosive and gas (poison) grenades.
- Weak point: explosives (especially the RPG-7). The best hit zones are the head and the chest core.
- He can heal himself up to 3 times and has a destructible shield that activates after a certain loss of health. Keep the shield under fire so he cannot heal and the shield breaks.
- Recommended damage perks: Demolitionist, Berserker, Firebug.
- When he runs at someone for a melee attack he is relatively resistant. Watch out for gas and grenades, keep him under fire and do not run away, which usually means death.
General tips
- Do not weld doors without reason: you cut off the last escape route.
- Always aim for the head: ZEDs bleed out and fall shortly after regardless of life, and specimens cannot use special attacks.
- If you are about to die, hold your primary weapon: if you die holding the pistol, your primary is gone immediately.
- If you are not a Medic, heal teammates with the syringe in quiet moments (key 4 and left mouse button); it gives you medic experience and some money.
- In the first rounds you can leave one ZED alive and look for ammo, weapons and armor to reach your tier 4 weapon sooner.
- Save ammo and use melee or the pistol to decapitate ZEDs for as long as possible.
- Buy the medic pistol if you can: more damage than the standard pistol, anyone can heal at range, and it weighs only 1.
