
KF2 100% Achievements Guide: Perks, Zeds, Maps and Tips
This long community guide is written by an achievement hunter. It explains how to earn Killing Floor 2's 307 achievements (at the time of writing) and doubles as a gameplay reference for classes, Zeds, bosses and maps. Its numbers are based on Hell on Earth, it contains no lore, and Zed information is deliberately summarized. For a plain achievement list see KF2 achievements, and for a video route to the map collectibles see the collectibles guide.
General gameplay knowledge
Starting out. The main menu shows your rank, daily challenges, gear and vault. Focus first on the Perks tab (the author calls perks "classes"), the Find a Match button and Options. Tune Options first, then look through every perk to learn its icon, bonuses and weapons. Play a few Normal matches to learn Zed and boss mechanics and your favorite weapons.
Matches. Pick length, difficulty and map (or Any). Stay on Normal or Hard for a beginner challenge. The game may make you Commando by default, so check your perk before readying up. You can change perk and skills only during the trader phase between waves.
Solo or together? Playing with others brings firepower, but solo may be the only way to some late achievements, because KF2 scales to lobby size. On top of that each difficulty multiplies Zed damage, with 19 different multipliers for the individual Zeds and bosses; the average Hell on Earth multiplier online differs from the average solo. In public lobbies you also get an XP boost for being near other players and killing near them.
Maps and difficulties. Every map has quirks, but the main advice is to keep moving. Stopping invites encirclement. The author loops around a circular route on many Hell on Earth maps because most Zeds spawn at your side and follow you, while those spawning in front are small groups. DieSector is a good example.
Weapon combinations. Players often swap high-tier guns for lower-tier ones, or change perk and weapons entirely, depending on the situation. On Hell on Earth the author typically ends the game with the S12 Shockgun and the AA-12 and keeps a backup gun, watching weapon weight.
Classes and perks
There are 10 perks. Each has 5 skill choices, one every 5 levels, plus bonuses that grow per level and a larger bonus at level 25. Using a weapon from another class works but gives no perk bonuses.
Every class has the same achievement set (see the screenshots below): reach level 5, 10, 15, 20 and 25, and beat any one map as that class on Normal, Hard, Suicidal and Hell on Earth. Playing in public lobbies gives the XP boost.
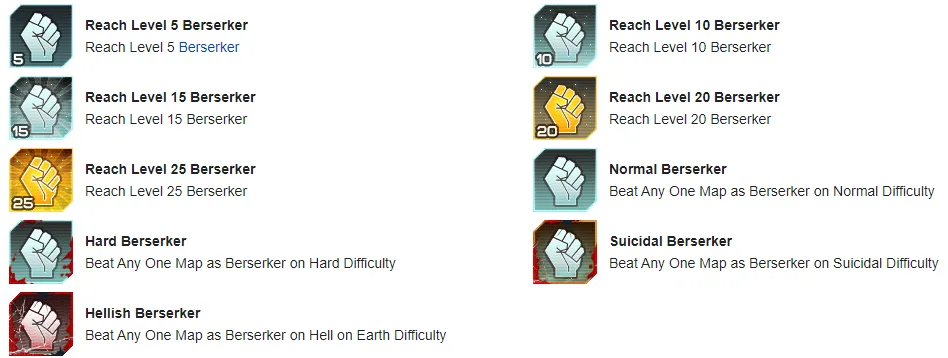 Berserker achievements: five level achievements and four difficulty wins.
Berserker
Starts with the Crovel survival tool, EMP grenades and a 9mm pistol. XP comes from damage with perk weapons and kills near other players. Always active: night vision and Clots cannot grab you; +1% weapon damage per level and 3% damage resistance per 5 levels (+25% damage and 15% resistance at 25). Block with the middle mouse button; the Berserker gains bonuses while blocking and using the block button religiously, plus running away, makes Hell on Earth manageable. Author's setup: Skirmisher, Butcher, Resistance, Massacre, Berserker Rage. Listed weapon damage includes Crovel 49, Katana up to 75, Fire Axe up to 90, Zweihander up to 85, Static Strikers up to 95, Eviscerator 300, Battleaxe up to 120 and Ion Thruster up to 92.
Commando
Starts with the AR-15 Varmint Rifle, 2 HE grenades, a KF-BAR knife and a 9mm pistol. XP comes from damage with perk weapons and killing Stalkers. Bonuses: night vision, cloaked Zed detection (10 m plus 2 m per level, shared with teammates), health bar detection, Zed Time extension (up to 6 times at level 25), reload speed +2% per 5 levels and recoil -2% per level. Setup: High Capacity Mags, Fallback, Tenacious, Hollow Point (plus a level 25 Zed Time skill).
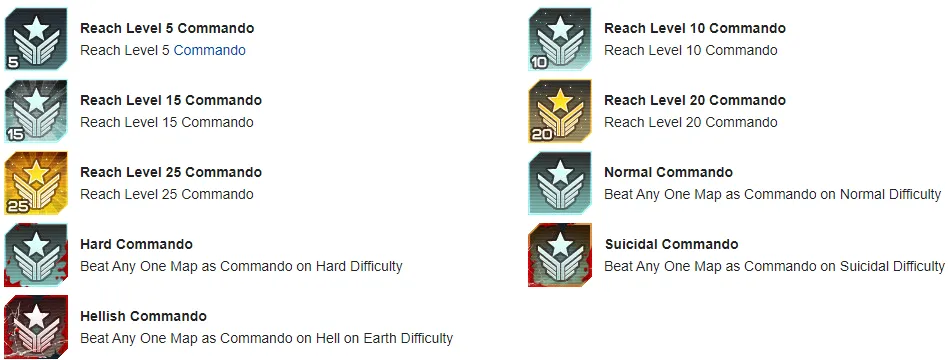 Commando achievements.
Demolitionist
Setup: Bombardier, High Impact Rounds, Sonic Resistant Rounds, Armor Piercing Rounds.
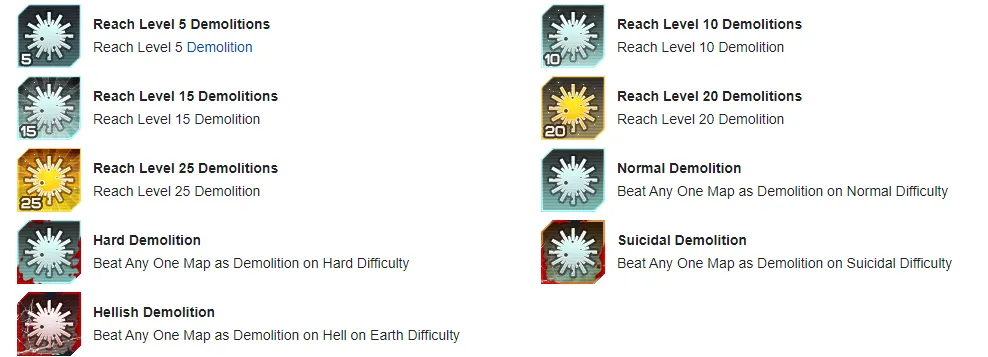 Demolitionist achievements.
Field Medic
Setup: Symbiotic Health, Adrenaline Shot, Focus Injection, Coagulant Booster.
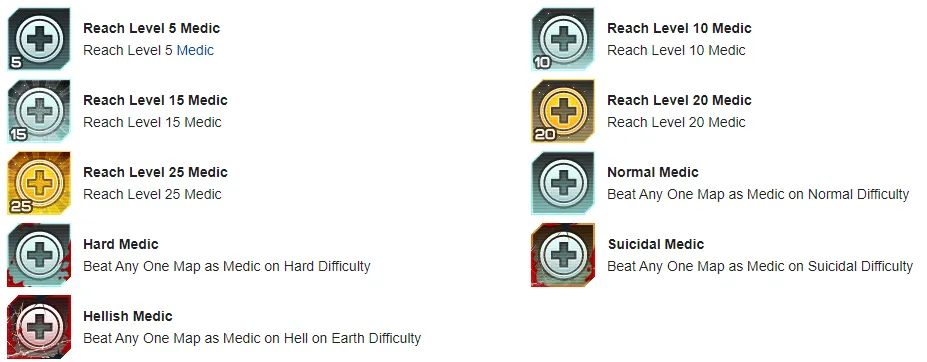 Field Medic achievements.
Firebug
Setup: High Capacity Fuel Tank, Ground Fire, Zed Shrapnel, Heat Wave, with Inferno at level 25.
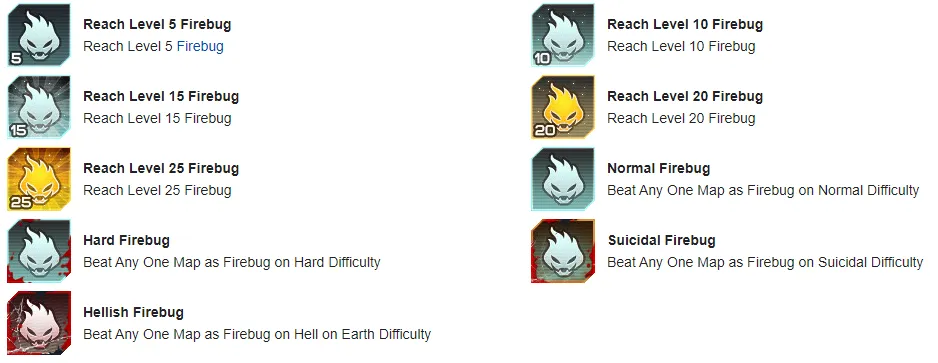 Firebug achievements.
Gunslinger
Setup: Quick Draw, Rack 'em Up, Speedloader, Skullcracker.
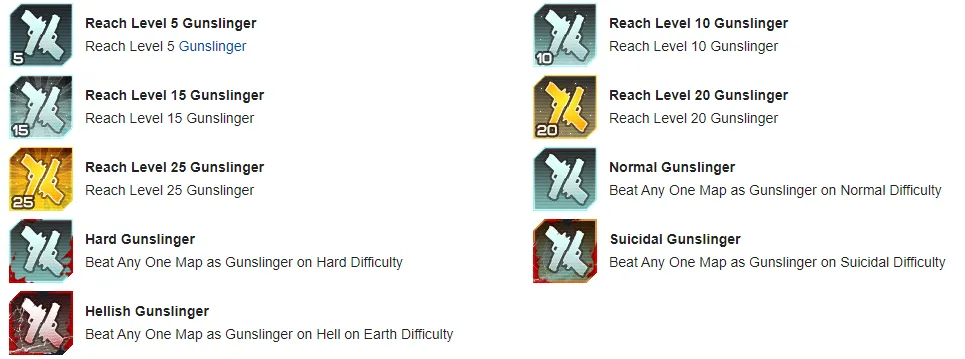 Gunslinger achievements.
Sharpshooter
Setup: Marksman, Stability, Rack 'em Up, Always Prepared.
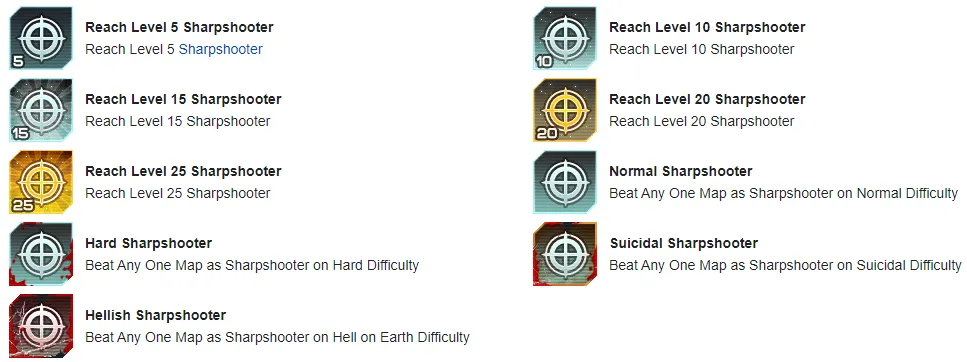 Sharpshooter achievements.
Support
Setup: High Capacity Magazines, Salvo, Tight Choke, Resupply Pack.
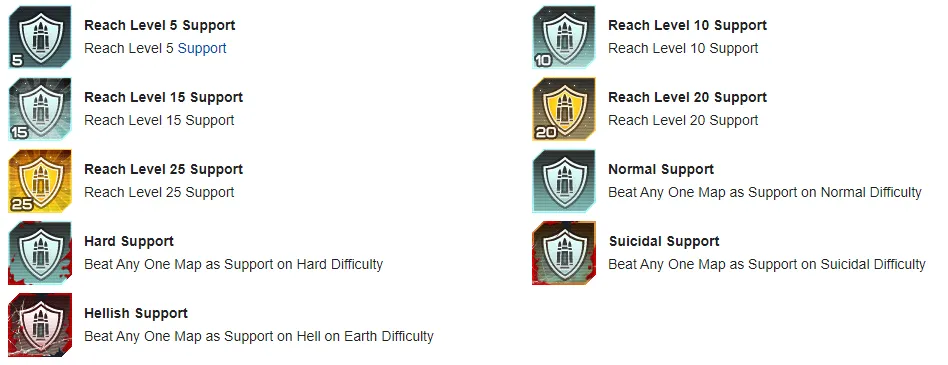 Support achievements.
SWAT
Setup: Heavy Armor Training, Close Combat Training, Ammo Vest, Assault Armor.
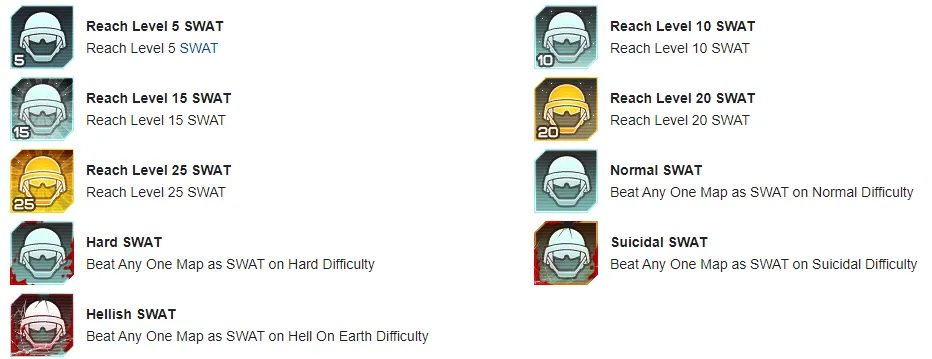 SWAT achievements.
Survivalist
Uses all weapons plus Survivalist-specific ones. Setup: Heavy Weapon Training, Melee Expert, Ammo Vest, Spontaneous Zed-plosion, with Madman at level 25.
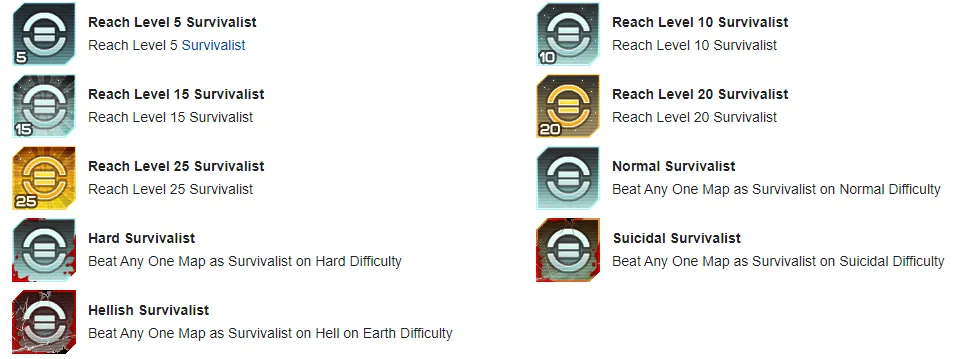 Survivalist achievements.
For a second opinion on skills see the HoE skills guide and the perks A to Z.
Zeds and bosses
The guide gives a card for each Zed and boss with class, health, base XP and dosh, the Hell on Earth damage multiplier, weaknesses and strengths. Examples: a Cyst has 75 HP body and 15 HP head on Normal and 100/20 on Hard and above, gives 8 or 11 XP and 7 dosh, takes +50% damage from assault rifles and SMGs and resists microwave damage by 75%. A Clot has the same health and rewards and a 1.75x damage multiplier on Hell on Earth. The guide covers Cyst, Clot, Slasher, Crawler, Stalker, Gorefast, Bloat, Siren (with the Dead Silence achievement), Husk, Rioter, Elite Crawler, Gorefiend, E.D.A.R., Scrake (Hack and Slash), Quarterpound, Fleshpound (It's Only a Flesh Wound), Patriarch (Quick on the Trigger), Matriarch (End of the Line), Dr. Hans Volter (Die Volter), Abomination and King Fleshpound. See also Zed types and KF2 bosses.
Maps and collectibles
Each map has a section with a description, collectible notes, objective advice and its achievements. Older maps have achievements for each difficulty plus collectibles; newer maps (such as Ashwood Asylum and Barmwich Town) have only three: two difficulty wins and finding 10 collectibles (Barmwich has 30 in total). Collectible types differ: gold chains, glowing red skulls, steam cells and others. The maps covered are Airship, Ashwood Asylum, Barmwich Town, Biotics Lab, Biolapse, Black Forest, Burning Paris, Catacombs, Castle Volter, Carillon Hamlet, Crash, Containment Station, Desolation, DieSector, Dystopia 2029, Evacuation Point, Elysium, Farmhouse, Hellmark Station, Hostile Grounds, Infernal Realm, Krampus Lair, Lockdown, Monster Ball, Moonbase, Netherhold, Nightmare, Nuked, Outpost, Prison, Power Core, Rig, Sanitarium, Santa's Workshop, Shopping Spree, Spillway, Steam Fortress, Subduction, The Descent, The Tragic Kingdom, Volter Manor and Zed Landing.
On cramped Objective maps such as Biotics Lab the author recommends a Firebug or a Field Medic of at least level 20 for the area damage. For Biotics Lab the guide lists ten collectible spots, for example across the giant shredder on a small platform, in the freezing room's silver ceiling duct, in the autopsy room hole with the MRI-like machine and under the metal stairs among cardboard boxes.
FAQ
- How many achievements does Killing Floor 2 have?
- The guide counts 307 achievements at the time of writing, covering levels, difficulty wins per class, maps, collectibles and boss kills.
- Is it better to play solo or in a team for the hardest achievements?
- Solo can be the only option for some late achievements: the game scales to player count, and the average Hell on Earth damage multiplier is different alone than in a full lobby. Public lobbies are best for XP, since you get a boost near other players.
- Which achievements does each class have?
- Reach levels 5, 10, 15, 20 and 25, and beat any one map as that class on Normal, Hard, Suicidal and Hell on Earth difficulty.
