
KF2 Hard and Suicidal: Six-Player Positions on Paris, Outpost, Biotics
A 2015 early-access guide for beating Hard and Suicidal on long (10 wave) games with six players. At that time only four perks existed (Berserker, Commando, Support, Medic). The author keeps the tone jokey, but the position lists are specific. For wave-by-wave defence on other maps see map defence positions.
Class notes
- Berserker: close-quarters fighter, hoped to tank Scrakes and Fleshpounds.
- Commando: assault rifles, solid foot soldier; at around level 5 headshots often one-shot clots. Closest thing to a Sharpshooter at the time.
- Support: huge firepower from the AA-12, but ammo hungry.
- Medic: heals the whole team and now armor too, if the perk is enabled. If you die with a Medic around, do not blame them: they have a healing cooldown and cannot be everywhere.
Recommended team
| Slot | Perk | Level |
|---|---|---|
| 1-3 | Support | at least 10-15 |
| 4 | Commando | at least 5 |
| 5-6 | Medic | at least 10 |
- Supports have the "Supplier" skill: teammates press use on them to get a free magazine per gun once per wave, so three Supports can resupply each other.
- The Commando is optional. His level 5 skill lets teammates see stalkers within a range based on his level, so Supports do not run into "invisible walls" and Medics get a break.
- You really need two Medics: they can heal each other, so survival goes up a lot.
Burning Paris
The author's favorite map; the layout is like a ball with a tunnel running through it.
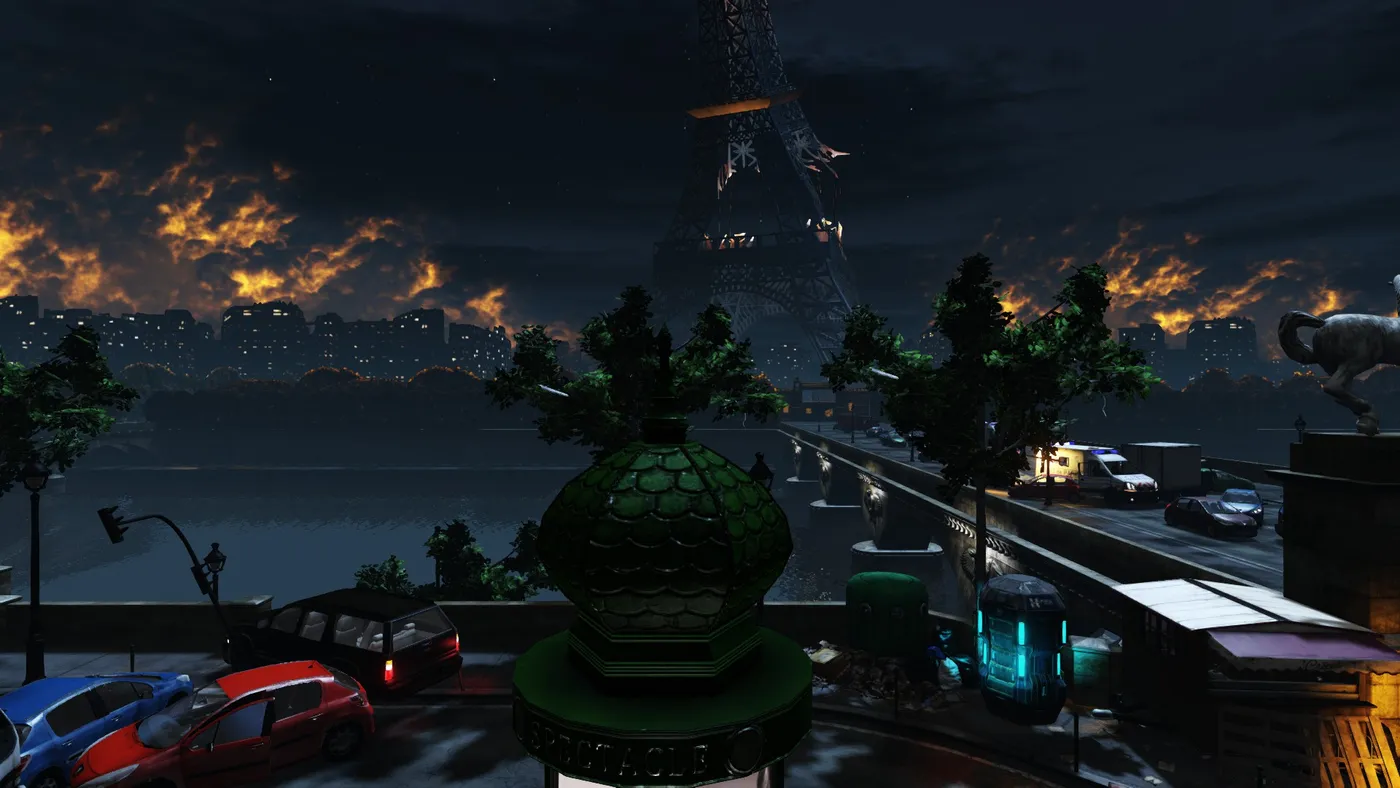 Burning Paris, the map used for the main example.
- Rounds 1-4: baby steps. Run around for free guns, ammo and armor; everyone scatters for loot.
- Rounds 5-7: two main positions work: stay near spawn, or go to the Eiffel Tower.
- Rounds 8-10: the big zeds arrive. Do not be afraid to break formation: warn teammates and move together to take down several Scrakes at once rather than risking one player. If a Scrake and a Fleshpound show up while you are guarding the tunnel, the Fleshpound may start a "brisk walk" (it sprints when it changes color). Call out "the big ones are coming, follow me".
Spawn area spots
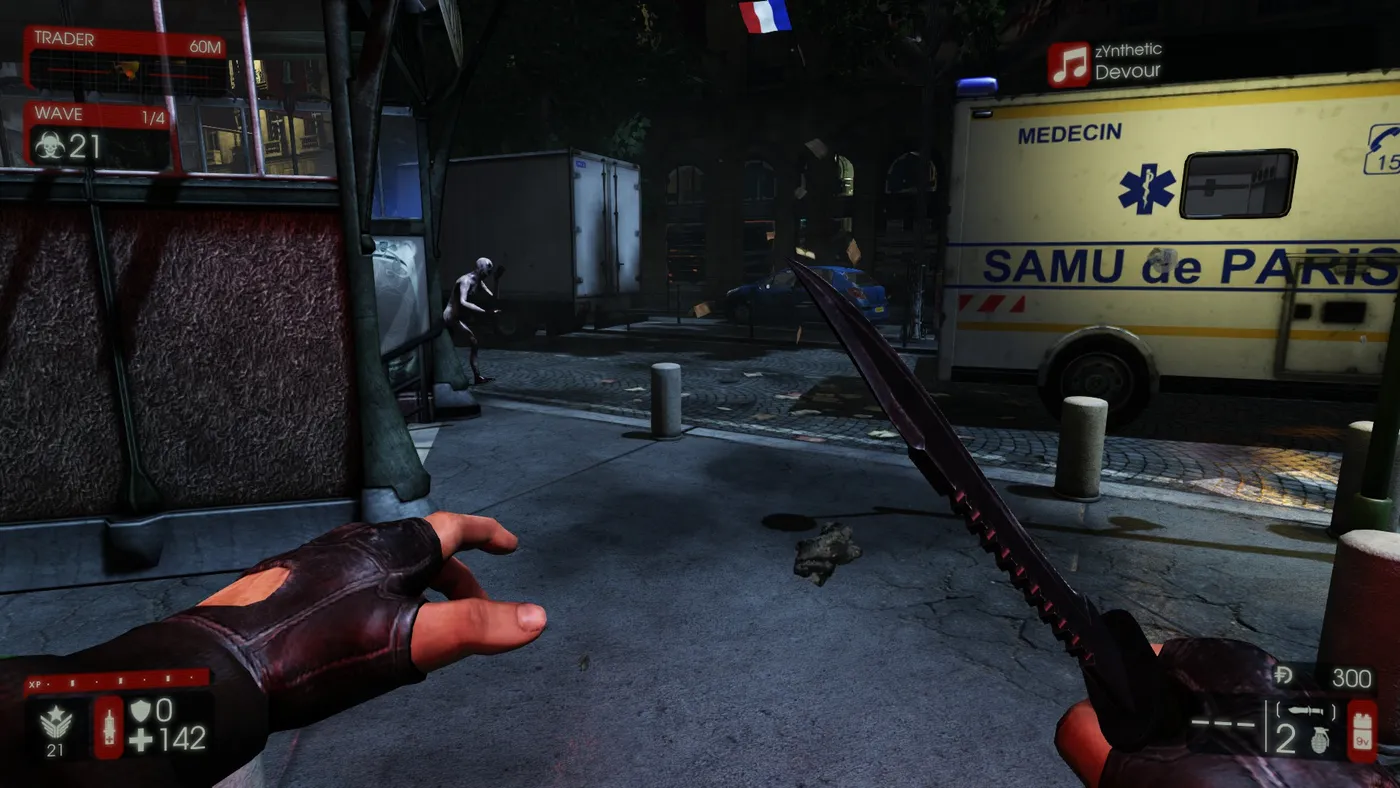 Commando or Medic here: watches the tunnel and most of the surrounding area.
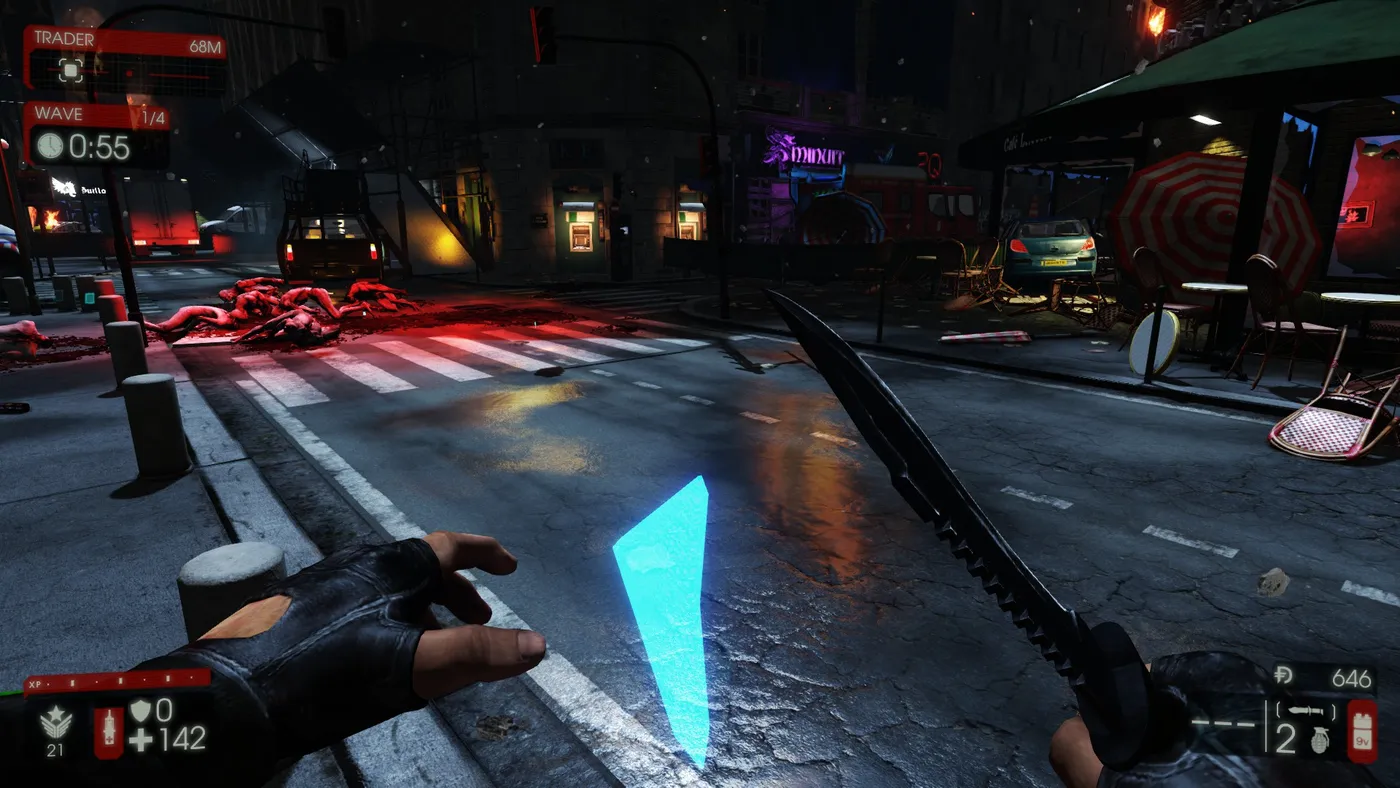 Support here, covering the cafe and the ramp.
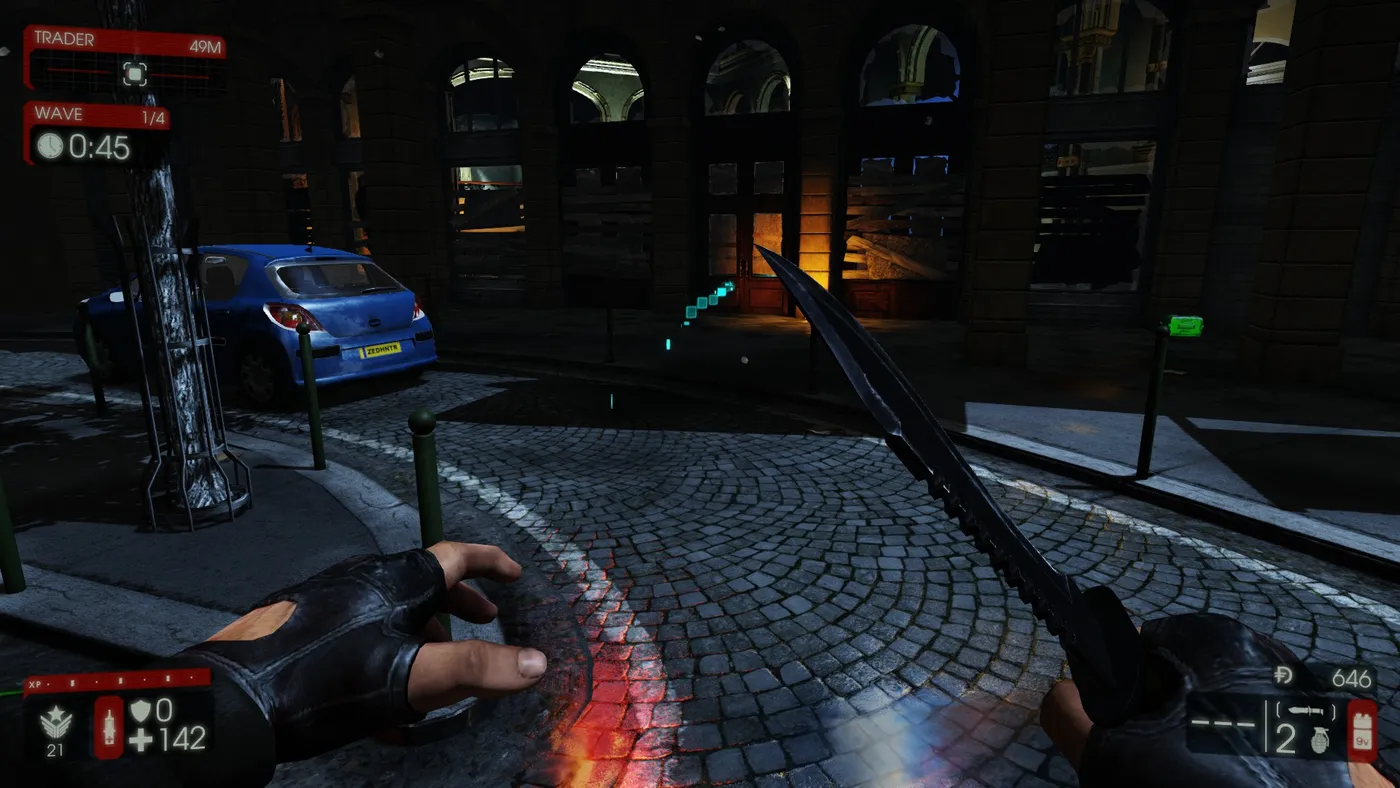 A Support covering the main entrance to the building.
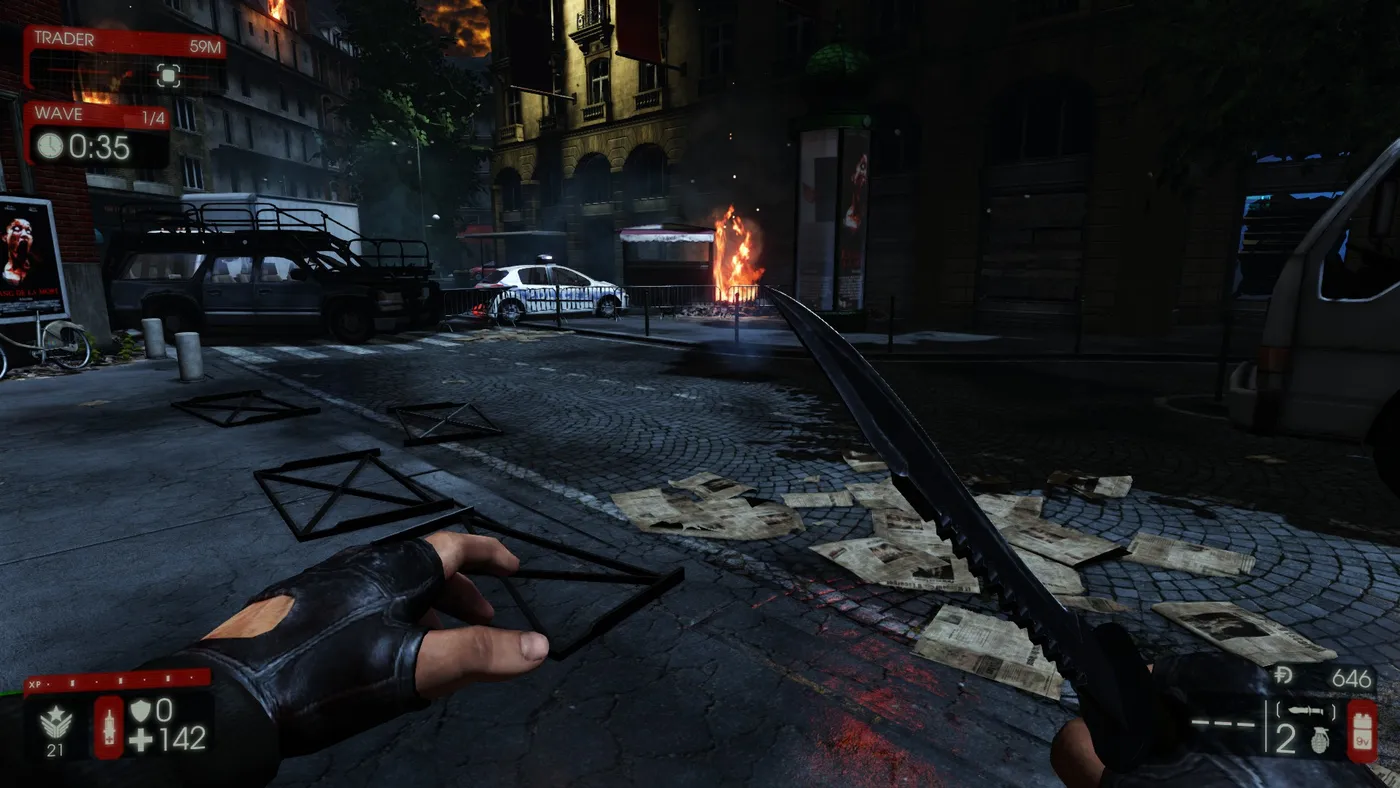 The remaining Medic sits here. The sixth player is a roamer who helps whoever is reloading or overwhelmed.
Eiffel Tower spots
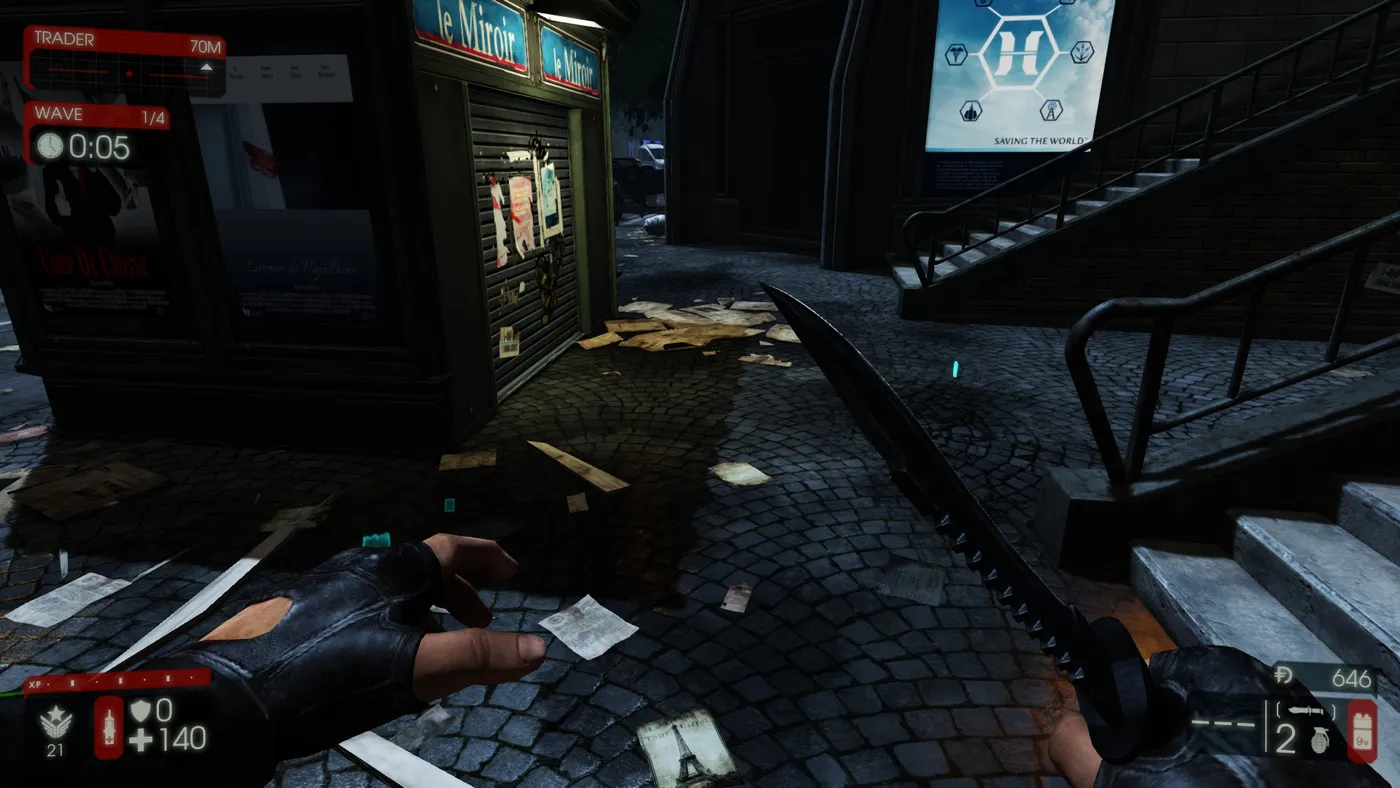 One of the most important spots: put a Support here.
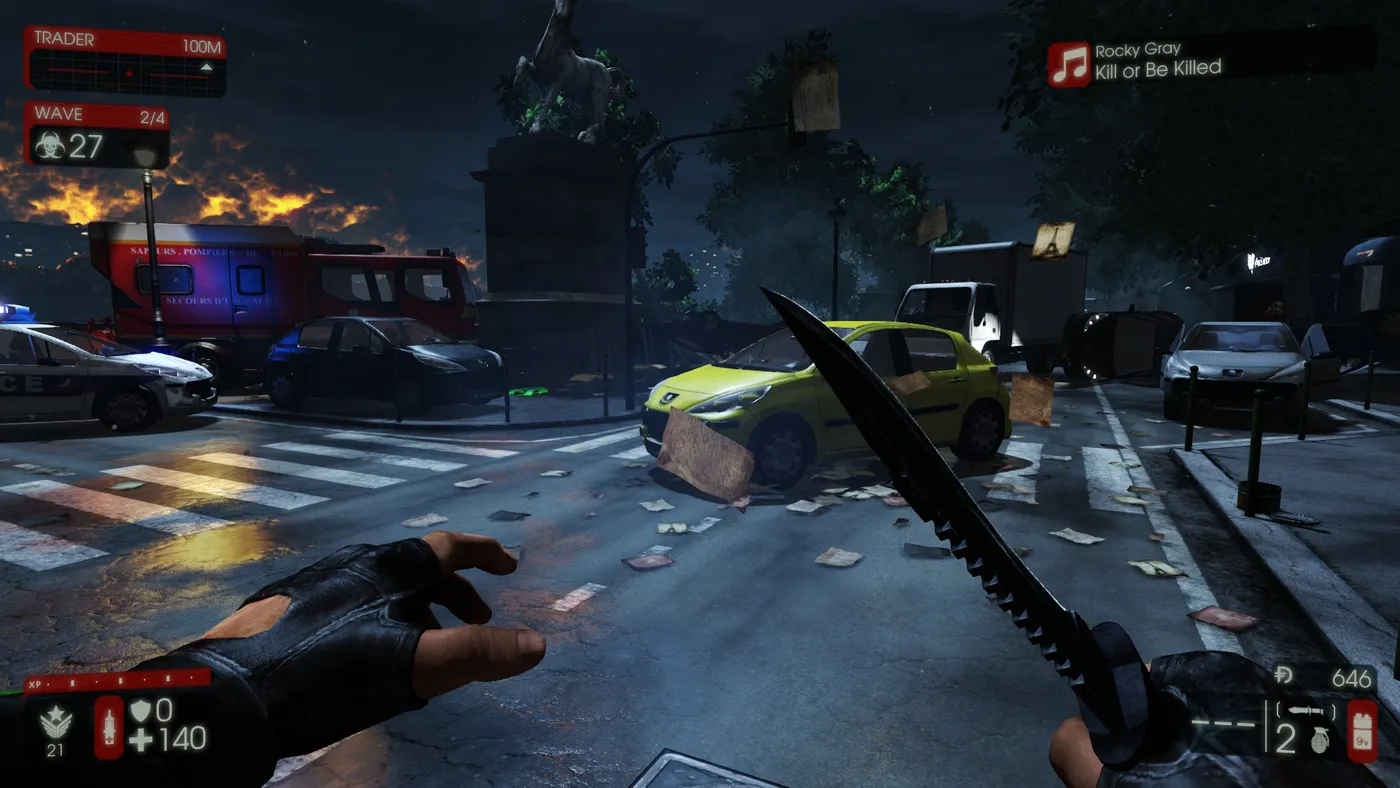 A Medic sits on the car to oversee teammates.
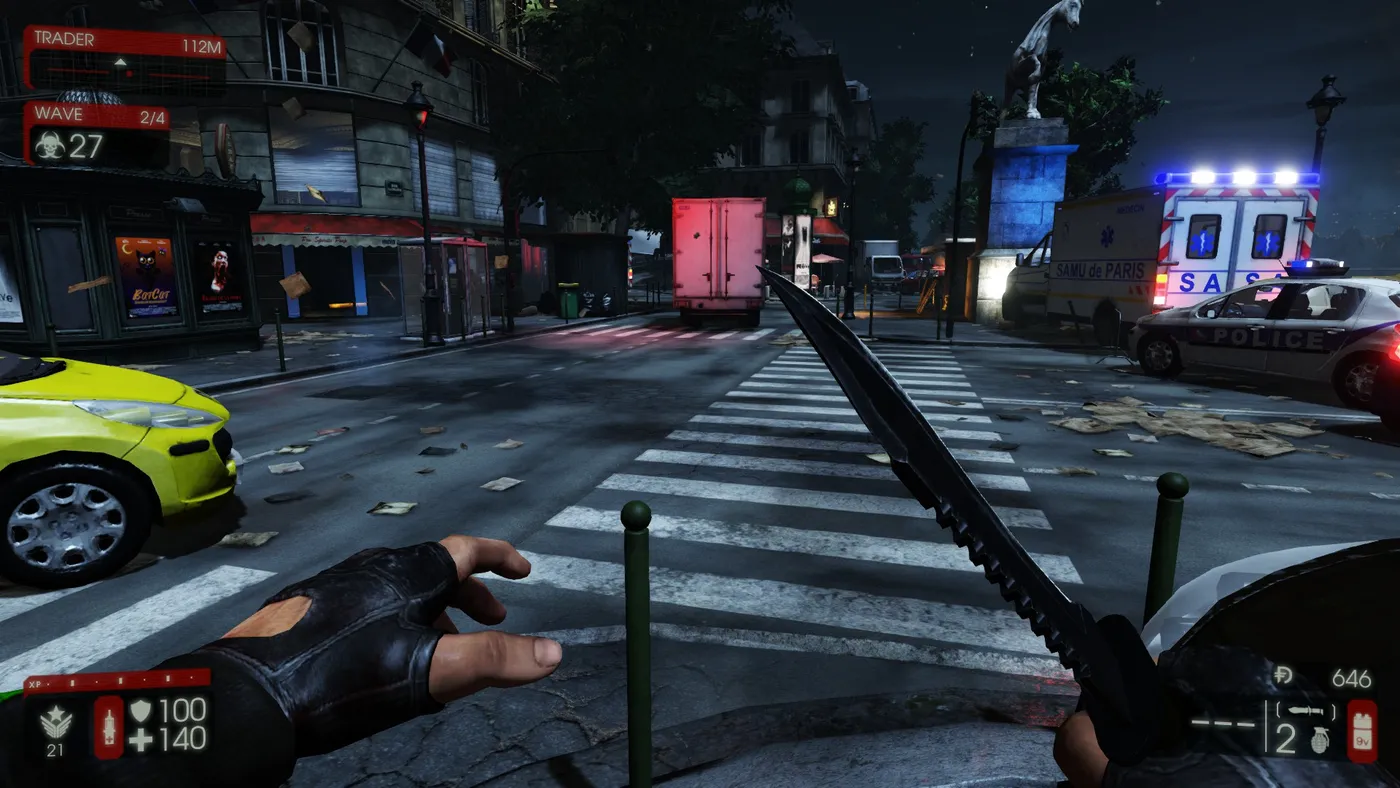 Pair a Medic with a Commando.
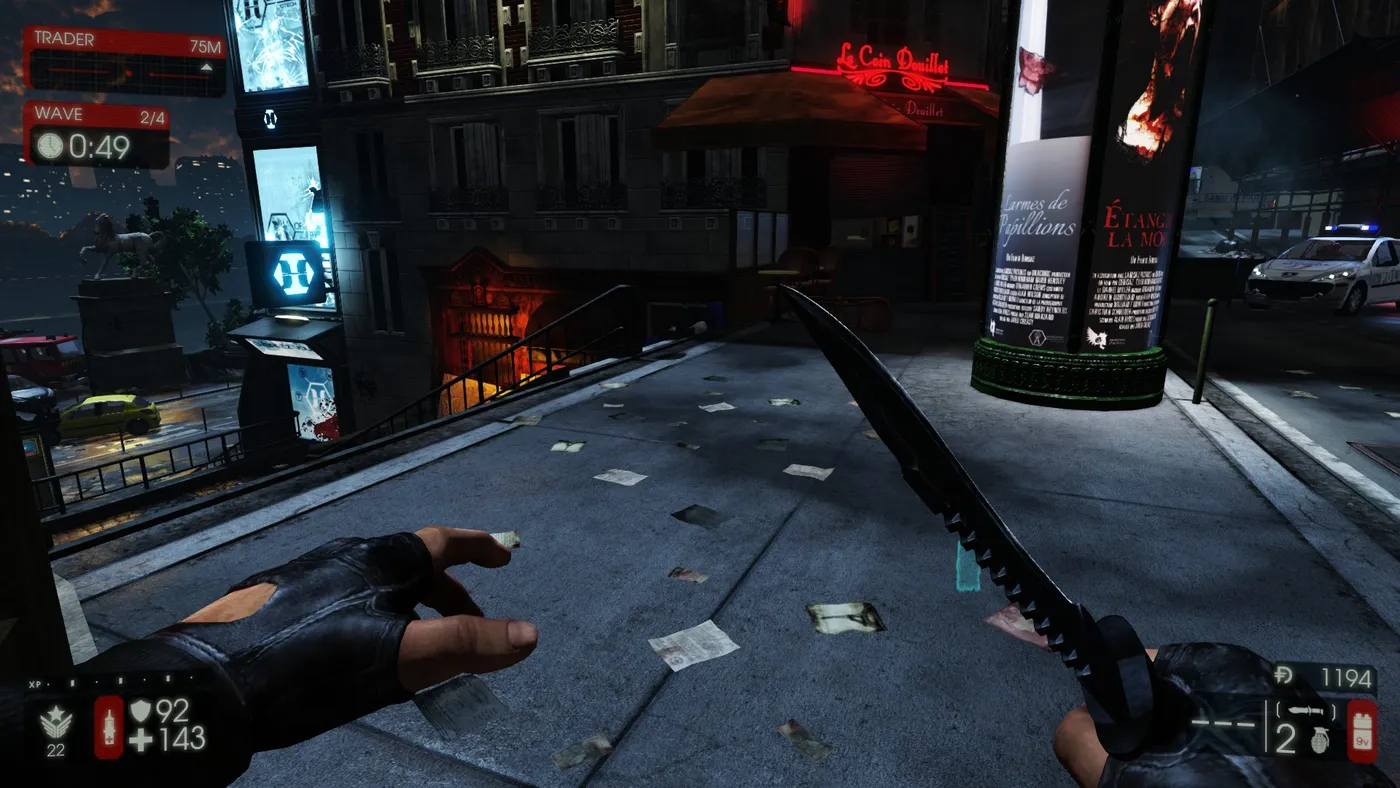 Another important Support position.
Fighting Hans on Paris
Do not fight him inside the tunnel: Medics cannot reach players behind him, and his poison gas eats health faster than healing. Hans has three stages (green, yellow, red):
- Green: shooting and some gas grenades.
- Yellow: adds melee and more grenades.
- Red: same as yellow but he really chases someone, so keep one Medic on the victim.
When he throws smoke grenades (non-lethal) he is about to grab someone. Do not run away and waste bullets: take one for the team. Commandos can see his health, and it does not drop however much the Supports shoot him during this phase.
Outpost
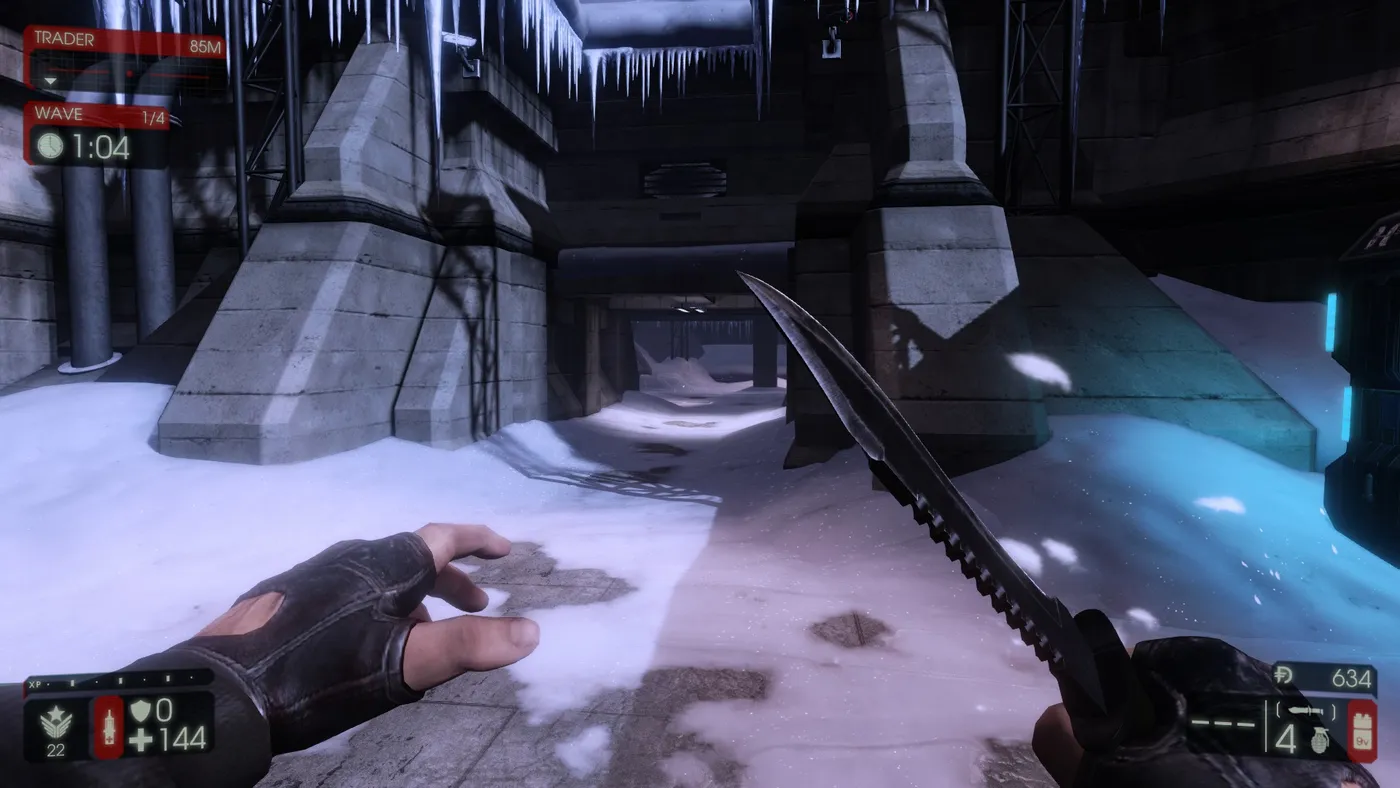 Support protecting the choke point.
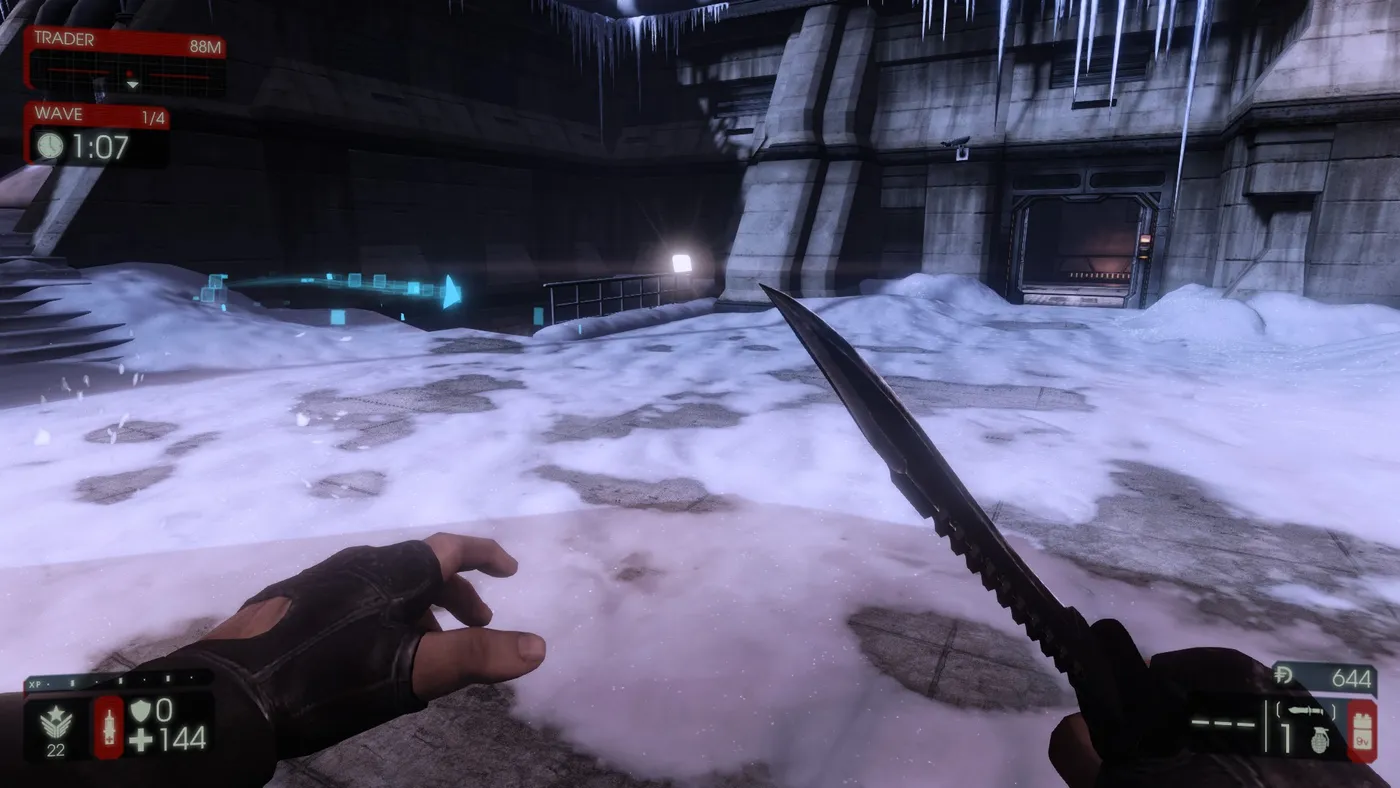 Medic and Support protecting the doorway and ramp.
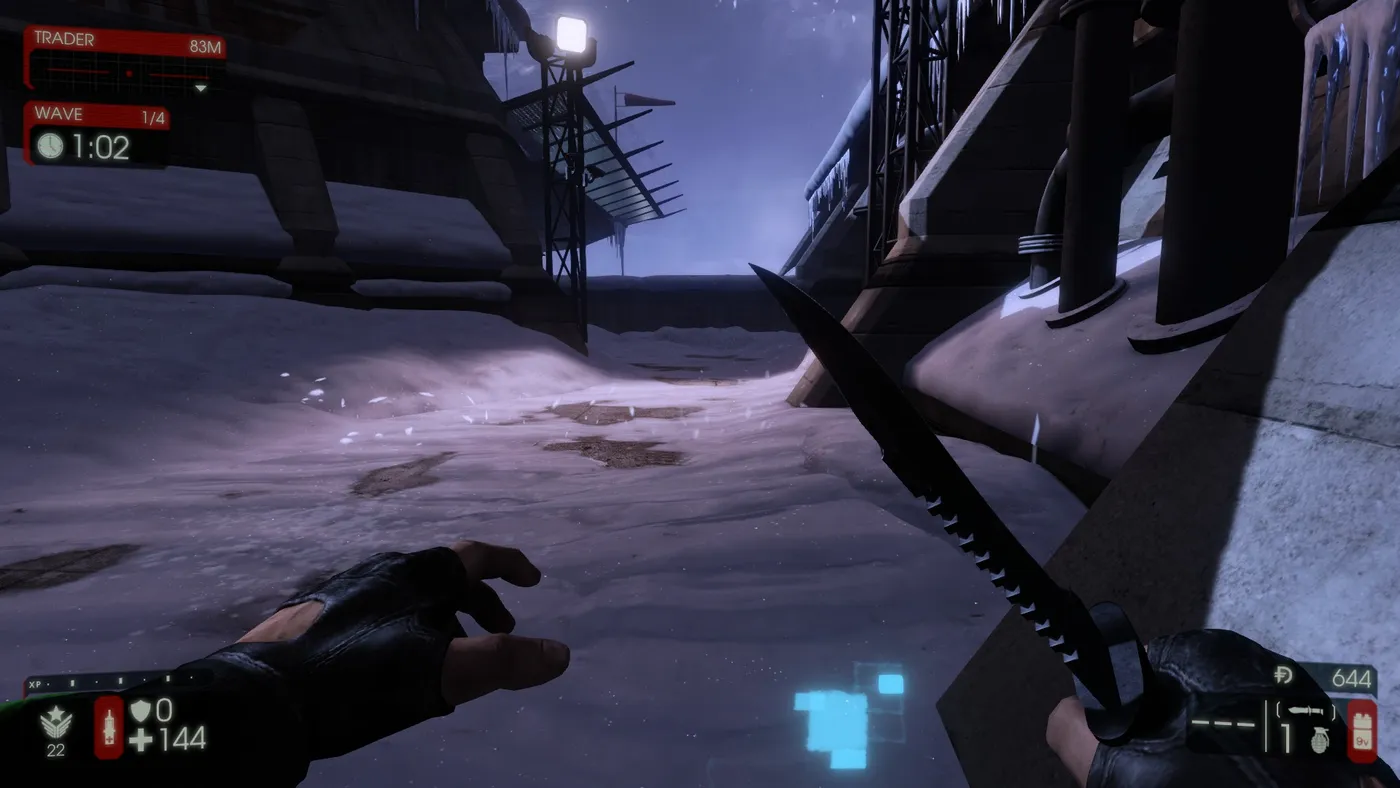 Commando protecting the helipad.
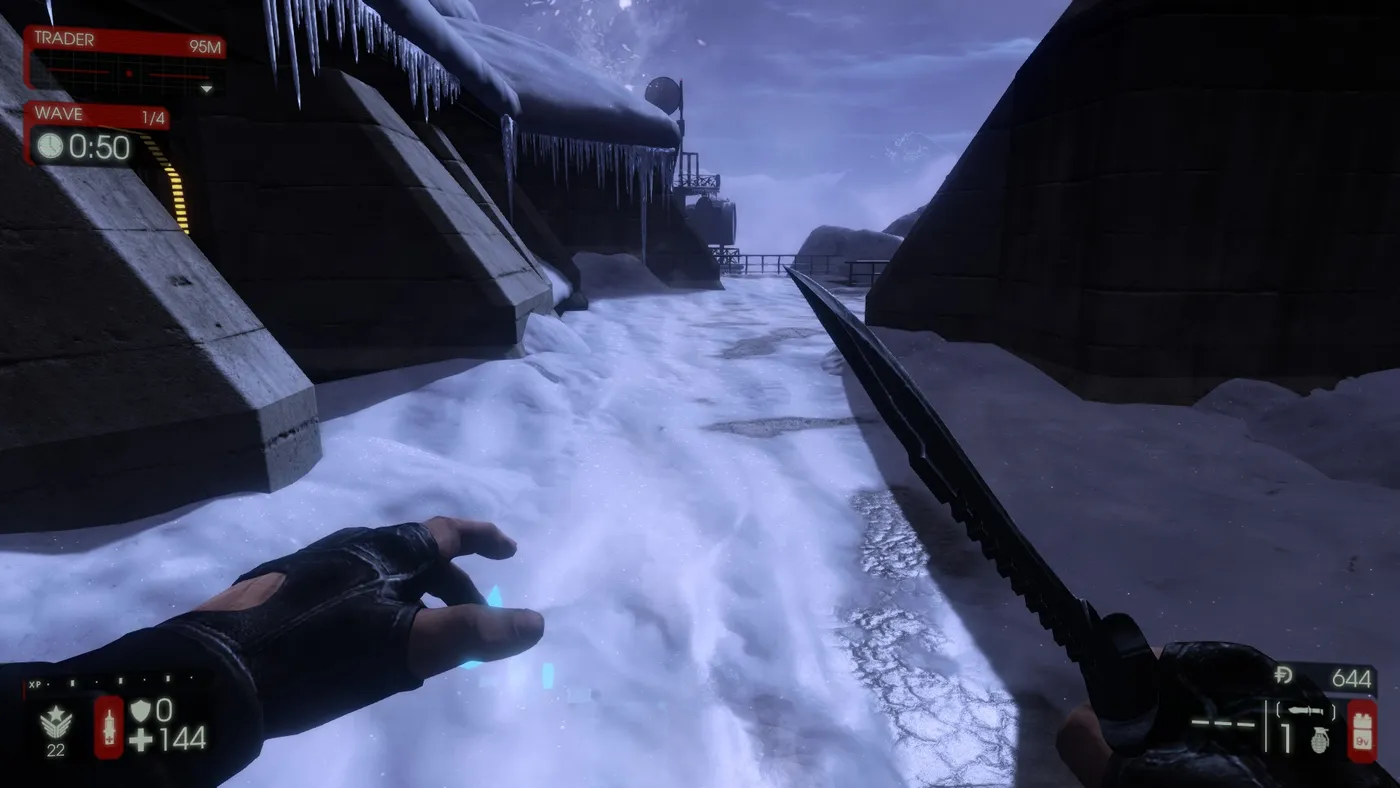 Support working two angles: the stairs and the entrance on the left.
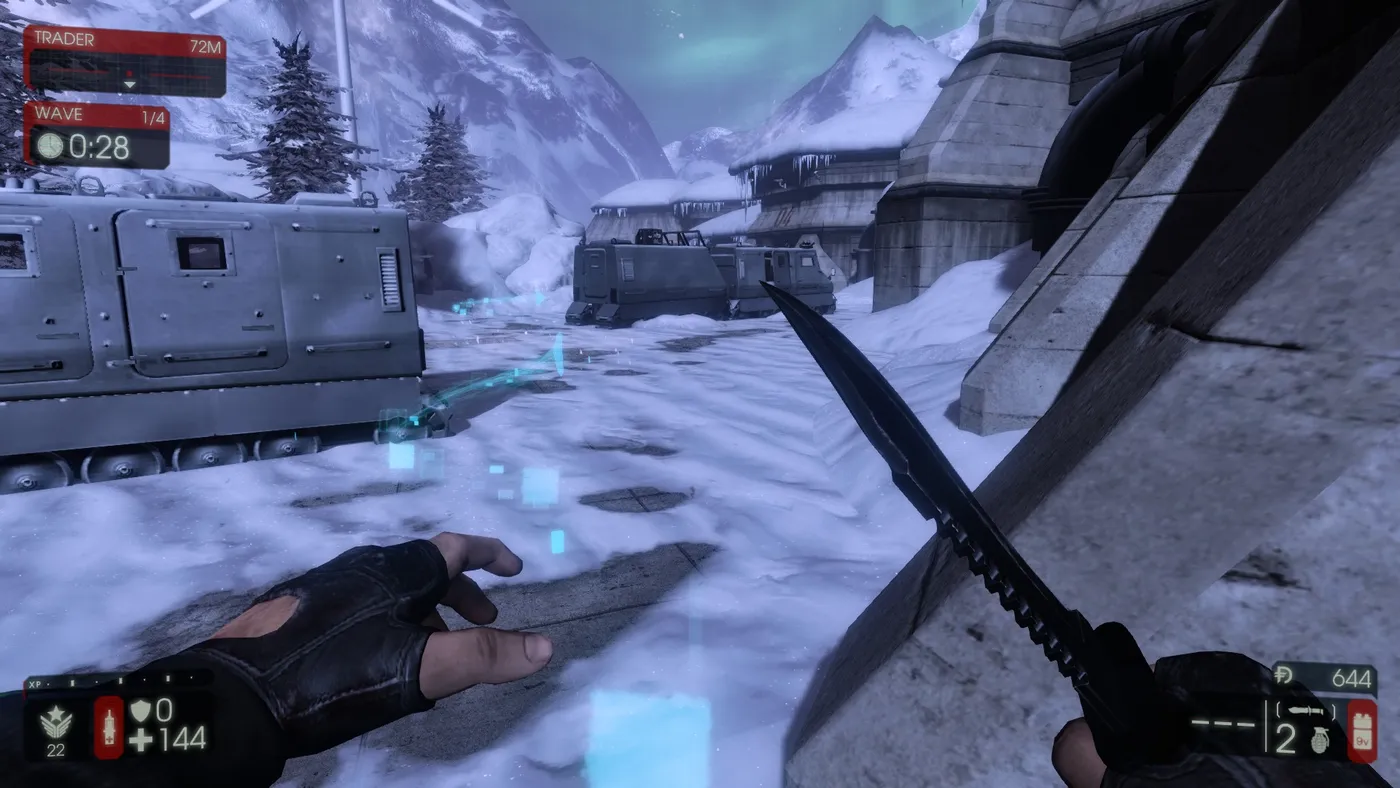 For Hans, the author moves to the vans along the snow trail: circling the van helps dodge his bullets, and a Medic can drop a grenade on the corner of the van.
Biotics Lab
One of the hardest maps at the time to maneuver in, because there is little room.
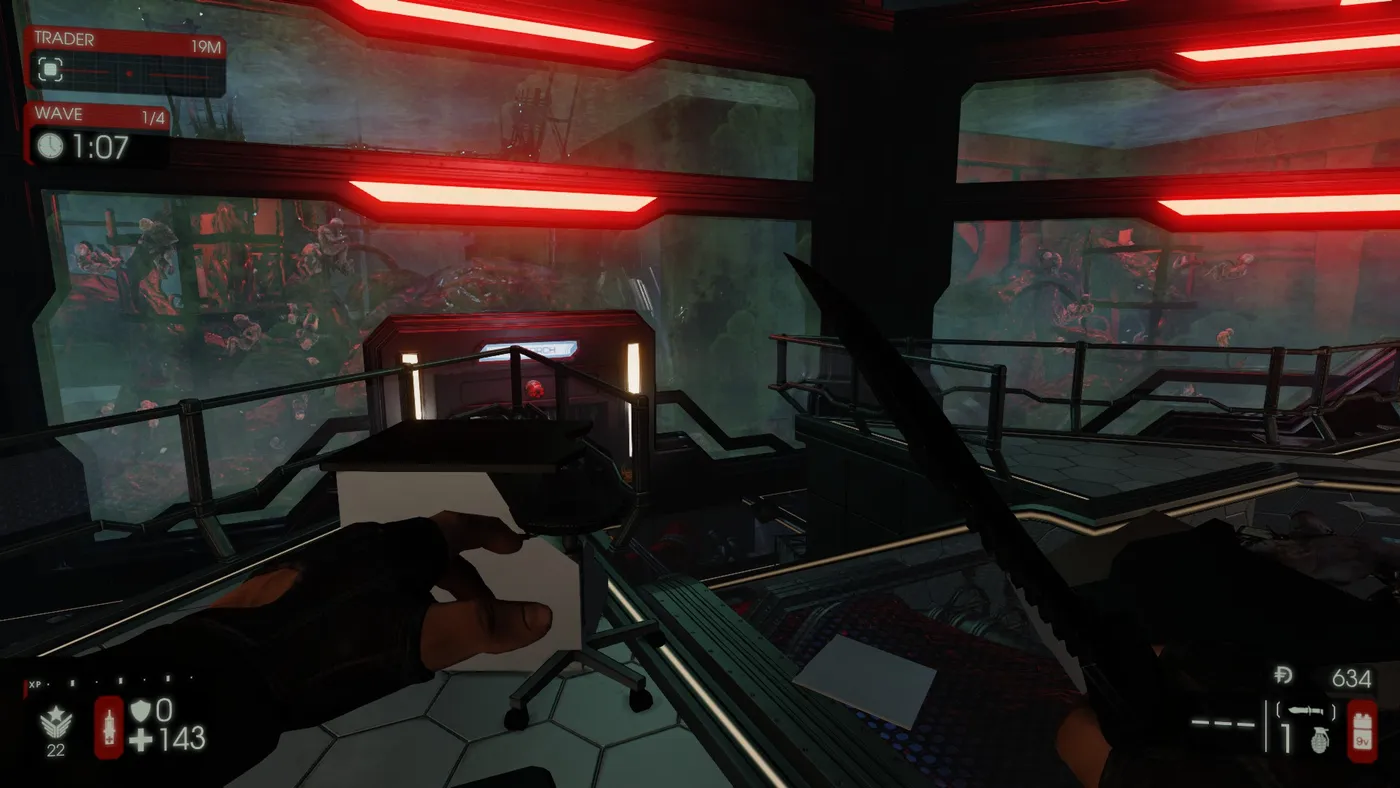 A Support and a Medic sit on the corners of the ramps, watching the connector and the rest of the room.
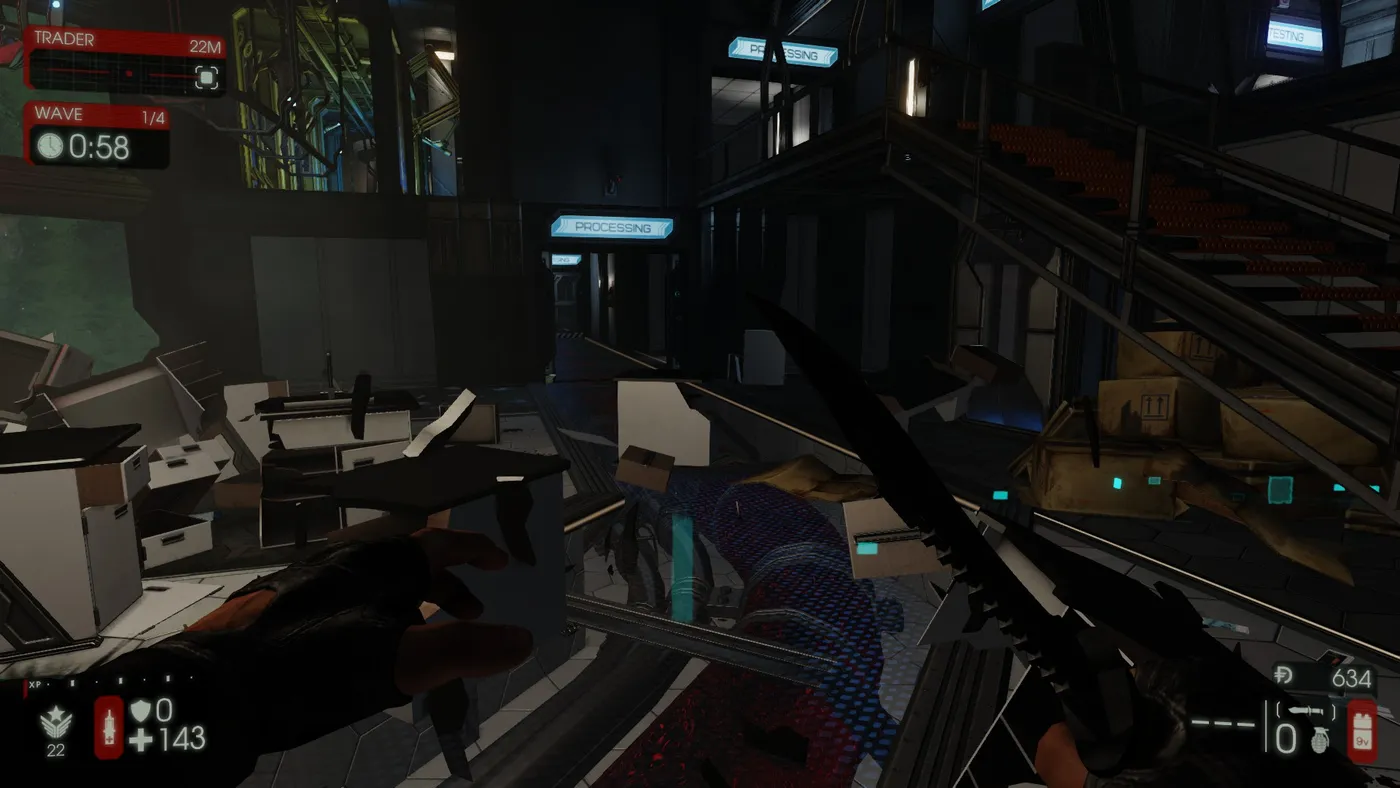 Support guarding the left side entrance.
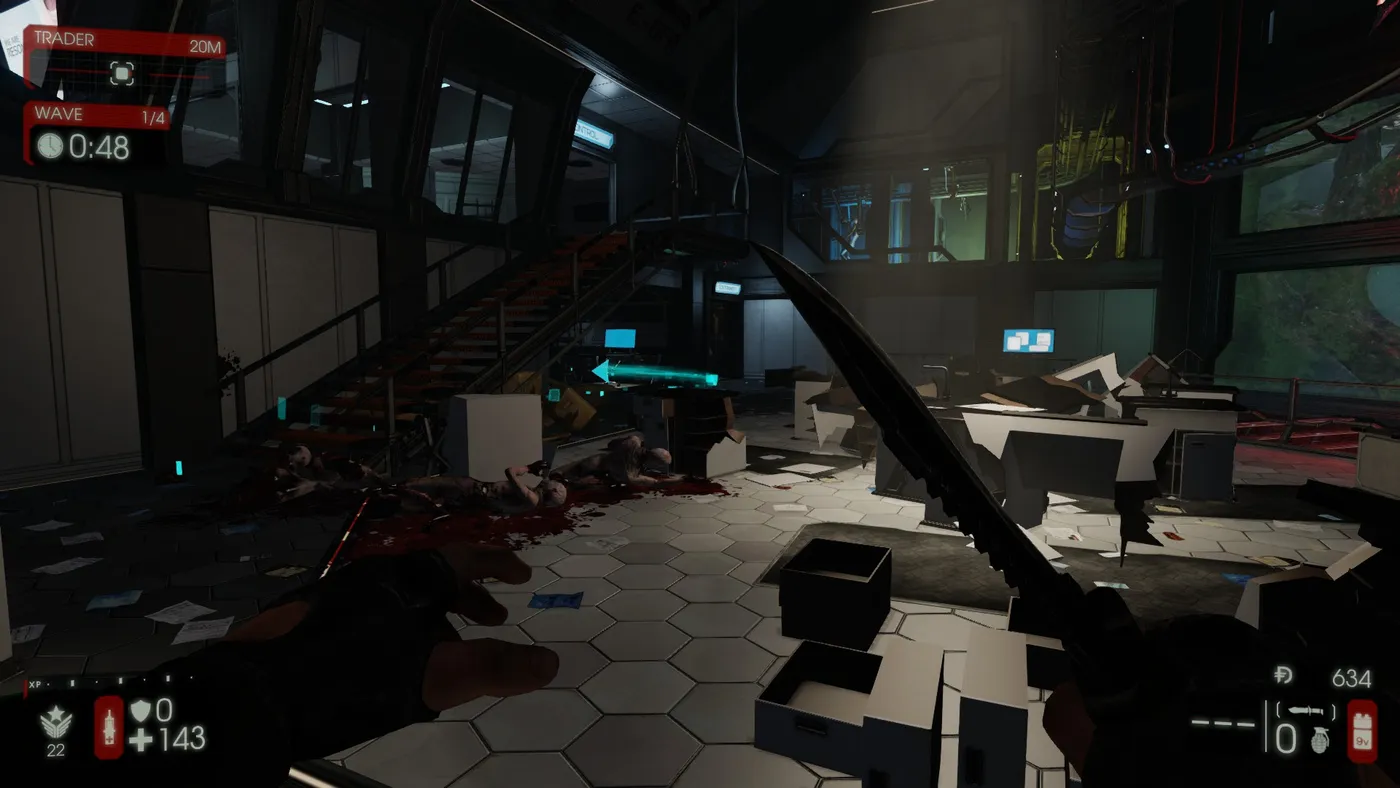 A Support guards the middle and right side with a Medic; the Commando stands in the center to spot stalkers.
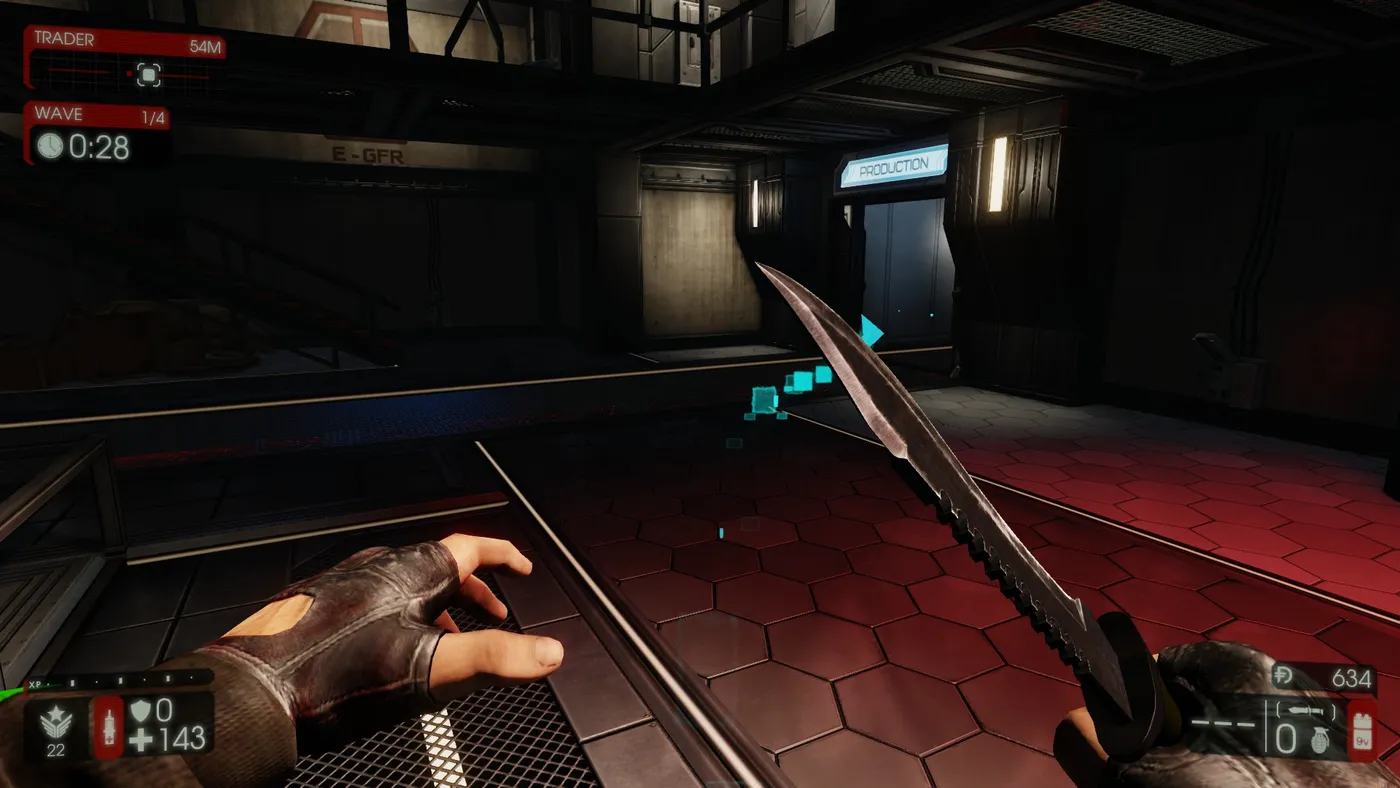 A second area that is relatively easy to hold: a Support guards the furthest entrance on the ground floor, with the Commando nearby in case zeds flood in.
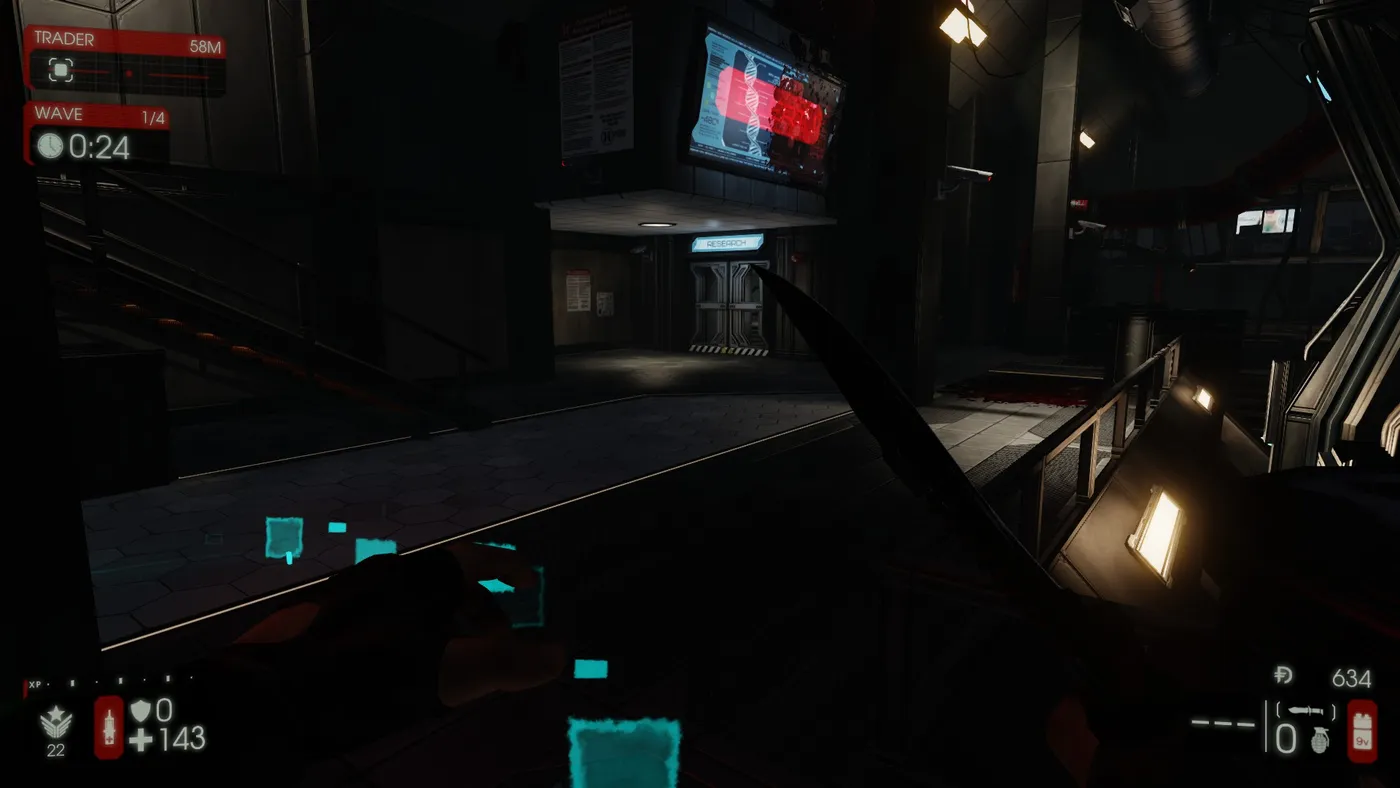 A Medic and a Support guard the back.
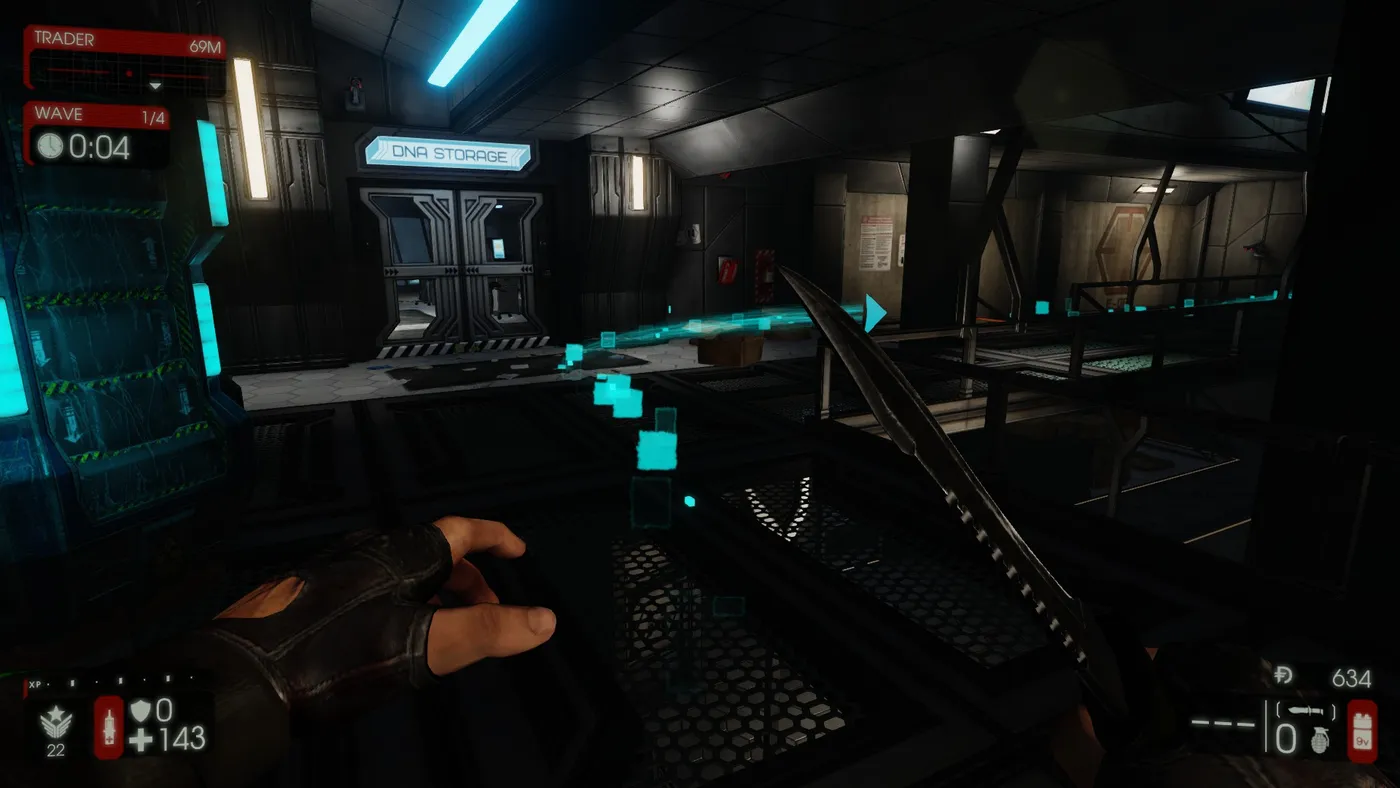 A Support guards the stairs with a Medic supporting.
The key rule
None of this works unless everyone holds their position. If one player strays and a leak of zeds gets through, the defence falls apart and the team splits. The author offered to write more guides as new maps were added.
FAQ
- What six-player composition does the guide recommend?
- Three Supports (level 10-15 or higher), one Commando (level 5+) and two Medics (level 10+), for both Hard and Suicidal.
- Why take two Medics?
- A single Medic can die, and two can heal each other, which raises team survival considerably.
- What is the rule for holding positions?
- Every player must hold their position; if one strays and zeds leak through, the whole defence can fall apart and the team splits.
