
KF2 Solo Hell on Earth with Commando: Medium Game Guide
A paraphrase of a Japanese guide (updated February 2016) aimed at clearing Hell on Earth alone with the Commando. It is meant for players who want to try HoE but have no group, and the author notes that solo play also builds aim. The Commando is not as punchy per bullet as the Gunslinger, but its large ammo pool gives strong suppression, and with armor it is fairly durable. The goal is a clear, so run when things go bad.
Game length and skills
The guide uses Medium (7 waves): on Short the weapons are not ready when the big ZEDs arrive, and on Long the spawn counts are too high. This may change if weapon discounts per perk appear.
Skill setup:
- Level 5: Large Mags
- Level 10: Tactical Reload
- Level 15: Leadership or Call Out
- Level 20: Autofire or Singlefire
- Level 25: ZED Time - Professional
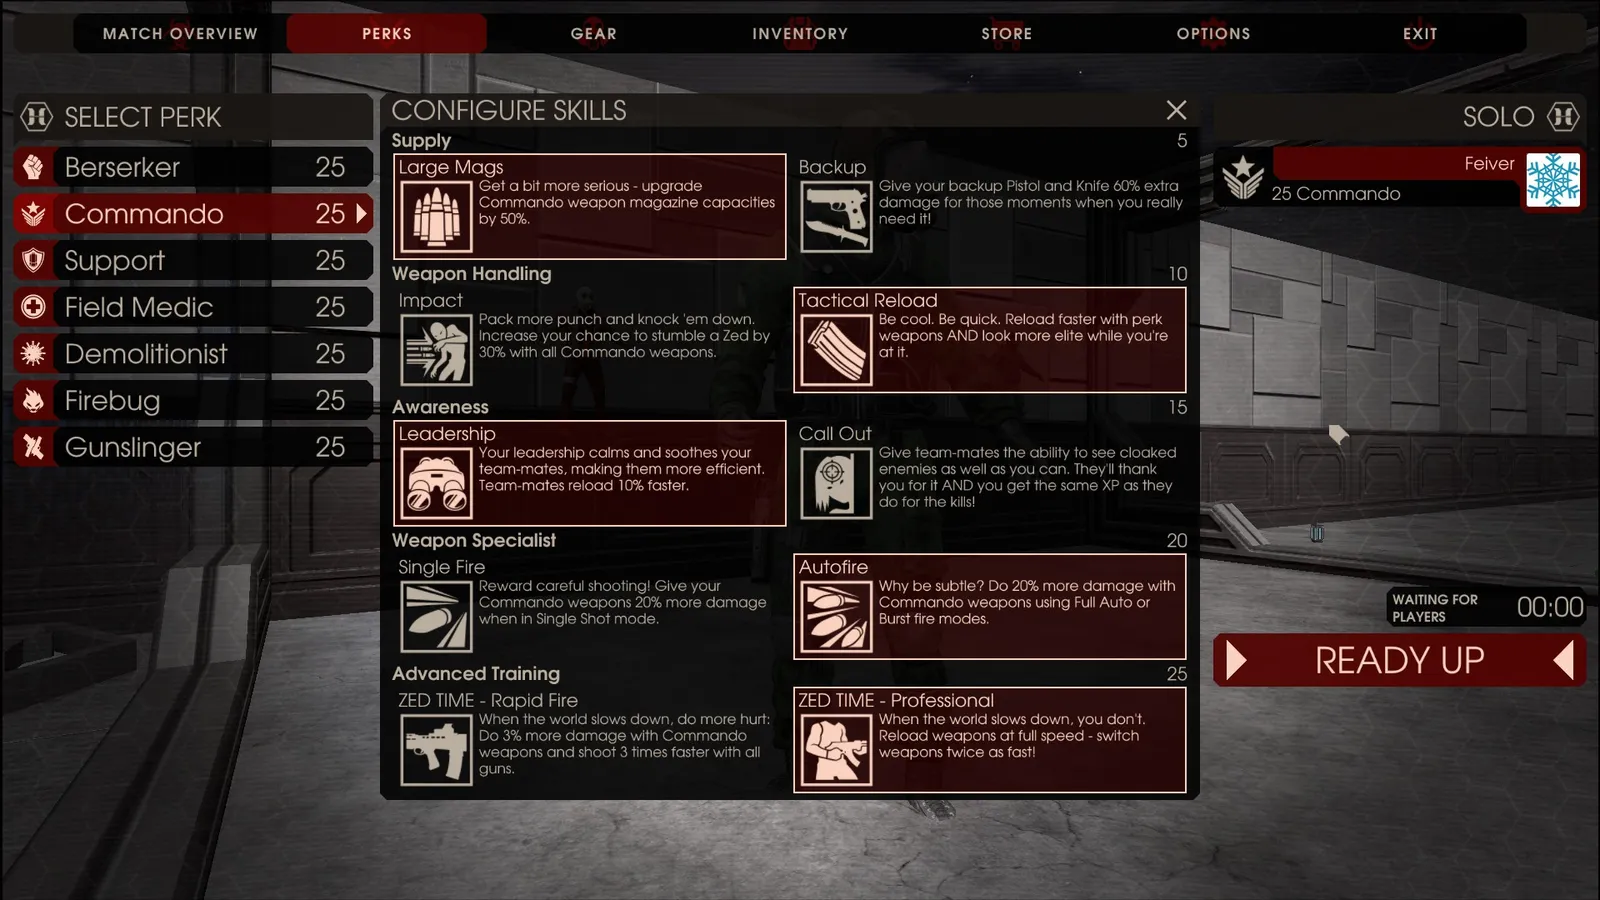 Recommended skill setup.
The AR-15 and AK-12 have no semi-auto mode, so Singlefire does nothing for them. The author measured the headshots needed with a SCAR on solo HoE at level 25:
| ZED | With Auto/Singlefire | Without |
|---|---|---|
| Scrake | 10 | 11 |
| Fleshpound | 21 | 24 |
| Bloat | 1 | 2 |
Other specimens needed the same count (measured by hand, so approximate). A shot or two saved can matter in a pinch; do remember to switch the fire mode.
Handling Scrakes
There is no EMP in solo, so you must kill a Scrake as it rages. Key facts:
- The Scrake enrages when the third SCAR bullet hits the head (solo HoE).
- Bash (V) staggers it. Timing a bash with its swing cancels the attack and buys headshot time, which is a good insurance. You can also pass a Scrake without damage by bashing. It resists stagger for a few seconds afterward.
- A Scrake enrages by itself when few ZEDs remain in the wave, so leaving some trash alive and killing the Scrake first is a technique.
The most important rule is to never postpone the Scrake. Camping usually leaves no room to retreat, and fallbacks get you sandwiched. Listen for its spawn sound, see where it comes from, and clear its surroundings to get a 1 vs 1. Common deaths: it closes in while you clear trash, retreating while shooting gets you pinned by enemies behind, or you ran out of ammo for the kill. To avoid this:
- Always keep enough bullets for the Scrake (10-11 headshots of the 30 round SCAR magazine); the rest can go to trash.
- Know the distance at which you can kill it safely. If it comes too close, bash and reset the distance.
- Prioritize it over everything else, even if other ZEDs hide behind it; if one spawns far away and it is safe, enrage it early and kill it.
On Medium only one appears per wave, starting at wave 4.
Handling Fleshpounds
Fleshpounds are the main killer in solo: they take time to kill and enrage on their own, and the Commando is too slow to outrun one. They appear from wave 5 on Medium.
- The Fleshpound enrages when the 7th SCAR bullet lands on the head (solo HoE).
- Bash staggers it, with a longer lockout than the Scrake, so a second bash is unrealistic.
- It also enrages over time, and when few ZEDs remain; a Fleshpound left at the end of the wave never calms down.
Headshot kill: 21 bullets with Auto/Singlefire, 24 without, so about one magazine with steady aim. The safest routine is full-on headshots, reload during its rage animation, bash when it arrives, headshot during the stagger. Roughly 15 bullets go in before it rages, so only keep that many for it and spend the rest on trash.
Grenade kill: Fleshpounds either dodge when they see a grenade (dodge stagger) or trip from the blast (blast stagger); the blast stagger works even when enraged. Either one disables bash for a while. If both happen, five grenades thrown in the same place kill it. The guide suggests a 3-1-1 pattern: three at the Fleshpound, then two in its path, aiming at the chest lamp rather than the feet. But the stagger is not guaranteed; the Fleshpound often ignores grenades, and at close range almost never dodges. Grenades are best when it appears at medium range or farther. Singles in waves 5-6 are safer with headshots.
Dangerous patterns:
- A Fleshpound approaching from far away: do not reflexively throw grenades; half-damage via the body takes too long, and grenade damage does not reduce the headshot count. Clean up the area, start shooting before it rages on its own, and combine with bash.
- One that spawns already enraged and charging: give up. Prioritize trash if there is a lot, otherwise land as many headshots as possible. When it closes in, do not try a bash combo; stop shooting, take one hit on purpose, then bash to gain distance and bring it back to the yellow-light state, where it will do its rage animation again. Backing up while shooting is dangerous, because close range leaves it free to pounce.
Wave-by-wave plan
- Wave 1 (AR-15): luck-dependent trash rush with the starting rifle. Run to open space, turn and shoot while moving to avoid being surrounded. Trader: with 550 or more, sell the starting rifle and buy the L85A2; otherwise refill AR-15 to 160-180.
- Wave 2 (L85A2 or AR-15): Crawlers and a Husk. The L85A2 kills a Crawler with a torso shot; shoot lines from the back. With the AR-15 a Crawler needs two. Refill L85A2 ammo to about 160-200 total, no grenades needed.
- Wave 3 (L85A2): the first real hurdle, with Husk, Siren and fast, packed mid-size ZEDs plus trash. Use grenades if surrounded and accept Siren damage as a cost. Kill far-off Husks fast. Trader: around 1200 money; sell the L85A2 and buy the SCAR with ammo.
- Wave 4 (SCAR): Scrakes appear; torso shots work for trash. Trader: ammo, armor, then grenades (grenades before armor if you plan to grenade the Fleshpound).
- Wave 5 (SCAR): Fleshpounds join, usually in sparse groups of 4-5. Reload often. Trader: fill everything.
- Wave 6 (SCAR): test of everything. Trader: an AK if rich, or a Pulverizer for grenade-focused play; its explosive hammer can deal about 30% to a Fleshpound.
- Wave 7 (SCAR plus extras): two Fleshpounds at once; kill at least one as soon as it appears. If it goes wrong, run.
The author finds waves 3 and 7 the hardest. For the final wave sell everything, buy strong guns such as the AA12, and switch to a fast perk like Medic. Check the wiki for specifics.
Map notes
Biotics Lab
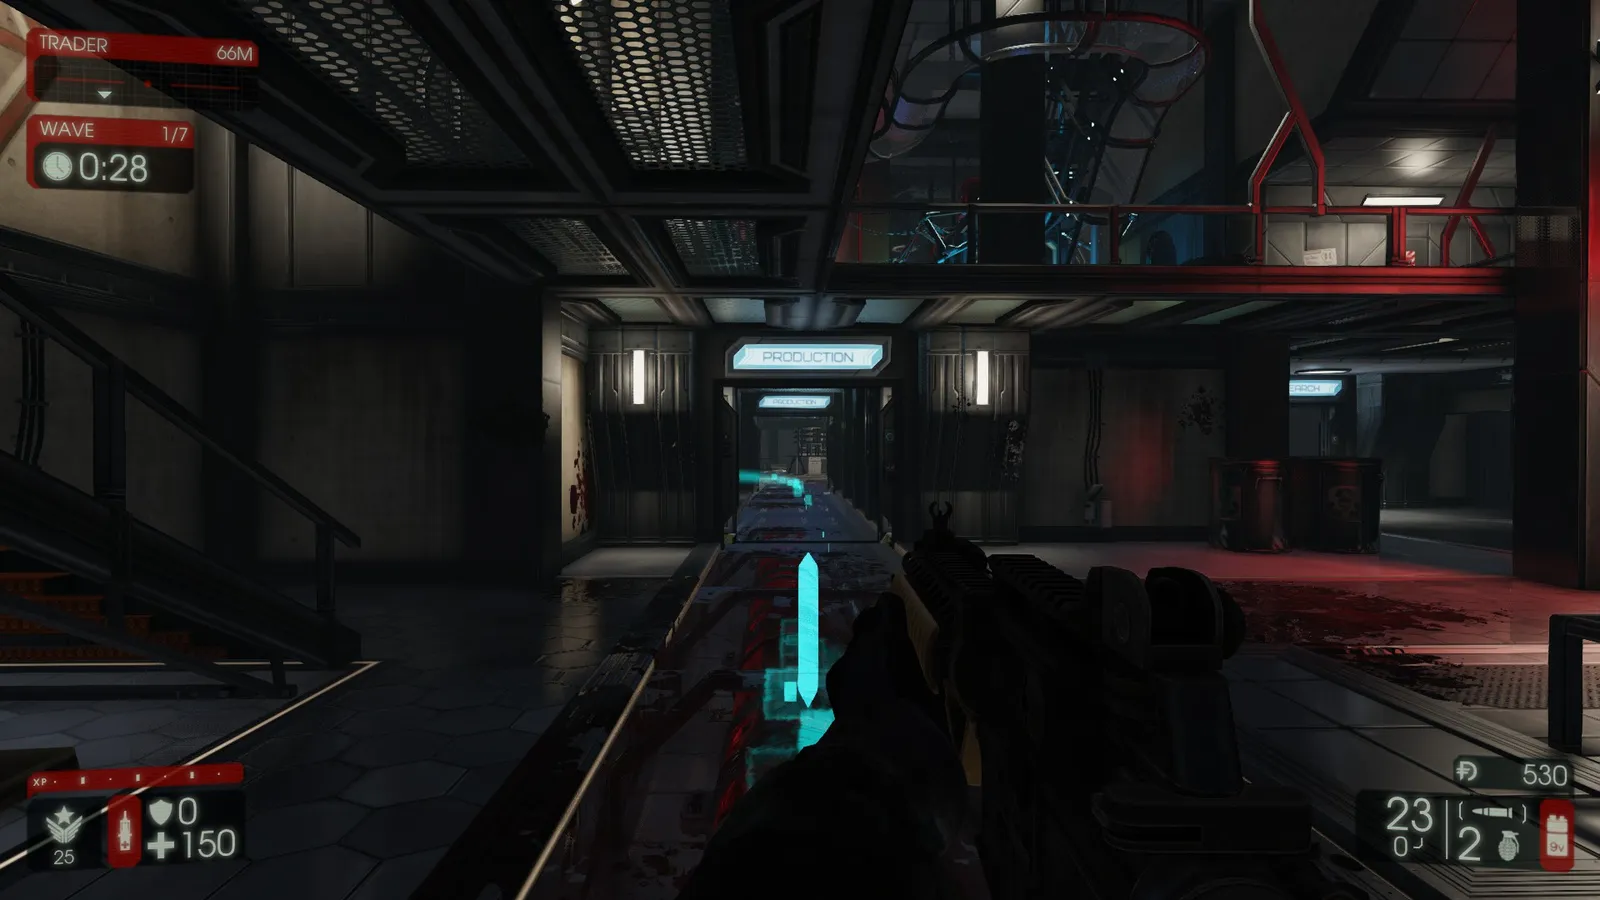 Camping spot in Biotics Lab.
Pros: many escape routes, you can back away while fighting. Cons: enemies come from several directions, short head-on range, big ZEDs appear close. Rushes arrive from three sides, so use grenades freely. A Fleshpound on the left stairs may already be enraged if it is unseen for a while after its spawn sound, and some ZEDs use the stairs behind you (visible through the upper glass).
Outpost
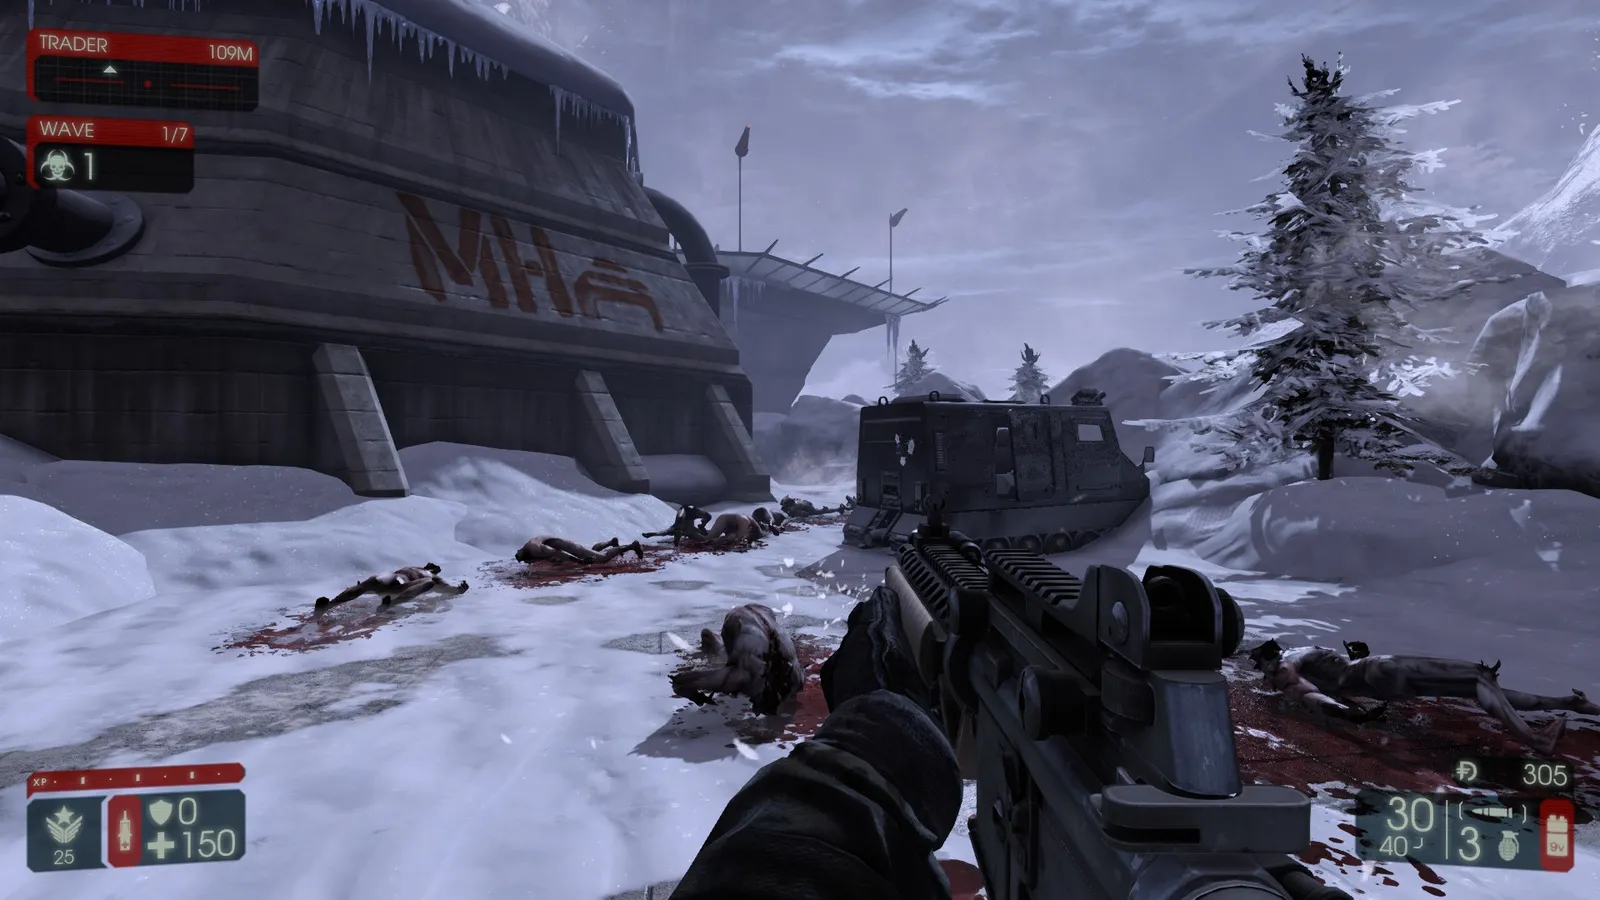 Outpost camp, view 1.
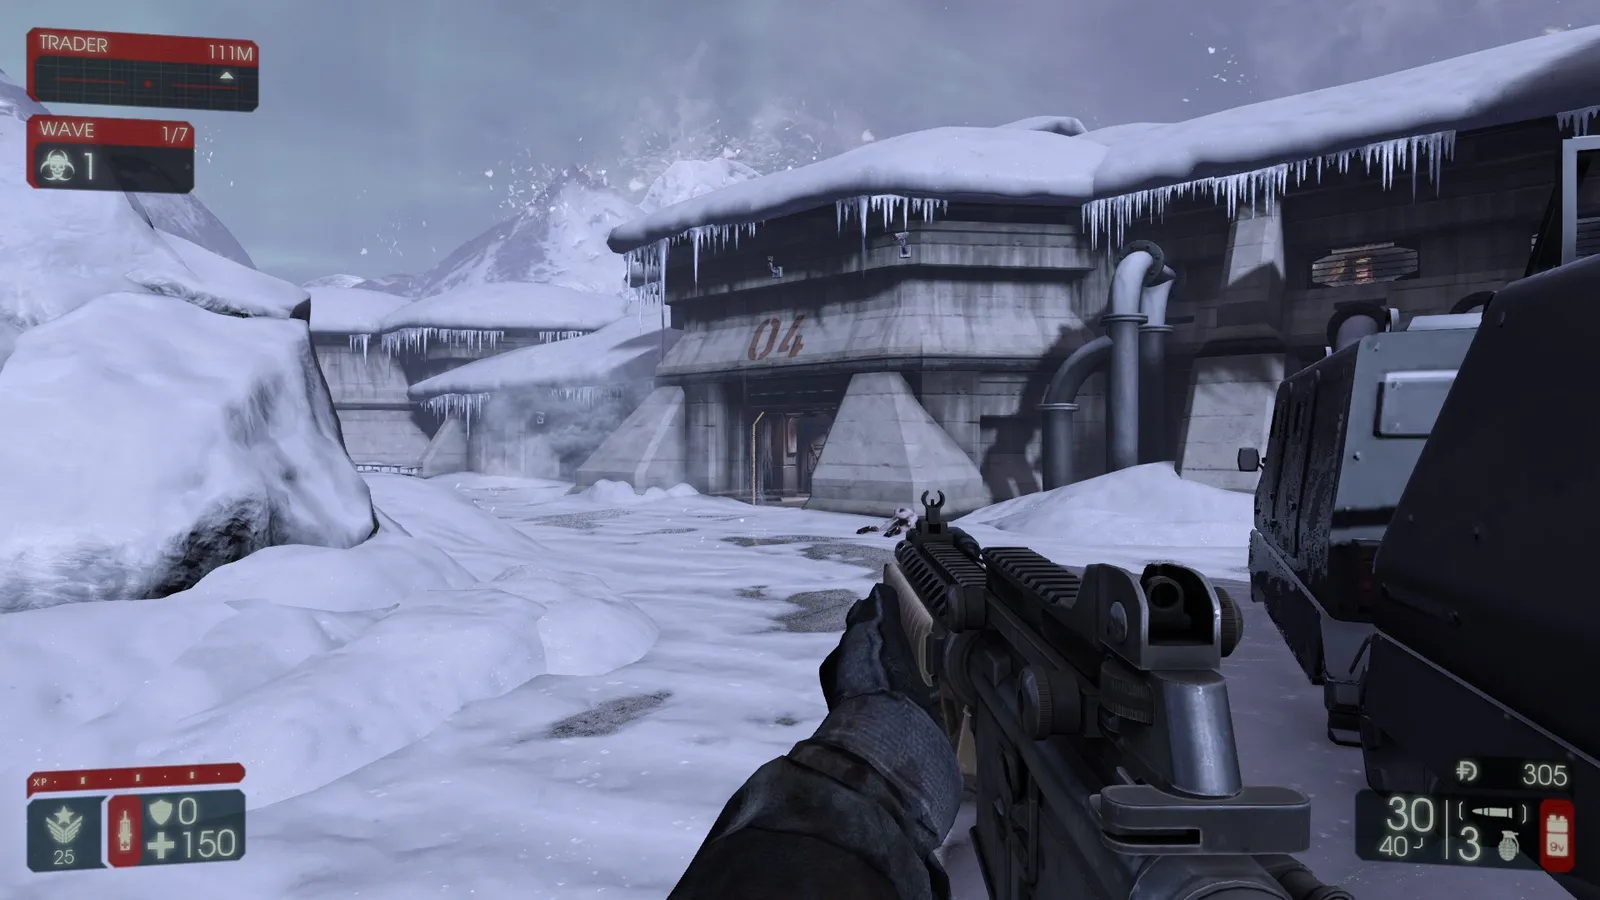 Outpost camp, view 2.
The familiar camp with two directions. Pros: good visibility, long distance, nothing spawns behind, big ZEDs are visible early. Cons: no escape once surrounded, two opposite sides to watch, far-spawned Husks. Most ZEDs come from the left; watch the right too. The right route is narrow, so bash through or circle around the car to the left. Big ZEDs tend to get stuck and arrive last, so watch for the last Scrake enraging.
Burning Paris
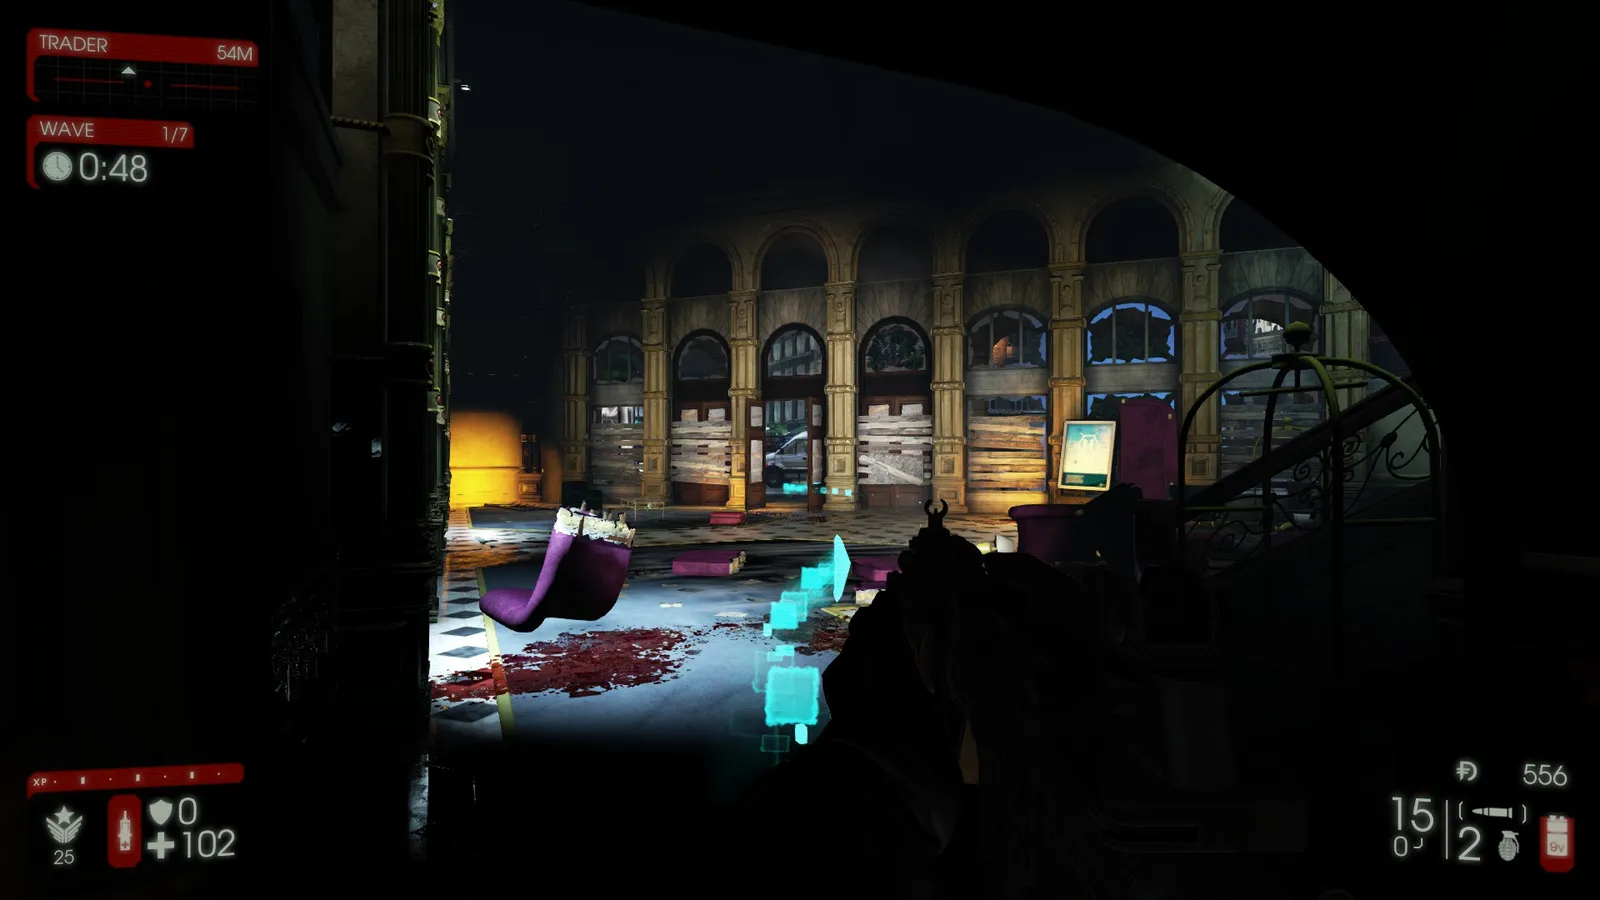 Burning Paris camp.
Pros: ZEDs mostly come from the front. Cons: big ZEDs are hard, packed groups, occasional side spawns, hard to flee. Blow up the sofa with a grenade and weld the near ground floor door. ZEDs dropping from above are close; big ones sometimes spawn at the side. It is dependent on spawns, so run if needed.
Volter Manor
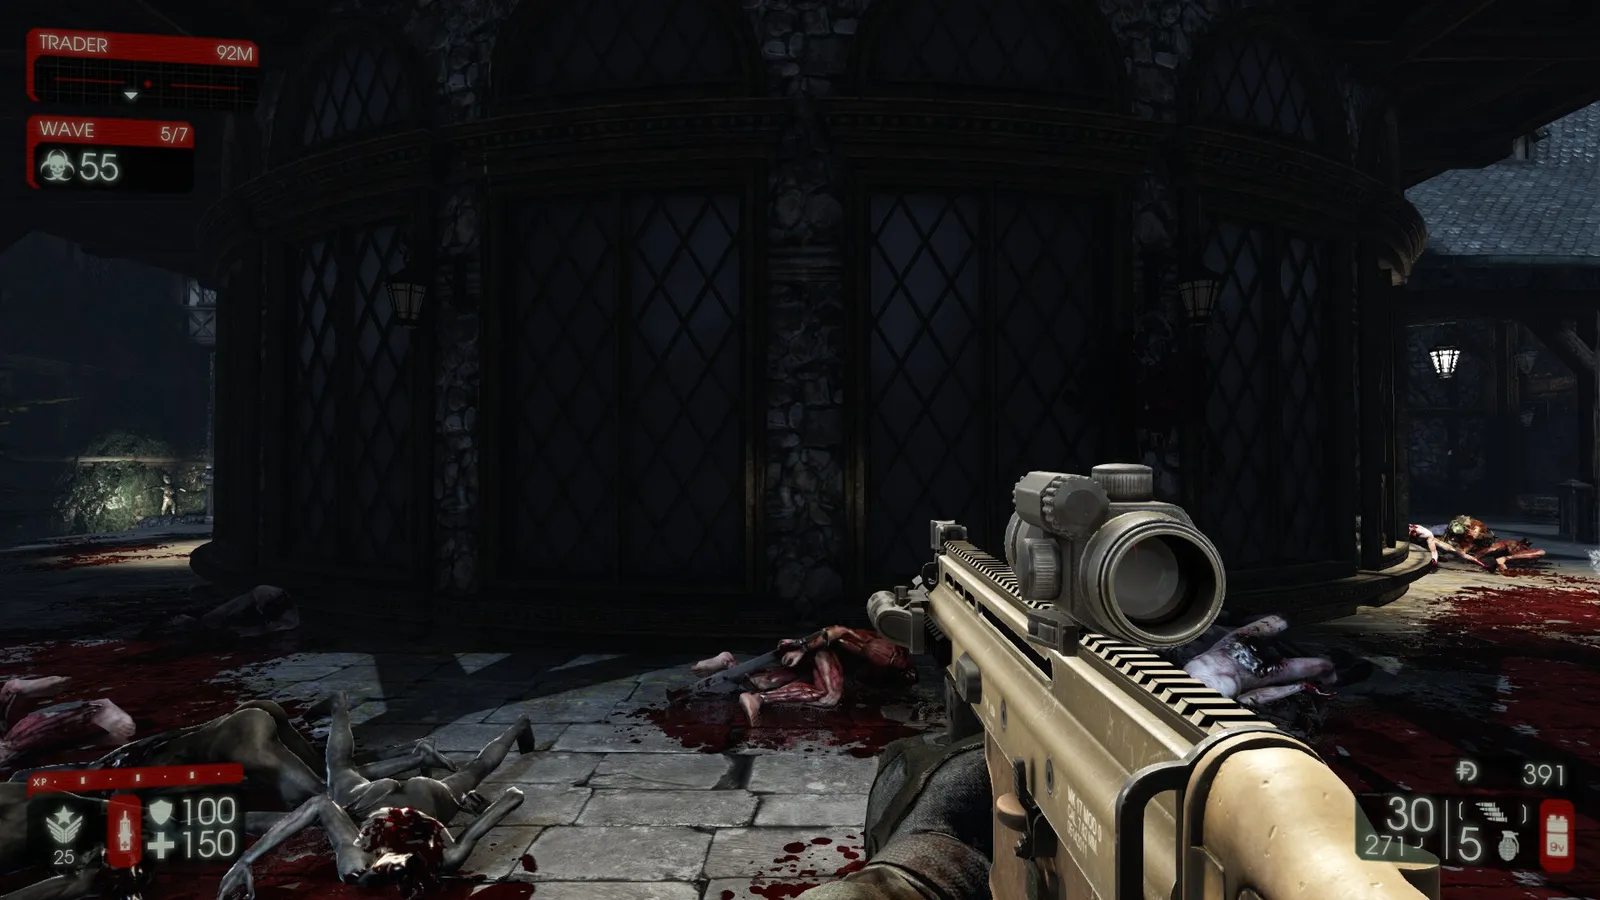 Volter Manor, standing in the middle.
Stand in the middle and aim at the side they come from. Pros: two close directions, no distant Fleshpound spawn. Cons: quickly surrounded, ZEDs spawn close and from the side ceiling, hard to use grenades. It is like a tougher Outpost with nowhere to retreat, so killing the big ZEDs well is key, sometimes by stepping forward to make room. Left enemies climb stairs and are far, but right ones spawn just by the corner. After clearing the left, check the right at once, and do not chase Sirens on the left.
Evacuation Point
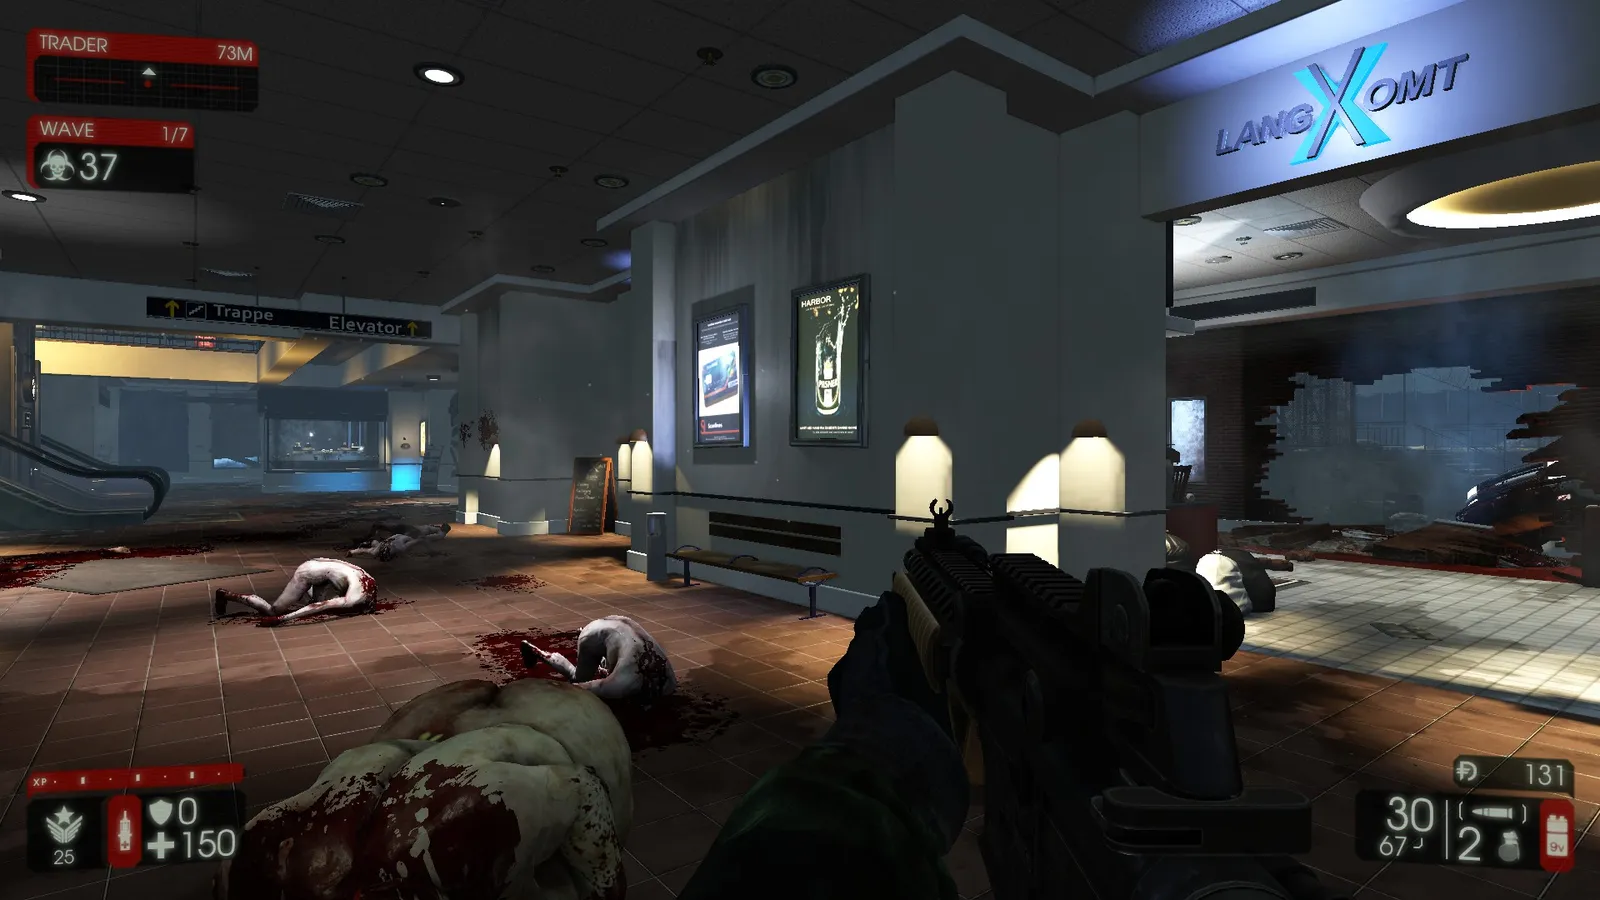 Evacuation Point corner.
The building corner on the left of the spawn. The hollow behind you does not spawn ZEDs. Pros: ZEDs come in a line, no odd spawns. Cons: rushes are hard, big ZEDs appear near. Crawler plus Slasher combos hurt in waves 1-3; throw a grenade at any group you cannot clear. The 2 Fleshpounds of wave 7 are hard to handle in place, so expect to run.
Catacombs
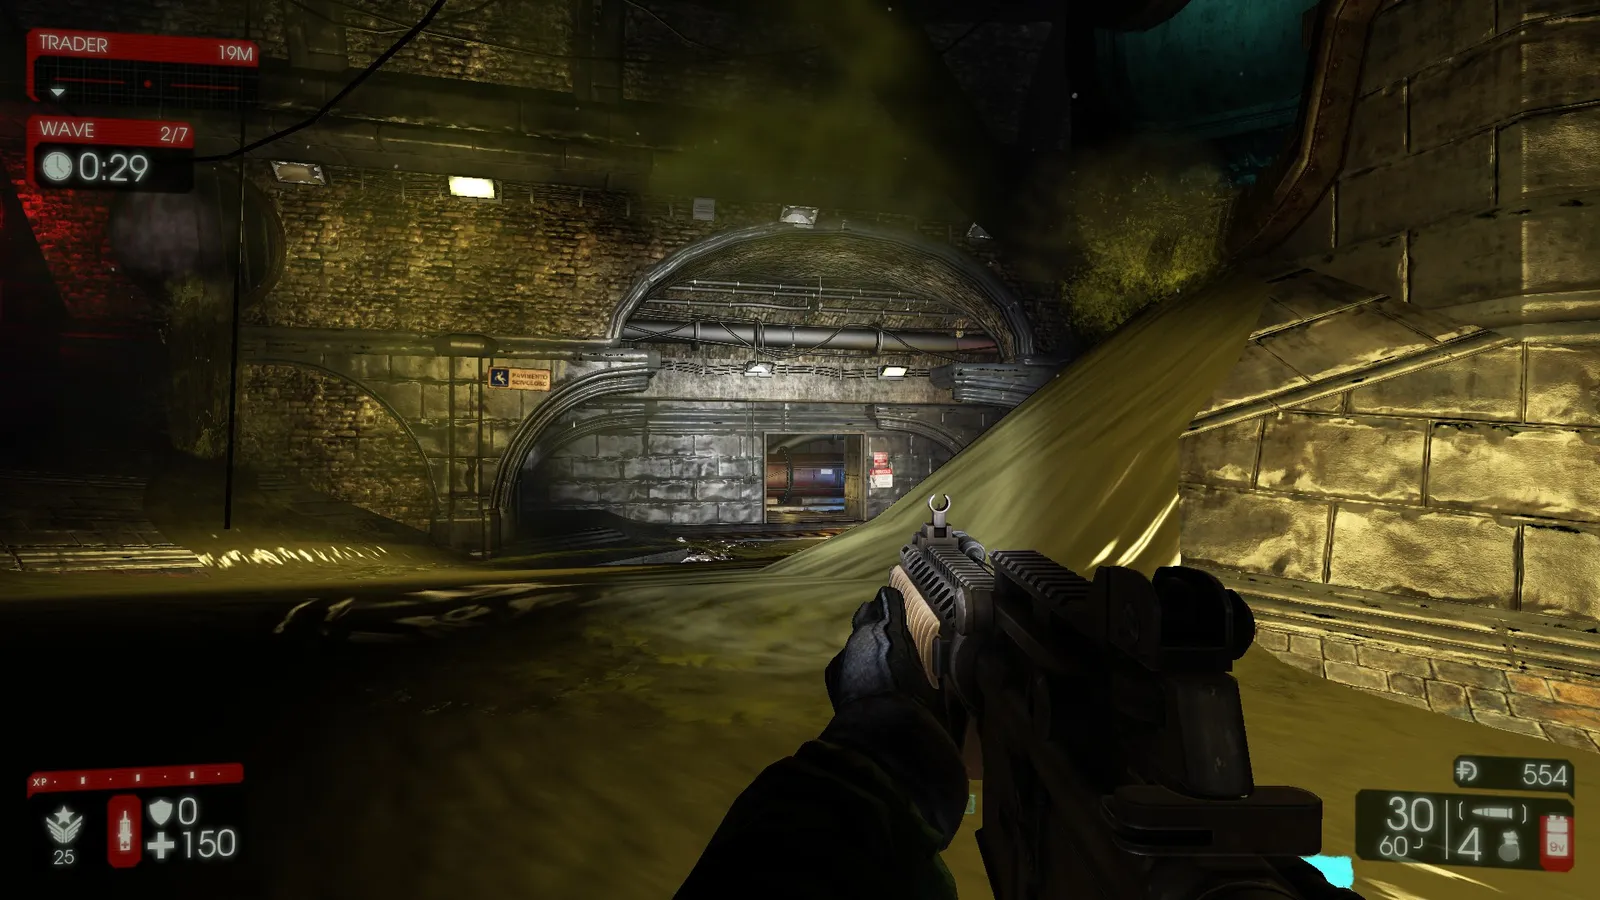 Catacombs spot, view 1.
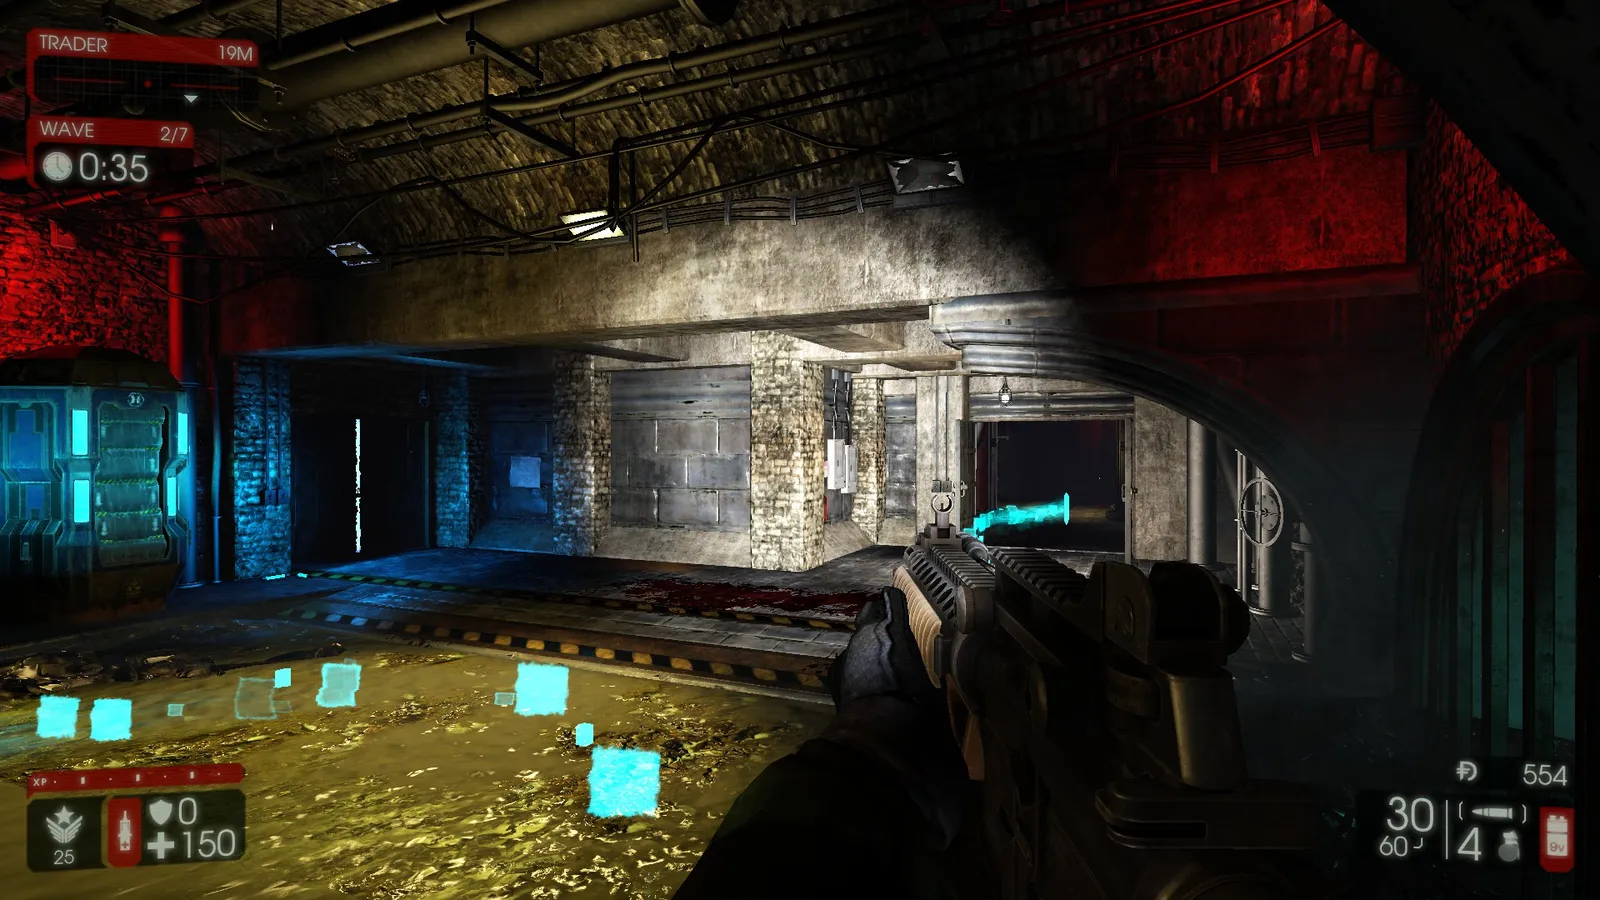 Catacombs spot, view 2.
The author's least favorite map: dark, cramped, no real camp, enemies from opposite sides and Crawlers from the water behind. Welding the door next to the Trader stops ZEDs from there. A rough position is shown, alternating views; better suggestions are welcome.
Black Forest
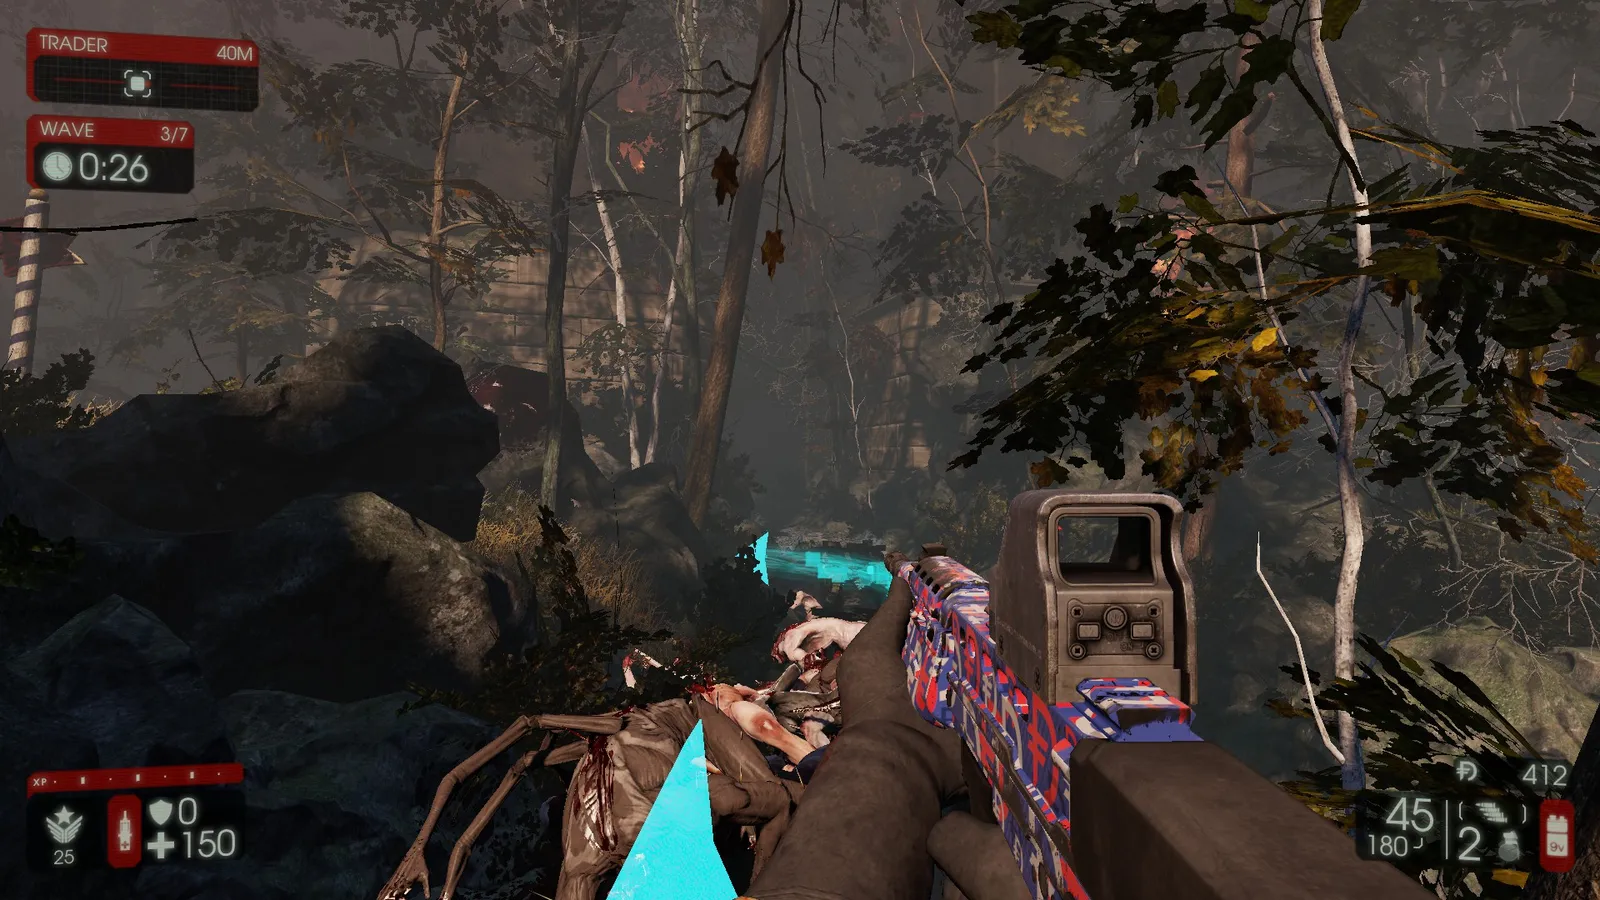 Black Forest water channel.
The spawn-side watermill channel. Pros: enemies only from the front, wide view, easy to flee. Cons: big ZEDs, Bloats in the way, Fleshpounds spawn far. Suited to the Gunslinger but doable with Commando. Instead of falling back, step forward and clear Bloats on the left and right before they reach the channel. Enrage Scrakes early, kill Fleshpounds before they rage on their own, and drop down if overwhelmed.
Farmhouse
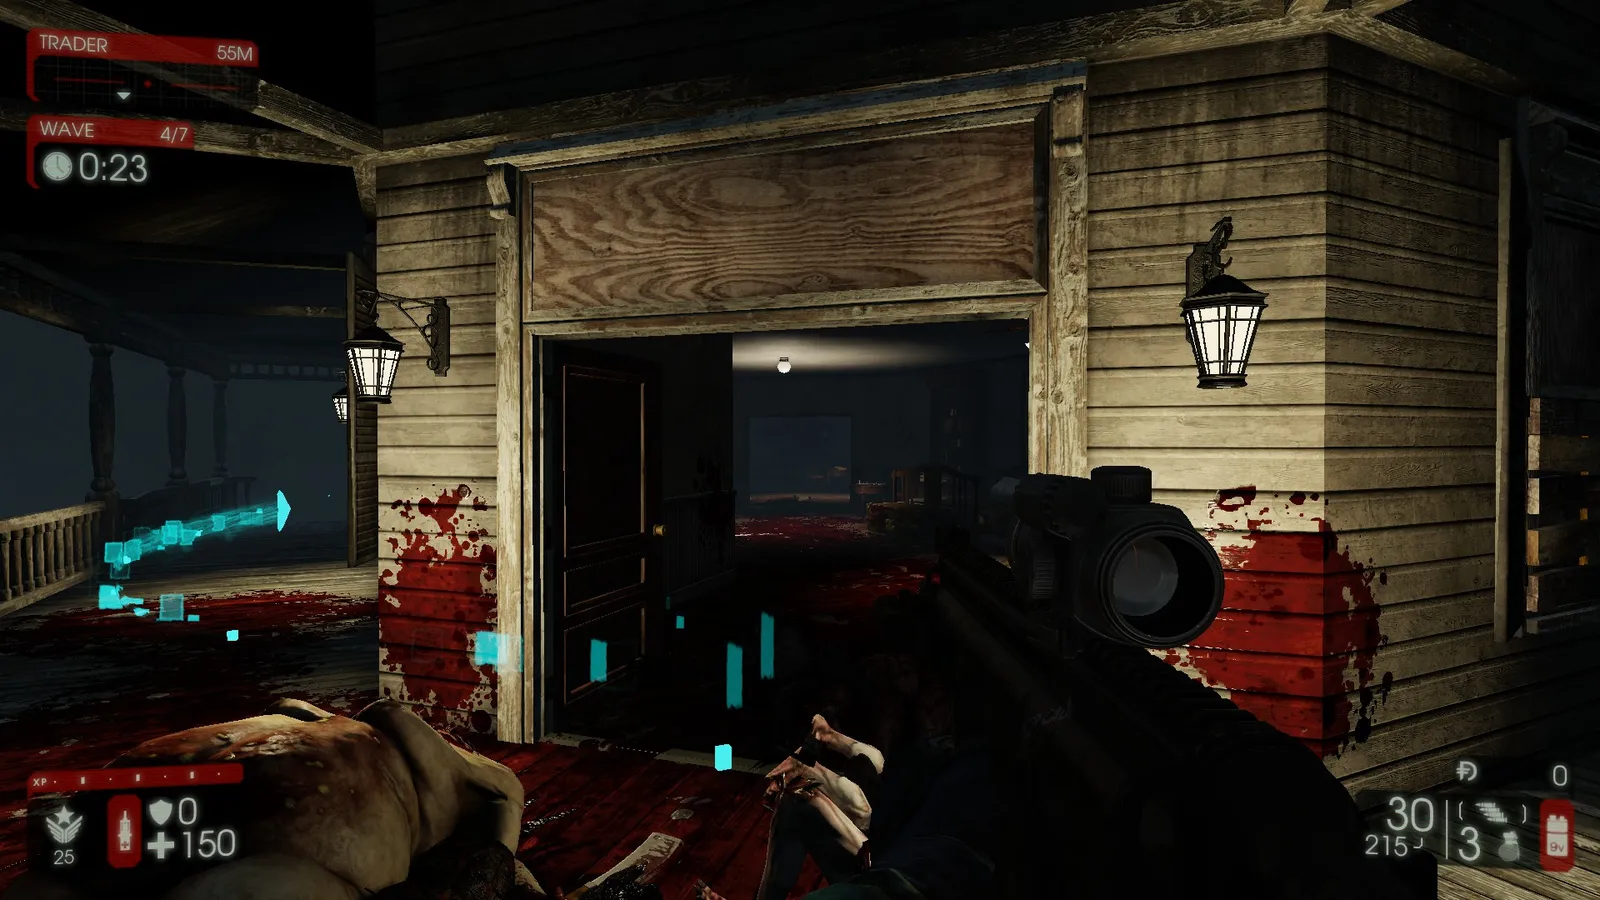 Farmhouse position.
Weld the other two doors so ZEDs come only from the front. Pros: one direction makes grenades effective, no need to look elsewhere, can jump down and run. Cons: stacked ZEDs, Bloats and Crawlers get in the way, short distance for big ZEDs, frequent rushes. Bloats block the line of fire even after a headshot. With a SCAR trash is easy, but big ZEDs are too near, so sidestep or drop down. Two Fleshpounds come together, so grenades are recommended, with the Pulverizer for finishing. Standing in the spawn point means ZEDs appear behind you if you go into the room.
Closing
The Commando has its own charm even with the Gunslinger available; show what a barrage a pistol cannot match. This is one author's approach, so find what works for you.
FAQ
- Which game length does the guide use?
- Medium (7 waves): Short is too early for the weapons you need and Long spawns too many ZEDs for a solo run.
- How many headshots does a Scrake need from a SCAR?
- With Autofire or Singlefire it takes 10 headshots, without it 11 (solo HoE, level 25).
- What should you buy after wave 1?
- If you have earned 550 or more, sell the starting rifle for the L85A2; otherwise refill AR-15 ammo to about 160-180.
