
KF2 Scrake on Hell on Earth: EMP Plus AA12 Combo
This is a translation of a quick Spanish guide from May 2015 about killing a Scrake on Hell on Earth with a simple coordinated combo. The goal is to kill it before it enters its rage (mad) state. At top difficulty a raged Scrake turns the team into a scramble while one brave player tries to circle behind it, as is common on Suicidal, and the author says a HoE team should not get into that situation.
The combo
- Clear the nearby small ZEDs first, especially Sirens and Husks.
- The team's Berserker throws an EMP grenade at the Scrake's feet. The electricity prevents it from running, making it an easy target, above all the head.
- At least two Support players with AA12 shotguns and steady aim fire full-auto at the head.
- The Scrake should die before the grenade effect ends.
The common mistake: distance
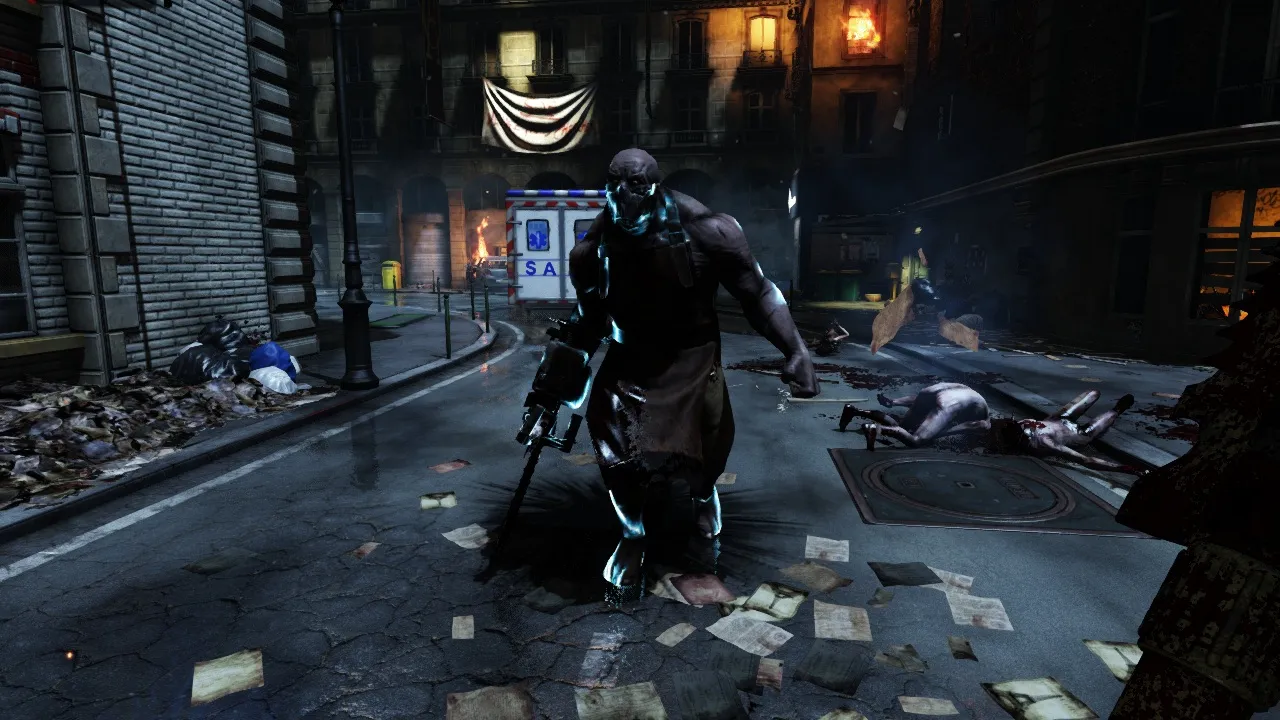 Example of the minimum distance from the Scrake.
Keep a minimum distance of roughly 3.5 metres between the team and the Scrake. If someone is too close, the shocked Scrake still attacks. Its melee swings are violent and make aiming at the head nearly impossible, it also lunges across several metres in an instant, and when the grenade wears off you have an angry Scrake in the middle of your group.
Spread out so everyone stays beyond its reach, deal as much damage per second as you can, and remember that if someone wanders too close during the combo, the Scrake will lunge and the time bought by the grenade is lost.
See also the Scrake team plan for a Pulverizer-based approach.
FAQ
- What distance does the guide recommend from the Scrake?
- Keep the team at least about 3.5 metres from it. Closer than that and the Scrake will attack even while shocked, which makes head shots almost impossible.
- Who throws the EMP grenade?
- The Berserker throws it at the Scrake's feet. The electricity stops it from running and makes the head an easy target.
