
KF2 Solo Demolitionist on Hell on Earth: Farmhouse Off-Perk
This is a long, informal walkthrough for soloing Hell on Earth on Farmhouse as Demolitionist, written for patch v1022 and marked by the author as outdated. The twist is that the author mostly plays off-perk: Katana for trash, Desert Eagle and AA-12 for big ZEDs, and grenades saved for Fleshpounds. It is a good example of a "hold a tunnel, kite when needed" solo plan.
Preparation
- Stay in a good mood, play music you like, close programs that eat CPU and RAM, and raise the display brightness or alpha if it helps you spot invisible ZEDs.
- Be patient. The author says it can take months.
- Recommended perk level 25, suggested minimum 20, and level 5 as the "totally insane" minimum.
Skills: level 5 On Contact, level 10 Reactive Armor (do not rely on the second wind), level 15 Siren Resistance (you can swap to a door-trap skill for wave 1 and switch back), level 25 Nuke. Waves 1-4 and the boss use off-perk damage; waves 5-7 use on-perk grenades to stun Fleshpounds.
Priority and ZED notes
In the holding tunnel, anything face to face is the priority: raging Fleshpound or Scrake first, then close Fleshpounds, Scrakes, Husks/Sirens/Bloats, Gorefasts and small ZEDs. Medium-distance grenades will hurt you, so keep them for targets that are far enough away. While kiting, the first priority is whatever blocks your route.
- Tier 1 (Clot, Slasher): usually will not hit you if you keep moving. Stab in the head, or melee bash as you pass.
- Tier 2 (Stalker, Crawler, Gorefast): keep backing away while stabbing at head height with the Katana. Stalkers take 2 body shots or 1 headshot, Crawlers about one body shot (stab twice to be safe, plus a pistol bash), Gorefasts at most 4 body shots. Always assume a Crawler is behind anything.
- Tier 3 (Bloat, Siren, Husk): deal with them only after tiers 1 and 2 are clear. Grenade launcher: one shot for a Siren if all pellets hit. Husk: do not let him suicide and steal your dosh; when he charges his fireball move to one side of the tunnel and jump to the other as he fires. Do not use the Katana on Husks.
- Scrake: leave him for last. Holding the tunnel needs about 18 AA-12 shots and a clear area; otherwise drop down and kite. With AA-12 or Desert Eagle, clear everything else, rage the Scrake, then shoot, reload or heal while he is swinging at the air. Beware weapon penetration hitting a raging Scrake.
- Fleshpound: a non-melee bash knocks him back with a cooldown. Never leave Fleshpounds alone with 7 ZEDs or fewer, as the rage never ends. Clear what is in front of them first.
- One Fleshpound in the tunnel: clear trash with the AA-12, throw 4 grenades, finish with AA-12 to the chest. If he auto-rages, wipe the front, step back, stun him with a grenade, then throw 3 more.
- Kiting: if he auto-rages, take out the Katana and parry while timing a jump so his hit sends you away, then throw 4 grenades.
- Two Fleshpounds sticking together: reload the AA-12, throw 5 grenades, finish the survivor. If they are close but not together, bash or door-block the closest to bunch them up. If they are far apart, use 3 grenades and the AA-12 on the first, then 2 grenades and the AA-12 on the second.
Weapons
- Knife: left/right slash; forward slash for single targets.
- 9mm: wave 1 Bloats, and Husks near the end.
- Grenades: save all of them for Fleshpounds. Emergency use only when you are at the tunnel end with a Siren or Husk below and a Gorefast crowd, or when you are at low HP with a horde behind you.
- Katana: use melee bash on nearly everything (accurate, fast, piercing). Can stun-lock Sirens and kill them with 3 headshots. Also used to parry Fleshpounds.
- Desert Eagle: start every wave with it. 2 headshots kill a Husk. Crouch to reduce recoil.
- Magnum: boss waves only, aim at the boss's center and snipe Husks.
- AA-12: take it out for Scrakes, Fleshpounds, Husks and Sirens, when forced back to the welded door, or when you hear Fleshpounds while kiting. Stay within about 4 meters; damage falls off beyond that.
- Flashlight: on at first contact and whenever you hear an invisible Stalker.
Loadout by wave
- Wave 1: knife and 9mm.
- Waves 2-3: Katana.
- Wave 4: sell the grenade pistol. With $1700 or more buy Katana + AA-12, otherwise Katana + Desert Eagle.
- Wave 5: Katana, 5/5 grenades, AA-12, Desert Eagle, ammo refills, armor last.
- Waves 6-7: Katana, 5/5 grenades, AA-12 (full refill), Desert Eagle (3/4), armor.
- Boss wave: sell the Katana; buy AA-12 plus refill, Desert Eagle plus refill, Magnum, throw a spare Desert Eagle at the main house cliff, then another refill, and a few extra Katanas to drop outside if you have time.
General tips and route
- You can shoot ZEDs attacking the left door from the windows. If you cannot kill tier 3 ZEDs, just drop down; it costs some health but there will be Gorefasts below.
- Do not leave the tunnel or cross the middle door, or ZEDs will spawn behind you. At the start of a wave look only at the side of the middle door.
- Heal whenever you are not busy.
- Kiting route: tunnel, drop to the ground, behind the farmhouse, into the main house (AA-12 out), upstairs, back to the tunnel.
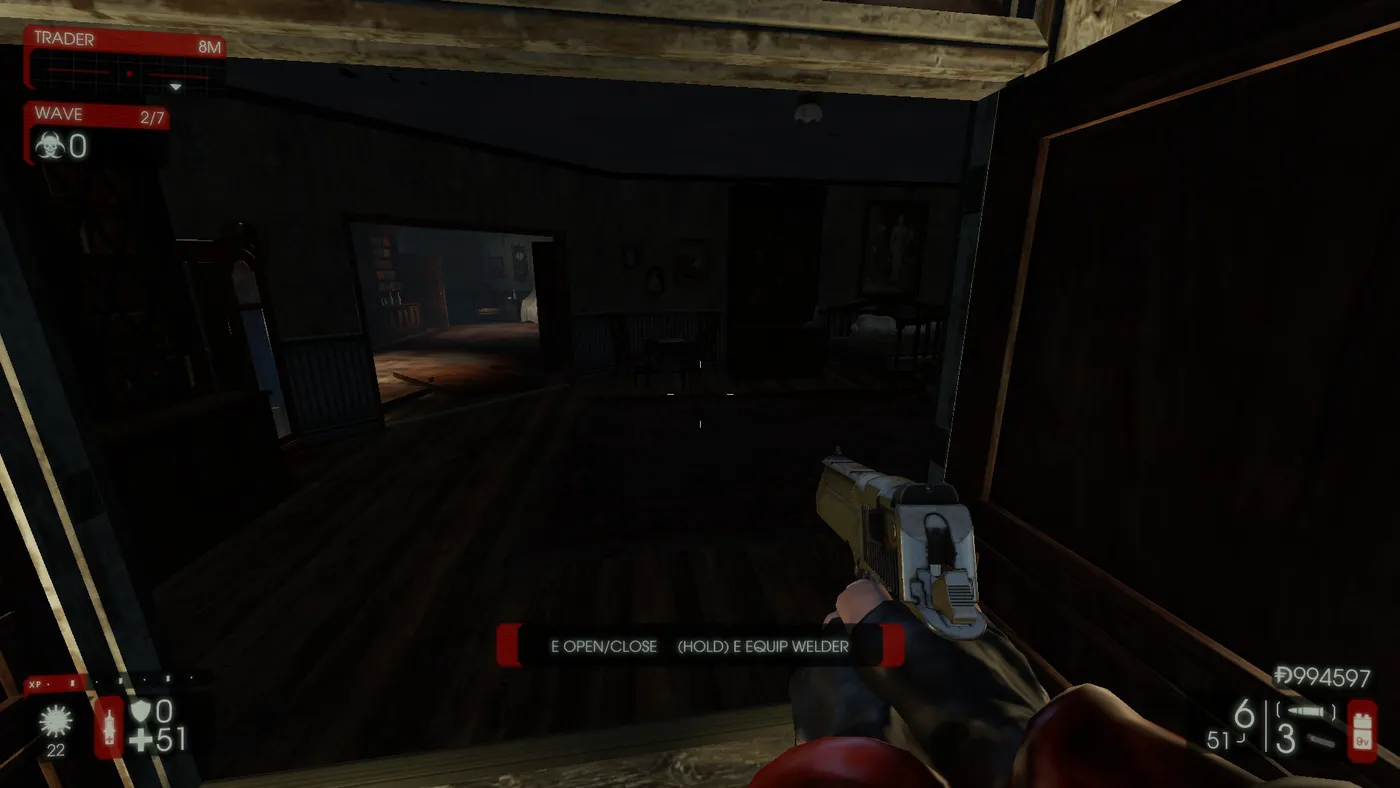 The left door and the main house cliff.
Waves in practice
- Wave 1: work in the open area near the tree swing. Slash everything, watch for Gorefasts and Bloats.
- After each wave: go to the trader and re-weld doors. Weld the key doors shown below and, if there is time, poke the windows and stand in the "holy square".
- Waves 2-3: Katana bash on everything, grenade pistol on Husks and Sirens when nothing else is in front of you, kite if needed.
- Wave 4: play with the Desert Eagle or Magnum at range. With an AA-12, use it on Sirens, Husks and Scrakes. Without one, kite when a Scrake corners you.
- Waves 5-6: AA-12 for Sirens, Husks, Scrakes and Fleshpounds, Katana for the rest.
- Wave 7 end: leave one weak ZED (Clot or Siren) alive, weld the middle door for Hans, re-weld the other doors and shop.
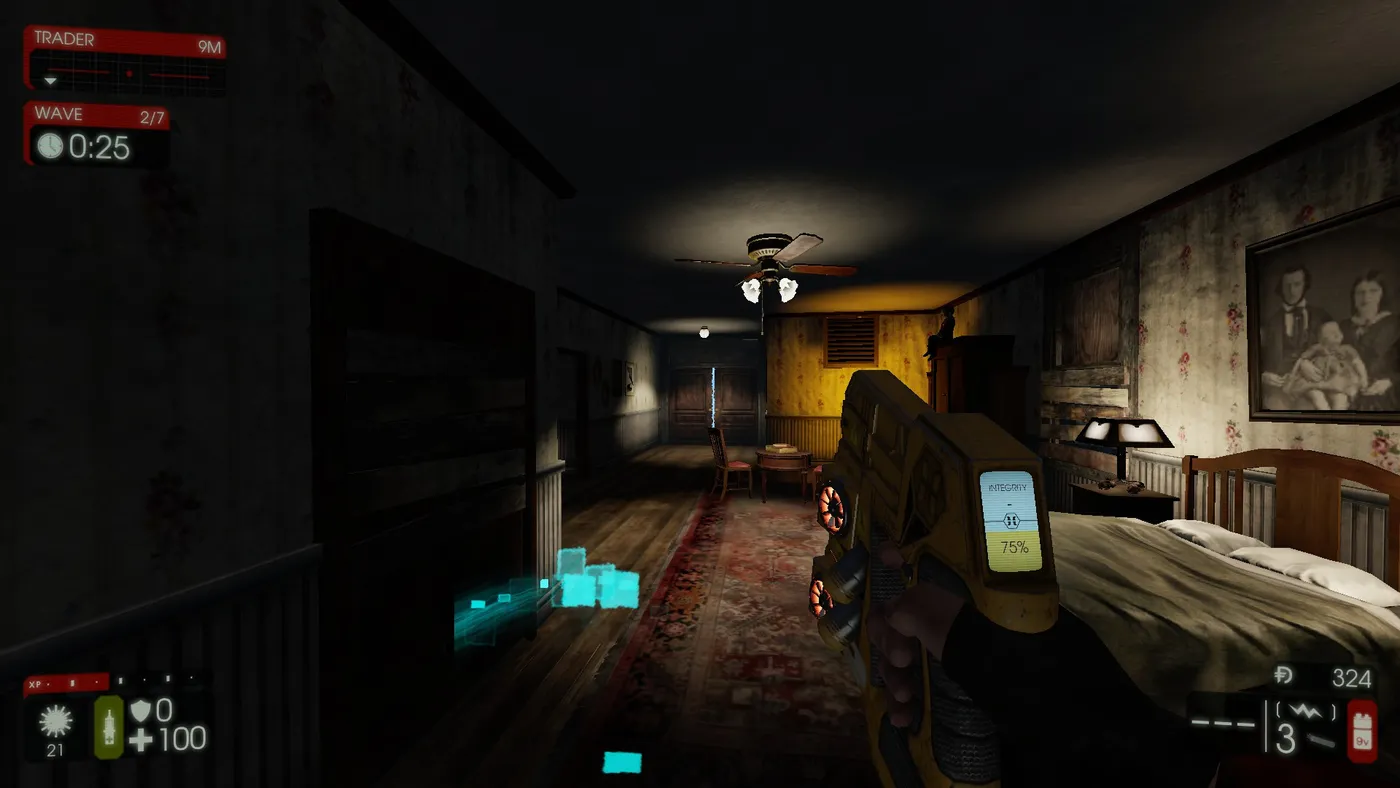 The door to weld after each wave.
 Weld this one too if you have time.
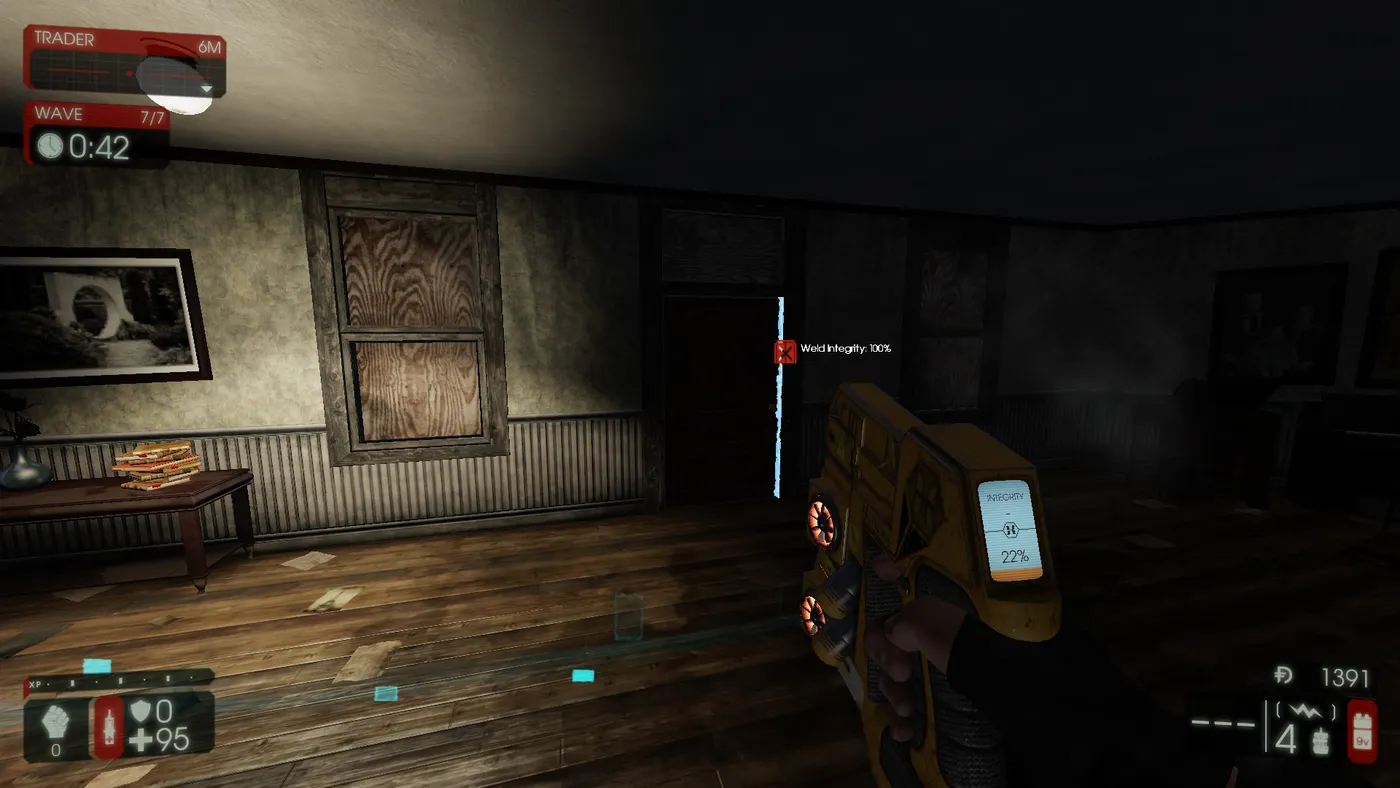 The first-floor door by the stairs, welded before wave 7.
Hans Volter
Start at the main house cliff. Hans does not grab you to heal, he can instant-kill and throws grenades while running. Shoot only at two places, the stairs and the corridor, and swap Magnum and Desert Eagle for fresh ones on the ground every few minutes.
 The corridor stop in the Hans route.
- Phase 1: from the stairs, if Hans shoots, run; if he throws grenades, empty a Magnum clip. Close doors while running to the corridor, throw 4 grenades at the closed door, repeat until he enters hunt mode, then time your heal to counter his health drain.
- Phase 2: empty an AA-12 clip from about 4 meters; throw a grenade if ZEDs are behind him. Repeat until he enters hunt mode again.
- Phases 3 and 4: do not aim down sights or crouch (he can run and throw at once). Turn on the flashlight, keep kiting, ignore Hans while clearing ZEDs in front of you, and use the stairs and corridor stops. If he is running, keep running and close doors. If he throws grenades, shoot him hip-fire and leave immediately if he moves. If he shoots and your health is above 75, trade a clip and heal or reload. Repeat until your character says to finish him.
Patriarch
His melee rarely lands unless you stop, the minigun does little unless you stand still, and rockets are harmless. The real dangers are double Husks, Sirens and Gorefasts.
- Kite with the Desert Eagle.
- When he summons, hit him with the AA-12 until he stops.
- Run to the main house cliff killing Gorefasts behind you and ZEDs ahead, drop down and continue the loop.
- Spend all 5 grenades and the Desert Eagle ammo, then the AA-12. Make sure you are by the tree swing before he heals.
- Clear Husks and Sirens first (Magnum if they are far), watch for late spawns and empty everything into him.
FAQ from the author
The author skips the M79 and RPG on purpose: tier 3 weapons waste money, have slow reloads and small blast radius, one skill pushes them toward off-perk weapons, and trash is easy to stab with the Katana. See also KF2 large ZED takedown practice and force Hans to spawn.
FAQ
- Does this guide use Demolitionist weapons?
- Mostly not. The author deliberately uses off-perk weapons (Katana, Desert Eagle, AA-12, Magnum) and keeps grenades for Fleshpounds, because the Demolitionist weapons of that era felt weak.
- Which perk level does it recommend?
- Level 25 is highly recommended, level 20 the suggested minimum, and level 5 is described as the 'totally insane' minimum.
- How many grenades does a Fleshpound take?
- Roughly 4 grenades for a single Fleshpound once the area around it is cleared, 5 for two that stay together, with an AA-12 to finish the survivor.
