
KF2 Custom Perk Icon Tutorial - SDK Texture Reimport
This tutorial shows how to replace a vanilla perk icon in Killing Floor 2 with a custom one using the free KF2 SDK and an image editor. It covers the image preparation rules (the part most people get wrong), the texture reimport, and how to test the result in game. For the older Killing Floor 1 workflow see ServerPerksV7 perk icons.
Tools
- Killing Floor 2 - SDK (Steam, Library, Tools). Download and run it; the first start takes a long time.
- Photoshop or GIMP.
 Find "Killing Floor 2 - SDK" under Tools in Steam.
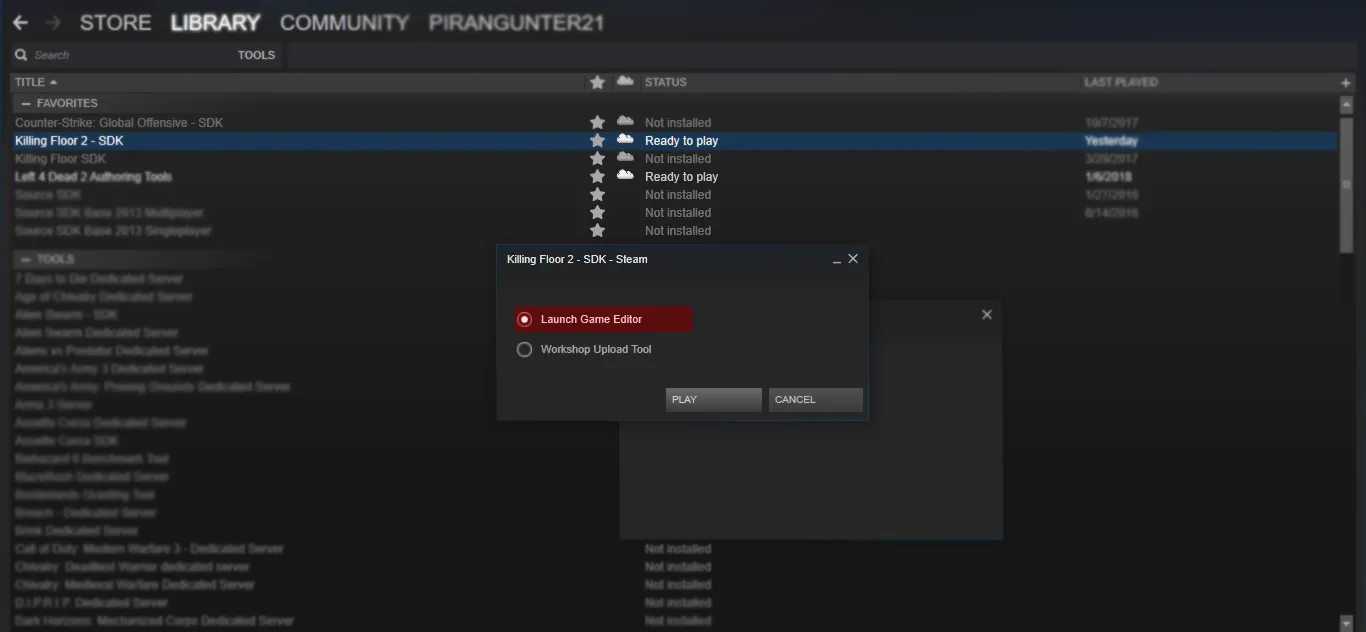 The SDK loads slowly on first launch.
Prepare the icon
Find a reference icon or draw your own. Three rules from the author:
- resolution of at least 256 x 256 pixels, smaller looks poor;
- save as PNG, otherwise you get a nasty white background;
- set the color mode to RGB.
Remove the white or black background of the image. The reason: in the menu the icon is shown with a color overlay, but in game, next to a player's health and armor bars, the icon appears in its original colors. If the background is not transparent, you get a flat colored square instead of a detailed icon.
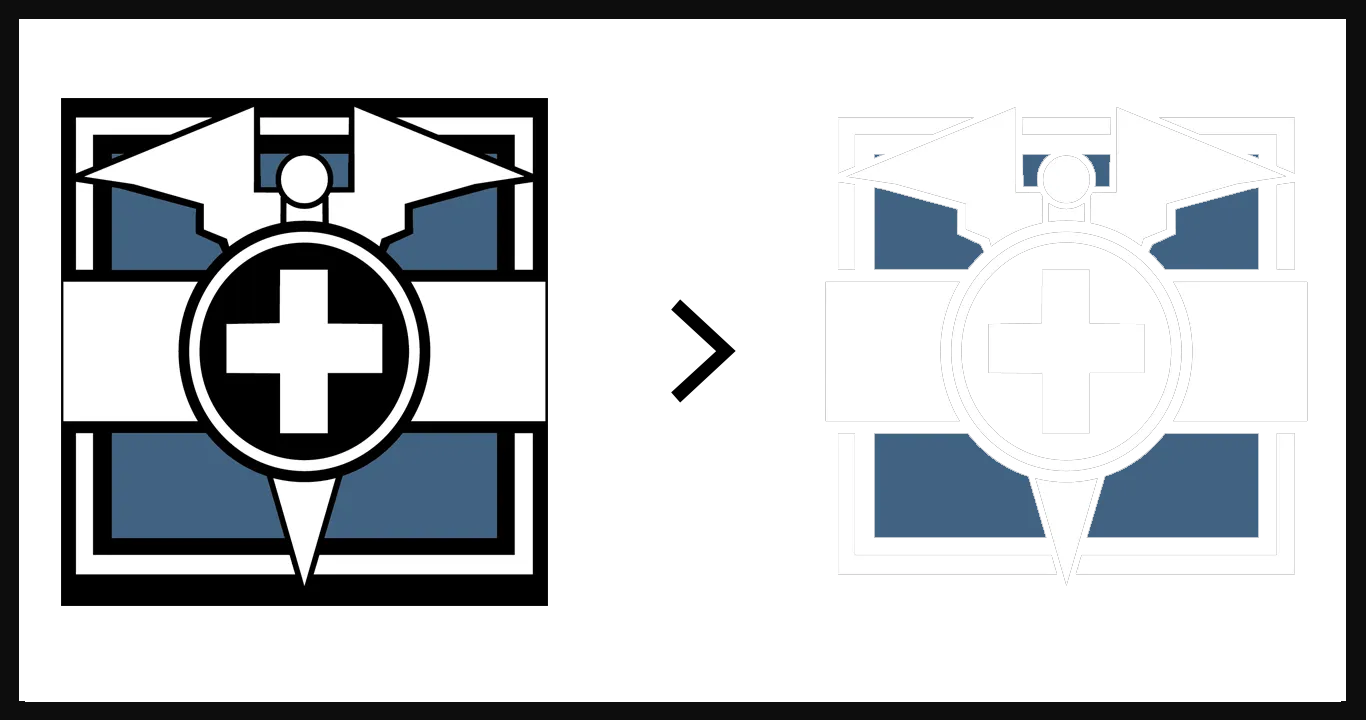 Delete the background around the artwork.
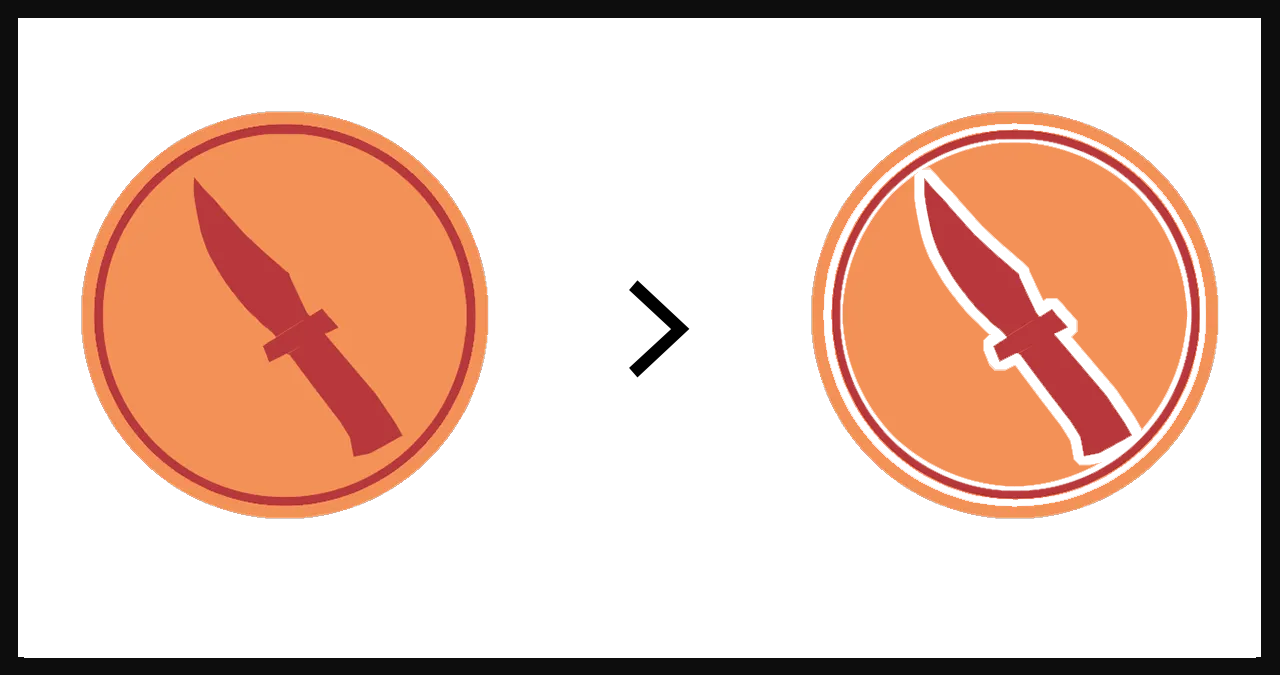 A second example of a cleaned icon.
In Photoshop the author uses the Contract selection command to shrink the selected area slightly, so colored edges do not collide and get overlaid. Anything that is not white is lost in the menu overlay, so only keep the shapes you want to show.
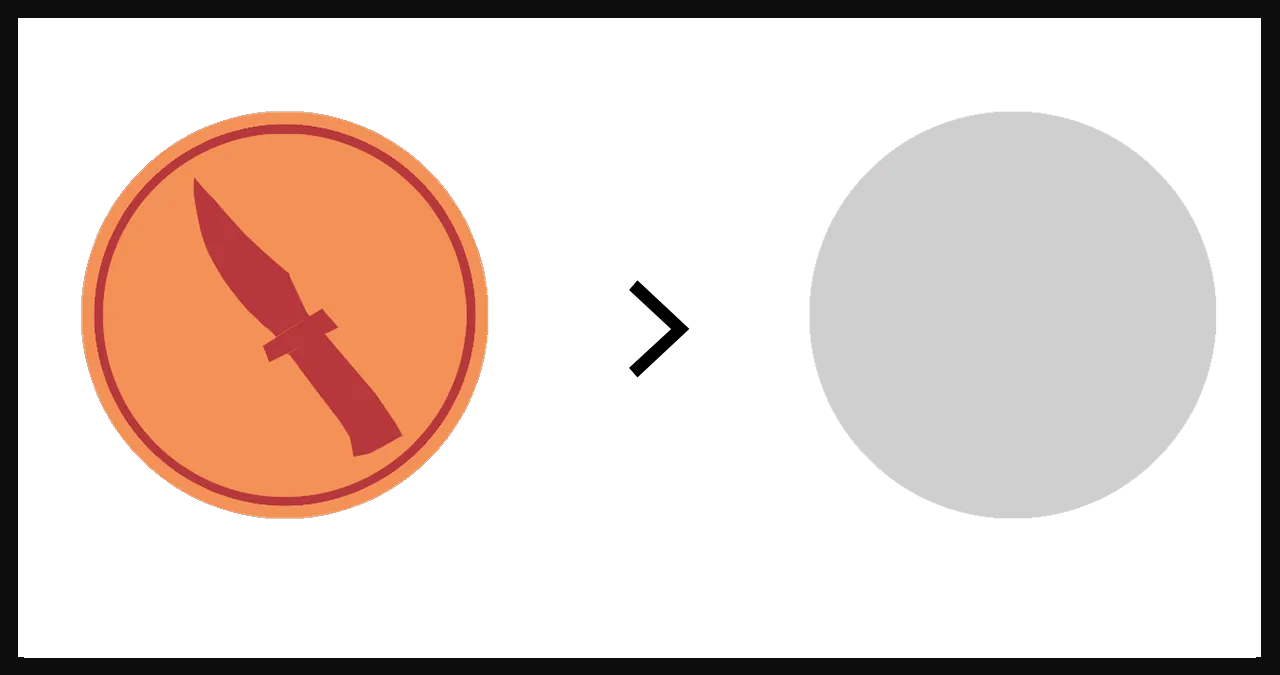 What the overlay does when areas touch.
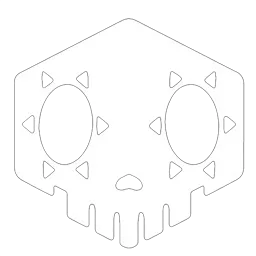 The finished custom icon.
Replace the vanilla icon in the SDK
- Open the SDK; if a popup appears click "Check now".
- In the content browser go to the UserInterface directory and open the Shared folder. It holds all perk icons, the Martial Artist and Horzine icons and the Zed icons.
- Right-click the Shared folder and choose Save; if it is empty choose Fully Load first, then Save.
- Right-click the icon you want to replace and choose Reimport Texture, then select your file.
- Save the modified icon (or the whole folder) again.
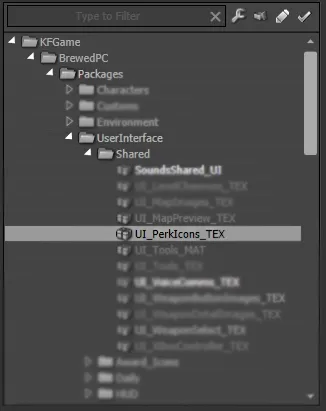 The UserInterface Shared folder in the SDK.
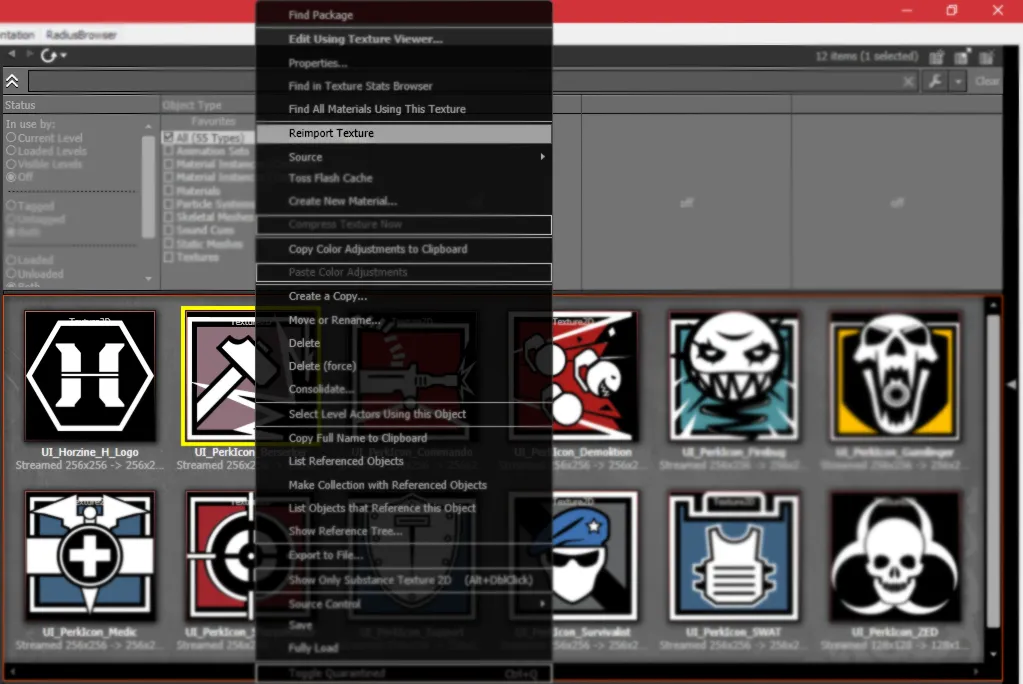 The Reimport Texture command.
If the icon becomes the Horzine logo, you forgot the RGB mode or saved as TGA. If you cannot see the icon in SDK playtest, check in the real game.
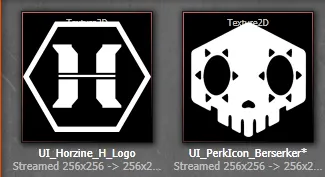 The Horzine logo appears when the color mode is wrong.
Use it in game
Copy the UserInterface package from the SDK's unpublished folder to the published folder at C:\Users\<you>\Documents\My Games\KillingFloor2\KFGame\ (create the published folder if it does not exist).
 A custom perk icon shown in game.
FAQ
- What resolution should a custom KF2 perk icon have?
- 256 x 256 pixels or larger; smaller images look poor. Save as PNG in RGB color mode.
- Why did my icon turn into the Horzine logo?
- The image was not in RGB color mode, or it was saved as TGA. Switch to RGB and save as PNG.
