
KF2 SDK: How to Create a Custom Weapon Paint Job
This tutorial walks through making a custom paint job (weapon skin) for Killing Floor 2 with the official SDK. The example is a rusted skin for the SG 500. It is a first-guide effort by the author and some steps are terse, so read the troubleshooting notes at the end. If the SDK will not start, see KF2 SDK crash on startup, and for the editor in general see the SDK mapping guide.
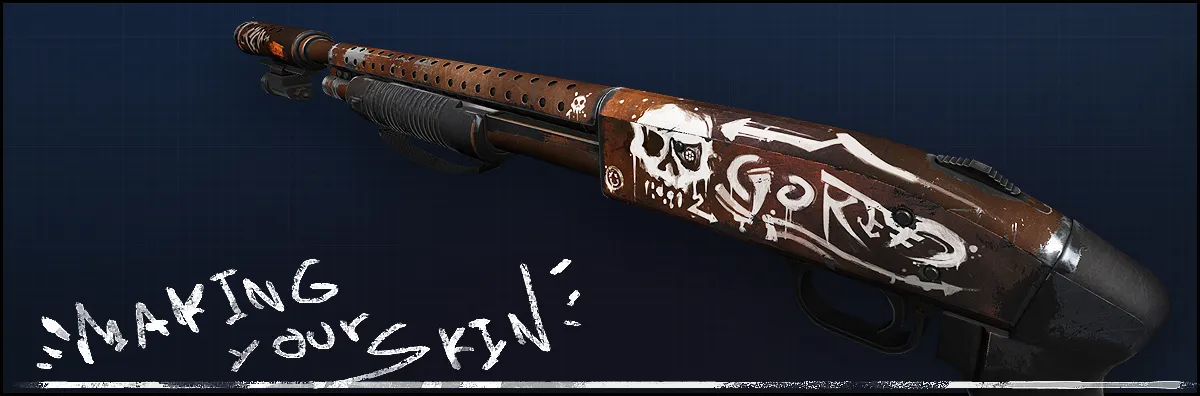
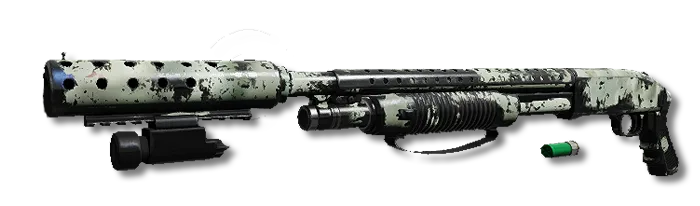
The finished rust skin used as the reference for this tutorial.
What you need
- Killing Floor 2 SDK. You must own KF2 to install it.
- Painting software, such as Photoshop.
- UV templates, models and textures, downloadable from the Tripwire Interactive documentation site.
Setting up the package
Run the SDK from the Tools tab in Steam and pick Killing Floor 2 - SDK.

Choose Killing Floor 2 - SDK in Steam.
- When loading finishes you see the Content Browser. Click NEW in the bottom left corner.
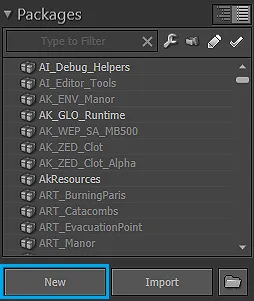
The NEW button in the Content Browser.
- In the new window fill in "Package" and "Name" and set the "Factory" dropdown to MaterialInstanceConstant.
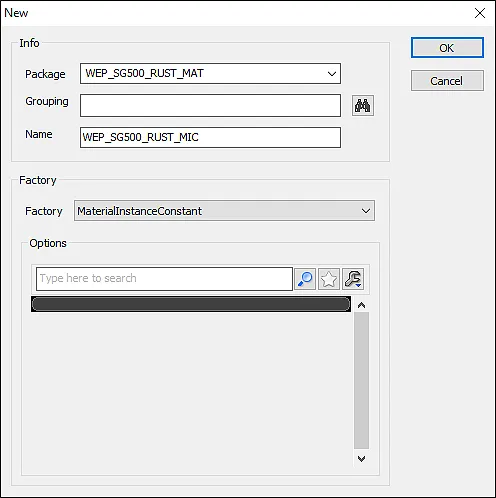
Package, name and factory settings.
Name the assets WEP_<wepname>_<skinname>_MAT and WEP_<wepname>_<skinname>_MIC. Another window opens; ignore it for now, find your package in the Content Browser, right-click it and choose SAVE. Save to Steam\SteamApps\common\killingfloor2\KFGame\BrewedPC\Packages (you may create a subfolder).
Important: the package will be moved automatically to Documents\My Games\KillingFloor2\KFGame\Unpublished\BrewedPC\Packages.
- With the package saved, look at the window that just opened: this is where the skin parameters live.
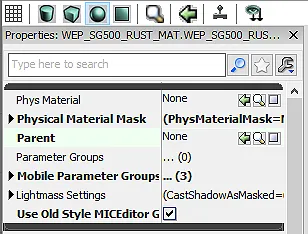
The parameter window of the new material instance.
Next find the weapon in the Content Browser, select its WEP_1P_<NAME>_SKIN_MAT package, right-click and choose FULLY LOAD.
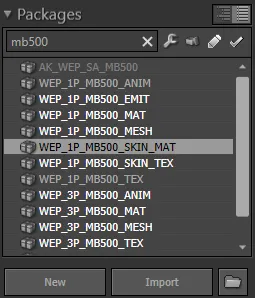
Right-click the weapon's skin material package and FULLY LOAD it.
Click once on the texture that opens to select it, then click the green arrow on the "PARENT" parameter.
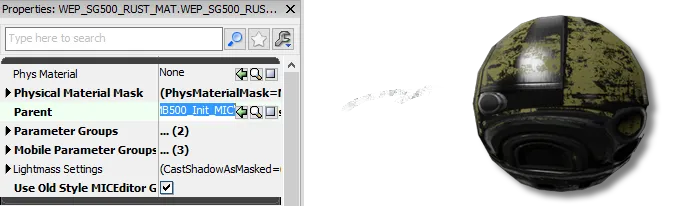
The green arrow on the PARENT parameter assigns the selected material.
Do the same with the WEP_1P_<NAME>_MESH package, but use the big green arrow at the top of the parameters.
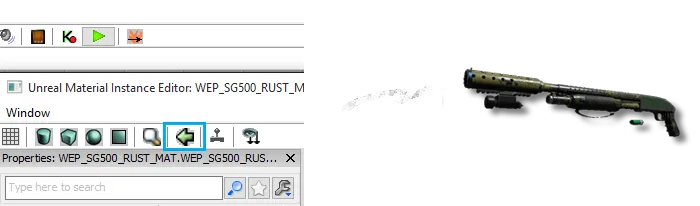
The large green arrow at the top assigns the mesh.
Save the package again. It is now ready to be edited.
Editing the skin
- A new "Parameter Groups" tab appears in the Instance Editor. Open it and click "Skin Layer".
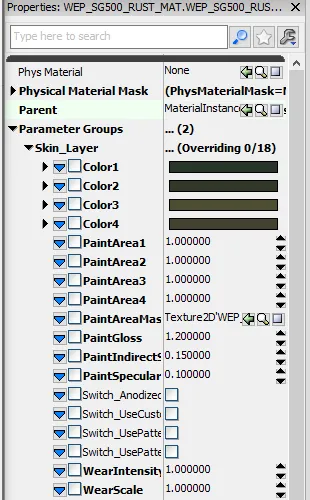
Skin Layer parameters.
| Parameter | Effect |
|---|---|
| PaintGloss | How glossy the paint is. |
| PaintIndirectSpecularBoost | Specular when shadowed; do not push it too far. |
| PaintSpecular | Shininess of the paint; higher values pair well with Anodized. |
| Switch_AnodizedEffect | Anodized metal effect, usable for looks such as gold. |
| UseCustomPaintMap | Tick this to use your own texture for the skin. |
| UseCustomPaintMapDurabilityAlpha | How protected parts of the skin are from wear. Optional. |
| WearIntensity | How worn the skin is. Do not leave it at 0. |
| WearScale | How much the wear pattern tiles. |
- Tick UseCustomPaintMap. A new option, CustomPaintMap, appears at the top.
After enabling UseCustomPaintMap the CustomPaintMap slot appears.
Make sure you are on your own skin package, not the parent. Click Import in the bottom left corner and choose the file for your skin. You can import the downloaded UV template just to set things up and edit the real texture later. The author usually works in .TGA, but .PSD should work too.
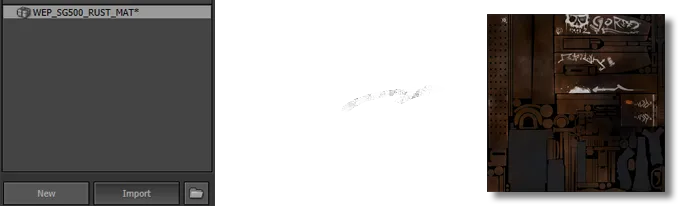
The Import button.
- Select the imported texture, go to CustomPaintMap and click the green arrow.
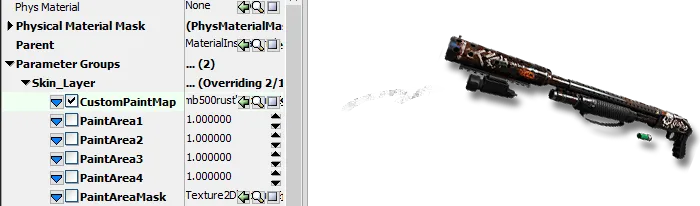
Assign the imported texture to CustomPaintMap.
Save the package again, always to the same folder, even if it gets moved automatically.
Final touch-up with parameters
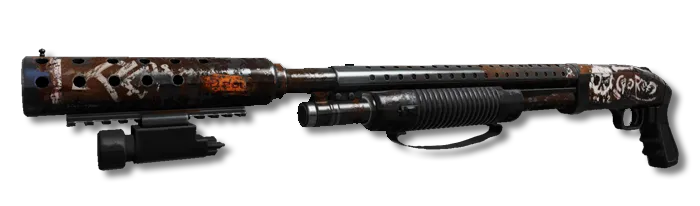
Once the custom map is done, tune the parameters for the best effect.
For a rusty look the author lowered gloss and wear, since heavy wear eats too much of the skin.
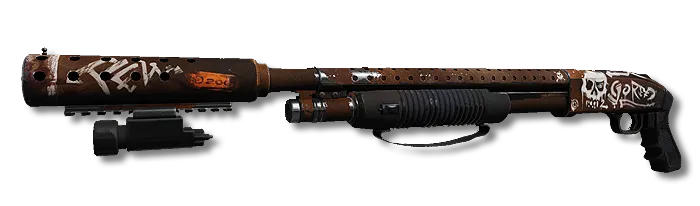
Wear lowered to 0.44 and Gloss lowered to 0.10.
Testing the skin in game
- Choose File > Open and load a map from
killingfloor2\KFGame\BrewedPC\Maps. Use the file namedKF-MAPNAMEand none of the others. - Click the blue (or green) arrow in the top bar. This launches the game with your selected character and perk (level 0, no DLC characters).
- Open the console with F3 or ~ and type
enablecheats. - Equip the weapon to preview by typing one of: Assault, Shotty, Berserk, Medic, Firebug, Demo, Allweapons, Dualies.
- Switch to the weapon and run
SETWEAPONSKIN 0 WEP_<NAME>_MAT.WEP_<NAME>_MIC. In the example:SETWEAPONSKIN 0 WEP_SG500_RUST_MAT.WEP_SG500_RUST_MIC.
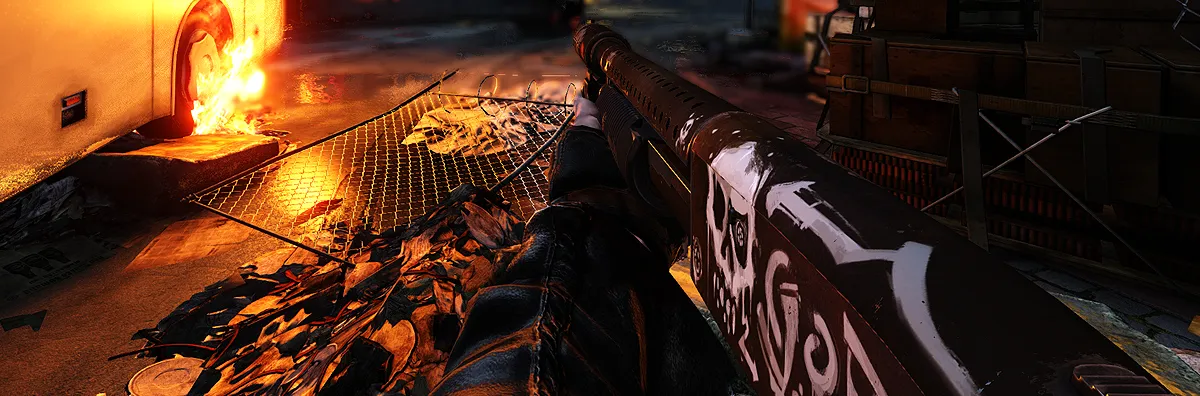
The skin applied to the equipped weapon.
Notes from the comments
Readers found some steps confusing, said the "Editing the Skin" tab did not appear for them, and asked for UV maps for all weapons (only some are published) and for a video demonstration. Another asked how to change separate parts such as the MP7 scope, which is its own material. The guide does not cover this.
FAQ
- What do I need to make a KF2 weapon skin?
- The Killing Floor 2 SDK (you must own KF2), painting software such as Photoshop, and UV templates or models and textures from the Tripwire documentation.
- How do I preview a skin in the SDK?
- Open a KF- map, launch it in game with the toolbar arrow, enable cheats in the console, equip the weapon and run SETWEAPONSKIN 0 with your MAT and MIC names.
- Which file formats can I import?
- The author works with .TGA, but .PSD files should also be accepted.
