
KF2 Demolitions 101 (v1109): Weapons, Skills, Solo Tips
This long guide, written around version v1109, covers everything about the Demolitionist: passives, every explosive weapon, skill choices for both co-op and solo, and a short list of dos and don'ts. It complements the earlier early-access tips and the Priceless Demolitionist guide.
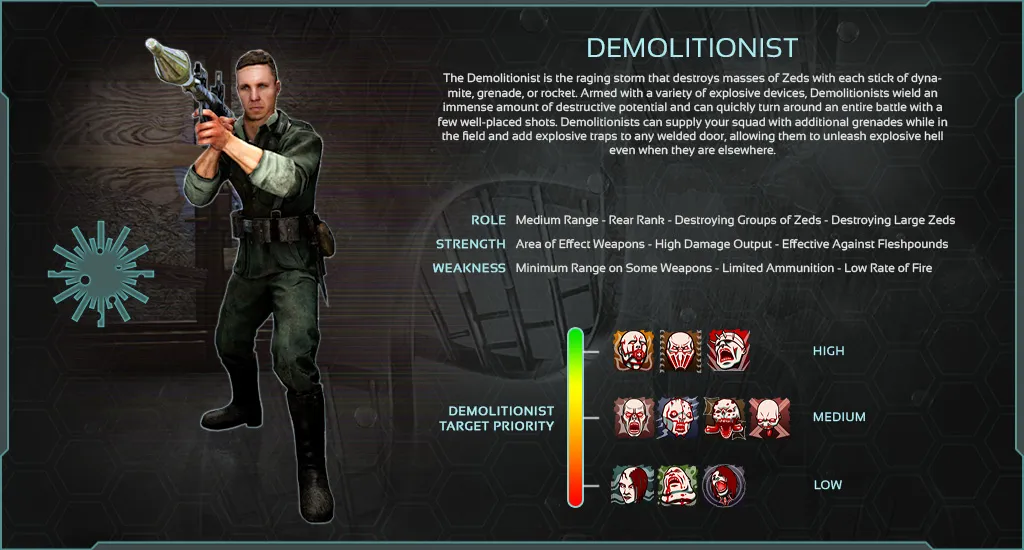 Quick summary of the Demolitionist role from Tripwire's site.
Perk passives
- XP objectives: deal damage with Demolitionist weapons; kill Fleshpounds with Demolitionist weapons.
- Perk weapon damage: 1% per level.
- Explosive resistance: 10% plus 2% per level.
- Extra explosive ammo: 1 per 5 levels.
- Grenade Supplier: teammates can grab a free grenade from your back. You do not benefit unless another Demolitionist is present.
- Door Traps: the welder can attach explosives to a door that shows an orange health bar, giving ZEDs a surprise when they break in.
- Reactive Armor: once per wave, a hit that would kill you triggers an explosion that clears nearby trash and leaves you with 5 health. The second lethal hit in the same wave kills you.
The arsenal
Unlike perks where each weapon is just an upgrade of the last, every Demolitionist weapon fills a different role, even though the RPG is objectively the strongest.
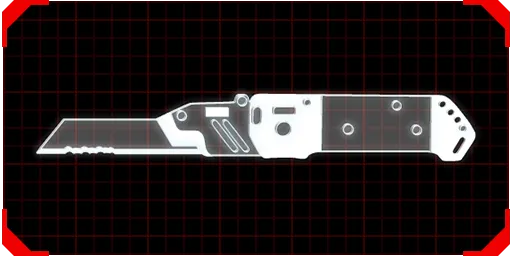 Utility Knife: an oversized box cutter. All perk knives perform the same.
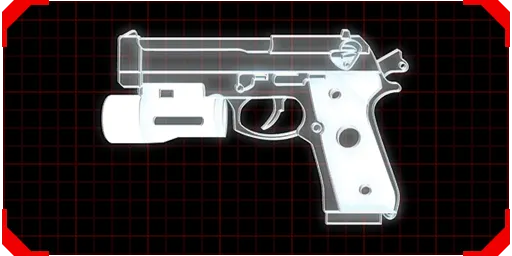 9mm Pistol: free, weightless (150 dosh and 2 weight to dual wield), a last resort.
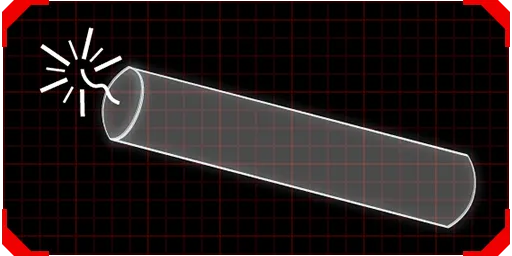 Dynamite: the perk grenade with the longest fuse of all perk grenades, but it can detonate on impact and stuns.
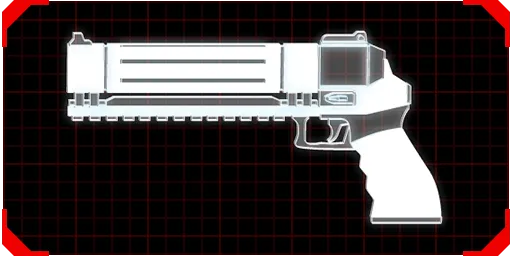 HX25 grenade pistol.
HX25. The starting weapon when you pick Demolitionist or respawn. Many drop it as soon as they afford an M79, but the author keeps it all the way to the boss: it is cheap, effective on trash at close range and fun. It costs 300. Alternatively swap it for the Double-barreled Boomstick (650), whose alt fire launches you backward, good for keep-away from a Fleshpound. Firing the HX25 at your feet when swarmed clears trash in a small radius. Gorefiends need two shots, or one with Bombardier if you hit the spot between the floor and their feet and they are not blocking.
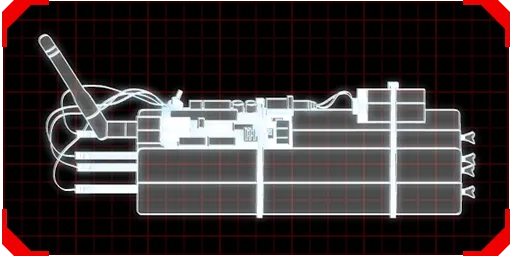 C4 explosives.
C4. Think of it as a grenade on steroids: two or three charges can kill a Fleshpound, and you can lay a line at choke points (not advisable without siren resistance). A hidden mechanic prevents cheesing the boss or instantly deleting Fleshpounds the way pipe bombs did in KF1: each consecutive blast deals about 50% less damage. If the first deals 820, the next deals 410, then 205; waiting 3 seconds resets it. With the Summer Sideshow update, Mad Bomber lets you throw charges in near real time during Zed Time. Since Halloween's Quarterpound joined regular survival, C4 is also an economical answer when dosh is short.
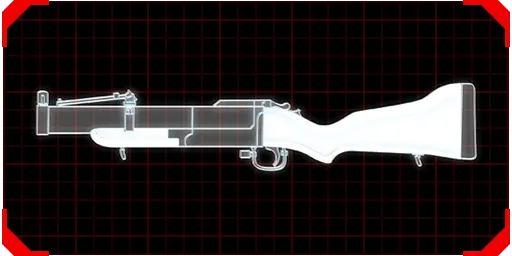 M79 grenade launcher.
M79. The choice if you want to hit big groups of trash rather than spike damage. Early on the HX25 is enough and C4 is better for Husks, Bloats and the occasional Siren. It is dearer because ammo costs money, but mid to late game it shows its strength. Almost useless against Scrakes and Fleshpounds alone.
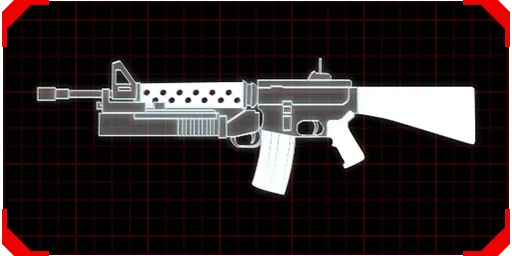 M16 M203 assault rifle.
M16 M203. Roughly an SA80 stuck in full auto with an M79-damage underbarrel launcher (12 grenades carried, smaller splash). Individually inferior to the SA80 and M79, but both together cost 1200 and take 6 blocks, versus 1300 and 12 blocks for the separate pair. The game auto-reloads the M203 first, which can leave you exposed. Good against medium ZEDs. The Twisted Christmas update gave it the same ammo as the SA80, 2 more grenades, a 50% damage buff and a small reload boost.
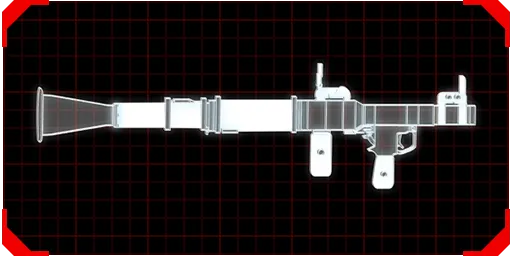 RPG-7.
 The most destructive tier 4 weapon in raw damage, dangerous even off perk. Scrakes have a hidden weakness to direct rocket hits, so aim for the forehead. The back blast can hurt ZEDs, but few ever use it.
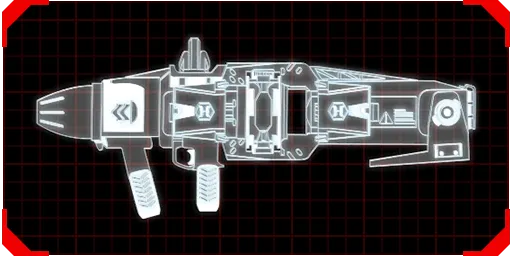 Seeker Six.
 Returns from KF1: switch to heat-seeking, sweep your aim over targets (about half a second to lock each) and fire while still aiming down sights; dropping ADS cancels it. It trades burst damage for very high explosive DPS, beats the RPG before a reload (even off perk), has 12 rockets per ammo crate, deals no self damage and does not lose damage in seeker mode. It suffers against Scrakes but punishes Fleshpounds, and it is not useless against bosses: Hans cannot dodge it, Patriarch cannot cloak from it, and the King Fleshpound is still a Fleshpound. Best partner: the M16 M203 (spike damage from the M203, then switch to the Seeker). Without the dosh, use the HX25; a C4 is a good off-perk sidearm.
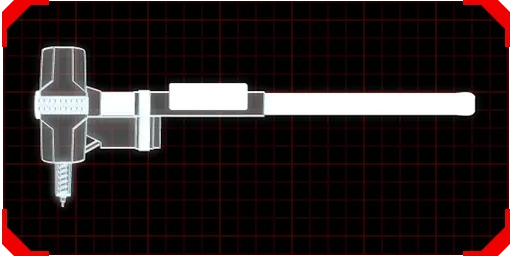 Pulverizer.
 Became a cross-perk weapon in Twisted Christmas. Demolitionists carry more ammo for it (25 shells, 30 with Extra Rounds), can reload faster with Shock Trooper and can make toxic clouds with Destroyer of Worlds. Mad Bomber does not speed the swing but lets you cycle rounds and reload in near real time. Good for contingencies: raging big ZEDs, mobs, and boss fights (except the Abomination). Pair it with mob-control weapons or the RPG.
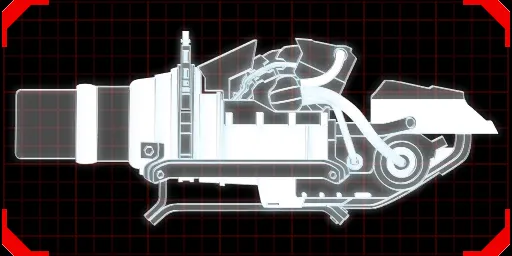 Husk Cannon.
 Reworked statistically to be viable for Firebug and Demolitionist, though overshadowed by the Helios Rifle and RPG. It now one-shots most trash with tap shots and no longer applies afterburn at point blank.
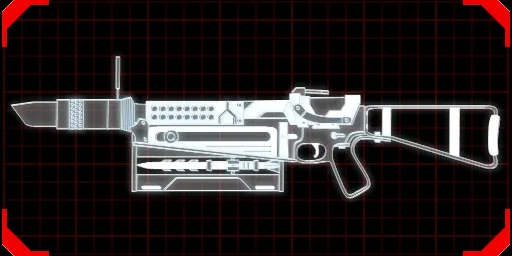 Seal Squeal.
 KF1 classic as a tier 3 weapon: magazine increased from 3 to 5, and you can detonate harpoons manually. ZEDs killed by the harpoon fly back and may stick to walls or hit another ZED. Harpoons arc more than other launchers, so compensate at range. Watch where you shoot when big ZEDs are present.
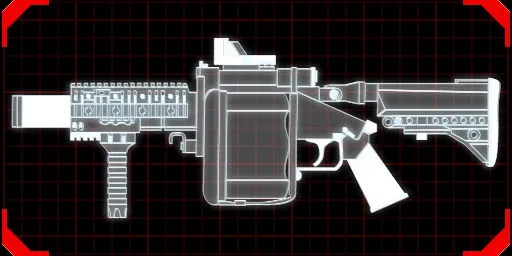 M32 grenade launcher.
M32. Tier 5 revolver launcher: an M79 on steroids with 6 rounds and a bigger reserve. Unloading all six makes recoil throw grenades off course, and reloading from empty is slow without Shock Trooper.
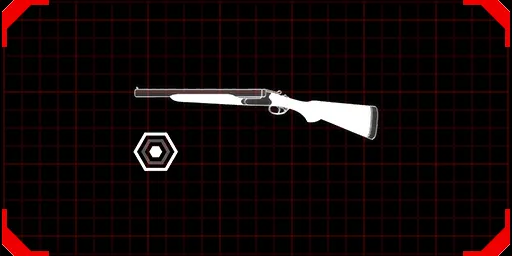 HRG Kaboomstick.
 A Support-style double barrel loaded with explosive rounds, no self damage, with the boomstick's alt-fire jump. A direct upgrade for HX25 fans, only 6 kg, so you can carry a heavy primary such as the RPG or M32.
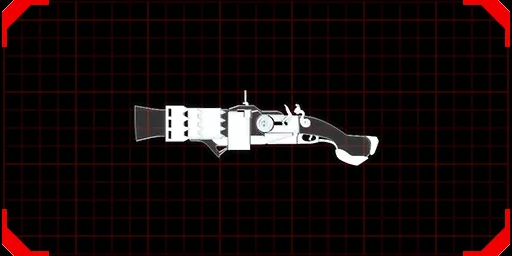 Blunderbuss (DLC).
 Tier 4, spiritual successor to the KF1 Orca bomb propeller: bouncing cannonballs, 3 per magazine, delayed detonation by holding and releasing fire, a shotgun-like alt-fire that also bounces, and it cross-perks with Support. It is paid DLC for multiplayer, but can be tested solo with cheats (EnableCheats, then GiveWeapon KFGameContent.KFWeap_Pistol_Blunderbuss).
Skills (co-op)
| Level | Choice | Notes |
|---|---|---|
| 5 | Bombardier (+25% explosive damage) | Handy for Gorefiends and clumps with the HX25. |
| 5 | Shock Trooper (+20% reload speed, +25% stumble) | For tolerating long reloads and keeping big ZEDs off you. |
| 10 | High Impact Rounds (+20% direct hit damage) | Pick it for the boss wave rather than the whole match. |
| 10 | Extra Rounds (+5 ammo) | Roughly 10 extra rounds at level 25; C4 does not benefit, only the underbarrel launcher. |
| 15 | Sonic Resistant Rounds | Practically removes the Siren counter. Preferred. |
| 15 | Fragmentation Rounds (+50% area) | No damage penalty now, but self damage adds up; pair only with HX25, Kaboomstick or Pulverizer. |
| 20 | Armor Piercing Rounds (+50% direct critical damage) | Great for Fleshpounds and boss chunks if your aim is good. |
| 20 | Concussive Rounds (+50% stun, stumble, knockdown) | Keeps big ZEDs off you; can launch a Scrake with an RPG. |
| 25 | Zed Time: Destroyer of Worlds | Radiation poisons ZEDs; you cannot control who walks in, so watch out for raging several large ZEDs. |
| 25 | Zed Time: Mad Bomber | +25% blast radius, near real-time shooting and reloading, no self damage. |
Skills (solo)
Solo ZEDs have reduced health, so opinions shift. Bombardier feels like overkill; Shock Trooper helps keep ZEDs off your back. High Impact is only worth it with the RPG; Extra Rounds lets you be a little reckless. Take Sonic Resistant over Fragmentation, though solo your syringe heals 50 instead of 20 so the extra splash damage is more affordable. Armor Piercing is rarely needed: the RPG already two-shots a Fleshpound and kills a Scrake's head in one. Concussive plus Shock Trooper lets you push big ZEDs around. Destroyer of Worlds is awkward (v1048 made it more consistent); Mad Bomber is the consistent solo choice.
Dos and don'ts
Do:
- Focus on big ZEDs; spike damage helps the team a lot.
- Use dynamite to stun big ZEDs, especially when your SWAT or Sharpshooter is down or out of grenades.
- Prioritize Husks, which pester you with fire damage from across the map.
- Always keep a personal defense weapon.
- Contribute damage to an early Scrake (wave 2) when everyone still has weak weapons.
- Kill EDARs on sight, especially the Trapper variant.
- Fun fact: with Mad Bomber you can punch in real time while carrying C4 in Zed Time.
Don't:
- Chip a Scrake or Fleshpound when the team is not ready, unless it is already raging or you are the last player.
- Hit Fleshpounds with weak weapons like the HX25 or M79 alone; only do it as part of a combo with the RPG, C4 or Seeker Six.
- Take over big-ZED duty if a Sharpshooter or Gunslinger is present; focus on trash control instead unless they cannot keep up.
Who needs bullets anyway when you have a ton of explosives on you?
FAQ
- Why not spam C4?
- C4 has a 3-second damage cooldown: each extra blast inside that window deals half the previous damage (50%, 25%, 12.5%). Chain at most two charges.
- Which level 15 skill should a co-op Demolitionist take?
- Sonic Resistant Rounds, so Sirens cannot destroy your explosives. Fragmentation Rounds adds self damage and is rarely worth it on Hell on Earth.
- Are Scrakes worth shooting with explosives?
- Only with a direct RPG hit to the head. They resist explosions but are weak to RPG impact damage.
