
KF2 Newbie Guide: Classes, Team Etiquette and Bestiary
This guide was written by a team of Russian-speaking players for newcomers and for players who already play but still struggle. The goal is to give the most basic information about Killing Floor 2 so that random teams see fewer clueless or harmful plays. The authors are upfront: these are recommendations, not a guarantee of victory for six random strangers, since the human factor cannot be accounted for. See also KF2 beginner basics and community etiquette.
Choosing a class
Team play rests on the class system of 10 perks, each with its own strengths and weaknesses. The guide opens with a joke alignment chart that sorts the perks by personality.
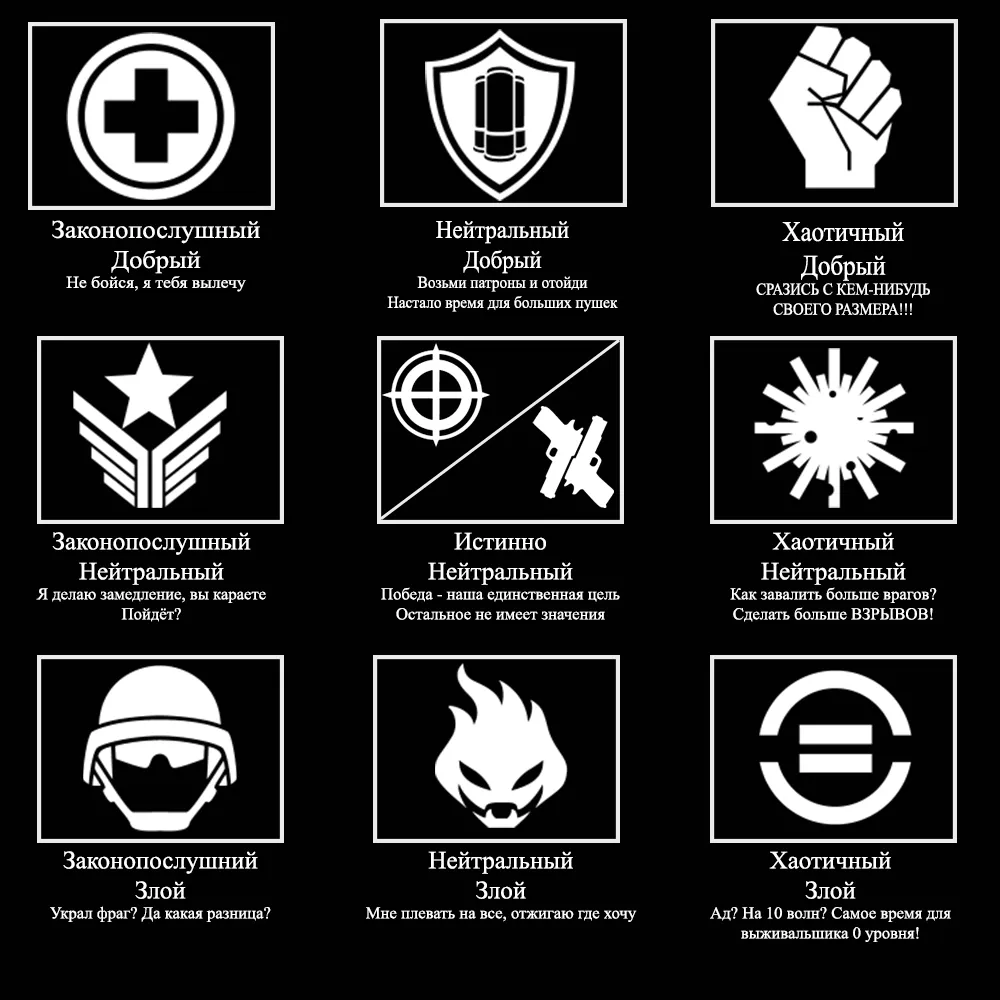 The joke chart: Medic is Lawful Good, Support Neutral Good, Berserker Chaotic Good, Commando Lawful Neutral, Sharpshooter/Gunslinger True Neutral, Demolitionist Chaotic Neutral, SWAT Lawful Evil, Firebug Neutral Evil and Survivalist Chaotic Evil.
- Berserker: a melee class, most effective holding a direction alone or in a pair. Blocking with middle mouse (the default alt-attack) absorbs a lot of damage, so teammates can shoot large enemies from a safe distance. Large enemies are hard for it, especially without a good Medic, but it clears trash excellently. Whatever your weapon, a Berserker should meet enemies first and never retreat behind teammates.
- Commando: assault rifle specialist who can extend Zed-Time by killing ZEDs during the slow motion. Ammo barely suffices for large enemies, so do not engage them or help finish them when they are low. The passive reveals invisible enemies (Stalkers and the Patriarch become visible to everyone) and shows enemy health (the health bars are visible only to you).
- Support: the most universal class, able to defend a line from small ZEDs and handle large ones. Its weakness is the cost of ammo and weapons, making it one of the most expensive classes. It gives out ammo once per wave (from level 0) and armor (level 20 skill): walk up and press E.
- Field Medic: the only class that heals properly and gives buffs. Focus on healing, because ALL Medic weapons are worse than other perks' equivalents, but they have a built-in dart launcher on middle mouse; the more expensive the weapon, the faster the dart recharge. The first right-hand skill reduces incoming damage by up to 50%, especially good with armor. In random games you will have to shout "DON'T HEAL ME" in voice chat.
- Demolitionist: deals a lot of area damage, effective against groups and large enemies (only with the RPG). Its weakness is that it cannot kill enemies near it quickly, so it needs cover (an RPG plus HX25 Grenade Pistol build kills nearby enemies safely but loses firepower without the M79). It also gives out grenades, like the Support.
- Firebug: burns crowds of small enemies. Fire is useless against Scrakes and Fleshpounds (70% fire resistance), and a burning enemy runs around, making it harder for teammates to hit. There are two main builds: Flamethrower with ground fire, and Spitfires with spreading fire. They are about equal.
- Gunslinger: a cowboy who mows down any enemies in groups with dual pistols, but must always hit the head, which recoil makes difficult. Hard to master but very useful and versatile; for those with good aim.
- Sharpshooter: can kill a Scrake in one hit, even on Hell on Earth, using the first two left skills and the M99 AMR. A "fast" build is possible, but small ZEDs are rarely a serious problem, especially with a Commando in the team, whereas large enemies cause trouble almost always.
- SWAT: hard to master, only for skilled players. It deals decent damage but burns through ammo because of its fire rate; with armor it can absorb a lot of damage. Grenades stun enemies (large ZEDs only in their calm state), giving precious seconds.
- Survivalist: no pronounced advantages. It CAN carry, but it is harder than with any other class because someone else does any given job better. You need versatility and constant awareness. Learn the other classes first; on many servers Survivalists are disliked and can be kicked without explanation.
Interaction between classes is the basis of team play, and splitting duties and goals is the key to winning.
How to behave on a team
- PING and FPS: for the best experience, ping to the server should be under 100 (ideally under 30-50) and FPS above 30-40 (ideally 60 or more if your monitor allows).
- Do not play with "it's just a game" or "nobody owes anybody anything" attitudes; you will never enjoy team victories that way.
- Stay together or die alone.
- Pick a position and hold it. Almost every map has places that are easy to defend (the authors wrote a separate guide on positions for each map).
- On Suicidal and Hell on Earth, avoid killing the last enemy until all your teammates have reached the Trader.
- If you die often on one class, switch. The authors wrote a perks guide for that.
- Know your class's job: a Berserker does not hide behind teammates from Scrakes and Fleshpounds; a Demolitionist does not fire an RPG at a lone Cyst; a Sharpshooter does not waste Railgun or M99 on small ZEDs; a Firebug does not anger large enemies with the flamethrower.
- Spend 30 minutes learning all the perks. A wrong build is the first step to defeat, ignorance of teammates' perks the second; this is especially critical for the Medic when unskilled teammates start "feeding" him at high difficulties.
- A large share of XP comes from the team killing the boss. Leaving a position to steal kills often lets ZEDs through to the rear and wipes the team. A win gives more XP than topping the kill chart in a loss.
- Boss prediction: open the console and enter
getall KFGameReplicationinfo BossIndex. 0 is Hans Volter, 1 Patriarch, 2 King Fleshpound, 3 Abomination, 4 Matriarch. More in boss prediction by console. - Play to win, not for statistics.
- Do not shoot metal-covered parts of enemies (except E.D.A.R. and the Abomination); only 10% damage lands there.
- Zone defense: on Normal there is no problem, on Hard a coordinated team can do it, and on Suicidal and Hell on Earth do not go in: a little more dosh and XP is not worth a 90% chance to lose. If you do, at least half the team must be inside the zone.
- Do not disable voice chat. There are almost no mic spammers in KF, but plenty of people sharing useful information.
- Money does not shoot: give it to those who need it, pool it for top weapons, and do not steal cash meant for another player. If someone dies, pick up their gun and put it near the shop instead of selling it.
- If everyone has shopped, skip the rest of the trader time with Esc and "Skip Trader".
- Armor is not needed on early waves, and a Berserker has no reason to buy it.
- Do not crowd teammates or close doors in their faces; this can get you kicked, and it certainly will if you block healing, the line of fire or the retreat.
- Level 25 will not win for you: aim, teamwork and understanding your role matter more.
- If you leave mid-wave, drop your money (default B) and weapons (default Backspace) where teammates will see them.
- Bunny hopping does not work, and running with a knife does not speed you up. One class's skills do not work on another's weapons, so taking others' guns makes little sense.
- Key V is a bash with the butt or fist, depending on the weapon. It pushes any enemy back and is much easier than it seems, mostly useful against Scrakes.
- There is no room for "heroes". You should try to rescue a lost game, but showboating is punished, usually by a loss.
- If Vault crates do not show in your inventory, open the Steam overlay (default Shift+Tab) or enter a server or solo mode and leave to the main menu.
Bestiary
Enemies are divided into groups by danger.
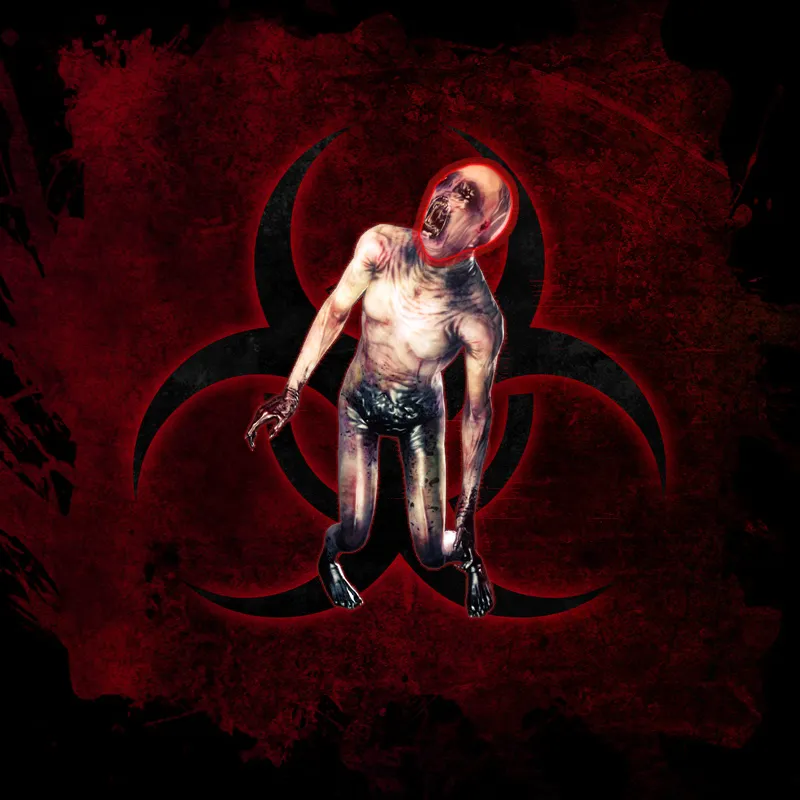 Group 1: cannon fodder.
- Group 1: Cyst, Clot, Slasher and Abomination Spawn. The least threat. Cyst, Clot and Slasher have equal health and differ in damage (Cyst lowest, Slasher highest in the group). They grab players; any damage makes them let go. The gameplay settings have an option to auto-turn the camera towards a grabber; turning it off helps a lot. Abomination Spawn run to explode, dangerous only when 4-5 blow up near you, and they appear only in the Abomination fight.
- Group 2: Gorefast, Bloat, Crawler, Stalker. Moderate danger. The Gorefast closes distance quickly. The Bloat has a lot of health, so body shots are ineffective. The Crawler is harmless alone but crowds hurt and it is hard to hit; its elite version explodes on death, which a headshot avoids. The Stalker is invisible and harmless alone, but 2-3 are trouble; find them by shimmer, sound or the Commando passive.
- Group 3: Rioter, Gorefiend, Siren, Husk. A serious threat. The Rioter has armor that is hard to break, so shoot the legs; its battle cry buffs nearby enemies. The Gorefiend deals much damage with a lot of health; from Suicidal it uses a whirlwind attack that can kill a player in seconds. The Siren's scream bypasses armor and shatters large projectiles. The Husk attacks from range with igniting shots, from Suicidal can use a flamethrower, and at low health runs up and self-destructs. Its weak point is the fuel tank, whose explosion hurts ZEDs but not players.
- Group 4: E.D.A.R. and variants. Comparable to the previous group, with a shared feature: an energy core in the middle of the torso, which is the easiest way to kill them. The Bomber fires high-damage knockback rockets, the Blaster uses lasers with low damage but high fire rate, and the Trapper immobilizes a player from a distance.
- Group 5: Scrake, Quarter Pound, Fleshpound. The most dangerous. Their arrival comes with sound cues. The Scrake wields a huge chainsaw but stays calm if not shot, and runs after taking damage equal to 10% of its health. Rule one: do not fire pointlessly; attack in coordination or let a specialist (Support, Demolitionist and both precision perks) handle it. The Fleshpound is wilder and on high difficulties can spawn already enraged. When it runs, do not shoot its arms, which take little damage; aim at the core in the center, which takes more damage than the body and is easier to hit than the head. The Quarter Pound behaves like the regular one but is smaller and spawns in pairs.
- Group 6: bosses. Patriarch, Dr. Hans Volter, King Fleshpound, Abomination and Matriarch. The strongest enemies, each needing its own tactics (see Killing Floor 2 bosses).
Afterword
The authors ask readers to like, favorite and share the guide, welcome constructive criticism, and ask that anyone disputing the guide first consider their own stats, bearing in mind that guides are based on personal experience.
FAQ
- How can I find out which boss a KF2 match will have?
- Open the console and enter getall KFGameReplicationinfo BossIndex. 0 is Hans Volter, 1 Patriarch, 2 King Fleshpound, 3 Abomination and 4 Matriarch.
- How do I skip the trader time?
- If everyone has finished shopping, press Esc and then the Skip Trader button.
- Why avoid shooting metal-covered ZED parts?
- They take only 10% damage, except on the E.D.A.R. and the Abomination.
