
KF2 Zed Slayer Manual: Setup, Economy, Zed Stats and All Perks
This is a translation and condensation of a Brazilian Portuguese manual for new Killing Floor 2 players, last updated by the author on 23 October 2017. It is written for 10-wave games, most of it scales to shorter modes, and it links to the author's per-perk guides (which the author marked as outdated). Related pages: the Portuguese basic guide and XP and difficulty scaling stats.
Match settings and your group
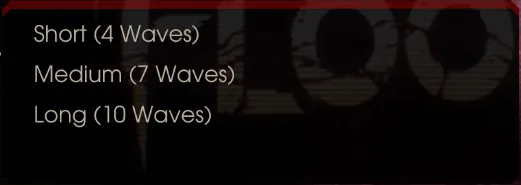 Game length setting: 4, 7 or 10 waves.
The game offers short (4 waves), medium (7) and long (10) matches. Each wave brings more enemies and new Zed types. In a 10-wave game the first Scrake (a Large Zed) arrives in wave 5, wave 6 adds the Fleshpound, and later waves spawn more of them.
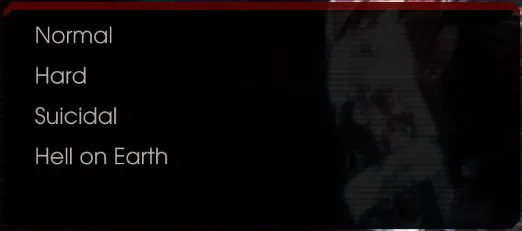 Difficulty selection.
There are four difficulties: Normal, Hard, Suicidal and Hell on Earth. Zed numbers and stats rise with difficulty (the author's example: a Zed with 50 HP on Normal might have 120 on Hard), and also with the number of players up to six, especially for Large Zeds. Low-level perks in high difficulties cannot do enough damage even with strong weapons and die quickly.
| Difficulty | Suggested level |
|---|---|
| Normal | any |
| Hard | 5-12 |
| Suicidal | 13-25, plus Berserker and Field Medic in the team |
| Hell on Earth | 25, plus Berserker and Field Medic in the team |
Building the group
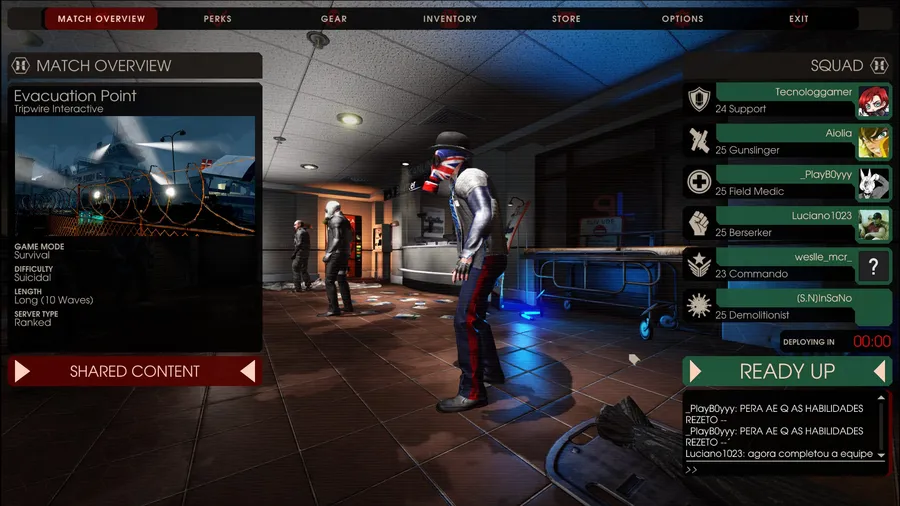 A team gathered before the match.
In the first two difficulties a Field Medic and Berserker are less necessary if the team plays well, but in Suicidal and Hell on Earth they are close to mandatory, and a team rarely reaches the boss without them. A diverse team where everyone keeps their role is best, with good communication and no fighting.
Rotation
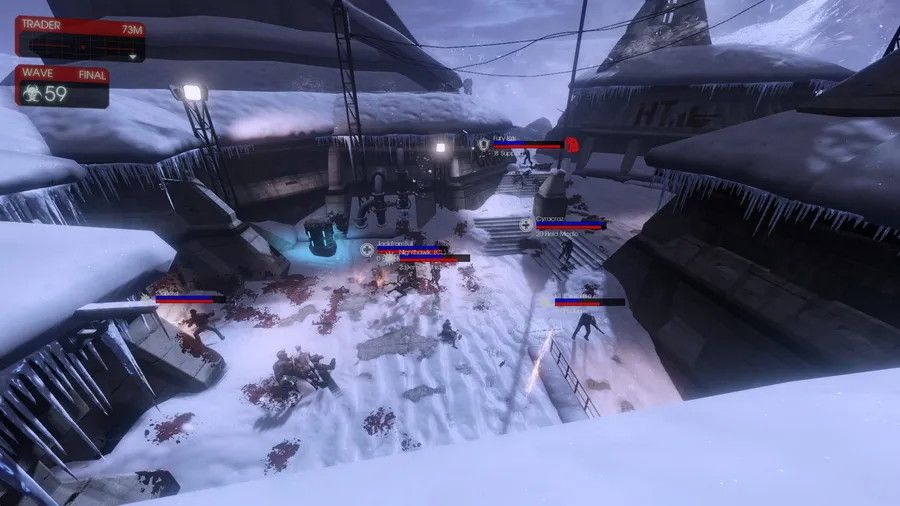 Players spread so each covers a direction.
The team should spread across the area, each member looking in a different direction and respecting a teammate's space. Moving around is foolish because Zeds spawn from everywhere. Remember: the enemy comes to the player, not the other way round. Break the rotation only when you lose ground and need to regroup elsewhere. When Large Zeds appear, one player (only one) should hold back the small Zeds so the others can handle the big ones. At "you shall not pass" spots the team lines up and a Berserker stands in front with the Medic healing him.
Money and help
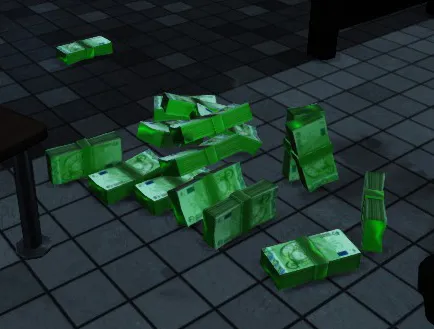 Dropped dosh.
Pressing B throws a stack of 50 dosh to help teammates; Berserkers need little equipment and can donate a lot. You can also throw (Backspace) the weapons of fallen allies to give them back.
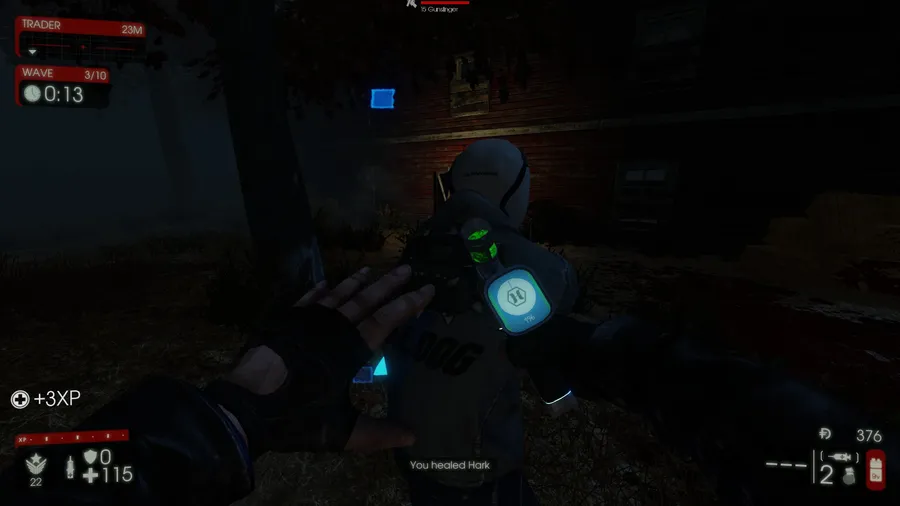 Every class has a syringe: press Q to self-heal or heal a standing-still ally.
Items on maps
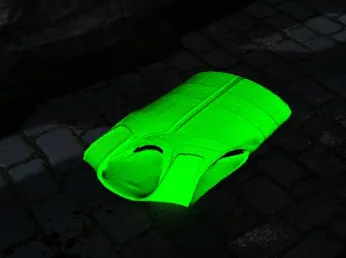 Armor vest pickup.
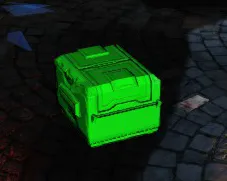 Ammo box pickup.
Random pickups appear at fixed spots: basic Commando, Support, Berserker and neutral items (nothing above tier 1) plus ammo boxes, armor, the Katana and the basic pistol (carrying two equal pistols lets you hold both). Pickups last one wave and disappear if not taken before the break ends. Ammo reappears often during boss fights.
The shove
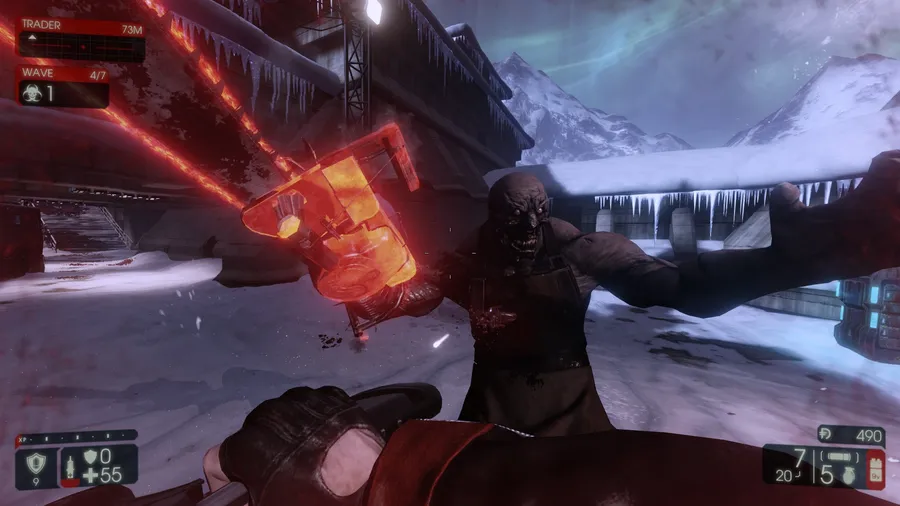 A Scrake attack.
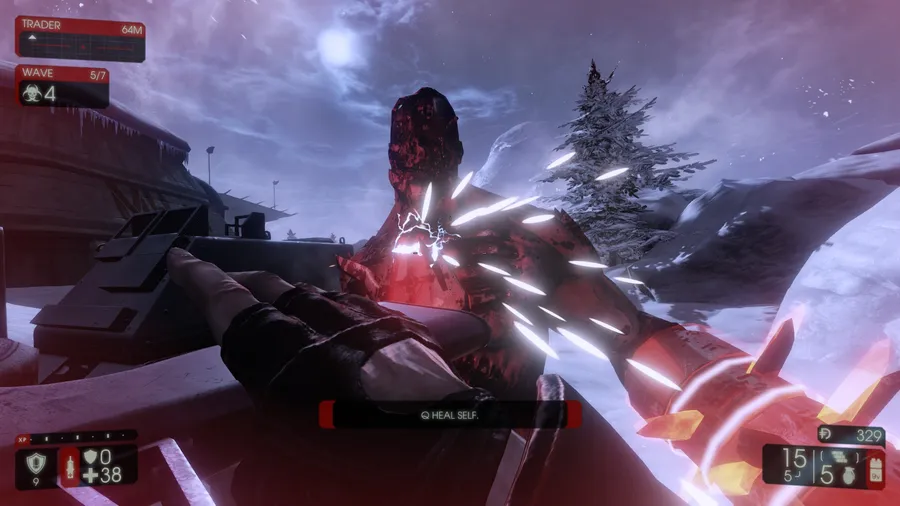 The shove (default V) works on all Zeds.
The shove (V by default) works on all Zeds. Small and medium ones are pushed normally, which gives you a few seconds. Large Zeds can be shoved too: a Scrake up to three times (but if it blocks one the action is canceled) and a Fleshpound only once, like bosses. Damage depends on weapon weight: 0 = 20 damage, 5 = 25, 10 = 30.
Doors and welding
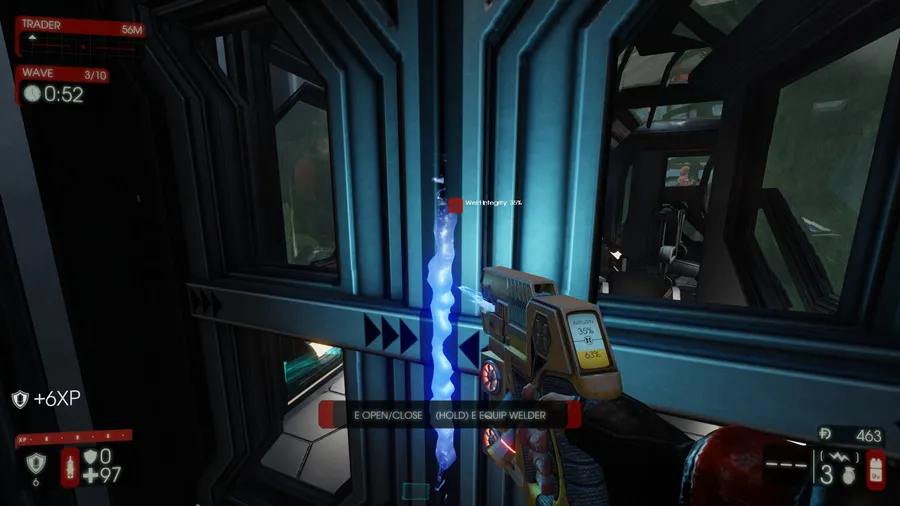 Equip the welder at a door.
Welding doors is useful at high difficulty and in waves where Zeds exceed 100: it is a temporary barrier that controls Zed numbers, and you can unweld whenever you like or keep reinforcing it. A Medic grenade thrown at a welded door can kill Zeds on the other side without opening it. If you keep a door welded long enough it eventually breaks.
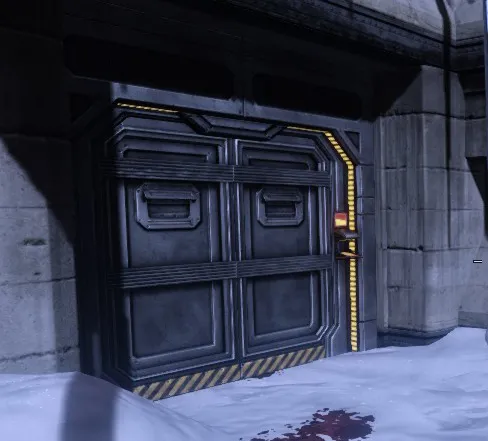 All doors start open.
Doors begin open. Closing a door behind you as you run (press E right after crossing, without looking back) gives about a second of delay against a horde.
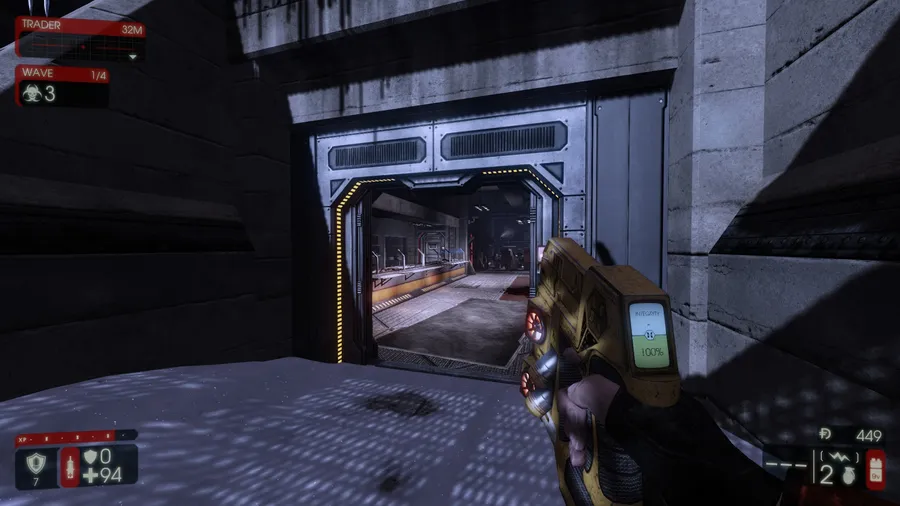
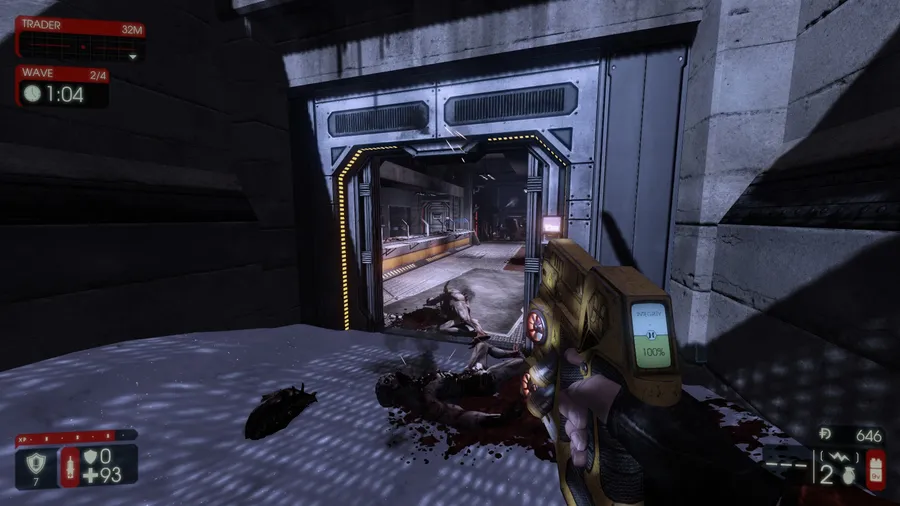 Automatic door intact (left in the original) and destroyed with sparks around it.
A destroyed door can no longer be welded or used. The destroyed state is easy to spot on traditional doors:
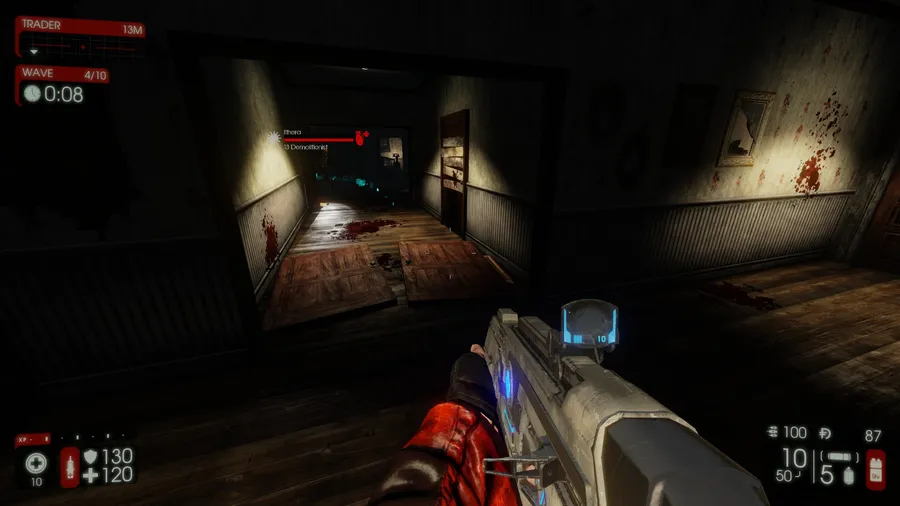 A destroyed traditional door.
Repairing and trapping
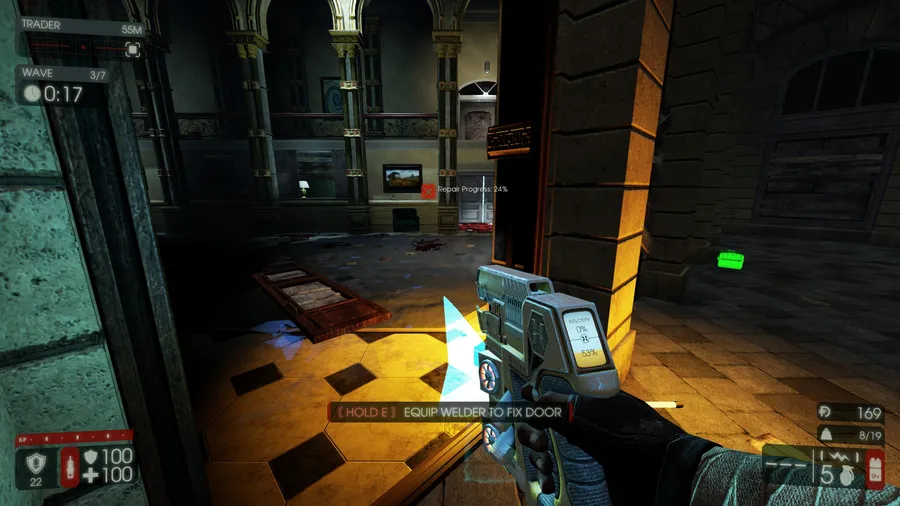 The Support can repair destroyed doors.
Only the Support can restore a destroyed or welded door (automatic or manual) to its original state. It is slow, so do it after a wave; the Support earns no XP for it.
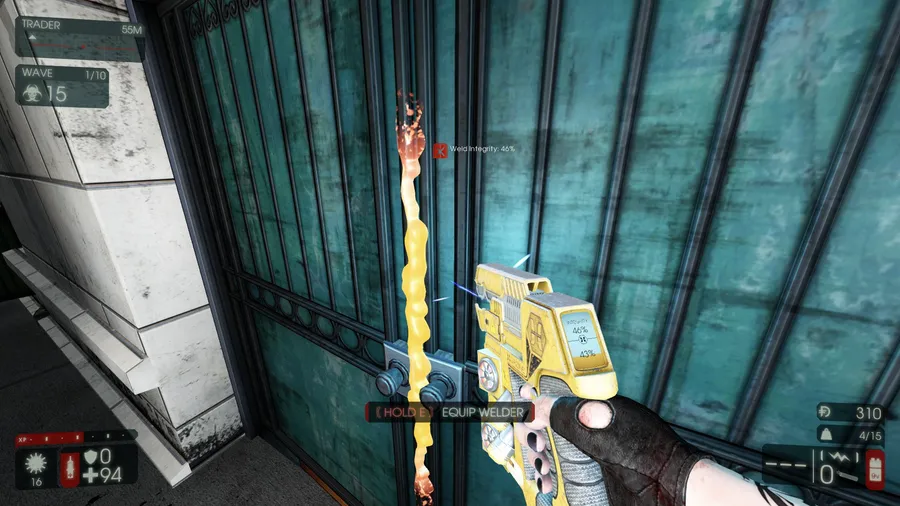 A Demolitionist door trap shows a red weld light.
The Demolitionist can make a door trap: the weld light turns red and when the door is broken it explodes the Zeds on the other side, saving C4. The Demolitionist gets XP only for the kills caused.
The trader and your economy
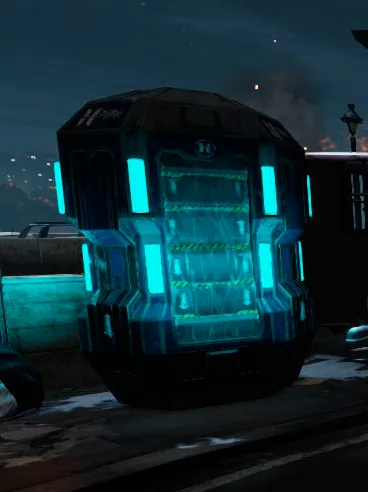 The trader pod that opens after each wave.
After every wave a trader opens somewhere on the map. There you buy weapons, grenades, ammo and armor and can sell weapons; you can refill ammo fully or buy single magazines.
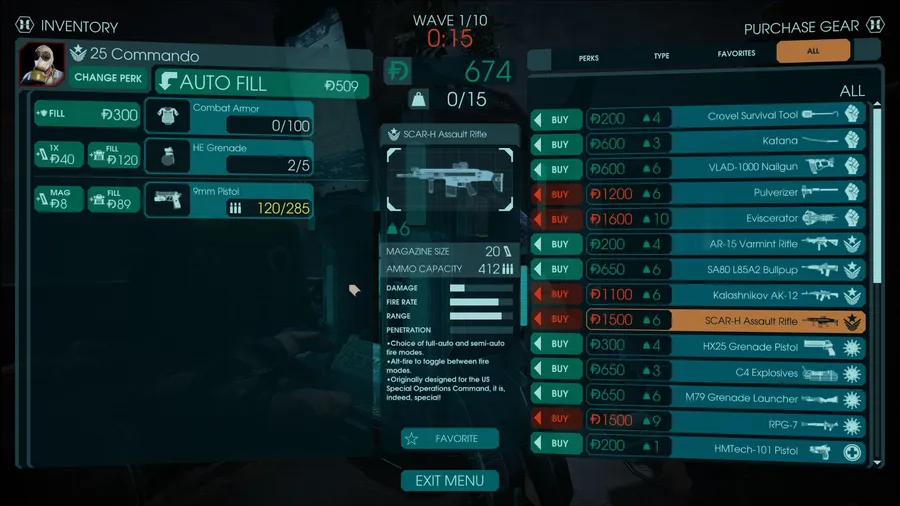 The trader menu.
Good economy advice:
- Know your perk and how you will play it. Example: a Field Medic should get his rifle quickly (more darts and faster reload than the rest of the perk's weapons), then buy grenades rather than ammo because his damage is weak, then armor, then the shotgun (as many darts as the pistol but reloads faster) and finally the pistol. His ammo is cheap. A Support who only wants to clear trash can wait longer to buy an AA-12 than one who wants to damage Scrakes.
- Do not buy armor before the Scrake wave.
- Avoid using grenades and the 9mm pistol except in emergencies.
- Do not donate dosh to a new teammate while you are shopping or need to refill first.
Leveling
 XP gain popup.
Leveling takes a long time. Every five levels you unlock a tier with two skills to choose: levels 5, 10, 15, 20 and 25. Other levels only increase class bonuses. XP is earned by dealing damage to an enemy with a weapon of the perk in use, and the first damage dealer gets the XP, so there is no "kill stealing" (a Commando who hits a Zed with a Firebug weapon and finishes with a Commando weapon gives the XP to the Firebug).
| Level | XP for the level | Total |
|---|---|---|
| 1 | 2,640 | 2,640 |
| 5 | 3,963 | 16,279 |
| 10 | 6,484 | 43,097 |
| 15 | 10,683 | 87,279 |
| 20 | 17,599 | 160,066 |
| 24 | 26,238 | 250,985 |
| 25 | 28,993 | 279,978 |
(Intermediate levels follow the same rising progression, from 2,917 at level 2 up to 26,238 at level 24.)
Zeds
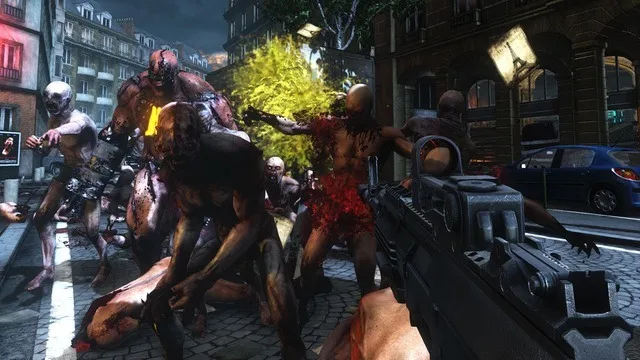 A horde.
Zeds fall into small, medium and large groups, and all are weak at the head. Some, such as Cyst, Clot, Slasher and Gorefast, stay alive a few moments after losing the head, so do not spend bullets on headless Zeds. The list: Clot, Cyst, Stalker, Gorefast, Slasher, Crawler, Bloat, Husk, Siren, Scrake, Fleshpound, Dr. Hans Volter and the Patriarch (bosses). At higher difficulties special Zeds from Versus mode appear in the standard mode with the same abilities.
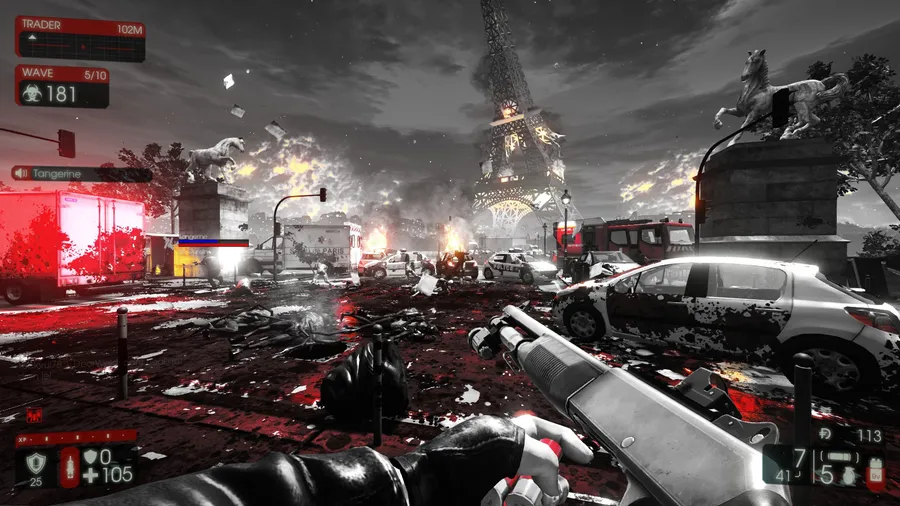 Zed time: the screen turns black and white and time slows; the last (fifth) skill tier usually takes effect here.
Stats on Hell on Earth (HP / head HP, dosh reward, XP):
| Zed | HP / head | Dosh | XP |
|---|---|---|---|
| Clot, Cyst, Slasher | 100 / 20 | 5 | 11 |
| Stalker | 75 / 20 | 10 | 10 |
| Crawler | 55 / 20 | 7 | 10 |
| Gorefast | 200 / 20 | 8 | 14 |
| Bloat | 405 / 40 | 11 | 34 |
| Siren | 356 / 193 | 16 | 15 |
| Husk | 716 / 192 (backpack 93) | 11 | 31 |
| Scrake | 1705 / 750 | 49 | 69 |
| Quarter Pounder | 862 / 702 | 75 | 34 |
| Fleshpound | 2325 / 812 | 130 | 72 |
| Patriarch | 5812 | 325 | 1843 |
| Dr. Hans Volter | 10017 | 325 | 1843 |
| King Fleshpound | 8750 | - | - |
On Normal the same Zeds have much less health, for example a Clot 75 / 15, a Scrake 935 / 510 and a Fleshpound 1500 / 650.
Small Zeds
They give the horde volume. Weak individually, they corner players in numbers.
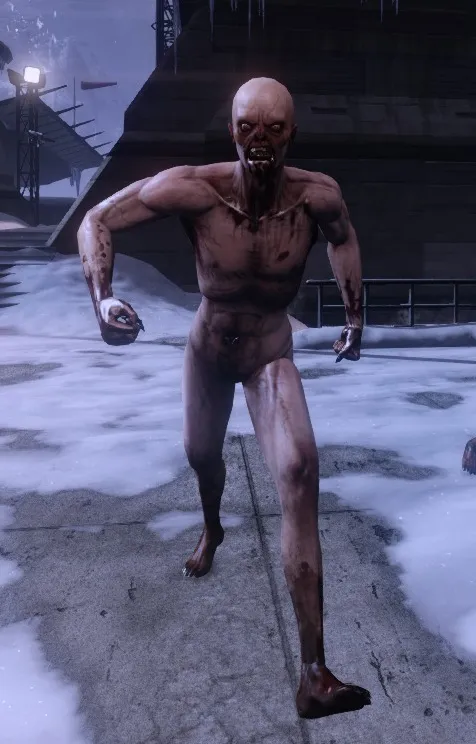 Clot.
Clot: the most common enemy together with Crawler, Cyst and Slasher (variants of the Clot). It can grab you and hold you for others, and runs fast. In Versus the Clot player can boost units' strength. One headshot kills it; SMGs work best on the body, and it resists microwave weapons completely.
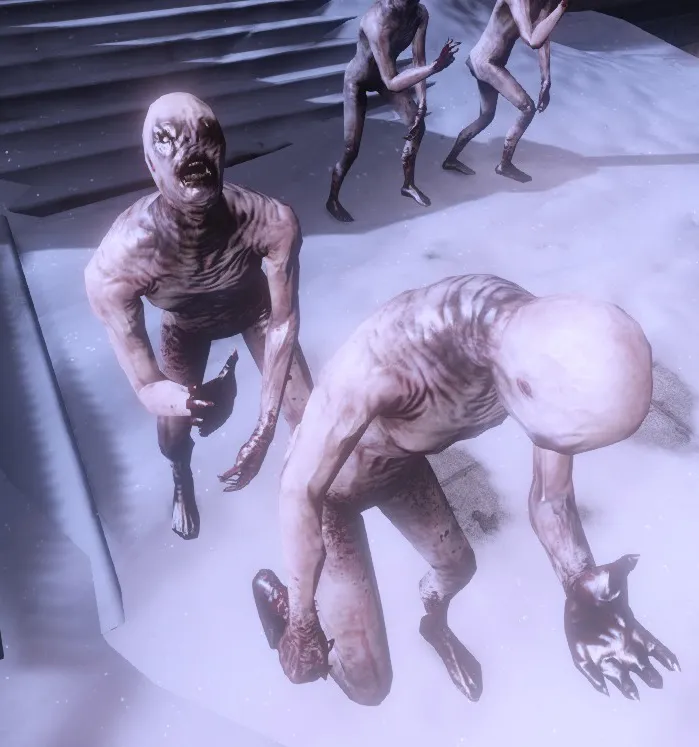 Cyst.
Cyst: a weaker, slower Clot; machine guns also work against it.
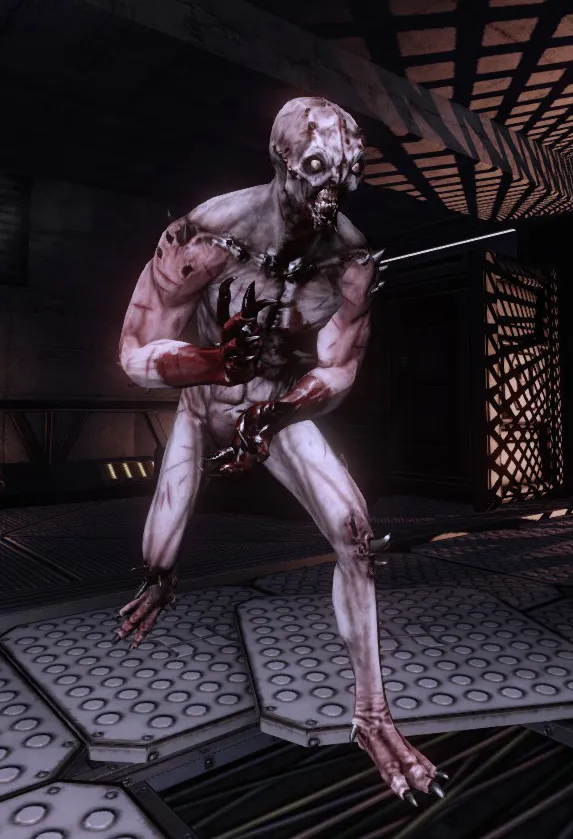 Slasher.
Slasher: faster and more aggressive, dodges bullets, attacks with claw combos and can grab you; in Versus players can make huge jumps. More resistant to fire and machine guns.
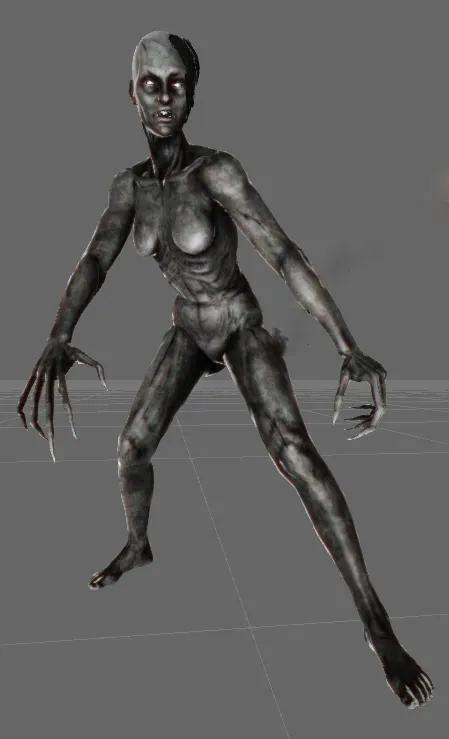 Stalker.
Stalker: the cloaked Zed; only parts of its body show when it attacks, and it makes big leaps and attack sequences. The author notes that machine guns are weak against it while rifles, poison and pistols work.
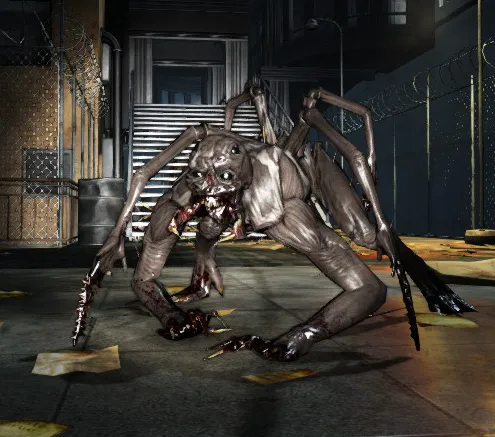 Crawler.
Crawler: spider-like, does not climb walls; its dark skin camouflages it in dark places. It leaps and claws, and in Versus it can kill itself and release toxic gas. You can jump on it to stun it and escape being surrounded. Weak to machine guns and SMGs.
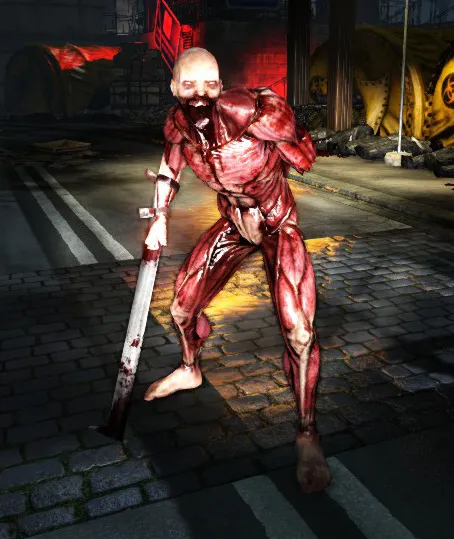 Gorefast.
Gorefast: the toughest small Zed, with a blade in one arm, attacks running or standing with combos. Shotguns, explosives and rifles work best; Berserkers struggle because of its blade and resistance to physical attacks.
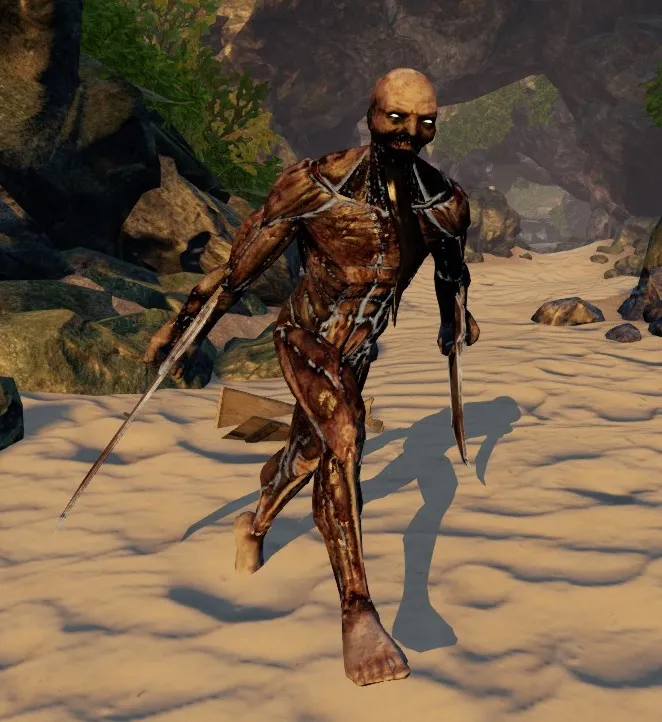 Gorefiend.
Gorefiend: a stronger Gorefast with two blades per arm and long combos that kill fast. Nearly impossible for Berserkers. Rare on Normal and guaranteed from Hard.
Medium Zeds
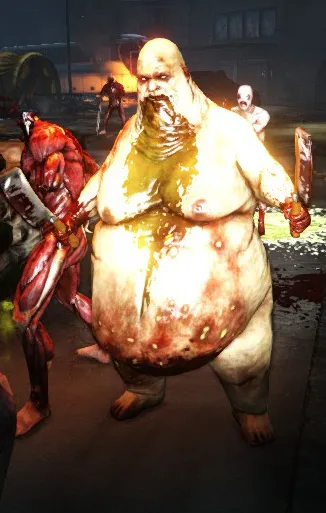 Bloat.
Bloat: big and slow, a walking wall; its vomit obscures your view. Nearly invulnerable except to fire, microwave weapons and head shots; never use explosives. Stuns and grenades work well. In Versus players can spit slime mines.
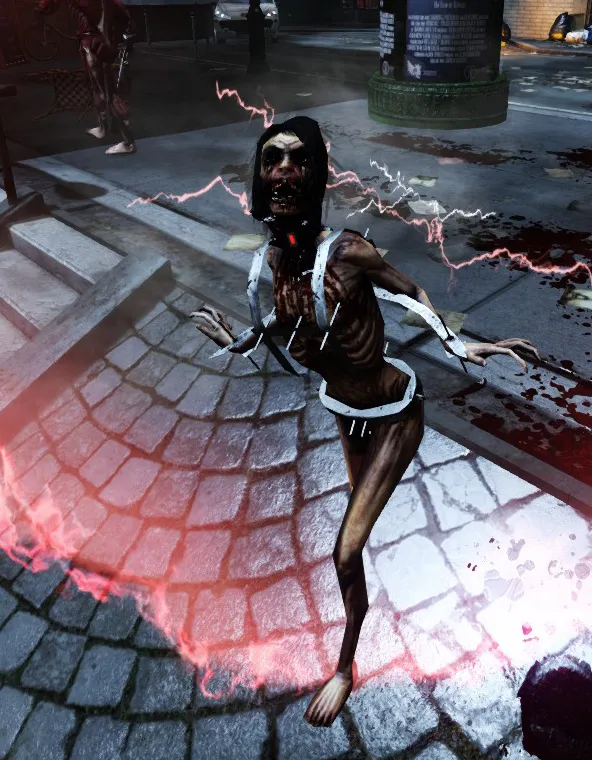 Siren.
Siren: slow, travels with other Zeds; her scream disables grenades and RPG rockets and hurts. Her metal torso protects her; the weak spots are the head and neck. Shotguns, Gunslinger pistols and microwave weapons are best.
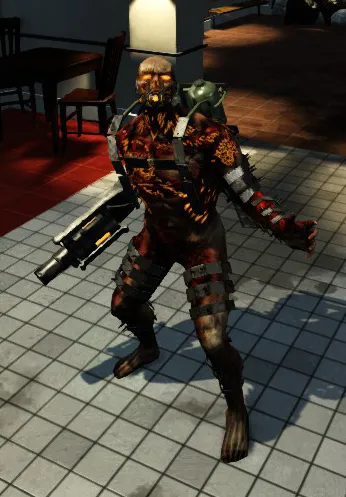 Husk.
Husk: very threatening; resists most weapons but is weak to shotguns and microwave weapons. Fireballs at range, a flame burst up close, and a suicide explosion when nearly dead. Every class can kill it by hitting the backpack behind it, which explodes and hurts nearby Zeds.
Large Zeds
Large Zeds provide brute force. They walk in small steps and attack when you are near or hit. A coordinated team beats them; some perks can solo a Scrake at the right level and gear, while the Fleshpound needs teamwork. Example: a Berserker, Support, Firebug and Commando against a Fleshpound. The Commando does little damage (bullet resistance) so he clears the area; the Firebug uses a Microwave Gun (good) rather than a Flamethrower (useless); the Berserker tanks while the Support (more penetration and damage) does the damage.
 Scrake.
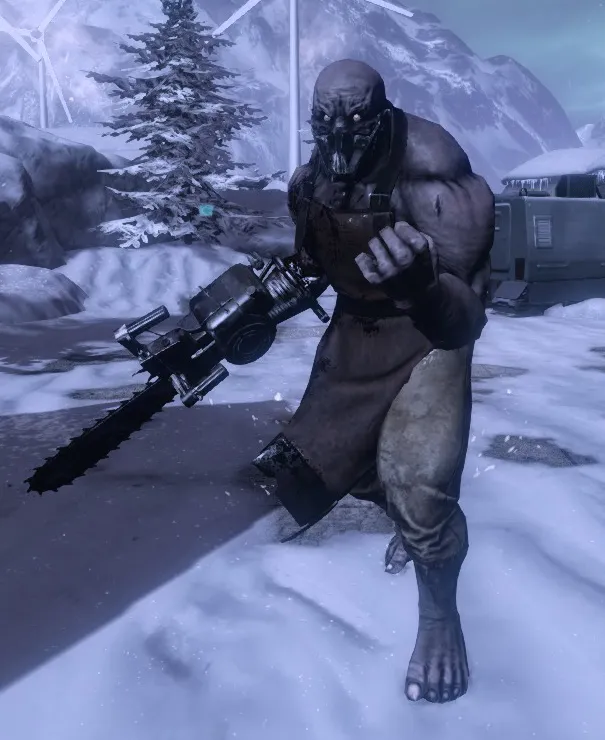
Scrake: first appears in wave 5 (teammates with advanced weapons can make it appear as early as wave 3). It walks calmly and rages when hurt, saws glowing red until it hits you. Highly resistant to fire and explosions, with RPG rockets doing little unless direct, the weakness is bullets, especially to the head.
 Quarter Pounder.
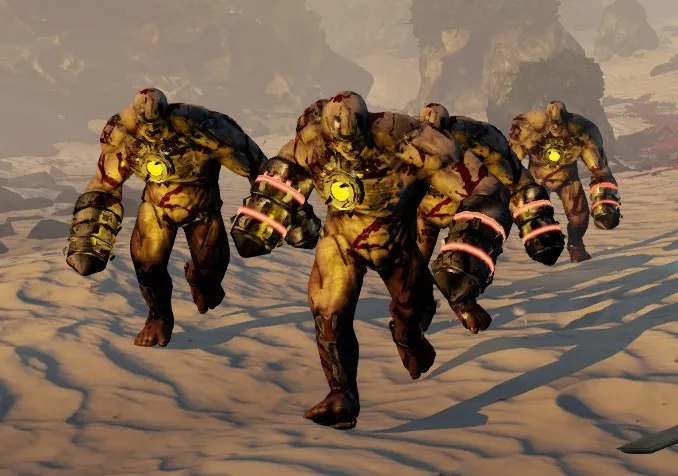
Quarter Pounder: about a quarter of a Fleshpound's strength (four equal one Fleshpound), comparable to the Scrake but with less HP. It gets impatient fast and runs even when calm. Resistant to most bullets; weak to explosives and the Microwave Gun.
 Fleshpound.
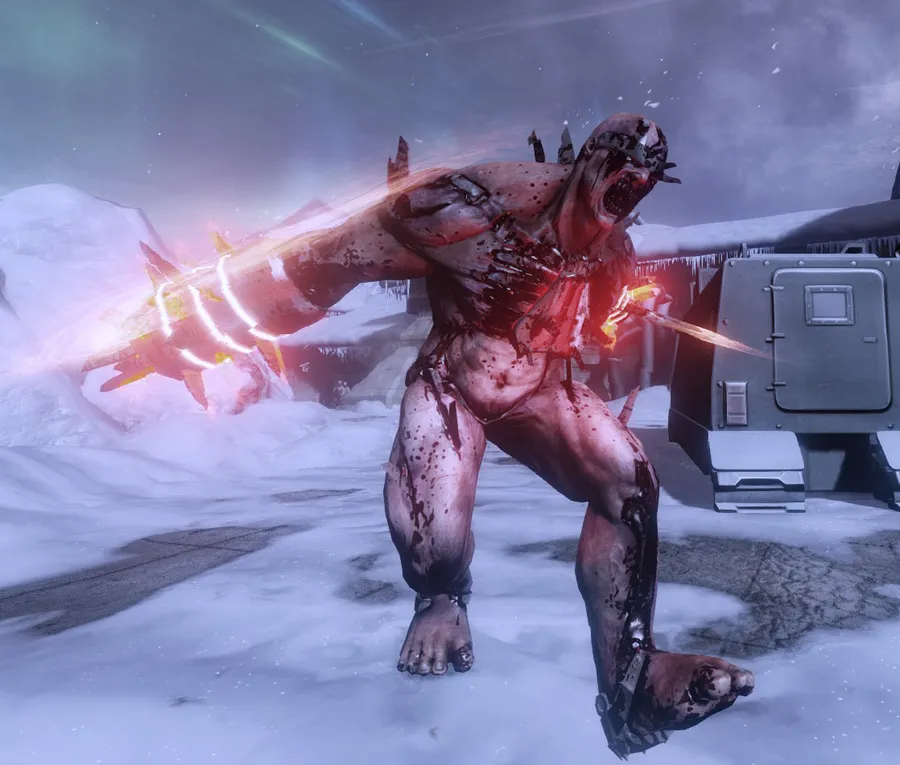
Fleshpound: the biggest threat. It mumbles its name while walking, and when bored or hurt it rages and charges with both drills, running over friend and foe while protecting itself from bullets. Deadlier than the Scrake but calms faster. Very resistant to bullets (exceptions: Gunslinger, Support and Sharpshooter ammo), weak to explosions and the Microwave Gun.
Bosses
After all selected waves there is an extra boss wave: the Patriarch or Dr. Hans Volter. Use perks that can damage a Fleshpound; the SWAT does little damage but melts Hans Volter's shield bar.
 The Patriarch.
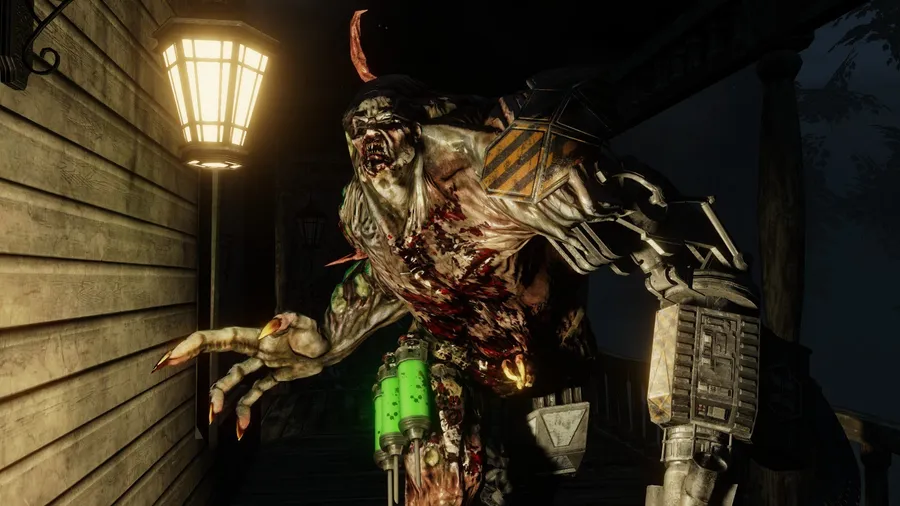
Patriarch: the "father" of Zeds. His main weapons are a minigun and a left-arm missile launcher, plus melee attacks when someone blocks him. In danger he calls reinforcements and runs to heal (four times), so a strategy to kill him before he heals is needed. Near death he fires a rain of missiles that can wipe the team.
 Dr. Hans Volter.
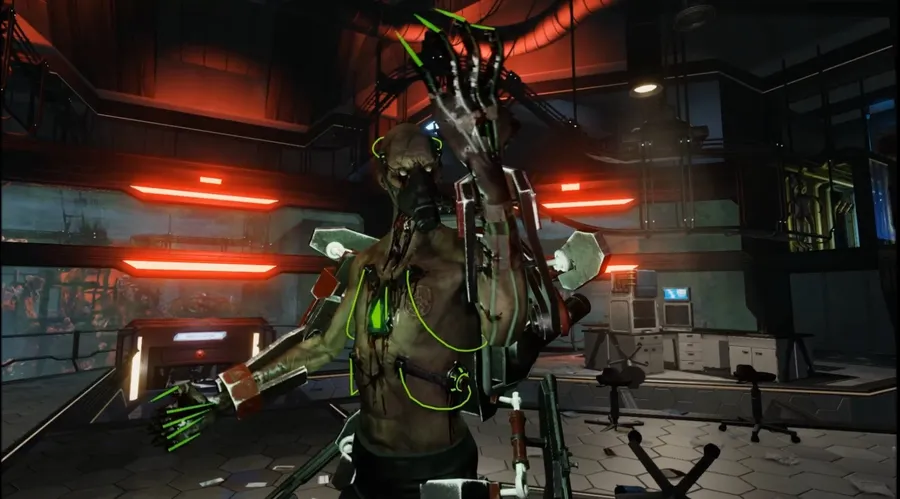
Dr. Hans Volter: a surviving Horzine scientist, a perfect war weapon. He throws toxic grenades that split players so he can hunt them, has melee attacks that cannot be blocked effectively, and two STG-44 machine guns for long range. Near death he activates a breakable shield, throws smoke grenades and releases reinforcements; he chases a target to drain energy, so reload, heal the victim and continue because a high shield speeds his health regeneration. When very low he becomes stronger in melee and throws explosive grenades all over.
 King Fleshpound.
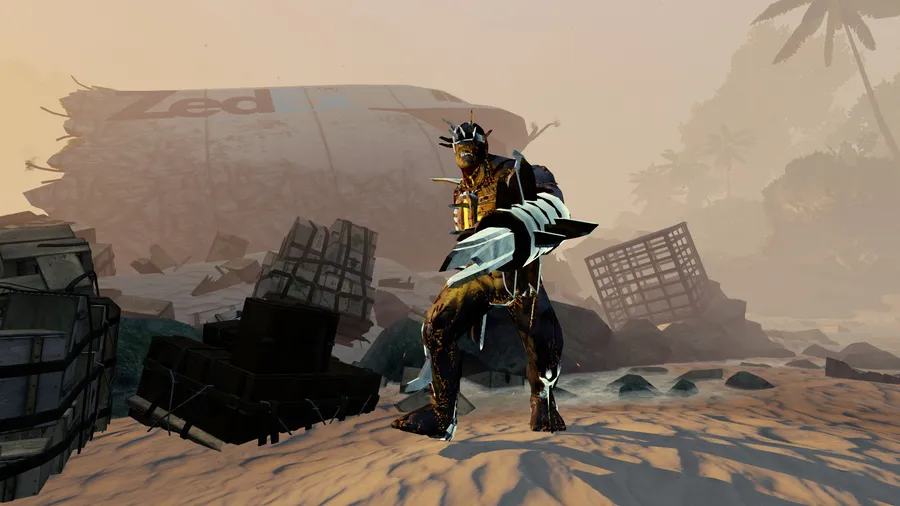
King Fleshpound: a Fleshpound with zero tolerance, always angry with more spikes, varied melee attacks and a chest laser that disintegrates players. Below 20% HP it activates a shield giving a second health bar, and it can summon packs of Quarter Pounders. Highly resistant: only the Microwave Gun, sniper rifles, shotguns and explosives do good damage.
The perks
 Perk icons.
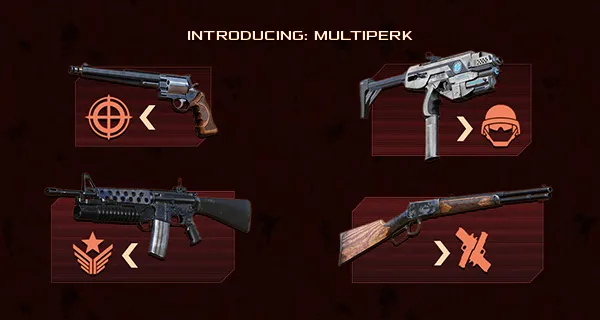
There are ten perks: Berserker, Commando, Demolitionist, Firebug, Field Medic, Gunslinger, Sharpshooter, Support, SWAT and Survivalist. Each has level goals and passive skills, and you choose one of two skills every five levels. Focus on your team role; the author suggests a maximum per match:
| Perk | Suggested max per match |
|---|---|
| Berserker | 1 |
| Commando | 2 |
| Demolitionist | 1 |
| Firebug | 2 |
| Field Medic | 2 |
| Gunslinger | no limit |
| Sharpshooter | 1 |
| Support | no limit |
| SWAT | no limit |
| Survivalist | 1 |
Multiperk weapons: perks can use each other's weapons, and the bonuses apply to the weapon's compatible perks. A weapon compatible with two perks levels both at the same time.
Berserker
 Berserker.
Bonuses: weapon damage +1% per level, damage resistance +3% every 5 levels, night vision, Clots cannot grab you. The melee specialist: very agile, protects the team, holds Large Zeds and attracts the bosses' attention. The downside: dependence on the Medic. Priority targets: Cyst/Clot/Slasher, Crawler, Siren, Scrake, Fleshpound. Gorefasts block your attacks, Sirens are hard to block and Bloats feel little impact.
Commando
 Commando.
Bonuses: class weapon damage +1% per level, sees cloaked enemies (10 + 2 m per level) and enemy health bars, +1 second of Zed time every five levels, reload speed +2% per level, night vision, call out cloaked Zeds. He controls the rotation with high fire rate, either as a Rambo with much ammo or more tactical. Weakness: dependence on the team against the Fleshpound; he can solo a Scrake. Priorities: Cyst/Clot/Slasher, Crawler, Stalker, Husk, Scrake.
Demolitionist
 Demolitionist.
Bonuses: weapon damage +1% per level, explosion resistance (10% + 2 per level), extra explosive ammo (1 per 5 levels), Grenade Supplier, Door Traps, Reactive Armor. The main weapon against Fleshpounds; stays behind the frontline. Grenade Supplier lets allies take one grenade per wave. Reactive Armor explodes him when about to die, leaving 1 HP. For Scrakes get closer, because the RPG projectile alone does 400% damage; avoid Bloats. Priorities: Cyst/Clot/Slasher, Gorefast, Crawler, Siren, Husk, Scrake, Fleshpound.
Field Medic
 Field Medic.
Bonuses: syringe recharge +8% per level, heal power +2%, Bloat vomit resistance +2%, speed +0.4%, armor bonus +3%. Key in Suicidal and Hell on Earth; stays behind the team with a view of everyone. May help against weak Zeds: Cyst, Clot, Slasher, Crawler, Stalker. Avoid Fleshpound and Scrake.
Firebug
 Firebug.
Bonuses: weapon damage +0.8% per level, reload +0.8%, Zed fire resistance (30% + 2%), immunity to own fire (25% + 3%), starting ammo +10% per 5 levels. The best crowd killer; either an arsonist or a rotation controller using the Microwave Gun against Fleshpounds (low DPS). Fire panics Zeds, which is crucial against Bloats and Sirens. Priorities: Cyst/Clot/Slasher, Gorefast, Crawler, Bloat, Siren, Stalker, Scrake, Fleshpound. Ignore Husks.
Gunslinger
 Gunslinger.
Bonuses: weapon damage +1% per level, bullet resistance (5% + 1%), movement speed +0.8%, recoil -1%, Zed time reload +3%. A key force against Scrakes and Fleshpounds, with two styles: a precise headshot sniper (headshot counter gives +10% damage and reload speed) or a mobile bullet-rain gunman. Weakness: slow reloads and poor aim with dual pistols. Two aim modes: classic dual center and precision.
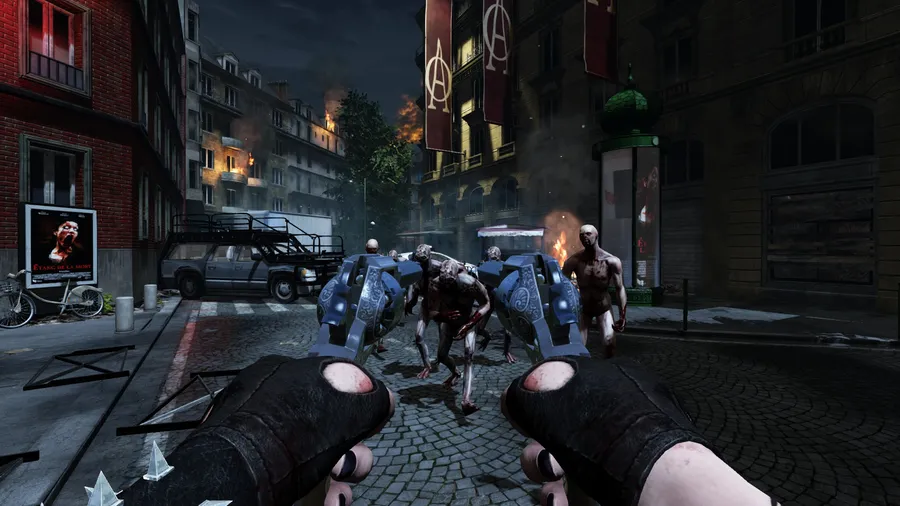
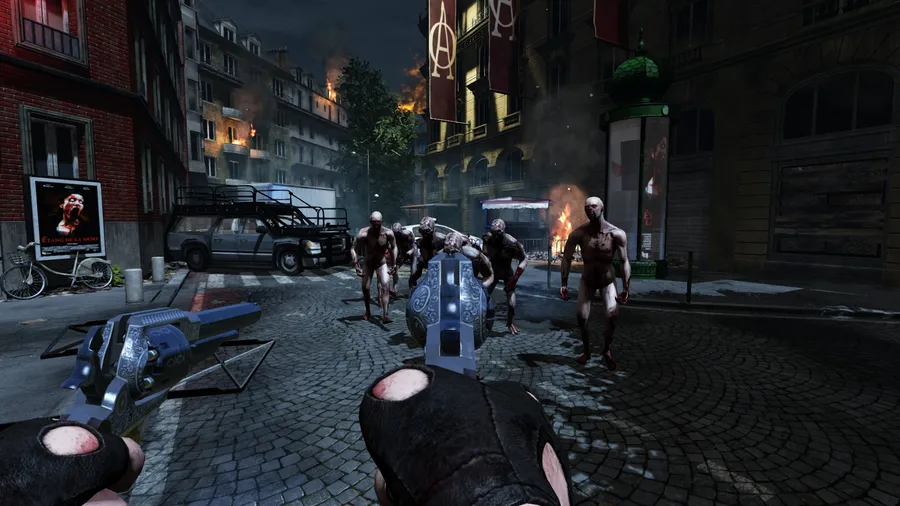 The two ways of aiming dual pistols.
Priorities: Cyst/Clot/Slasher, Crawler, Stalker, Gorefast, Bloat, Siren, Husk, Scrake, Fleshpound; focus on Sirens and Husks.
Sharpshooter
 Sharpshooter.
Bonuses: headshot damage +1% per level, recoil -1%, weapon swap +2%. The long-range specialist: a sentinel killing small and medium Zeds, or a rail gun hunter versus Scrakes and Fleshpounds with the Winchester 1894 for close protection. Useless up close. Priorities: Cyst/Clot/Slasher, Gorefast, Siren, Husk, Scrake, Fleshpound (only with the rail gun). Ignore Crawlers, Stalkers and Bloats.
Support
 Support.
Bonuses: welding efficiency +3% per level, shotgun damage +1%, shotgun penetration +20%, ammo +1%, strength +1 per five levels, ammo backpack, can repair destroyed doors. Short range; either a penetrator that clears lines of Zeds and can solo Scrakes, or a true support with high fire rate and ammo for allies once per wave. Shotgun ammo is expensive (refilling an AA-12 costs about 700+ dosh). He is the only one who kills a Gorefast with one shot. Priorities: Cyst/Clot/Slasher, Crawler, Gorefast, Siren, Scrake, Fleshpound.
SWAT
 SWAT.
A hybrid of Commando, Berserker and Support: Commando role with tank traits and expensive buys. Bonuses: weapon damage +1% per level, bullet resistance (5% + 1%), magazine size +4% per level, faster weapon swap. Highlights: Heavy Armor Training (armor becomes a second health bar, Clots cannot grab you, start with 50% armor; Siren screams ignore armor), Close Combat Training (a stronger 9mm and two of them from the start), Assault Armor (armor cap raised and starting armor of 100) and the Zed time skill Battering Ram (normal speed and knock down any Zed by running into it). These start-of-wave bonuses are also restored when you respawn. DPS is as low as the Commando's, so it excels in close range; the easiest target is the Scrake: throw a Flashbang then shoot it in the face with the Kriss SMG. Priorities: Cyst/Clot/Slasher, Crawler, Gorefast, Stalker, Siren, Scrake.
Drops and crafting
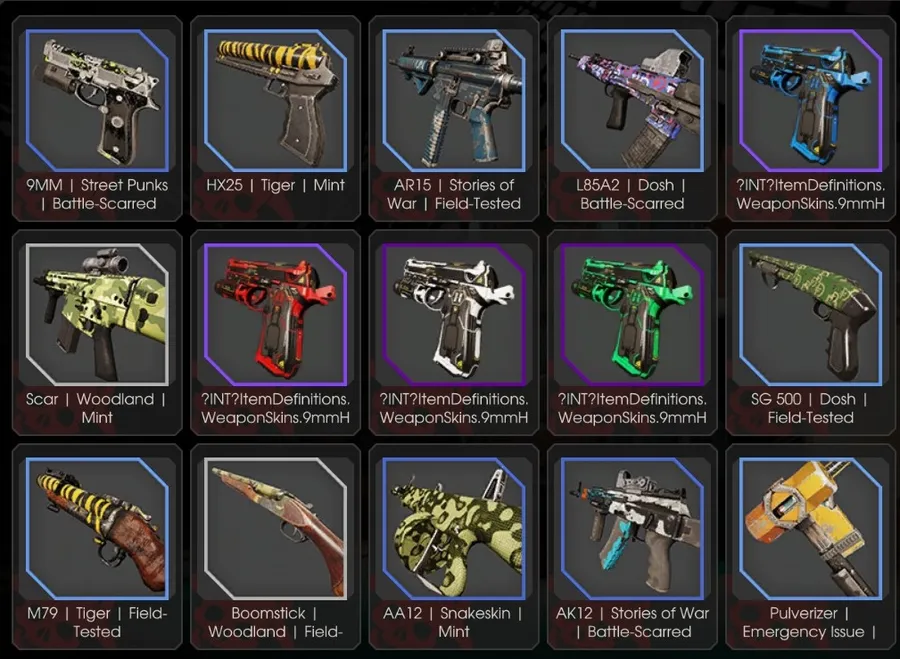 The drop and inventory system.
Killing Floor 2 has cosmetic microtransactions (clothes and weapon skins) that can be bought or obtained through a daily drop. The daily drop is once per day and available 24 hours after your last drop (play at 20:00, drop at 20:30, next at 20:30 the next day). During Double XP events the drop timer is 12 hours, so you can get two per day and better odds for rare drops. Rarity order: white, light blue, blue, dark blue, light purple, purple, dark purple, gold.
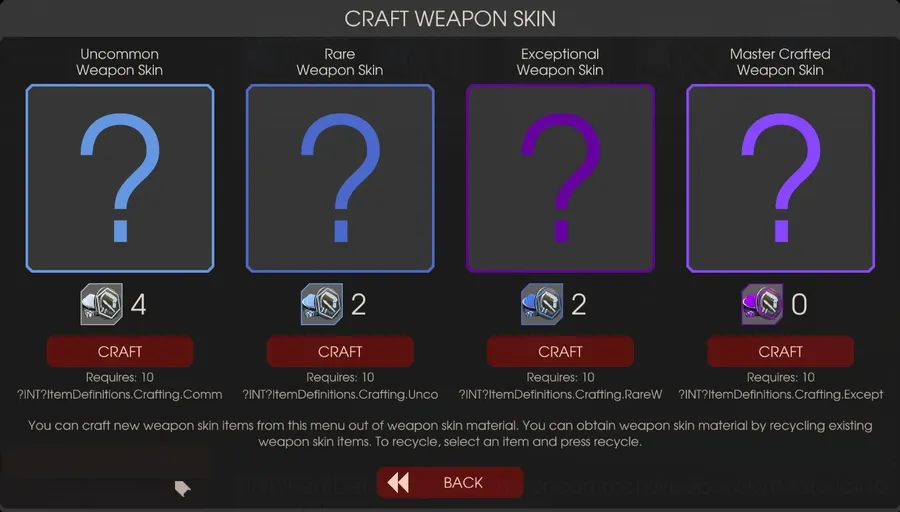 Crafting.
Crafting: with 10 pieces of one rarity you create a higher rarity item (for example dark purple from ten normal purple), but you cannot craft golden items. Cosmetic pieces and weapon skin pieces are different. For skin lists see the Steam Market skins gallery.
FAQ
- Which difficulty suits which perk level?
- Normal: any level; Hard: levels 5-12; Suicidal: 13-25 plus Berserker and Field Medic in the team; Hell on Earth: level 25 plus Berserker and Field Medic.
- How much XP is needed for level 25?
- A total of 279,978 XP; the XP for each level rises from 2,640 at level 1 to 28,993 at level 25.
- How does crafting work?
- Ten pieces of one rarity combine into an item of the next rarity, but golden items cannot be crafted. Cosmetic pieces and weapon skin pieces are different.
