
KF2 Level 0 Solo Hell on Earth on Farmhouse: Hans and Patriarch
For players who always get kicked from Hell on Earth lobbies as level 0, this guide shows a solo method on Farmhouse in version 1022. The author admits it is probably outdated and expect "a lot of dying". The title says Berserker, but because a level 0 perk has no bonuses the loadout is mostly off-perk: Katana, Eviscerator, Desert Eagle and Magnum. Compare with the approach in Berserker solo HoE, all maps.
Preparation
Have a good mood and music that excites you (turn off the KF2 music if it does not), close programs that cost CPU or RAM, use the best performance settings (highest alpha and more screen contrast if needed; the author heard FX on ultra helps spot invisible Zeds), tell your family not to disturb you and be patient: it can take months.
Level and perks
Only level 0 is needed. If you do have perk levels the author suggests: Sonic Resistance at 5 (toxic resistance for the boss wave), Fortitude at 10, Furious Defender at 15, Smash at 20 and Spartan at 25.
Target priority
Holding the tunnel (really close = face to face; at medium distance a thrown grenade only hurts you at 20 HP or less): raging Fleshpound or Scrake first, then Fleshpounds up close, Scrakes up close, Husk/Siren/Bloat up close, Gorefast, Crawler/Stalker/Slasher, Clot/Cyst, then things in front of Fleshpound or Scrake, then the same large Zeds and mid-tier Zeds at medium distance.
Kiting: things blocking your route first, then raging Fleshpound or Scrake, Husk fireballs, anything really close, then Gorefast, Crawler, Stalker, Slasher and Clot at medium distance, then Fleshpound far away, Siren/Bloat/Husk at medium distance and finally the Scrake.
How to kill each Zed (non-boss)
| Tier | Zeds | Notes |
|---|---|---|
| 1 | Clot, Cyst, Slasher | Rarely hit you if you keep moving. Katana to the head or two body hits. |
| 2 | Stalker, Crawler, Gorefast | Only Gorefasts can hit you while running. Keep backing away and spam the Katana at the head. Stalker: 2 body or 1 head. Crawler: usually 1 body hit, but stab twice and add 2 pistol bashes. Gorefast: 4 body or 1 head. Always assume a Crawler hides behind anything. |
| 3 | Bloat, Siren, Husk | Only after tier 1 and 2 are clear. Bloat: stab the head, bait its puke or rush it. Siren: Katana 3 head shots, Desert Eagle 3 head or about 7 body, Magnum 2 head or about 5 body. Husk: do not let it suicide next to your dosh; dodge the fireball by switching sides of the tunnel; Desert Eagle 2 head or 9-10 body. |
Scrake: leave it until the end; if unprepared, drop down to kite. Desert Eagle: 8 head shots or 3+ clips of body; Magnum: 5 head or about 14 body. Be careful of weapon penetration raging it. Kiting: clear everything except Siren, Clot and maybe Husk, rage the Scrake, shoot, reload, heal or swap while it slashes the air and keep running otherwise.
Fleshpound: a non-melee bash knocks it back with a cooldown. It can auto-rage unseen. Do not leave a Fleshpound with 7 Zeds or fewer alive or it will rage forever. Clear things in front first. In the tunnel with one Fleshpound: clear around with the Eviscerator, get distance, aim and fire 3 blades into the head; if that fails, parry (or drop down and parry while timing a jump so its attack throws you). With two: shoot the closer one; if one rages drop down to kite and parry.
Hans (the "cheater")
Hans cheats by grabbing for instant kills instead of healing and throws grenades while running. Stay near corners, take your knife out for +10% speed when only running, and shoot only at two places: the stairs and the corridor. Swap the Magnum or Desert Eagle for another on the ground about every 3 minutes. If he runs, you run and close doors.
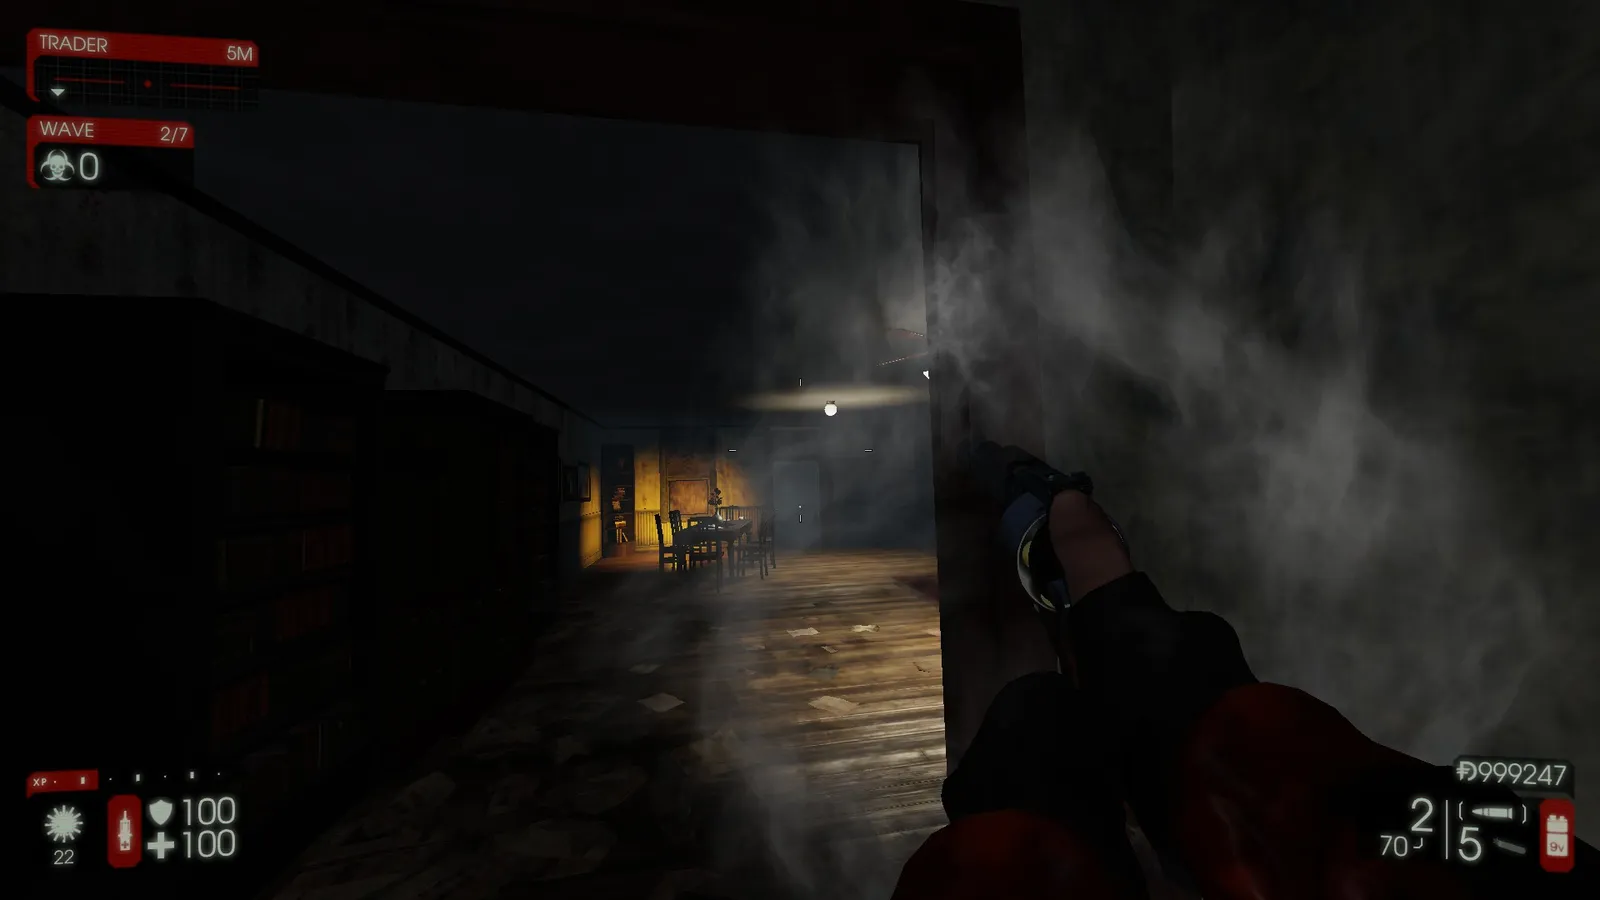 The corridor where you wait and spam grenades at the closed door.
Phase 1 (take him to phase 2 losing as little armor as possible): wait at the stairs. If he shoots, run; if he throws grenades, empty a full Magnum clip. Keep running and closing doors to the corridor, spam 4 grenades at the closed door, and repeat. Gas does not hurt much. When he enters hunt mode, time your heal to counter his health drain.
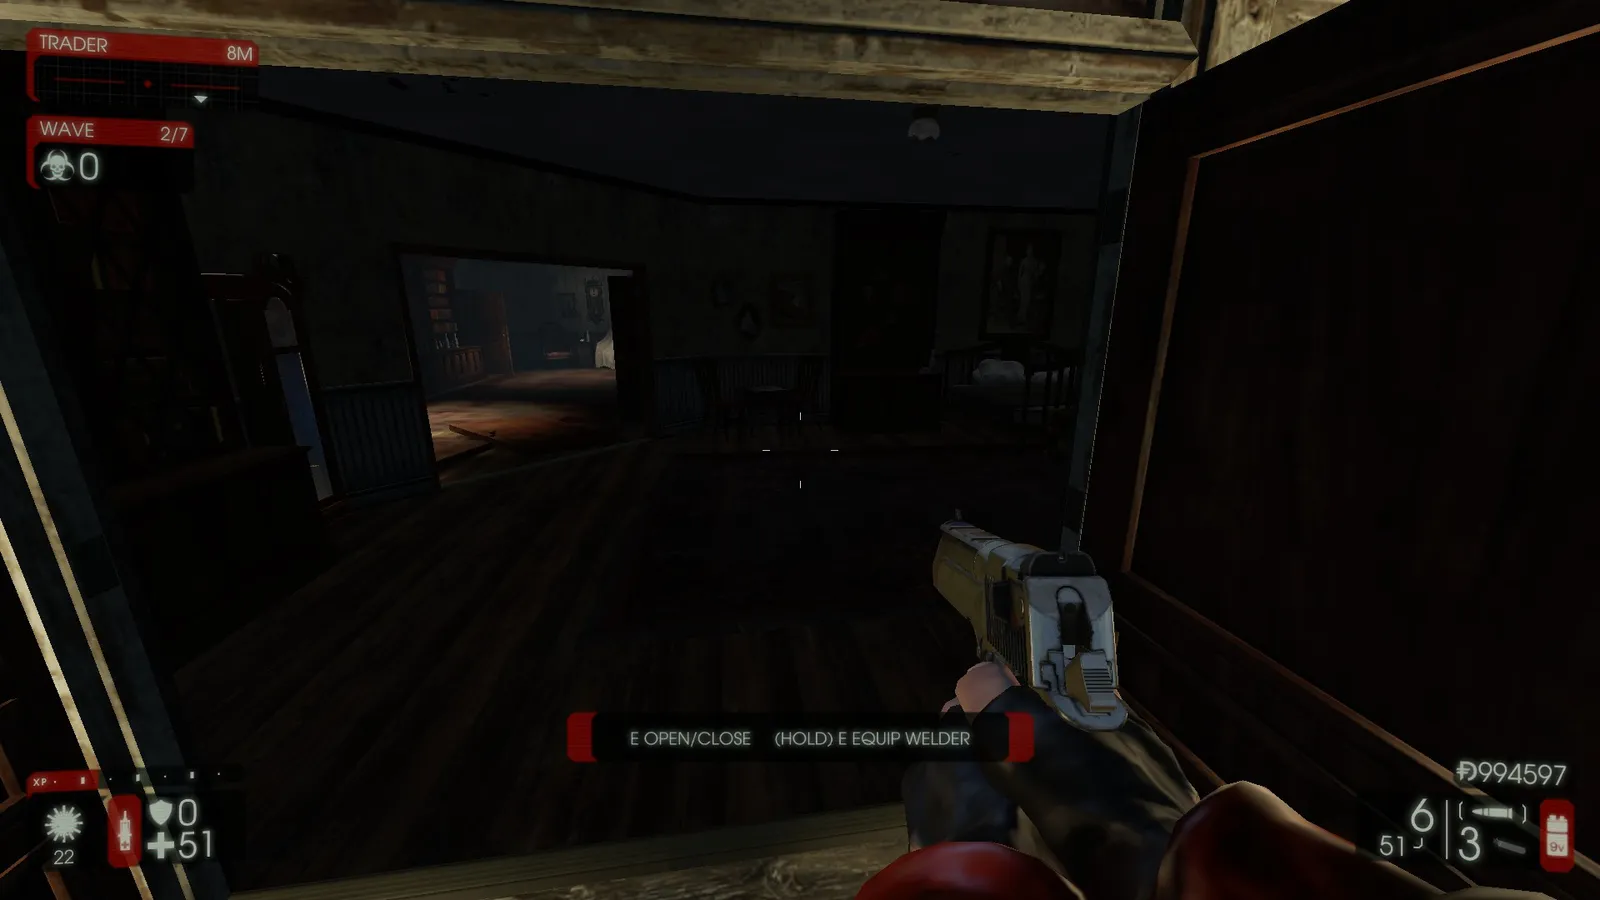 Heal timing against the drain.
Phases 2 to 4: turn on the flashlight, continue the kite route ignoring Hans, and focus Zeds in front of you until the flashlight battery runs out. Reach the corridor or stairs. If Hans runs, keep running and close doors. If he throws grenades, shoot him without ADS or crouching and run instantly if he moves during the throw. If he shoots and your health is above 75, trade damage with one clip, then heal or reload, unless he starts running. If you hear one of his frenzy melee lines, keep running. Repeat until he enters hunt mode (counter-heal in the same place) and finally until he dies. In phases 3 and 4 never ADS or crouch because he can run and throw at the same time.
Patriarch
Most of his attacks are weak if you keep moving: the melee rarely hits, the minigun hurts only if you stand still, rockets are harmless if you move, and the mortar is easy to ignore. Refresh weapons on the ground every 5 minutes.
- Kite him with the Desert Eagle.
- When he summons Zeds, shoot him with the Eviscerator until he stops.
- Run to the main house while killing Gorefasts and Zeds, reaching the main house cliff.
- Drop down and continue the kite route.
- Repeat until the first Desert Eagle is empty, then use the second or the Magnum.
- When all pistol ammo is spent switch to the Eviscerator. Be on the tree swing side before he heals.
- Beware double Husks, Sirens and Gorefasts, which are more deadly than the Patriarch; clear them with the Eviscerator.
- Watch for late spawns and shoot him with everything left (not the chainsaw). If you run out of ammo, pick up dropped weapons and find ammo.
Weapons
- Knife: only for speed; two melee bashes to the head vs a Bloat.
- 9mm: wave 1 Bloats or late-wave Husks and Sirens.
- EMP grenades: one disables a trash Zed's special ability; one calms a Scrake before you shoot; two calm a Fleshpound; one can disrupt the Patriarch's cloak; throw ahead of you when a horde of Gorefasts chases you at 25 HP or less.
- Shovel: wave 1 only, decapitates Clots.
- Katana: use melee bash on everything (accurate, fast and a piercing type that Crawlers are weak to). Can stun-lock Sirens.
- Desert Eagle: crouch to reduce recoil; use it at the start of each wave; low penetration; 2 head shots kill a Husk.
- Magnum: aim at the boss's center; good for long-range Husk sniping.
- Eviscerator: save fuel and bash tier 1 Zeds; use the chainsaw while crouching and backing along a wall; aim at Crawler legs. Save blades for Siren (1 head shot), Bloat (1), Husk (1), Scrake (4) and Fleshpound (3).
- Flashlight: use it when the first Zeds appear, when you hear a Stalker, or when you need light.
Loadout per wave
| Wave | Buy or do |
|---|---|
| 1 | Shovel and 9mm |
| 2-3 | Buy the Katana |
| 4 | Sell Katana and shovel. With 1600+ dosh buy the Eviscerator; otherwise keep the Katana and buy a Desert Eagle |
| 5 | Eviscerator or Desert Eagle if missing, full Eviscerator fuel, blades 20/25, 3/5 grenades, 1/4 Desert Eagle ammo, full armor |
| 6-7 | Full fuel, blades 20/25 (25 in wave 7 if unsure of your aim), 3/5 grenades, buy a Magnum if possible, 2/4 pistol ammo, full armor |
| Boss | Magnum, fuel 150/250, blades 25/25, full armor and pistol ammo, buy another pistol and throw spares at the main house cliff, 9mm refill, extra Katanas outside the main house |
General tips
- Use the left door and main house cliff to hold the tunnel. You can shoot Zeds attacking the door from the windows.
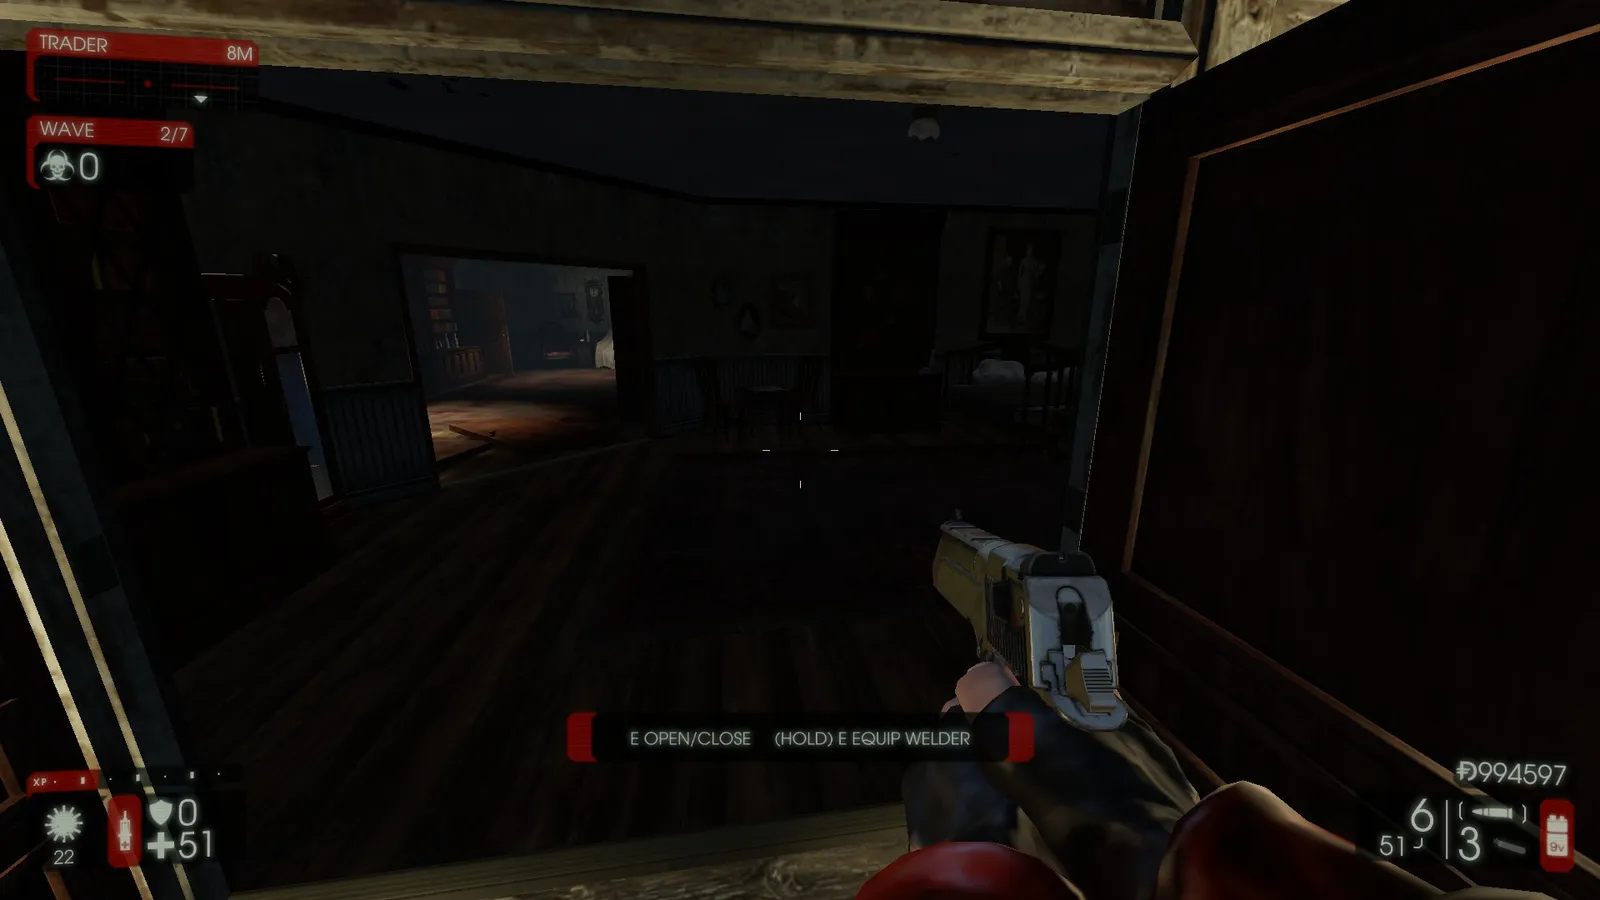 The left door and main house cliff.
- Dropping down costs health, and Gorefasts wait below. Drop when you still have health if you are cornered.
- Do not take damage in the tunnel; you may not have time to heal or reload.
- At wave start only look at the side of the middle door, or Zeds may spawn around you. Do not cross the middle door or Zeds will spawn behind you; stay near the handrail.
- Heal when not busy. The door matters, but your life matters more.
- Kite route: tunnel, drop to the ground, behind the farmhouse, main house (take the AA12 out inside), upstairs, back to the tunnel.
Wave routine
- Wave 1: go to the open area near the tree swing; kill with left and right slashes; watch for Gorefast and Bloat.
- End of wave: go to the trader. Weld the main door and, if you have time, a second door and poke the windows. Stand in the "holy square".
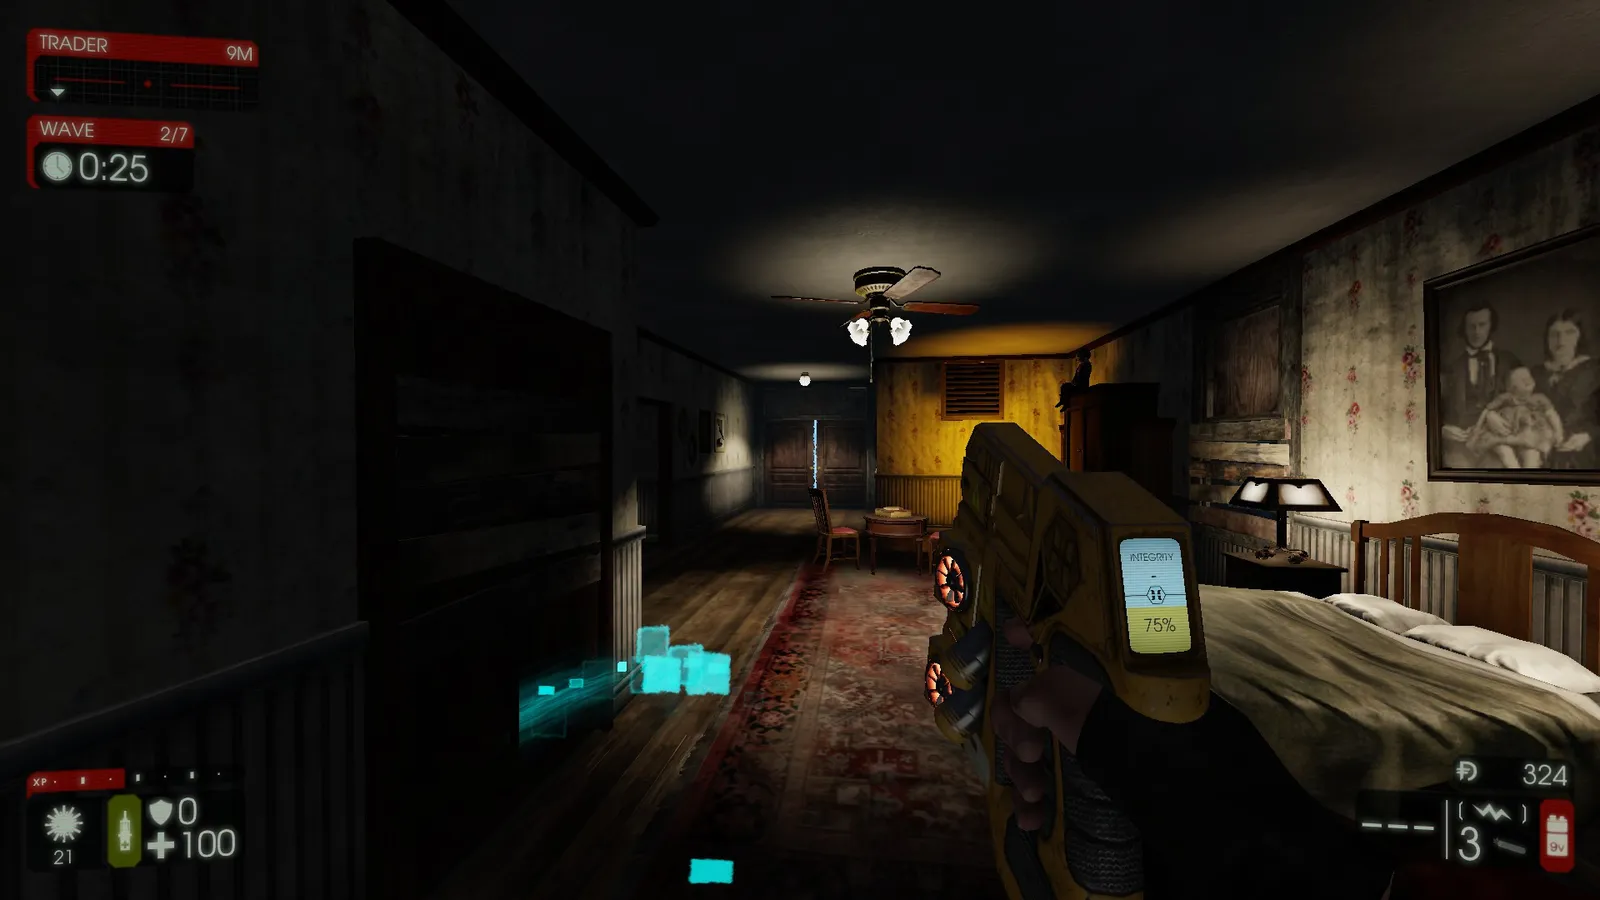 The first door to weld.
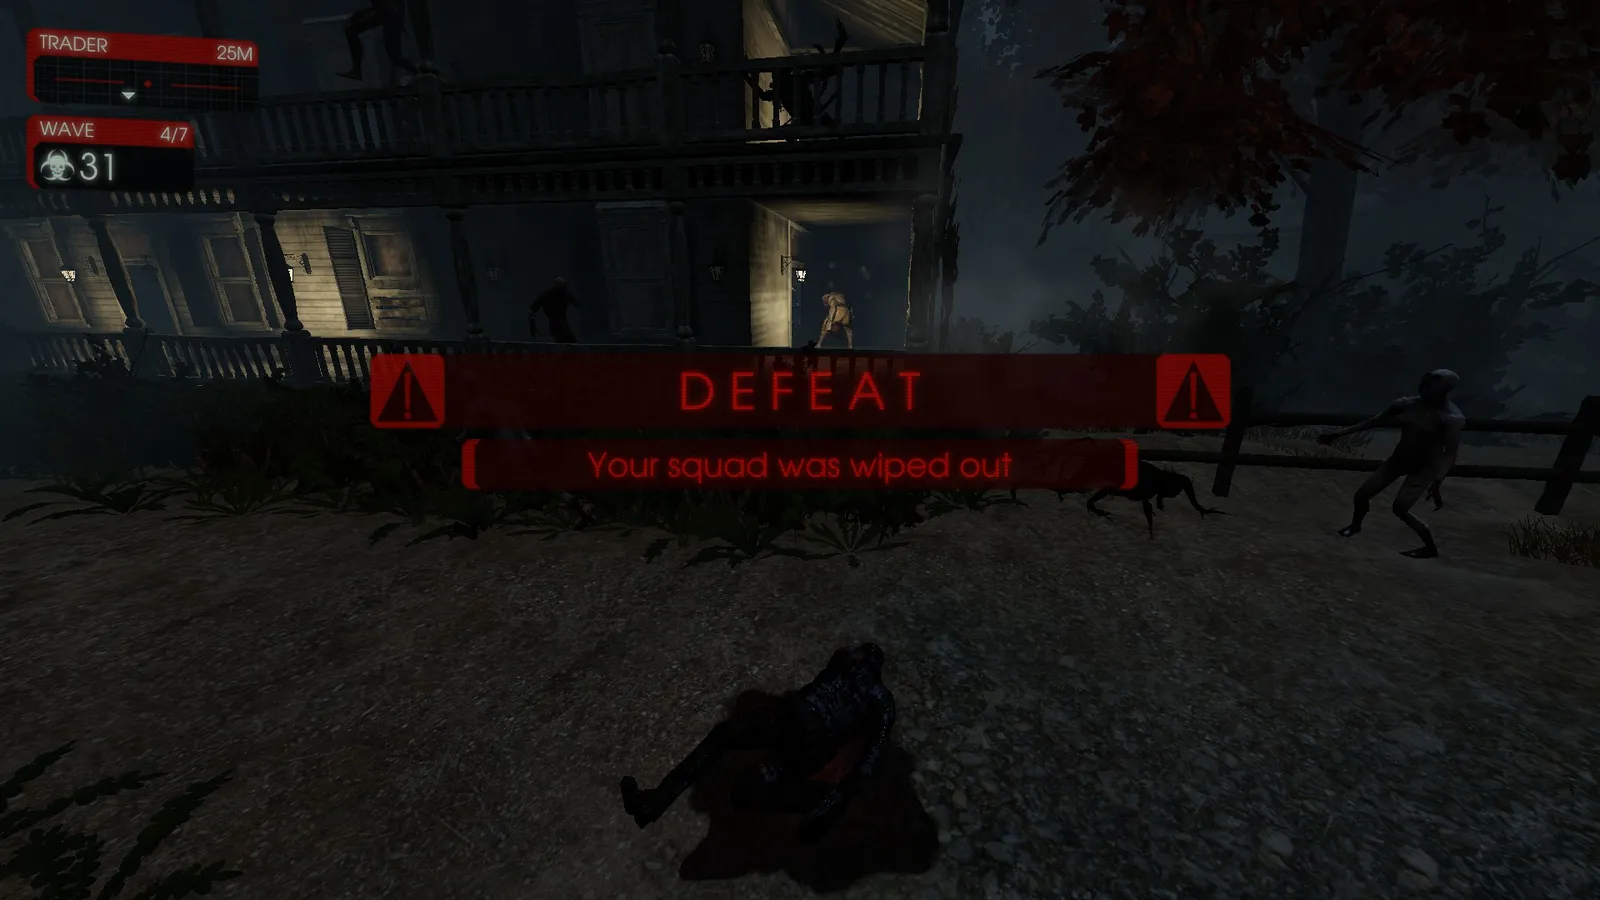 The second door to weld.
- Waves 2-3: Katana bash on everything; grenade pistol on Husk or Siren when free; kite if needed.
- Wave 4: shoot with the Desert Eagle or Magnum while Zeds are far. With the Eviscerator, kill everything with it; with only the Desert Eagle play like waves 2-3 and kite when a Scrake corners you.
- Waves 5-6: use the pistols at range and the Eviscerator on everything else; kite as needed.
- Before wave 7 weld the first-floor door near the stairs.
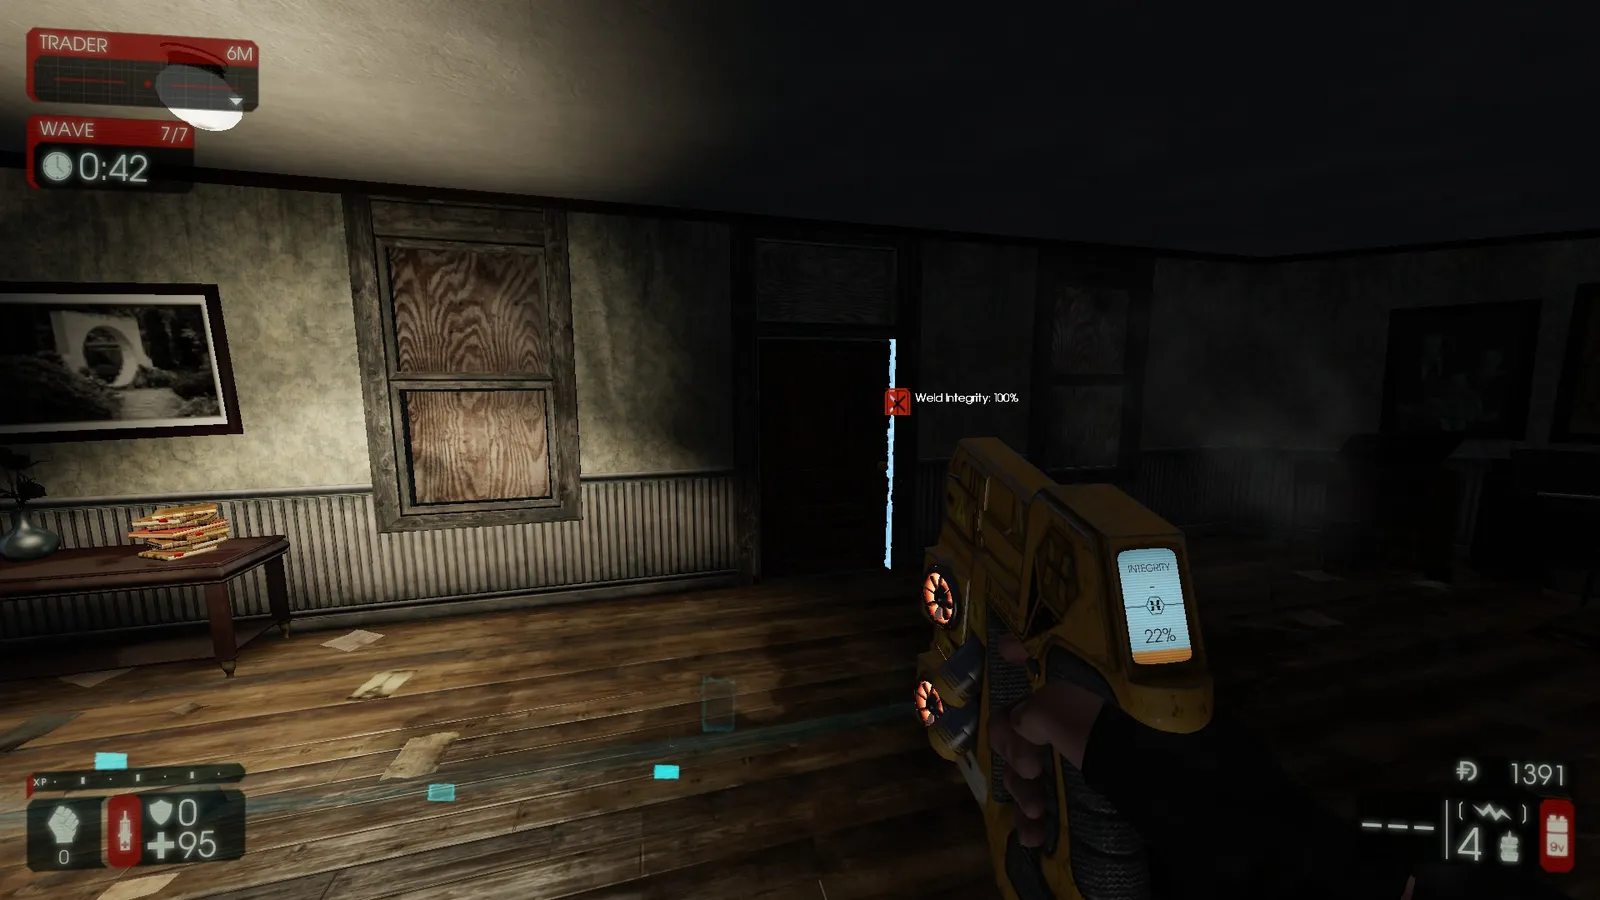 The first-floor door for wave 7.
- Near the end of the last wave: leave one Zed alive (Clot or Siren), weld the middle door for Hans, re-weld the other doors, get to the trader and set the boss loadout.
- Boss wave: start at the main house cliff and follow the Hans and Patriarch routines above.
FAQ
- Which weapons does the run rely on?
- Katana early, then Eviscerator and Desert Eagle (plus Magnum for bosses), with off-perk weapons since a level 0 perk has no bonuses.
- What is the most important rule at wave end?
- Leave one Zed alive (a Clot or Siren) and weld the middle door for the Hans fight; also re-weld the other doors before the boss.
- Is the guide up to date?
- No. The author calls it probably outdated (version 1022); use it as a method rather than exact numbers.
