
KF2 Biotics Lab on Hell on Earth: Positions, Escape Route, Hans
This is the first of two Spanish-language guides titled "Lost in Hell" (Perdidos en el Infierno), written by Maincrah in May 2015 and updated in 2016. It shows how to beat Biotics Lab on Hell on Earth. The author warns there is no spoiler censorship. See also the second volume, Burning Paris on HoE.
Team and perk
The match had 1 Berserker, 1 Commando, 2 Supports and 2 Field Medics. The author always plays Support and shows the skill choices used on this difficulty.
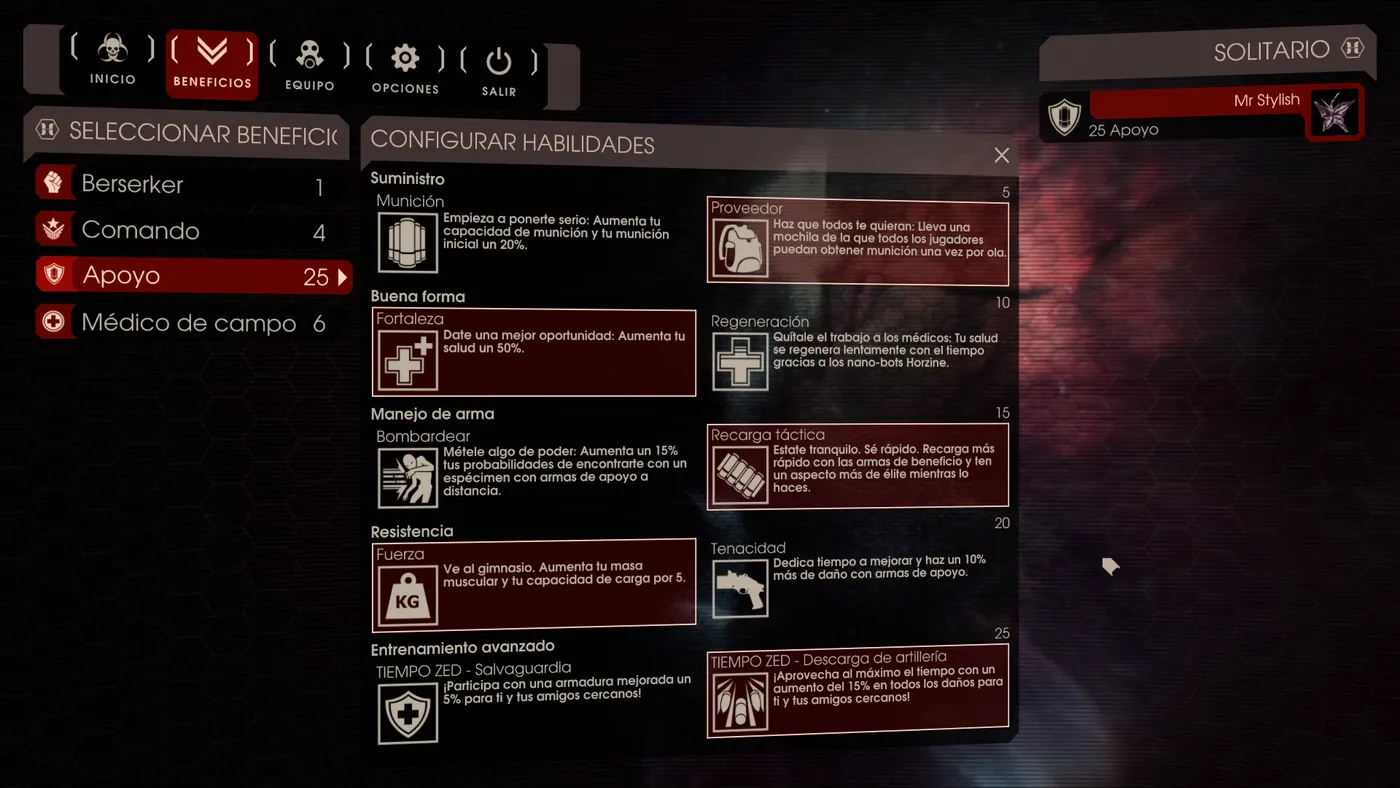 Support skills chosen for survival, team benefit and enough ammo for the final waves with 300 or more ZEDs.
Main threats
- Husks: the short-range flamethrower can burn a player down in seconds, so watch your distance. If many players cluster, prioritize Husks because they explode and disable everyone nearby.
- Sirens: they unsettle the player so aiming and moving is poor, do large damage directly to health, and disable all grenades.
- Scrakes: very high damage even when unprovoked, though slow. A deadly mistake is a Medic throwing a heal grenade to an ally with a Scrake in its radius, provoking it.
- Fleshpounds: the biggest threat, with huge single-target and area damage. One can wipe the whole team, so prioritize it.
Early waves
Do not die in the first waves, since completing a wave pays more than falling. Use them to choose a position, cover the entry points, plan the escape route, and check that the zone is good for survival. Start with the pistol, because its ammo is cheap, and save main-weapon ammo. If a Support is on the team, grab ammo at the start of the wave (it is rare to see Support with the large magazines bonus on this difficulty).
At the end of each wave, when only one ZED is left, tour the map to find weapons and ammo and to open all the doors, since you need them open for the escape route. Close only those you can see to defend better, except one that will be explained later.
Holding zone
The easiest zone to control has the giant fan and the blood tanks.
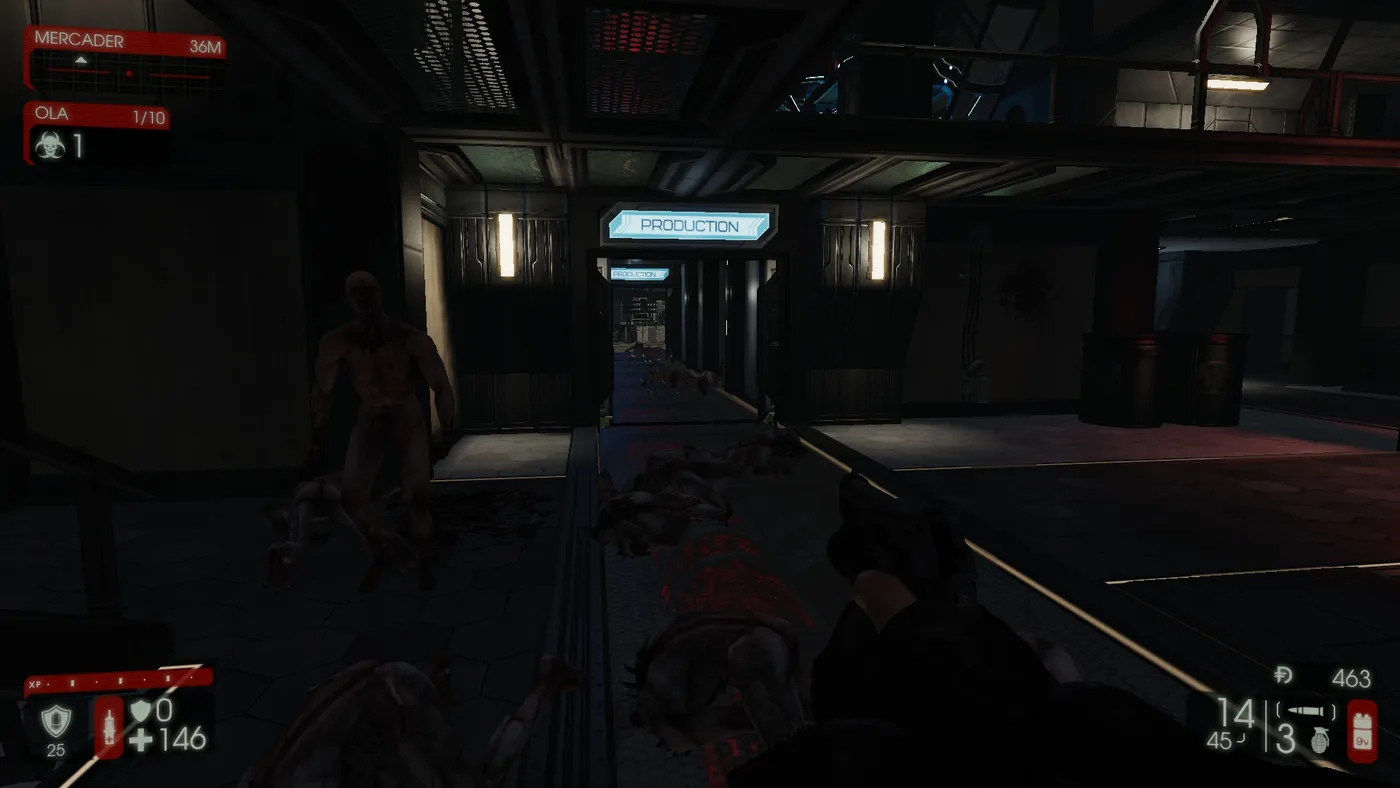 The lower area with the giant fan.
You control the entry to the lower floor and stop ZEDs from reaching the rest of the team. In an emergency it has good contact with the upper floor, so you can call for help or swap out when you run out of ammo.
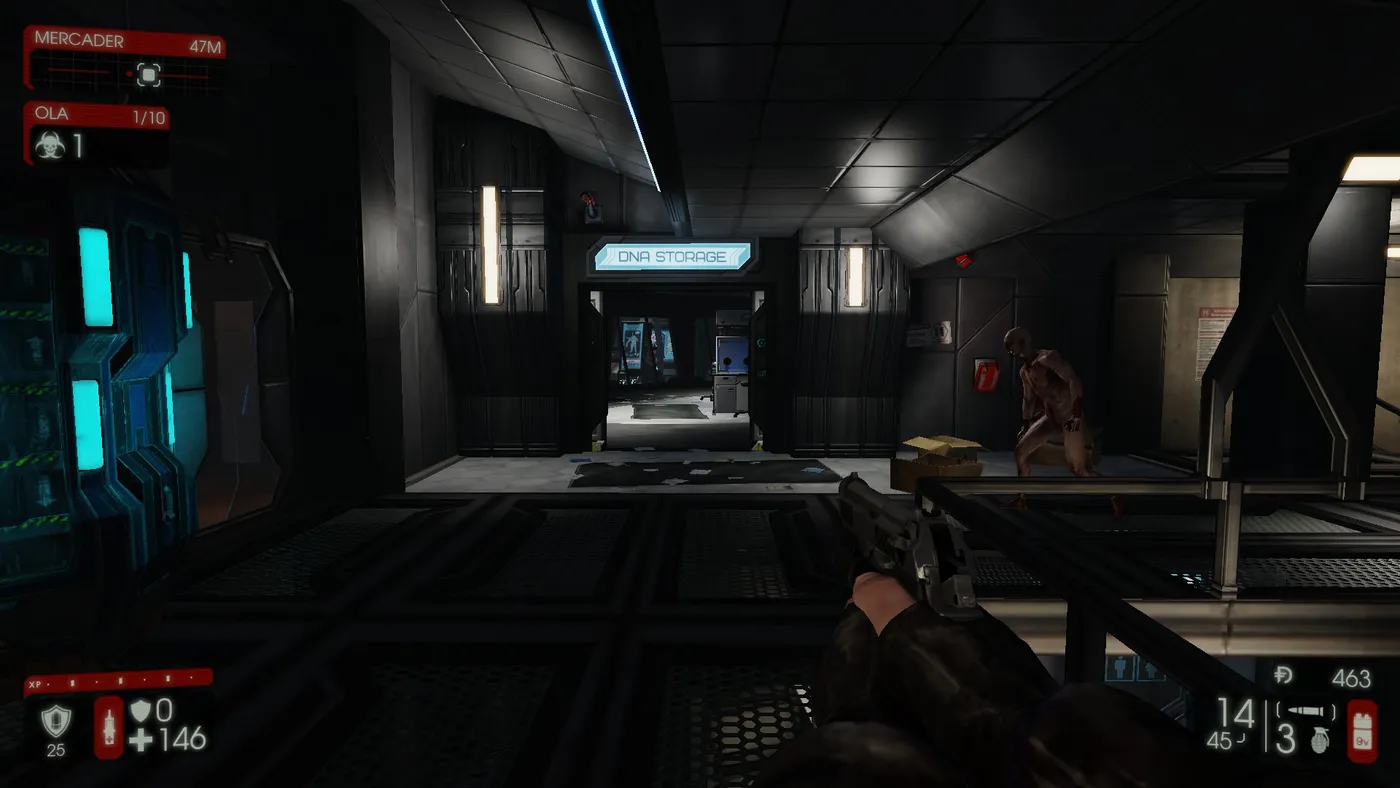 The upper floor, right above the first zone.
Most of the team is here, with many angles covered. Focus on the door directly ahead, from which most ZEDs come, and the right-hand walkway, which gets fewer.
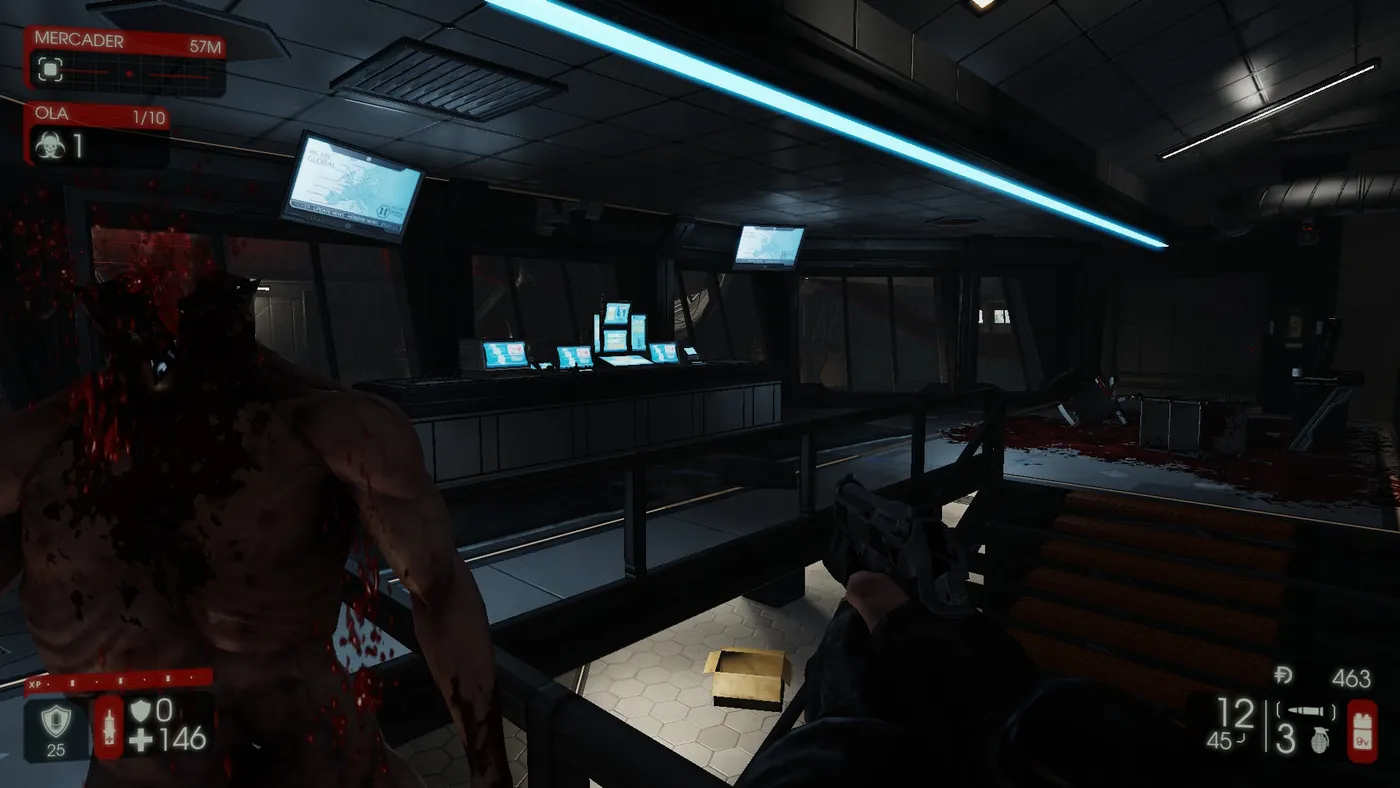 The stairs between the first and second floors.
An ideal Medic position, with sight of every team member.
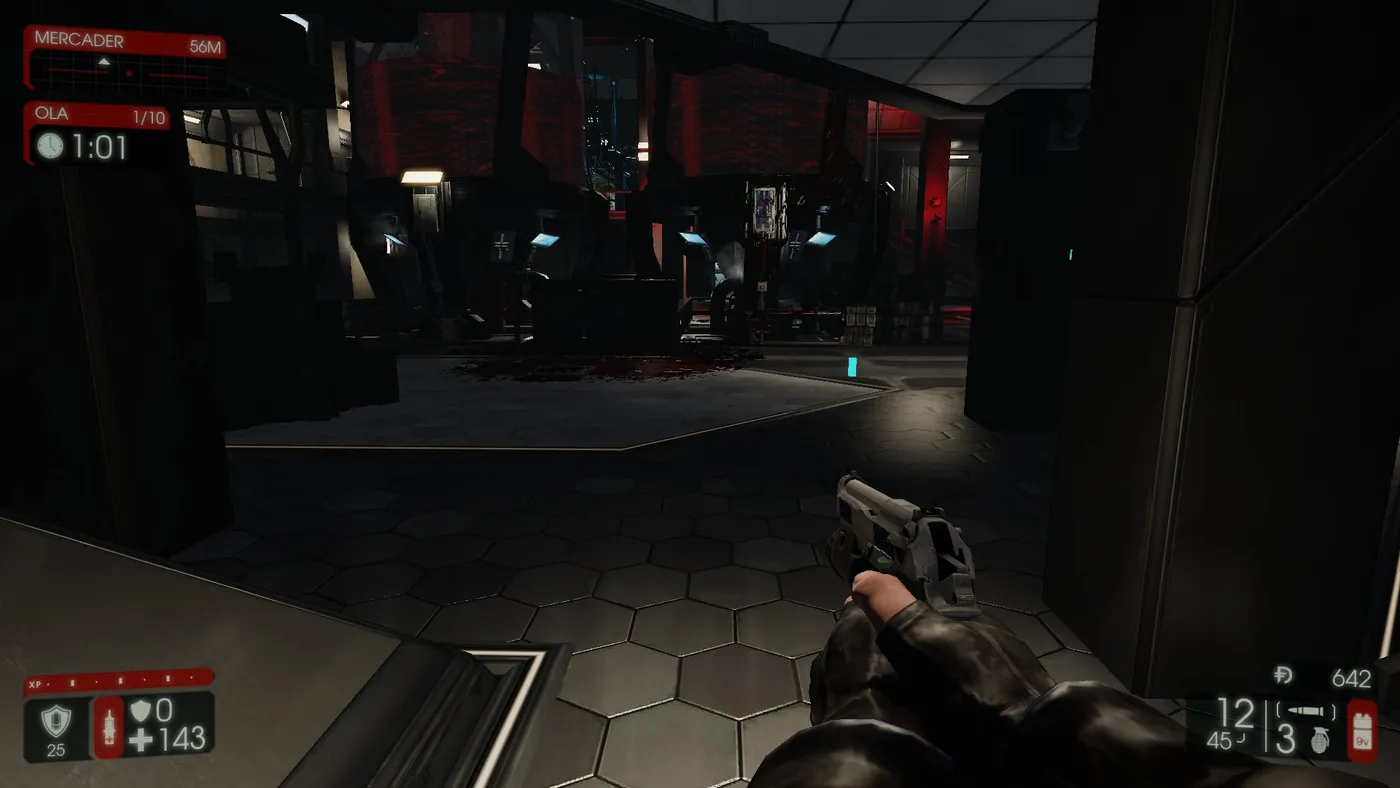 The lower end of the stairs, which the Medic can cover, ideally with a teammate mid-stair.
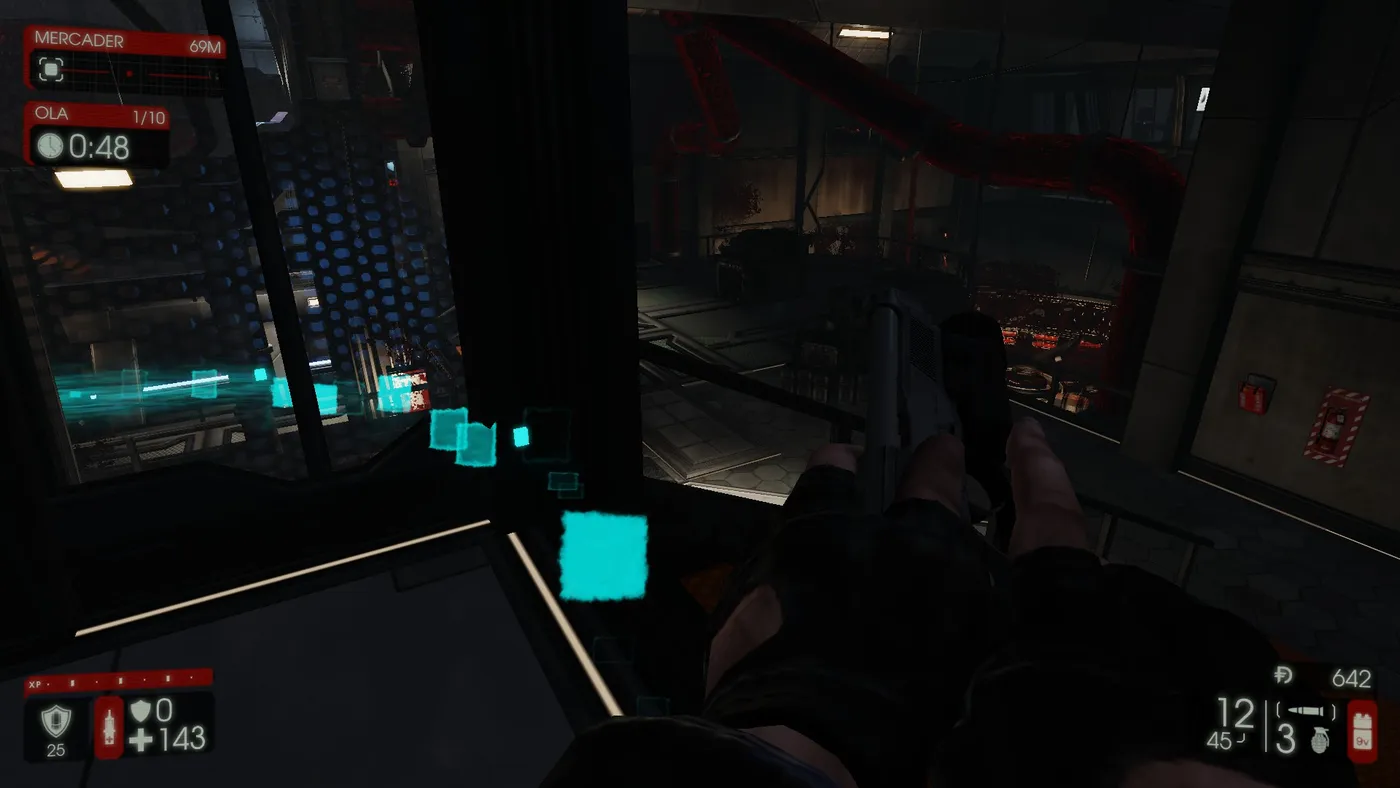 The last point of the improvised base.
Always keep two people here, preferably Commando and Support or two Supports for their damage, because this is where the escape route starts and it must stay clear.
High waves
The goal is still survival, now with Scrakes and Fleshpounds. The zone stays the same, but focus the strongest ZEDs fast. Use the upper point when the team is five or more, to deal the most damage in the least time, since every player will take heavy damage there.
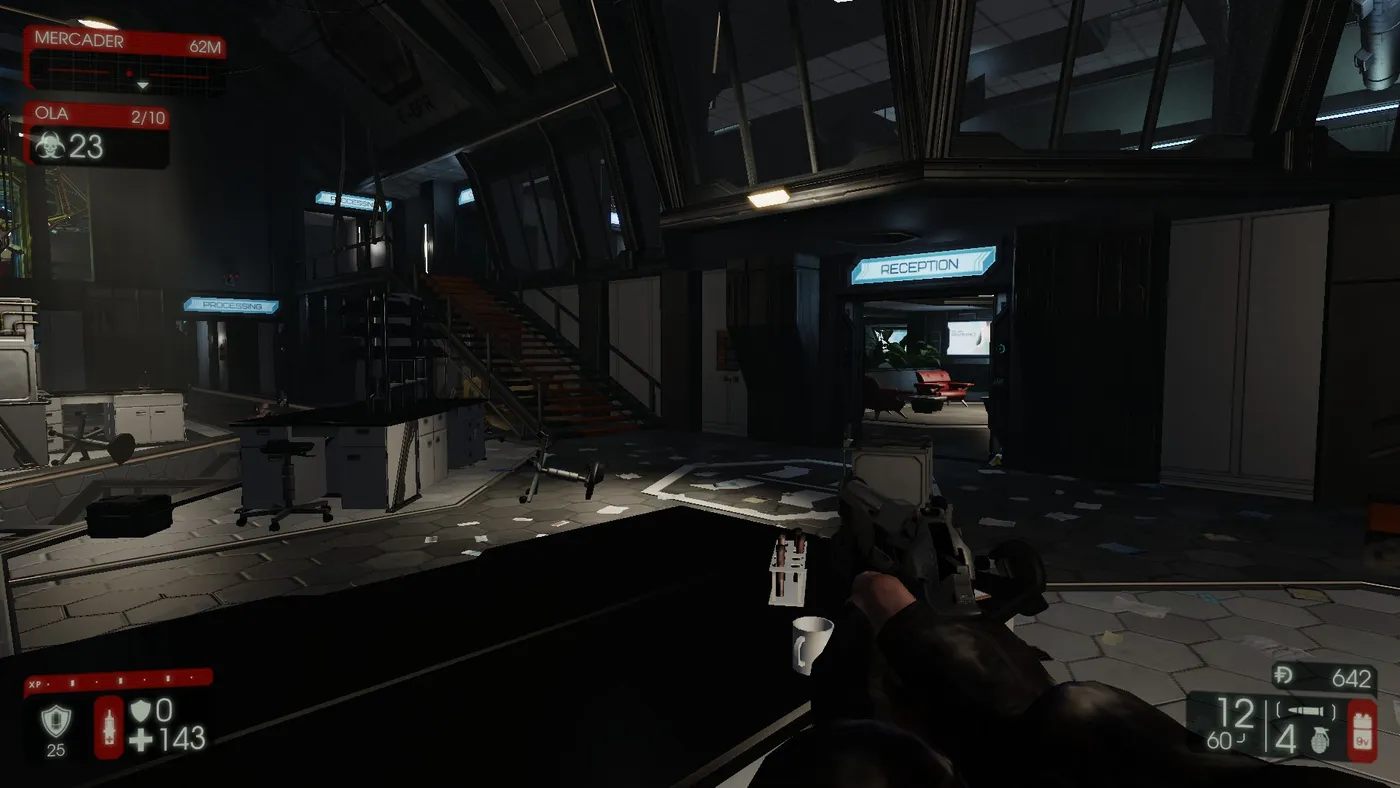 The wider space for groups of fewer than five.
With fewer than five players use this wider space, which gives more planning time. The drawback is that the team must stay together and know the map well, because a Scrake or Fleshpound will chase one player who needs the shortest path back to the team. Clear smaller ZEDs more here.
Escape route
This is for when things go bad: flee, clear the area, scatter some ZEDs, kill others and return to the starting position. It is preventive, and often will not help if you did not anticipate Scrakes or Fleshpounds, which can kill the whole team before it leaves the zone.
First point of the temporary evacuation: keep it fairly clean and throw a Medic grenade at the entrance.
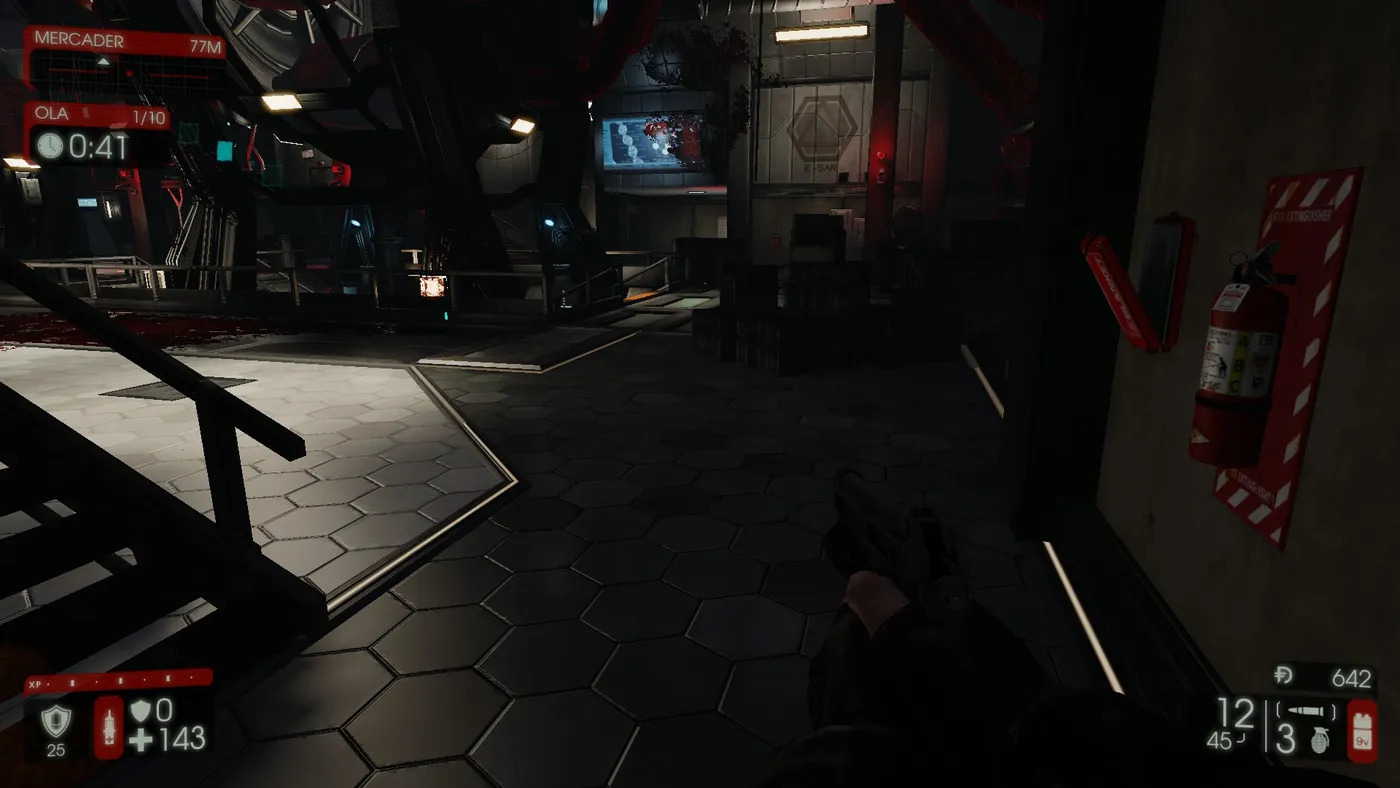 Second point: a Medic grenade beside the crates heals the team and kills ZEDs without spending ammo.
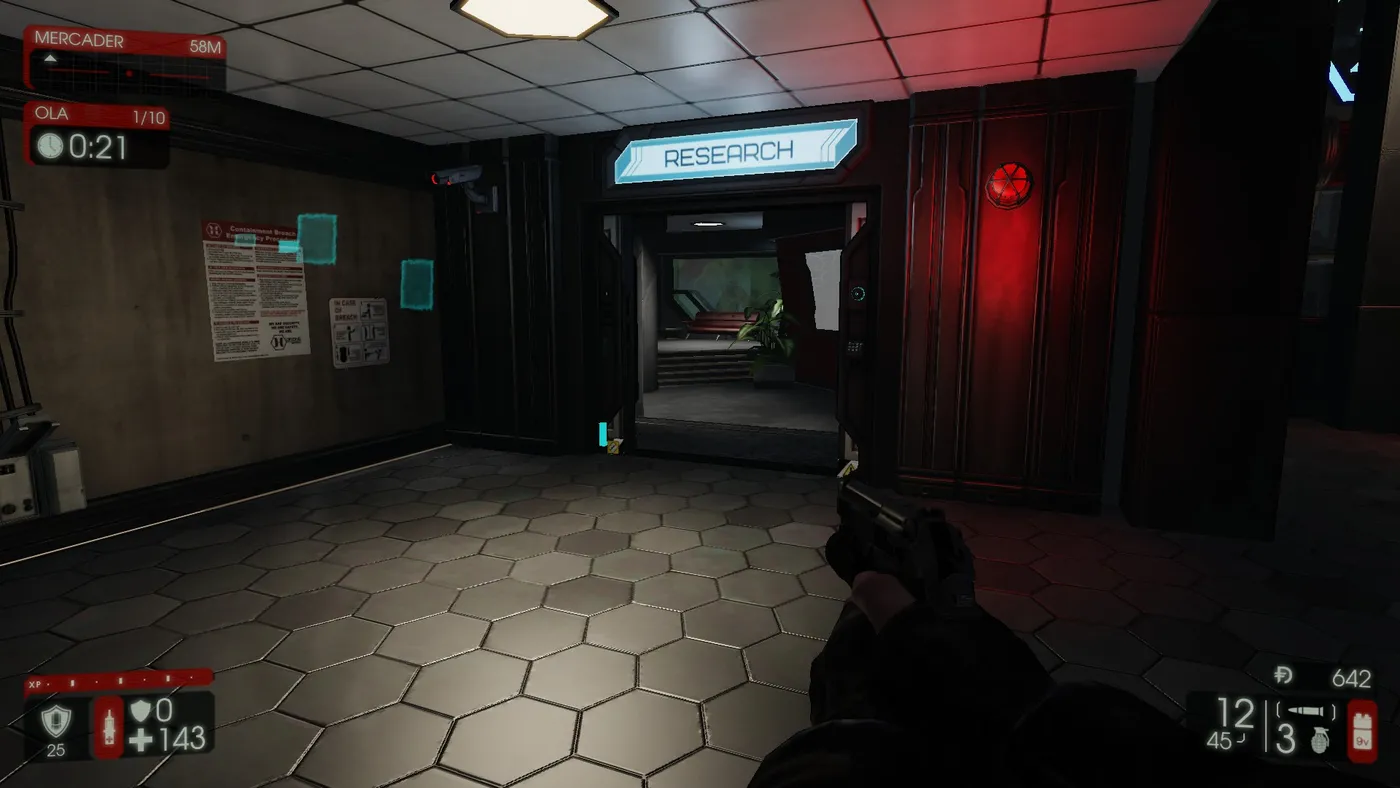 Kill what comes from the front but leave quickly. The door is under the red light, on the right.
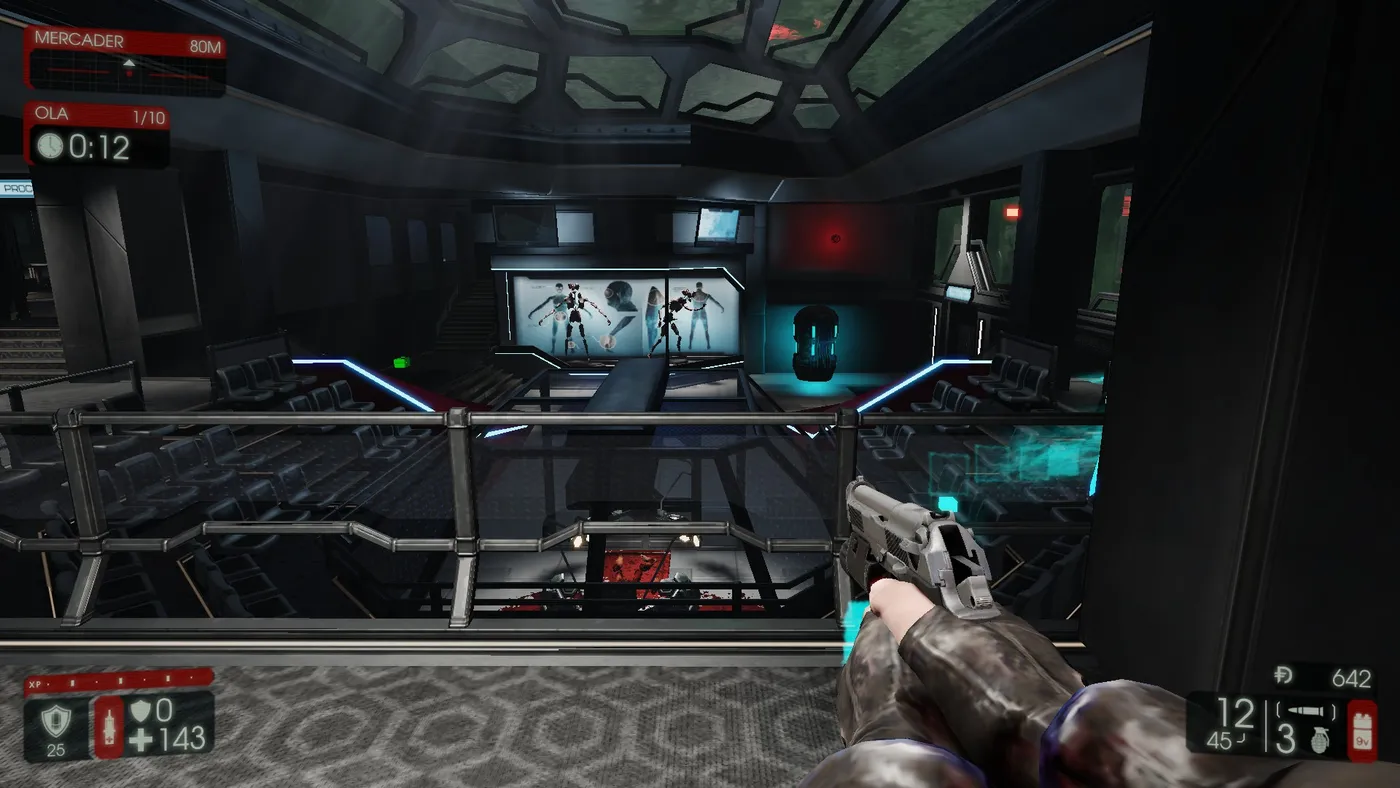 Stop for a few seconds here to open the way to the door on the right.
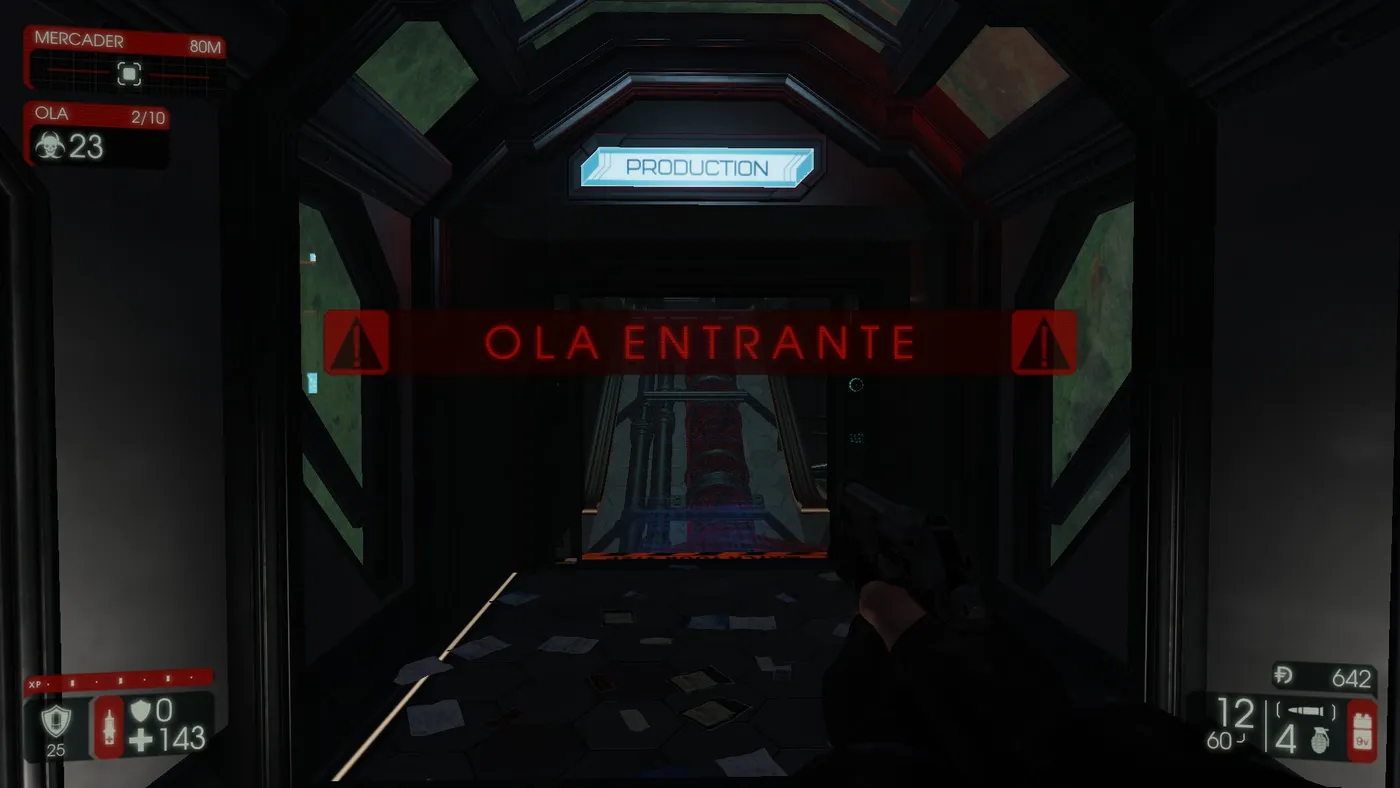 The door and corridor are the most dangerous part of the escape. Pass quickly and throw a couple of Medic grenades at the end of the corridor.
A wide room where you can camp. If fewer than 20 to 30 ZEDs remain it is a good place to finish the wave.
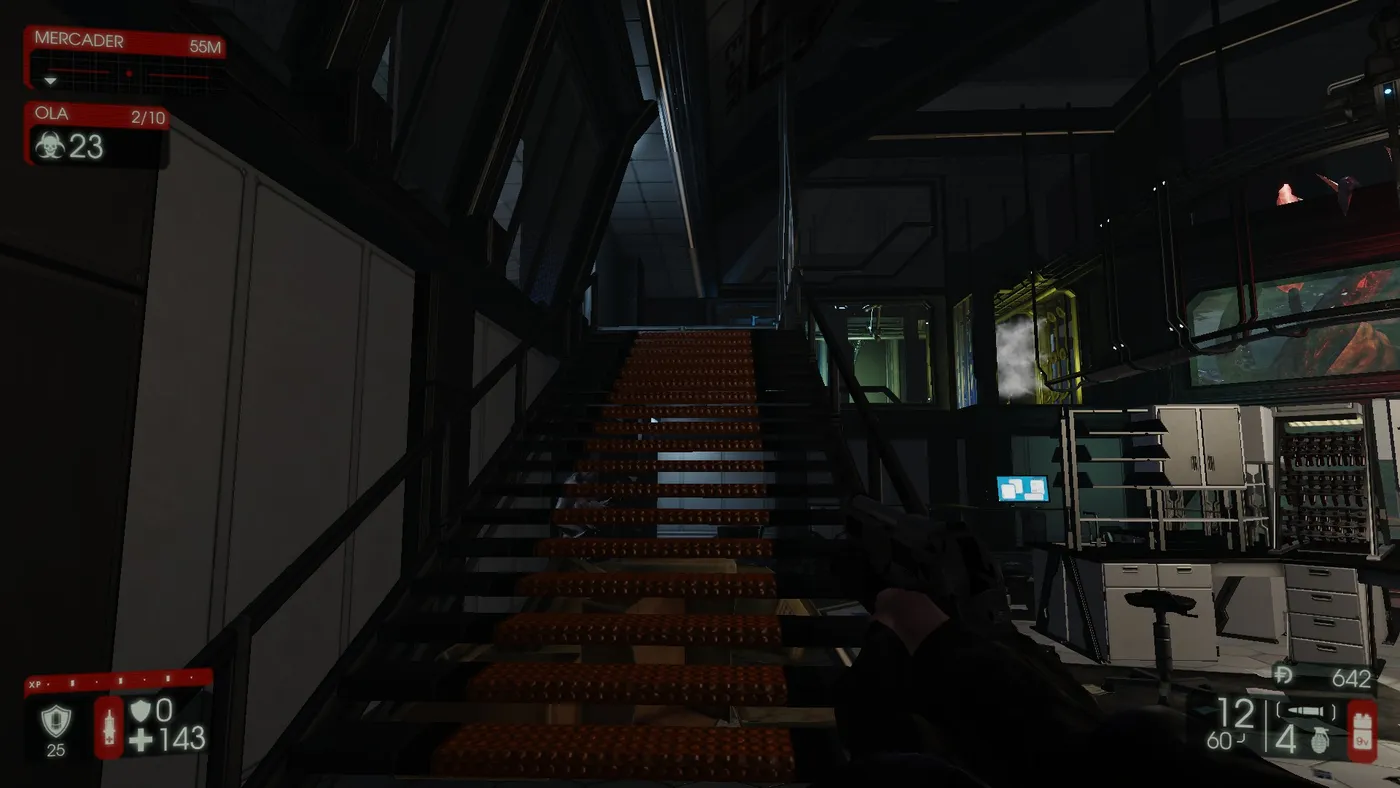 To return to the starting position, take the stairs on the right, which makes ZEDs go around and buys extra seconds.
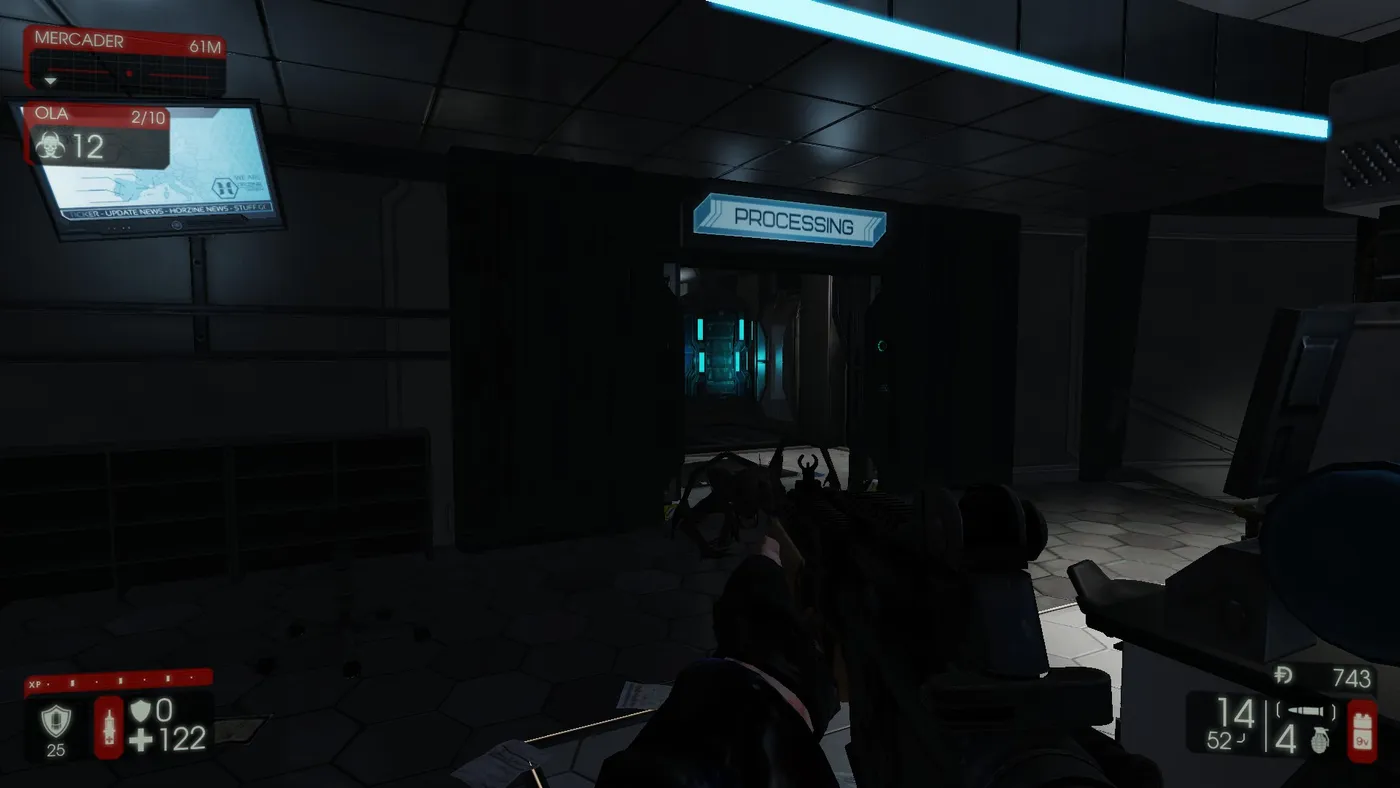 The last rooms are not important: pass through them as quickly as possible. The last door is closed without welding so the team can regroup and return.
Hans Volter
Choose where to fight him and keep the team together. Stay at a medium distance to avoid his machine guns, which can kill a fully armored player in a burst or two, and try to make him use grenades as rarely as possible. Above all do not shoot him while he drains an ally, since he has an 85 percent damage reduction.
The author's favorite spot is at the spawn point, behind the door posters.
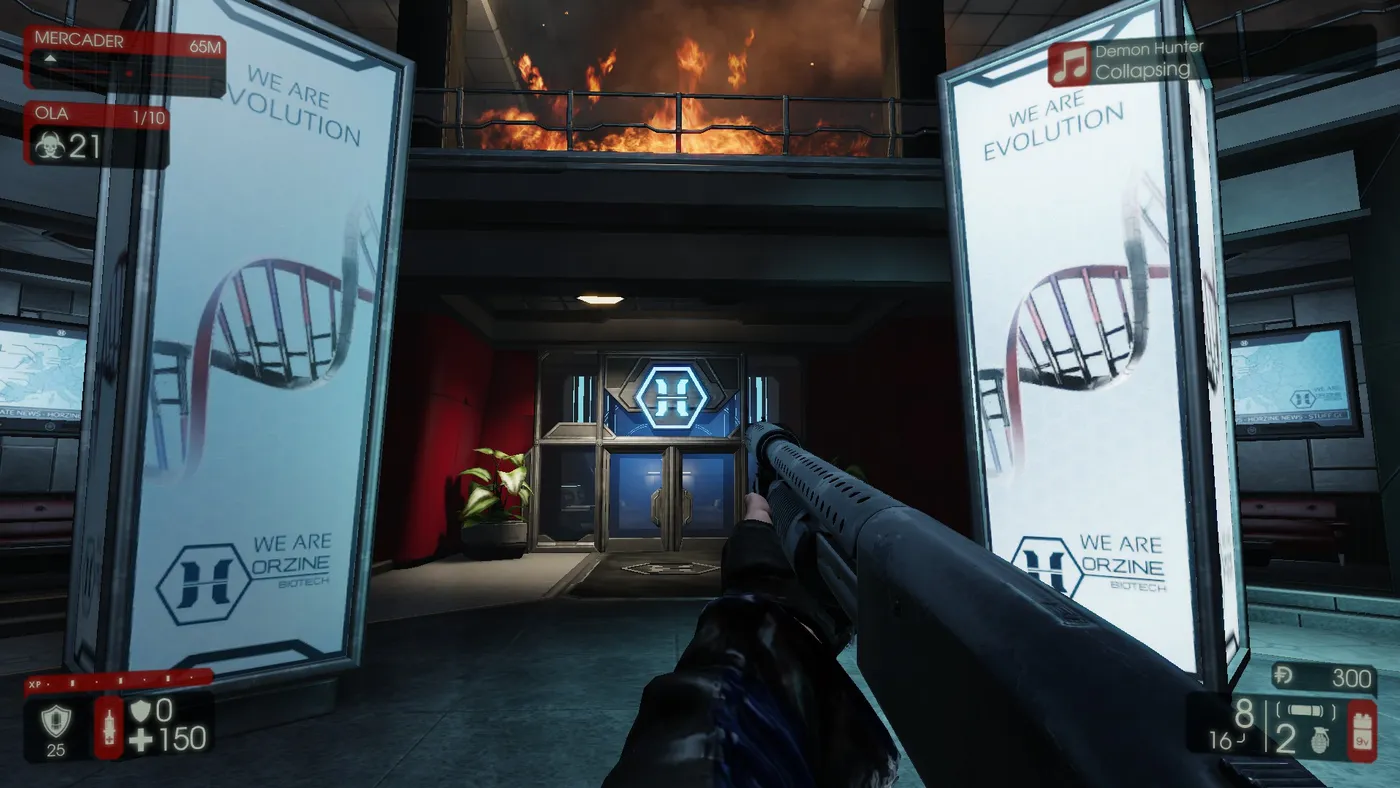 The spawn area.
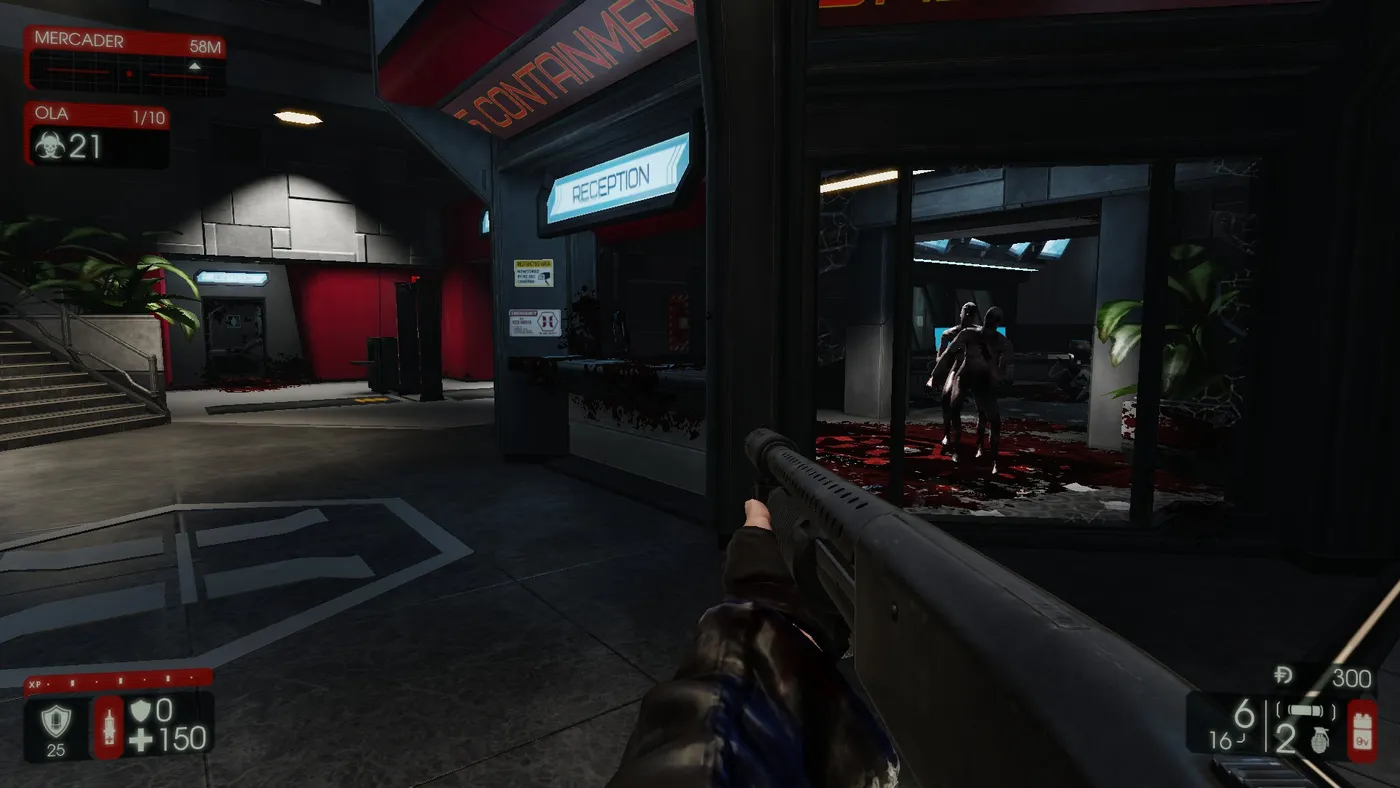 The door posters can be destroyed but take 4 or 5 bursts from Hans, and protect from his machine guns.
Once he is close he stops using firearms, which is your moment to step out and fire until he grabs an ally to heal. Then the Medic heals that ally and the rest of the team runs to a safe position, since he will likely throw grenades at any exposed player.
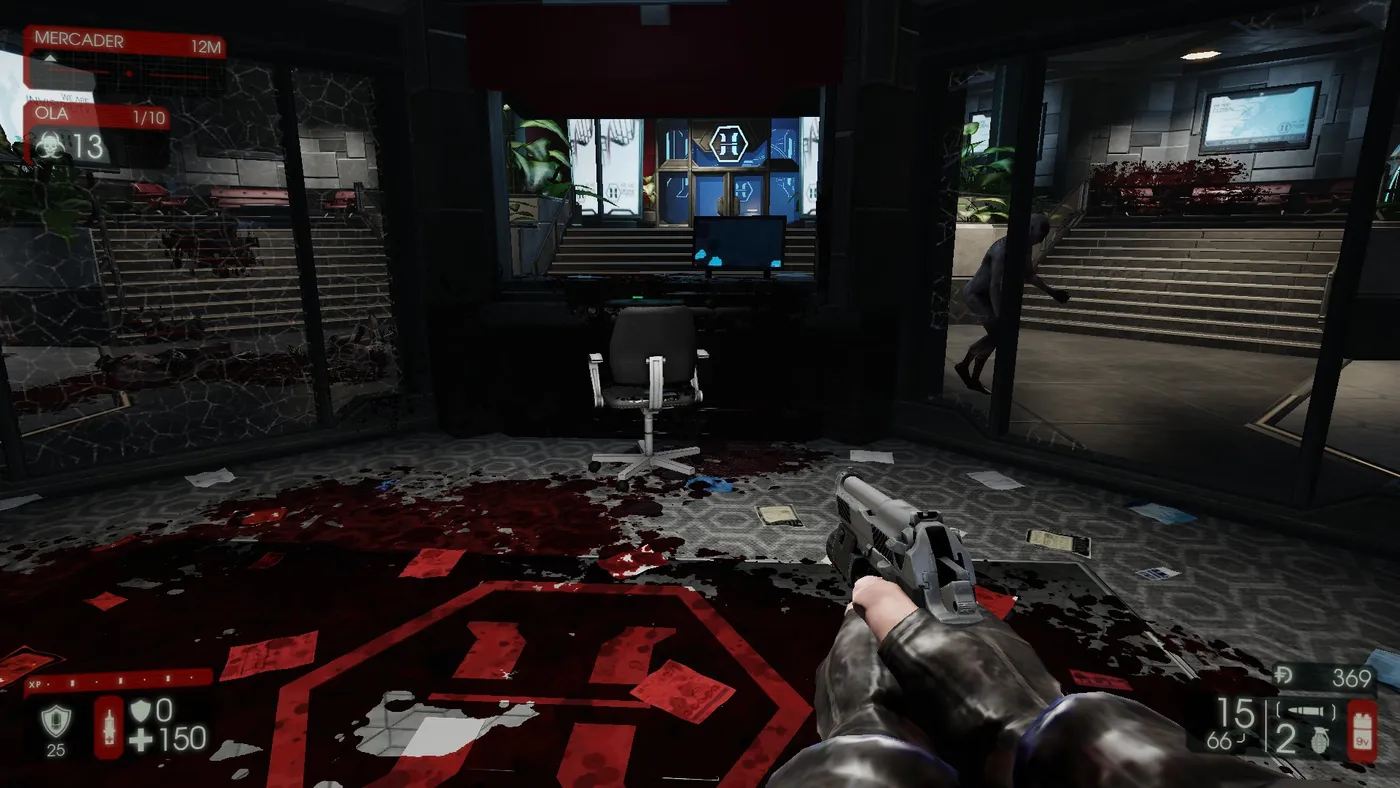 Circling the cabin with the Horzine logo.
When Hans has destroyed all the posts, distract him. A Berserker is ideal because the secondary attack lowers the damage received. Circle the cabin with the Horzine logo until he falls, and use Medic grenades so your ally keeps regaining health while Hans takes damage.
Closing remarks
The author says this is not the best guide in the world and not the only way, only the one that was easiest and cost the fewest deaths. You do not need six friends on voice chat. Listen to allies' requests for healing, threat warnings and ammo. A summary of the basics of each map by user SpamBan was linked in the original guide. For defense positions on other maps see defense spots on official maps.
FAQ
- Which team did the author clear Biotics Lab with?
- One Berserker, one Commando, two Supports and two Field Medics. The author plays Support.
- Which ZEDs are the main threats?
- Husks, Sirens, Scrakes and Fleshpounds. The Fleshpound is the biggest, since one can wipe the team, while a Medic grenade thrown near a Scrake can provoke it.
- How should Hans Volter be handled?
- Keep a medium distance so his machine guns are less effective, make him use grenades less often, and never shoot him while he is draining an ally, because he has an 85 percent damage reduction then.
